Home>Production & Technology>Background Music>How To Record My Voice With Background Music
Background Music
How To Record My Voice With Background Music
Published: November 22, 2023
Learn how to record your voice with captivating background music. Discover tips, techniques, and tools to create professional-sounding audio recordings.
(Many of the links in this article redirect to a specific reviewed product. Your purchase of these products through affiliate links helps to generate commission for AudioLover.com, at no extra cost. Learn more)
Table of Contents
Introduction
Welcome to the world of background music! Whether you’re a content creator, podcaster, or aspiring musician, adding background music to your voice recordings can take your content to the next level.
Background music can help set the tone, create an immersive experience, and enhance the overall impact of your recordings. It can add depth, emotion, and professionalism to your voiceovers, podcasts, presentations, and more.
In this article, we will explore everything you need to know about recording your voice with background music. We will guide you through the process, from choosing the right software to adjusting audio levels and editing your recordings. By the end, you’ll have the skills and knowledge to create captivating content that captivates your audience.
Before we dive into the technical aspects, it’s important to understand the importance of choosing the right background music. The music you select should align with the theme and mood of your content. It should complement your voice without overpowering it. The goal is to strike a perfect balance that enhances the overall listening experience.
Additionally, keep in mind the copyright laws surrounding music usage. Make sure to use royalty-free or properly licensed music to avoid any legal issues. There are many websites and platforms that offer a wide range of music options for commercial use or public domain music that can be used without any copyright restrictions.
Are you ready to dive into the world of recording your voice with background music? Let’s get started by exploring the different recording software options available.
Choosing the Right Recording Software
When it comes to recording your voice with background music, choosing the right recording software is crucial. The software you select should provide you with the necessary tools and features to create professional-quality recordings with ease. Here are a few factors to consider when choosing recording software:
- User-Friendly Interface: Look for software that has an intuitive and user-friendly interface. This will make it easier for you to navigate through the various options and settings, even if you’re a beginner.
- Compatibility: Check if the software is compatible with your operating system. Whether you’re using Windows, macOS, or Linux, ensure that the software works seamlessly on your preferred platform.
- Audio Editing Capabilities: The software should offer basic audio editing features like trimming, adjusting volume levels, and applying effects. This will allow you to fine-tune your recordings and ensure that your voice and the background music blend harmoniously.
- Ability to Import Background Music: Confirm that the software allows you to import and integrate background music into your recordings. It should support various audio formats and provide flexibility in terms of adjusting the mix between your voice and the music.
- Real-Time Monitoring: Look for software that offers real-time monitoring of your voice and the background music. This feature enables you to hear the final mix as you record, making it easier to make adjustments on the fly.
- Effects and Plugins: Consider software that provides a range of effects and plugins to enhance your recordings. This can include options for adjusting EQ, adding reverb or echo, and even pitch correction if needed.
There are various recording software options available, ranging from free to paid versions. Some popular choices include Audacity, Adobe Audition, GarageBand (for Mac users), and Reaper. Each software has its own unique features and learning curve, so it’s important to explore different options and choose the one that best suits your needs and preferences.
Once you have selected the recording software that fits your requirements, the next step is to find and prepare the background music you want to incorporate into your recordings. We’ll cover that in the next section.
Selecting and Preparing Background Music
Selecting the right background music is a vital step in creating a captivating recording. Here are some considerations when choosing and preparing your background music:
- Theme and Mood: Determine the theme and mood of your recording. Are you aiming for an upbeat and energetic vibe, or a more calm and soothing atmosphere? The background music should align with the emotions you want to evoke and complement the overall tone of your content.
- Genre and Style: Consider the genre and style of music that best fits your recording. Whether it’s classical, electronic, jazz, or pop, make sure the music matches the genre you’re working with. This will create a cohesive and seamless experience for your listeners.
- Length: Pay attention to the length of the background music. It should be long enough to cover the duration of your recording without abruptly ending or looping. Aim for tracks that are a few minutes long to ensure smooth transitions.
- Volume and Mixing: Ensure that the volume of the background music is balanced with your voice. It should be audible but not overpowering. Test the mix by playing the music alongside your voice before recording to make any necessary adjustments.
- Editing and Looping: If needed, you can edit or loop the background music to fit the duration of your recording. Most recording software allows you to trim or loop sections of the music to create a seamless and continuous playback throughout your content.
- Royalty-Free or Licensed Music: Use royalty-free or properly licensed music to avoid copyright infringement. There are numerous websites, such as PremiumBeat, Epidemic Sound, and AudioJungle, where you can find a wide selection of high-quality royalty-free music for your recordings.
Once you have selected the ideal background music, make sure to have the audio file ready on your computer. Organize your music library to easily access and import the chosen track into your recording software. Consider creating separate folders for different genres or themes to keep your collection organized.
To improve the audio quality, you can also consider adjusting the EQ settings of the background music to ensure it sounds clear and balanced. You may want to enhance certain frequencies or reduce any harsh tones that could clash with your voice.
Now that you have your recording software in place and your background music ready, it’s time to dive into the process of recording your voice with the music. We’ll explore this in the next section.
Adjusting Audio Levels
One of the key elements in creating a successful recording with background music is finding the right balance between your voice and the music. Adjusting the audio levels ensures that both elements are audible and harmoniously blended. Here’s how to do it:
- Set Initial Levels: Before you start recording, set the initial levels for your voice and the background music. Play the music and speak into the microphone at your normal speaking volume. Adjust the volume sliders or knobs in your recording software until you achieve a balance where neither your voice nor the music overpowers the other.
- Monitor Volume Levels: Continuously monitor the volume levels throughout the recording process. Use the visual cues in your recording software or wear headphones to listen to the mix in real-time. If you notice any imbalance or distortion, make adjustments as needed during breaks or pauses in your recording.
- Compression and Limiting: Consider applying compression and limiting to your voice and the background music. Compression helps even out volume levels, reducing any overly loud or soft moments. Limiting prevents audio from peaking beyond a certain level, ensuring a consistent and controlled sound. Experiment with different settings to find the optimal balance without sacrificing audio quality.
- Fade-ins and Fade-outs: Use fade-ins at the beginning and fade-outs at the end of your recording and background music segments. This gradual increase or decrease in volume creates smooth transitions and avoids abrupt starts or stops that could be jarring to the listener.
- A/B Testing: Perform A/B tests by playing back your recording with different volume settings. Compare the versions to ensure the mix sounds natural and that your voice and the background music can be clearly heard without strain.
Remember that adjusting audio levels is a personal preference and can vary based on the specific content and the emotions you want to convey. Take the time to experiment with different volume settings and listen critically to the recordings to find the perfect balance that enhances your content.
Once you have achieved the desired audio levels, it’s time to start recording your voice with the background music. We’ll cover the recording process in the next section.
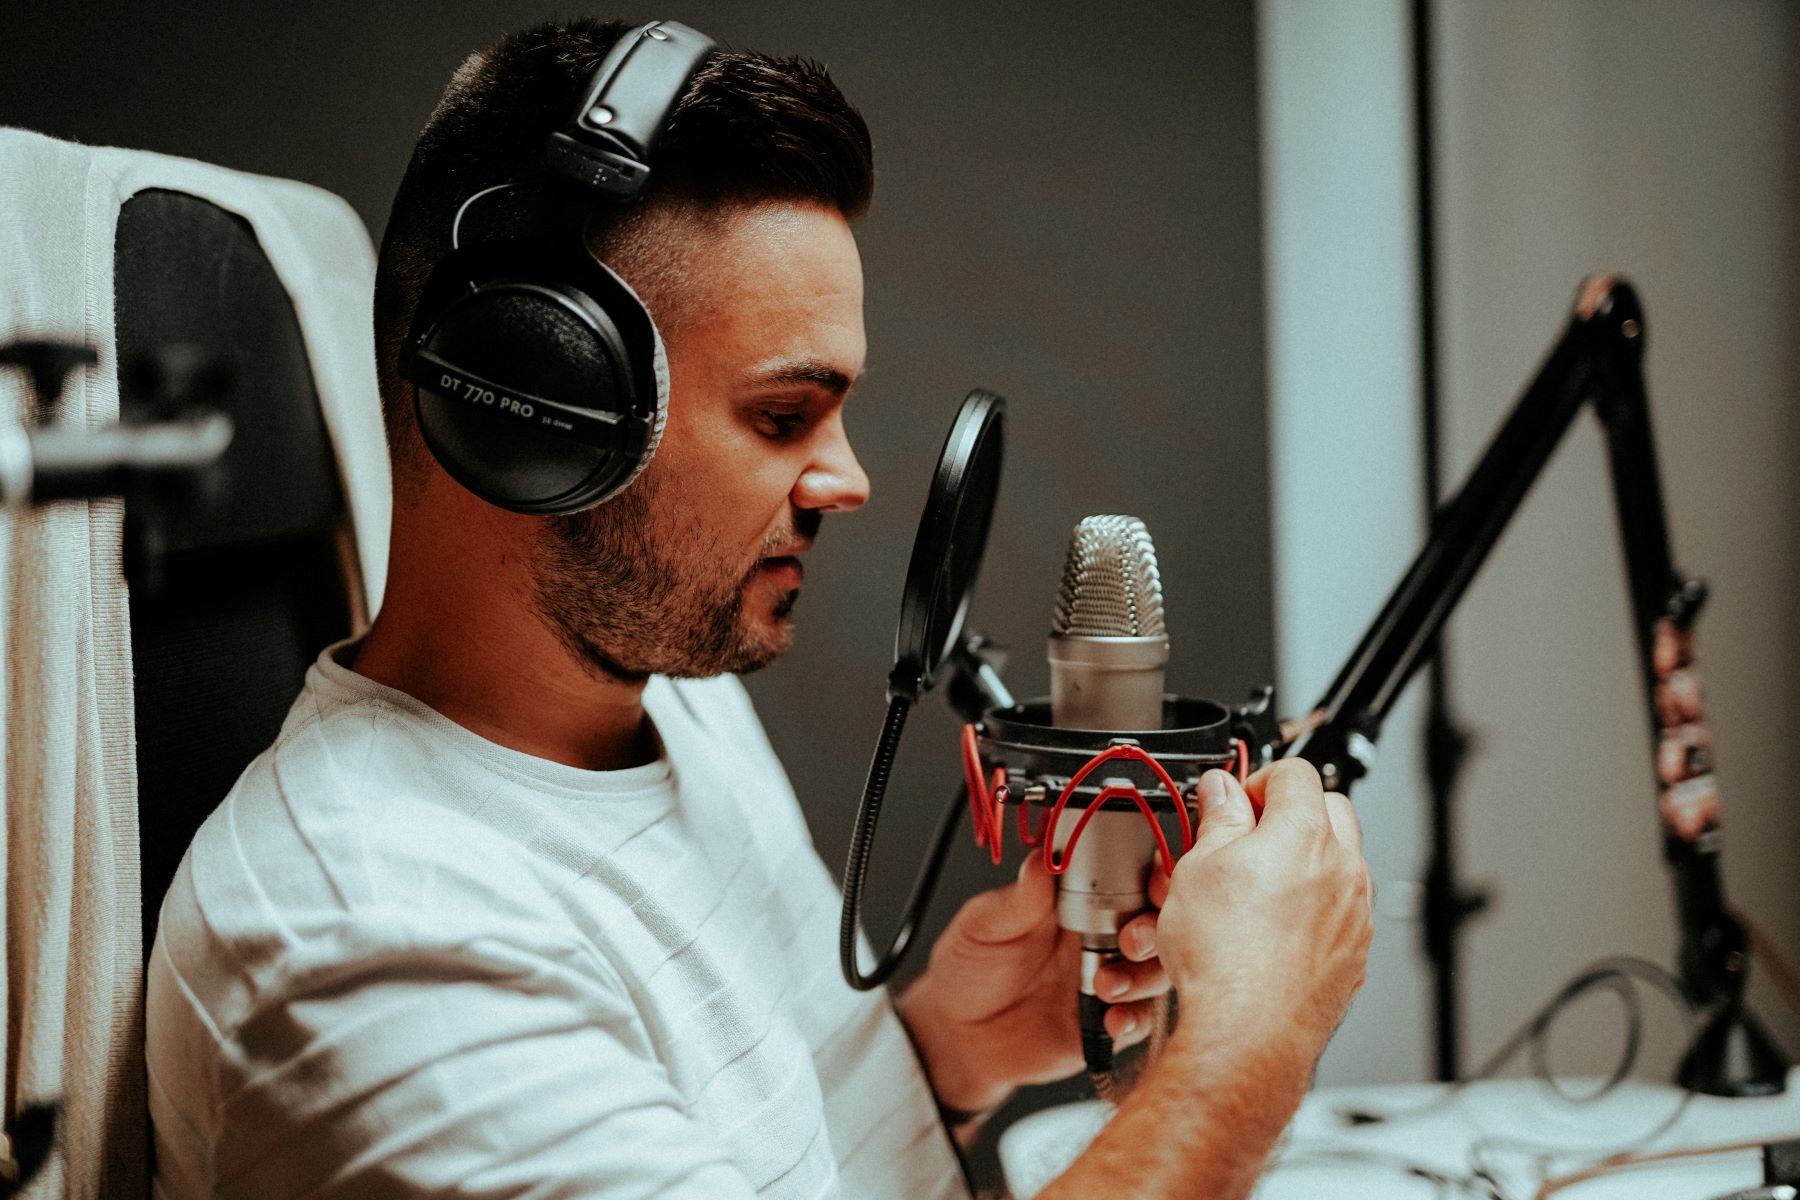
Recording Your Voice with Background Music
Now that you have your recording software set up and the audio levels adjusted, it’s time to start recording your voice with the background music. Follow these steps to ensure a successful recording:
- Prepare Your Script: If you’re working with a script, have it ready and organized. Make sure you know the flow and timing of your content to sync it with the background music effectively.
- Select the Recording Mode: Choose the appropriate recording mode in your software. Most recording software offers options like “record on-the-fly” or “record to a specific track.” Select the mode that suits your workflow and preferences.
- Set Recording Parameters: Select the desired file format, sample rate, and bit depth for your recording. However, if you’re not familiar with these technical settings, it’s often safe to use the default options provided by the software.
- Arm the Tracks: Arm the track or tracks in your recording software that will capture your voice and the background music simultaneously. This ensures that both elements are being recorded at the same time.
- Start Recording: Press the record button and begin speaking. Ensure that you maintain a consistent distance from the microphone and speak clearly. Pay attention to your timing and pace to match the background music and maintain a cohesive flow.
- Monitor Your Recording: Monitor the recording as you progress. Keep an eye on the volume levels and make adjustments if needed. You can also use headphones to hear the mix in real-time and ensure everything sounds as intended.
- Take Breaks, Pause, and Resume: If necessary, take breaks during the recording process. Use pauses in your script or designated points to pause and resume the recording. This allows you to review the recording and make any necessary adjustments before continuing.
Remember, practice makes perfect. It’s normal to do multiple takes and experiments to achieve the desired results. Take your time, stay focused, and enjoy the process of recording your voice with the background music.
Once you are satisfied with your recording, it’s time to move on to the editing and fine-tuning stage. We’ll explore this in the next section.
Editing and Fine-tuning the Recording
Now that you have completed the recording of your voice with the background music, it’s time to fine-tune and polish the recording through the editing process. Here are some steps to follow:
- Review the Recording: Start by listening to the entire recording from start to finish. Take notes on any parts that need improvement or adjustment.
- Trimming and Removing Errors: Use the editing tools in your recording software to trim any unnecessary sections and remove any errors or mistakes. This ensures a more concise and professional recording.
- Aligning the Voice and Music: Check the alignment between your voice and the background music. If any discrepancies are noticed, adjust the timing of the voice or music to ensure they are in sync. This step is crucial for a seamless listening experience.
- Applying Effects: Experiment with applying effects to enhance the overall sound of your recording. You can use equalization (EQ) to balance frequencies, add reverb or echo to create a desired ambiance, or apply other effects to achieve a specific artistic effect.
- Leveling and Normalizing: Ensure that the volume levels of your voice and the background music are consistent throughout the recording. Use the normalization feature in your editing software to achieve a balanced overall output level.
- Adding Transitions: Smooth out transitions between different sections or segments of your recording. Use fade-ins and fade-outs to create smooth transitions between music and voice sections or when switching between different parts of your content.
- Removing Background Noise: If you notice any unwanted background noise or interference, use noise reduction tools to minimize or remove it. This will improve the overall clarity of your recording.
- Save Regularly: Remember to save your progress regularly during the editing process, ensuring that you don’t lose any changes or modifications you have made.
Editing is a creative process, so feel free to experiment and trust your artistic instincts. Take the time to listen critically and make adjustments until you are satisfied with the final result.
After finalizing the editing, it’s time to export and save your recording. We’ll cover this final step in the next section.
Exporting and Saving the Final Recording
Once you have completed the editing and fine-tuning of your recording, it’s time to export and save the final product. Follow these steps to ensure a successful export:
- Select the Desired File Format: Choose the file format for your final recording. Common audio file formats include WAV, MP3, and FLAC. Consider the intended use of your recording and select the format that best suits your needs.
- Set the Output Parameters: Configure the output settings for your recording, such as sample rate, bit depth, and quality. Higher settings generally result in better audio quality, but also larger file sizes.
- Choose the Destination Folder: Select the folder or directory where you want to save your final recording. It’s a good practice to create a dedicated folder for your project to keep all related files organized.
- Add Metadata: Add relevant metadata like title, artist, and description to your recording. This information will help identify and categorize your recording in media players or when sharing it with others.
- Verify the Export Settings: Double-check all the export settings to ensure they are accurately configured. Pay attention to any special requirements if you plan to publish or distribute your recording on specific platforms.
- Export the Recording: Begin the export process by clicking the “Export” or “Save” button in your recording software. The software will process the recording and save it as the selected file format in the designated folder.
- Listen and Verify: Once the export is complete, take a moment to listen to the final recording to ensure everything sounds as intended. Verify that the voice and background music are balanced and there are no noticeable issues or glitches.
- Backup Your Recording: It’s essential to create backup copies of your final recording. Consider storing it on an external hard drive, cloud storage service, or multiple devices to prevent any loss or corruption of the file.
By following these steps, you can ensure that your final recording is exported accurately and safely stored for future use.
Congratulations! You have now successfully recorded your voice with background music, edited and fine-tuned the recording, and exported the final product. With your newfound knowledge and skills, you can continue to create captivating content that engages your audience and leaves a lasting impact.
Remember to keep practicing, refining your techniques, and exploring new possibilities. With time and experience, you’ll become even more proficient in creating recordings that leave a lasting impression.
Happy recording!
Conclusion
Recording your voice with background music opens up endless possibilities for creating engaging and captivating content. By carefully selecting the right recording software, preparing suitable background music, adjusting audio levels, and fine-tuning your recording through editing, you can create professional-quality recordings that captivate your audience.
Choosing the right recording software is crucial, as it provides the necessary tools and features to achieve the desired results. Consider factors such as user-friendliness, compatibility, audio editing capabilities, and the ability to import background music.
When selecting and preparing background music, pay attention to the theme, mood, genre, and length of the music. Ensure that it complements your voice and aligns with the overall tone of your content. Remember to use royalty-free or properly licensed music to avoid any legal issues.
Adjusting audio levels is an essential step to achieve a balanced mix between your voice and the background music. Continuously monitor volume levels, apply compression and limiting as needed, and use fade-ins and fade-outs for smooth transitions.
Recording your voice with background music requires careful preparation, such as having a script ready, selecting the appropriate recording mode, and monitoring your recording throughout the process. Take breaks when needed and aim for a consistent and engaging performance.
During the editing and fine-tuning stage, review the recording, trim unnecessary sections, align voice and music, apply effects, and ensure consistent volume levels. Export the final recording with the correct file format, add metadata, and create backups to protect your work.
Congratulations on completing the journey of recording your voice with background music. With the knowledge and skills gained from this article, you can continue to experiment, refine your techniques, and create captivating content that resonates with your audience.
Remember, the key to mastering this process lies in practice and experimentation. The more you immerse yourself in the world of background music and recordings, the more creative and successful your endeavors will become.
So go ahead, let your voice soar, and let the background music elevate your content to new heights. Happy recording!