Home>Events & Info>Playback>How To Record My Voice And Playback
Playback
How To Record My Voice And Playback
Modified: February 17, 2024
Learn how to record and playback your voice easily with our step-by-step guide. Discover the best techniques for seamless playback.
(Many of the links in this article redirect to a specific reviewed product. Your purchase of these products through affiliate links helps to generate commission for AudioLover.com, at no extra cost. Learn more)
Table of Contents
Introduction
Recording your voice and playing it back can be a fascinating process that allows you to capture your thoughts, ideas, or creative expressions in a tangible way. Whether you’re a podcaster, aspiring musician, voice actor, or simply want to improve your public speaking skills, the ability to record and playback your voice is a valuable tool.
In this article, we will guide you through the process of recording your voice and playing it back, providing you with the knowledge and techniques to achieve high-quality recordings. We will cover everything from choosing the right recording device to editing and enhancing your voice recordings.
Recording your voice can have numerous benefits. It allows you to review and analyze your vocal performance, identify areas for improvement, or simply enjoy the playback of your own voice. Additionally, it can be useful for creating podcasts, audio presentations, voiceovers for videos, or even personal voice memos.
While the concept of recording and playback may seem straightforward, there are several factors to consider in order to achieve optimal results. These include selecting the right recording device, setting up a suitable recording environment, adjusting microphone settings, and exploring the editing options available to enhance your recordings.
So, if you’re ready to start capturing your voice and unlocking its potential, let’s dive into the step-by-step process of how to record your voice and play it back.
Step 1: Choosing the Right Recording Device
When it comes to recording your voice, the first step is to select the right recording device. The device you choose will depend on your specific needs and budget. Here are a few options to consider:
- Smartphone or Tablet: Most smartphones and tablets come equipped with built-in microphones and voice recording apps. These devices are convenient and portable, making them ideal for quick voice recordings on the go. However, keep in mind that the audio quality may not be as high as dedicated recording devices.
- Digital Voice Recorder: A digital voice recorder is a small handheld device designed specifically for recording audio. These devices offer better audio quality compared to smartphones and tablets, and often have additional features such as noise reduction and adjustable microphone sensitivity. They are great for capturing interviews, lectures, or more professional voice recordings.
- USB Microphone: If you plan on using your computer for recording, a USB microphone can be a great option. USB microphones are easy to set up and connect to your computer, providing good audio quality for voice recordings. They come in a variety of designs, including desktop microphones and microphone headsets, allowing you to choose the one that suits your needs.
- Condenser Microphone: If you’re serious about recording high-quality voice overs or vocals, a condenser microphone is worth considering. These microphones are commonly used in recording studios due to their superior audio capture capabilities. However, they typically require additional equipment, such as an audio interface, for connecting to your computer.
Once you have identified the recording device that best fits your needs, make sure to read reviews and consider factors like audio quality, durability, and ease of use. Additionally, check if the device has any additional features that may enhance your recording experience, such as adjustable gain control or multiple recording modes.
Remember, the quality of your voice recordings greatly depends on the recording device you choose. Therefore, it’s important to invest in a reliable device that suits your specific requirements.
Step 2: Setting up the Recording Environment
Creating a proper recording environment is crucial for achieving high-quality voice recordings. Even the best recording device can result in subpar recordings if the environment is not adequately prepared. Follow these tips to set up an ideal recording environment:
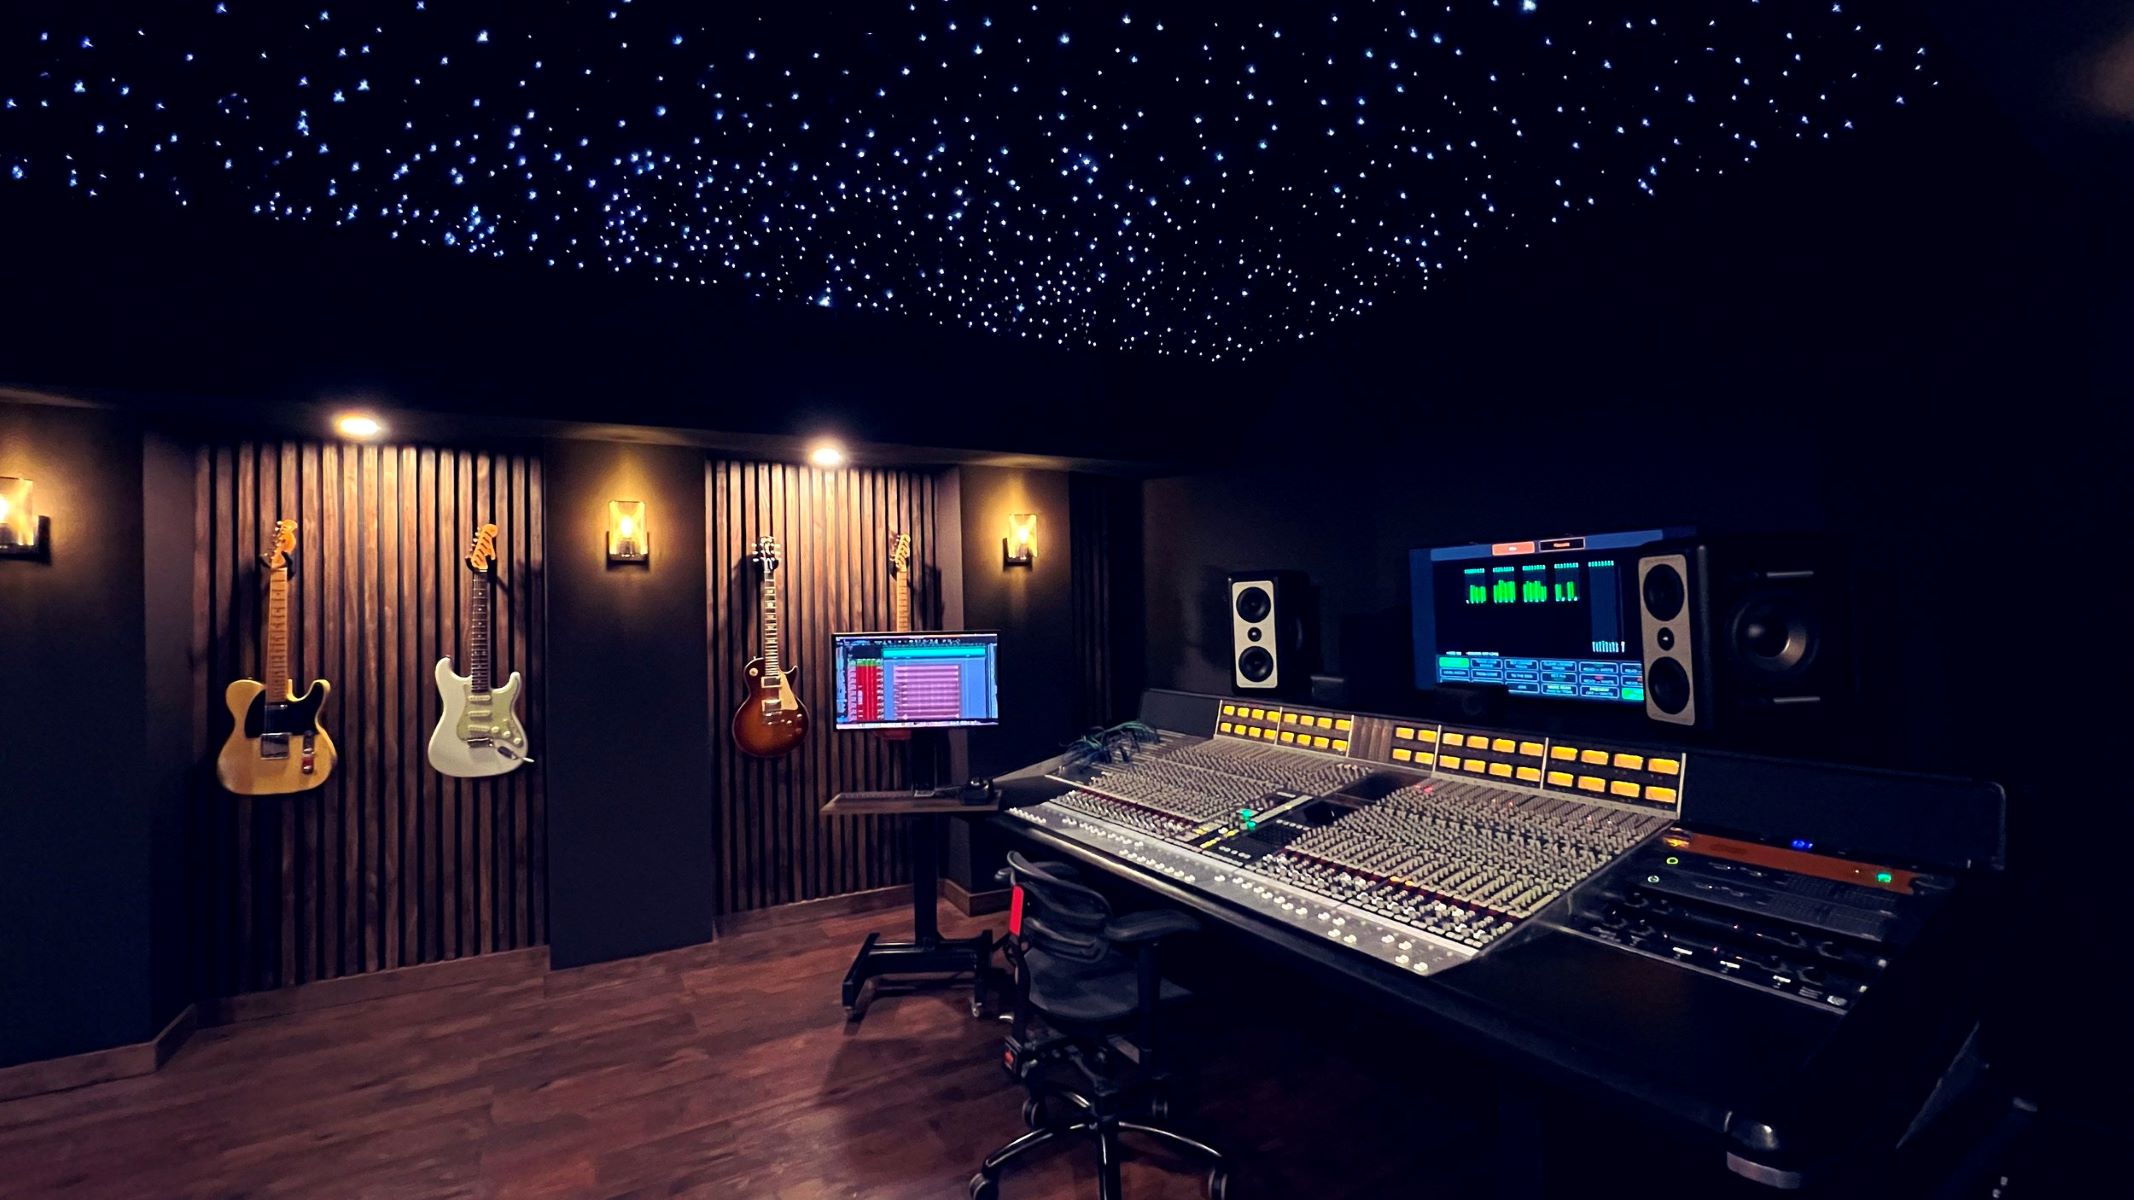
- Select a quiet space: Choose a location where external noise is minimal. Look for a room or area with limited background noise, such as a dedicated home studio or a quiet corner of your home. Avoid recording in areas with excessive traffic, loud appliances, or other sources of noise.
- Soundproofing: If your recording space is prone to external noise, consider soundproofing the room to minimize unwanted sounds. You can use acoustic foam panels or soundproof curtains to absorb and block out noise. Additionally, make sure to close windows and doors to reduce external noise interference.
- Furnishings and furniture placement: The furnishings in the room can impact the acoustics of your recordings. Soft surfaces like carpets, curtains, and upholstered furniture will help reduce echoes and reflections. Experiment with the placement of furniture to find the best balance between absorption and diffusion of sound.
- Eliminate electronic interference: Turn off or move away from any electronic devices that could cause interference during your recording session. This includes phones, computers, televisions, and any other devices that emit electromagnetic signals that could affect the audio quality.
- Address room resonance: Large, empty rooms can create echoes and reverberations. If you’re recording in a spacious area, consider adding some room treatment to reduce echo. This can be done by hanging drapes, adding bookshelves, or using portable baffles or diffusers.
By following these steps, you can create an environment that is conducive to clear and professional-sounding voice recordings. Taking the time to properly set up your recording space will significantly improve the overall quality of your recordings and minimize the need for excessive post-production editing.
Remember, a well-prepared recording environment plays a vital role in capturing clean and pristine voice recordings, allowing your voice to be the focal point without any distracting background noise or interference.
Step 3: Adjusting Microphone Settings
Once you have chosen the right recording device and set up your recording environment, it’s time to adjust the microphone settings to ensure optimal audio capture. Properly adjusting the microphone settings can make a significant difference in the quality of your voice recordings. Follow these steps to fine-tune your microphone settings:
- Position the microphone correctly: Start by positioning the microphone at an appropriate distance from your mouth. The ideal distance is usually around 6 to 12 inches, but this may vary depending on the microphone type and your voice. Experiment with different positions to find the sweet spot where your voice sounds clear and balanced.
- Set the microphone gain: The gain control on your microphone determines the sensitivity of the microphone. Adjust the gain to ensure that your voice is neither too soft nor distorted. You can test different gain levels by recording a sample and listening back to find the optimal setting that captures your voice at an ideal volume without clipping or distortion.
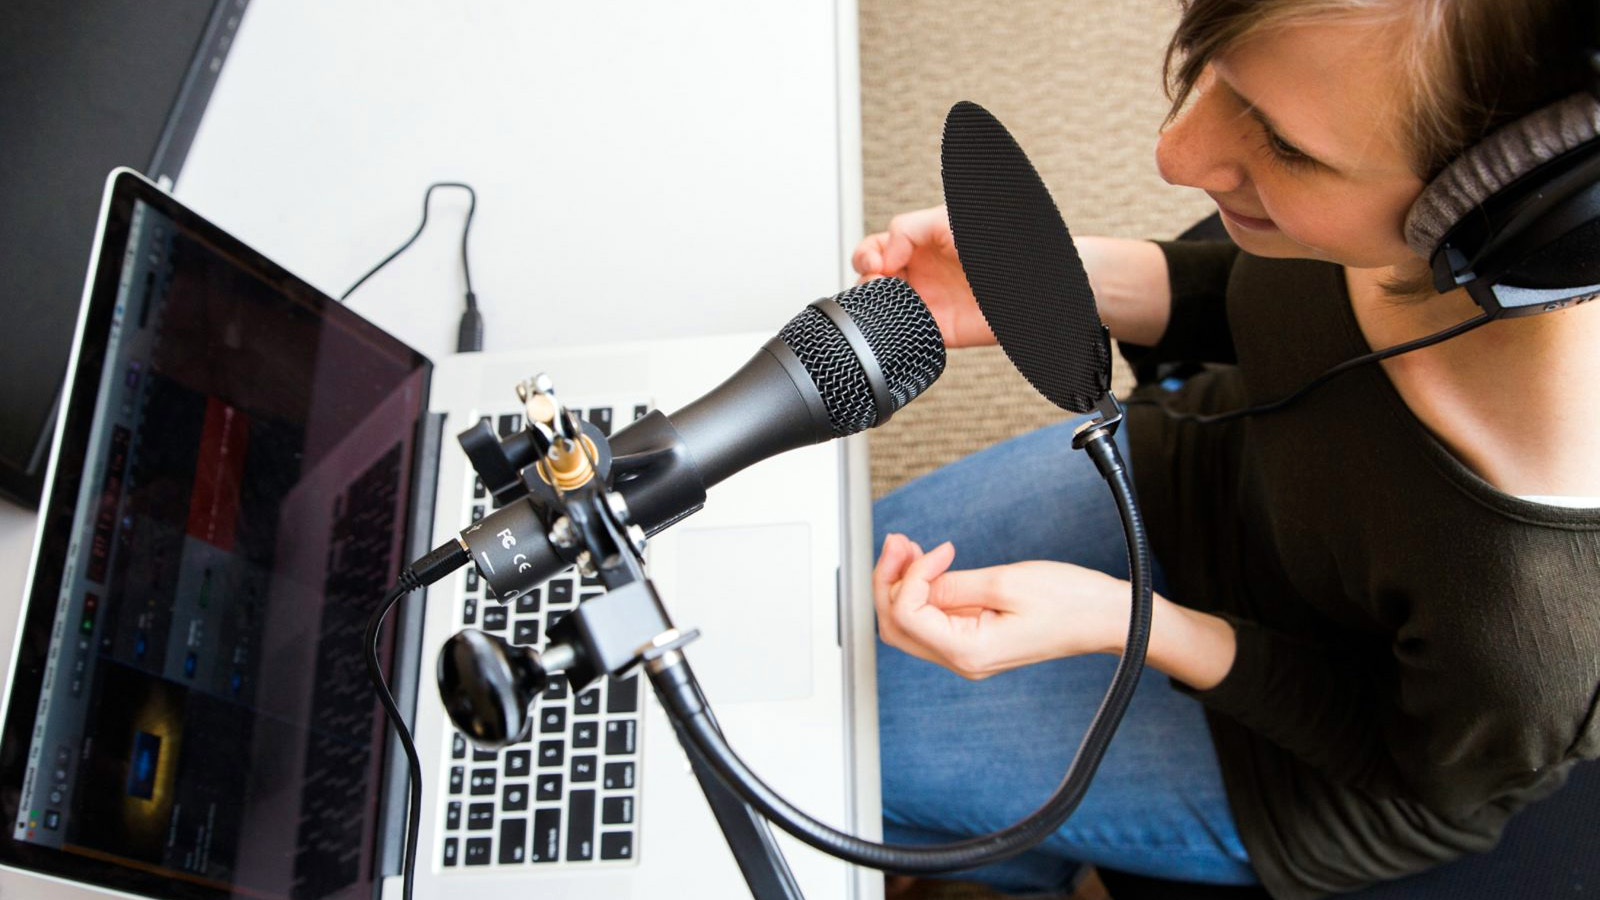
- Use a pop filter: A pop filter is a screen placed in front of the microphone to minimize plosive sounds (such as “P” and “B” sounds) that can cause unwanted distortion. Position the pop filter between your mouth and the microphone, ensuring that it is about a fist’s distance away from the microphone.
- Consider a shock mount: If you are using a microphone that is prone to picking up handling noise, such as vibrations from the table or keyboard, consider using a shock mount. This accessory helps isolate the microphone from unwanted vibrations, resulting in cleaner recordings.
- Monitor your audio: Use headphones or speakers to monitor the audio while recording. This allows you to listen for any unwanted background noise, distortion, or other issues that may affect the quality of your recording. Adjust the microphone placement or settings as needed during the monitoring process.
Remember, the microphone settings may need to be adjusted for each recording session, as factors like room acoustics, voice volume, and microphone sensitivity can vary. Taking the time to fine-tune these settings will ensure that you capture clear, well-balanced, and professional-sounding voice recordings.
Once you have adjusted the microphone settings, you are ready to start recording your voice. In the next step, we will guide you through the process of actually recording your voice and playing it back for review.
Step 4: Recording Your Voice
With your microphone settings properly adjusted, it’s time to start recording your voice. Follow these steps to ensure a smooth and successful recording session:
- Prepare your script or talking points: If you have a specific message or content you want to record, it can be helpful to prepare a script or jot down some talking points. This will ensure that you stay on track and deliver your message effectively during the recording.
- Take a deep breath and relax: Before you start recording, take a moment to center yourself and relax. This will help reduce any nervousness or tension in your voice, resulting in a more natural and confident recording.
- Press record: Depending on the recording device you’re using, you may need to press a physical button or tap a virtual recording button on your smartphone or computer. Make sure to confirm that the recording has started before you begin speaking.
- Speak clearly and at a steady pace: When recording, enunciate your words clearly to ensure clarity in your voice. Avoid speaking too fast or too slow, and maintain a consistent pace throughout your recording.
- Avoid background noise: Be mindful of any background noise that may interfere with the recording. Minimize distractions and ensure that the recording environment remains quiet during the session.
- Monitor your audio levels: Keep an eye on the audio levels while recording to prevent clipping or distortion. Make adjustments to your microphone settings as needed to maintain optimal audio quality.
- Pause and re-record if necessary: If you make a mistake or stumble during your recording, don’t worry! Simply pause, take a breath, and continue from where you left off. You can edit out any errors or unwanted segments later during the editing process.
- Finish recording and save your file: Once you have completed your recording, stop the recording and save the file. Follow the prompts on your recording device or software to ensure that your voice recording is safely stored for future playback and editing.
Remember, practice makes perfect when it comes to recording your voice. Don’t be discouraged if your first few recordings don’t sound exactly as you envisioned. With time and experience, you’ll become more comfortable and confident in capturing your voice.
Now that you have successfully recorded your voice, let’s move on to the next step: playing back and reviewing your recording to evaluate and improve your performance.
Step 5: Playback and Reviewing Your Recording
After recording your voice, it’s important to play back and review your recording to evaluate your performance and make any necessary improvements. Follow these steps to effectively review and analyze your voice recording:
- Find a quiet space: Choose a quiet and distraction-free environment to listen to your recording. Minimize any outside noise that may interfere with your ability to hear the recording clearly.
- Use quality headphones or speakers: Listen to your recording using high-quality headphones or speakers to ensure accurate playback. This will help you catch any subtle nuances, audio artifacts, or background noise that may need attention during the editing process.
- Critique your performance: Pay attention to the clarity, tone, and delivery of your voice. Evaluate whether you achieved the desired level of expression, articulation, and emotion. Take note of any areas that need improvement, such as pronunciation, pacing, or volume consistency.
- Note any technical issues: Listen for any technical issues that might impact the overall quality of the recording. This includes background noise, distorted audio, pops or clicks, or any other unwanted artifacts. Make a note of these technical issues so you can address them during the editing phase.
- Take constructive feedback: If possible, have someone you trust listen to your recording and provide feedback. Their fresh perspective can help identify areas for improvement and provide valuable insights you may have missed.
- Make necessary edits: Based on your review and feedback, make any necessary edits to your voice recording. This may include removing mistakes, adjusting audio levels, or reducing background noise using audio editing software.
- Re-record if needed: If you are not satisfied with the overall quality or performance of your recording, consider re-recording certain sections or the entire script to achieve the desired outcome. This allows you to refine your delivery and capture a better recording.
As you review and playback your recordings, don’t be too hard on yourself. Keep in mind that the goal is improvement, and each recording session is an opportunity to learn and grow. With practice and self-reflection, you’ll develop the skills and confidence needed to create exceptional voice recordings.
Now that you’ve listened to your recording, assessed your performance, and made any necessary edits, it’s time to move on to the next step: editing and enhancing your voice recording to refine the overall quality and impact.
Step 6: Editing and Enhancing Your Voice Recording
Editing and enhancing your voice recording is the final step in the process, allowing you to refine the overall quality and impact of your audio. Follow these steps to effectively edit and enhance your voice recording:
- Choose the right editing software: Select a reliable audio editing software that suits your needs and skill level. Popular options include Audacity (free), Adobe Audition, GarageBand (for Mac users), or Reaper. Familiarize yourself with the software’s features and interface to make the most out of the editing process.
- Trim and arrange your recording: Use the editing software to trim any unwanted sections, such as pauses, mistakes, or background noise. Arrange the remaining segments in a logical order to create a seamless flow in your recording.
- Enhance audio quality: Apply noise reduction techniques or filters to reduce background noise and improve the overall clarity of your voice recording. Use equalization (EQ) to adjust frequencies and balance the tonal qualities of your voice. Experiment with compression and limiting to control volume dynamics and ensure a consistent level throughout the recording.
- Add effects sparingly: If desired, you can add subtle effects to enhance your voice recording. This may include reverb or echo to create a sense of space or ambiance. However, be cautious not to overdo it, as excessive effects can detract from the natural sound of your voice.
- Smooth transitions: Use crossfades or fades to create smooth transitions between different parts of your voice recording. This helps eliminate clicks or abrupt changes in volume that may occur when combining multiple recordings or segments.
- Apply editing techniques: Explore editing techniques such as removing breaths, correcting pitch or timing issues, or adjusting the stereo image if your recording is in stereo. These techniques can polish your recording and create a more professional result.
- Normalize the volume: Normalize the volume of your recording to ensure a consistent and optimal level. This will prevent any sudden jumps or drops in volume that can be distracting to the listener.
- Save and export your edited recording: Once you are satisfied with the edits and enhancements made to your voice recording, save the project file and export the final version in the desired audio format (such as WAV, MP3, or AAC). Choose appropriate settings to ensure compatibility and optimal file size.
Remember, editing and enhancing your voice recording allows you to refine the overall quality and presentation of your audio. It’s essential to strike a balance between cleaning up any imperfections and preserving the natural character and authenticity of your voice.
After completing the editing process, take a moment to listen to the final version of your voice recording. Celebrate your accomplishment and let your voice shine through in the captivating and perfectly polished audio.
With these steps, you now have the knowledge and tools to record, playback, and enhance your voice recordings. Whether you’re using your voice for professional projects or personal expression, the ability to effectively capture and manipulate your voice is a valuable skill to have.
So, go forth, unleash your vocal talents, and create amazing voice recordings that leave a lasting impression!
Conclusion
Recording and playing back your voice is an exciting process that allows you to capture your thoughts, express your creativity, and communicate with others in a powerful way. By following the steps outlined in this article, you can achieve high-quality voice recordings that showcase your voice in the best possible light.
Choosing the right recording device, setting up a suitable environment, adjusting microphone settings, and capturing your voice with clarity are all important aspects of the recording process. Through playback and review, you can evaluate your performance, make necessary edits, and enhance the overall quality of your voice recordings.
Remember, practice and self-reflection are key to honing your voice recording skills. Each recording session is an opportunity to improve and refine your techniques. As you continue to explore the world of voice recording, you may discover new creative possibilities and unlock the full potential of your voice.
Whether you’re a podcaster, musician, voice actor, or simply enjoy recording your voice for personal purposes, the ability to capture, playback, and enhance your voice is a valuable tool. It allows you to connect with your audience, share your message, and leave a lasting impact.
So, go ahead and embark on your voice recording journey. Embrace the process, experiment with different techniques, and enjoy the rewarding experience of capturing your voice in its truest form.
Now, armed with the knowledge and techniques provided in this comprehensive guide, it’s time to unleash your voice and create captivating voice recordings that resonate with your audience.