Home>Instruments>Synthesizer>How To Wire A Digital Piano Synthesizer And Drum Machine With MIDI
Synthesizer
How To Wire A Digital Piano Synthesizer And Drum Machine With MIDI
Modified: February 22, 2024
Learn how to wire a digital piano, synthesizer, and drum machine with MIDI. Get step-by-step instructions for connecting your synthesizer and creating seamless music compositions.
(Many of the links in this article redirect to a specific reviewed product. Your purchase of these products through affiliate links helps to generate commission for AudioLover.com, at no extra cost. Learn more)
Table of Contents
Introduction
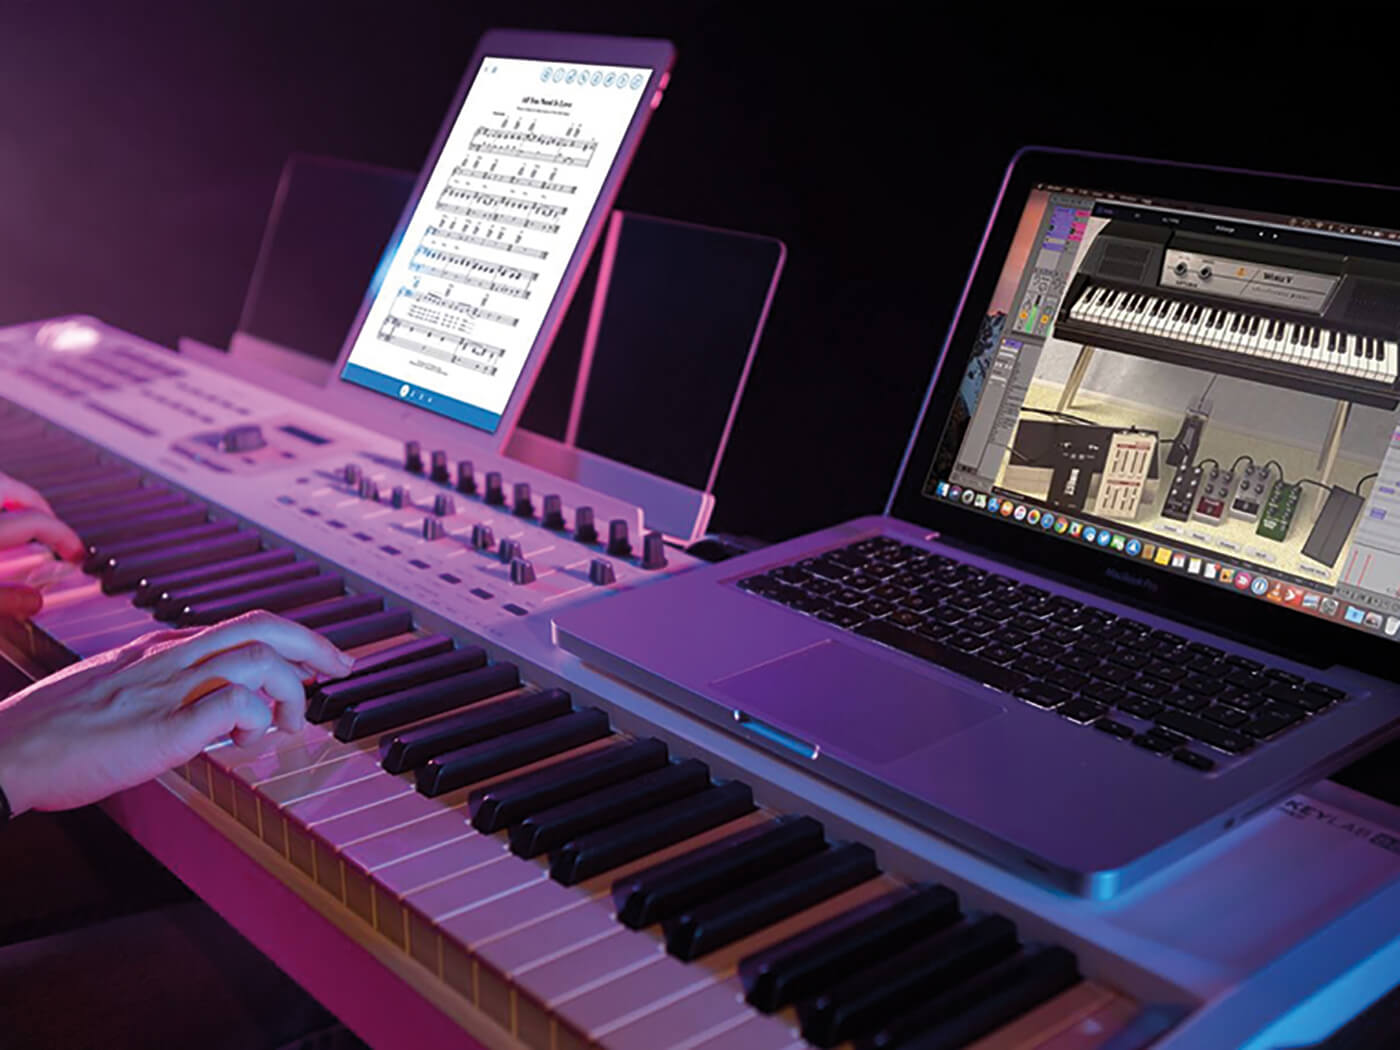
Welcome to the world of synthesizers and digital pianos! If you’re a music enthusiast or a professional musician, you’ve probably come across the term MIDI. MIDI, which stands for Musical Instrument Digital Interface, is a powerful technology that allows different musical instruments and devices to communicate with each other.
In this article, we will guide you through the process of wiring a digital piano, synthesizer, and drum machine using MIDI. Whether you’re a beginner or an experienced musician, understanding how to connect these devices correctly will open up a whole new world of musical possibilities.
Before we delve into the technicalities, let’s briefly explain what MIDI is. MIDI is a language that enables electronic musical instruments to transmit and receive signals, allowing them to synchronize and control one another. This means you can connect a digital piano, a synthesizer, and a drum machine together and control them simultaneously, creating complex musical arrangements in real-time.
Now that we have a basic understanding of MIDI, let’s move on to the next section, where we will discuss the cables you’ll need to make your setup work seamlessly.
Understanding MIDI
MIDI is a universal language in the world of electronic music. It allows for the exchange of musical information between devices and instruments, regardless of their brand or model. MIDI signals are not audio signals but rather a series of digital messages that carry data such as note values, velocities, and control changes.
One of the key advantages of MIDI is its versatility. With just a single MIDI cable, you can connect multiple devices and control them simultaneously. You can use a MIDI keyboard to trigger sounds from a synthesizer, control effects and parameters, or even sync up drum machines to create intricate beats.
MIDI operates on a “master-slave” principle, where one device acts as the master and sends instructions to the other devices, known as slaves. The master device can transmit various types of messages, including note on/off messages, control change messages, program change messages, and more.
It’s important to note that MIDI does not transmit audio signals. Instead, it transmits digital data, allowing devices to interpret and generate the corresponding audio. This means that you’ll still need audio cables to connect the output of your devices to a mixer, audio interface, or speakers.
Another crucial aspect of MIDI is the concept of channels. MIDI channels allow you to separate and control different devices or sections of a device individually. For example, if you have multiple synthesizers connected via MIDI, you can assign each synthesizer to a separate channel, allowing you to control them independently.
Now that we have a better understanding of how MIDI works, let’s move on to the next section, where we will discuss the cables you’ll need to set up your MIDI connections.
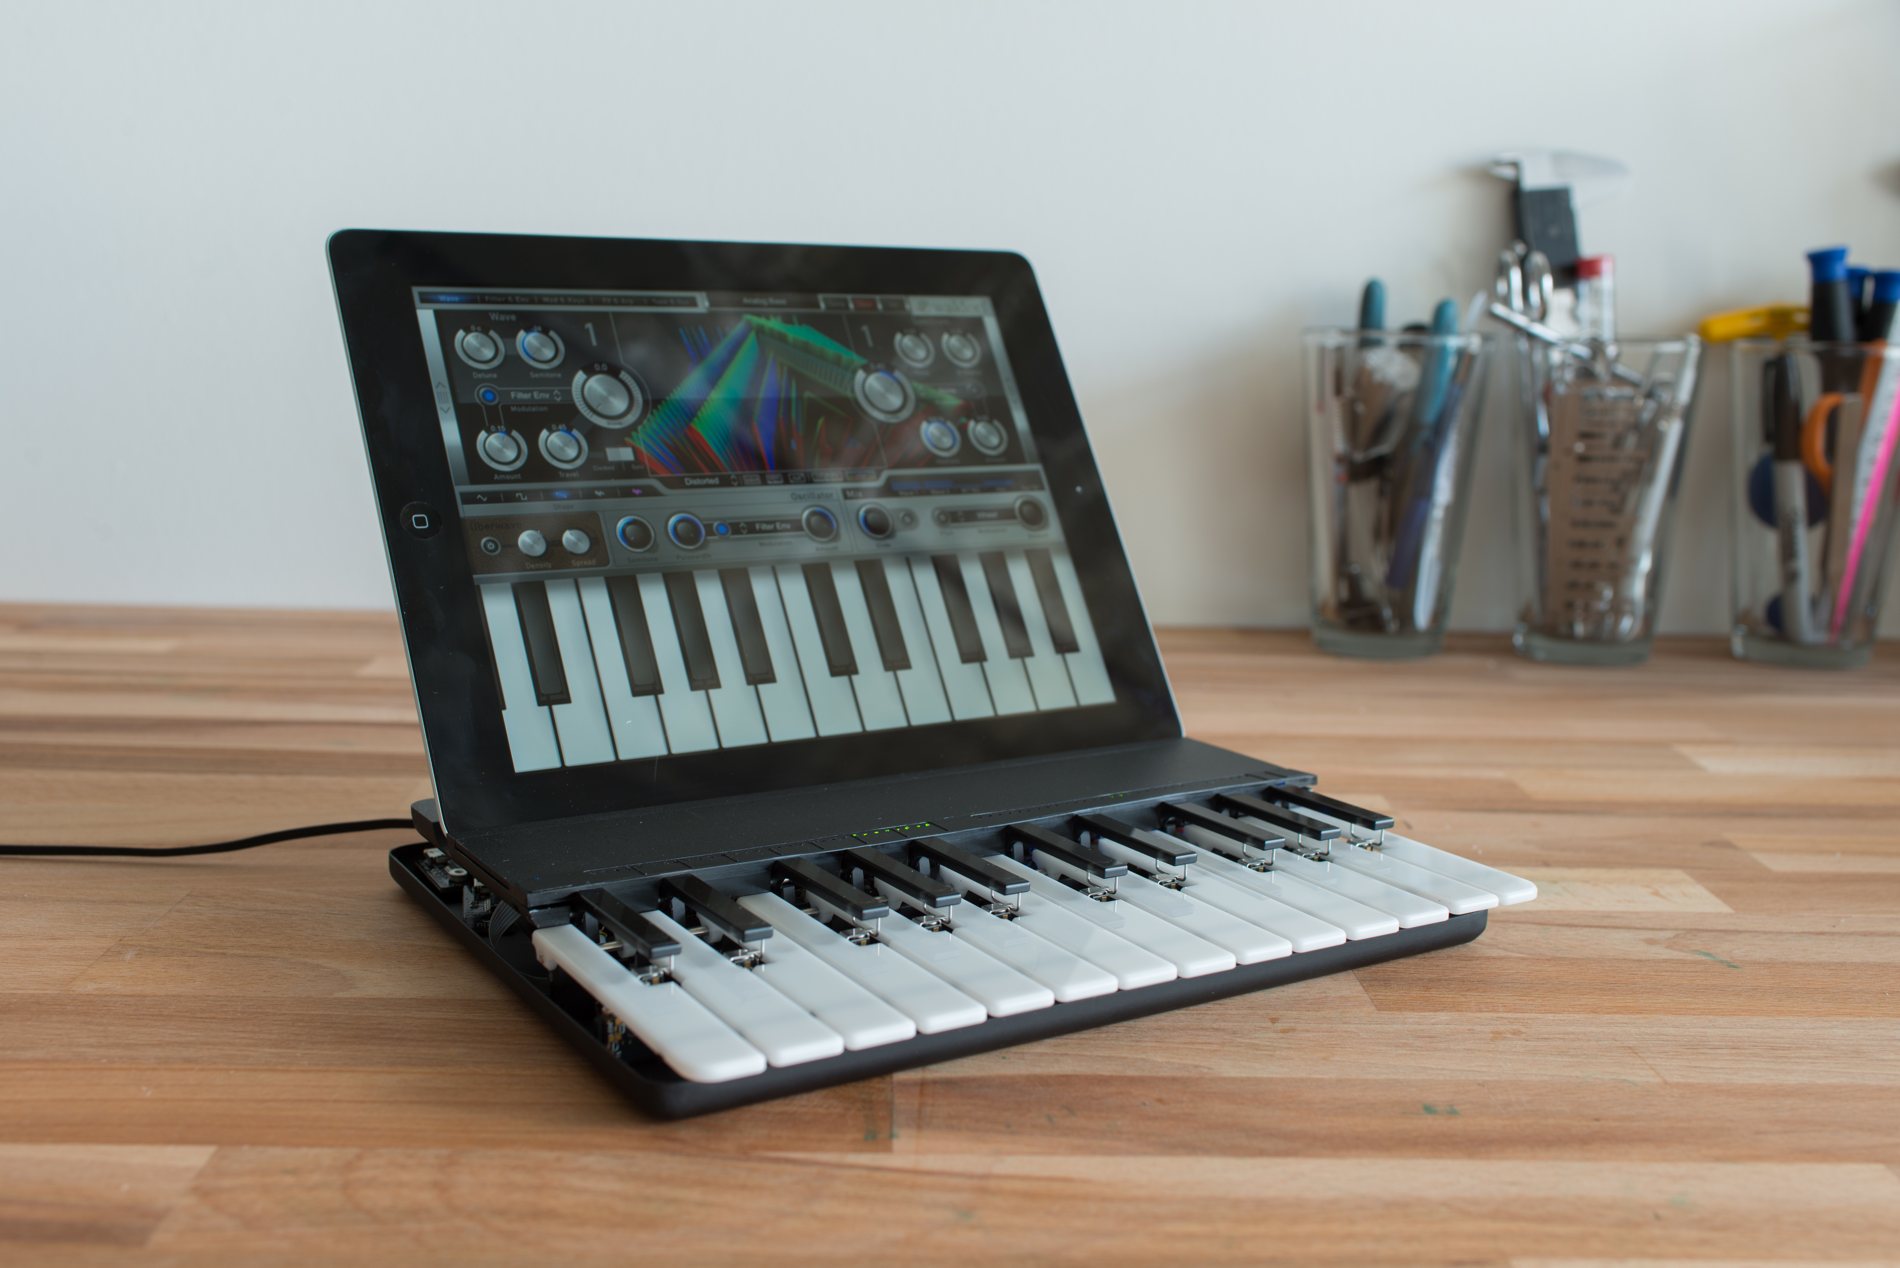
Choosing the Right Cables
When it comes to setting up your MIDI connections, having the right cables is crucial. The most common type of cable used for MIDI connections is the MIDI cable, which features a round, five-pin DIN connector on each end. These cables are specifically designed for transmitting MIDI data and are widely available.
When choosing MIDI cables, it’s essential to ensure that they are of good quality. Poorly made cables can cause signal loss, interference, and unreliable connections, which can result in glitches or dropped notes during performances. Look for sturdy cables with well-insulated connectors to minimize the risk of signal degradation.
It’s worth noting that MIDI cables have a limited transmission range, typically around 50 feet (15 meters). If you need to connect devices that are farther apart, you may need to use MIDI extenders or USB-MIDI converters.
In addition to MIDI cables, you may also need audio cables to connect the output of your devices to a mixer, audio interface, or speakers. The type of audio cable you’ll need depends on the audio outputs of your devices. Common audio cable options include 1/4-inch TRS cables (balanced or unbalanced), RCA cables, and XLR cables.
When choosing audio cables, consider the quality of the connectors, the cable shielding, and the length of the cables. Higher-quality cables with better shielding can help reduce interference and improve audio quality. Additionally, be sure to choose cables of the appropriate length for your setup to minimize cable clutter and signal loss.
Now that you have a better understanding of the cables required for your MIDI setup, let’s move on to the next section, where we will explain how to connect your digital piano to the MIDI interface.
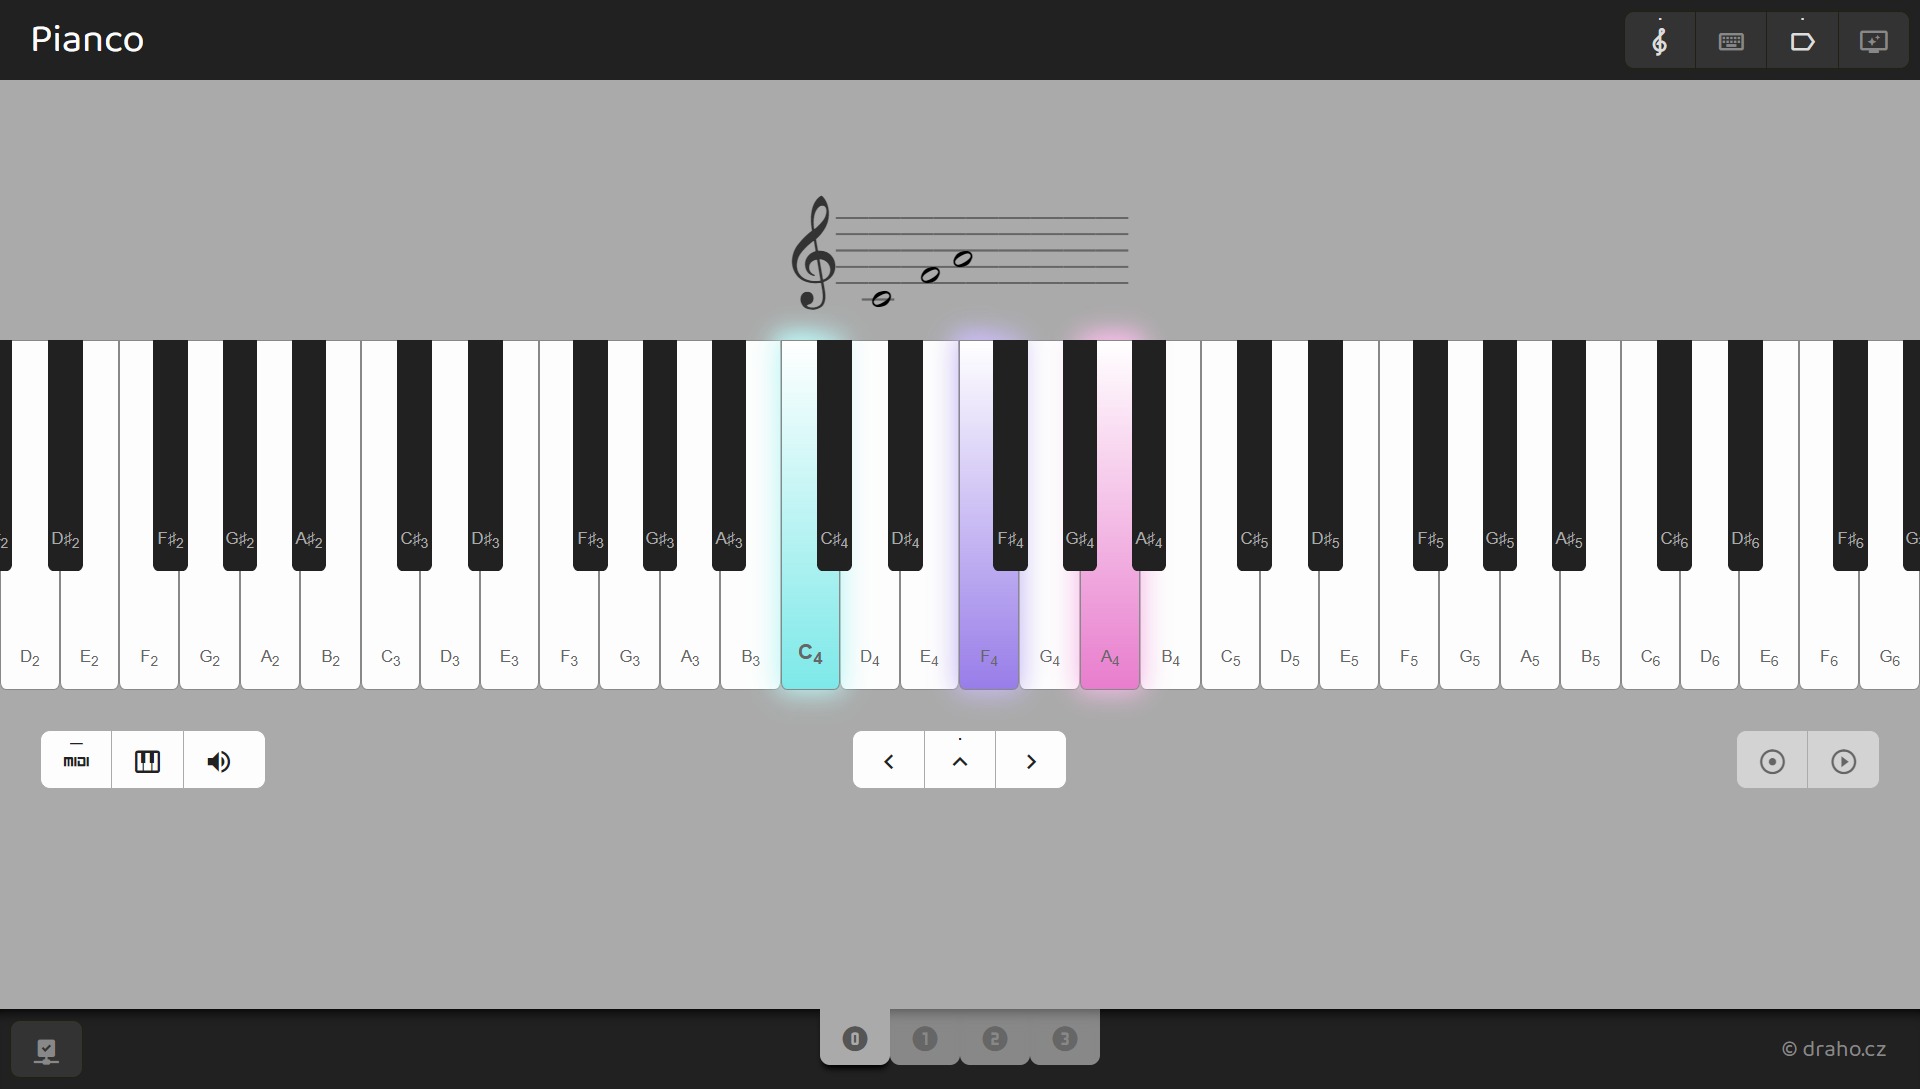
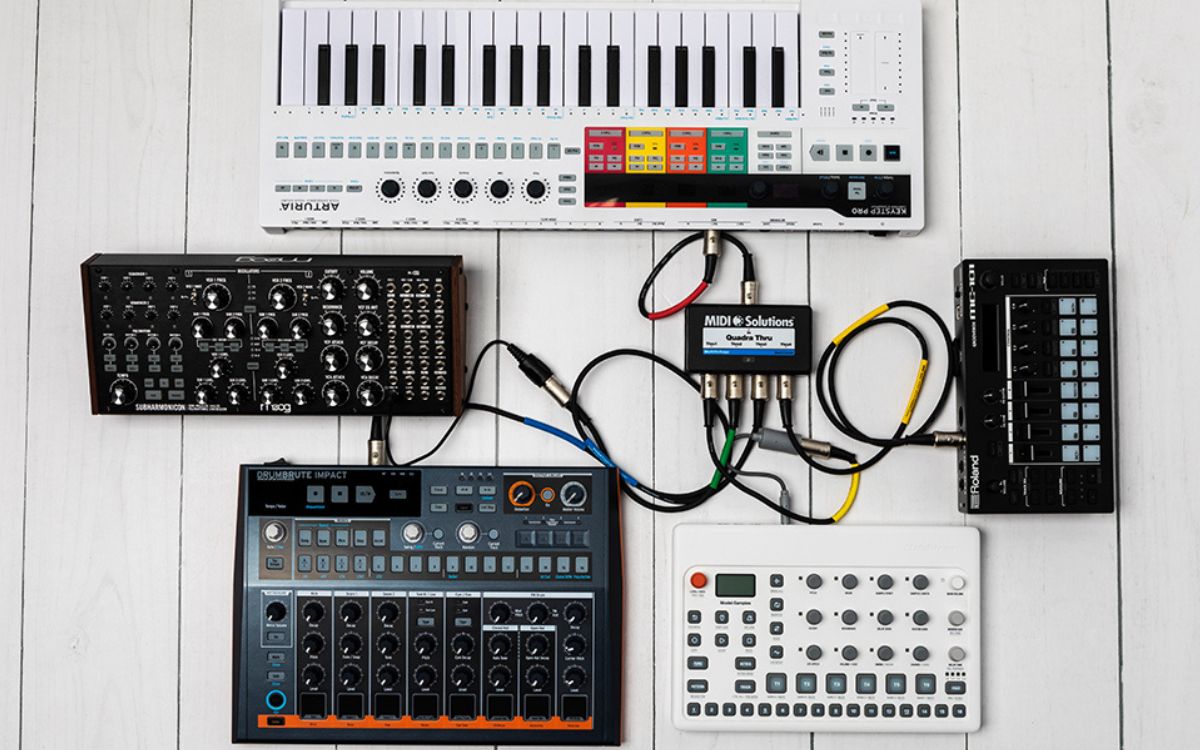
Connecting the Digital Piano to the MIDI Interface
Connecting your digital piano to a MIDI interface is a straightforward process. The MIDI interface acts as the bridge between your digital piano and other MIDI devices, allowing them to communicate and exchange MIDI data. Here are the steps to connect your digital piano to the MIDI interface:
- Locate the MIDI out port on your digital piano. This is usually labeled as “MIDI Out” or “MIDI Output” and may be found on the back or side of the instrument.
- Take one end of the MIDI cable and insert the DIN connector into the MIDI out port of your digital piano. Make sure it fits securely and is connected firmly.
- Connect the other end of the MIDI cable to the MIDI input port of your MIDI interface. The MIDI input port may be labeled “MIDI In” or “MIDI Input”.
- Once the digital piano and MIDI interface are connected via MIDI cable, you need to connect the MIDI interface to your computer or other MIDI devices using the appropriate cables or connectors.
- If you’re connecting to a computer, you can use a USB-MIDI interface. These interfaces typically have MIDI input and output ports on one end and a USB connector on the other end. Plug the USB connector into an available USB port on your computer.
- Alternatively, if you’re connecting to another MIDI device, you can use additional MIDI cables to establish the connection. Simply connect the MIDI output port of your MIDI interface to the MIDI input port of the desired device(s).
Once the connections are made, ensure that your digital piano is powered on and that you have the necessary drivers installed on your computer, if required. The MIDI interface should be recognized by your computer or other MIDI devices, allowing for seamless communication between your digital piano and the connected devices.
It’s important to note that every digital piano may have slight variations in its MIDI connectivity options. Therefore, always refer to the user manual of your specific instrument for detailed instructions on making the MIDI connections.
With your digital piano successfully connected to the MIDI interface, you’re now ready to move on to connecting the synthesizer to the MIDI interface. We’ll cover that in the next section.
Connecting the Synthesizer to the MIDI Interface
Connecting your synthesizer to the MIDI interface is similar to connecting a digital piano. The MIDI interface allows your synthesizer to communicate with other MIDI devices and enables you to control and synchronize them. Here’s how you can connect your synthesizer to the MIDI interface:
- Locate the MIDI out port on your synthesizer. This is typically labeled as “MIDI Out” or “MIDI Output” and can usually be found on the back or side of the synthesizer.
- Take one end of a MIDI cable and insert the DIN connector into the MIDI out port of your synthesizer. Ensure that the connection is secure.
- Connect the other end of the MIDI cable to the MIDI input port of your MIDI interface. The MIDI input port is usually labeled as “MIDI In” or “MIDI Input”.
- If you’re connecting the MIDI interface to a computer, use a USB-MIDI interface. Connect the MIDI interface’s USB connector to an available USB port on your computer.
- If you’re connecting the MIDI interface to another MIDI device, use additional MIDI cables to establish the connection. Connect the MIDI output port of the MIDI interface to the MIDI input port of the desired device(s).
Once the connections are made, ensure that your synthesizer is powered on and that the necessary drivers (if any) are installed on your computer. The MIDI interface should be recognized by your computer or other MIDI devices, facilitating seamless communication between your synthesizer and the connected devices.
It’s crucial to consult the user manual of your synthesizer for specific instructions on making the MIDI connections, as different models may have slight variations in their MIDI connectivity options.
With your synthesizer successfully connected to the MIDI interface, you’re now ready to move on to connecting the drum machine. We’ll cover that in the next section.
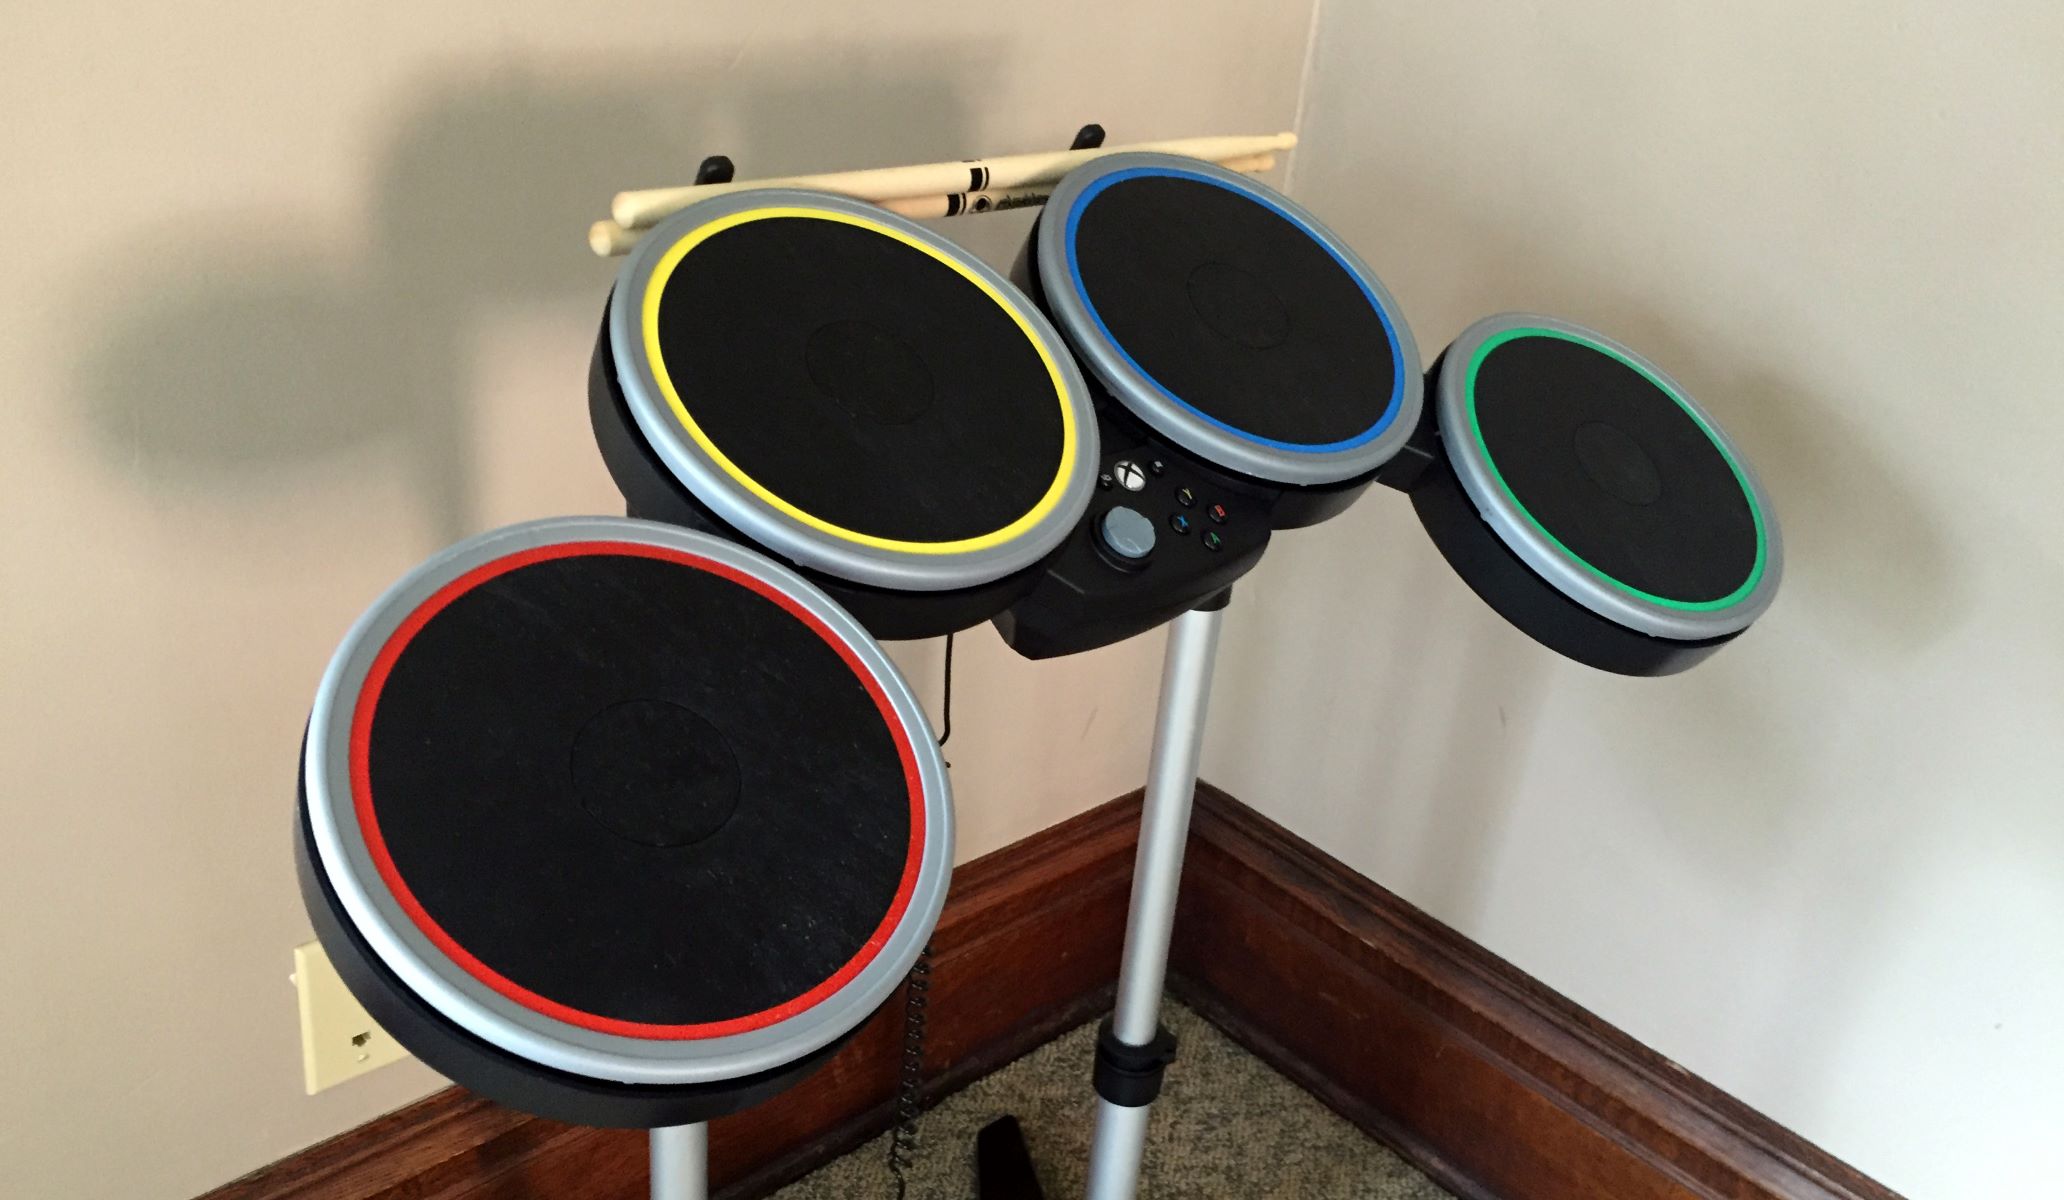
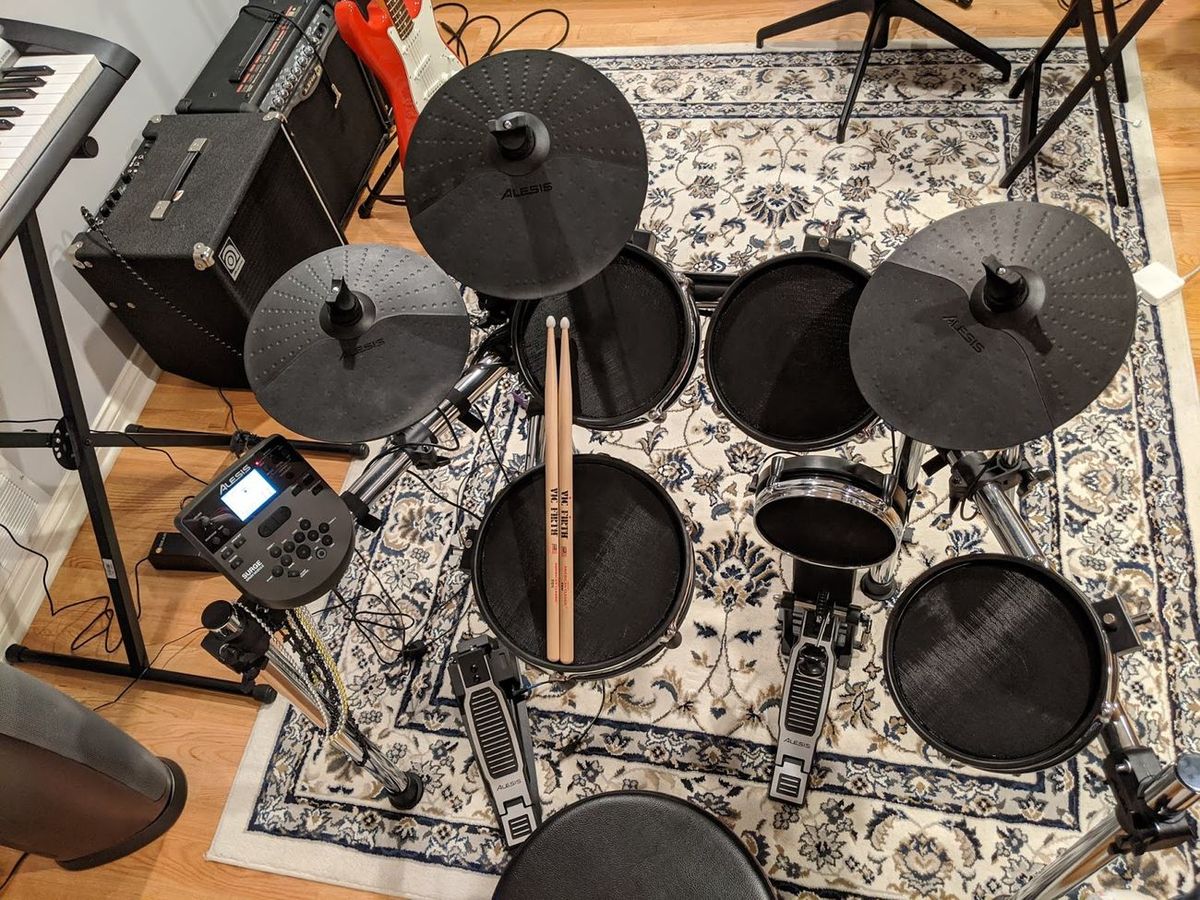
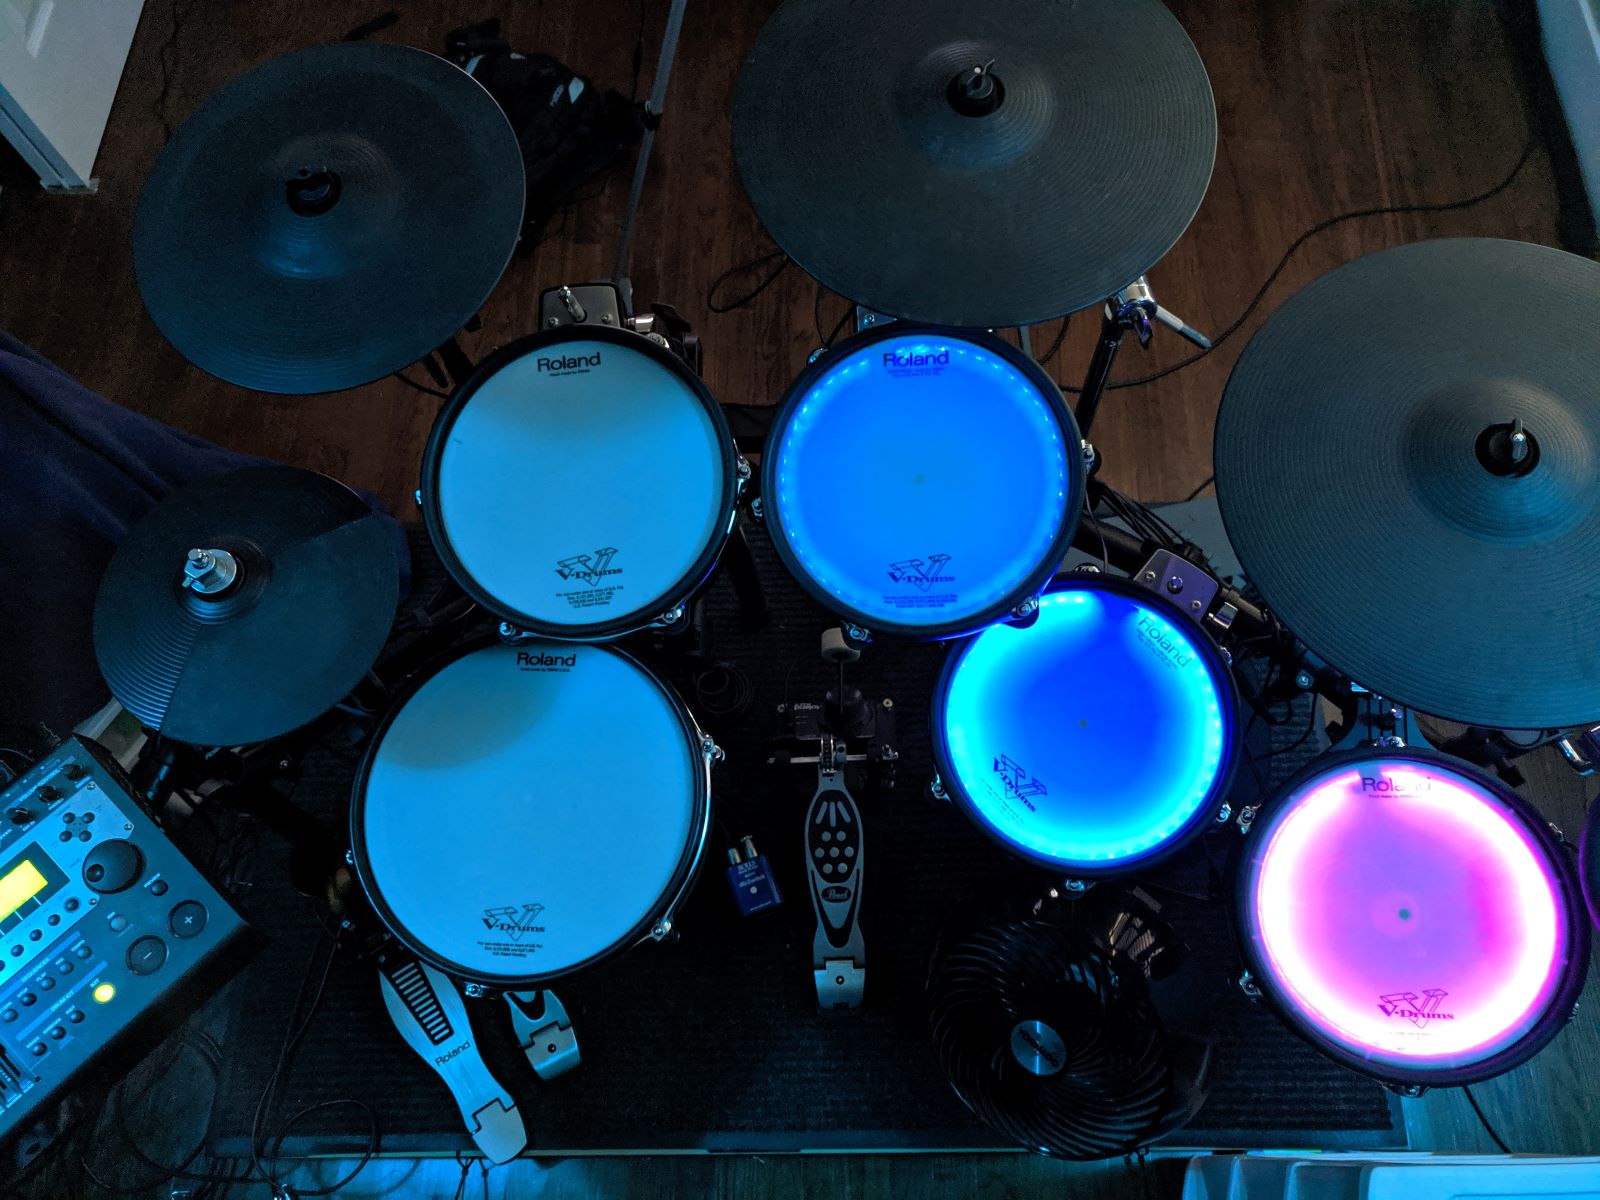
Connecting the Drum Machine to the MIDI Interface
Connecting your drum machine to the MIDI interface is just as important as connecting your digital piano and synthesizer. By doing so, you can sync the drum machine with your other MIDI devices and incorporate its percussive sounds into your musical compositions. Here’s how you can connect your drum machine to the MIDI interface:
- Locate the MIDI out port on your drum machine. This port is typically labeled as “MIDI Out” or “MIDI Output” and can be found on the back or side of the drum machine.
- Take one end of a MIDI cable and insert the DIN connector into the MIDI out port of your drum machine. Make sure the connection is secure.
- Connect the other end of the MIDI cable to the MIDI input port of your MIDI interface. The MIDI input port is usually labeled as “MIDI In” or “MIDI Input”.
- If you’re connecting the MIDI interface to a computer, use a USB-MIDI interface. Connect the MIDI interface’s USB connector to an available USB port on your computer.
- If you’re connecting the MIDI interface to another MIDI device, use additional MIDI cables to establish the connection. Connect the MIDI output port of the MIDI interface to the MIDI input port of the desired device(s).
Make sure your drum machine is powered on and that the necessary drivers (if any) are installed on your computer. The MIDI interface should be recognized by your computer or other MIDI devices, allowing for seamless communication between your drum machine and the connected devices.
As with the previous devices, it’s crucial to consult the user manual of your drum machine for specific instructions on making the MIDI connections. Each drum machine may have slight variations in its MIDI connectivity options.
Now that your drum machine is connected to the MIDI interface, you’re ready to move on to the next step – testing the connection and ensuring everything is working correctly. We’ll cover that in the next section.
Testing the Connection
Once you’ve connected all your MIDI devices – the digital piano, synthesizer, and drum machine – to the MIDI interface, it’s time to test the connection and ensure everything is working as expected. Here’s how you can test your MIDI setup:
- Power on all the devices in your MIDI setup, including the digital piano, synthesizer, drum machine, and MIDI interface.
- Launch your preferred digital audio workstation (DAW) or MIDI software on your computer, if applicable.
- Create a new MIDI track or open an existing one in your DAW or MIDI software.
- Choose the MIDI channel you want to use for each device. Remember that MIDI channels allow you to separate and control different devices or sections of a device individually.
- Play a note on your digital piano and check if you can hear the sound through your synthesizer or any connected MIDI devices. Verify that the note triggers the desired sound correctly.
- Try triggering sounds from your synthesizer by playing notes on the digital piano or sending MIDI data through your MIDI software. Ensure that the synthesizer responds accordingly.
- Experiment with different MIDI messages, such as control changes or program changes, to control various parameters on your synthesizer or other connected devices. Observe if the changes take effect as intended.
- If you have a drum machine, play patterns or beats on it and confirm that the MIDI data is transmitted and triggering the drum sounds on the connected devices.
While testing the connection, pay attention to any issues such as latency, missing or stuck notes, or incorrect sound triggering. If you encounter any problems, refer to the troubleshooting section (which we will cover later in the article) for potential solutions.
By thoroughly testing your MIDI connections and ensuring that everything is working correctly, you can confidently start using your MIDI setup to create music, record tracks, or perform live with synchronized audio from your digital piano, synthesizer, and drum machine.
Now that you’ve tested your MIDI setup, let’s move on to the next section, where we will explore common troubleshooting tips for resolving any issues that may arise.
Troubleshooting Common Issues
While setting up and using your MIDI setup, you may encounter some common issues. Understanding how to troubleshoot these problems will help ensure a smooth and glitch-free experience. Here are some troubleshooting tips for common MIDI issues:
1. No sound or MIDI data:
- Check that all cables are securely connected and properly inserted into the respective MIDI ports.
- Ensure that all devices are powered on, including the digital piano, synthesizer, drum machine, and MIDI interface.
- Verify that the MIDI channels on each device are set correctly and are consistent with the MIDI channels selected in your DAW or MIDI software.
- Check that the correct MIDI input and output devices are selected in your DAW or MIDI software preferences.
2. Latency issues:
- Reduce latency by adjusting buffer sizes and sample rates in your audio settings. Smaller buffer sizes and higher sample rates can help minimize delays in MIDI data transmission.
- Ensure that you’re using reliable drivers for your MIDI interface and other MIDI devices. Check for driver updates from the manufacturer’s website.
- If using a USB-MIDI interface, try connecting it to a different USB port on your computer. Some USB ports may provide better performance than others.
3. Dropped or stuck notes:
- Check that all cables and connectors are in good condition, as damaged cables can cause signal interruptions.
- Inspect the MIDI ports on your devices for any dirt, debris, or bent pins. Clean the ports if necessary, using compressed air or a soft brush.
- Ensure that the MIDI cables are not bent or twisted excessively, as this can interfere with the signal transfer.
4. Incorrect sound triggering:
- Double-check that the MIDI channels on each device correspond to the channels selected in your DAW or MIDI software.
- Verify that the device you want to trigger sounds from is set to the correct MIDI input channel.
- Ensure that the MIDI mapping settings in your DAW or MIDI software are correctly assigned to the desired parameters or instruments.
If you’re still experiencing issues after troubleshooting, consult the user manuals or online support resources for your specific MIDI devices. Manufacturers often have dedicated forums or support teams that can help you resolve any problems you may encounter.
By understanding and addressing common MIDI issues, you can ensure that your MIDI setup functions optimally, allowing you to fully explore your creativity and musical potential.
Now that we’ve covered troubleshooting tips, let’s move on to the final section of this guide.
Conclusion
Setting up a MIDI system with your digital piano, synthesizer, and drum machine opens up a world of possibilities for music creation and performance. Through the power of MIDI, you can connect these devices, synchronize their operations, and control them simultaneously to create complex and captivating musical arrangements.
In this article, we’ve discussed the key aspects of MIDI, including understanding the MIDI language, choosing the right cables, and connecting your digital piano, synthesizer, and drum machine to the MIDI interface. We’ve also covered the importance of testing the connection and troubleshooting common issues that may arise during the setup process.
Remember to carefully follow the user manuals of your specific devices for detailed instructions and recommendations tailored to their MIDI connectivity options. Pay attention to the quality of your cables, ensuring they are reliable and well-insulated to minimize signal loss and interference. Take the time to test your MIDI setup thoroughly and troubleshoot any issues that may arise, such as latency, dropped notes, or incorrect sound triggering.
By successfully setting up your MIDI system and overcoming any challenges, you’ll be able to unlock your creativity and explore new musical horizons. Whether you’re a beginner or an experienced musician, harnessing the power of MIDI will elevate your performances, compositions, and recordings to new heights.
Now that you have a solid understanding of how to wire a digital piano, synthesizer, and drum machine with MIDI, it’s time to embark on your musical journey. So, go ahead, explore the possibilities, and let your imagination soar!