Home>Production & Technology>Audio Interface>How To Wire A Drum Machine To An Audio Interface
Audio Interface
How To Wire A Drum Machine To An Audio Interface
Modified: February 19, 2024
Learn how to wire a drum machine to an audio interface for seamless integration of your beats and recordings. Improve your audio production today with an audio interface.
(Many of the links in this article redirect to a specific reviewed product. Your purchase of these products through affiliate links helps to generate commission for AudioLover.com, at no extra cost. Learn more)
Table of Contents
- Introduction
- Step 1: Gathering the Necessary Equipment
- Step 2: Powering and Connecting the Drum Machine
- Step 3: Setting up the Audio Interface
- Step 4: Connecting the Drum Machine to the Audio Interface
- Step 5: Configuring the Drum Machine and Audio Interface Settings
- Step 6: Testing and Troubleshooting
- Conclusion
Introduction
Connecting a drum machine to an audio interface is an essential step for musicians and producers who want to capture the right sound and create professional-quality recordings. A drum machine is a versatile piece of equipment that allows you to program and play drum patterns and beats, giving your music that extra groove and rhythm.
An audio interface, on the other hand, acts as a bridge between your drum machine and your computer or recording setup. It converts the analog signals from the drum machine into digital signals that can be processed and recorded using software on your computer.
Wiring a drum machine to an audio interface may seem like a daunting task, especially for those who are new to this process. However, with the right equipment and a little know-how, you can easily connect and integrate these two essential components to enhance your music production.
In this article, we will guide you through the process of connecting your drum machine to an audio interface, step by step. We will cover everything from gathering the necessary equipment to troubleshooting common issues that may arise during the setup process. So, let’s get started!
Step 1: Gathering the Necessary Equipment
Before you begin the process of wiring your drum machine to an audio interface, it’s important to ensure that you have all the necessary equipment. Here’s a list of items you’ll need:
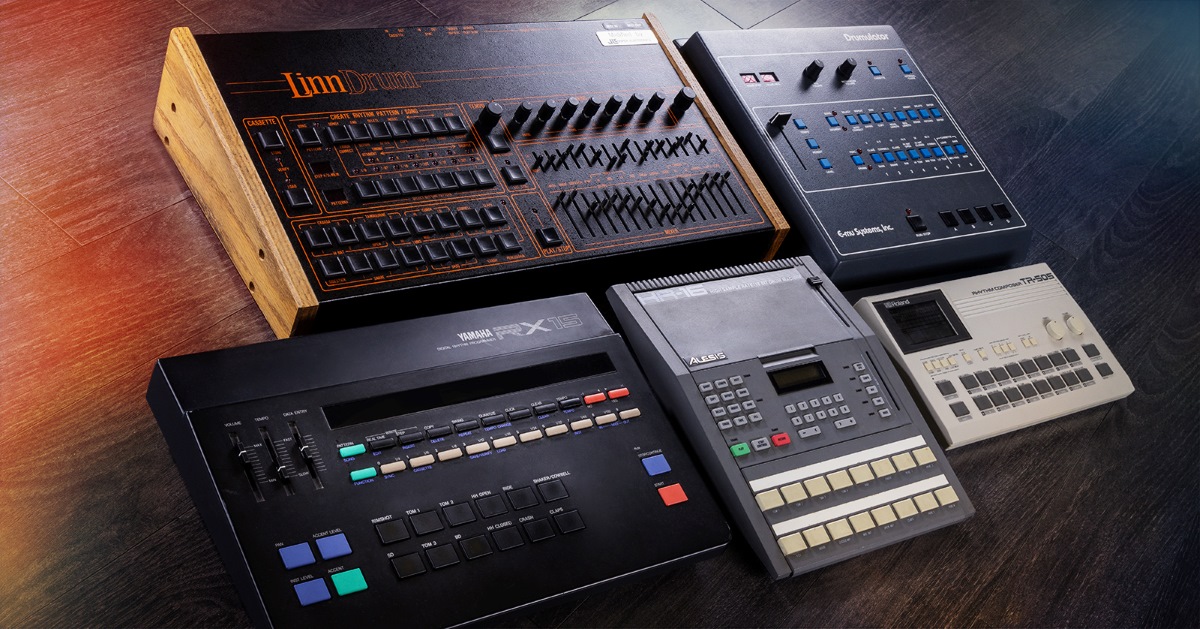
- Drum Machine: This is the heart of your drum setup. Choose a drum machine that fits your requirements and budget. Popular options include the Roland TR-8, Elektron Analog RYTM, and Korg Volca Beats.
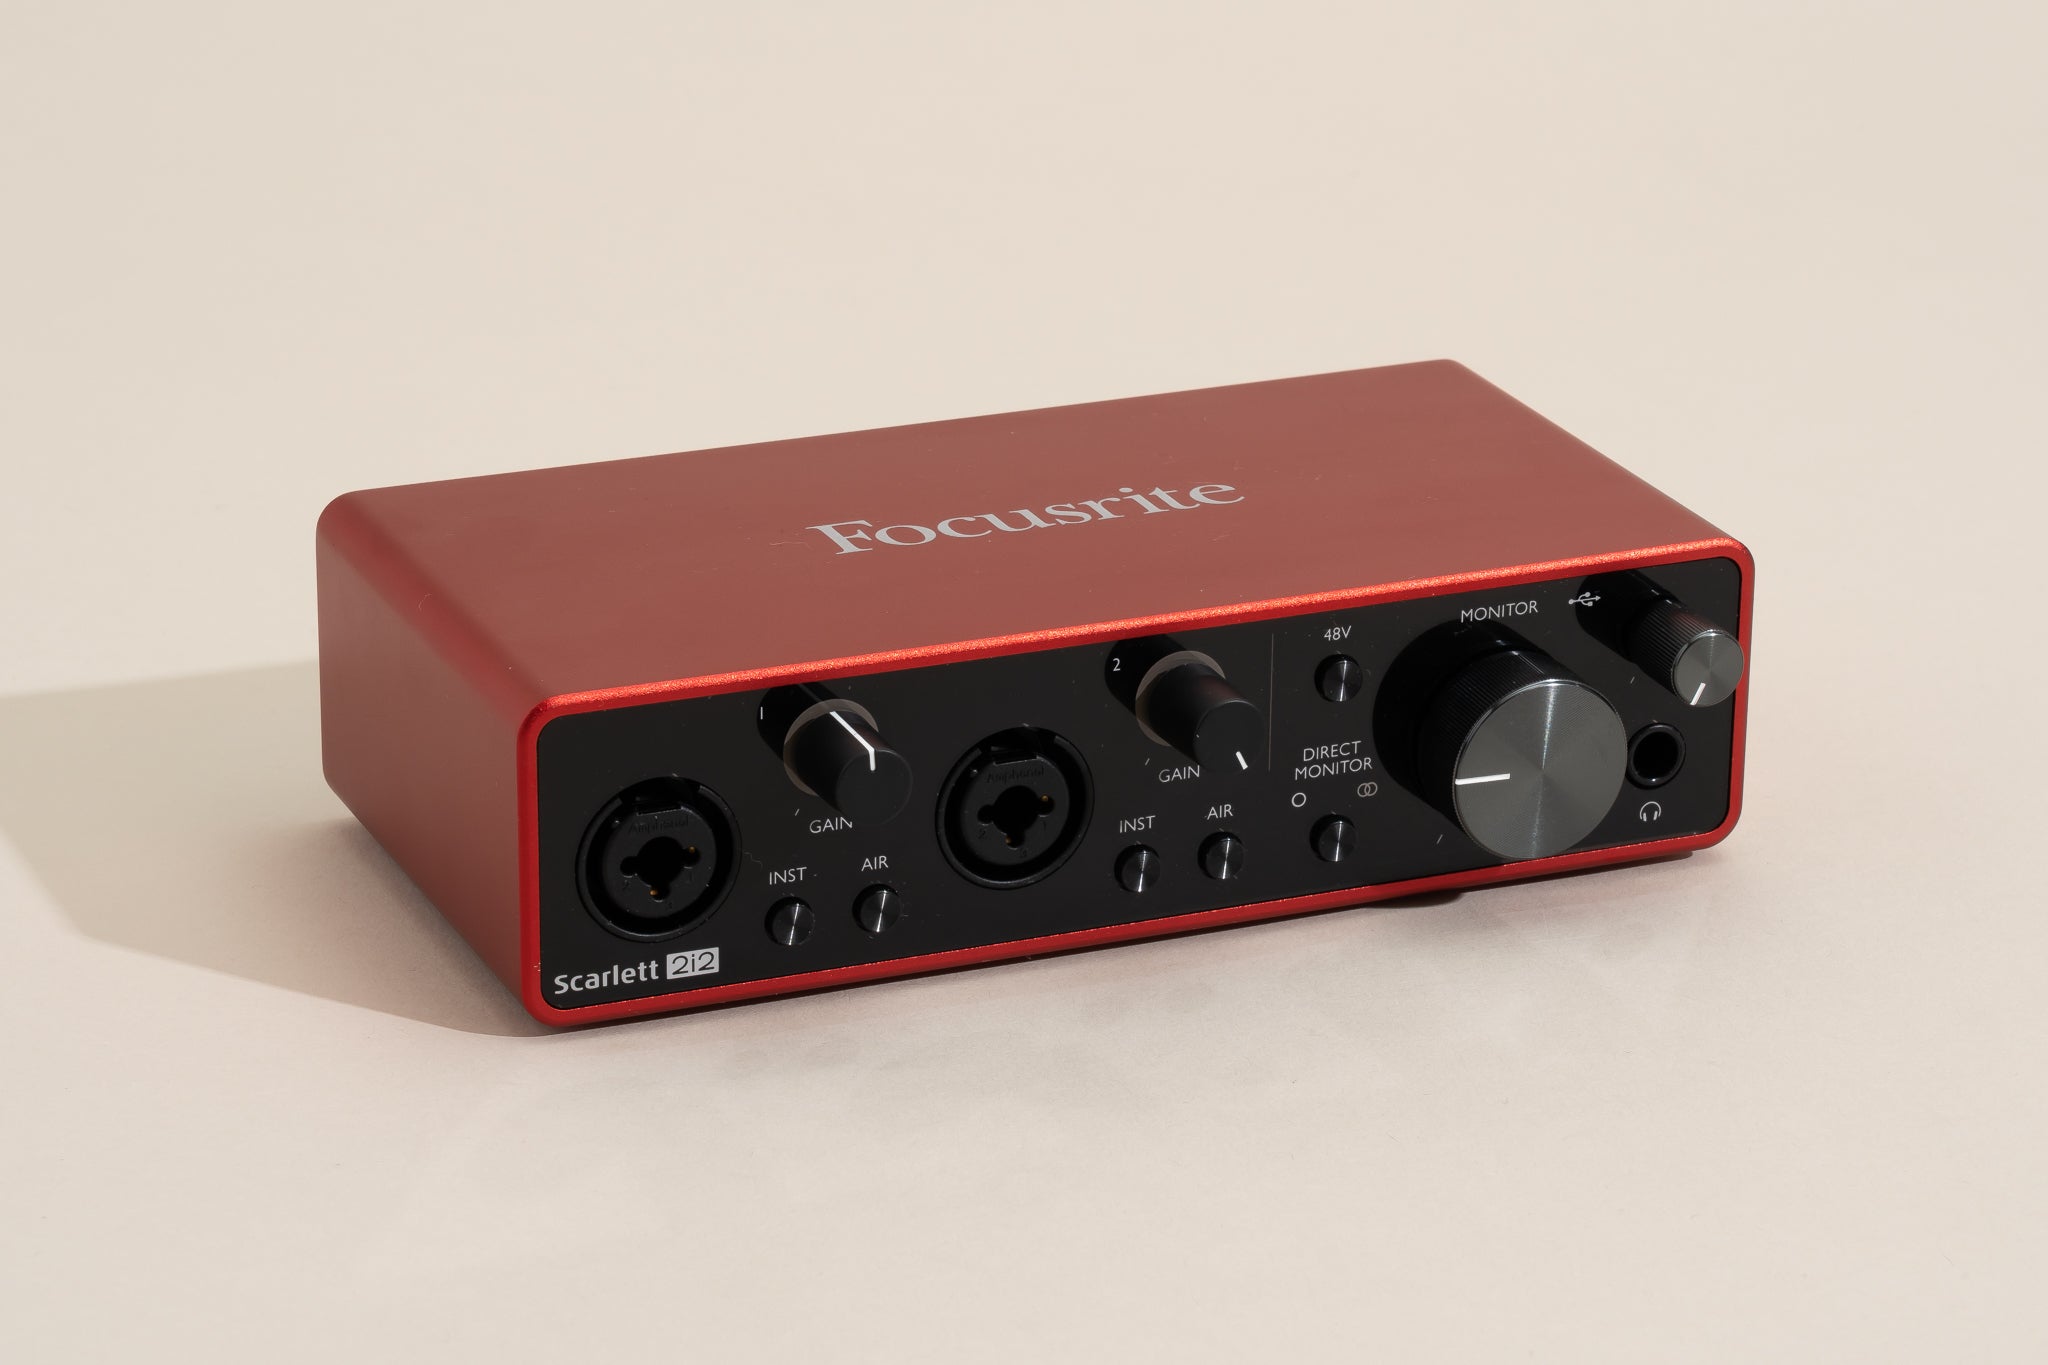
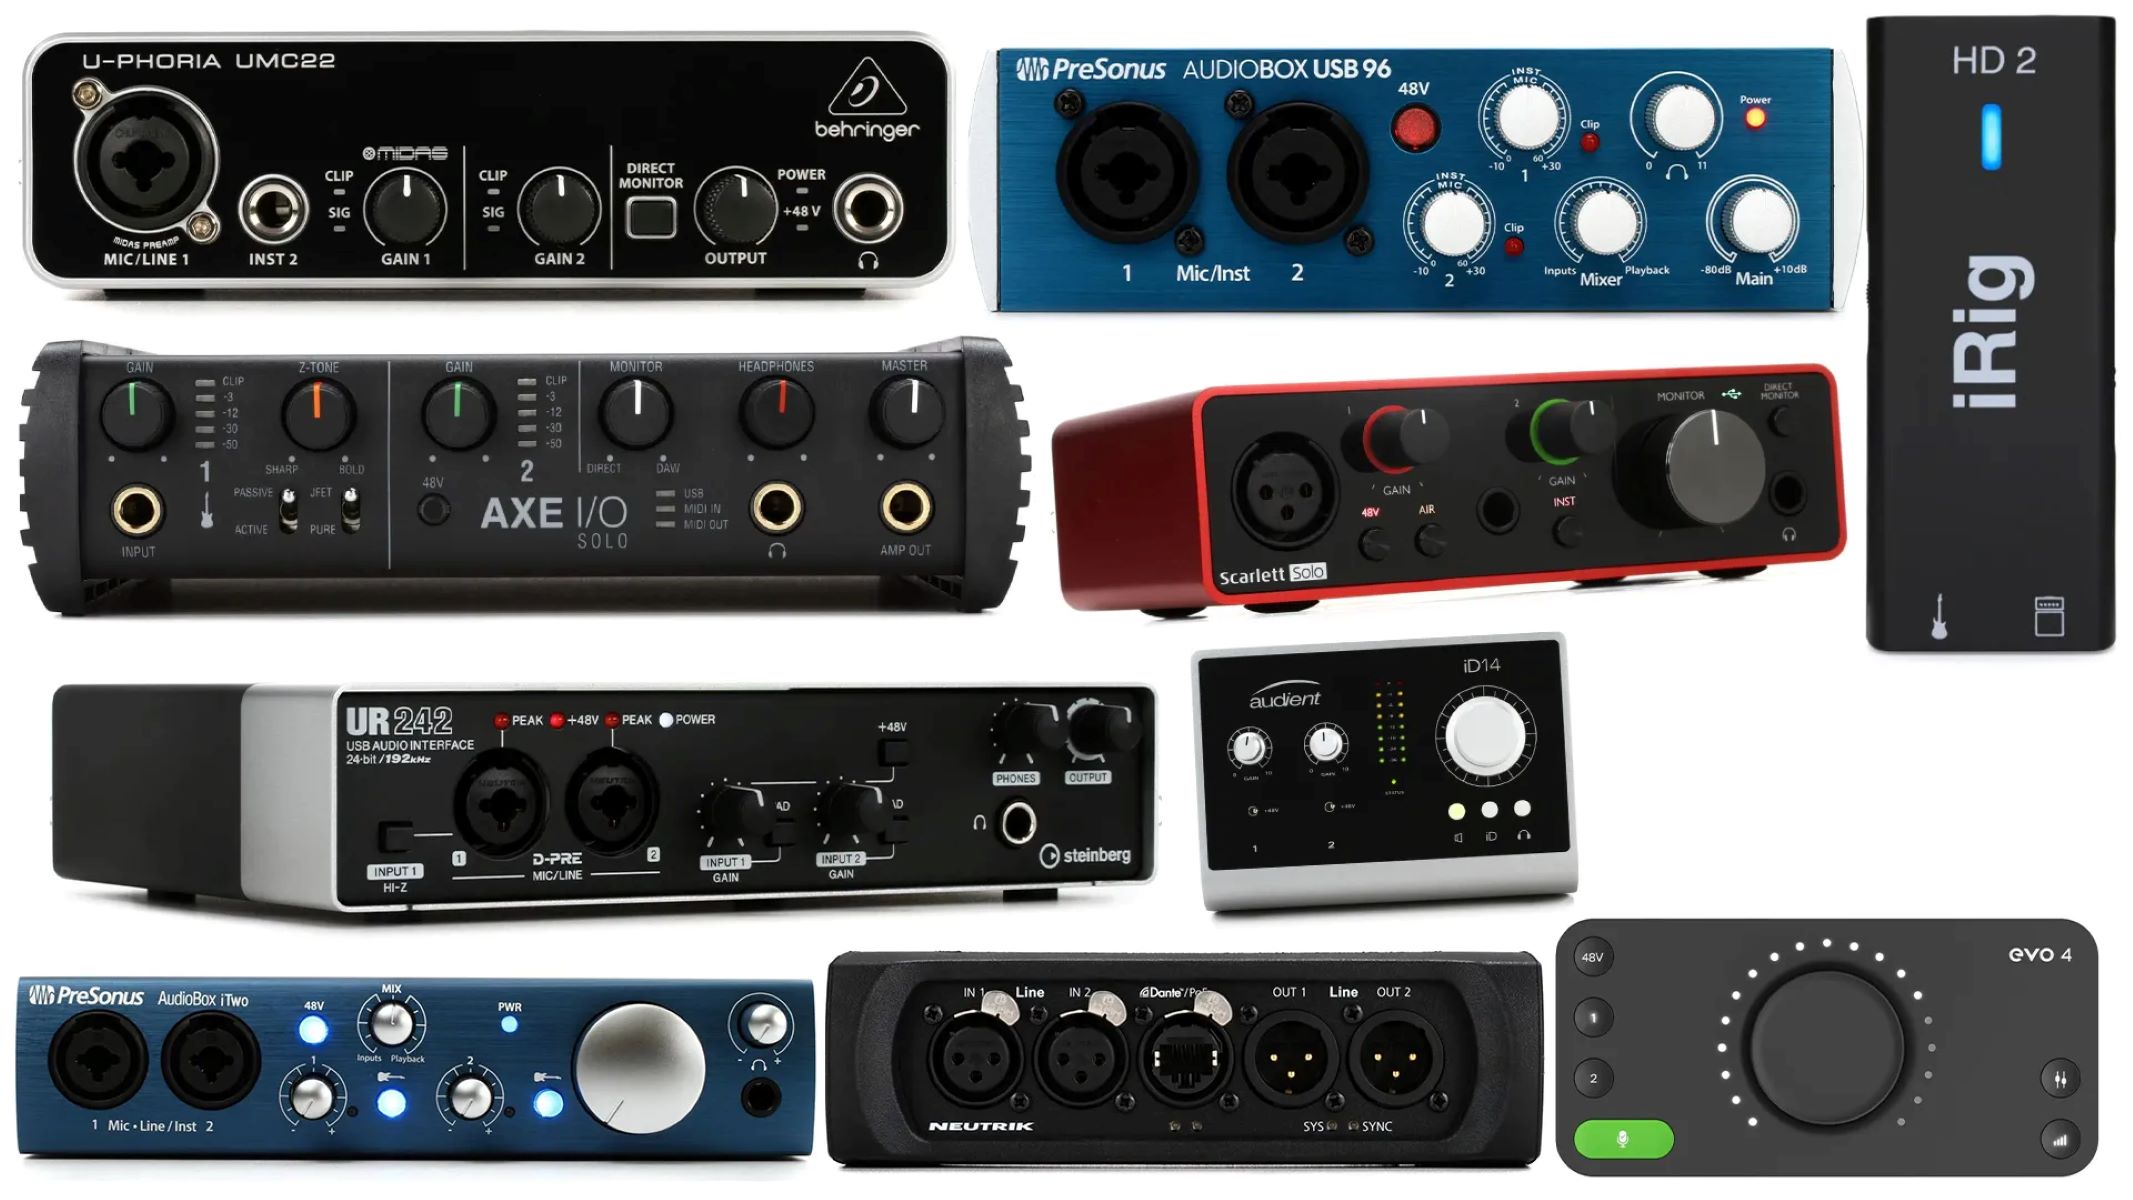
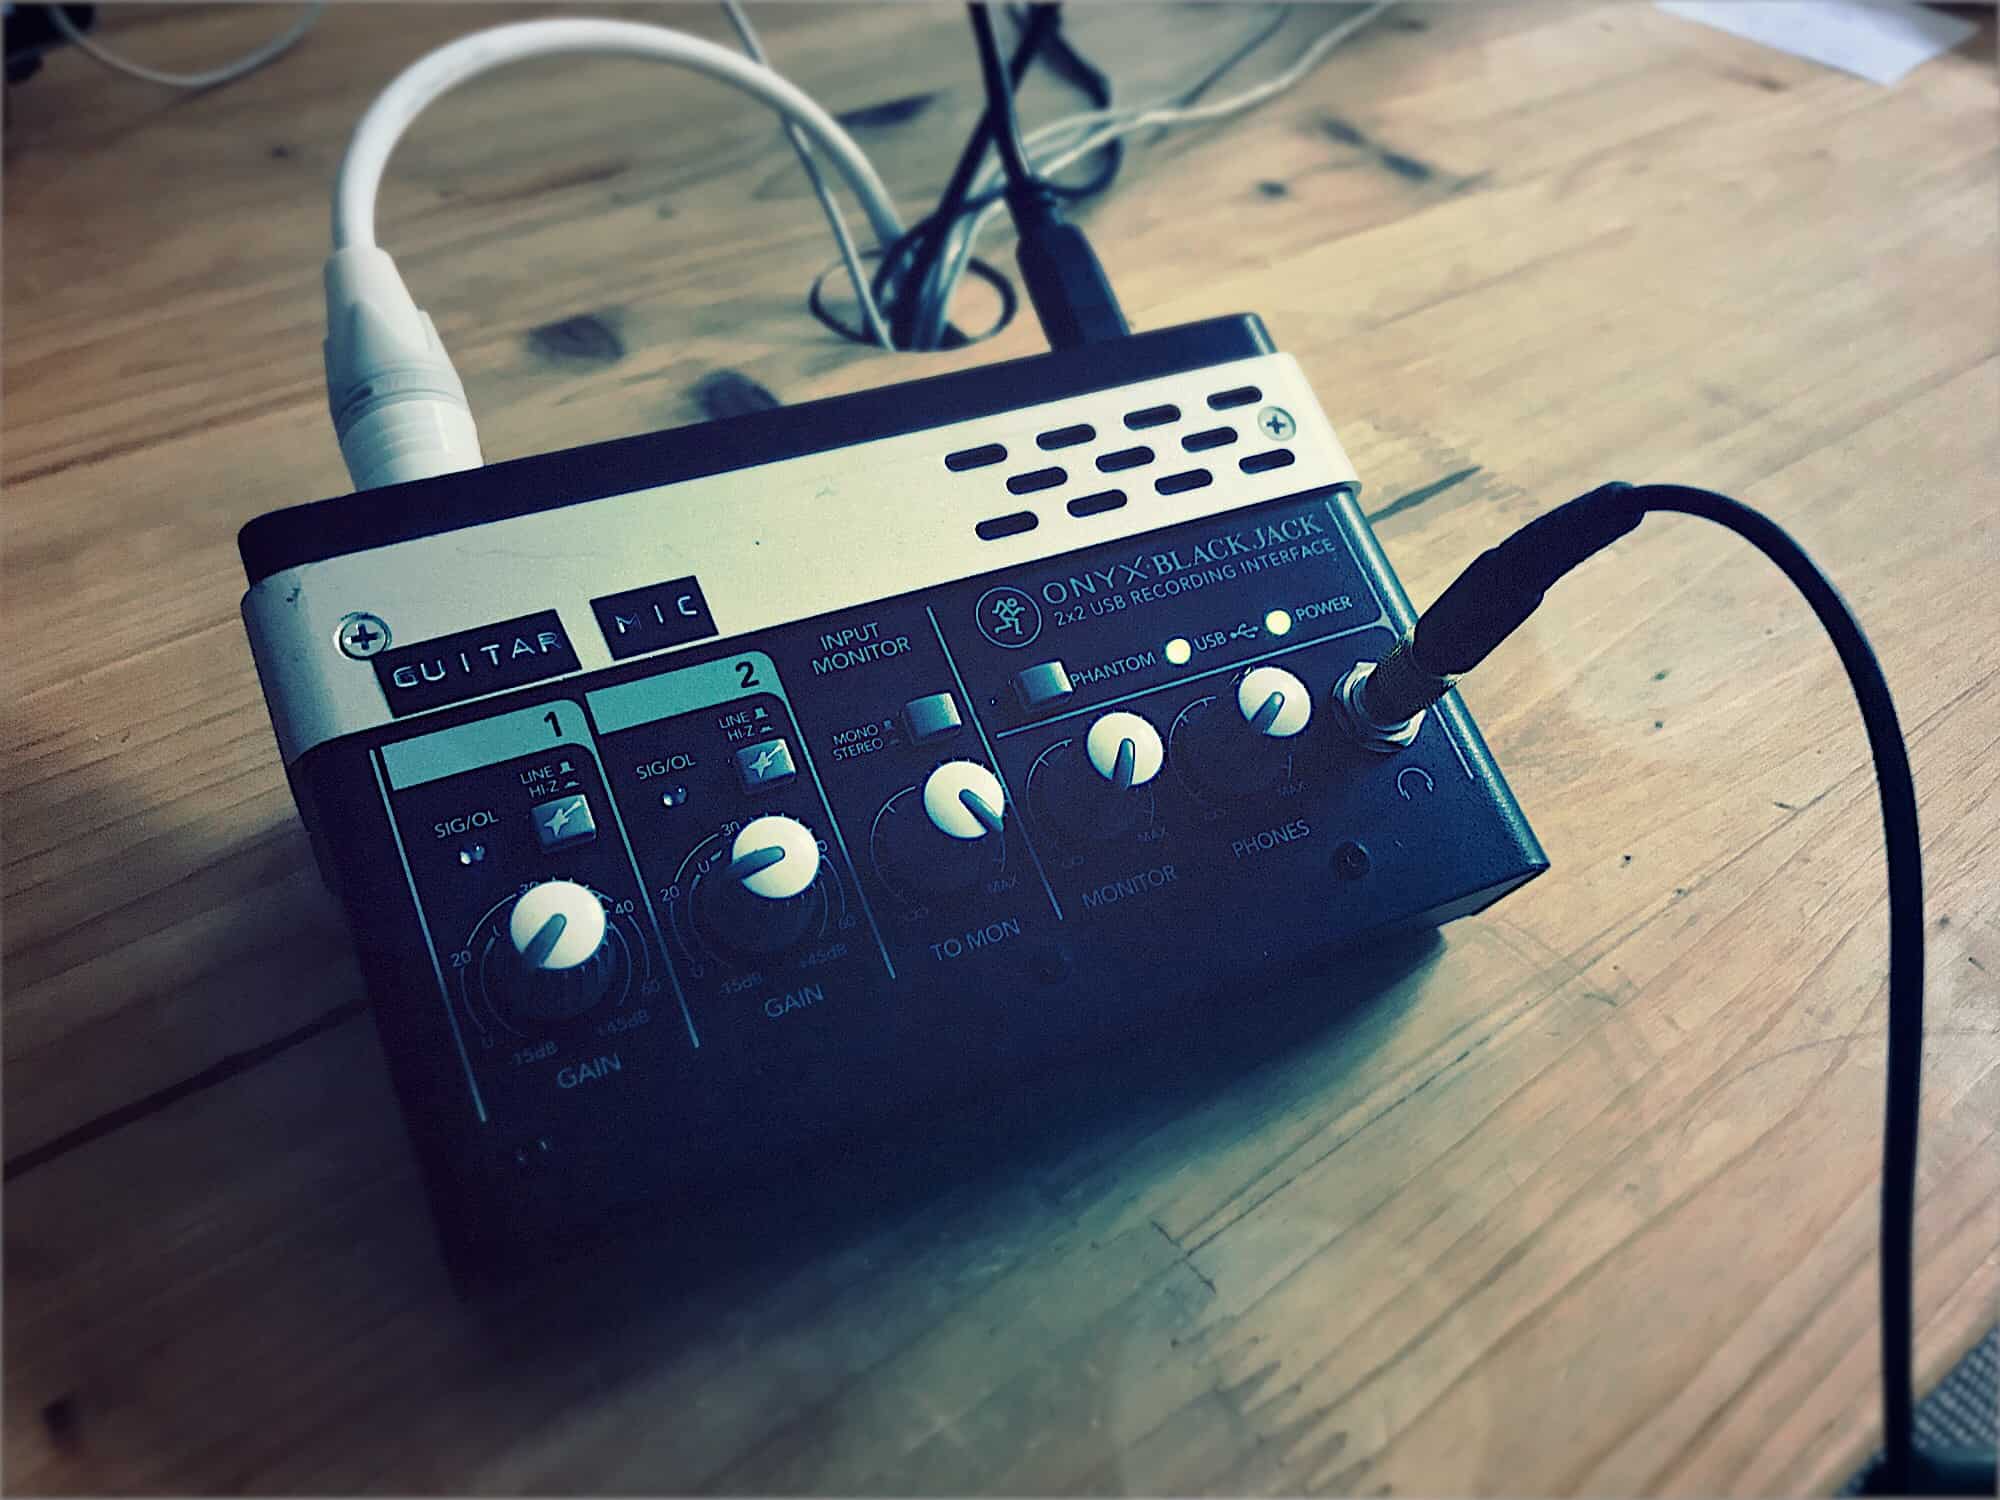
- Audio Interface: Look for an audio interface that has enough inputs and outputs to accommodate your drum machine and other audio sources. Focusrite Scarlett 2i2, PreSonus AudioBox, and Universal Audio Apollo Twin are some popular choices in the market.
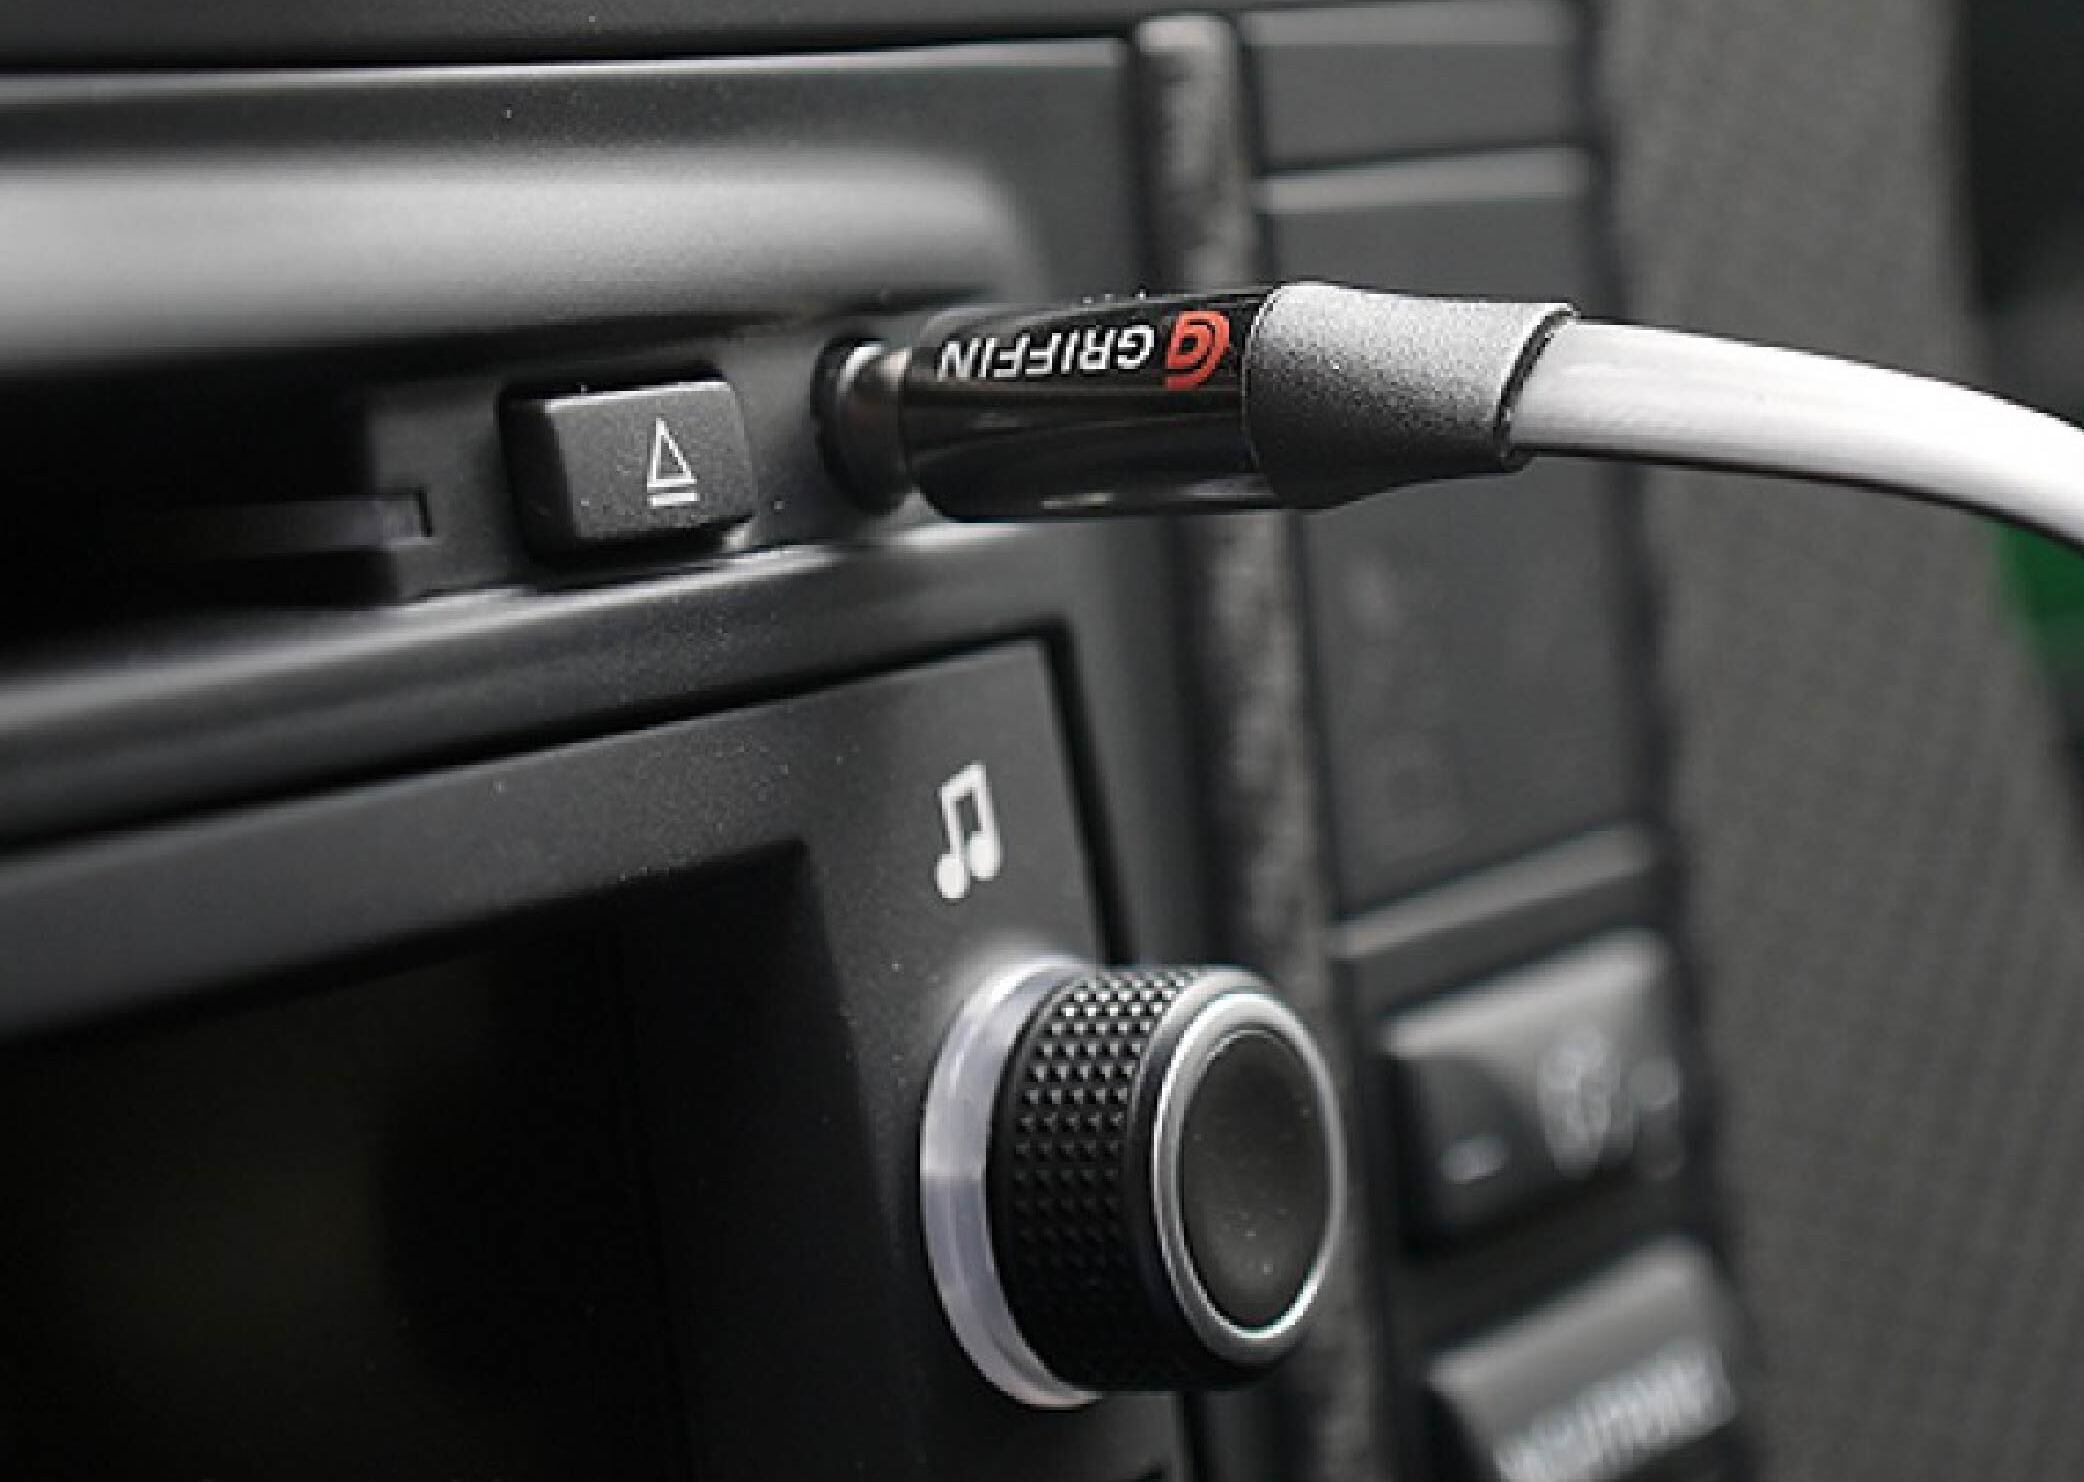
- Cables: You’ll need various cables to connect your drum machine to the audio interface. Make sure you have the appropriate cables, such as MIDI cables, audio cables (such as TRS or XLR), and USB cables.
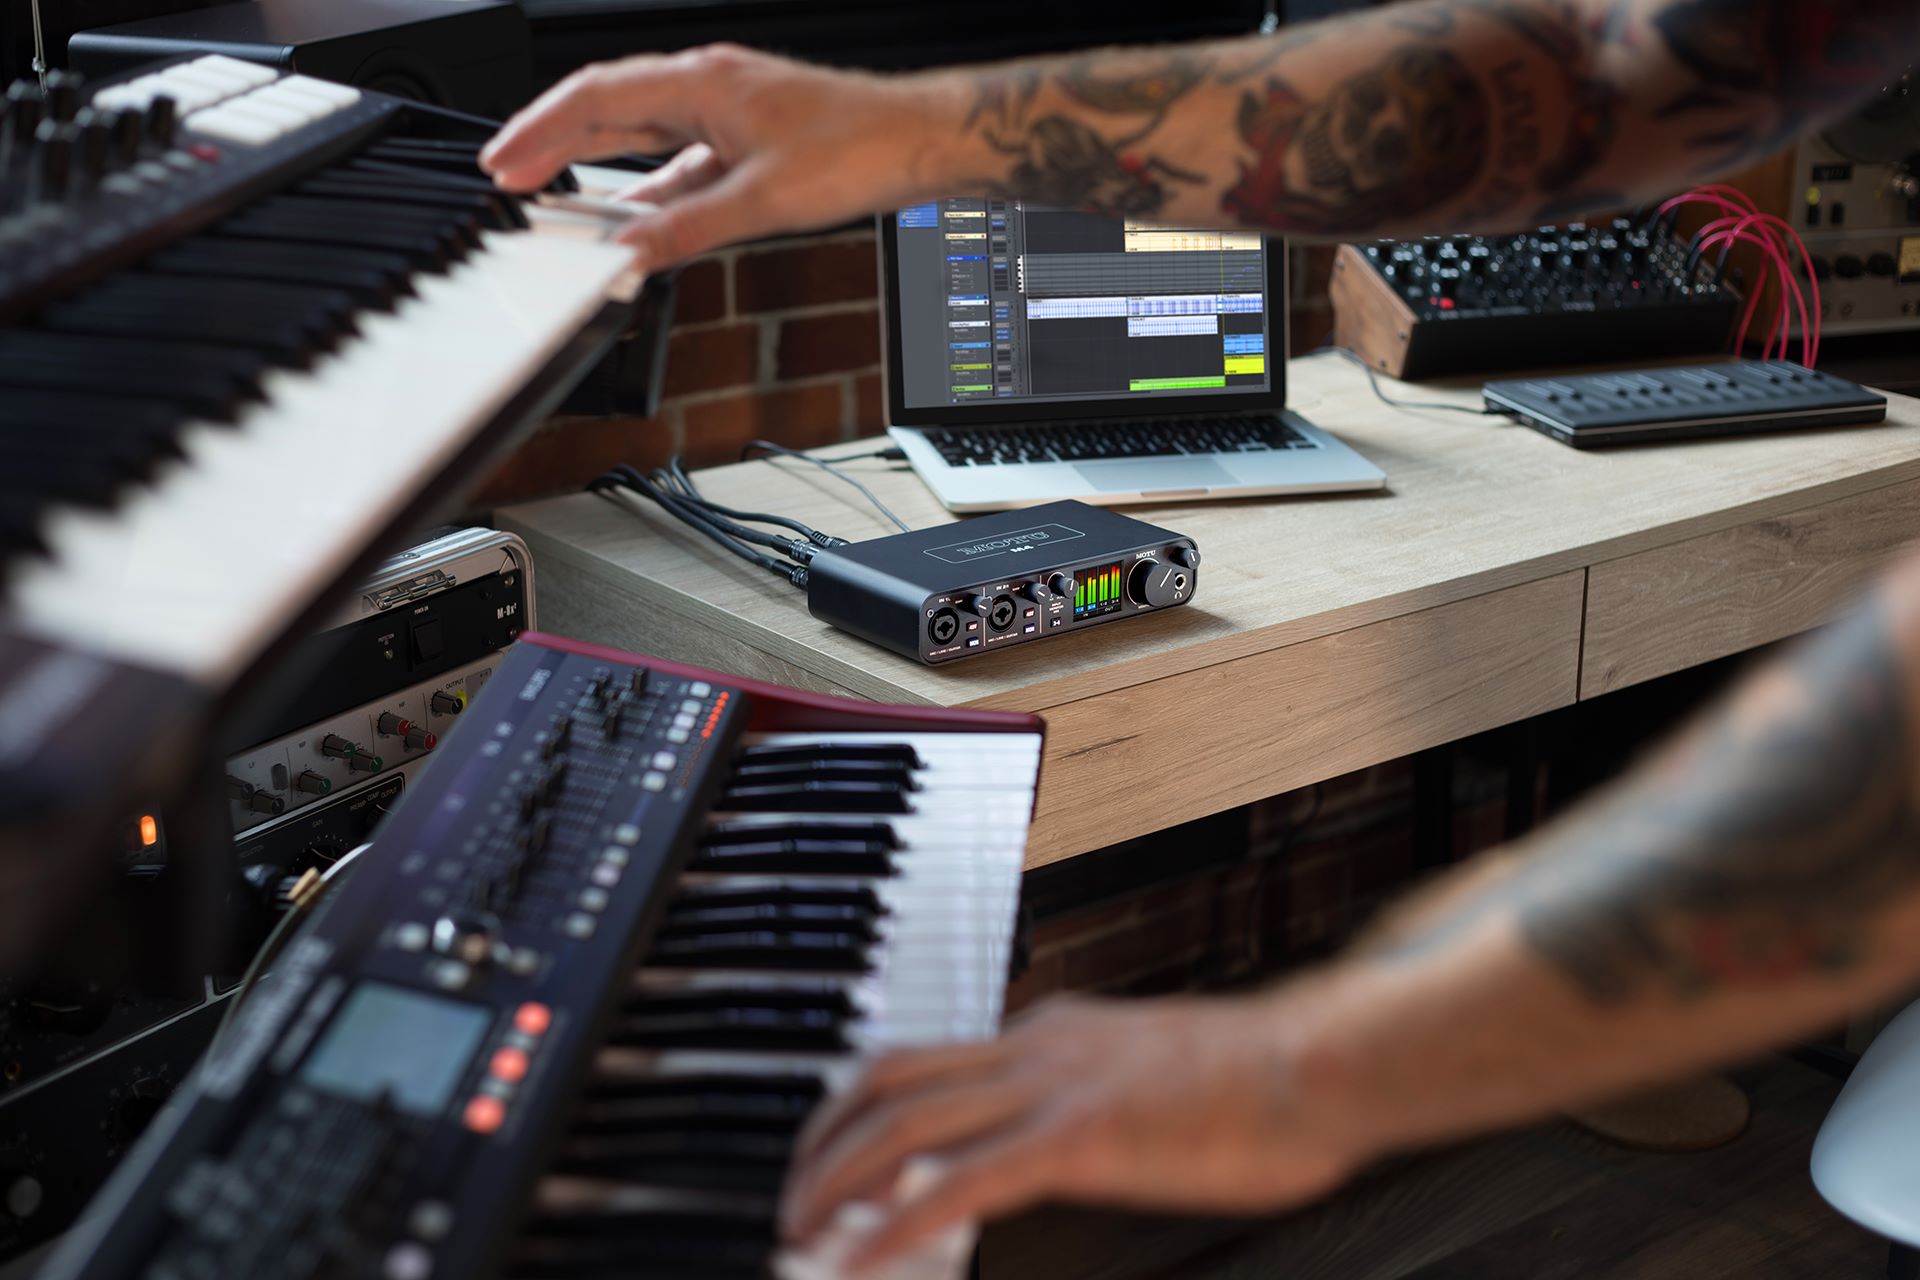
- Computer: You’ll need a computer with the necessary software for recording and producing music. Make sure it meets the recommended system requirements for your audio interface and any additional software you plan to use.
- Power Supplies: Ensure that you have the power supplies for both your drum machine and audio interface. Some devices may require batteries, while others come with AC adapters.
It’s important to note that the specific equipment you need may vary depending on the make and model of your drum machine and audio interface. Make sure to consult the user manuals for any specific requirements and compatibility information.
Once you have gathered all the necessary equipment, you’re ready to move on to the next step: powering and connecting the drum machine.
Step 2: Powering and Connecting the Drum Machine
Now that you have all the necessary equipment, it’s time to power and connect your drum machine. Follow these steps to ensure a proper setup:
- Powering the Drum Machine: Depending on the model of your drum machine, you may need to either use batteries or connect it to a power outlet using an AC adapter. Refer to the user manual for instructions on how to power your specific drum machine.
- Connecting the Drum Machine to the Audio Interface: The connection between the drum machine and the audio interface will depend on the available ports on both devices. Here are the most common connection options:
- If your drum machine has MIDI outputs and your audio interface has MIDI inputs, you can use a MIDI cable to connect them. This allows for precise triggering and synchronization between the devices.
- If your drum machine has audio outputs (such as 1/4″ audio jacks) and your audio interface has corresponding audio inputs, you can use audio cables (TRS or XLR) to connect them. This allows for direct audio recording and processing.
- If your drum machine has a USB output, you can connect it directly to your computer or audio interface using a USB cable. This allows for both MIDI and audio communication, depending on the capabilities of your drum machine.
Make sure to consult the user manuals of both your drum machine and audio interface for specific instructions on how to make the connections. It’s essential to double-check that you’re using the correct ports and cables to ensure a successful setup.
Once you have powered and connected your drum machine to the audio interface, you’re ready to move on to the next step: setting up the audio interface.
Step 3: Setting up the Audio Interface
After connecting the drum machine to the audio interface, the next step is to set up the audio interface. This involves configuring the necessary settings to ensure proper communication between the drum machine, audio interface, and your computer. Follow these steps to get your audio interface ready:
- Install Drivers and Software: Most audio interfaces require drivers to be installed on your computer. Check the manufacturer’s website for the latest drivers and software specific to your audio interface model. Install them following the provided instructions.
- Connect the Audio Interface to your Computer: Use a USB cable to connect the audio interface to your computer. Ensure that you use a high-quality USB cable to minimize any potential latency or connection issues.
- Configure Audio Settings: Access the audio settings on your computer and set the audio interface as the default input and output device. This ensures that any audio signals processed through the audio interface will be correctly routed.
- Adjust Sample Rate and Buffer Size: Configure the sample rate and buffer size in the settings of your audio interface’s control panel or software. Choosing the appropriate settings will depend on your specific needs, but generally, higher sample rates provide better audio quality, while smaller buffer sizes reduce latency. Find a balance that meets your requirements.
- Test the Audio Interface: Before proceeding, test the audio interface to ensure it is functioning properly. Play some audio or use the built-in microphone to check for any abnormal noise, latency, or connectivity issues. If there are any problems, refer to the user manual or contact the manufacturer for support.
Once you have completed these steps, your audio interface should be properly set up and ready to communicate with your drum machine. Now, it’s time to move on to the next step: connecting the drum machine to the audio interface.
Step 4: Connecting the Drum Machine to the Audio Interface
Now that your audio interface is set up, it’s time to connect your drum machine to the interface. The method of connection will depend on the available ports on both devices and the type of audio and MIDI signals you want to transmit. Follow these steps to establish the connection:
- MIDI Connection: If both your drum machine and audio interface have MIDI ports, you can use a MIDI cable to establish a MIDI connection. Connect the MIDI output of the drum machine to the MIDI input of the audio interface. This setup enables you to send and receive MIDI data between the devices, allowing you to control and trigger sounds from your drum machine using the interface and vice versa.
- Audio Connection: If your drum machine has audio outputs, you can connect it directly to the audio inputs on your audio interface using the appropriate audio cables. For example, if your drum machine has 1/4″ audio outputs, you can use TRS cables to connect the outputs to the audio inputs on your interface. This setup enables you to capture and record the audio output of the drum machine directly into your computer via the audio interface.
- USB Connection: Some drum machines have USB connectivity, allowing you to connect them directly to your computer or audio interface using a USB cable. This connection method combines both MIDI and audio signals in a single cable. Check the user manual of your drum machine to see if USB connectivity is available and follow the instructions to establish the USB connection.
Make sure to refer to the user manuals of both your drum machine and audio interface for specific instructions on how to make the connections. It’s vital to use the correct cables and ports to ensure proper signal transmission and avoid any issues during playback or recording.
Once you have successfully connected your drum machine to the audio interface, you’re ready to move on to the next step: configuring the drum machine and audio interface settings.
Step 5: Configuring the Drum Machine and Audio Interface Settings
With the drum machine and audio interface connected, it’s time to configure their settings to ensure optimal performance. These settings may vary depending on the make and model of your devices, but here are some general steps to follow:
- Drum Machine Settings: Consult the user manual of your drum machine to determine the specific settings that need to be configured. This may include selecting the correct MIDI channel, setting the clock source (internal or external), and adjusting the output levels. Make sure the drum machine is properly synchronized with the audio interface to avoid any timing issues.
- Audio Interface Settings: Open the control panel or software for your audio interface. Here are some common settings to configure:
- Input Levels: Adjust the input levels on the audio interface. Make sure the levels are set appropriately to prevent clipping and distortion when recording from the drum machine.
- Monitoring: Enable or disable direct monitoring on the audio interface. Direct monitoring allows you to hear the input signals in real-time without any latency, making it easier to play along or record with the drum machine.
- Sample Rate and Bit Depth: Confirm that the sample rate and bit depth settings match your desired recording quality. Higher sample rates and bit depths offer better audio quality but may require more processing power from your computer.
- Routing: Set the routing options on the audio interface. This includes selecting the inputs and outputs that you want to use for recording and playback. Ensure that the appropriate inputs are assigned to correspond with the drum machine’s connections.
- Latency: Adjust the buffer size to minimize latency. A smaller buffer size reduces the delay between playing a sound on the drum machine and hearing it through the audio interface. However, setting the buffer size too low may result in audio dropouts or glitches, so find the optimal balance for your setup.
Remember to refer to the user manuals of your drum machine and audio interface for detailed instructions on how to configure specific settings. Take your time to experiment and fine-tune these settings to achieve the best sound quality and performance.
Once you have successfully configured the drum machine and audio interface settings, you’re ready for the exciting part: testing and troubleshooting your setup.
Step 6: Testing and Troubleshooting
After setting up and configuring your drum machine and audio interface, it’s important to perform thorough testing to ensure everything is functioning as expected. Here are some steps to follow for testing and troubleshooting:
- Playback Test: Play back some pre-recorded material or use a software drum machine to test the audio output of your setup. Verify that the audio signals from the drum machine are correctly routed through the audio interface and that you can hear the sound through your speakers or headphones.
- Recording Test: Record a test track with your drum machine. Monitor the input levels on the audio interface and make adjustments as needed to prevent clipping. Check the recorded track to ensure that the audio is being captured accurately and without any issues.
- MIDI Test: If you are using MIDI connectivity, test the MIDI communication between the drum machine and the audio interface. Try triggering sounds on the drum machine using the interface or recording MIDI data from the drum machine into your production software. Make sure that the MIDI signals are being sent and received accurately.
- Latency Test: Check for any noticeable latency or delay when playing the drum machine and monitoring the audio through the interface. If you experience latency issues, adjust the buffer size in the audio interface settings to reduce the delay. Keep in mind that setting a very low buffer size may put a strain on your computer’s processing power, so find a balance that works for your setup.
- Troubleshooting: If you encounter any issues during the testing phase, refer to the user manuals for troubleshooting guidance. Check for any software updates or firmware updates for your devices. Ensure that all cables are properly connected and functioning. If problems persist, reach out to customer support or online communities for assistance.
By performing these tests and troubleshooting steps, you can identify and resolve any issues that may arise during the setup process. It’s important to take the time to fine-tune your setup and ensure that it is working smoothly before diving into your music production workflow.
Once you have successfully tested and troubleshooted your setup, you are ready to unleash your creativity and start producing music with your drum machine and audio interface!
Conclusion
Wiring a drum machine to an audio interface is a crucial step for musicians and producers looking to capture high-quality drum sounds and create professional recordings. By following the steps outlined in this guide, you can easily connect and integrate these two essential components to enhance your music production workflow.
Throughout the process, we covered the necessary equipment you’ll need, including the drum machine, audio interface, cables, and a computer. We also discussed the importance of powering and connecting the drum machine correctly. Furthermore, we walked through setting up the audio interface, configuring its settings, and establishing the connection between the drum machine and the audio interface.
To ensure a successful setup, it’s crucial to thoroughly test and troubleshoot your system. By performing playback and recording tests, checking MIDI communication, and monitoring latency, you can ensure that your drum machine and audio interface are functioning properly. If any issues arise, carefully follow the troubleshooting steps and seek assistance when needed.
By properly wiring your drum machine to an audio interface, you can unlock a world of creative possibilities. Whether you’re a musician, producer, or hobbyist, this connection allows you to capture the perfect drum sounds and expand your musical endeavors.
Now that you have a solid understanding of how to wire a drum machine to an audio interface, it’s time to put this knowledge into practice and unleash your creativity. Experiment with different drum patterns, explore new sound possibilities, and let your music shine with the powerful combination of a drum machine and audio interface!