Home>Instruments>Synthesizer>How To Connect Piano Keyboard To Synthesizer On Computer Pc

Synthesizer
How To Connect Piano Keyboard To Synthesizer On Computer Pc
Modified: February 22, 2024
Learn how to easily connect your piano keyboard to a synthesizer on your computer PC. Explore the endless possibilities of creating music with your synthesizer.
(Many of the links in this article redirect to a specific reviewed product. Your purchase of these products through affiliate links helps to generate commission for AudioLover.com, at no extra cost. Learn more)
Table of Contents
Introduction
Connecting a piano keyboard to a synthesizer on a computer PC enables musicians, producers, and enthusiasts to unleash their creativity and take their musical compositions to the next level. Whether you’re a beginner or an experienced musician, this article will guide you through the process of connecting your piano keyboard to a synthesizer on your computer, transforming your setup into a powerful music production workstation.
By connecting your piano keyboard to a synthesizer, you can access an extensive range of virtual instruments and personalization options, allowing you to create unique sounds and melodies. Additionally, utilizing a computer-based synthesizer expands your capabilities by providing access to a vast library of music production software, including digital audio workstations (DAWs) and virtual instrument plugins.
However, the process of connecting a piano keyboard to a synthesizer on a computer may seem daunting at first. But fear not! In this step-by-step guide, we will walk you through the necessary equipment, software installation, connection process, MIDI configuration, and testing to ensure a seamless and successful setup.
Whether you’re an aspiring music producer, a hobbyist keyboard player, or simply looking to experiment with electronic music, this tutorial will equip you with the knowledge and skills to connect your piano keyboard to a synthesizer on your computer. So, let’s dive in and unlock the full potential of your musical creativity!
Step 1: Gather the Necessary Equipment
Before you can connect your piano keyboard to a synthesizer on your computer, you will need to gather a few essential pieces of equipment. Here’s what you’ll need:
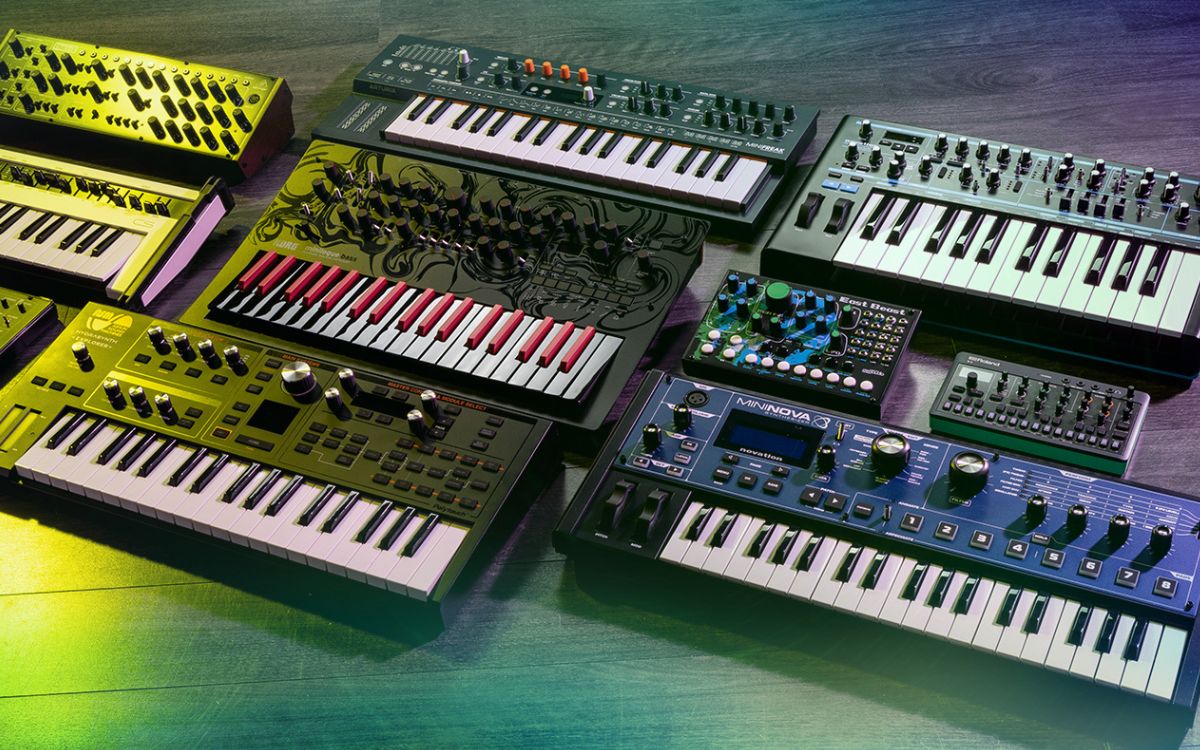
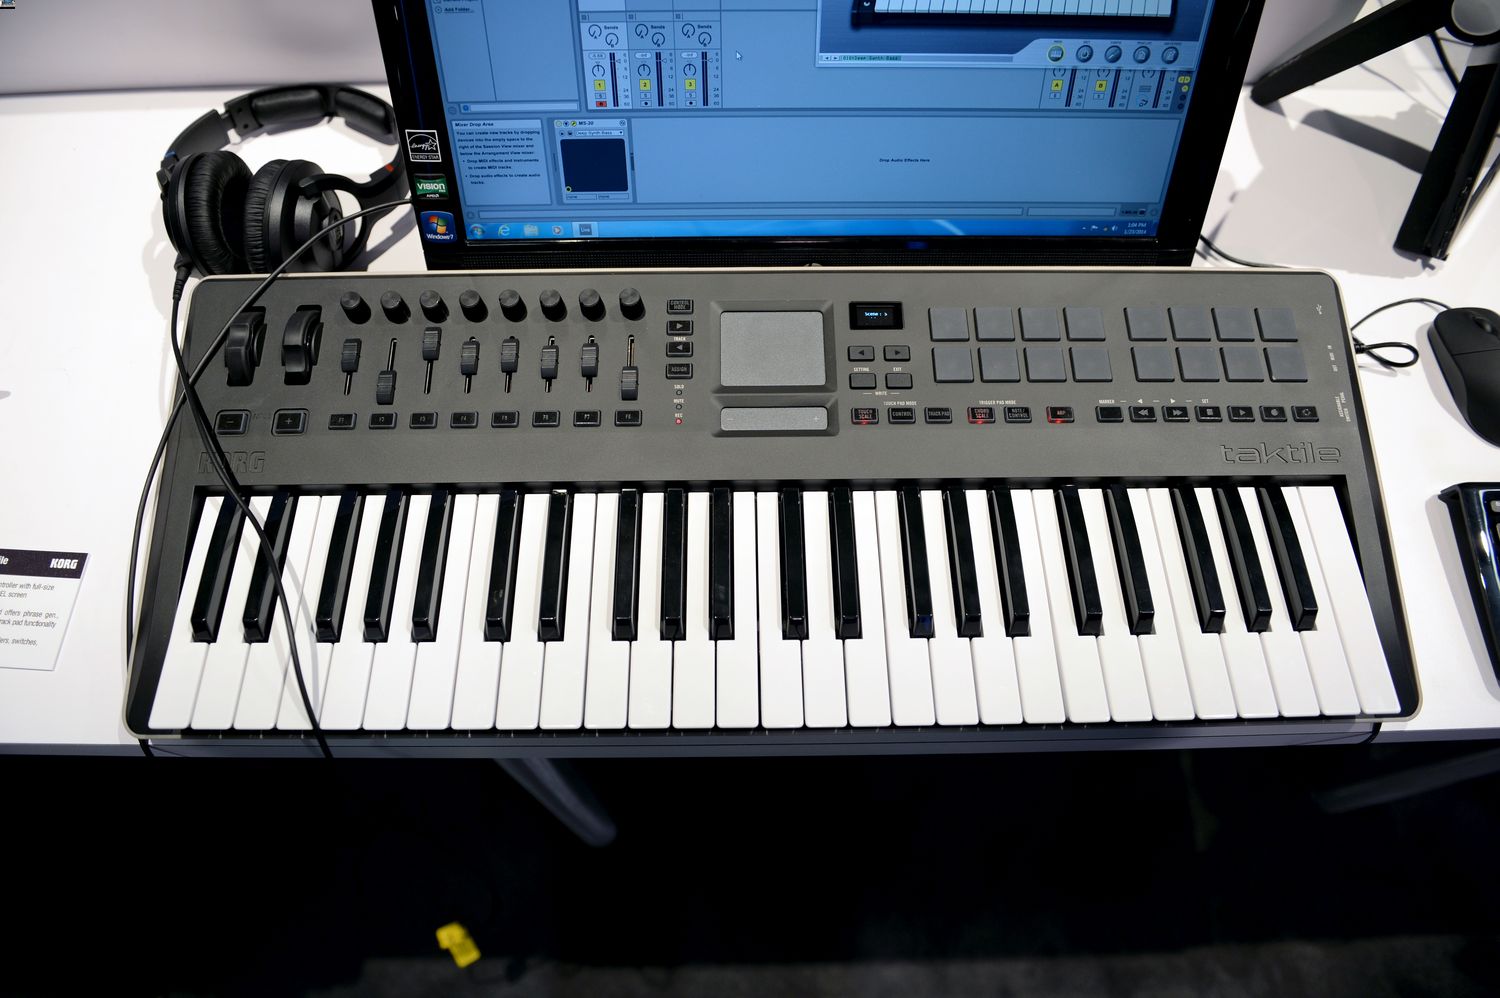
- Piano Keyboard: Ensure you have a piano keyboard with MIDI capabilities. Most modern keyboards include MIDI ports or USB connections for easy computer integration. Make sure your keyboard has either a MIDI out port or a USB port.
- Computer: You will need a computer with a compatible operating system (Windows, macOS, etc.) that meets the system requirements for the software you plan to use. Ensure that your computer has available USB ports or MIDI input ports.
- MIDI Interface: If your piano keyboard only has MIDI out ports and your computer lacks a dedicated MIDI input port, you will need a MIDI interface. This device acts as a bridge between your keyboard and computer, converting MIDI signals to USB or vice versa.
- USB Cable or MIDI Cables: Depending on your keyboard’s connectivity, you will need either a USB cable or MIDI cables to establish a connection between your keyboard and computer. Make sure the cables are of the appropriate length to comfortably reach your computer setup.
- Music Production Software: To utilize the full potential of your setup, you will need music production software or a digital audio workstation (DAW). There are many options available, ranging from free to professional-grade software. Popular choices include Ableton Live, FL Studio, Logic Pro, and Pro Tools.
Before proceeding to the next step, double-check that you have all the necessary equipment listed above. Having everything prepared will ensure a smooth and hassle-free connection process.
Step 2: Install the Required Software
Once you have gathered the necessary equipment, the next step is to install the software required to connect your piano keyboard to the synthesizer on your computer. Follow these steps to install the software:
- Research and Choose Software: Depending on your budget and preferences, research different music production software options and choose the one that best suits your needs. Consider factors such as ease of use, available features, compatibility with your operating system, and community support.
- Download and Install: Visit the official website of the software you have chosen and look for the download option. Follow the instructions provided to download the software to your computer. Once the download is complete, run the installer and follow the on-screen prompts to install the software.
- Activate and Register: After installing the software, you may need to activate it using a license key or register for an account. Follow the software’s activation process, which will vary depending on the software you are using. Ensure that you keep your license key or registration information in a safe place for future reference.
- Update and Configure: Once the software is installed, check for any available updates and install them to ensure you have the latest features and bug fixes. Additionally, configure the software’s settings according to your preferences, such as audio and MIDI settings.
It is worth noting that some music production software may come with additional virtual instrument plugins or sound libraries. Take the time to explore these options as they can greatly enhance your musical creations.
With the required software installed and configured, you are now ready to proceed to the next step and connect your piano keyboard to the synthesizer on your computer. Exciting musical possibilities await!
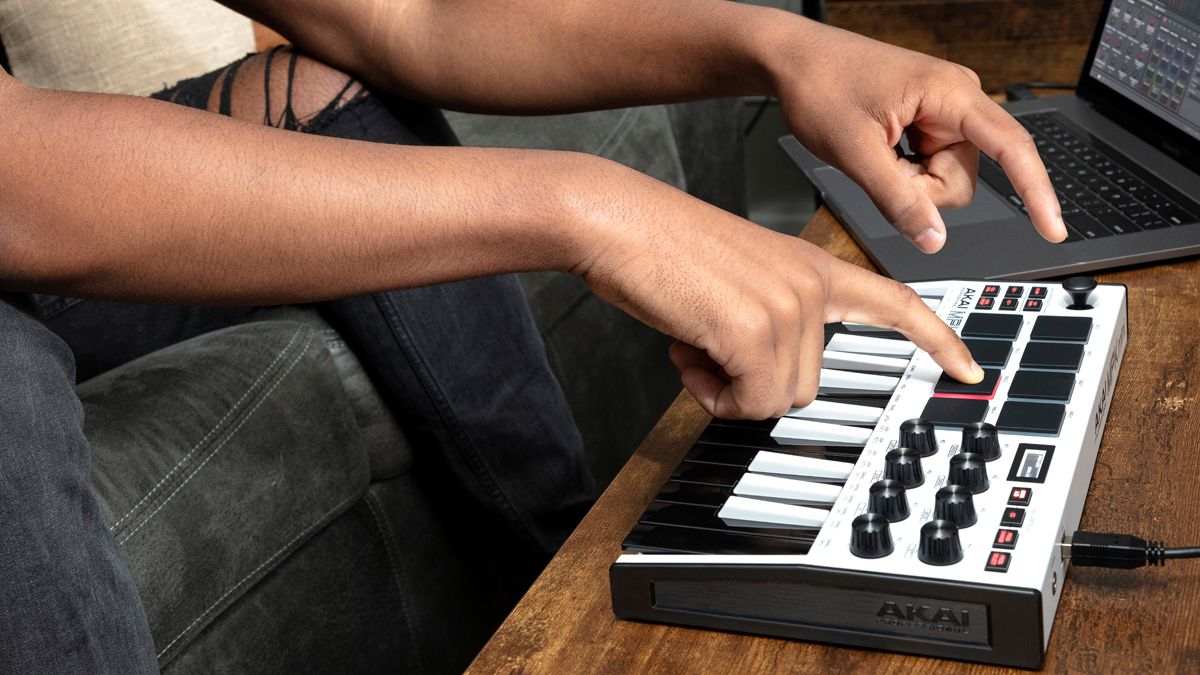
Step 3: Connect the Piano Keyboard to the Computer
Now that you have installed the necessary software, it’s time to connect your piano keyboard to the synthesizer on your computer. Follow these steps to establish the connection:
- Identify the MIDI Ports: Take a look at your piano keyboard and locate the MIDI ports. These can be MIDI out ports, MIDI in ports, or a USB port if your keyboard supports USB connectivity.
- Connect MIDI Out to MIDI In: If your piano keyboard has separate MIDI out and MIDI in ports, use a MIDI cable to connect the MIDI out port on your keyboard to the MIDI in port on your MIDI interface or computer. Ensure that the cable is securely plugged in on both ends.
- Connect USB to USB Port: If your piano keyboard has a USB port, simply use a USB cable to connect the keyboard directly to an available USB port on your computer. Make sure the USB cable is properly inserted into both the keyboard and the computer.
- Power On the Keyboard: Turn on your piano keyboard and make sure it is receiving power. Check that the keyboard’s display or LED indicators show signs of power and connectivity.
- Check Connection Settings: Open the music production software you installed in step 2 and navigate to the MIDI or preferences/settings section. Ensure that the MIDI input from your piano keyboard is recognized and selected as the input device.
Once you have completed these steps, your piano keyboard should now be physically connected to the synthesizer on your computer. This connection allows you to send and receive MIDI signals, enabling you to control and manipulate virtual instruments and software synthesizers using your keyboard.
It is important to note that the specific steps for connecting your piano keyboard may vary depending on the make and model of your keyboard, as well as the MIDI interface or USB connectivity options available. Refer to the user manual of your keyboard and MIDI interface for any specific instructions.
Now that your keyboard and computer are connected, it’s time to move on to the next step and configure the MIDI settings to ensure everything is properly set up.
Step 4: Configure the MIDI Settings
After connecting your piano keyboard to the synthesizer on your computer, it’s important to configure the MIDI settings to ensure proper communication between the devices. Follow these steps to configure the MIDI settings:
- Open the Music Production Software: Launch the music production software on your computer. Ensure that your piano keyboard is connected and powered on.
- Navigate to MIDI Settings: Locate the MIDI settings or preferences section in your music production software. This is typically found under the “Options,” “Settings,” or “Preferences” menu.
- Select the MIDI Input Device: In the MIDI settings, look for the option to select the MIDI input device. Choose your piano keyboard from the list of available MIDI devices. Make sure it is properly recognized and selected.
- Enable MIDI Input: Check if there is an option to enable MIDI input or MIDI through. Ensure that this feature is enabled so that the software can receive MIDI signals from your keyboard.
- Configure MIDI Channel: If your piano keyboard supports multiple MIDI channels, you may need to configure the MIDI channel in the software. Choose a MIDI channel that corresponds to the channel set on your keyboard. This will ensure that the software responds to your keyboard’s input properly.
It’s worth mentioning that the MIDI settings can vary depending on the music production software you are using. Some software may provide additional options for advanced MIDI configuration, such as channel filtering, control mapping, or MIDI routing. Explore these options to further personalize your setup.
Once you have configured the MIDI settings, save the changes and exit the MIDI settings section. Your piano keyboard should now be properly configured to communicate with the synthesizer on your computer, allowing you to control virtual instruments and software synthesizers using your keyboard.
Before moving on to the next step, it’s a good practice to test the connection and ensure that everything is working as expected.
Step 5: Test the Connection
After connecting your piano keyboard to the synthesizer on your computer and configuring the MIDI settings, it’s essential to test the connection to ensure that everything is working correctly. Follow these steps to test the connection:
- Create a New Project: Open a new project or session in your music production software. This will provide a blank canvas for testing the connection.
- Select a Virtual Instrument: Choose a virtual instrument or software synthesizer from your music production software’s library. This could be a piano, synth, drum machine, or any other sound you wish to play.
- Play the Keyboard: Press some keys on your piano keyboard. If the connection is successful, you should hear the sound of the selected virtual instrument responding to your keystrokes. Test the keyboard across different octaves and see if the response is consistent.
- Experiment with Parameters: In addition to playing notes, try experimenting with other parameters of the virtual instrument, such as modulation, pitch bend, or filter cutoff. These parameters can usually be controlled using the knobs, buttons, or mod wheels on your keyboard. Make sure they are properly mapped and responding to your input.
- Record and Playback: If your music production software offers recording capabilities, try recording your performance using the piano keyboard. Once recorded, play back the performance to ensure that the notes, timing, and dynamics are accurately captured.
During the testing phase, it’s a great opportunity to explore the capabilities of your piano keyboard and the virtual instruments available in your music production software. Experiment with different sounds, play styles, and musical ideas to get a feel for the possibilities that your setup provides.
If you encounter any issues during the testing process, double-check the connection, MIDI settings, and software configuration to ensure everything is set up correctly. Consult the user manuals of your piano keyboard, MIDI interface, or music production software for troubleshooting steps or reach out to online communities or support for additional assistance.
Congratulations! By successfully testing the connection between your piano keyboard and synthesizer on your computer, you have unlocked a world of musical creativity at your fingertips. Now it’s time to embark on your musical journey and start creating beautiful compositions in the digital realm.
Conclusion
Connecting your piano keyboard to a synthesizer on your computer PC opens up a world of possibilities for musicians, producers, and music enthusiasts. By following the steps outlined in this guide, you can successfully integrate your keyboard into a powerful music production setup, allowing you to unleash your creativity and explore endless sonic possibilities.
We began by highlighting the necessary equipment, including a piano keyboard with MIDI capabilities, a computer, MIDI cables or a USB cable depending on your keyboard’s connectivity, a MIDI interface (if required), and music production software or a DAW. Gathering these components is essential to ensure a smooth connection process.
In Step 2, we emphasized the importance of installing the required software to harness the full potential of your setup. Researching and choosing the right music production software for your needs, downloading and installing it, and activating or registering the software were key aspects covered in this step.
Step 3 focused on connecting your piano keyboard to the computer. Whether using MIDI cables or a USB cable, ensuring a secure connection is vital for proper communication between your keyboard and software. Powering on the keyboard and checking the connection settings in the music production software are crucial elements in this step.
In Step 4, we discussed the significance of configuring the MIDI settings in your music production software. Selecting the MIDI input device, enabling MIDI input, and setting the MIDI channel are essential to establish a seamless connection and ensure accurate communication between your keyboard and software.
Finally, in Step 5, we encouraged you to test the connection by creating a new project, selecting a virtual instrument, playing the keyboard, experimenting with parameters, and recording and playing back your performance. Testing the connection allows you to verify that everything is functioning correctly and gives you the confidence to dive into a realm of musical creativity.
With each of these steps successfully completed, you are now equipped with the knowledge and understanding to connect your piano keyboard to a synthesizer on your computer PC. Unleash your musical ideas, explore new sounds, and create captivating compositions that will leave a lasting impression.
Remember, as you gain more experience and familiarity with your setup, continue to experiment, learn new techniques, and expand your musical horizons. Embrace the possibilities that technology offers, and let your creativity soar!