Home>Instruments>Synthesizer>How To Send MIDI To A Synthesizer Ableton
Synthesizer
How To Send MIDI To A Synthesizer Ableton
Modified: February 22, 2024
Learn how to send MIDI to a synthesizer in Ableton and unlock endless sonic possibilities. Enhance your music production with our step-by-step guide on integrating MIDI with your favorite synthesizer.
(Many of the links in this article redirect to a specific reviewed product. Your purchase of these products through affiliate links helps to generate commission for AudioLover.com, at no extra cost. Learn more)
Table of Contents
Introduction
Welcome to the world of synthesizers and MIDI! If you’re a music enthusiast or producer, you’ve likely heard of MIDI, a protocol that allows electronic musical instruments, computers, and other devices to communicate with each other. In this article, we will delve into the process of sending MIDI to a synthesizer using Ableton Live.
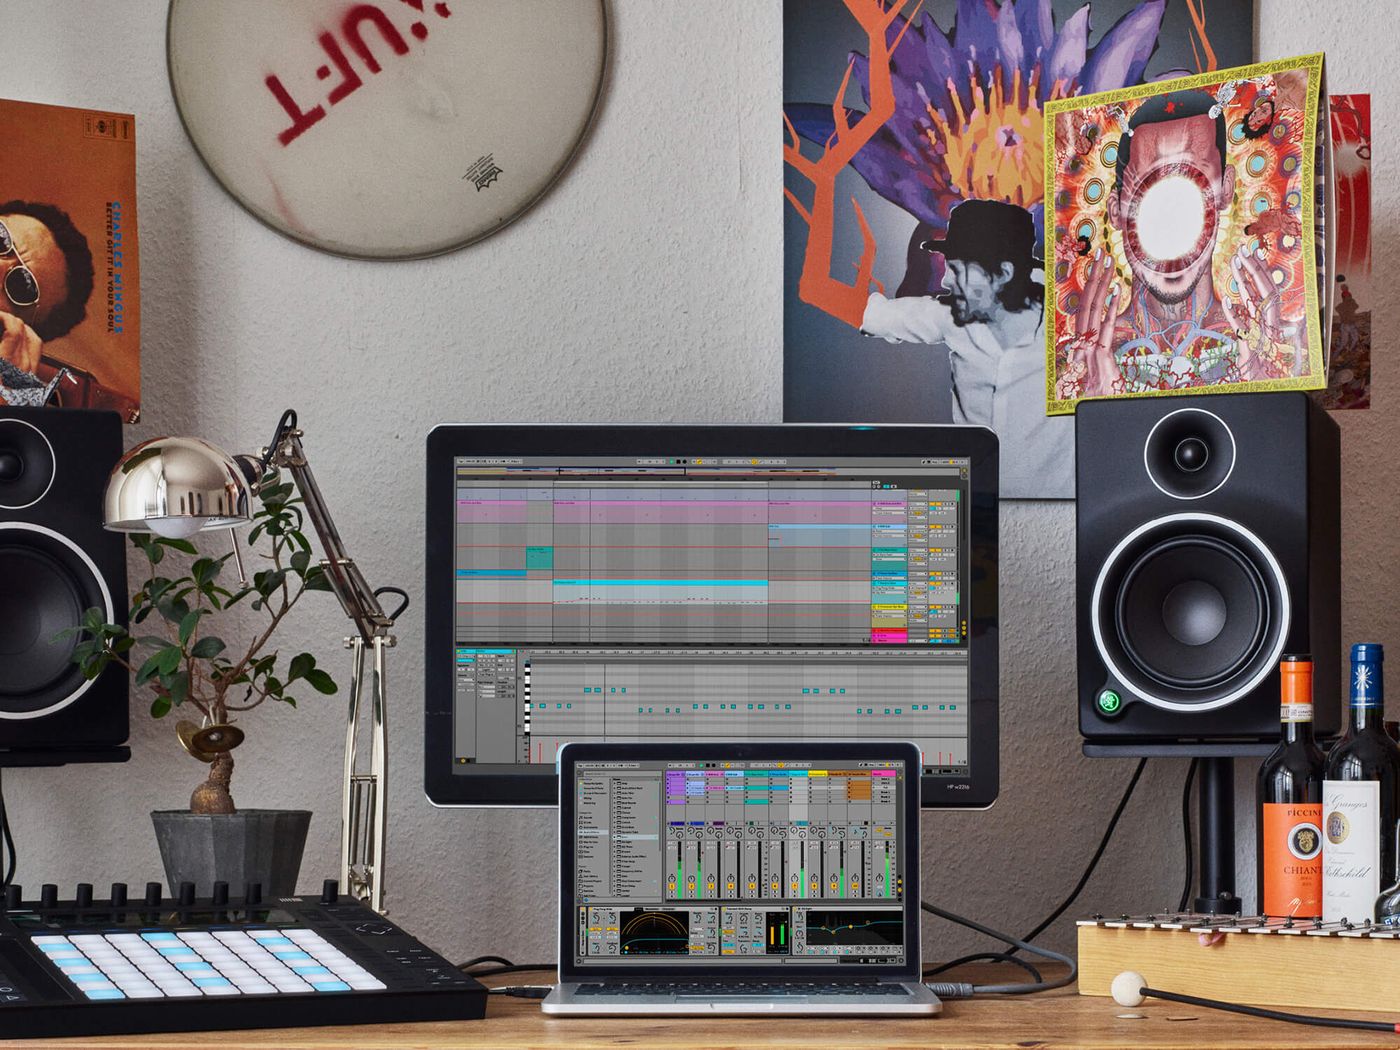
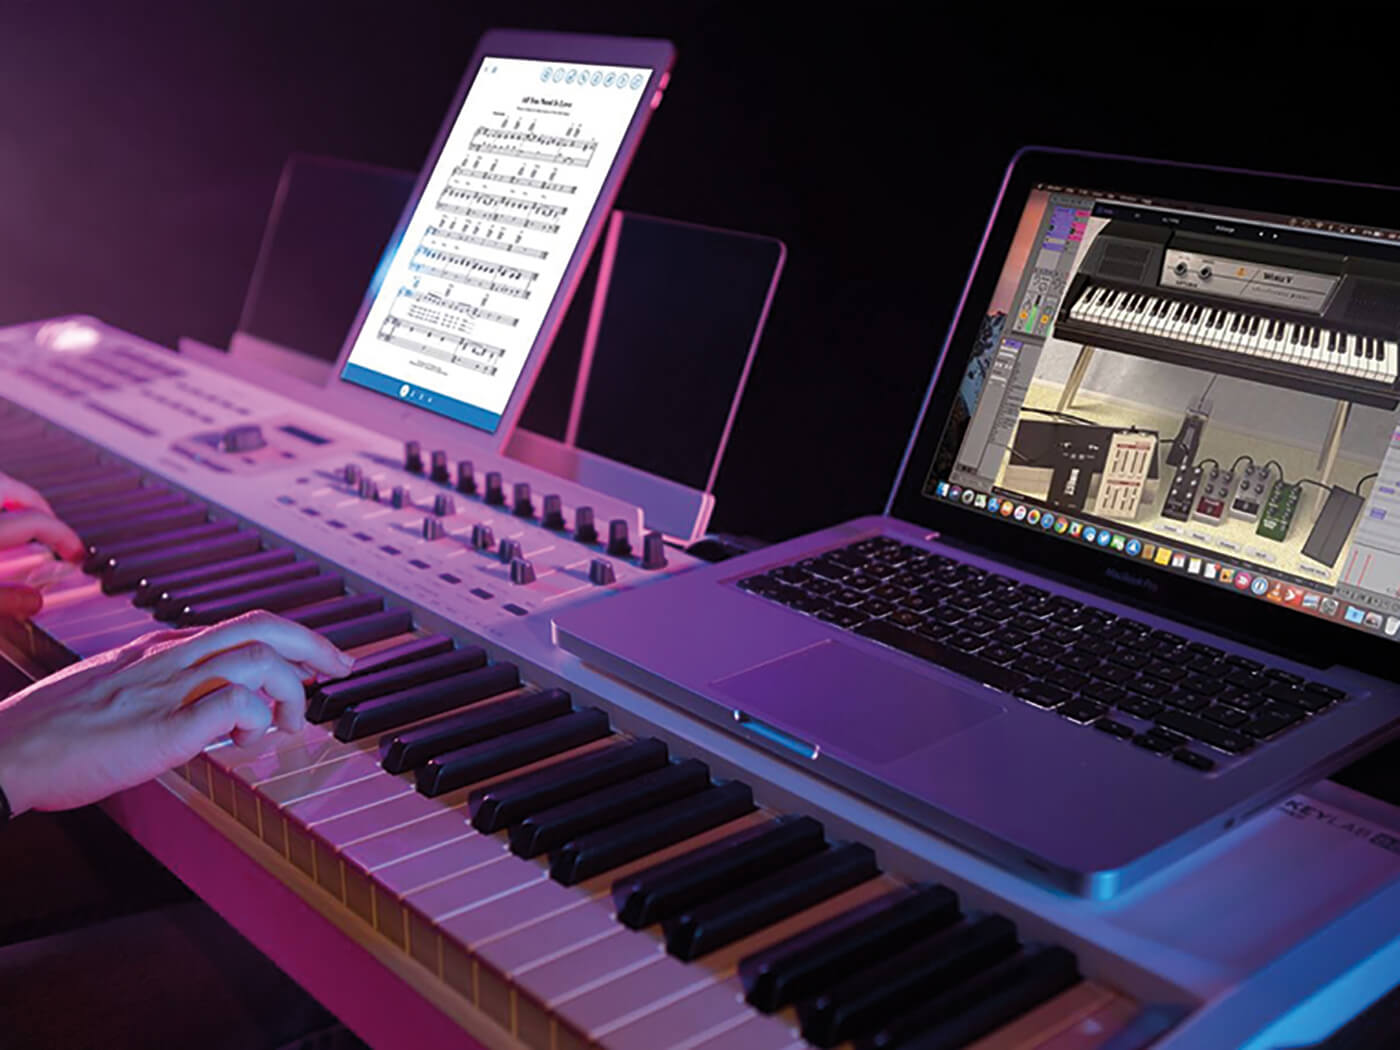
Ableton Live is a popular digital audio workstation (DAW) used by musicians, producers, and DJs for music production, live performance, and DJing. It offers a wide range of features, including MIDI capabilities, making it a powerful tool for controlling and manipulating synthesizers.
In this guide, we will cover the steps required to set up Ableton, connect your synthesizer, configure MIDI output, and send MIDI notes and control messages. By the end of this article, you’ll be well-equipped to harness the full potential of your synthesizer and create amazing music.
Whether you’re a beginner or have some experience with MIDI and synthesizers, this guide will provide you with the knowledge and guidance you need to get started. So, let’s dive in and explore the exciting world of sending MIDI to a synthesizer with Ableton Live!
Setting up Ableton
Before we can start sending MIDI to a synthesizer, we need to ensure that Ableton Live is properly set up and configured. Follow these steps to get started:
- Install Ableton Live: If you haven’t already, visit the official Ableton website and download the latest version of Ableton Live. Once downloaded, run the installer and follow the on-screen instructions to complete the installation.
- Launch Ableton Live: Once the installation is complete, open Ableton Live on your computer. You will be greeted with the Ableton Live interface, which consists of different sections such as the session view, arrangement view, and browser.
- Set Up Audio Preferences: Before proceeding further, it’s essential to set up the audio preferences in Ableton Live. Go to the Preferences menu by clicking on Options (Windows) or Live (Mac) in the top menu bar, and then selecting Preferences. In the Preferences window, navigate to the Audio tab and select your audio interface from the Audio Input Device and Audio Output Device menus. Make sure to choose the appropriate sample rate and buffer size for your setup.
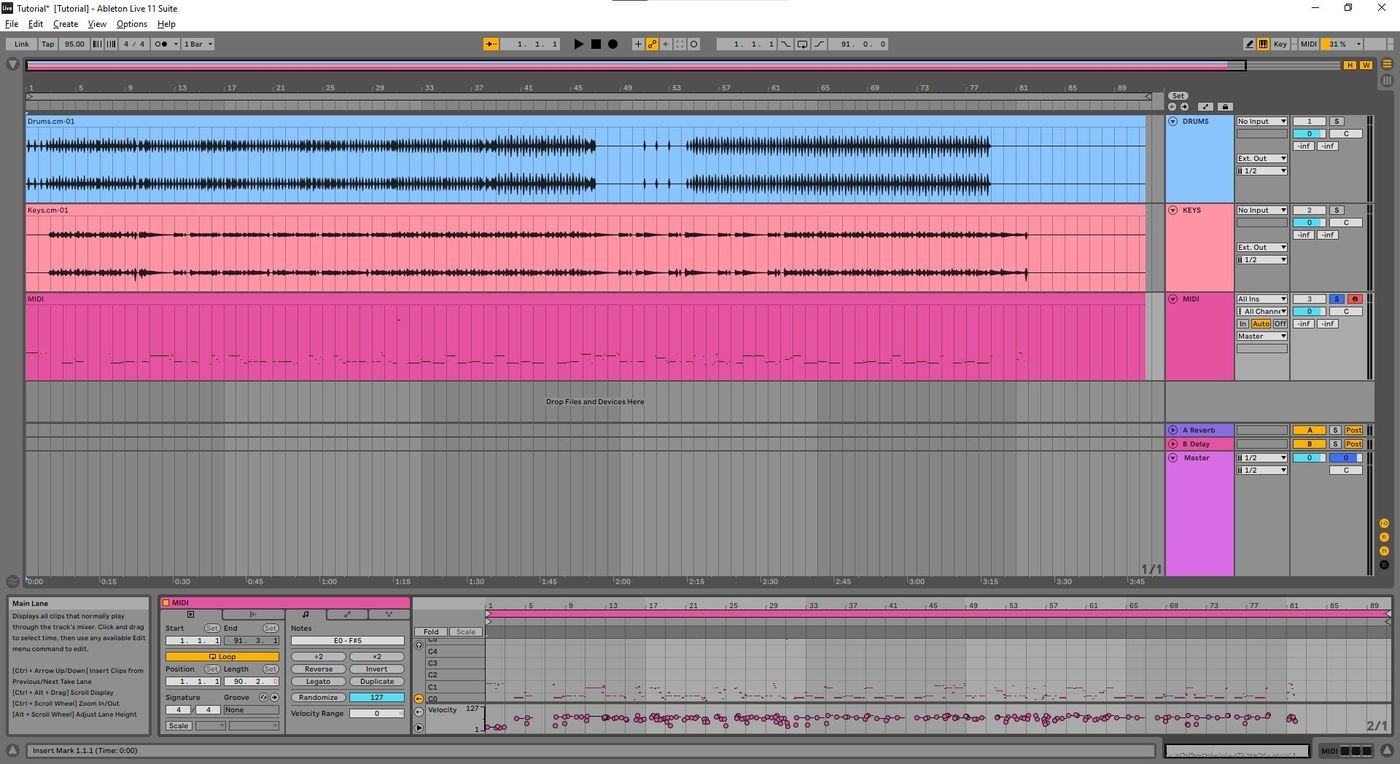
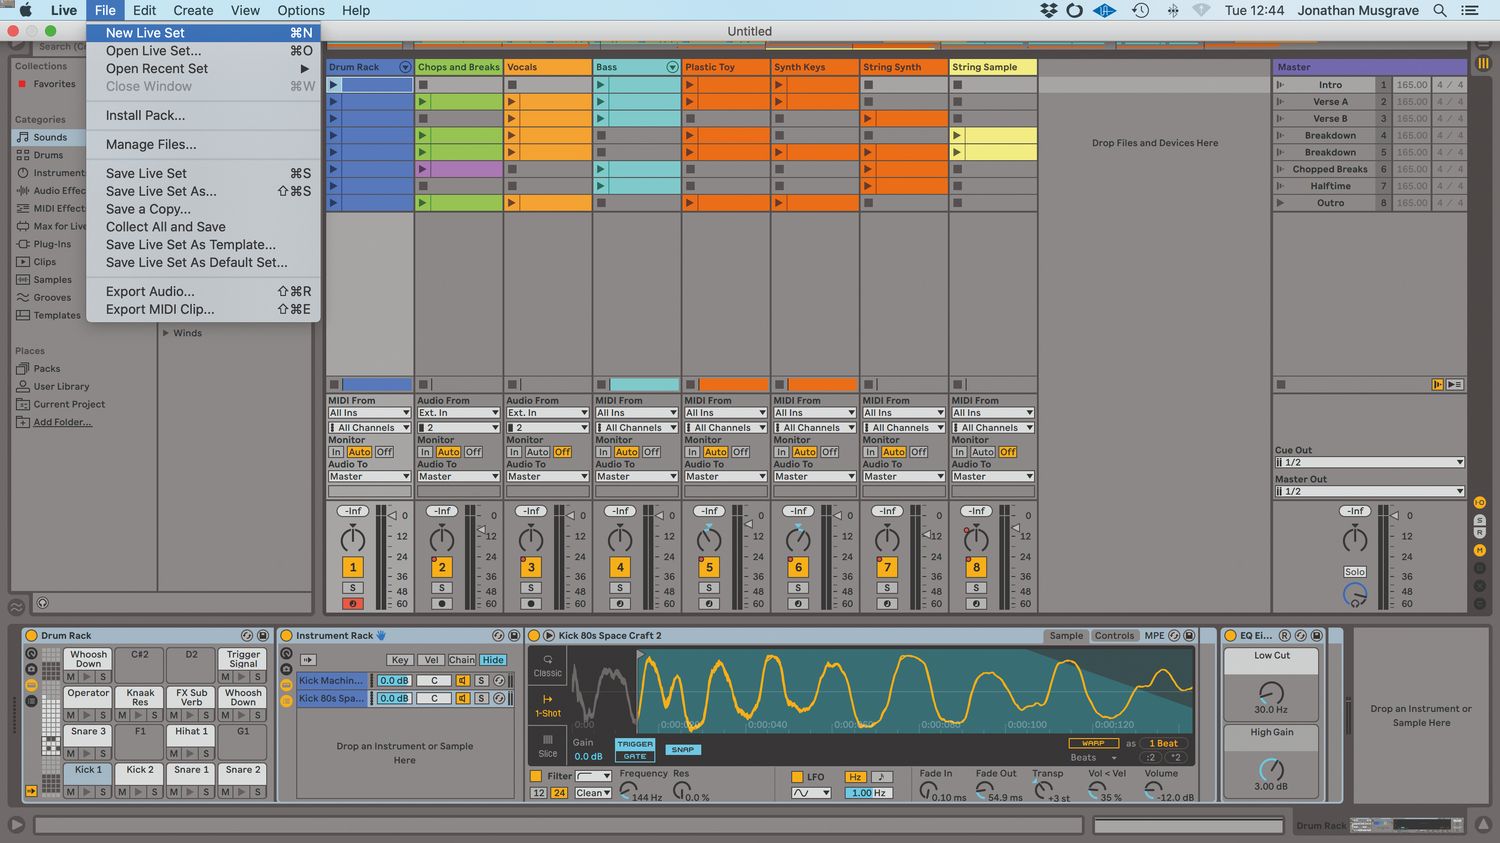
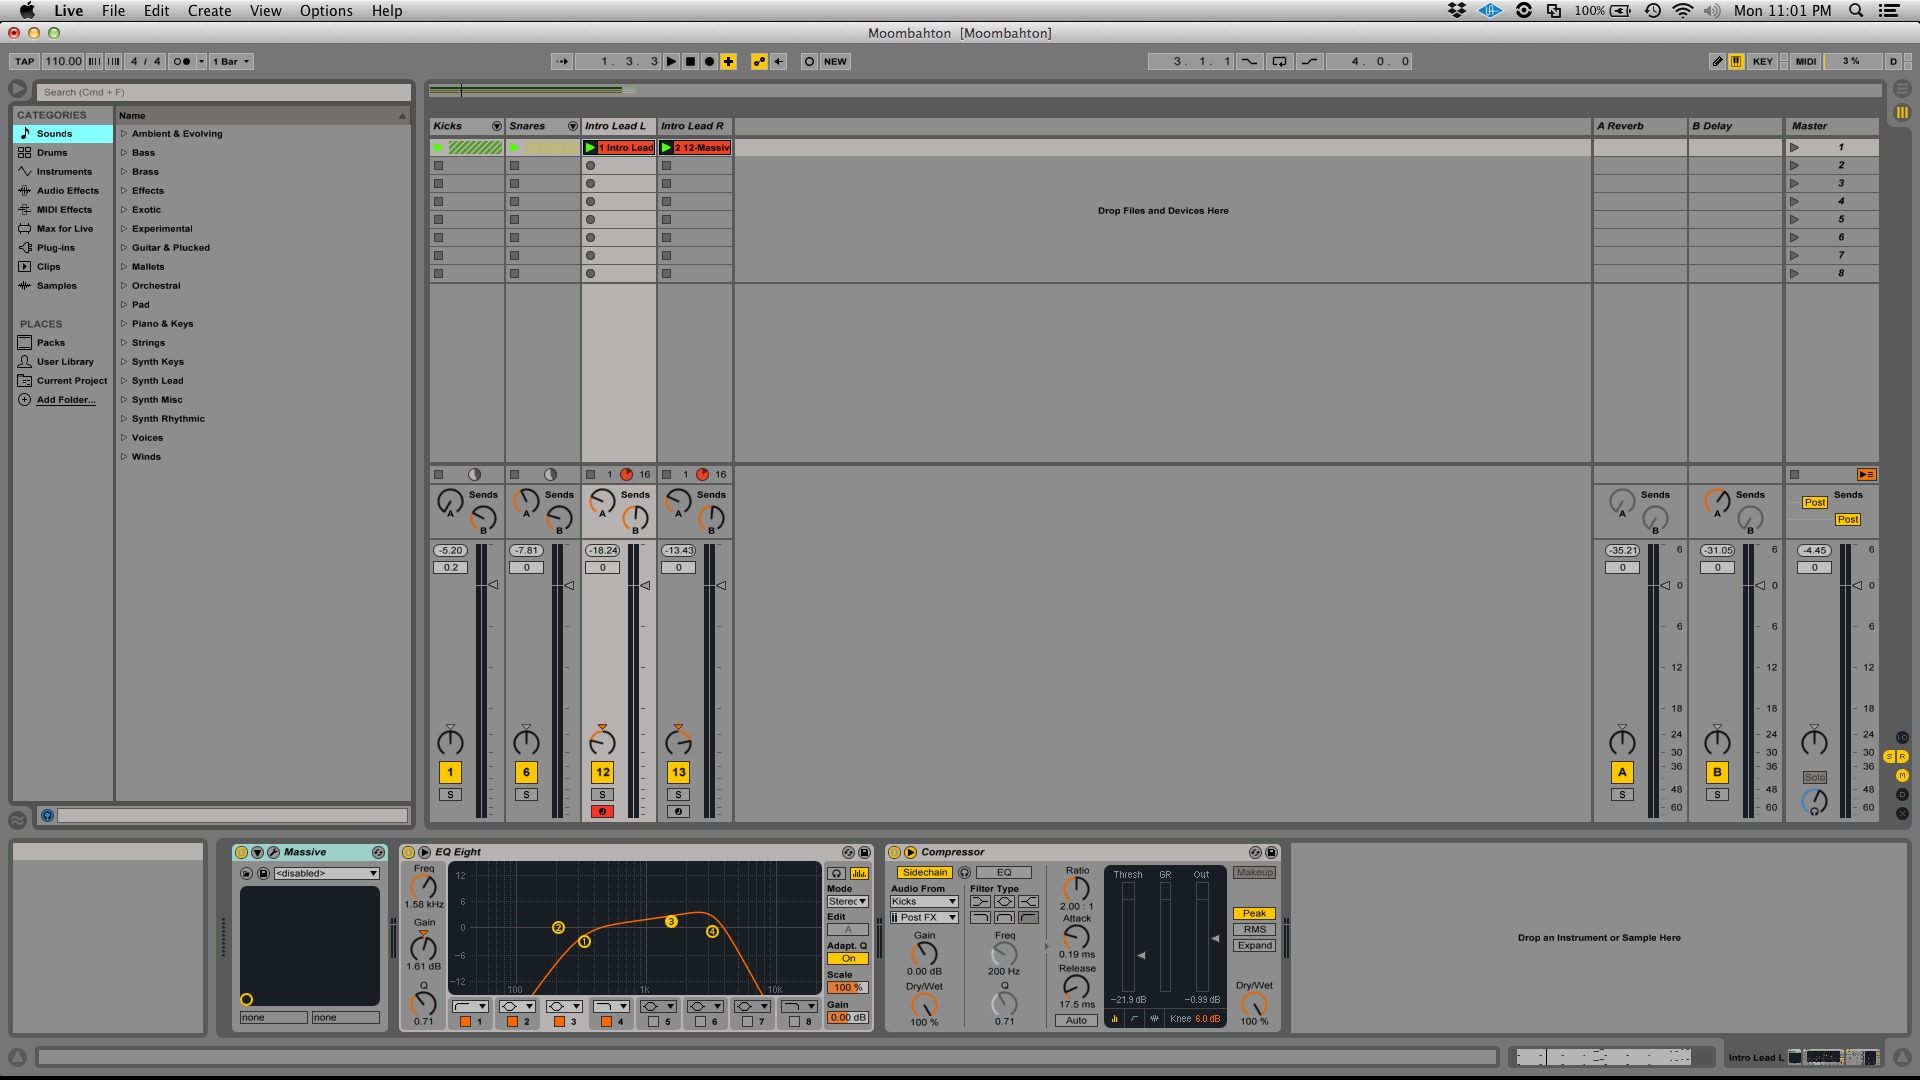
- Load a MIDI Track: In Ableton Live, tracks are used to organize and sequence MIDI and audio clips. To send MIDI to a synthesizer, you need to create a MIDI track. Click on the Add Track button in the bottom left corner of the Ableton Live interface, or use the shortcut Ctrl/Cmd + T (Windows/Mac). This will create a new MIDI track in the session view.
- Choose a Synthesizer Plugin: Ableton Live comes with a variety of built-in synthesizer plugins that you can use to generate sounds. Click on the Add Instrument button on the desired MIDI track, or use the shortcut Ctrl/Cmd + Shift + T (Windows/Mac), to open the plugin browser. Browse through the available synthesizers and select the one you want to use. This will load the synthesizer plugin onto the MIDI track.
Once you have completed these steps, Ableton Live is ready to send MIDI to your synthesizer. In the next section, we will explore how to connect your synthesizer to Ableton Live.
Connecting the Synthesizer
Now that Ableton Live is set up, it’s time to establish a physical connection between your synthesizer and your computer. Follow these steps to connect your synthesizer:
- Power off your synthesizer: Before connecting any cables, make sure your synthesizer is powered off to avoid any potential damage to your equipment.
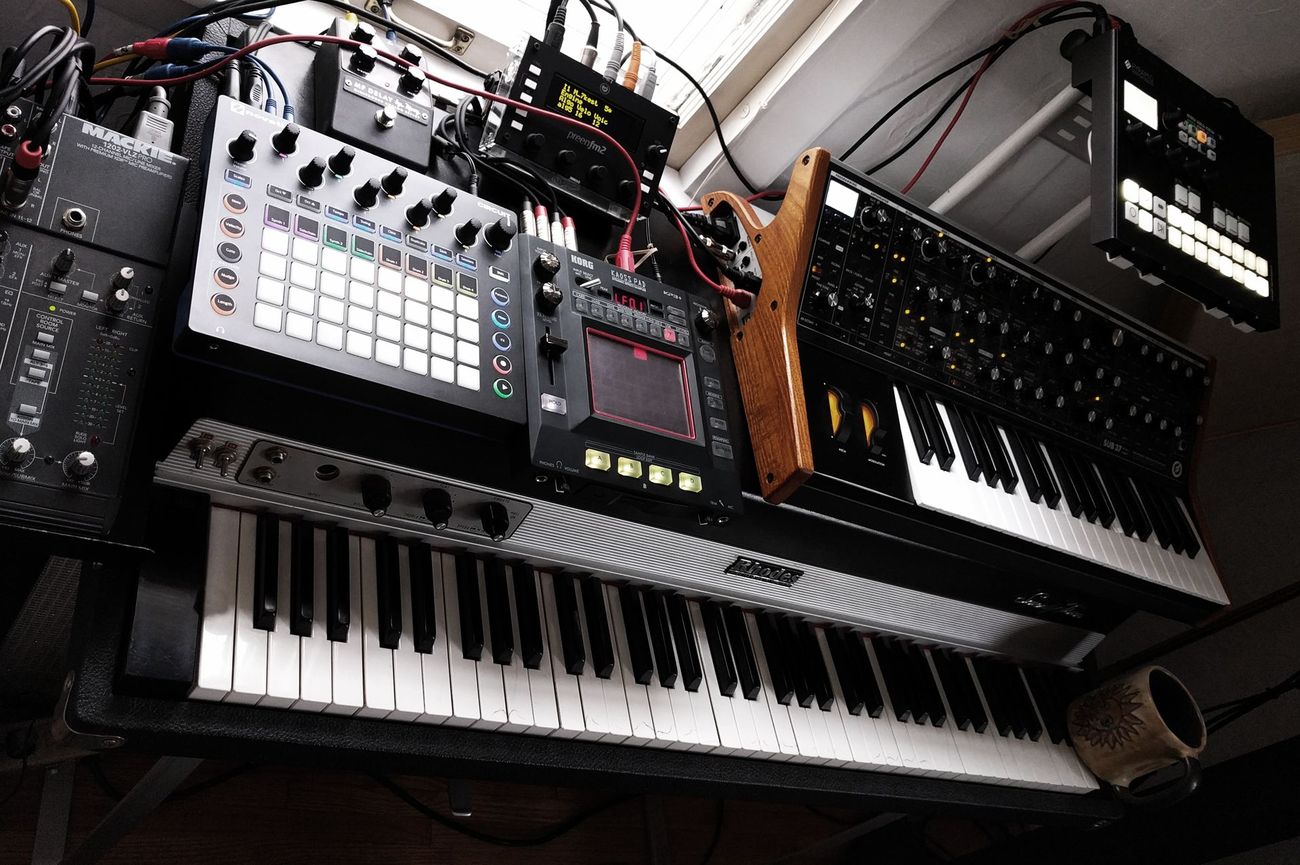
- Identify available MIDI ports: Take a look at the back of your synthesizer and identify the available MIDI ports. MIDI ports can be labeled as ‘MIDI In’, ‘MIDI Out’, or ‘MIDI Thru’.
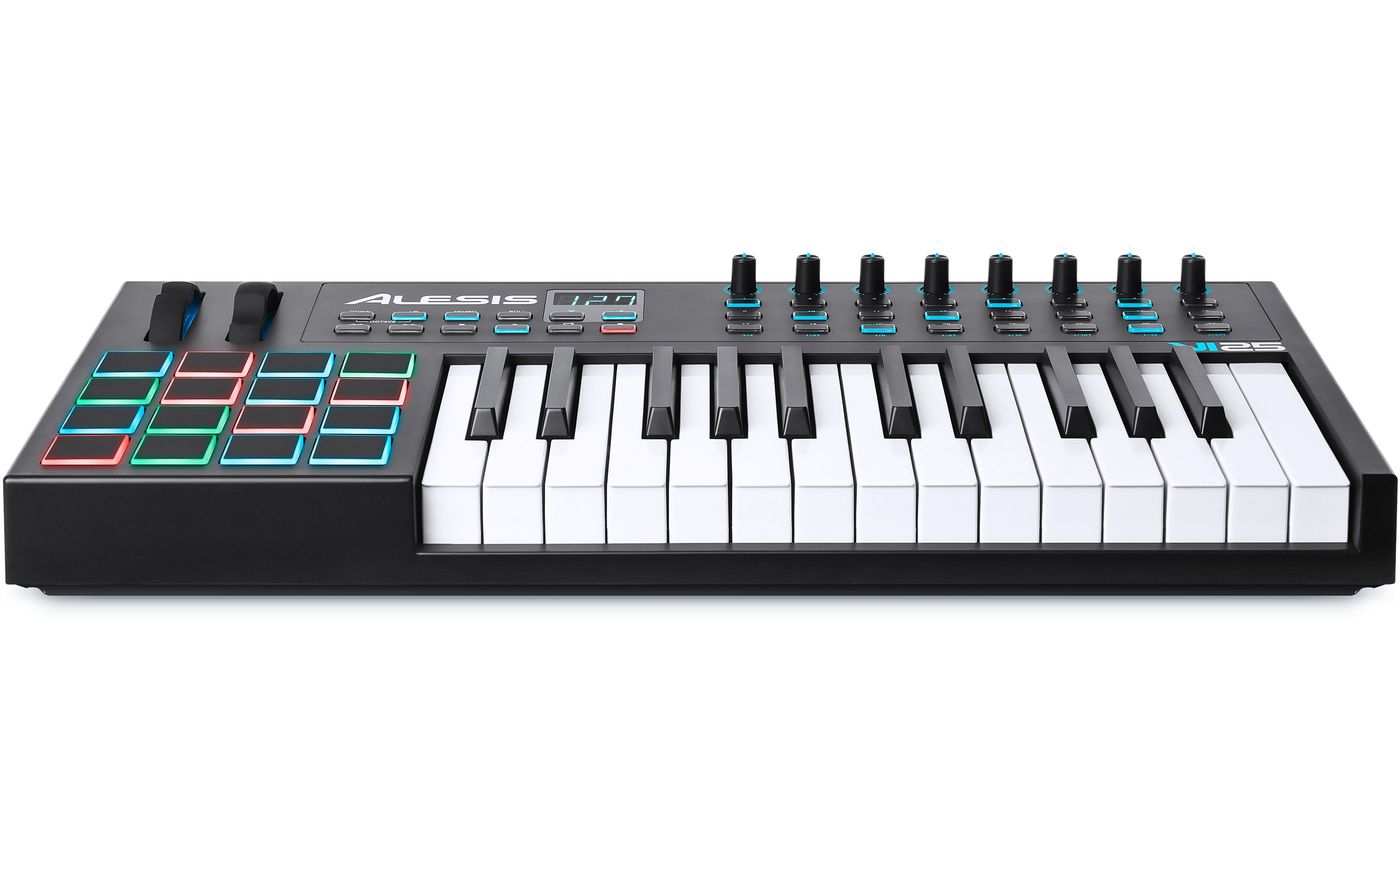
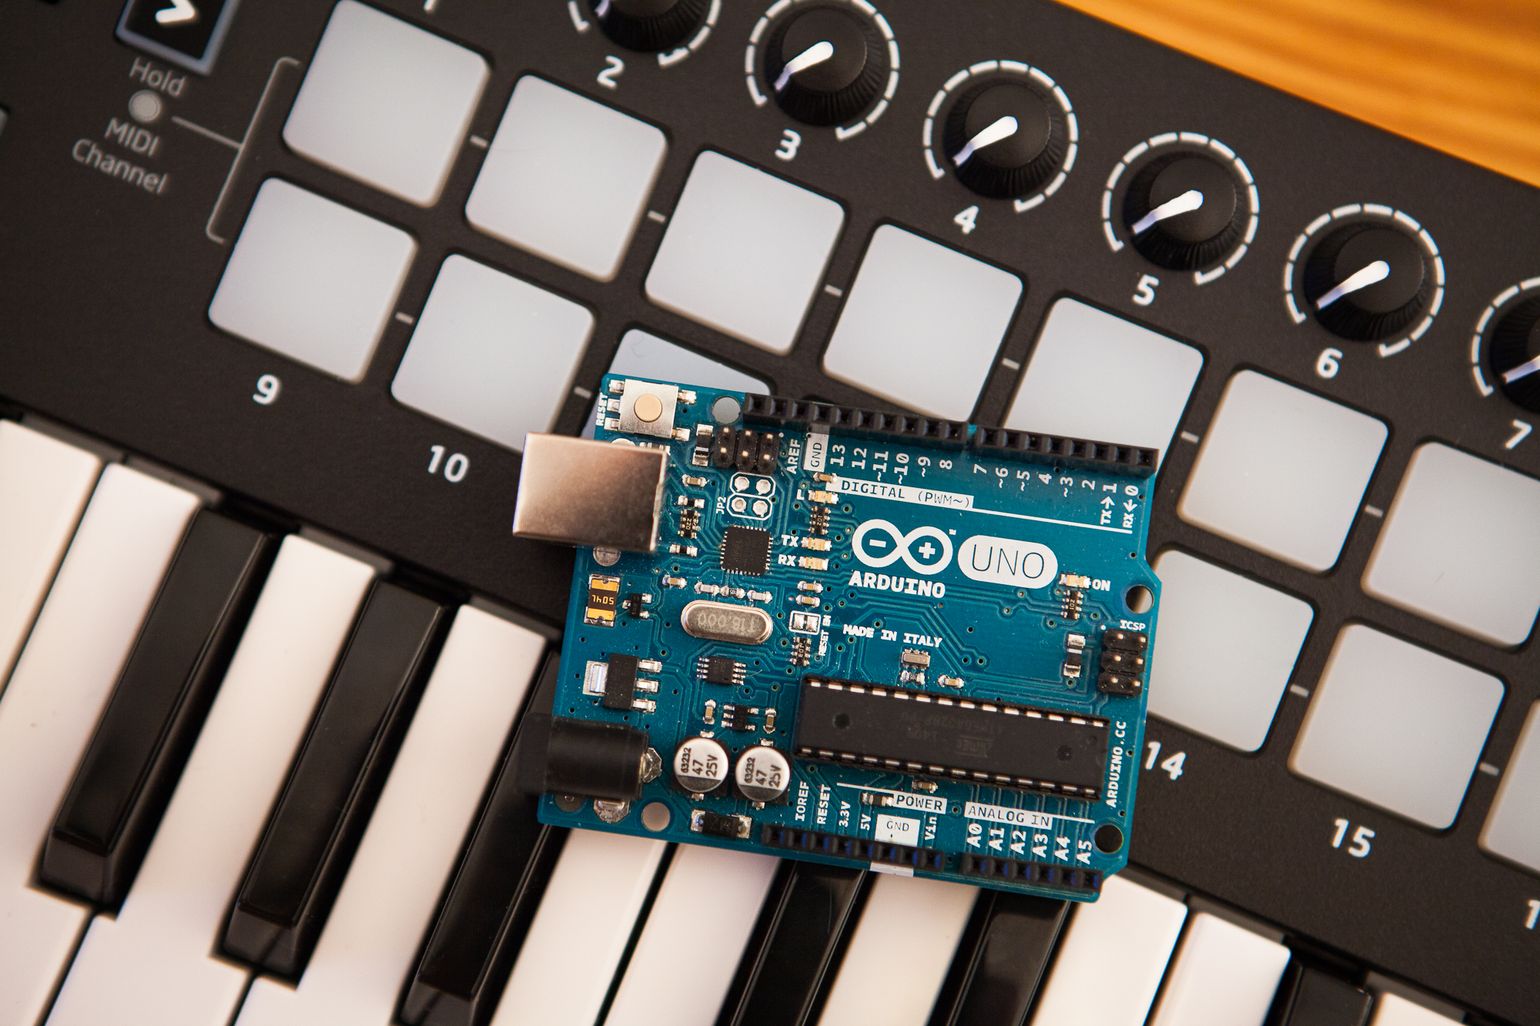
- Connect the MIDI interface: If your computer doesn’t have a built-in MIDI interface, you will need to connect an external MIDI interface. Connect the MIDI interface to a USB port on your computer using the provided USB cable.
- Connect the MIDI cables: Use MIDI cables to connect the MIDI Out port on your synthesizer to the MIDI In port on your MIDI interface. If you have multiple synthesizers, repeat this step for each device, connecting their respective MIDI Out ports to different MIDI In ports on your MIDI interface.
- Power on your synthesizer: Once the connections are made, power on your synthesizer. The MIDI interface should also receive power from the computer via the USB connection.
- Check MIDI connectivity: Launch Ableton Live and navigate to the MIDI preferences. Go to the Preferences menu by clicking on Options (Windows) or Live (Mac), then select Preferences. In the Preferences window, navigate to the MIDI Sync tab and verify that your MIDI interface is listed under the MIDI Ports section.
Once your synthesizer is connected to your computer through a MIDI interface, and the MIDI connection is established in Ableton Live, you’re ready to configure the MIDI output settings. We will explore this in the next section.
Configuring MIDI Output
Now that your synthesizer is physically connected to your computer, it’s time to configure the MIDI output settings in Ableton Live. This will ensure that MIDI data is properly sent to your synthesizer. Follow these steps to configure the MIDI output:
- Select the MIDI track: Click on the MIDI track that contains the synthesizer plugin to select it. The selected track will be highlighted in Ableton Live’s interface.
- Open the MIDI output settings: In the track inspector on the left side of Ableton Live’s interface, locate the MIDI From dropdown menu. Click on it and select the MIDI interface or MIDI port that corresponds to your synthesizer. This will set the output of the MIDI track to the selected MIDI interface or port.
- Assign the MIDI channel: MIDI channels are used to differentiate between multiple MIDI devices or sound sources. In the track inspector, locate the MIDI To dropdown menu. Click on it and select the MIDI channel that corresponds to your synthesizer. If you’re unsure which MIDI channel to select, consult your synthesizer’s documentation or use channel 1 as a default.
- Check the MIDI indicator: In Ableton Live’s interface, locate the track mixer section at the bottom. When you play a MIDI note or send a MIDI control message from Ableton Live, the MIDI indicator corresponding to the selected MIDI output should light up or show activity. This indicates that MIDI data is being sent to your synthesizer.
- Test the connection: Play a MIDI note on your keyboard or click on a MIDI clip in Ableton Live to test the connection. You should hear the sound coming from your synthesizer, indicating that the MIDI output is properly configured.
Once you have successfully configured the MIDI output settings, you can start sending MIDI notes and control messages to your synthesizer. We will explore how to do this in the next sections.
Configuring MIDI Channels
MIDI channels play a crucial role in allowing multiple MIDI devices or sound sources to communicate with each other without interfering. When configuring MIDI channels in Ableton Live, you need to ensure that the MIDI channels on your synthesizer and in Ableton Live are set up correctly. Follow these steps to configure MIDI channels:
- Understand the MIDI channel concept: MIDI channels range from 1 to 16 and are used to differentiate between MIDI devices or sound sources. Each channel can be assigned to a specific instrument or sound. By default, MIDI devices are set to respond to all channels (omni mode).
- Access your synthesizer’s MIDI channel settings: Consult your synthesizer’s documentation to learn how to access the MIDI channel settings. Some synthesizers have dedicated buttons or menus to change the MIDI channel, while others require specific key combinations.
- Set the proper MIDI channel: Choose a MIDI channel on your synthesizer that corresponds to the MIDI channel assigned to the MIDI track in Ableton Live (configured in the previous section). Remember, if you’re unsure which MIDI channel to use, start with channel 1 as a default.
- Configure the MIDI channel in Ableton Live: In the track inspector of the MIDI track, locate the MIDI To dropdown menu. Ensure that the MIDI channel selected here matches the MIDI channel set on your synthesizer.
- Test the MIDI channel setup: Play a MIDI note or send a MIDI control message from Ableton Live to your synthesizer. Verify that you’re receiving the expected sound on your synthesizer. If you’re not hearing the correct sound, double-check the MIDI channel configuration on both your synthesizer and in Ableton Live.
Configuring the MIDI channels correctly is essential for proper communication between your synthesizer and Ableton Live. It ensures that the MIDI information sent from Ableton Live is received and interpreted correctly by your synthesizer. With the MIDI channels properly set up, you’re ready to start sending MIDI notes and control messages to your synthesizer!
Sending MIDI Notes
Now that you have set up and configured the MIDI output and channels, it’s time to start sending MIDI notes to your synthesizer. MIDI notes are used to trigger specific sounds or pitches on your synthesizer. Follow these steps to send MIDI notes in Ableton Live:
- Select the MIDI track: Click on the MIDI track that contains the synthesizer plugin to select it. The selected track will be highlighted in Ableton Live’s interface.
- Arm the track: To ensure that Ableton Live is ready to receive MIDI input, click on the track’s Arm button. It’s represented by a circle icon next to the track name. This will activate the MIDI input for the selected track.
- Play MIDI notes: You can now start playing MIDI notes on your MIDI keyboard or MIDI controller. As you press the keys, the corresponding MIDI notes will be sent to Ableton Live and then routed to your synthesizer. You will hear the synthesizer playing the sounds based on the MIDI notes you are playing.
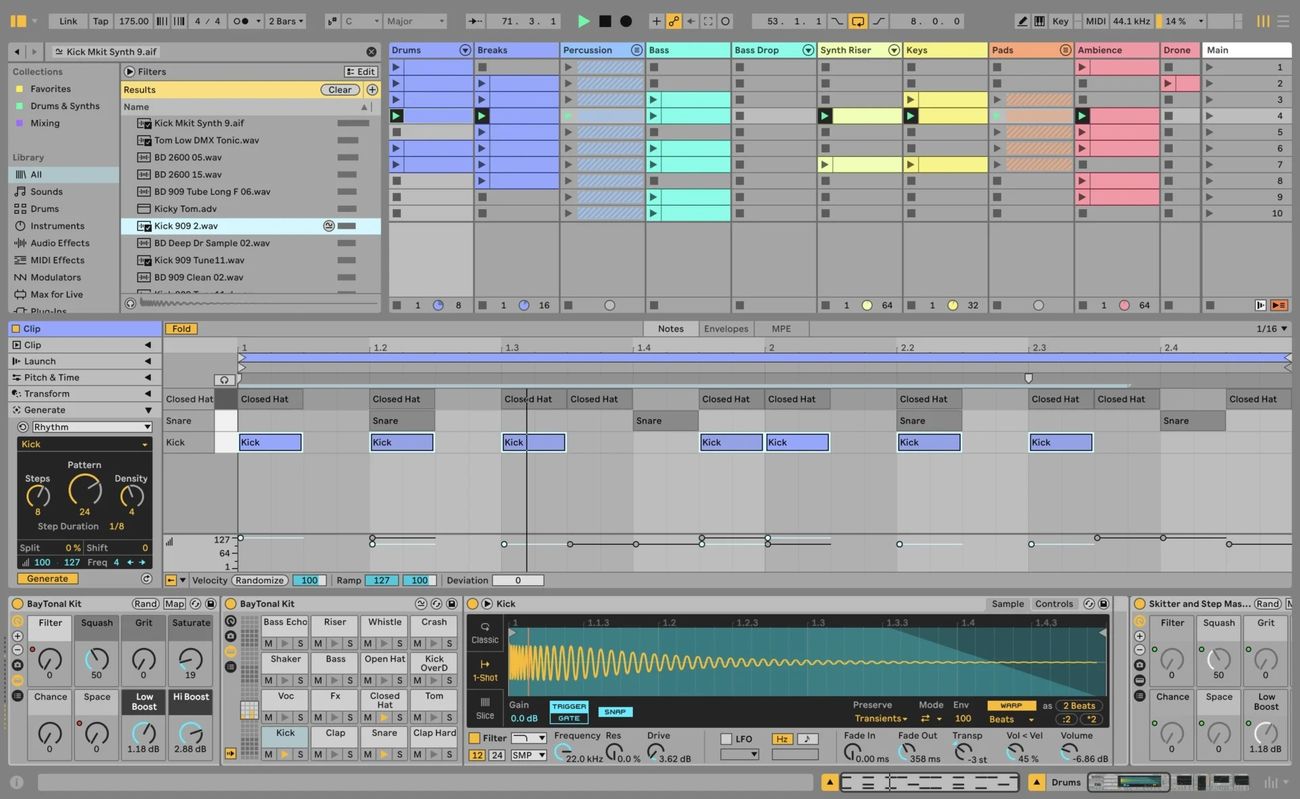
- Create MIDI clips: In addition to live performance, Ableton Live allows you to create MIDI clips for more precise and controlled playback. To create a MIDI clip, click on the Clip View button at the bottom of the instrument track, or use the shortcut Shift + Tab. Then, click and drag within the clip editor to create MIDI notes of different lengths and pitches. When you play the MIDI clip, the synthesizer will reproduce the MIDI notes in the pattern you have created.
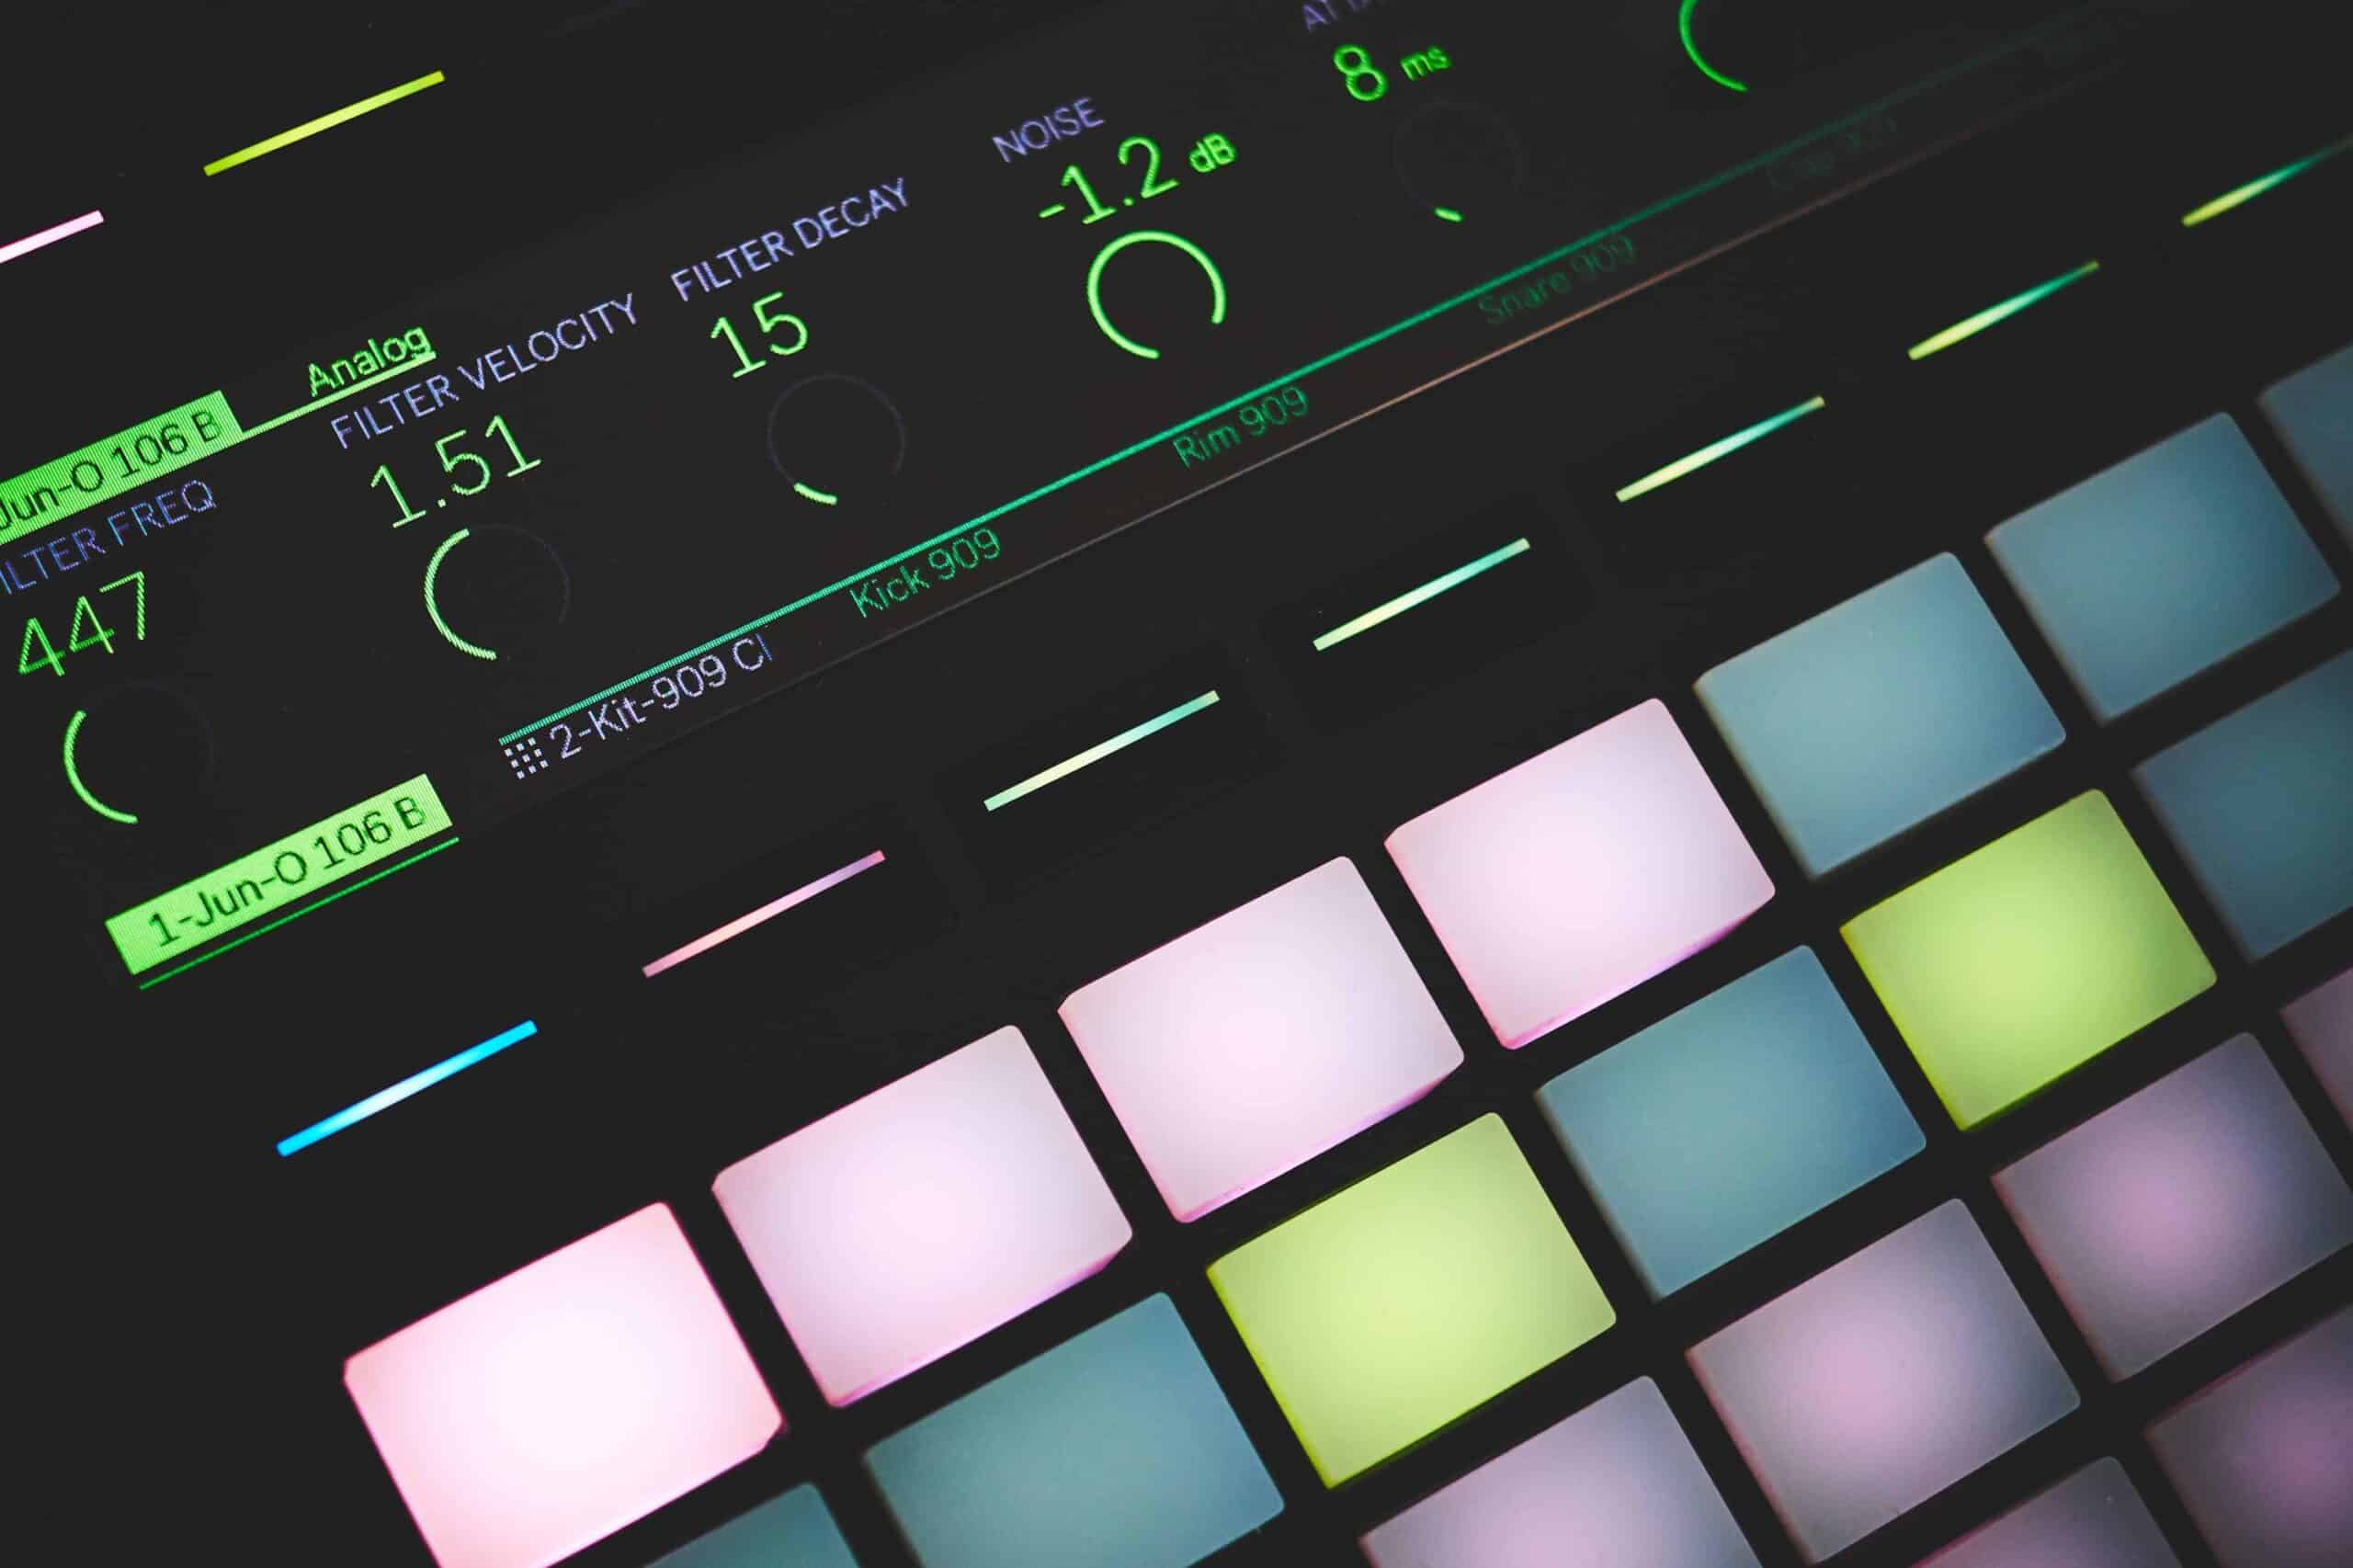
- Experiment with velocity and other MIDI parameters: MIDI notes carry additional parameters like velocity, which determines the intensity or strength of a note. In Ableton Live, you can adjust the velocity of individual MIDI notes to add dynamics to your performance or composition. You can also experiment with other MIDI parameters like pitch bend, modulation, and aftertouch to further enhance your synthesizer’s sound expression.
By sending MIDI notes from Ableton Live, you have full control over the sounds and tones produced by your synthesizer. Take the time to experiment with different melodies, chord progressions, and articulations to unleash the full potential of your synthesizer and create unique musical compositions.
Sending MIDI Control Messages
In addition to sending MIDI notes, you can also send MIDI control messages from Ableton Live to your synthesizer. MIDI control messages allow you to manipulate various parameters of your synthesizer in real-time, including filter cutoff, resonance, envelope settings, and more. Here’s how you can send MIDI control messages in Ableton Live:
- Select the MIDI track: Click on the MIDI track that contains the synthesizer plugin to select it. The track will be highlighted in Ableton Live’s interface.
- Activate MIDI mapping mode: In Ableton Live’s top menu, click on the MIDI button to activate MIDI mapping mode. Alternatively, you can use the shortcut Cmd + M (Mac) or Ctrl + M (Windows). The MIDI mapping mode allows you to assign MIDI control messages to specific parameters in your synthesizer plugin.
-
Select a parameter: Once in MIDI mapping mode, click on the parameter of your synthesizer plugin that you want to control. This could be a knob, fader, or any other parameter that is MIDI-mappable. The parameter will be highlighted to indicate that it’s ready to receive MIDI control messages.
Send a MIDI message: On your MIDI controller or within Ableton Live, move a control element or send a MIDI message that you want to assign to the selected parameter. For example, you can move a knob on your MIDI controller to control the filter cutoff on your synthesizer.
-
Map the MIDI message: Once you send the MIDI message, Ableton Live will automatically map it to the selected parameter. The mapping will be displayed in the lower half of the Ableton Live interface, indicating the MIDI control message and the mapped parameter. You can also manually adjust the mapping parameters if needed.
Repeat for other parameters: If you want to map additional parameters, repeat the above steps. Select a new parameter and send a different MIDI control message to map it. This way, you can control multiple parameters of your synthesizer using different MIDI control messages.
- Exit MIDI mapping mode: Once you have mapped all the desired parameters, click on the MIDI button again or use the shortcut Cmd + M (Mac) or Ctrl + M (Windows) to exit MIDI mapping mode. This will disable further MIDI mapping and allow you to control the assigned parameters using your MIDI controller or within Ableton Live.
- Experiment and automate: With the MIDI control messages set up, experiment with controlling different parameters of your synthesizer in real-time. You can manipulate filter settings, create dynamic modulation effects, and automate changes within your compositions. This adds versatility and expressiveness to your music production.
By sending MIDI control messages in Ableton Live, you have the power to shape the sound and performance of your synthesizer. Explore different control options and experiment with various parameter mappings to create intricate and dynamic soundscapes.
Troubleshooting MIDI Connectivity
While setting up and working with MIDI connectivity, you may encounter issues that can disrupt the communication between Ableton Live and your synthesizer. Here are some common troubleshooting steps to help you resolve MIDI connectivity problems:
- Check cable connections: Ensure that all MIDI cables are securely connected between your synthesizer, MIDI interface, and computer. Loose connections can cause intermittent issues or no communication at all.
- Restart your equipment: Sometimes, a simple restart can resolve connectivity problems. Power off your synthesizer, MIDI interface, and computer. Then, power them back on in the correct order: synthesizer, MIDI interface, and finally, the computer.
- Verify MIDI interface settings: Double-check the MIDI interface settings in Ableton Live’s MIDI preferences. Ensure that the correct MIDI interface is selected as the input and output device.
- Test with a different MIDI cable/interface: If you suspect a faulty MIDI cable or interface, try using a different cable or interface to see if the issue persists. This will help determine if the problem is with the equipment or the connection.
- Update drivers and firmware: Make sure you have the latest drivers and firmware for your MIDI interface, synthesizer, and computer. Check the manufacturer’s website for any available updates and install them if necessary.
- Check MIDI channels and assignments: Ensure that the MIDI channels on your synthesizer and in Ableton Live are aligned. If they are mismatched, you may experience issues with MIDI communication. Adjust the MIDI channels accordingly in both the synthesizer and Ableton Live.
- Test with a different MIDI device: If possible, connect a different MIDI device to your computer and test if it works properly. This will help determine if the issue lies with the synthesizer or with the software/hardware setup.
- Update Ableton Live: Ensure that you are running the latest version of Ableton Live. Updates often include bug fixes and improvements that can address MIDI connectivity issues.
- Reset MIDI settings: As a last resort, you can try resetting Ableton Live’s MIDI settings to their default values. Go to the Preferences menu and locate the MIDI settings. Look for an option to reset MIDI mappings or preferences.
If you have tried all the troubleshooting steps and are still experiencing MIDI connectivity issues, you may need to seek assistance from technical support or consult online forums and communities for further guidance. Remember, each setup is unique, and the solution to your specific issue may require additional troubleshooting steps.
By following these troubleshooting steps, you can identify and resolve common MIDI connectivity issues, ensuring a seamless connection between Ableton Live and your synthesizer.
Conclusion
Congratulations, you have successfully learned how to send MIDI to a synthesizer using Ableton Live! Through the steps outlined in this article, you have gained the knowledge and skills to set up Ableton Live, connect your synthesizer, configure MIDI output, and send MIDI notes and control messages.
Ableton Live offers a versatile platform to harness the power of MIDI and explore the creative possibilities of your synthesizer. Whether you’re a beginner or an experienced musician, understanding how to send MIDI opens up a world of sonic experimentation and musical expression.
Remember to always double-check your cable connections, verify MIDI settings, and troubleshoot any connectivity issues that may arise. By following the troubleshooting steps outlined here or seeking further assistance if needed, you can ensure a smooth and reliable MIDI connection.
With your synthesizer and Ableton Live working seamlessly together, you have the ability to create unique compositions, manipulate sound in real-time, and add depth to your musical productions. Don’t be afraid to explore different MIDI techniques, experiment with automation, and dive into the vast possibilities of MIDI synthesis.
Now that you have the knowledge and tools at your disposal, it’s time to unleash your creativity and embark on a musical journey filled with rich and captivating sounds. Enjoy your exploration of MIDI and synthesizers, and let the music flow!