Home>Production & Technology>Acoustic>How To Add A Pickup To An Acoustic Guitar
Acoustic
How To Add A Pickup To An Acoustic Guitar
Published: March 10, 2024
Learn how to add a pickup to your acoustic guitar and amplify your sound. Follow our step-by-step guide for a seamless installation process.
(Many of the links in this article redirect to a specific reviewed product. Your purchase of these products through affiliate links helps to generate commission for AudioLover.com, at no extra cost. Learn more)
Table of Contents
Introduction
Adding a pickup to an acoustic guitar is a fantastic way to expand its versatility and enable it to be amplified, making it suitable for live performances and recording sessions. Whether you're a seasoned musician or a passionate hobbyist, the ability to amplify your acoustic guitar opens up a world of opportunities to showcase your musical talent in various settings. With the right pickup, you can achieve a rich, clear, and balanced amplified sound that stays true to the natural tone of your acoustic guitar.
By installing a pickup, you can seamlessly transition from intimate acoustic performances to larger venues without compromising the authentic acoustic sound that you love. The process of adding a pickup to an acoustic guitar may seem daunting at first, but with the right tools, materials, and guidance, it can be a rewarding and fulfilling experience.
In this comprehensive guide, we will walk you through the step-by-step process of adding a pickup to your acoustic guitar. From measuring and marking the placement to connecting the pickup to the guitar's electronics, each stage is crucial in ensuring a successful installation. By following these instructions and tips, you can confidently embark on this project and enhance the sonic capabilities of your beloved acoustic guitar.
So, gather your tools and materials, set aside some time, and get ready to embark on this exciting journey of enhancing your acoustic guitar with a pickup. Whether you're aiming to perform on stage, record in a studio, or simply explore new sonic possibilities, adding a pickup to your acoustic guitar is a valuable investment that can elevate your musical endeavors to new heights. Let's dive in and unlock the amplified potential of your acoustic guitar!
Tools and Materials Needed
Before embarking on the process of adding a pickup to your acoustic guitar, it's essential to gather the necessary tools and materials to ensure a smooth and successful installation. Here's a comprehensive list of what you'll need:
Tools:
- Measuring Tape: Accurately measuring the placement for the pickup is crucial for a balanced and optimal sound.
- Drill and Drill Bits: To create a hole for the pickup without damaging the guitar.
- Screwdriver: For securing the pickup in place.
- Soldering Iron and Solder: If the pickup requires soldering to connect to the guitar's electronics.
- Wire Cutters and Strippers: For preparing the wires and ensuring a clean connection.
- Masking Tape: To mark the precise location for drilling without damaging the guitar's finish.
- Pliers: For handling and securing small components during the installation process.
- Flashlight: Assists in illuminating the guitar's interior for better visibility during installation.
Materials:
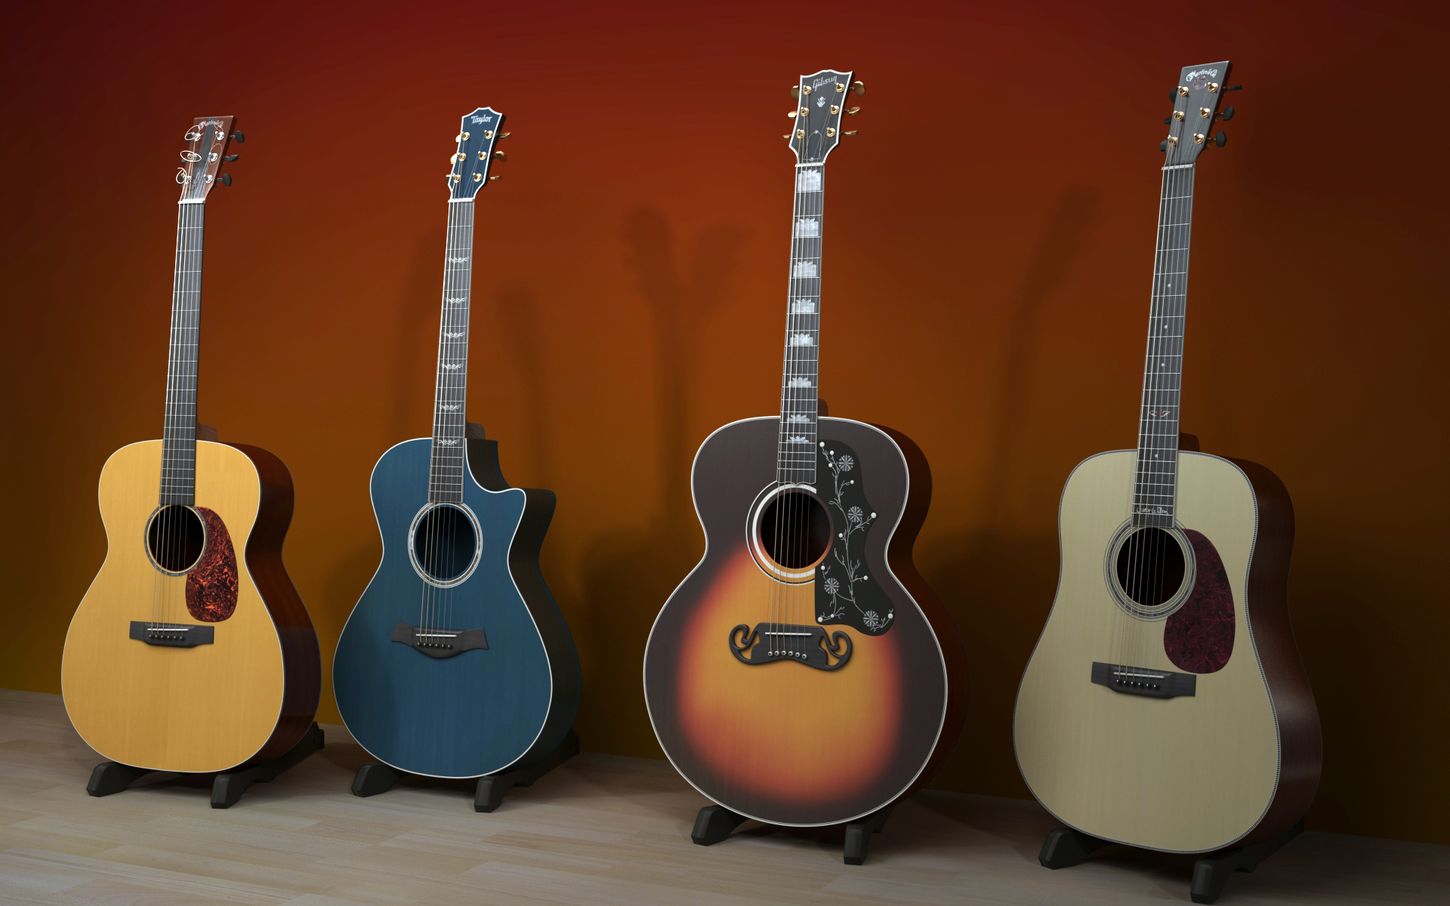
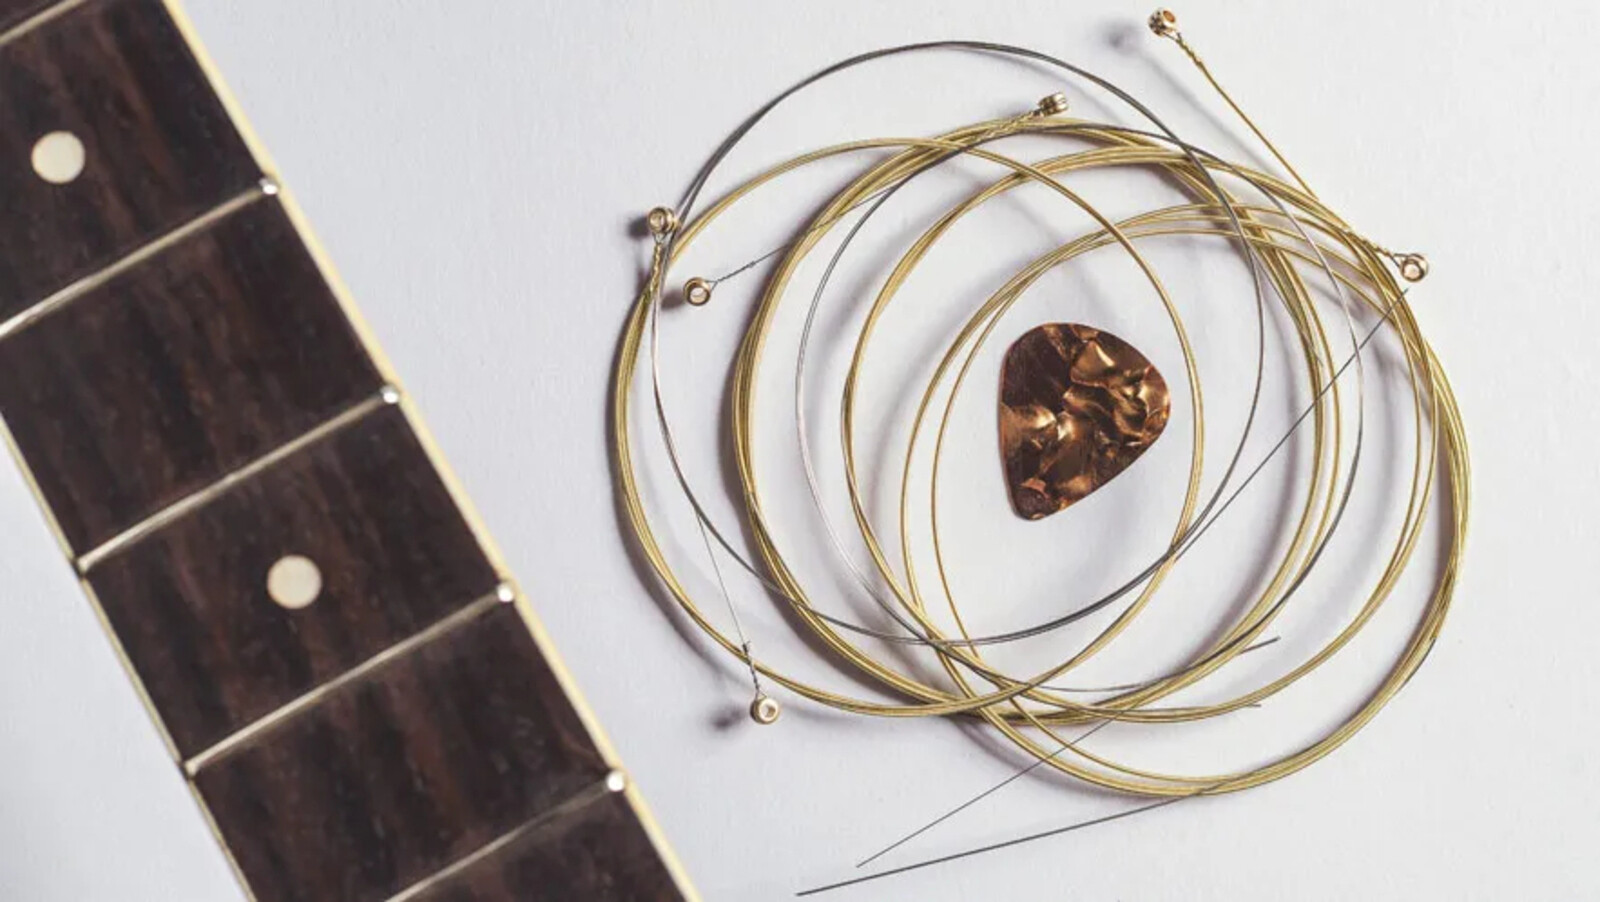
- Acoustic Guitar Pickup: Choose a pickup that suits your playing style and sonic preferences, such as soundhole pickups, undersaddle pickups, or internal microphone systems.
- 9-Volt Battery: If the pickup requires battery power for active electronics.
- Pickup Mounting Kit: Includes the necessary screws, brackets, and adhesive pads for securing the pickup.
- Shielded Guitar Wire: If the pickup requires rewiring or connecting to the guitar's electronics.
- Rubbing Alcohol: For cleaning the area where the pickup will be installed.
- Cloth or Towel: To protect the guitar's finish and keep the work area clean.
- Safety Glasses: Ensures eye protection while drilling and handling small components.
- Owner's Manual: If the pickup comes with specific installation instructions, refer to the manual for guidance.
By ensuring that you have all the required tools and materials at your disposal, you can proceed with confidence, knowing that you are well-equipped to add a pickup to your acoustic guitar. With these essentials in hand, you're ready to move on to the next step of measuring and marking the placement for the pickup.
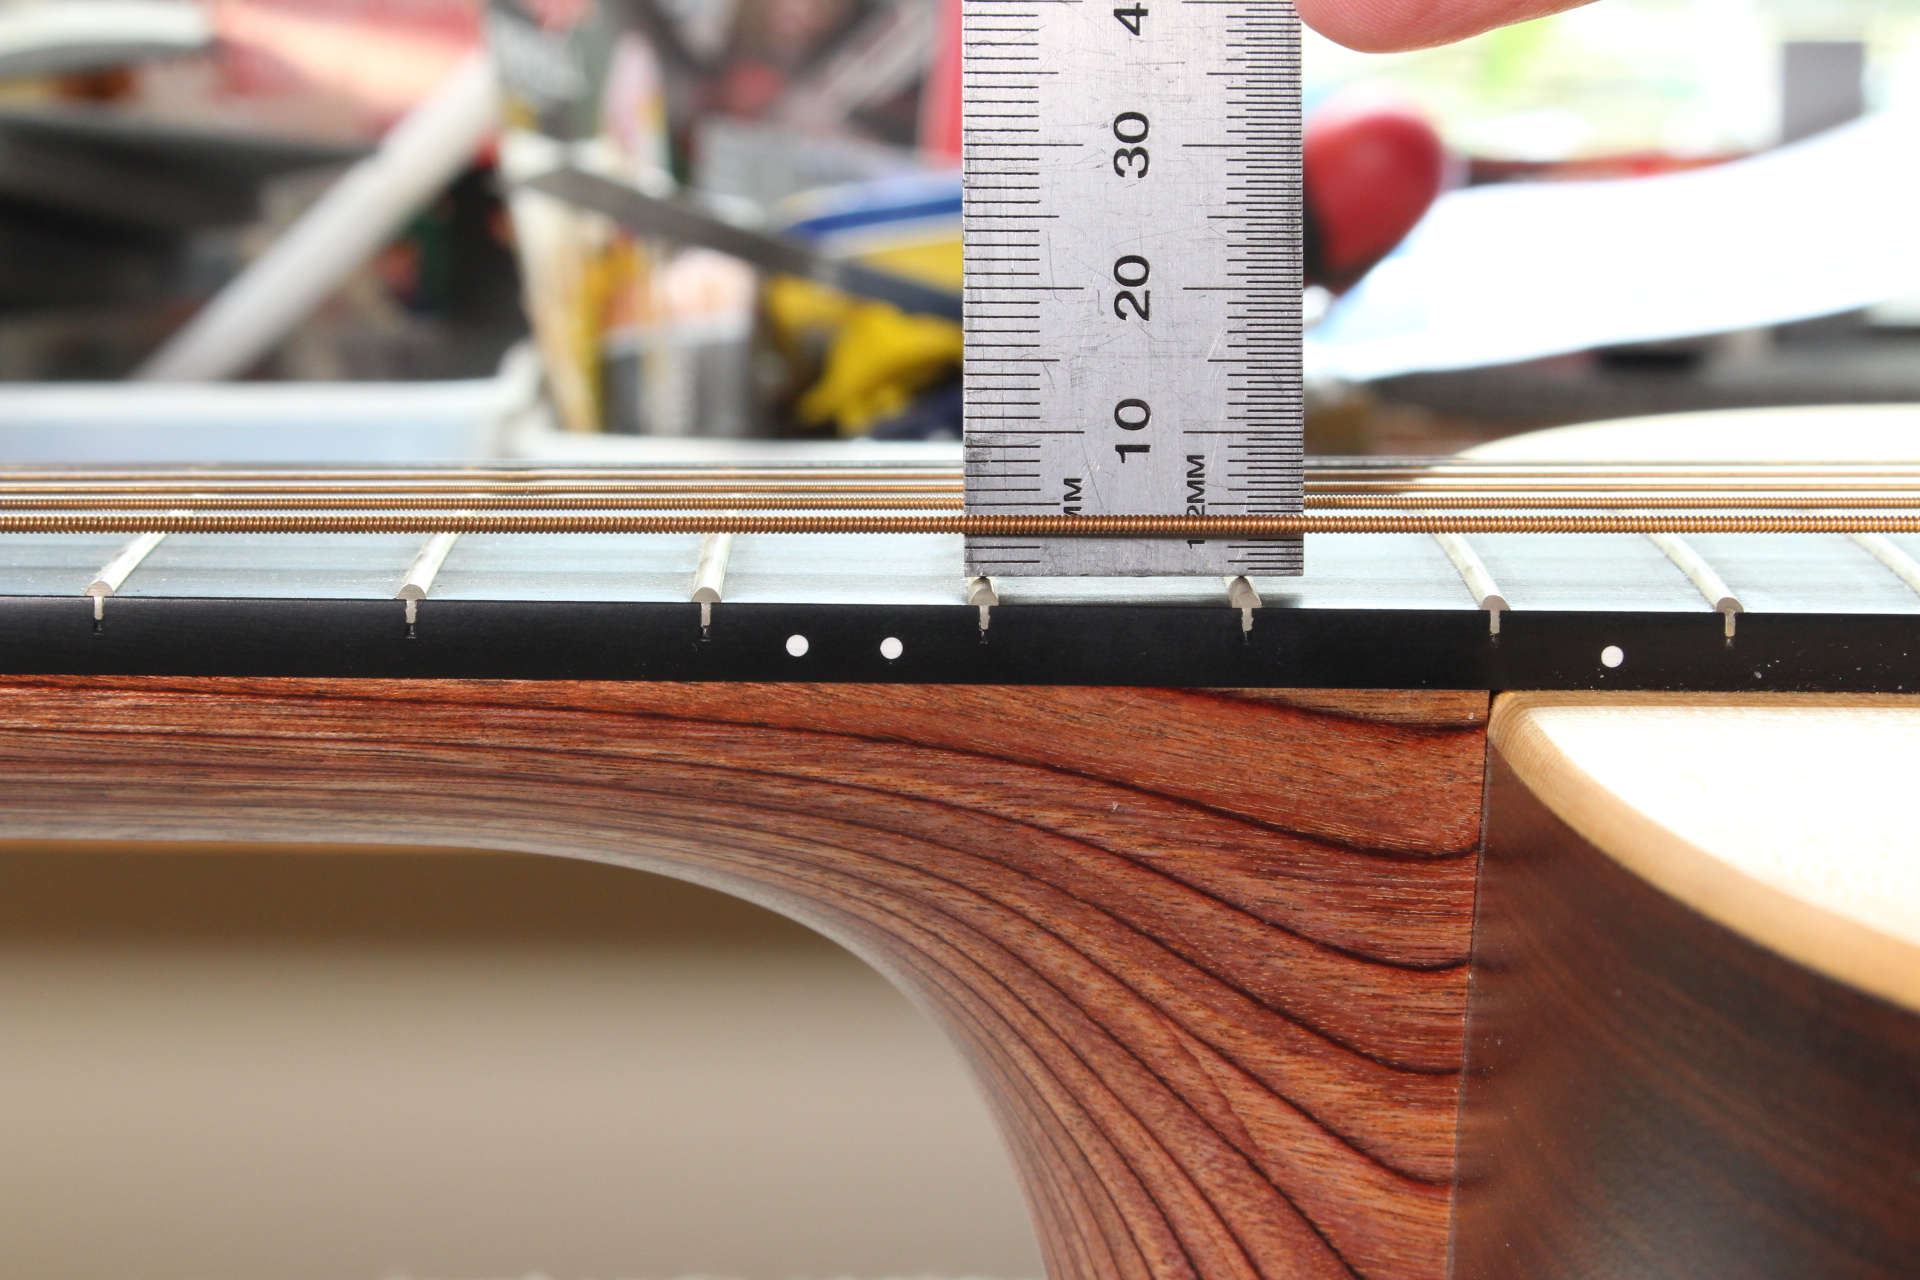
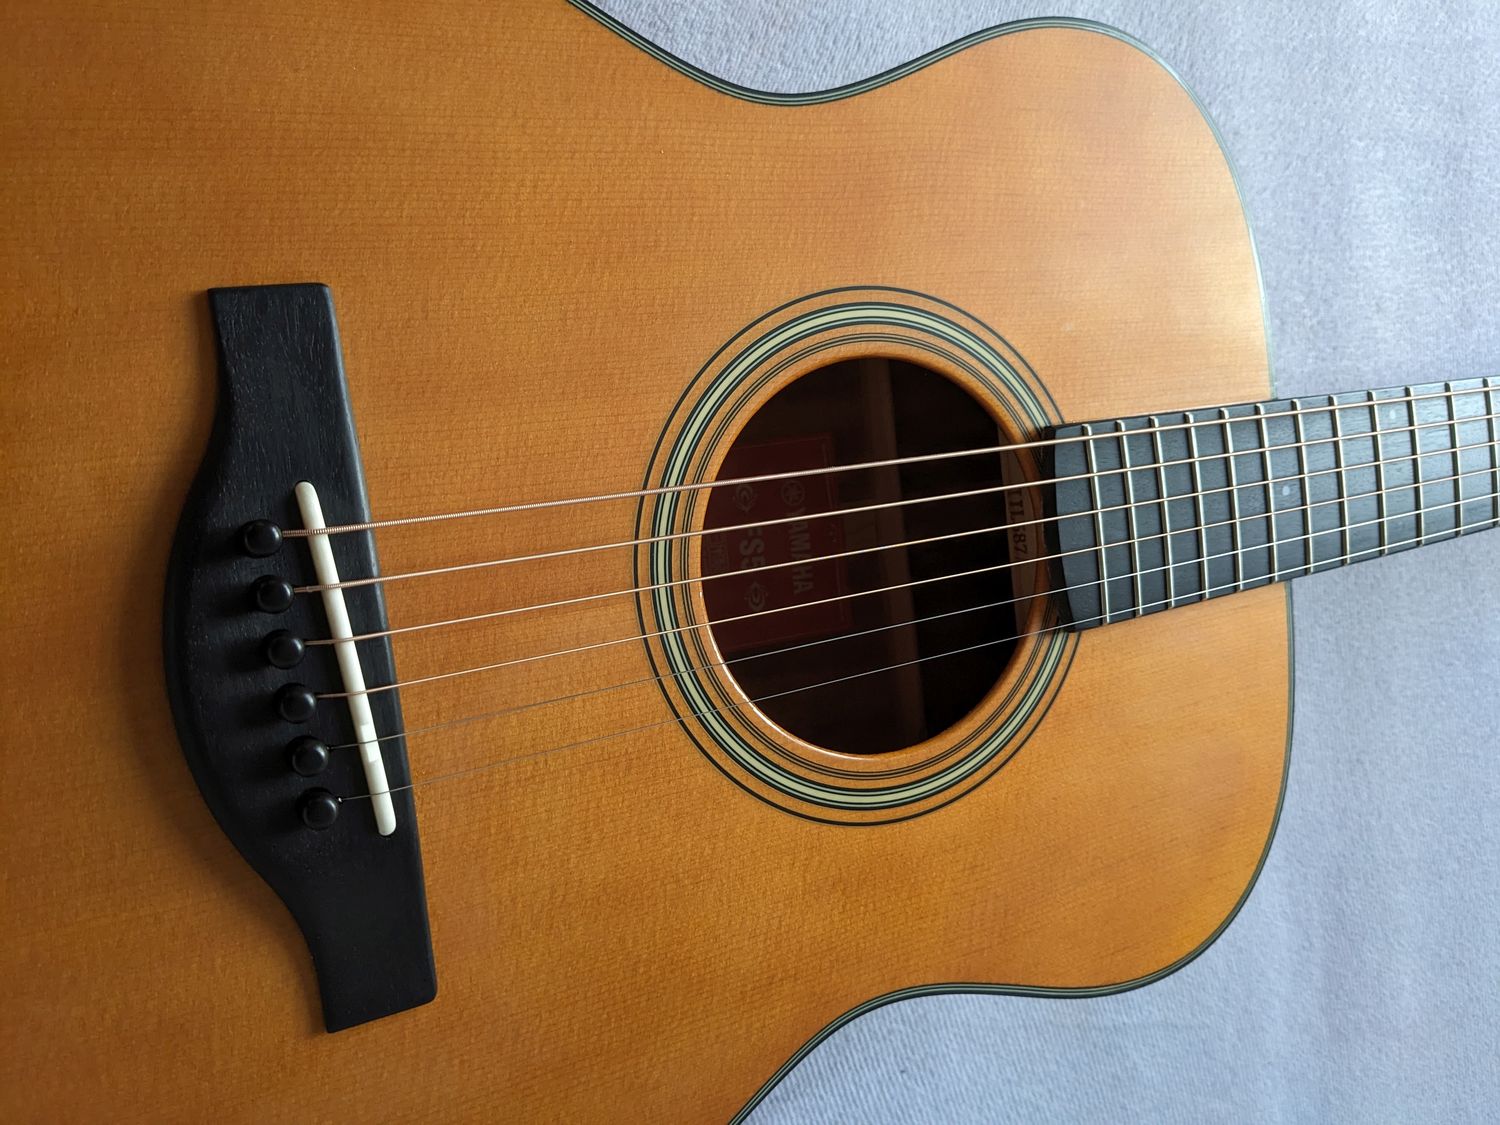
Step 1: Measure and Mark the Placement
The first crucial step in adding a pickup to your acoustic guitar is to accurately measure and mark the placement for the pickup. This step is essential for ensuring that the pickup is positioned in an optimal location to capture the natural resonance and tonal characteristics of the guitar.
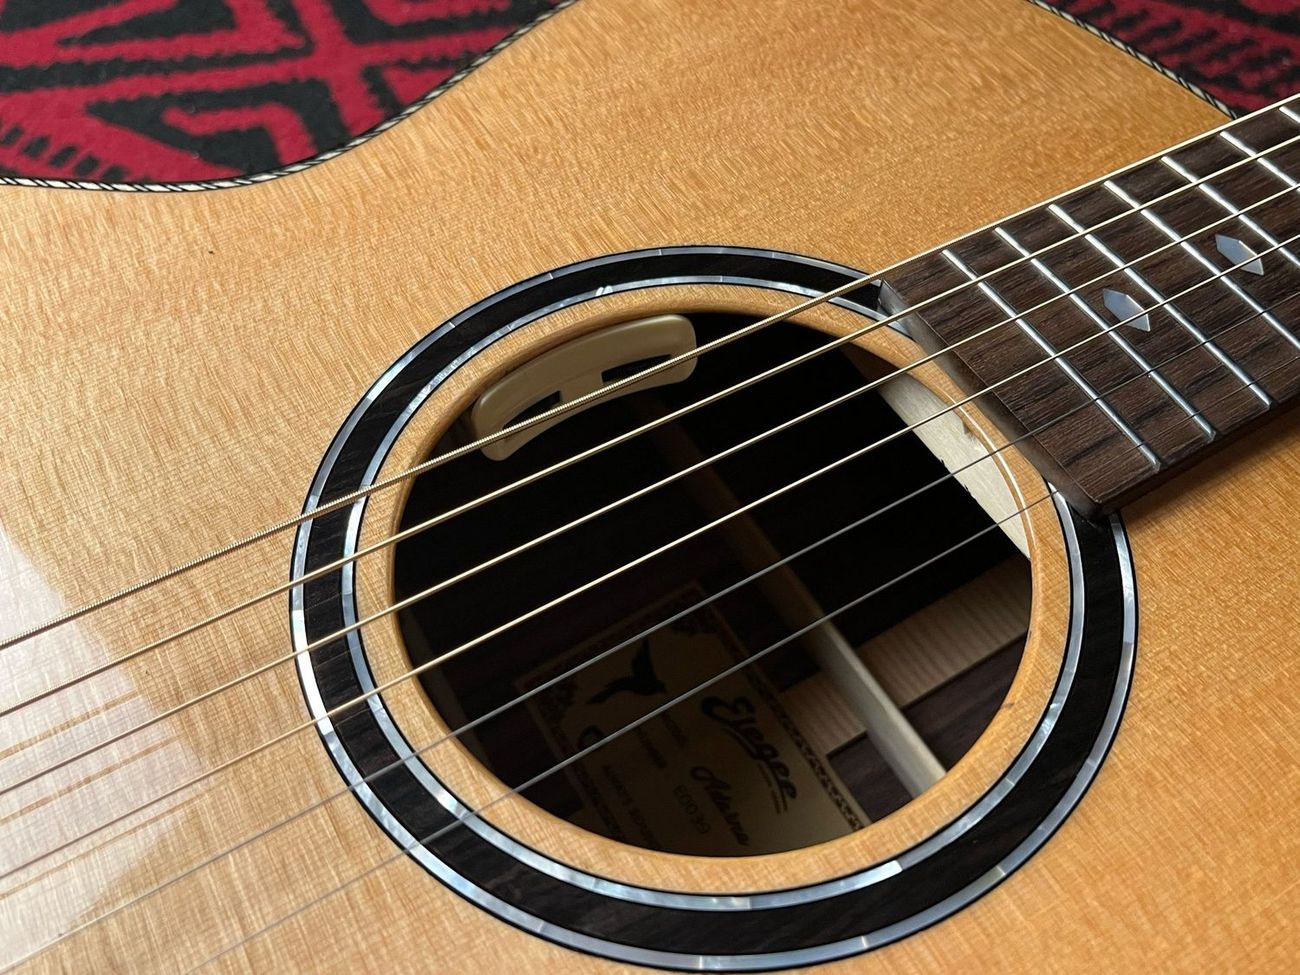
Begin by selecting the type of pickup that best suits your playing style and sonic preferences. Whether you opt for a soundhole pickup, undersaddle pickup, or internal microphone system, each type requires precise placement to achieve the desired sound quality.
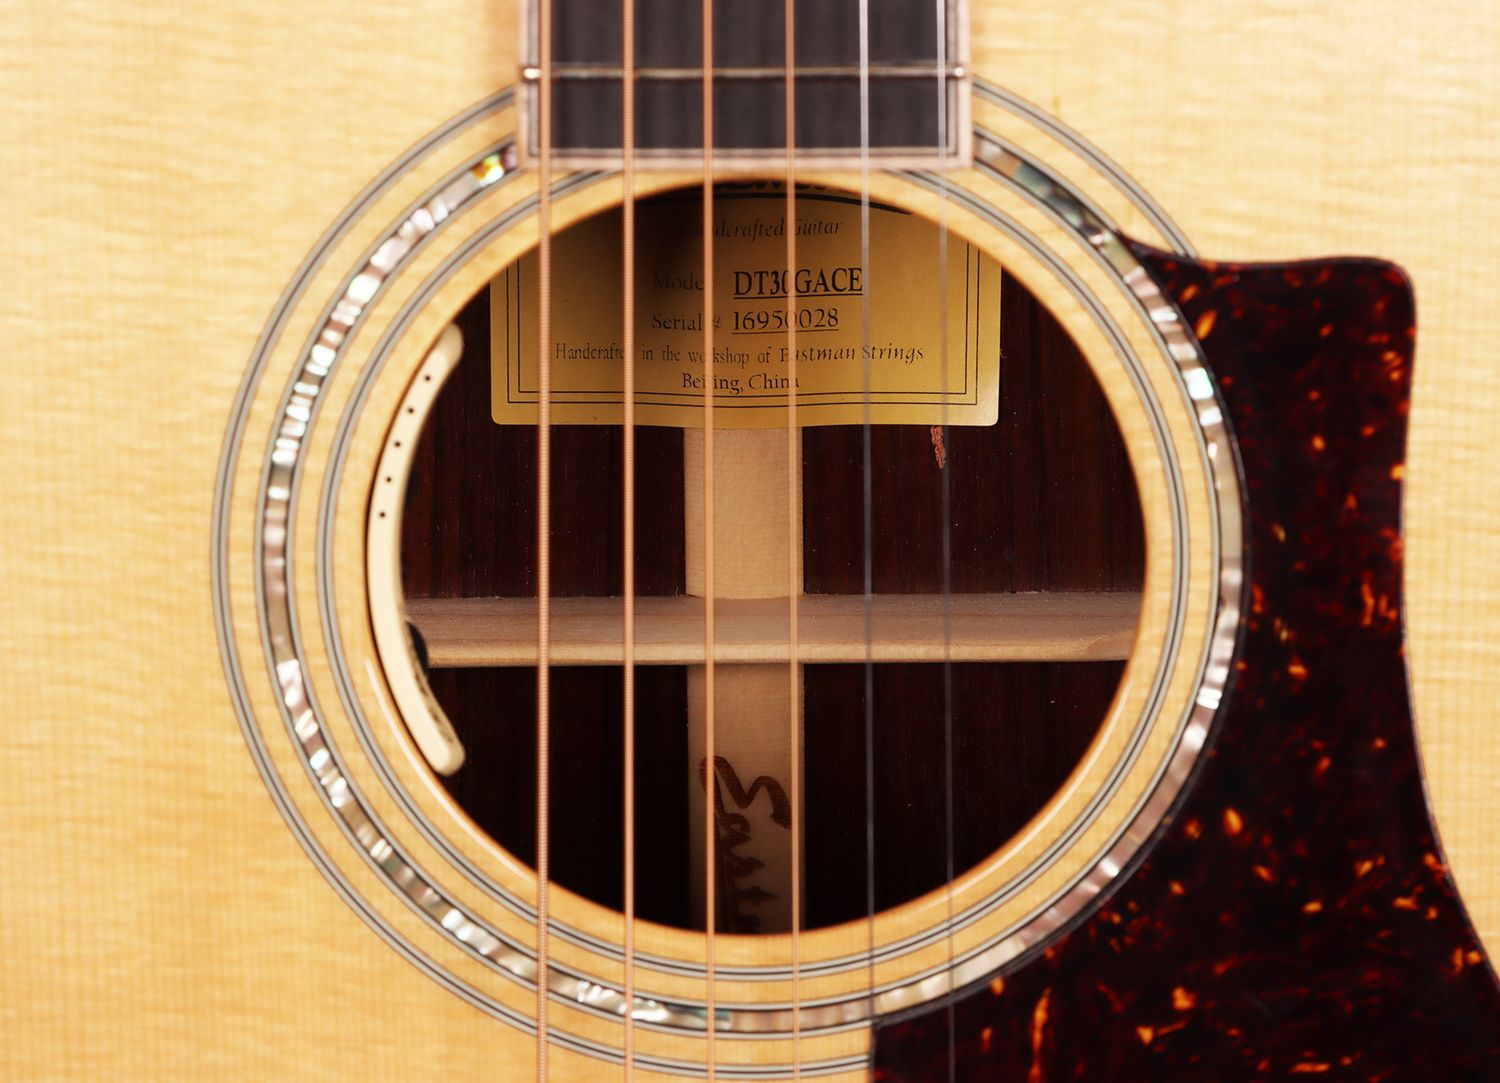
Using a measuring tape, identify the ideal placement for the pickup. For soundhole pickups, measure the distance from the bridge and ensure that the pickup is centered beneath the strings. If you're installing an undersaddle pickup, carefully measure the distance from the saddle to determine the exact location for optimal string-to-pickup alignment.
Once the placement is determined, use masking tape to mark the precise location on the guitar's body. This step is crucial for providing a visual guide when drilling the hole for the pickup, ensuring accuracy and preventing damage to the guitar's finish.
Before proceeding, it's advisable to double-check the placement to confirm that it aligns with your playing style and sonic preferences. Take the time to visualize how the pickup will interact with the guitar's natural acoustics and tonal characteristics, as this will influence the overall amplified sound.
By meticulously measuring and marking the placement for the pickup, you set the foundation for a successful installation that enhances the guitar's amplified performance while preserving its inherent acoustic qualities. With the placement accurately identified and marked, you are now ready to proceed to the next step of drilling the hole for the pickup.
Step 2: Drill the Hole for the Pickup
With the placement for the pickup accurately marked on the guitar's body, the next critical step is to drill the hole for the pickup. This step requires precision and care to ensure that the guitar remains structurally intact while creating a suitable opening for the pickup to be installed.
Before proceeding, it's essential to select the appropriate drill bit size that matches the specifications provided by the pickup manufacturer. Using a drill bit that is slightly smaller than the pickup's diameter will help create a snug fit and prevent any unnecessary gaps around the pickup.
To safeguard the guitar's finish and minimize the risk of splintering, it's advisable to apply masking tape around the area where the hole will be drilled. This simple yet effective precaution can help maintain the aesthetic integrity of the guitar while providing a clean surface for the drilling process.
When drilling the hole, it's crucial to maintain a steady hand and apply gentle, consistent pressure to avoid damaging the guitar's body. It's recommended to use a drill press or a handheld drill with a depth stop to ensure that the hole is drilled to the appropriate depth, as specified by the pickup manufacturer.
As the drill bit penetrates the guitar's body, it's important to periodically clear away any wood shavings or debris to maintain visibility and prevent obstructions. A handheld vacuum or compressed air can be used to gently remove the accumulated debris, allowing for a clear view of the drilling progress.
Once the hole is successfully drilled to the specified depth, carefully remove the masking tape to reveal the clean edges of the newly created opening. Inspect the hole to ensure that it aligns with the marked placement and meets the requirements for installing the pickup.
With the hole drilled and prepared, you have completed a crucial stage in the process of adding a pickup to your acoustic guitar. The careful execution of this step sets the stage for the subsequent installation of the pickup, bringing you one step closer to unlocking the amplified potential of your beloved acoustic instrument.
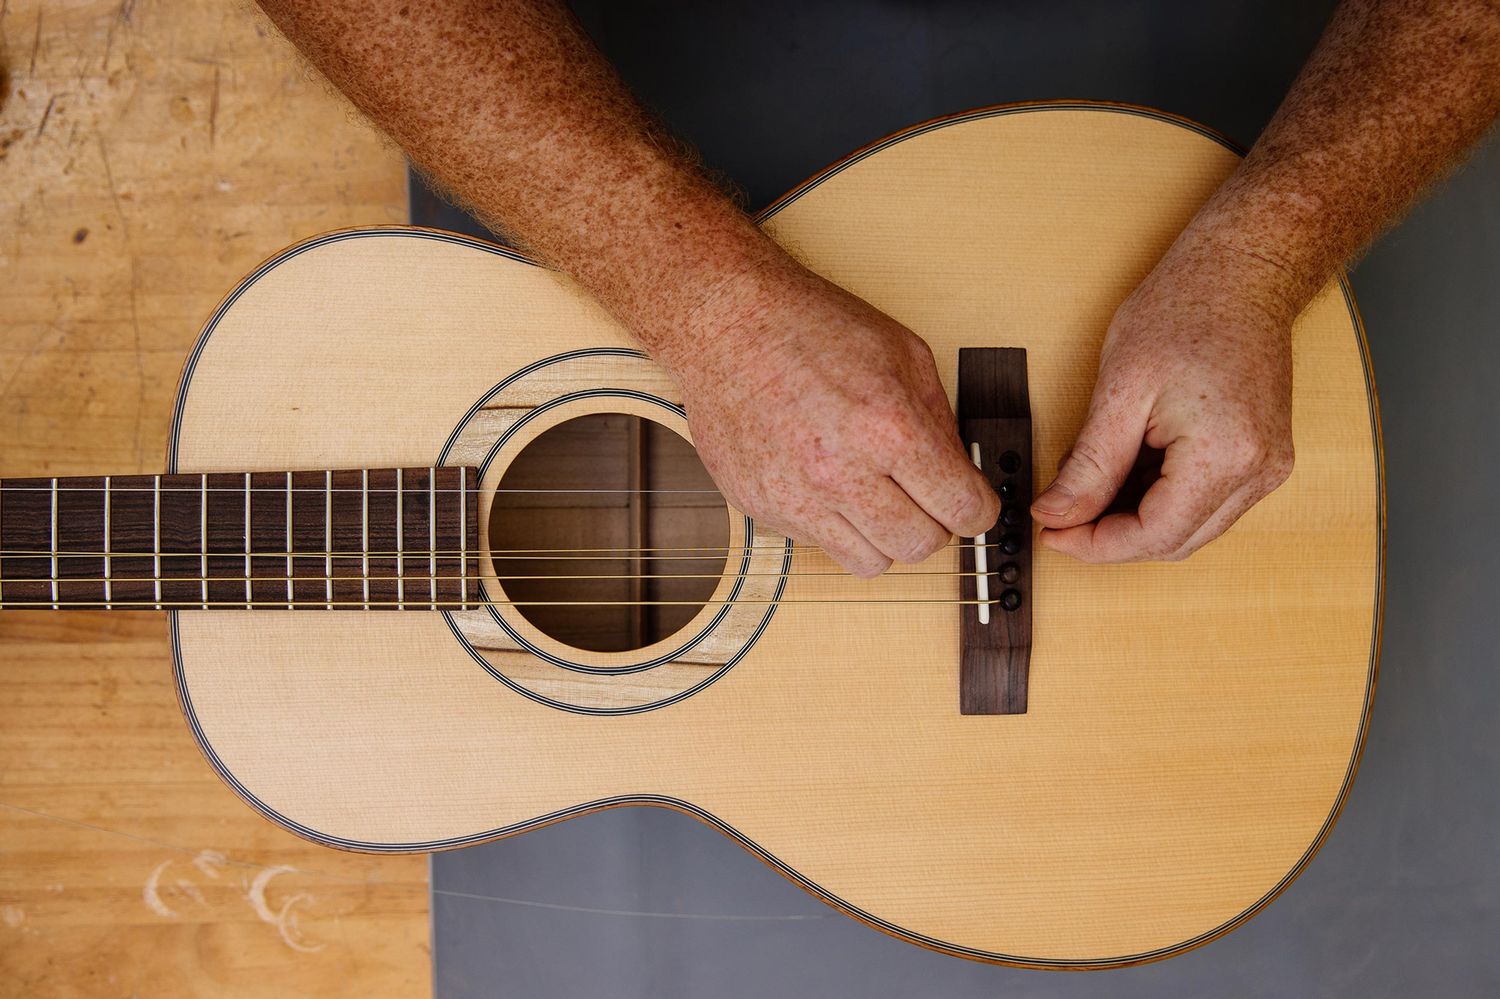
Step 3: Install the Pickup
With the hole drilled and prepared, you are now ready to proceed with the pivotal stage of installing the pickup into your acoustic guitar. This step demands precision and attention to detail to ensure a secure and seamless integration of the pickup with the instrument's body.
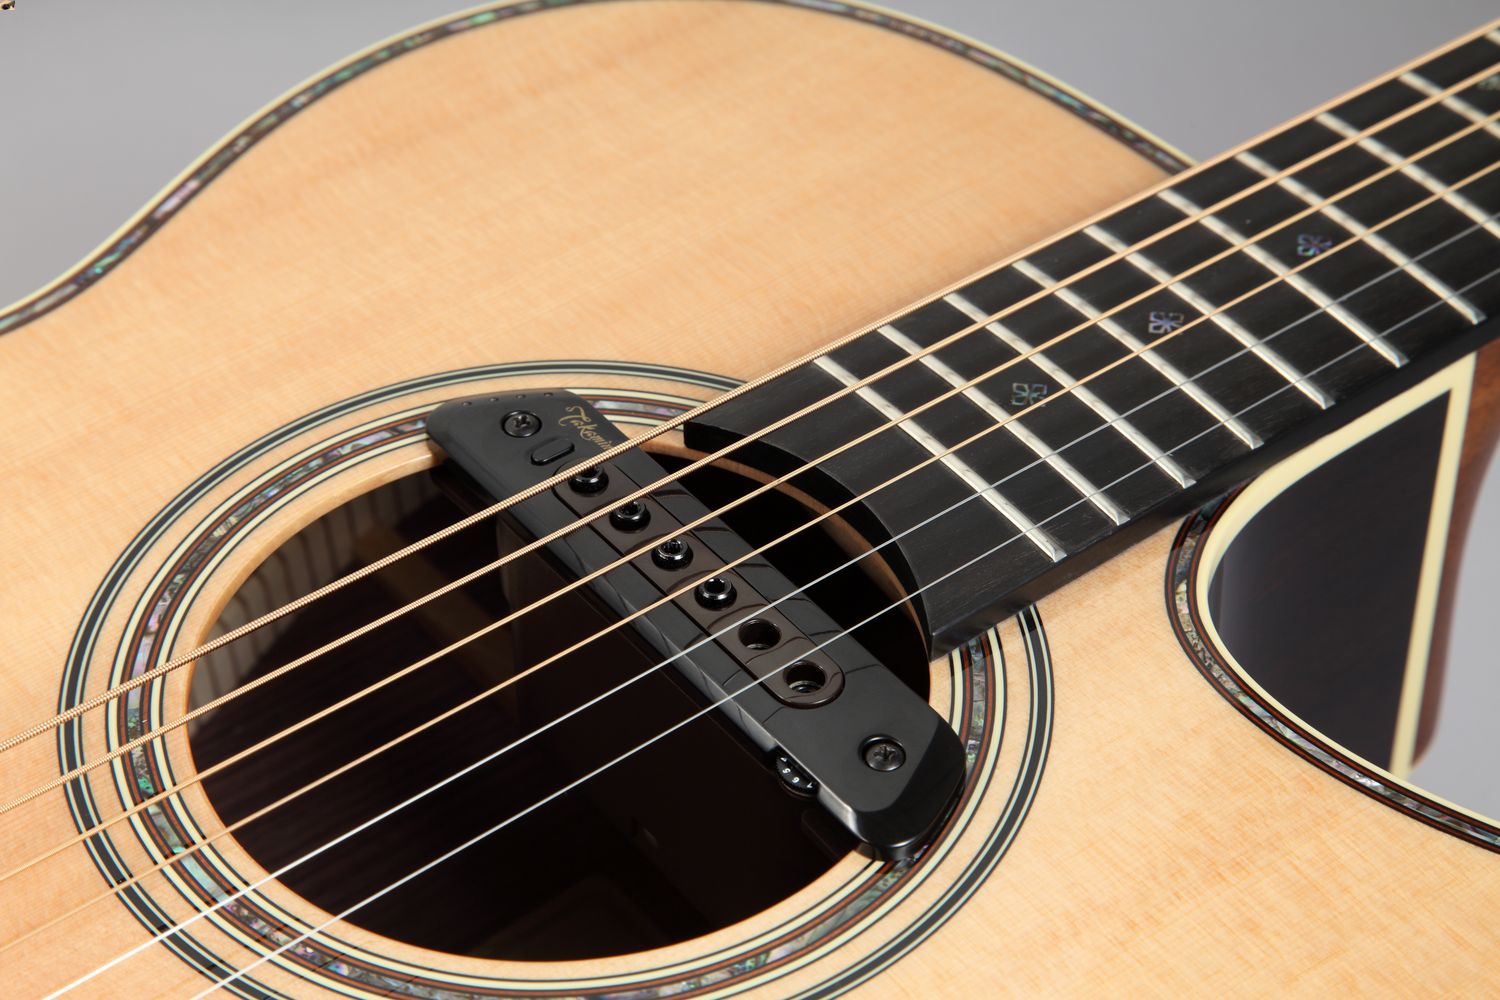
Begin by carefully placing the pickup into the newly drilled hole, ensuring that it fits snugly and aligns with the marked placement. Depending on the type of pickup you have chosen, such as a soundhole pickup or undersaddle pickup, it's essential to position it in a manner that optimizes its interaction with the guitar's strings and natural resonance.
If the pickup comes with a mounting bracket or adhesive pads, follow the manufacturer's instructions to affix the pickup securely in place. For soundhole pickups, the mounting bracket can be attached to the edges of the soundhole, providing stability and preventing movement during performances. Undersaddle pickups may require adhesive pads to secure them beneath the saddle, ensuring a stable and consistent connection with the guitar's bridge.
Once the pickup is positioned and secured, take a moment to inspect its alignment and ensure that it sits flush with the guitar's body. This visual check is crucial for verifying that the pickup is installed correctly and will function optimally when the guitar is amplified.
If the pickup requires additional wiring or connection to the guitar's electronics, refer to the manufacturer's instructions or consult a professional luthier for guidance. Properly routing and securing the pickup's wires is essential for maintaining a tidy and organized internal setup, minimizing the risk of interference or damage to the components.
As you complete the installation of the pickup, take a moment to appreciate the progress you've made in enhancing your acoustic guitar's sonic capabilities. The successful integration of the pickup marks a significant milestone in your journey toward unlocking the instrument's amplified potential, opening up a world of opportunities for live performances, recording sessions, and sonic exploration.
With the pickup securely installed and poised to capture the nuances of your playing, you are now prepared to move on to the next step of connecting the pickup to the guitar's electronics, a crucial stage that will bring you closer to experiencing the amplified sound of your enhanced acoustic guitar.
Step 4: Connect the Pickup to the Guitar's Electronics
Connecting the pickup to the guitar's electronics is a pivotal stage in the process of integrating the pickup into your acoustic guitar. This step involves establishing a seamless connection between the pickup and the instrument's internal circuitry, ensuring that the amplified signal is transmitted accurately and efficiently. By following the manufacturer's instructions and exercising precision, you can achieve a reliable electrical connection that optimizes the pickup's performance.
Begin by identifying the appropriate access point within the guitar's body for connecting the pickup to the electronics. Depending on the type of pickup and the guitar's configuration, this may involve locating the preamp, output jack, or control panel. Carefully inspect the internal layout of the guitar to determine the most suitable entry point for routing the pickup's wires to the electronics.
If the pickup requires soldering to establish the electrical connection, it's essential to exercise caution and precision during this process. Prepare the soldering iron and solder, ensuring that they are in optimal working condition. With a steady hand and a focused approach, carefully solder the pickup's wires to the designated terminals within the guitar's electronics, following the color-coding or labeling provided by the manufacturer.
For pickups equipped with plug-and-play connectors, carefully align the connectors and securely fasten them to the corresponding terminals within the guitar's electronics. Ensure that the connections are snug and secure, minimizing the risk of signal interference or unintended disconnection during performances or recording sessions.
As you establish the electrical connection between the pickup and the guitar's electronics, take the time to organize and secure the pickup's wires within the guitar's body. Tidy wire management not only enhances the internal aesthetics of the instrument but also reduces the risk of accidental damage to the connections and components.
Once the electrical connection is established and the pickup's wires are neatly routed and secured, it's advisable to conduct a thorough inspection to verify the integrity of the connection. Test the pickup by gently tapping the guitar's body and listening for the amplified signal through an amplifier or recording device. This test allows you to confirm that the pickup is effectively transmitting the guitar's acoustic sound to the electronics without any interference or signal loss.
By successfully connecting the pickup to the guitar's electronics, you have achieved a crucial milestone in the process of enhancing your acoustic guitar with amplified capabilities. The reliable and efficient electrical connection sets the stage for experiencing the full potential of the pickup, empowering you to explore new sonic horizons and share your music with the world in amplified clarity and richness.
Step 5: Test the Pickup
Testing the pickup is the final and pivotal step in the process of adding a pickup to your acoustic guitar. This stage serves as the ultimate validation of the successful installation and integration of the pickup, allowing you to experience the amplified sound of your enhanced acoustic instrument for the first time. By conducting a thorough and methodical test, you can ensure that the pickup functions optimally, accurately capturing the nuances of your playing and delivering a rich, clear, and balanced amplified sound.
To begin the testing process, connect your acoustic guitar to an amplifier or recording device, ensuring that all connections are secure and the volume levels are set to an appropriate level. As you prepare to test the pickup, take a moment to appreciate the anticipation of hearing your beloved acoustic guitar come to life in amplified form, ready to convey your musical expression with enhanced clarity and presence.
Strum the guitar strings gently and listen attentively to the amplified sound emanating from the amplifier or recording device. Pay close attention to the tonal characteristics, dynamics, and responsiveness of the pickup, observing how it faithfully reproduces the natural resonance and timbre of your acoustic guitar. As you play different chords, melodies, and techniques, assess how the pickup captures the subtleties of your playing style, conveying the nuances and articulations with precision and clarity.
Experiment with various settings on the amplifier or recording device, such as tone controls, EQ adjustments, and effects, to explore the sonic versatility and adaptability of the amplified sound. By fine-tuning the settings and listening to the nuances of the amplified signal, you can tailor the sound to suit different musical contexts and performance environments, ensuring that your enhanced acoustic guitar delivers a compelling and expressive amplified performance.
As you immerse yourself in the amplified sound of your acoustic guitar, take the opportunity to assess the feedback resistance and overall stability of the pickup. By playing at different volume levels and in proximity to the amplifier, you can gauge how effectively the pickup suppresses feedback and extraneous noise, allowing you to perform confidently in live settings without compromising the sound quality.
Throughout the testing process, trust your ears and instincts as you evaluate the amplified sound of your acoustic guitar. Listen for any anomalies, inconsistencies, or artifacts that may indicate potential issues with the pickup or its integration with the guitar. By conducting a comprehensive and attentive test, you can identify any areas that may require further adjustment or refinement, ensuring that the pickup delivers a reliable and inspiring amplified performance.
Upon completing the testing phase, reflect on the amplified sound of your enhanced acoustic guitar and the journey you've undertaken to add a pickup to your beloved instrument. Celebrate the successful installation and integration of the pickup, knowing that your acoustic guitar now possesses the amplified potential to captivate audiences, inspire creativity, and elevate your musical expression to new heights. With the pickup tested and validated, you are ready to embark on a musical journey enriched by the amplified capabilities of your enhanced acoustic guitar.
Conclusion
In conclusion, the process of adding a pickup to an acoustic guitar is a transformative journey that empowers musicians to expand the sonic horizons of their beloved instruments. From the initial measurements and careful placement to the meticulous installation and testing, each step in this process contributes to the enhancement of the acoustic guitar's amplified capabilities. As the final chord resonates through the amplifier, the culmination of this endeavor marks a significant milestone in the musical journey of the guitarist.
By embracing the task of adding a pickup to their acoustic guitar, musicians open the door to a myriad of opportunities for live performances, studio recordings, and sonic exploration. The amplified sound of the enhanced acoustic guitar carries the nuances of the player's expression with clarity and richness, captivating audiences and inspiring creativity in diverse musical settings.
The successful integration of the pickup into the acoustic guitar represents a harmonious fusion of tradition and innovation, where the instrument's timeless acoustic resonance meets the modern realm of amplified performance. This harmonization allows musicians to preserve the authentic acoustic character of their guitars while harnessing the power of amplification to reach new heights of sonic expression.
As the amplified sound fills the air, the guitarist experiences the fulfillment of their efforts, knowing that their acoustic guitar has evolved into a versatile and dynamic instrument capable of captivating listeners and conveying their musical vision with amplified clarity. The amplified potential unlocked through the addition of a pickup enriches the guitarist's creative palette, enabling them to explore new sonic territories and share their music with amplified presence and impact.
In the end, the journey of adding a pickup to an acoustic guitar transcends the technical aspects of installation and integration; it represents a profound connection between the musician, their instrument, and the amplified sound that emanates from it. This connection amplifies not only the music but also the passion, dedication, and creativity of the guitarist, resonating with the audience and leaving an indelible impression.
With the pickup seamlessly integrated and the amplified sound resonating with clarity and depth, the guitarist embarks on a new chapter of musical expression, enriched by the amplified capabilities of their enhanced acoustic guitar. As the final notes fade into the air, the guitarist stands poised to share their music with amplified eloquence, knowing that the journey of adding a pickup to their acoustic guitar has expanded the horizons of their musical artistry.