Home>Production & Technology>Acoustic>How To Refinish A Guitar Acoustic
Acoustic
How To Refinish A Guitar Acoustic
Published: March 11, 2024
Learn how to refinish your acoustic guitar with our step-by-step guide. Transform your instrument and bring out its natural beauty.
(Many of the links in this article redirect to a specific reviewed product. Your purchase of these products through affiliate links helps to generate commission for AudioLover.com, at no extra cost. Learn more)
Table of Contents
Introduction
Refinishing a guitar can breathe new life into an old, worn-out instrument, restoring its beauty and enhancing its sound. Whether you want to change the color of your acoustic guitar, repair scratches and dings, or simply give it a fresh look, refinishing can be a rewarding and creative endeavor. While the process may seem daunting at first, with the right tools, materials, and a bit of patience, you can transform your guitar into a stunning work of art.
Refinishing a guitar involves stripping off the old finish, sanding the wood, applying a new finish, and reassembling the instrument. It's a meticulous process that requires attention to detail and a steady hand, but the results can be truly remarkable. Not only will your guitar look brand new, but it may also resonate with a richer, more vibrant tone.
In this comprehensive guide, we will walk you through the step-by-step process of refinishing your acoustic guitar. From gathering the necessary materials to applying the final touches, we'll cover everything you need to know to successfully refinish your instrument. Whether you're a seasoned luthier or a first-time DIY enthusiast, this guide will equip you with the knowledge and confidence to take on this rewarding project.
So, if you're ready to breathe new life into your beloved acoustic guitar and unleash your creativity, let's dive into the world of guitar refinishing. With a little time and effort, you can give your instrument a fresh start and a stunning new look that reflects your unique style and passion for music. Let's embark on this exciting journey of transformation and revitalization, and discover the art of refinishing a guitar acoustic.
Step 1: Gather the necessary materials
Before embarking on the journey of refinishing your acoustic guitar, it's essential to gather all the necessary materials to ensure a smooth and successful process. Here's a comprehensive list of items you'll need:
1. Safety Gear
- Safety goggles: Protect your eyes from dust, debris, and chemical splashes during the refinishing process.
- Respirator mask: Essential for filtering out harmful fumes and airborne particles when working with solvents and finishes.
2. Stripping and Cleaning Supplies
- Paint stripper: Choose a high-quality, non-toxic paint stripper suitable for removing the old finish from your guitar.
- Scrapers and putty knives: These tools will help you effectively remove the old finish and prepare the guitar for sanding.
- Clean rags and cotton cloths: Use these to wipe off excess paint stripper and clean the guitar's surface.
3. Sanding Equipment
- Sandpaper: Invest in a variety of grits, including coarse, medium, and fine sandpaper to effectively sand the guitar's surface.
- Sanding block: A sanding block will provide stability and even pressure during the sanding process, ensuring a smooth finish.
4. Finishing Materials
- Wood stain or dye: If you plan to change the color of your guitar, select a high-quality wood stain or dye in your desired shade.
- Clear finish: Choose a suitable clear coat or lacquer to protect and enhance the natural beauty of the wood.
5. Masking and Protection
- Masking tape: Use high-quality masking tape to protect the guitar's fretboard, soundhole, and other areas you don't want to refinish.
- Drop cloths or plastic sheets: Cover your workspace to prevent spills and protect the surrounding area from paint and debris.
6. Miscellaneous Supplies
- Gloves: Wear protective gloves to shield your hands from chemicals and ensure a firm grip on the guitar.
- Tack cloth: Use a tack cloth to remove dust and particles before applying the new finish.
- Workbench or sturdy surface: Set up a stable work area where you can comfortably refinish the guitar without risk of damage.
By gathering these essential materials, you'll be well-prepared to begin the guitar refinishing process with confidence and precision. With the right tools at your disposal, you can embark on this creative endeavor and transform your acoustic guitar into a stunning masterpiece that reflects your unique style and musical passion.
Step 2: Remove the old finish
Removing the old finish from your acoustic guitar is a crucial step in the refinishing process, as it sets the foundation for applying the new finish. Whether your guitar has a thick polyurethane coating or a delicate nitrocellulose lacquer, the goal is to strip away the existing finish to reveal the natural wood beneath. Here's a detailed guide on how to effectively remove the old finish from your guitar:
1. Prepare the Work Area
Begin by setting up a well-ventilated workspace with ample lighting. Lay down protective drop cloths or plastic sheets to safeguard the surrounding area from paint stripper and debris. Ensure that your workbench or surface is sturdy and stable to provide a secure platform for the refinishing process.
2. Apply the Paint Stripper
Using a brush or applicator, carefully apply the chosen paint stripper to the guitar's body, neck, and headstock. Ensure that the entire surface is evenly coated with the paint stripper, allowing it to penetrate and soften the old finish. Follow the manufacturer's instructions regarding application time and recommended techniques for optimal results.
3. Remove the Softened Finish
As the paint stripper begins to soften the old finish, use scrapers and putty knives to gently lift and remove the softened layers. Work methodically, taking care not to gouge or damage the wood beneath the finish. It's essential to exercise patience and precision during this phase, as thorough removal of the old finish is critical for achieving a smooth and flawless result.
4. Clean the Surface
After removing the majority of the old finish, use clean rags and cotton cloths to wipe down the guitar's surface, removing any residual paint stripper and debris. It's important to ensure that the wood is clean and free from any remnants of the old finish before proceeding to the next phase of the refinishing process.
5. Detail Work
For intricate areas such as binding, purfling, and other fine details, employ smaller tools and brushes to delicately remove the old finish. Pay close attention to these intricate elements, as they contribute to the overall aesthetic appeal of the guitar.
By meticulously following these steps, you can effectively remove the old finish from your acoustic guitar, preparing it for the next stages of the refinishing process. With patience, attention to detail, and the right tools at your disposal, you can set the stage for transforming your guitar into a stunning work of art that reflects your unique style and musical passion.
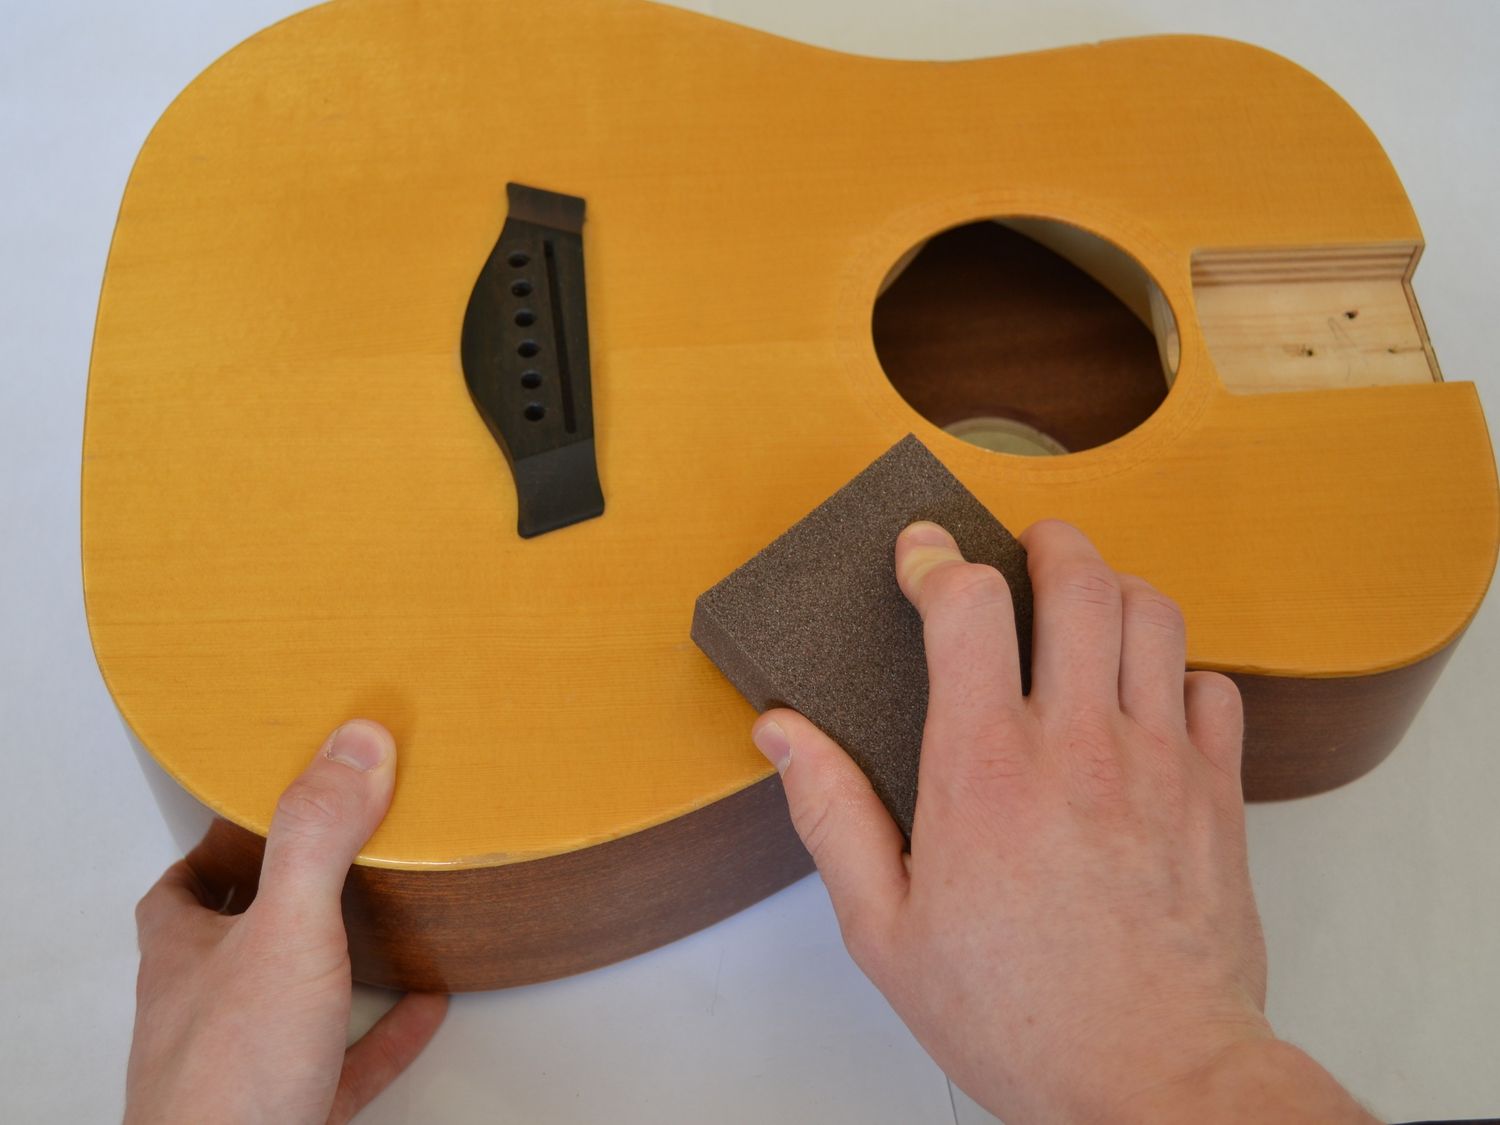
Step 3: Sanding the guitar
Sanding the guitar is a critical phase in the refinishing process, as it sets the stage for achieving a smooth and flawless surface that is ready to receive the new finish. This step involves carefully sanding the wood to remove any remaining traces of the old finish, smooth out imperfections, and prepare the surface for the application of the new coating. Here's a detailed guide on how to effectively sand your acoustic guitar:
-
Selecting the Right Grit: Begin by choosing the appropriate grit of sandpaper for the initial sanding. Coarse grit sandpaper, typically around 120-150 grit, is ideal for removing the remaining finish and smoothing out any uneven areas. As you progress, gradually transition to finer grits, such as 220-320 grit, to achieve a progressively smoother surface.
-
Even and Controlled Sanding: Use a sanding block or a firm backing to ensure even pressure and controlled sanding. Work in the direction of the wood grain to prevent any cross-grain scratches or marks. It's essential to maintain a consistent and gentle pressure to avoid over-sanding or creating uneven surfaces.
-
Focus on Detailing: Pay close attention to intricate areas, such as the guitar's contours, edges, and binding. Utilize smaller pieces of sandpaper or specialized sanding tools to meticulously sand these detailed sections, ensuring a uniform and smooth finish throughout the entire instrument.
-
Inspecting the Surface: Periodically inspect the sanded surface to identify any remaining imperfections, scratches, or blemishes. Address these areas with targeted sanding, gradually refining the surface to achieve a uniform and flawless finish.
-
Prepping for the New Finish: Once the entire guitar has been meticulously sanded and the surface is smooth and free from any remnants of the old finish, use a tack cloth to remove any dust and particles. This step is crucial to ensure a clean and pristine surface that is ready to receive the new finish.
By meticulously following these steps and exercising patience and precision, you can effectively sand your acoustic guitar, preparing it for the next phase of the refinishing process. The careful and methodical approach to sanding will lay the groundwork for achieving a stunning and professional-quality finish that revitalizes your guitar and showcases its natural beauty.
Step 4: Applying the new finish
Applying the new finish is a pivotal stage in the guitar refinishing process, where the true transformation of the instrument takes place. This step involves carefully coating the sanded wood with the chosen wood stain or dye, followed by the application of a clear finish to protect and enhance the natural beauty of the guitar. Here's a detailed guide on how to effectively apply the new finish to your acoustic guitar:
-
Choosing the Right Wood Stain or Dye: Select a high-quality wood stain or dye in your desired color to achieve the aesthetic you envision for your guitar. Whether you prefer a classic natural wood tone or a bold, vibrant color, the choice of stain or dye will significantly impact the final appearance of the instrument.
-
Even Application of the Stain or Dye: Using a brush or applicator, carefully apply the wood stain or dye to the guitar's surface, ensuring an even and consistent coat. Work methodically, following the wood grain to achieve a uniform coloration. Multiple thin coats may be necessary to achieve the desired depth of color, allowing each coat to dry completely before applying the next.
-
Protective Clear Finish Application: Once the wood stain or dye has dried, it's time to apply the clear finish to protect and enhance the wood. Choose a suitable clear coat or lacquer designed for musical instruments, ensuring it provides durability and enhances the natural resonance of the wood. Apply the clear finish evenly, using long, smooth strokes to minimize brush marks and achieve a professional-quality result.
-
Allowing for Proper Drying and Curing: After applying the new finish, allow the guitar to dry and cure in a well-ventilated area, following the manufacturer's recommended drying times. It's essential to exercise patience during this phase, as proper drying and curing are crucial for achieving a durable and flawless finish.
-
Fine Sanding and Polishing: Once the new finish has fully cured, lightly sand the surface with fine-grit sandpaper to smooth out any imperfections or irregularities. Follow this with a meticulous polishing process, using a high-quality guitar polish to achieve a lustrous and mirror-like sheen on the instrument's surface.
By meticulously following these steps and exercising patience and precision, you can effectively apply the new finish to your acoustic guitar, bringing your vision to life and revitalizing the instrument with a stunning and professional-quality appearance. The careful and methodical approach to finishing will result in a guitar that not only looks visually captivating but also resonates with a rich and vibrant tone, reflecting your unique style and musical passion.
Step 5: Final touches and reassembly
With the new finish applied and the guitar transformed into a stunning work of art, the final touches and reassembly phase are essential to bring the refinishing process to completion. This stage involves meticulous attention to detail and the careful reassembly of the guitar, ensuring that every component is in place and the instrument is ready to be played once again.
1. Inspecting and Detailing
Begin by thoroughly inspecting the guitar to ensure that the new finish is flawless and free from any imperfections. Take the time to address any minor blemishes or irregularities, using fine-grit sandpaper to gently smooth out any rough spots. Pay close attention to the edges, contours, and intricate details, ensuring that the entire instrument exudes a polished and professional appearance.
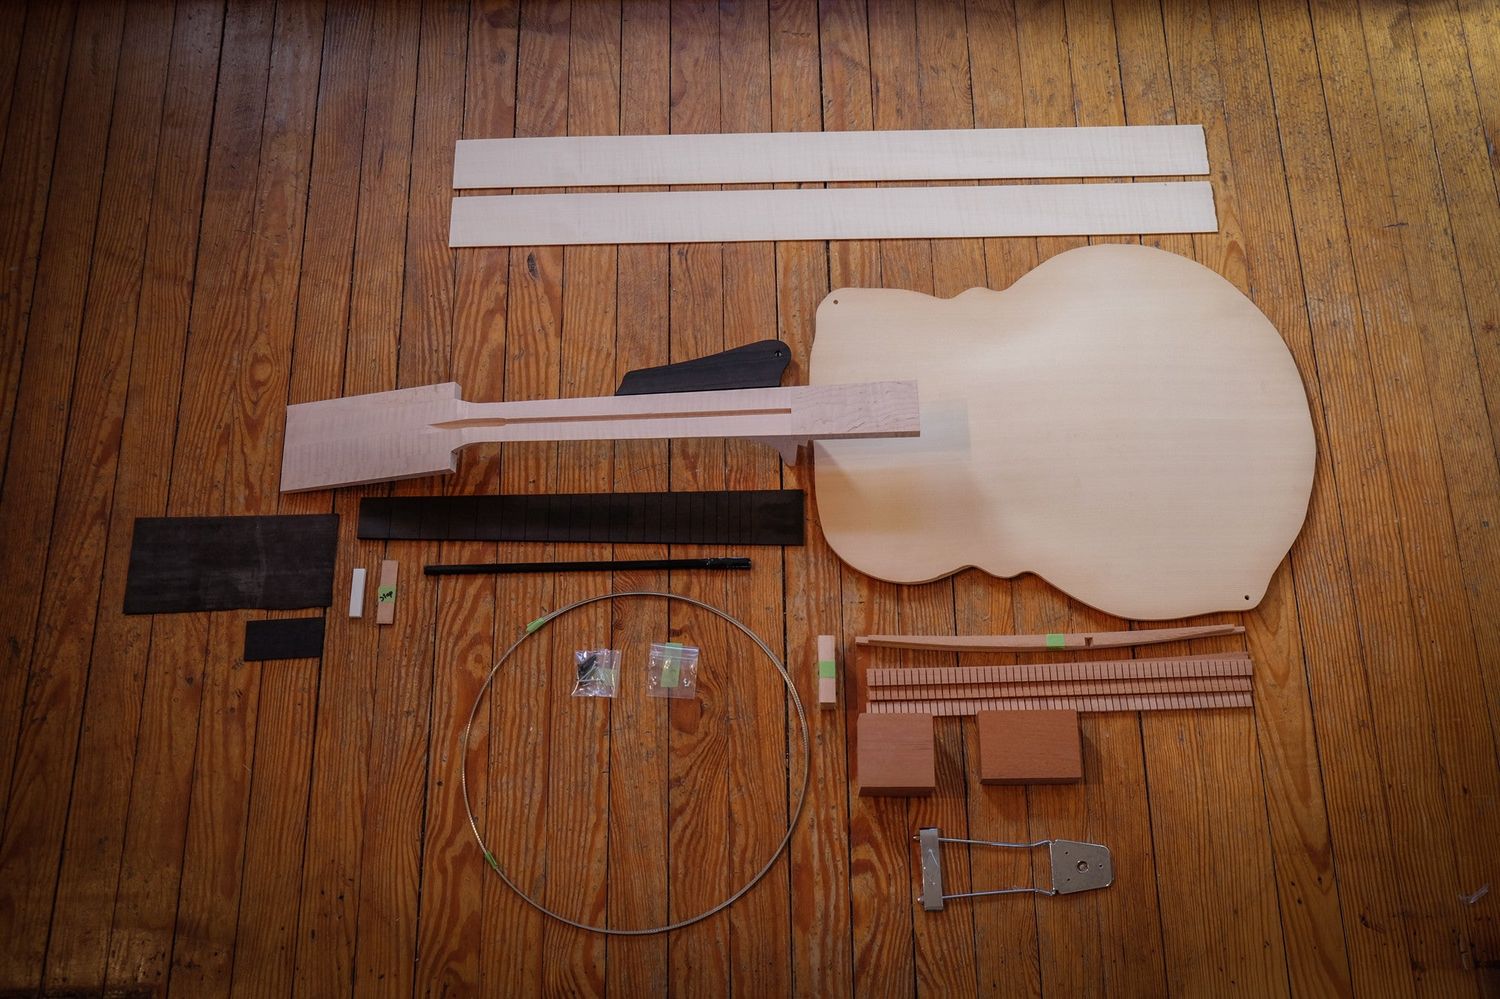
2. Reassembling the Components
Carefully reassemble the guitar, attaching the neck, bridge, tuners, and other hardware components with precision and care. Ensure that each component is securely fastened and aligned correctly, maintaining the structural integrity of the instrument. Take the opportunity to clean and polish the hardware, restoring its luster and complementing the newly refinished body of the guitar.
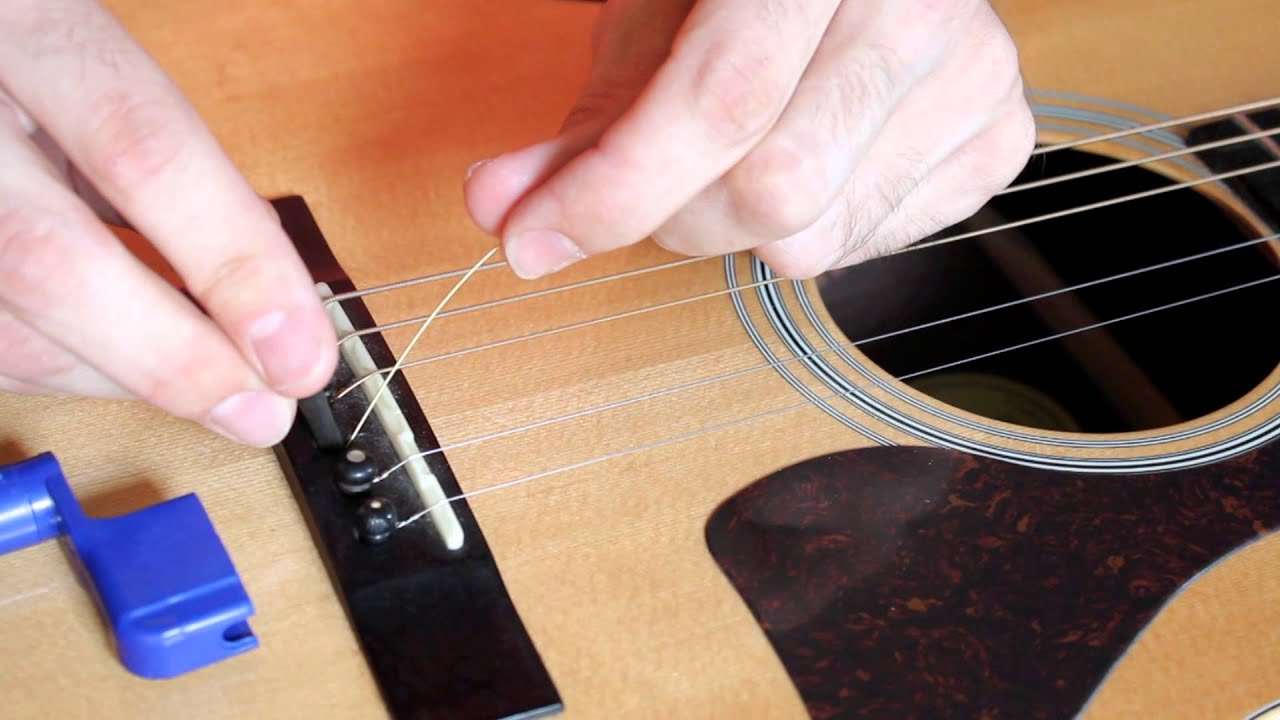
3. Restringing and Setup
Once the guitar is fully reassembled, it's time to restring the instrument with a fresh set of high-quality strings. Pay attention to the string tension and action, making any necessary adjustments to achieve optimal playability and tonal quality. Fine-tune the intonation and ensure that the guitar is in perfect playing condition, ready to deliver exceptional sound and performance.
4. Final Inspection and Testing
Conduct a final inspection of the refinished guitar, examining every detail to ensure that it meets your expectations and standards. Play the instrument to experience the revitalized tone and resonance, appreciating the transformation that has taken place. Listen to the rich and vibrant sound that emanates from the newly refinished guitar, savoring the culmination of your efforts and the stunning results of the refinishing process.
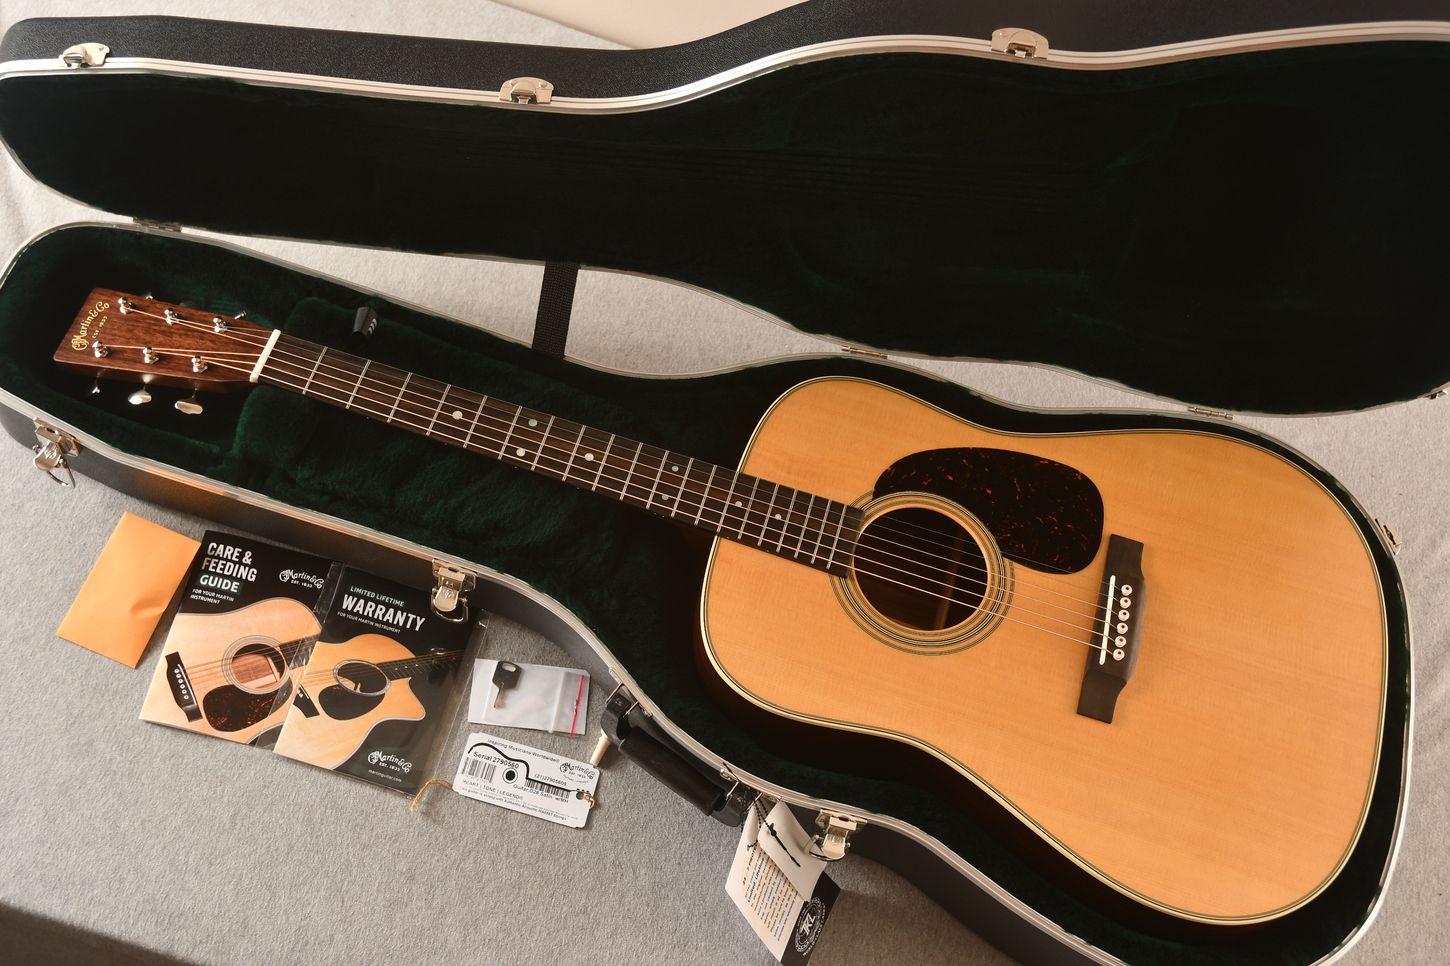
5. Showcasing Your Revitalized Guitar
With the final touches complete and the guitar fully reassembled, take pride in showcasing your revitalized instrument. Whether it's for personal enjoyment, live performances, or recording sessions, your refinished acoustic guitar is a testament to your creativity, dedication, and passion for music. Share the beauty and craftsmanship of your revitalized guitar with fellow musicians and enthusiasts, inspiring others to embark on their own journey of guitar refinishing and artistic expression.
By meticulously attending to the final touches and reassembly of your acoustic guitar, you have brought new life to the instrument, infusing it with your unique style and creativity. The revitalized guitar stands as a testament to your craftsmanship and dedication, ready to inspire and resonate with captivating music for years to come.
Conclusion
In conclusion, the process of refinishing an acoustic guitar is a transformative journey that combines artistry, craftsmanship, and a deep appreciation for musical instruments. From the initial stages of stripping off the old finish to the meticulous application of the new coating, every step in the refinishing process contributes to the revitalization of the guitar and the expression of individual creativity.
Refinishing a guitar is not merely a restoration of its physical appearance; it is a celebration of the instrument's inherent beauty and potential for renewal. As the old finish is removed, the natural grain and character of the wood are revealed, inviting the luthier or DIY enthusiast to reimagine the guitar's aesthetic and sonic identity. The choice of wood stain or dye, the application of the clear finish, and the final detailing all contribute to the creation of a visually captivating and sonically resonant instrument.
Furthermore, the refinishing process is a testament to patience, precision, and dedication. Each phase demands careful attention to detail, from sanding the wood to perfection to delicately reassembling the guitar with a keen eye for craftsmanship. The satisfaction of witnessing the transformation of a worn-out guitar into a stunning work of art is a testament to the passion and commitment of those who embark on this creative endeavor.
Ultimately, a refinished acoustic guitar represents more than just a physical object; it embodies the personal connection between the luthier and the instrument. It becomes a reflection of individual style, musical expression, and the unwavering dedication to craftsmanship. Whether the revitalized guitar becomes a cherished personal instrument, a centerpiece of live performances, or a source of inspiration for others, its journey from worn-out to revitalized is a testament to the power of creativity and the enduring allure of music.
In the end, the art of refinishing a guitar acoustic is a deeply rewarding pursuit that yields not only a visually stunning instrument but also a profound sense of accomplishment and connection to the music it creates. It stands as a testament to the timeless appeal of craftsmanship, the transformative power of creativity, and the enduring beauty of acoustic guitars.