Home>Production & Technology>Audio Cable>How To Use Voice Meter And Vb Audio Cable
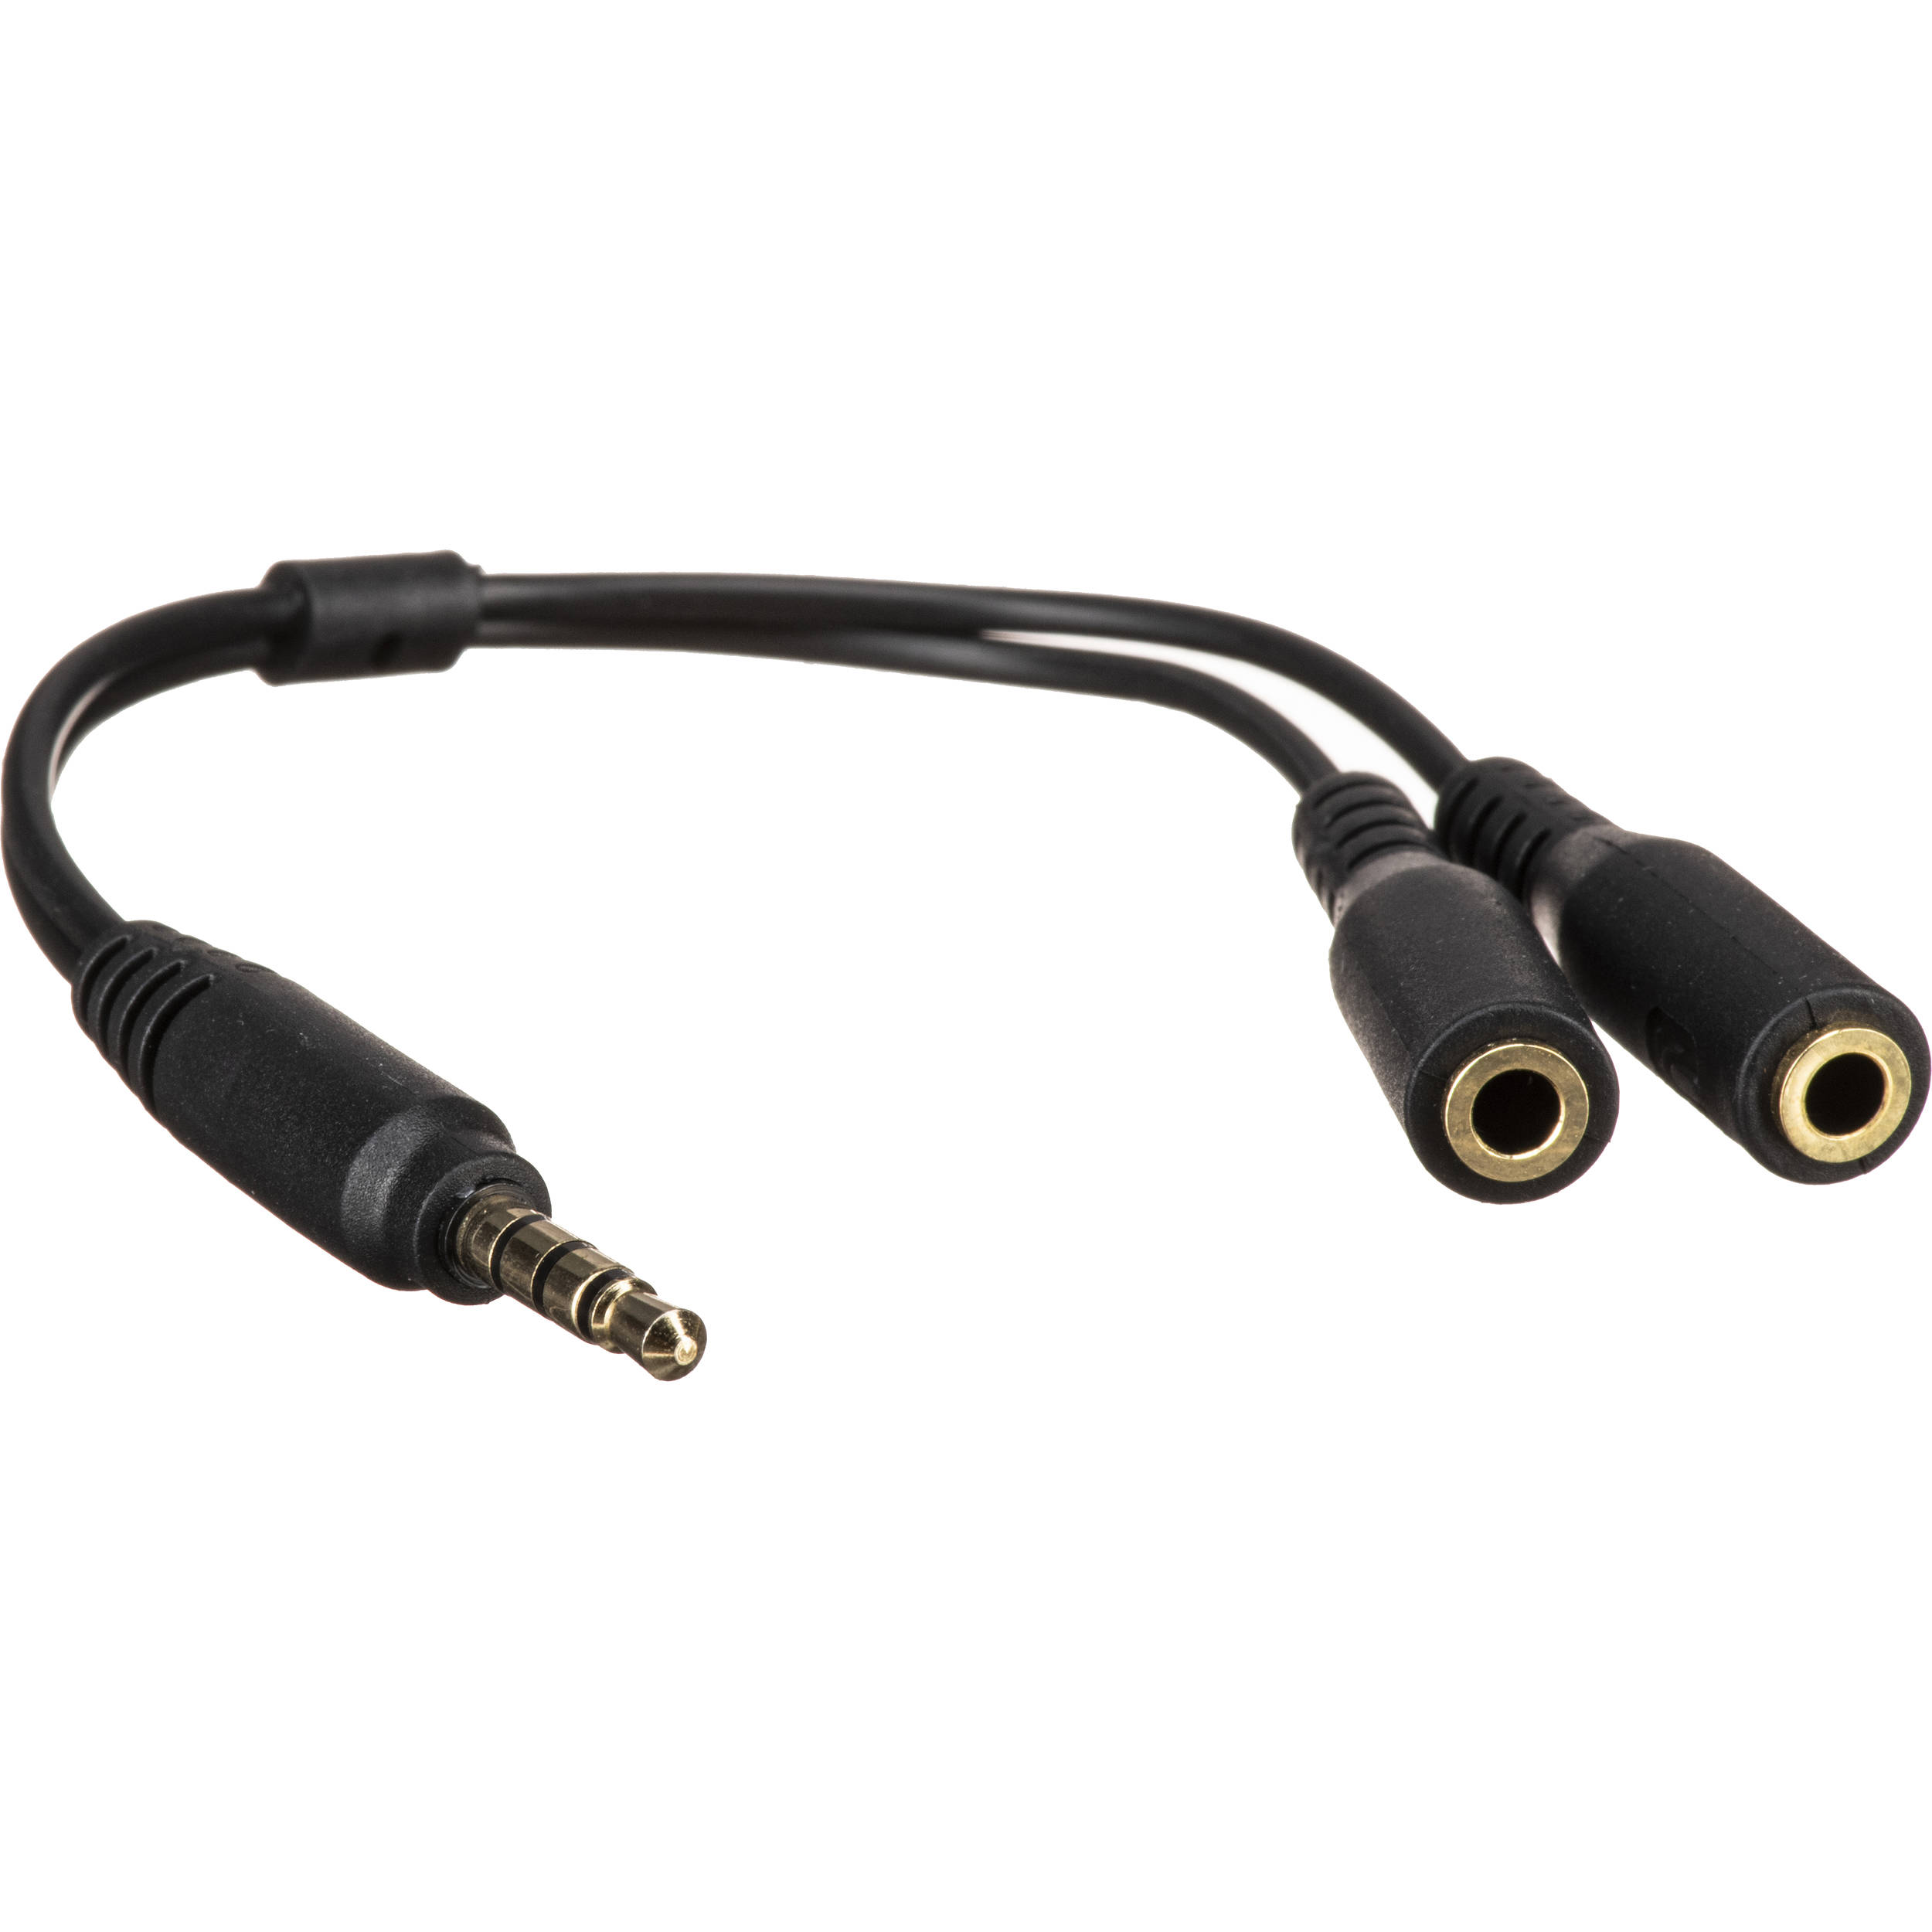
Audio Cable
How To Use Voice Meter And Vb Audio Cable
Modified: January 22, 2024
Learn how to use voice meter and VB audio cable to enhance your audio experience.
(Many of the links in this article redirect to a specific reviewed product. Your purchase of these products through affiliate links helps to generate commission for AudioLover.com, at no extra cost. Learn more)
Table of Contents
Introduction
Welcome to the world of audio cables! Whether you’re an audio enthusiast, musician, or a content creator, having a reliable and high-quality audio setup is essential. One crucial aspect of a seamless audio experience is the proper usage of audio cables. In this article, we will dive into the world of Voice Meter and VB-Audio Cable, two essential tools that can greatly enhance your audio setup.
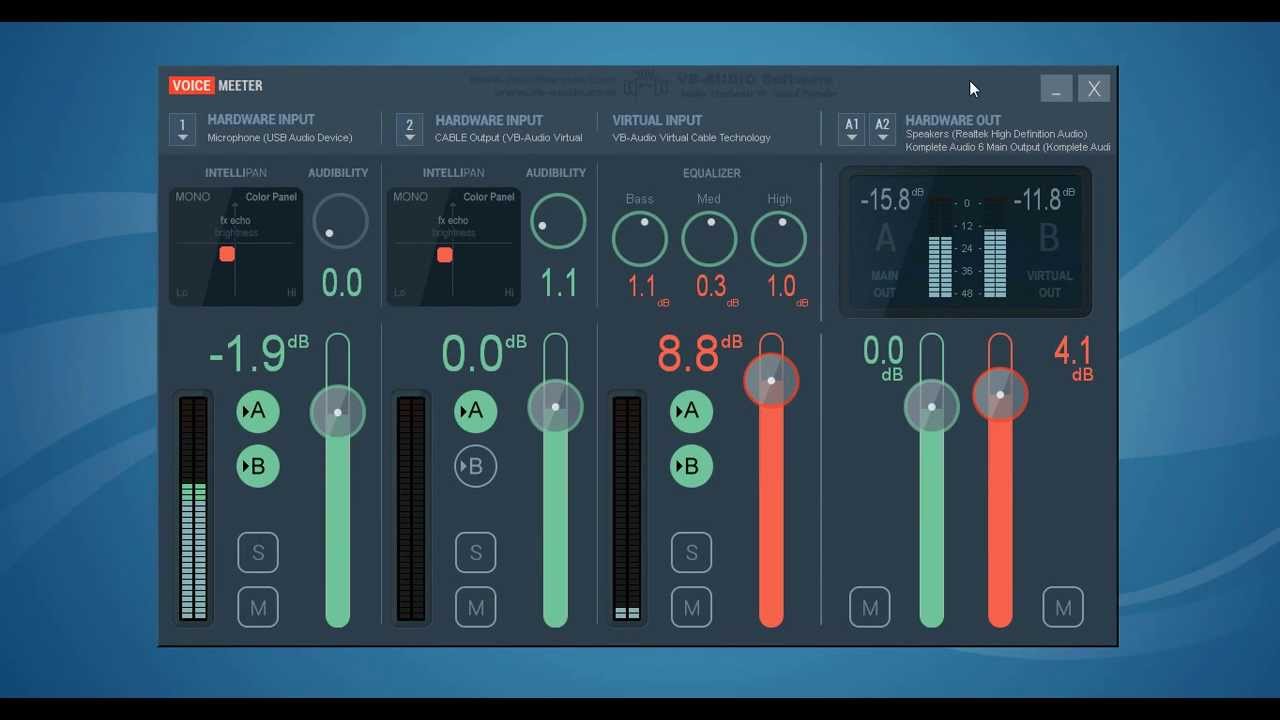
Voice Meter is a software-based audio mixer and virtual audio device that allows you to manage and control audio inputs and outputs in real-time. It is a versatile tool that provides advanced audio routing capabilities, making it an excellent choice for streamers, podcasters, and anyone who needs to manage multiple audio sources simultaneously.
VB-Audio Cable is a powerful virtual audio cable that acts as a bridge between different audio applications and devices. It creates virtual audio input and output devices, which can be used to route audio between various programs or devices. With VB-Audio Cable, you have the flexibility to channel audio from one application to another, creating a seamless and integrated audio experience.
Now that we have a basic understanding of what Voice Meter and VB-Audio Cable are, let’s explore how to set them up and make the most of their features. By the end of this article, you’ll have a comprehensive understanding of how to use these tools and optimize your audio setup.
What is Voice Meter and VB-Audio Cable?
Voice Meter is a software-based audio mixer and virtual audio device that allows you to manage and control audio inputs and outputs in real-time. It provides a user-friendly interface where you can adjust audio levels, apply equalization, and configure audio routing for various applications and devices. With Voice Meter, you can create custom audio setups tailored to your specific needs, whether you’re streaming, recording, or simply enjoying your favorite music.
VB-Audio Cable, on the other hand, is a virtual audio cable that allows you to route audio between different applications and devices. It creates virtual audio input and output devices that act as connectors, enabling seamless communication between audio sources and destinations. With VB-Audio Cable, you can stream audio from one application to another, record audio from multiple sources simultaneously, or simply redirect audio output to different devices.
- Key Features of Voice Meter:
– Audio Mixing: Voice Meter enables you to mix audio from different sources, such as microphones, music players, and game audio, into a single stream. This is particularly useful for streamers and content creators who need to balance audio levels and create immersive listening experiences for their audience.
– Equalization: With Voice Meter, you can apply equalization settings to your audio inputs and outputs, allowing you to enhance the sound quality and adjust frequencies to your liking. This is especially beneficial for musicians and audio enthusiasts who seek to fine-tune their audio setup.
– Audio Routing: Voice Meter provides advanced audio routing capabilities, allowing you to route audio between applications and devices. Whether you want to send audio from a music player to your streaming software or send audio from a microphone to a virtual instrument, Voice Meter makes it possible with just a few clicks.
– Virtual Inputs and Outputs: Voice Meter creates virtual audio inputs and outputs, which can be used to simulate audio devices. This enables you to connect applications that wouldn’t normally communicate with each other, opening up new possibilities for audio integration.
- Key Features of VB-Audio Cable:
– Audio Bridge: VB-Audio Cable acts as a bridge between audio applications and devices, allowing you to send audio from one source to another. Whether you want to record audio from a game while streaming or send audio from a virtual instrument to a music production software, VB-Audio Cable makes it possible.
– Seamless Integration: With VB-Audio Cable, you can seamlessly integrate different audio applications and devices into your workflow. It eliminates the need for physical audio cables and provides a flexible solution for managing audio connections.
– Multi-Channel Support: VB-Audio Cable supports multi-channel audio, allowing you to route audio between applications and devices with high channel counts. This is particularly useful for professional audio production and surround sound setups.
– Low Latency: VB-Audio Cable ensures minimal latency when routing audio, preserving the integrity of the audio stream and maintaining synchronization between applications and devices.
Now that we have a solid understanding of what Voice Meter and VB-Audio Cable are and their key features, let’s proceed to the next section to learn how to set them up for optimal audio control and routing.
Setting Up Voice Meter
Setting up Voice Meter is relatively straightforward, but it is essential to follow a few steps to ensure everything is configured correctly. Here’s a step-by-step guide to help you get started:
- Downloading and Installing Voice Meter:
- Setting up Virtual Inputs and Outputs:
- Configuring Physical Inputs and Outputs:
- Adjusting Audio Levels and Routing:
- Applying Equalization and Effects:
- Testing and Fine-tuning:
The first step is to download and install Voice Meter on your computer. You can find the official installation package on the Voice Meter website. Once downloaded, run the installer and follow the on-screen instructions to complete the installation process.
After the installation, open up the Voice Meter application. You will see a mixer interface and a list of available devices. To set up virtual inputs and outputs, click on the “+” button at the top-right corner of the mixer interface. This will create a new virtual audio device.
Next, you need to configure the physical inputs and outputs that you want to use with Voice Meter. Click on the settings icon next to each virtual device to select the corresponding physical device. For example, if you want to send audio from a microphone connected to your computer to Voice Meter, you would select the microphone as the input device for the virtual input.
Once the virtual inputs and outputs are set up, you can start adjusting the audio levels and routing. Use the faders on the mixer interface to adjust the volume of each input and output. Dragging the fader up increases the volume, while dragging it down decreases the volume.
If desired, you can apply equalization and effects to the audio inputs and outputs in Voice Meter. Click on the EQ button next to each input or output to access the equalizer and effects settings. Adjust the parameters according to your preferences or specific audio requirements.
Once you have configured your virtual inputs and outputs and adjusted the audio levels and settings, it’s time to test your setup. Play some audio or speak into your microphone to ensure that the audio is being routed correctly and that the levels are balanced. Fine-tune as needed to achieve the desired audio quality.
With Voice Meter set up, you now have a powerful tool at your disposal for managing and controlling your audio inputs and outputs. In the next section, we’ll explore how to configure VB-Audio Cable to further enhance your audio routing capabilities.
Configuring VB-Audio Cable
Now that you have Voice Meter set up and running, it’s time to configure VB-Audio Cable to further enhance your audio routing capabilities. Follow these steps to get started:
- Downloading and Installing VB-Audio Cable:
- Setting up Virtual Cables:
- Configuring Applications and Devices:
- Routing Audio with Voice Meter:
- Routing Audio to Applications:
- Testing and Adjusting:
Start by downloading the VB-Audio Cable software from the official website. Once downloaded, run the installer and follow the on-screen instructions to install the virtual audio cable on your computer.
After the installation, you will see the VB-Audio Cable control panel. Here, you can see the available virtual cables. By default, there are two virtual cables: Cable Input and Cable Output. These will act as the virtual connection points for routing audio.
To start routing audio using VB-Audio Cable, you need to configure the applications and devices you want to connect. Open the sound settings on your computer and select VB-Audio Cable Output as the default playback device. This will route the audio output from your applications to VB-Audio Cable.
To route audio from Voice Meter to VB-Audio Cable, go to the Voice Meter settings and select VB-Audio Cable Input as the output device for the virtual output you want to route. This will send the audio from Voice Meter to VB-Audio Cable.
If you want to route audio from VB-Audio Cable to specific applications, you can do so by configuring the audio settings within the application. Select VB-Audio Cable Input as the input device in the audio settings of the desired application. This will direct the audio from VB-Audio Cable to the application.
Once your applications and devices are configured with VB-Audio Cable, test the audio routing by playing audio or speaking into your microphone. Verify that the audio is being routed to the desired destinations and adjust the audio levels as needed using Voice Meter and the system sound settings.
By configuring VB-Audio Cable, you expand your audio routing possibilities beyond Voice Meter’s capabilities alone. You now have the flexibility to route audio between applications, record audio from different sources simultaneously, and create custom audio setups to suit your specific needs.
With Voice Meter and VB-Audio Cable configured, you have a powerful audio management system at your fingertips. In the next section, we will discuss how to test your setup and troubleshoot common issues that may arise.
Testing Your Setup
Once you have set up Voice Meter and VB-Audio Cable, it’s important to test your audio setup to ensure everything is working as expected. Testing allows you to identify any issues or discrepancies and make necessary adjustments. Here are some steps to help you test your setup:
- Testing Audio Input and Output:
- Testing Audio Routing Between Applications:
- Testing Multichannel Audio:
- Monitoring Latency:
- Adjusting Audio Levels and Settings:
Play some audio through your desired playback device, such as a music player or online video, and verify that the audio is being routed through Voice Meter and VB-Audio Cable correctly. Make sure to monitor the audio levels in Voice Meter and adjust them if needed.
Similarly, test the audio input by speaking into your microphone and monitoring the audio levels in Voice Meter. Ensure that the microphone audio is being routed to the desired application or device through VB-Audio Cable.
If you have configured VB-Audio Cable to route audio between applications, test this functionality by opening multiple audio applications. Play audio through one application and check if it is being routed and received by another application through VB-Audio Cable.
If your audio setup involves multichannel audio, such as surround sound or professional audio production, test the routing and playback of multichannel audio. Ensure that all channels are working correctly and that the audio is routed and received in the desired configuration.
Monitor and assess the latency in your audio setup, especially if you’re using Voice Meter and VB-Audio Cable in real-time applications like streaming or live performances. Keep an eye on any noticeable delays between the audio input and output to ensure a seamless and synchronized audio experience.
During the testing process, if you find any discrepancies in the audio levels or encounter issues with routing, adjust the audio levels and settings in Voice Meter and VB-Audio Cable accordingly. Fine-tune the audio levels to achieve the desired balance, and reconfigure settings if necessary.
Regularly test your audio setup to ensure optimal performance and to catch any potential issues early on. By performing these tests, you can ensure that your audio setup is functioning as intended, providing you with enhanced control over your audio inputs, outputs, and routing options.
In the next section, we will discuss some common issues that may arise with Voice Meter and VB-Audio Cable and provide troubleshooting tips to resolve them.
Troubleshooting Common Issues
While Voice Meter and VB-Audio Cable are powerful tools for audio management and routing, you may encounter some common issues during the setup or usage. Here are a few troubleshooting tips to help you resolve these issues:
- No Audio Output:
- No Audio Input:
- Audio Latency:
- Audible Artifacts or Distortion:
- Applications Not Detecting Virtual Audio Devices:
- Conflicting Applications or Drivers:
If you’re not getting any audio output through Voice Meter and VB-Audio Cable, double-check your audio settings. Ensure that the correct virtual output device is selected as the default playback device in your system sound settings. Also, verify that the audio levels in Voice Meter are not muted or set too low.
If you’re not getting any audio input from your microphone or other devices, make sure that the correct virtual input device is selected in the application or software you’re using. Additionally, check the audio settings in Voice Meter to ensure that the virtual input device is assigned to the correct physical input device.
If you’re experiencing latency or delay in your audio setup, try adjusting the buffer size and sample rate in both Voice Meter and VB-Audio Cable settings. Lowering the buffer size and sample rate can help reduce latency, but be cautious as extremely low settings may introduce audio artifacts or instability.
If you’re hearing audio artifacts or distortion in your setup, check the audio settings in Voice Meter and VB-Audio Cable for any processing or effects that might be causing the issue. Disable or adjust these settings as necessary to ensure clean and high-quality audio output.
If your applications are not detecting the virtual audio devices created by Voice Meter or VB-Audio Cable, try restarting the applications or your computer. Also, ensure that you have the latest drivers and updates installed for Voice Meter and VB-Audio Cable to ensure compatibility with your operating system.
If you’re experiencing issues with audio routing or functionality, check for any conflicts with other audio applications or drivers installed on your system. Some applications may have exclusive access to audio devices, preventing VB-Audio Cable from routing audio properly. Disable or adjust conflicting applications or drivers to resolve the issue.
If you are still experiencing difficulties after trying these troubleshooting tips, consult the official documentation, support forums, or contact the developers of Voice Meter and VB-Audio Cable for further assistance. Remember to provide detailed information about your setup and the specific issue you’re facing to receive accurate and targeted troubleshooting guidance.
With these troubleshooting tips, you can overcome common issues and enjoy a seamless audio experience with Voice Meter and VB-Audio Cable. Let’s wrap up the article in the next section.
Conclusion
Congratulations! You have successfully explored the world of Voice Meter and VB-Audio Cable, two powerful tools that can greatly enhance your audio setup. By learning how to set up and configure Voice Meter, you have gained the ability to manage and control audio inputs, outputs, and routing in real-time. Additionally, configuring VB-Audio Cable has expanded your audio routing capabilities, allowing you to route audio between applications and devices with ease.
Throughout this article, we discussed the importance of audio cables and their role in creating a seamless audio experience. We explored the features of Voice Meter, such as audio mixing, equalization, and advanced routing capabilities. We also delved into the capabilities of VB-Audio Cable, including its ability to act as a bridge between applications and devices, support for multichannel audio, and low-latency performance.
We covered the essential steps to set up and configure Voice Meter and VB-Audio Cable, ensuring that your audio setup is optimized for your specific needs. We emphasized the importance of testing your setup to identify and resolve any issues or discrepancies, enabling you to fine-tune your audio experience. Additionally, we provided troubleshooting tips for common issues that may arise during the usage of Voice Meter and VB-Audio Cable.
Remember, exploring the possibilities of Voice Meter and VB-Audio Cable is an ongoing process. Continuously experiment with different audio setups, configurations, and applications to unlock the full potential of these tools. Stay updated with the latest software releases and documentation to benefit from new features and optimizations.
With Voice Meter and VB-Audio Cable at your disposal, you now have the tools to create a seamless and immersive audio experience. Whether you’re a streamer, content creator, musician, or audio enthusiast, leverage these tools to take your audio setup to new heights.
Now it’s time to unleash your creativity, elevate your audio quality, and enjoy the unlimited possibilities that Voice Meter and VB-Audio Cable have to offer. Happy audio routing!