Home>Production & Technology>Audio Cable>How To Connect A Piano Using USB Audio Cable To A Laptop
Audio Cable
How To Connect A Piano Using USB Audio Cable To A Laptop
Published: December 21, 2023
Learn how to connect your piano to your laptop using a USB audio cable for superior sound quality. Unlock new possibilities with the power of audio cables.
(Many of the links in this article redirect to a specific reviewed product. Your purchase of these products through affiliate links helps to generate commission for AudioLover.com, at no extra cost. Learn more)
Table of Contents
Introduction
Welcome to our guide on how to connect a piano to a laptop using a USB audio cable. Whether you are a musician, music producer, or simply someone who wants to record and play your piano through your laptop, this article will provide you with step-by-step instructions. Connecting your piano to a laptop opens up a world of possibilities, allowing you to record your performance, use virtual instruments, or even take online piano lessons from the comfort of your home.
The USB audio cable is an essential tool for connecting your piano to a laptop. It allows for a direct digital audio connection, ensuring high-quality sound transfer without any loss in fidelity. Unlike traditional methods that require audio interfaces or MIDI cables, the USB audio cable simplifies the process, making it accessible to music enthusiasts of all levels.
In this article, we will guide you through the process of connecting your piano to a laptop using a USB audio cable. We will provide detailed instructions, along with tips and tricks to ensure a seamless and productive connection. So, let’s get started on this musical journey and unlock the full potential of your piano and laptop!
Step 1: Gather the necessary equipment
Before you can connect your piano to a laptop using a USB audio cable, you will need to gather the necessary equipment. Here’s a list of items you’ll need:
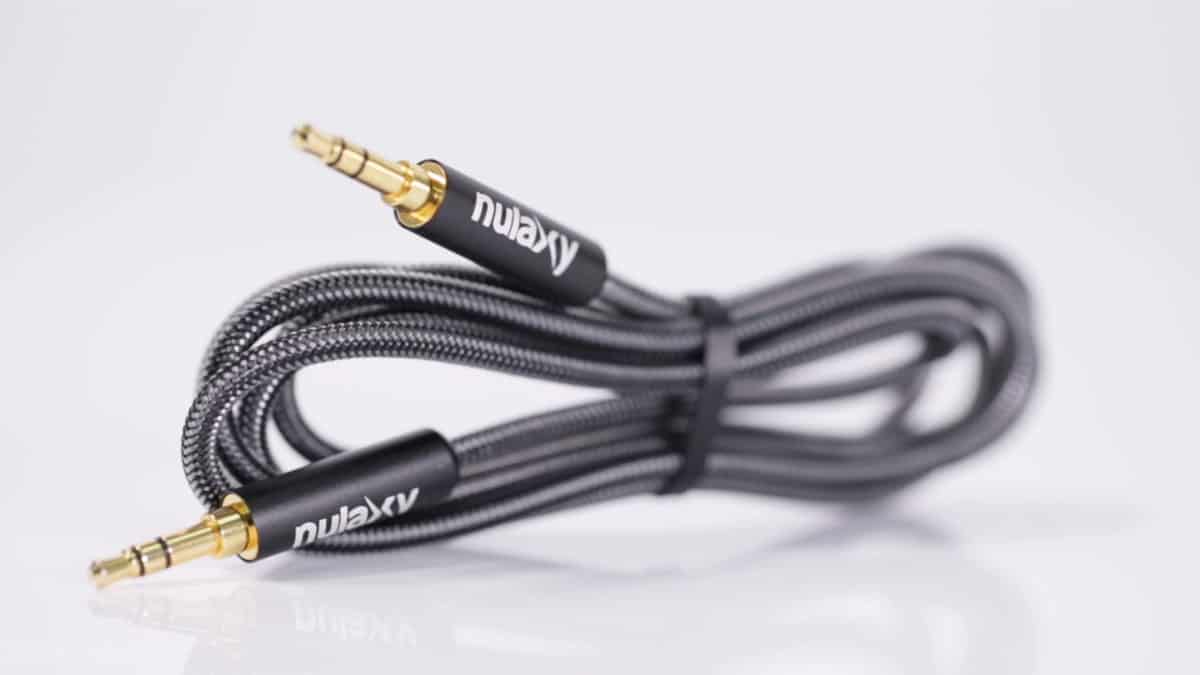
- USB audio cable: This is the main component that will connect your piano to the laptop. Make sure to choose a high-quality USB audio cable that is compatible with both your piano and laptop.
- Piano: Obviously, you will need a piano or a digital keyboard with a USB output. Ensure that your piano has a USB port for audio connectivity.
- Laptop: You will need a laptop or a computer with an available USB port. The USB port will serve as the connection point for the USB audio cable.
- Audio software: To record and play your piano through your laptop, you will need audio software installed on your computer. There are various options available, such as GarageBand for Mac users or Audacity, which is a free and popular choice for both Mac and Windows users.
- Headphones or speakers: For monitoring and listening to your piano’s sound, you will need either a pair of headphones or speakers connected to your laptop.
Once you have gathered all the necessary equipment, you are ready to move on to the next step. Having everything ready beforehand will make the process much smoother and more efficient.
Step 2: Connect the USB audio cable to the piano
In this step, we will walk you through connecting the USB audio cable to your piano. Follow these simple instructions to ensure a successful connection:
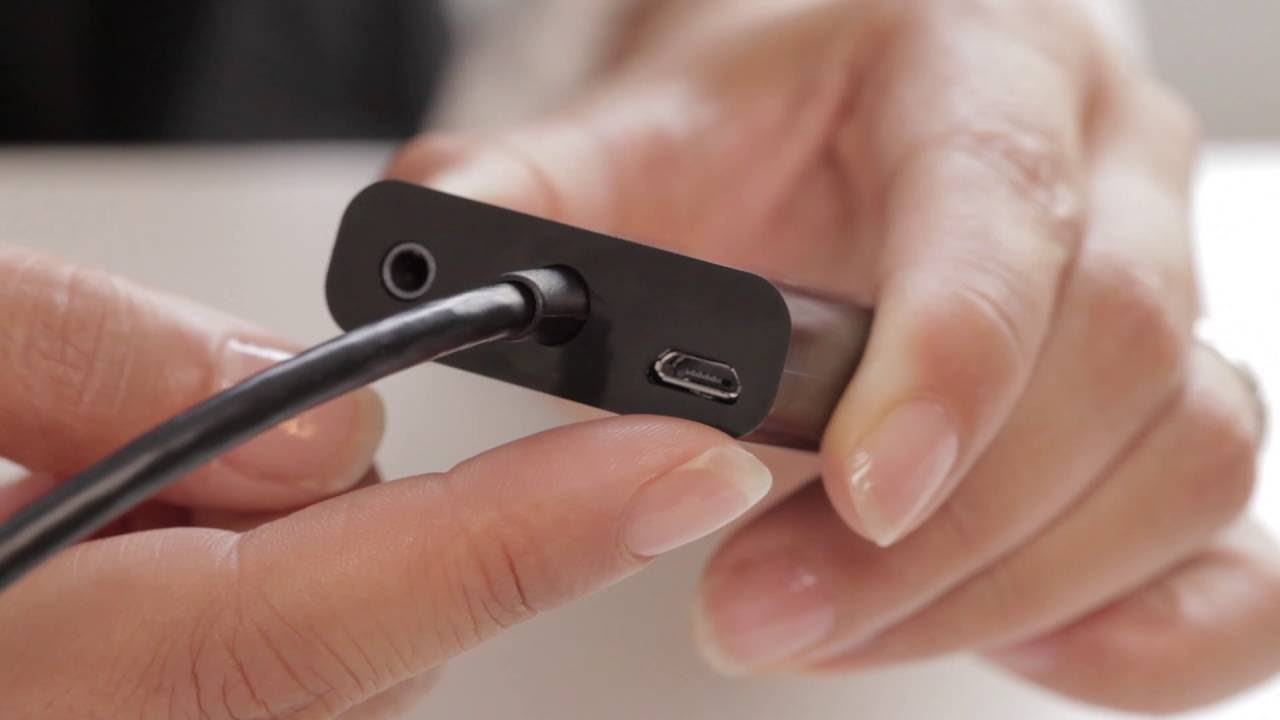
- Locate the USB port on your piano. It is usually located either at the back or side of the instrument. It may be labeled as “USB” or have a symbol that resembles three interconnected squares.
- Take one end of the USB audio cable and plug it into the USB port on your piano. Ensure that it fits snugly and securely.
- Once connected, your piano should recognize the USB audio cable. Some pianos may require you to select the USB audio input mode in the instrument’s settings.
- Check the piano’s output settings to ensure that the audio is routed through the USB connection. This can usually be adjusted in the piano’s menu or settings options. Refer to the user manual of your piano if you are unsure.
- At this point, the USB audio cable is successfully connected to your piano. Now, let’s move on to connecting it to your laptop.
Remember to handle the USB audio cable with care and avoid any unnecessary twists or bends. This will help prevent any damage to the cable or the ports on your piano.
Once you have connected the USB audio cable to your piano, proceed to the next step to complete the connection to your laptop.
Step 3: Connect the USB audio cable to the laptop
Now that you have successfully connected the USB audio cable to your piano, it’s time to connect the other end of the cable to your laptop. Follow these steps to complete the connection:
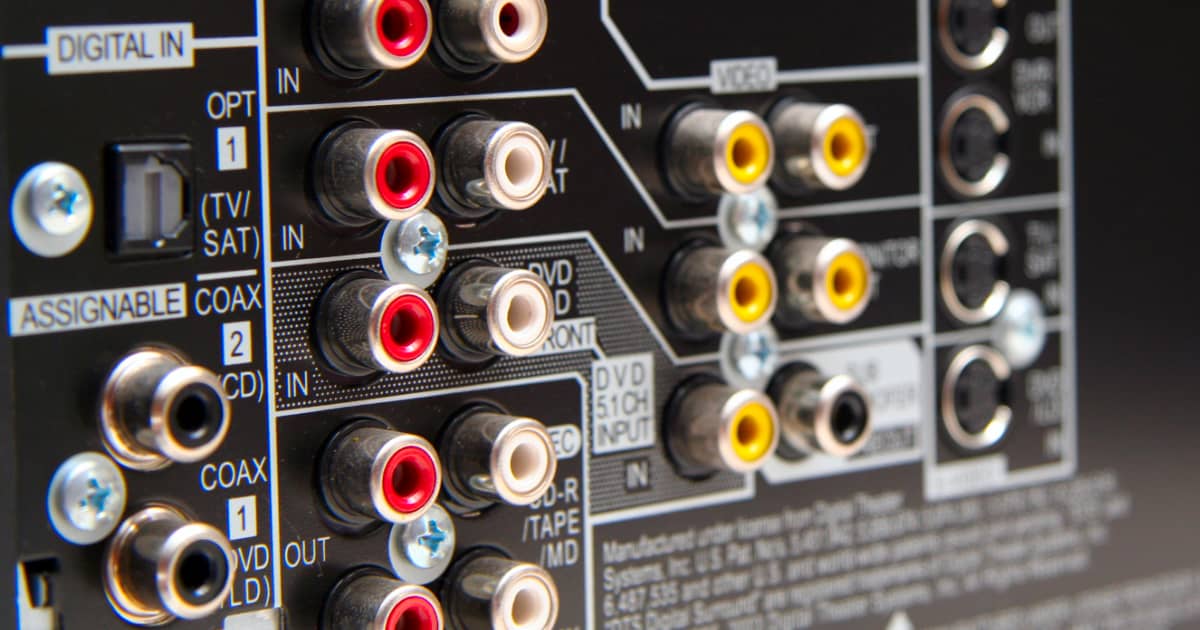
- Locate an available USB port on your laptop. These ports are typically found on the sides or back of the laptop.
- Take the other end of the USB audio cable (the end that is not connected to the piano) and plug it into the USB port on your laptop. Ensure a secure connection.
- Once connected, your laptop should automatically recognize the USB audio cable. It may prompt you to select the audio input source if there are multiple options available.
- Next, open your audio software on your laptop. The software should detect the USB audio cable as the input device. If not, you may need to manually select the USB audio cable as the input source within the software settings.
- Adjust the audio settings in your software to optimize the sound quality according to your preferences. You can adjust settings such as volume, gain, and EQ to enhance the sound of your piano.
It’s important to note that some laptops may require additional drivers to be installed for the USB audio cable to function properly. These drivers can usually be downloaded from the manufacturer’s website. Refer to the documentation that came with your USB audio cable or check the manufacturer’s website for any additional instructions specific to your cable model.
With the USB audio cable connected to both your piano and laptop, you have established a direct digital audio connection between the two devices. Now, let’s move on to the next step to ensure that the audio settings on your laptop are properly adjusted.
Step 4: Adjust the audio settings on the laptop
Now that you have connected the USB audio cable to your piano and laptop, it’s time to adjust the audio settings on your laptop to ensure optimal sound quality and functionality. Follow these steps to adjust the audio settings:
- Open the sound settings on your laptop. On Windows, you can do this by right-clicking on the volume icon in the taskbar and selecting “Open Sound settings.” On Mac, go to “System Preferences” and select “Sound.”
- In the sound settings, navigate to the input section and ensure that the USB audio cable is selected as the input device. This will ensure that the audio signal from your piano is being received by your laptop.
- Adjust the input volume as needed. This allows you to control the volume level of the audio signal coming from your piano. Start with a moderate level and make adjustments based on your preference and the sensitivity of the piano’s output.
- Next, navigate to the output section in the sound settings. Here, you can select the output device for the audio playback. Choose either your laptop’s built-in speakers or the external speakers or headphones connected to your laptop.
- Adjust the output volume to a comfortable level. This controls the volume of the audio playback from your piano. Be mindful of setting it to a level that is not too loud or too soft.
- Take some time to explore the advanced audio settings in your laptop’s sound settings or audio software. Here, you can fine-tune the audio parameters such as sample rate and buffer size to optimize the audio performance.
By adjusting the audio settings on your laptop, you can ensure that the sound from your piano is captured accurately and reproduced with the desired quality on your laptop’s output device.
Now that you have properly adjusted the audio settings, it’s time to move on to the final step to test the connection between your piano and laptop.
Step 5: Test the connection
After making all the necessary connections and adjusting the audio settings, it’s crucial to test the connection between your piano and laptop to ensure everything is working properly. Follow these steps to test the connection:
- Open your preferred audio software on your laptop.
- Select the input source within the audio software to ensure it is set to the USB audio cable as the audio input device.
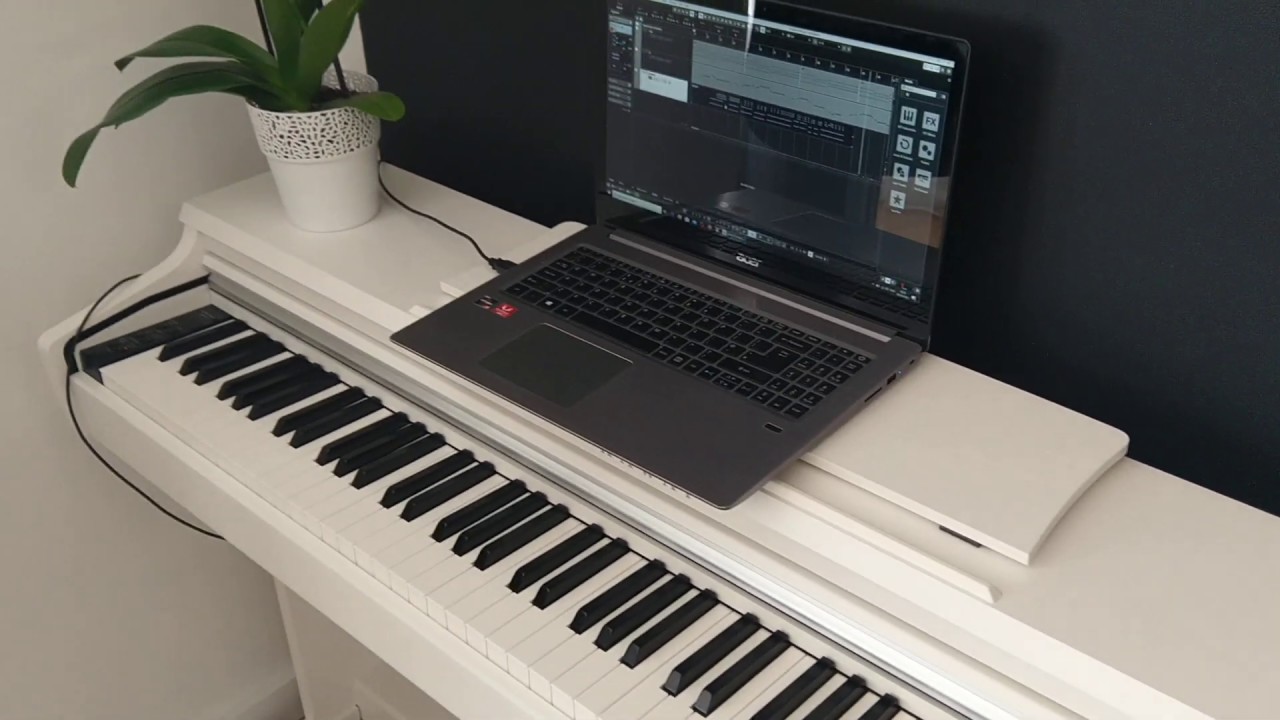
- Start playing your piano and monitor the sound output through your laptop’s speakers or headphones. You should hear the sound of your piano coming through the laptop.
- Check for any latency or delay in the audio playback. Latency can occur when there is a delay between playing a note on the piano and hearing the sound through your laptop. If you’re experiencing latency, you may need to adjust the buffer size or latency settings in your audio software to minimize the delay.
- Verify that the volume levels are balanced and appropriate. Adjust the input volume on your laptop if the piano’s sound is too soft or too loud.
- Record a short test audio sample to ensure that the piano’s sound is being accurately captured by your laptop. Play back the recorded sample to verify the quality of the recording.
If you encounter any issues during the testing phase, double-check all the connections, audio settings, and software settings to ensure everything is configured correctly. It’s also a good idea to consult the user manuals of your piano, laptop, and audio software for troubleshooting tips.
Once you have successfully tested the connection and ensured that everything is working as expected, you’re ready to unleash your creativity and explore the various possibilities that connecting your piano to a laptop offers.
Congratulations! You have now successfully connected your piano to a laptop using a USB audio cable. You can now enjoy recording your piano performances, creating music, or taking advantage of the wide range of software and virtual instruments available.
Remember to always disconnect the USB audio cable properly, following the manufacturer’s instructions, and handle it with care to avoid any damage.
Happy playing!
Conclusion
Connecting a piano to a laptop using a USB audio cable opens up a world of possibilities for musicians and enthusiasts. It allows you to harness the power of digital technology, record your performances, experiment with different sounds, and explore a wide range of virtual instruments and software.
In this guide, we have walked you through the step-by-step process of connecting your piano to a laptop using a USB audio cable. We started by gathering the necessary equipment, including the USB audio cable, piano, laptop, and audio software. Then, we explored how to connect the USB audio cable to both the piano and the laptop. We also covered adjusting the audio settings on your laptop and testing the connection to ensure optimal performance.
By following this guide, you can establish a seamless and high-quality audio connection between your piano and laptop. This connection opens up a whole new world of possibilities for recording, composing, learning, and sharing your music.
Remember to refer to the user manuals of your piano, laptop, and audio software for any specific instructions or troubleshooting tips. Also, take care to handle the USB audio cable and other equipment with caution to avoid any damage.
Now that you have successfully connected your piano to your laptop, it’s time to explore and unleash your creativity. Take advantage of the various software and resources available to enhance your piano playing and musical journey.
Enjoy the limitless possibilities that connecting your piano to a laptop brings, and have fun making beautiful music!