Home>Production & Technology>Audio Cable>How To Use Digital Audio Cable With Receiver
Audio Cable
How To Use Digital Audio Cable With Receiver
Modified: January 22, 2024
Learn how to effectively use audio cables with your receiver. Discover the ins and outs of digital audio cables and optimize your audio experience.
(Many of the links in this article redirect to a specific reviewed product. Your purchase of these products through affiliate links helps to generate commission for AudioLover.com, at no extra cost. Learn more)
Table of Contents
Introduction
Welcome to our comprehensive guide on how to use a digital audio cable with a receiver. In today’s era of advanced audio technology, having the right equipment and understanding how to connect and utilize it properly is crucial for optimal audio performance.
A digital audio cable is a specialized cable used to transmit high-fidelity audio signals from one device to another. Whether you are a music enthusiast, gamer, or home theater buff, knowing how to set up and use a digital audio cable with your receiver can enhance your audio experience considerably.
In this guide, we will explore the different types of digital audio cables available and walk you through the step-by-step process of setting up your receiver and connecting the cable. We will also provide tips on adjusting the settings on your receiver to ensure optimal audio quality and troubleshoot common issues that may arise.
Whether you are connecting a Blu-ray player, gaming console, or streaming device to your receiver, understanding the fundamentals of digital audio cables and their integration with your receiver is essential for achieving the best audio performance possible.
So, let’s get started with understanding the different types of digital audio cables available in the market.
What is a digital audio cable?
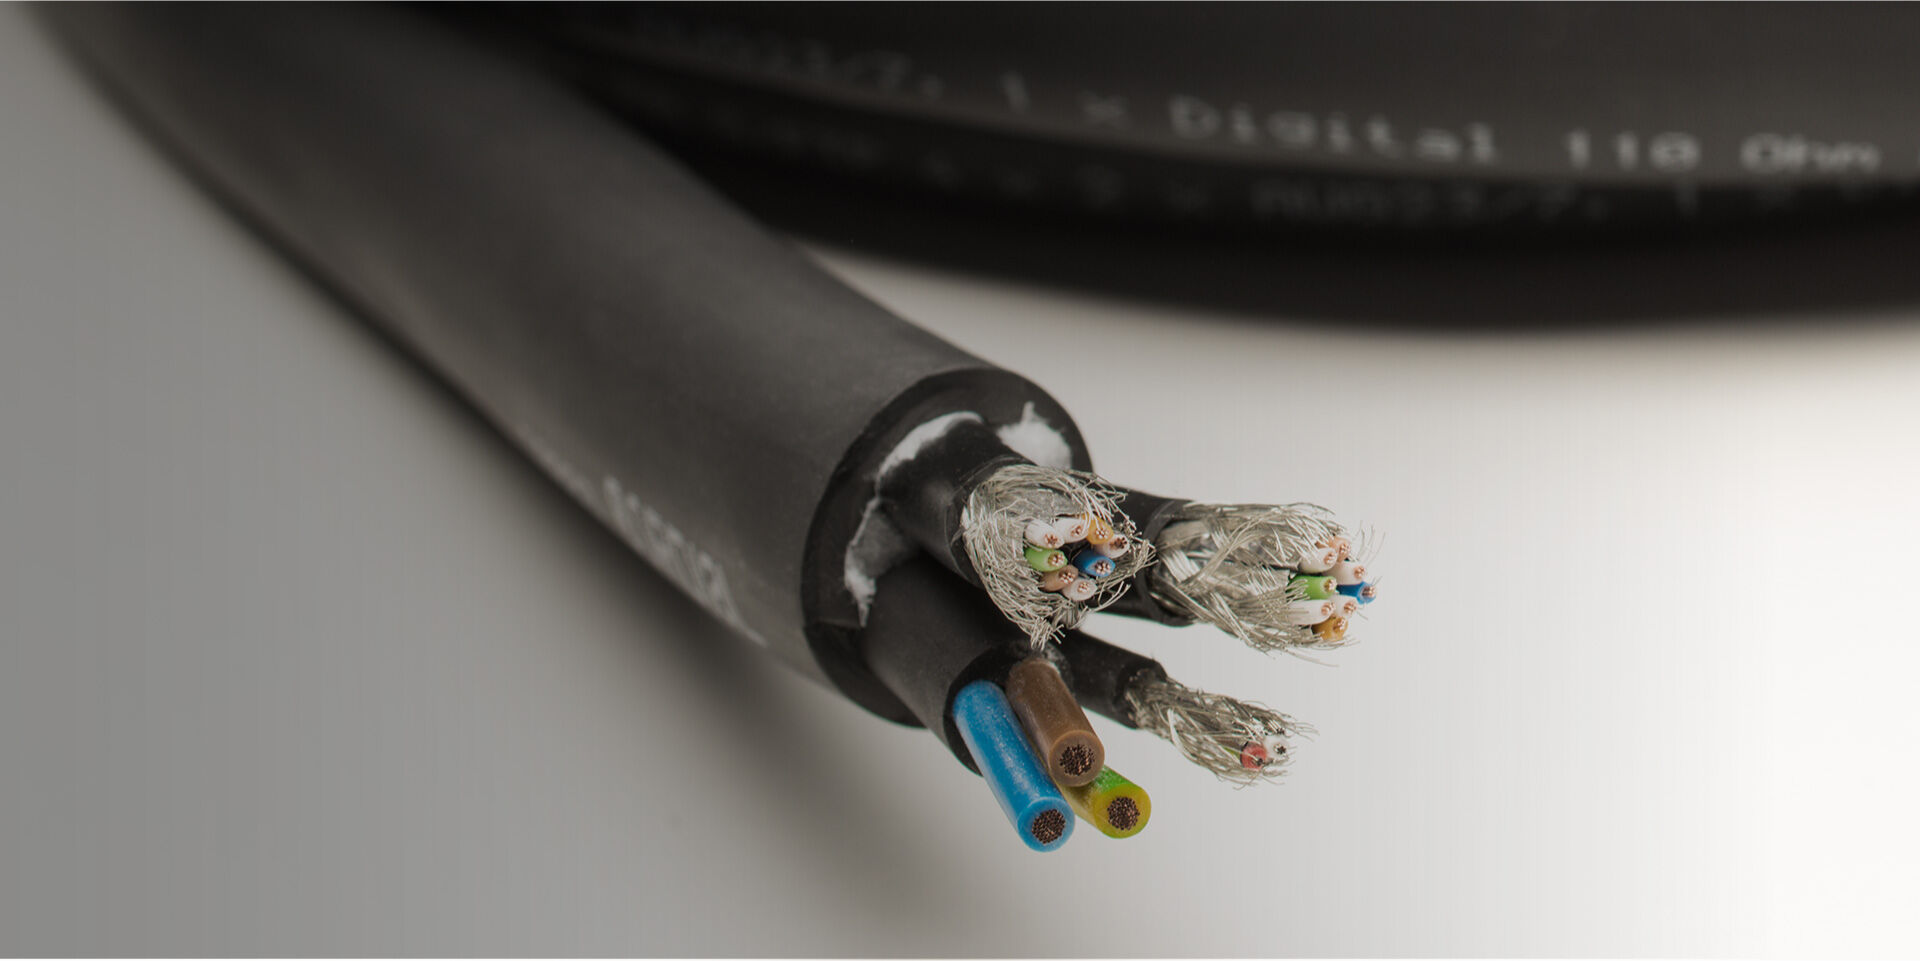
A digital audio cable, also known as a digital optical cable or a digital coaxial cable, is a type of cable specifically designed to transmit high-quality digital audio signals. Unlike traditional analog audio cables that transmit electrical signals, digital audio cables carry digital data in the form of light (optical) or electrical (coaxial) signals.
These cables are commonly used to connect audio devices, such as Blu-ray players, game consoles, soundbars, or streaming devices, to a receiver. The receiver then decodes the digital audio signal and sends it to the speakers, resulting in clear and immersive sound reproduction.
There are two main types of digital audio cables:
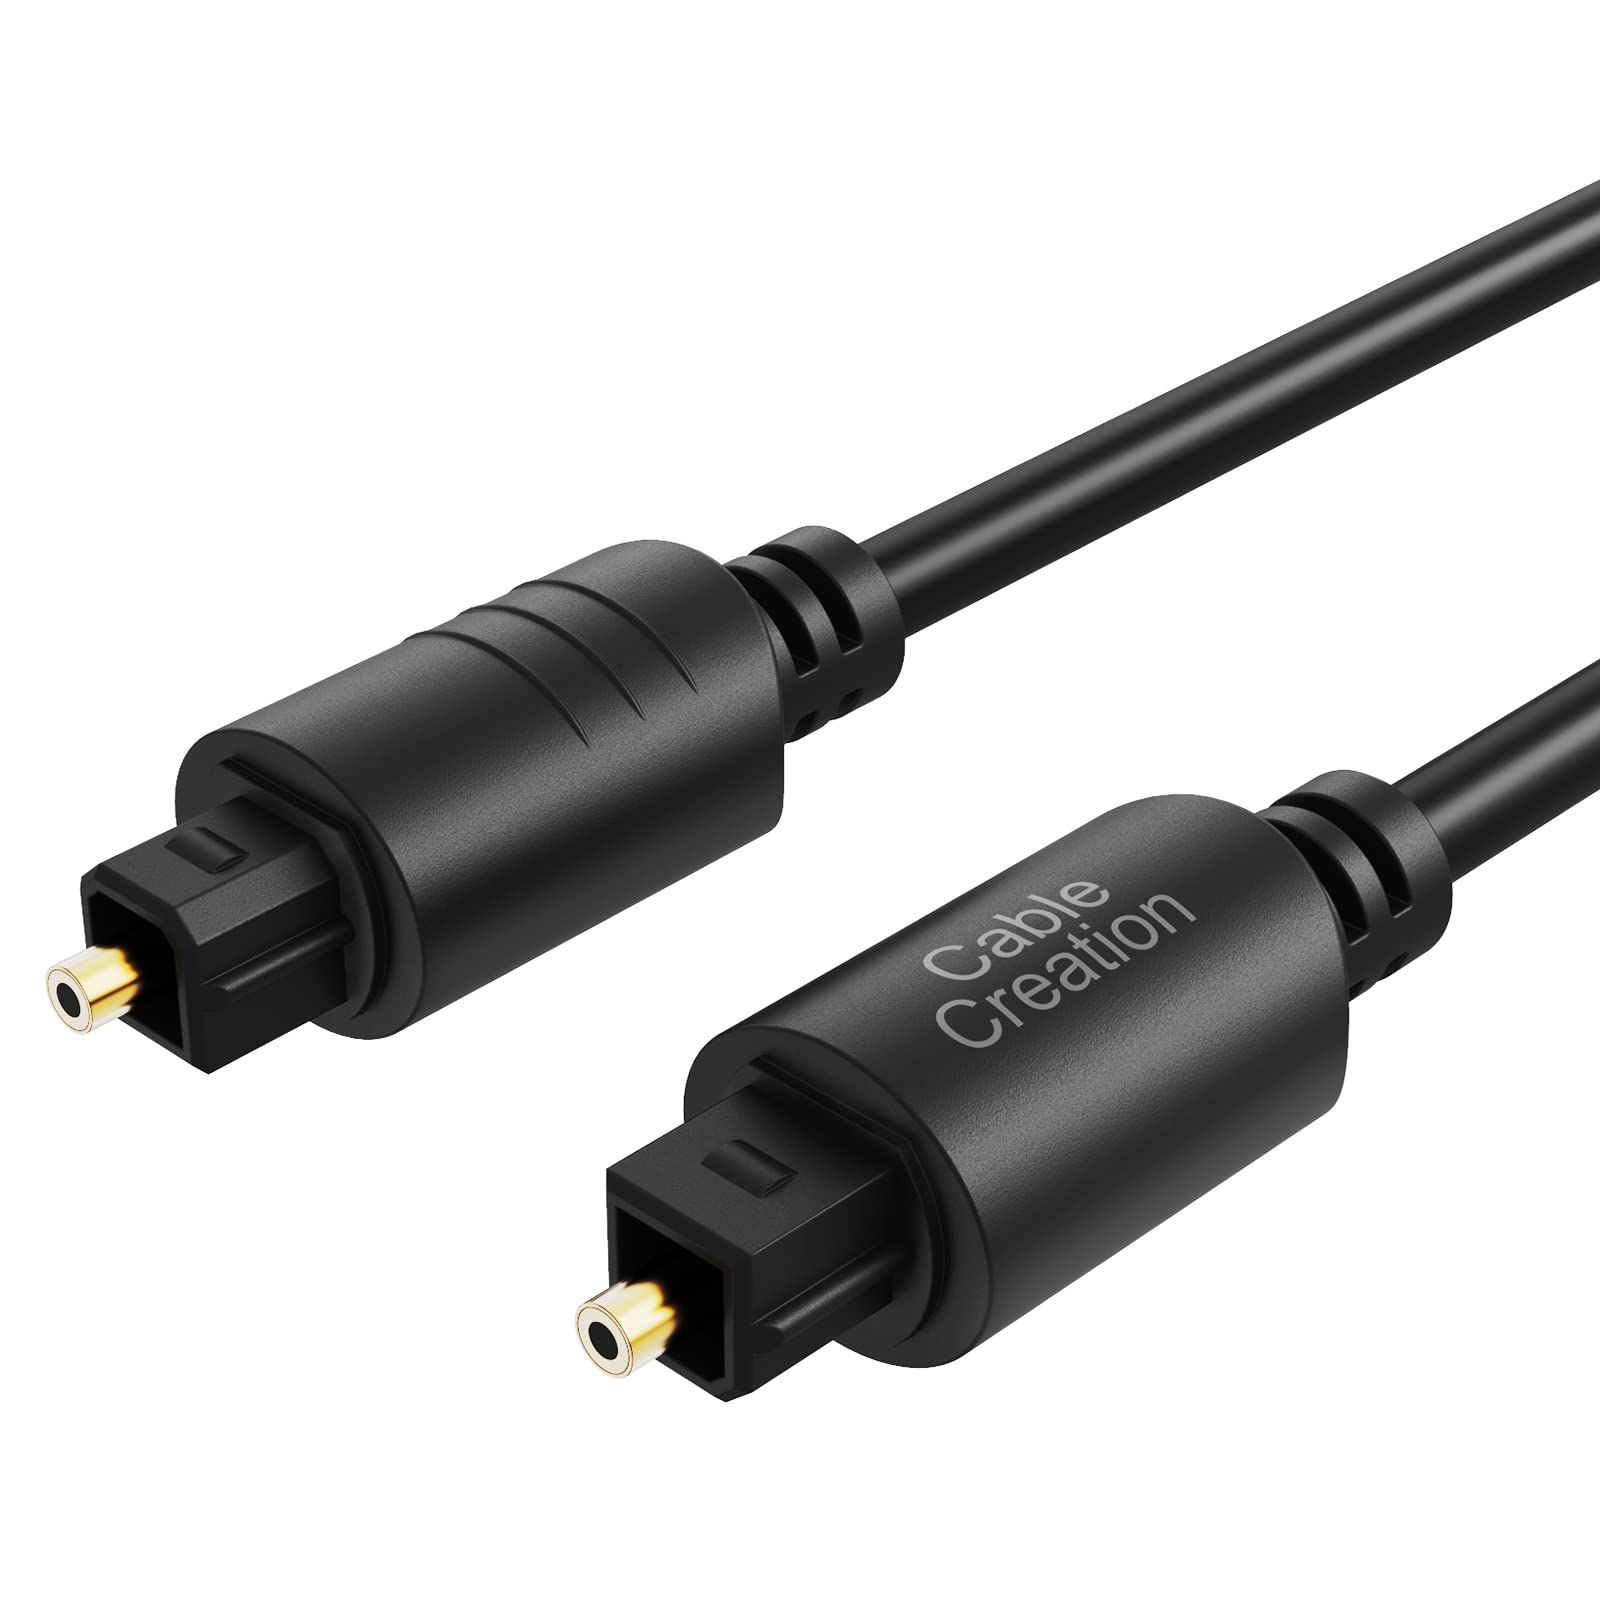
- Optical Digital Audio Cable: Also known as TOSLINK or SPDIF, optical cables use fiber optic technology to transmit digital signals in the form of light pulses. This type of cable is ideal for long-distance audio transmission and offers excellent noise resistance. It is commonly recognizable by its square-shaped connector with a small plastic plug.
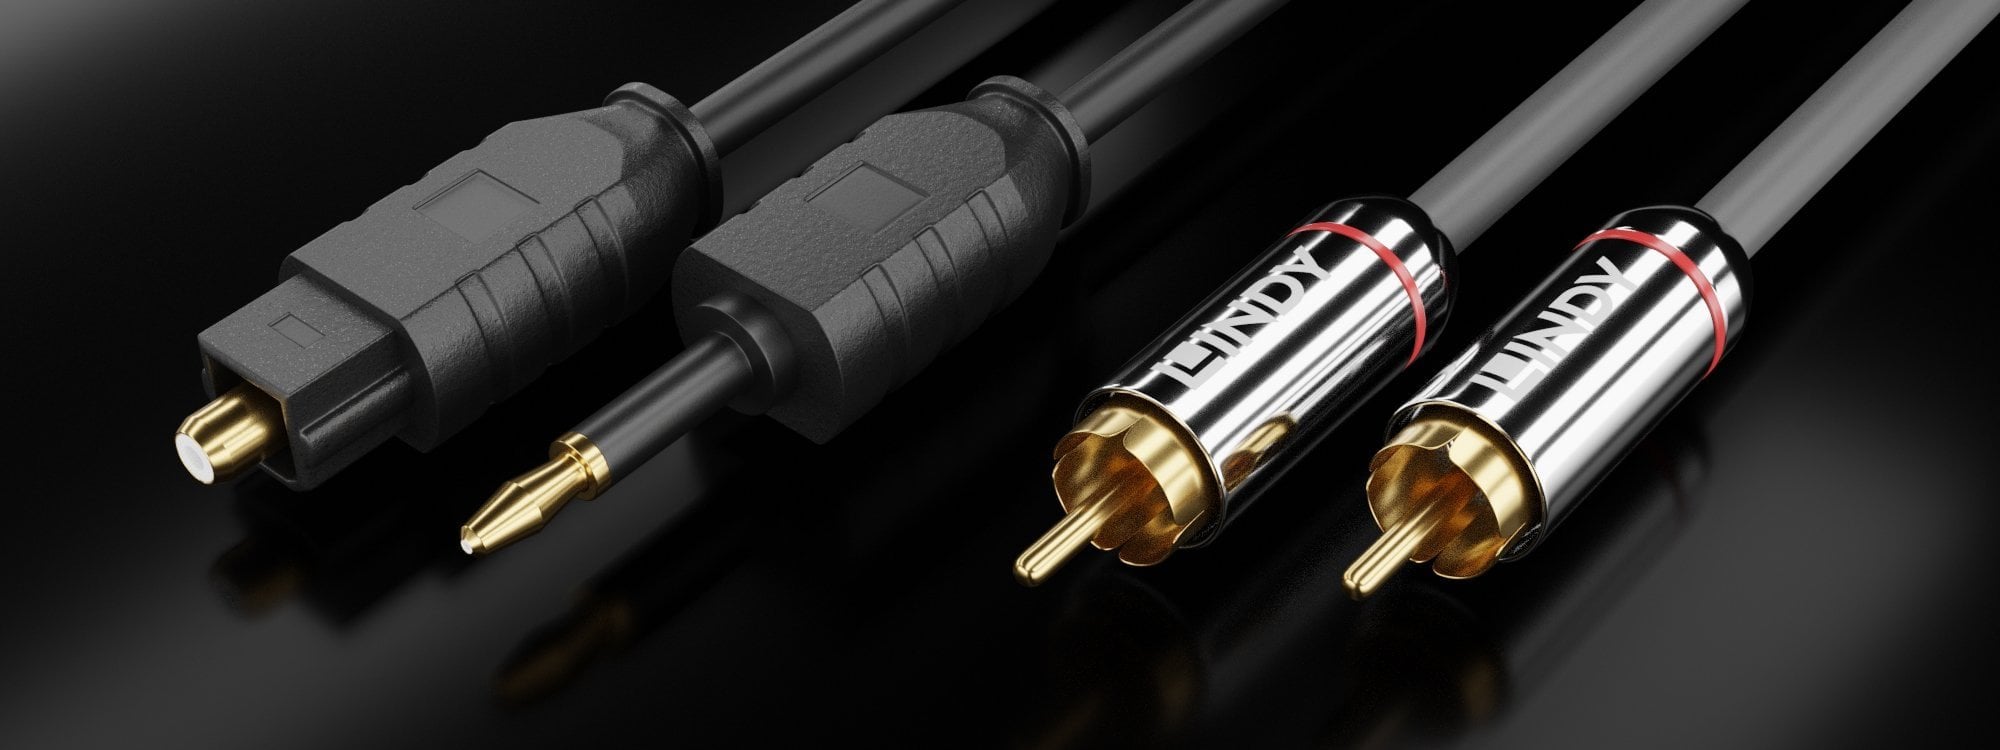
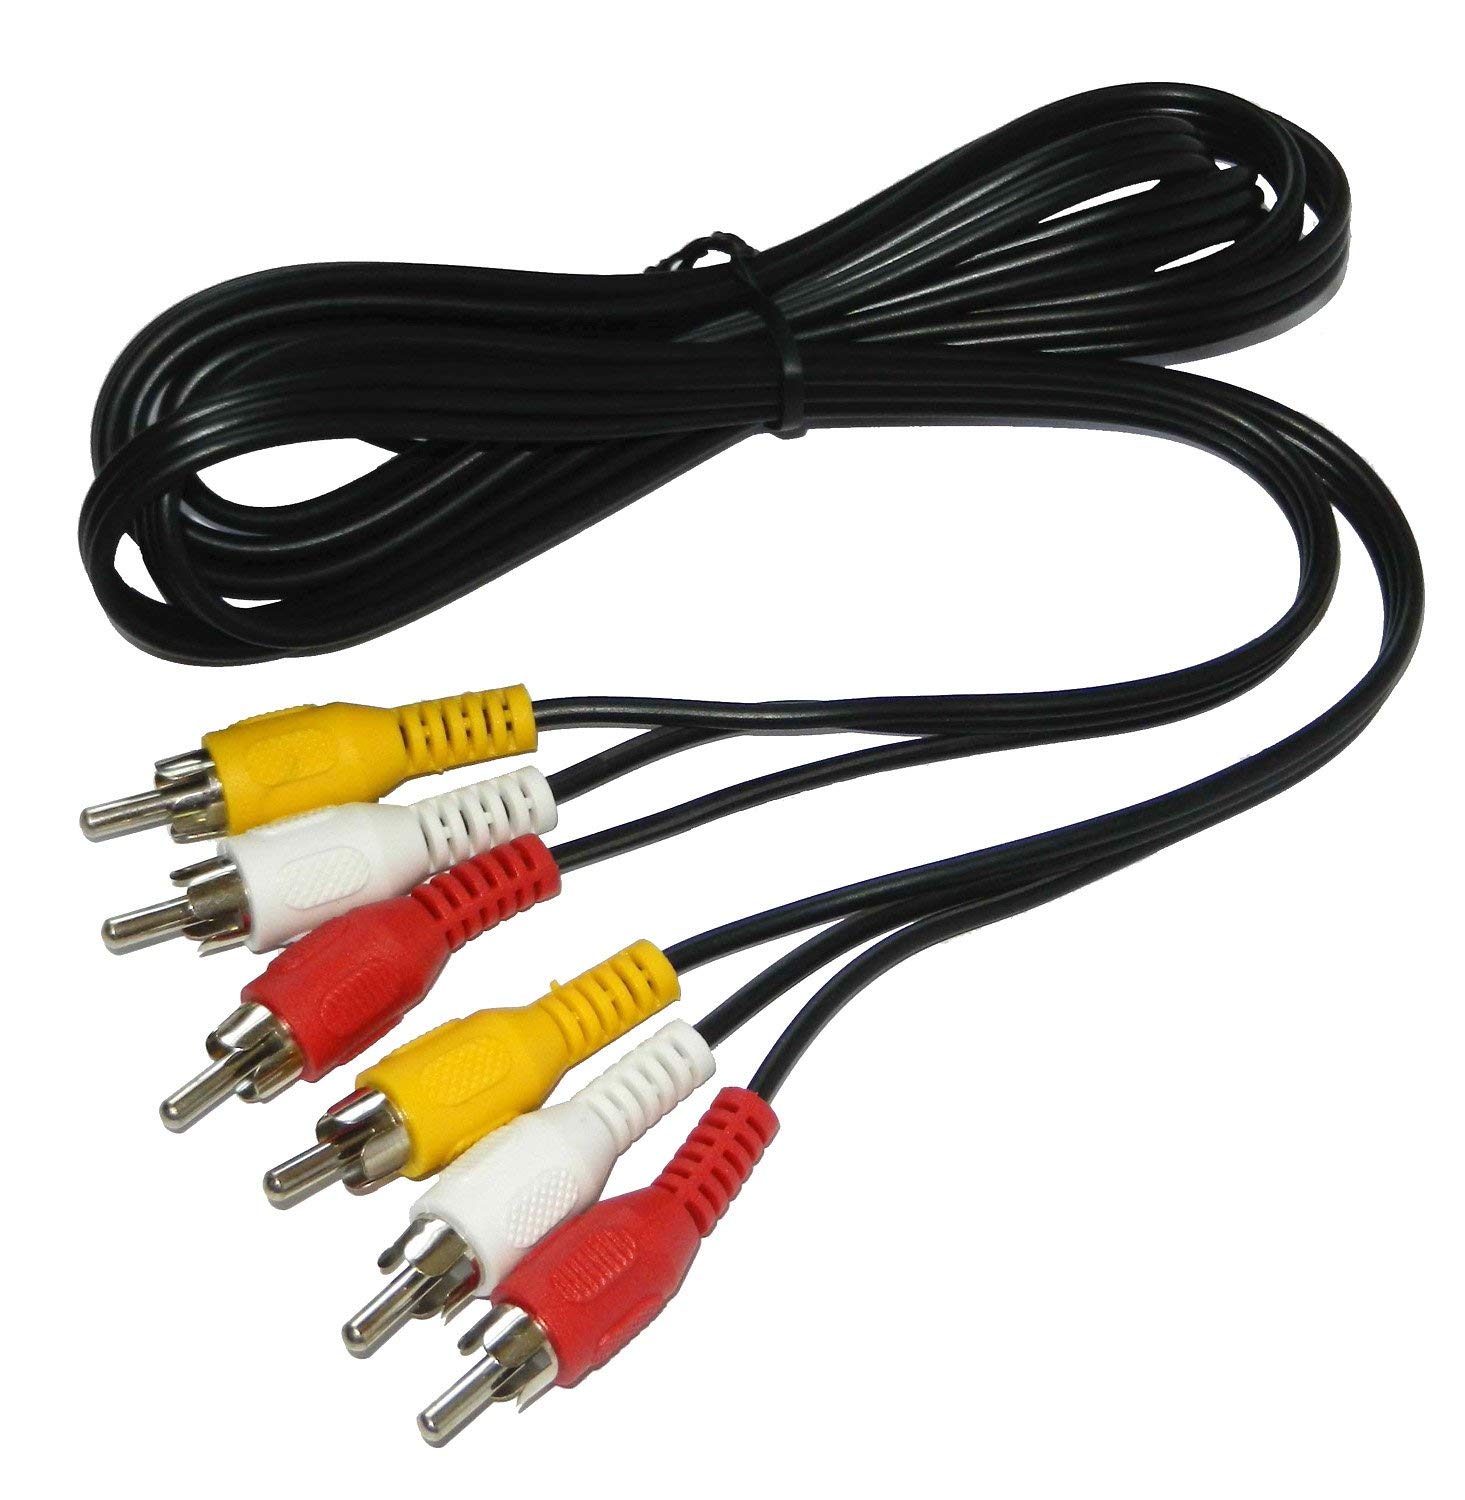
- Coaxial Digital Audio Cable: Coaxial cables use copper conductors to transmit digital audio signals. They have a single RCA-style connector on each end and can be recognized by their distinctive round shape. Coaxial cables are particularly suitable for shorter cable runs and are known for their robust construction and reliable signal transmission.
Both optical and coaxial digital audio cables support various digital audio formats, including Dolby Digital, DTS, and PCM. The choice between these two types of cables depends on the audio equipment you are connecting and the available ports on your devices and receiver.
Now that we have a basic understanding of what a digital audio cable is and its different types, let’s move on to the next section, where we will discuss how to set up your receiver and connect the digital audio cable.
Types of digital audio cables
When it comes to digital audio cables, there are several types to choose from, each with its own unique characteristics and advantages. Let’s explore the most common types of digital audio cables you may encounter:
- Optical Digital Audio Cable: Also known as TOSLINK or SPDIF, optical cables use fiber optic technology to transmit digital audio signals in the form of light pulses. These cables are capable of carrying multi-channel audio formats, such as Dolby Digital and DTS, making them ideal for connecting devices like Blu-ray players, gaming consoles, and soundbars to a receiver. Optical cables also provide excellent noise resistance, making them less susceptible to interference.
- Coaxial Digital Audio Cable: Coaxial cables use copper conductors to transmit digital audio signals. These cables have a single RCA-style connector on each end and are capable of carrying various digital audio formats. Coaxial cables are commonly used for shorter cable runs due to their reliable signal transmission and robust construction.
- HDMI (High-Definition Multimedia Interface) Cable: HDMI cables are primarily used for transmitting video and audio signals simultaneously. These cables support high-definition audio formats, including Dolby TrueHD and DTS-HD Master Audio, and are capable of carrying both multichannel and uncompressed audio. HDMI cables are typically used to connect devices like Blu-ray players, gaming consoles, and streaming boxes to a receiver or a TV that supports HDMI connections.
- USB (Universal Serial Bus) Cable: USB cables are commonly used for connecting audio devices, such as DACs (Digital-to-Analog Converters) and audio interfaces, to a computer or other compatible devices. While USB cables are primarily associated with data transfer, they can also transmit digital audio signals, making them a popular choice for audio enthusiasts and professionals.
It’s important to note that the type of digital audio cable you choose will depend on the audio equipment you are connecting, the available ports on your devices and receiver, and the audio formats you wish to transmit. Compatibility and the desired audio quality should also be considered when selecting the appropriate cable.
Now that we’ve covered the types of digital audio cables available, let’s move on to the next section, where we will discuss how to set up your receiver and connect the digital audio cable.
Setting up your receiver and digital audio cable
Before connecting your digital audio cable, it’s essential to properly set up your receiver. Here’s a step-by-step guide to help you get started:
- Choose the ideal location: Select a suitable location for your receiver that allows for proper ventilation and easy access to connect cables. Ensure that the receiver is placed on a stable surface away from any heat sources or direct sunlight.
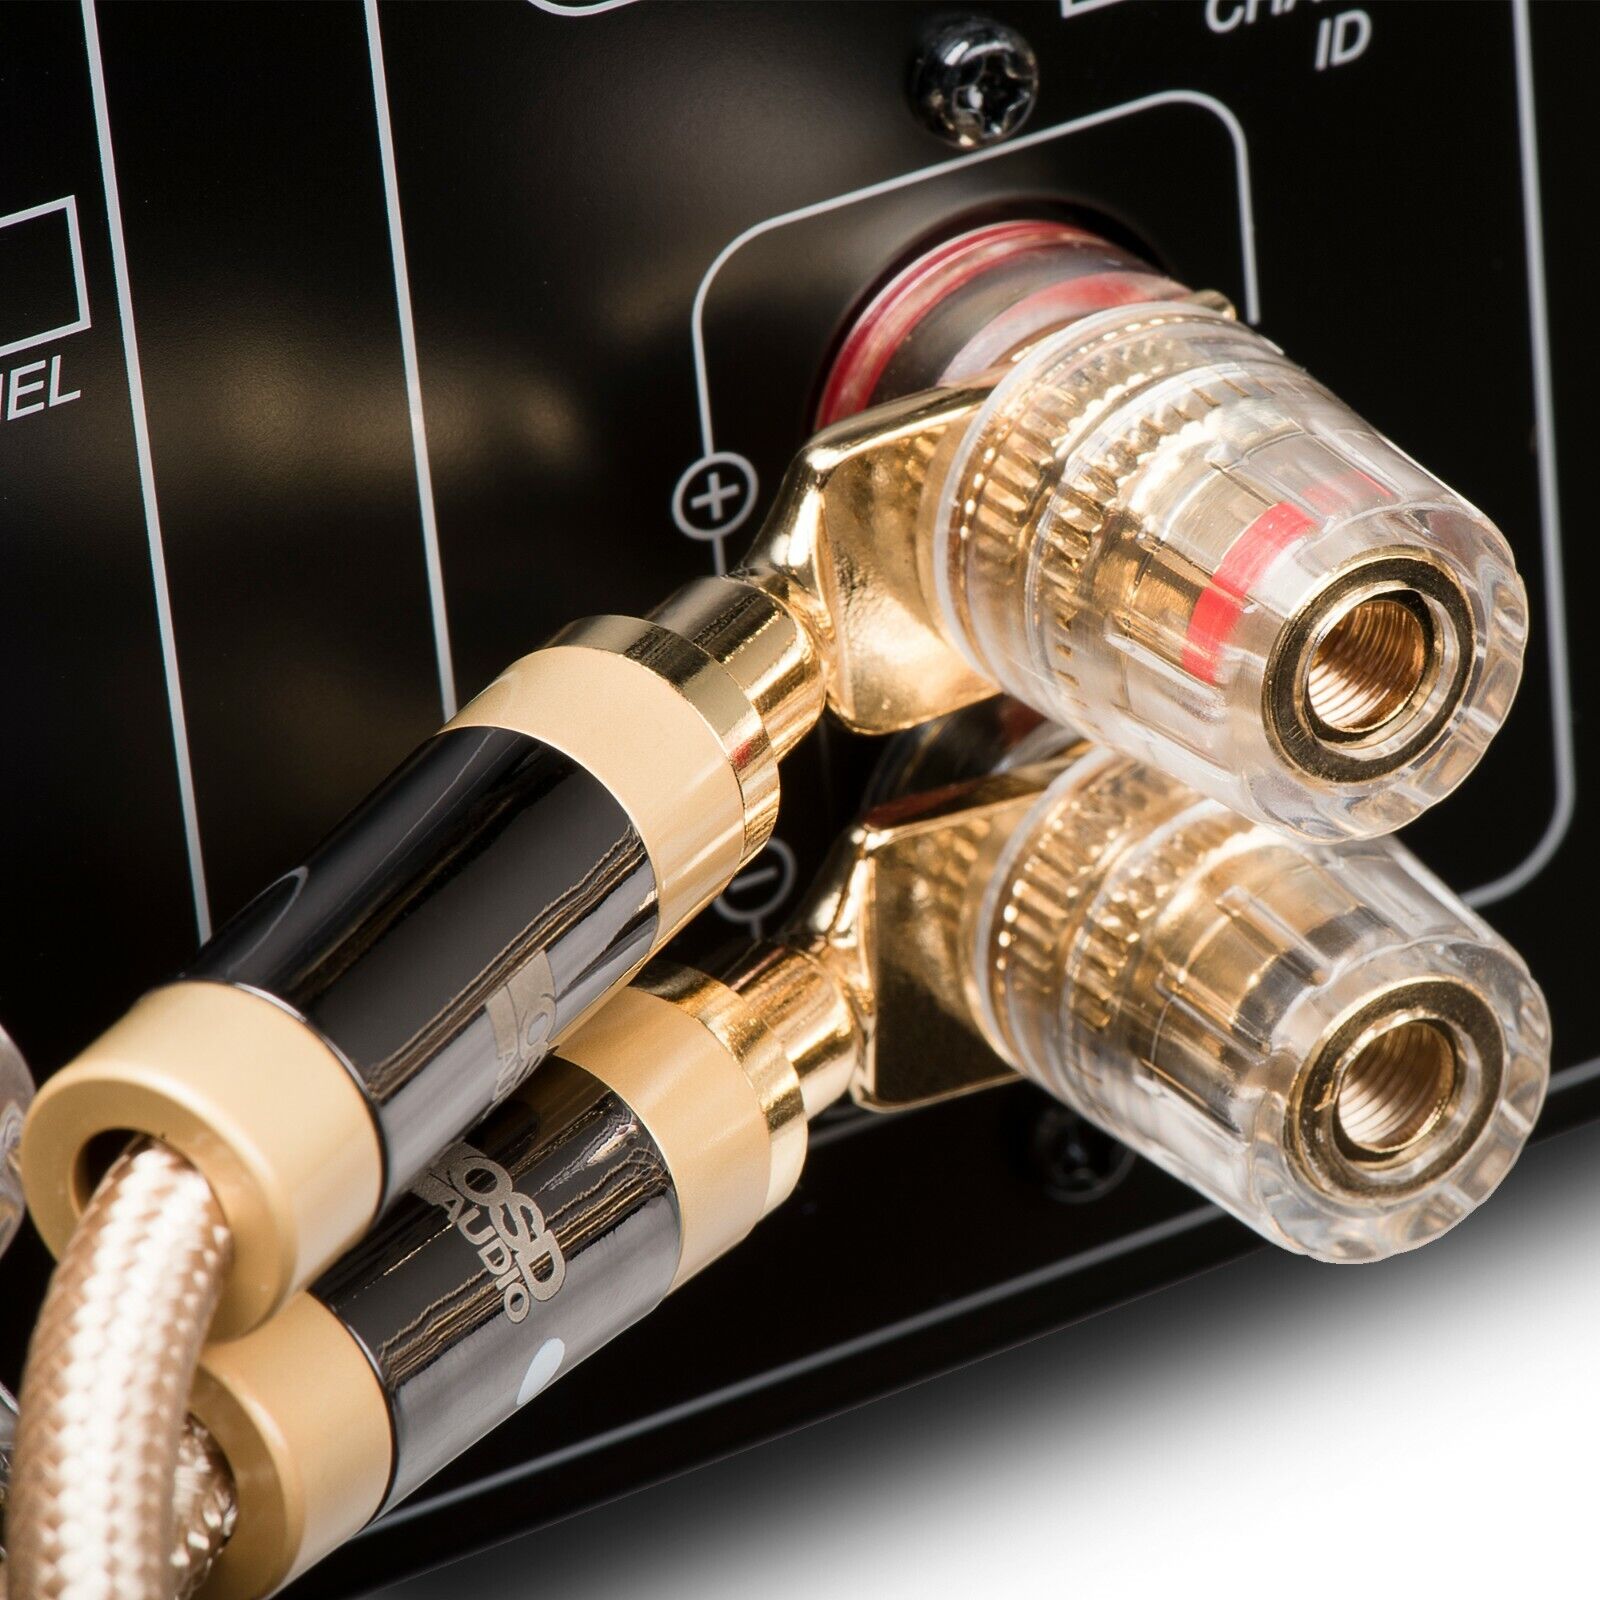
- Connect your speakers: Depending on the number of speakers you have, connect them to the corresponding speaker terminals on your receiver. Ensure that the positive (+) and negative (-) terminals match on both the receiver and the speakers. Using high-quality speaker wire, connect each speaker to the appropriate terminals ensuring a secure connection.
- Power on your receiver: Plug in the power cord of your receiver into a power outlet and switch it on. You may need to follow the on-screen instructions or refer to your receiver’s manual to complete the initial setup process.
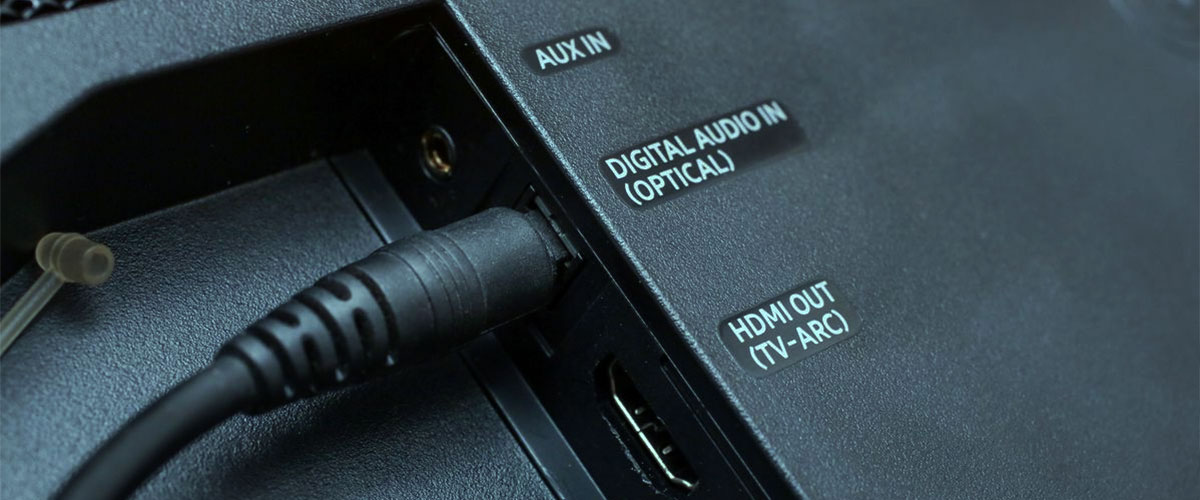
- Identify the digital audio input/output ports: Locate the digital audio input and output ports on your receiver. These are usually labeled as “Optical,” “Coaxial,” or “Digital Audio In/Out.” If your receiver has multiple ports, identify which one you will be using for your digital audio cable.
- Prepare your digital audio cable: If you are using an optical cable, remove the protective plastic caps from both ends of the cable. For a coaxial cable, ensure that the RCA connectors are securely attached to the cable ends.
- Connect the digital audio cable: Insert one end of the digital audio cable into the digital audio output port on the audio device you wish to connect, such as a Blu-ray player. Align the connector with the port and gently push it in until it clicks into place. Repeat this step for the other end of the cable, connecting it to the corresponding digital audio input port on your receiver.
- Secure the connections: Ensure that the connectors are firmly inserted into the ports to establish a secure connection. Avoid applying excessive force, as this may damage the connectors or ports.
Once you have connected your digital audio cable, you are ready to proceed with adjusting the settings on your receiver, which we will cover in the next section.
Remember to consult your receiver’s manual for specific instructions and refer to the documentation provided with your digital audio cable for any additional setup requirements.
Connecting the digital audio cable to your receiver
Now that you have properly set up your receiver, it’s time to connect the digital audio cable to ensure a seamless audio transmission. Follow these steps to connect the cable to your receiver:
- Locate the digital audio input port: Identify the digital audio input port on your receiver. It may be labeled as “Optical In,” “Coaxial In,” or “Digital In,” depending on the type of cable and ports available.
- Prepare the cable: If you are using an optical digital audio cable, remove the protective caps from both ends of the cable. For a coaxial digital audio cable, ensure that the RCA connectors are secured to the cable ends.
- Insert the cable: Take one end of the digital audio cable and insert it firmly into the corresponding digital audio input port on your receiver. Make sure the connector aligns with the port and is inserted straight to avoid any damage.
- Tighten the connection: Once the cable is inserted, gently twist it clockwise to ensure a secure connection. Do not overtighten, as this could lead to damage or misalignment of the connectors or ports.
- Repeat for the other end: Take the other end of the digital audio cable and connect it to the digital audio output port on the audio source device, such as a Blu-ray player or gaming console. Align the connector with the port and insert it firmly, similar to the previous step.
- Verify the connection: Once both ends of the cable are securely connected, visually inspect the connections to ensure they are stable. Check for any loose cables or visible damage to the connectors.
By properly connecting the digital audio cable to your receiver, you have established a direct and reliable audio pathway between your audio source and the receiver. This will allow for high-quality digital audio transmission and ensure an immersive audio experience.
Next, we will discuss adjusting the settings on your receiver to optimize the audio output and ensure the best sound quality.
Adjusting the settings on your receiver
After connecting the digital audio cable to your receiver, it’s important to adjust the settings on the receiver to optimize the audio output. Follow these steps to ensure the best sound quality:
- Select the appropriate input source: Use the input selector on your receiver to choose the correct input source that corresponds to the connected digital audio cable. This ensures that the receiver receives the audio signal from the correct source.
- Access the audio settings: Refer to your receiver’s user manual to understand how to access the audio settings menu. This is typically done through the receiver’s on-screen display or front panel buttons.
- Choose the audio format: Depending on your digital audio source, you may need to select the appropriate audio format in the receiver’s settings. Options may include PCM, Dolby Digital, DTS, or other advanced audio formats. Select the format that matches the capabilities of your audio source.
- Configure the speaker settings: Use the receiver’s setup menu to adjust the speaker configuration, including size, distance, and channel levels. Properly configuring your speakers ensures optimal sound localization and balance.
- Set the audio output: Some receivers may have specific settings for the audio output, such as stereo, multichannel, or surround sound. Choose the output that suits your preferences and speaker setup.
- Adjust the equalizer settings: If your receiver has an equalizer feature, you can fine-tune the audio frequencies to your liking. Make adjustments based on personal preference or to optimize the sound for the specific audio content.
- Test the audio: Play various audio content, such as music, movies, or games, to ensure that the audio output is balanced and accurate. Make note of any issues or distortions and adjust the settings accordingly.
It’s important to consult your receiver’s manual for specific instructions on accessing and adjusting the settings. Each receiver model may have a slightly different menu structure and options.
By taking the time to adjust the settings on your receiver, you can tailor the audio output to your liking and maximize the potential of your digital audio cable and audio equipment.
In the next section, we will discuss some common troubleshooting tips to help you address any issues that may arise when using a digital audio cable with your receiver.
Troubleshooting common issues
While using a digital audio cable with your receiver can greatly enhance your audio experience, you may encounter some common issues along the way. Here are some troubleshooting tips to help you address these issues:
- No audio or sound: If you are not hearing any audio or sound from your speakers, double-check the connections between the digital audio cable and the receiver. Ensure that the cable is securely inserted into the proper input and output ports. Additionally, make sure that the receiver is set to the correct input source and that the audio is not muted or set to a very low volume level.
- Poor audio quality: If you experience poor audio quality, such as distorted or muffled sound, first ensure that the cables are properly connected. If the issue persists, check the audio settings on your receiver and make sure they are optimized for the audio source. Additionally, verify that your devices and receiver support the same audio format to ensure compatibility.
- Noisy or intermittent audio: If you hear static, crackling, or intermittent audio, there may be an issue with the connection or cable quality. Try using a different digital audio cable, ensuring that it is compatible with your devices. Additionally, check for any loose connectors or damaged cables that may be causing the noise. If the problem persists, consider contacting technical support for further assistance.
- Incompatible audio formats: Some audio sources may have specific audio format requirements that your receiver may not support. In such cases, you may not hear any audio or experience compatibility issues. Check the supported audio formats of your receiver and ensure that your audio source is set to a compatible format. Consider updating the firmware of your receiver if available to support more audio formats.
- Audio dropouts: If the audio intermittently cuts out or experiences dropouts, it may indicate interference or a weak signal. Try repositioning your devices or moving them away from any potential sources of interference, such as wireless routers or other electronics. Additionally, ensure that the digital audio cable is not bent or damaged, as this can also cause signal interruptions.
If you continue to experience issues with your digital audio cable and receiver setup, consult the user manual for your audio devices or contact the manufacturer’s technical support for further assistance. They can provide specialized troubleshooting steps or recommend additional solutions specific to your equipment.
By troubleshooting common issues, you can overcome any challenges that arise and enjoy a seamless audio experience with your digital audio cable and receiver.
Now, let’s conclude our guide on using a digital audio cable with a receiver.
Conclusion
Congratulations! You have reached the end of our comprehensive guide on how to use a digital audio cable with a receiver. By understanding the different types of digital audio cables, setting up your receiver, connecting the cable, adjusting the settings, and troubleshooting common issues, you are well-equipped to enhance your audio experience.
Digital audio cables provide a convenient and reliable way to transmit high-quality audio signals from your audio source devices to your receiver. Whether you are listening to music, watching movies, or gaming, using a digital audio cable ensures optimal sound reproduction and immersive audio quality.
Remember to choose the appropriate digital audio cable based on your devices’ compatibility and audio formats you want to transmit. Take care to securely connect the cable to your receiver and adjust the settings to maximize audio performance. And if you encounter any issues, refer to our troubleshooting tips to overcome them.
Enjoy the crisp and clear sound that a digital audio cable can provide. Experiment with different audio content and fine-tune the settings on your receiver to suit your preferences. Immerse yourself in the world of high-fidelity audio and elevate your audio experience to new heights.
We hope this guide has been helpful in guiding you through the process of using a digital audio cable with your receiver. Now go ahead, connect your audio devices, sit back, and enjoy the rich and immersive sound that awaits you!