Home>Production & Technology>Audio Cable>How To Use Digital Optical Audio Cable
Audio Cable
How To Use Digital Optical Audio Cable
Modified: January 22, 2024
Learn how to use a digital optical audio cable to enhance your audio experience. Connect devices effortlessly with this essential audio cable for crystal clear sound.
(Many of the links in this article redirect to a specific reviewed product. Your purchase of these products through affiliate links helps to generate commission for AudioLover.com, at no extra cost. Learn more)
Table of Contents
- Introduction
- What is a Digital Optical Audio Cable?
- Benefits of Using a Digital Optical Audio Cable
- How to Connect a Digital Optical Audio Cable
- Step 1: Identify the Audio Output and Input Ports
- Step 2: Prepare the Digital Optical Audio Cable
- Step 3: Connect the Cable to the Audio Output Port
- Step 4: Connect the Cable to the Audio Input Port
- Step 5: Test the Connection
- Troubleshooting common issues
- Conclusion
Introduction
An audio cable is an essential component for connecting audio devices, ensuring the transmission of high-quality sound signals. Among the various types of audio cables available in the market, the digital optical audio cable stands out as a popular choice for many audio enthusiasts and professionals.
A digital optical audio cable, also known as a TOSLINK cable or SPDIF cable, utilizes fiber optic technology to transmit digital audio signals. This type of cable is widely used in home theater systems, soundbars, gaming consoles, and other audio devices that support optical connections.
In this comprehensive guide, we will explore the benefits of using a digital optical audio cable and provide step-by-step instructions on how to properly connect it to your audio devices. Whether you’re setting up a new surround sound system or looking for ways to enhance the audio quality of your existing setup, understanding how to use a digital optical audio cable is essential.
What is a Digital Optical Audio Cable?
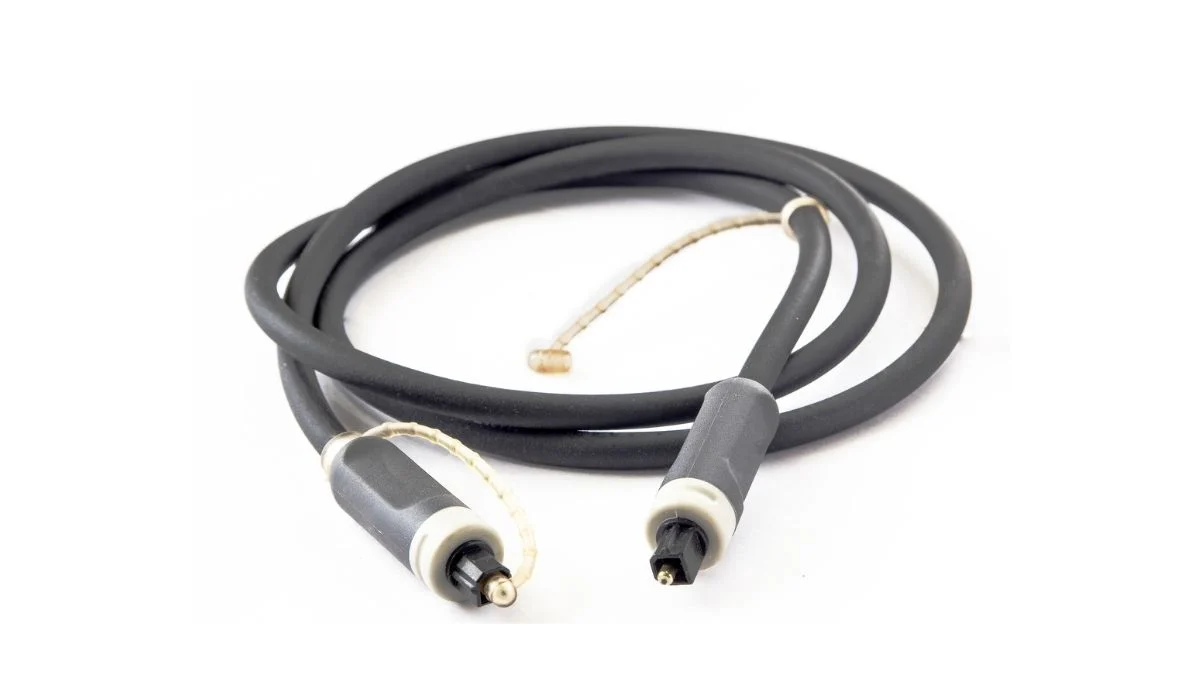
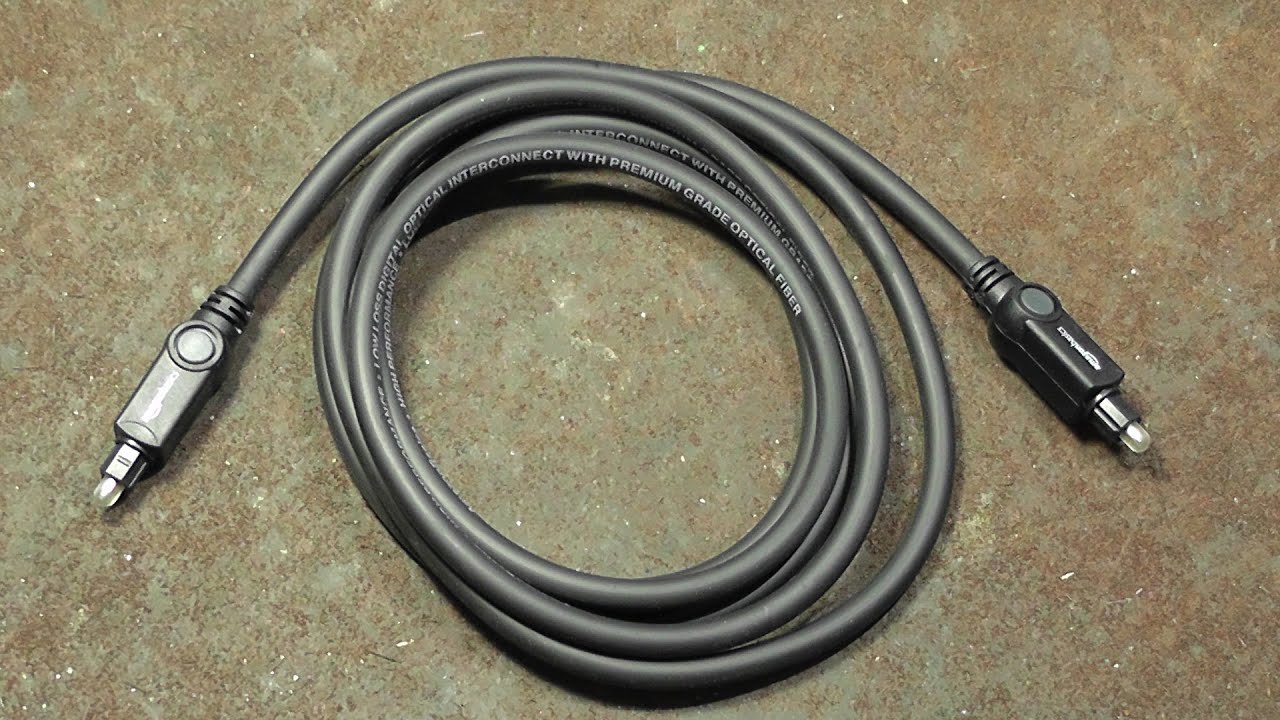
A digital optical audio cable, also known as a TOSLINK cable or SPDIF cable, is a type of audio cable that uses optical fiber technology to transmit digital audio signals. It consists of a series of thin optical fibers housed within a protective sheath.
Unlike traditional analog audio cables that transmit electrical signals, a digital optical audio cable sends pulses of light through the optical fibers. This optical transmission method ensures a high level of signal integrity and minimizes interference, resulting in cleaner and more accurate audio reproduction.
One of the key advantages of a digital optical audio cable is its ability to transmit uncompressed, high-quality audio signals. It can carry various digital audio formats, including Dolby Digital, DTS, and PCM, making it ideal for connecting audio devices such as televisions, soundbars, AV receivers, and gaming consoles.
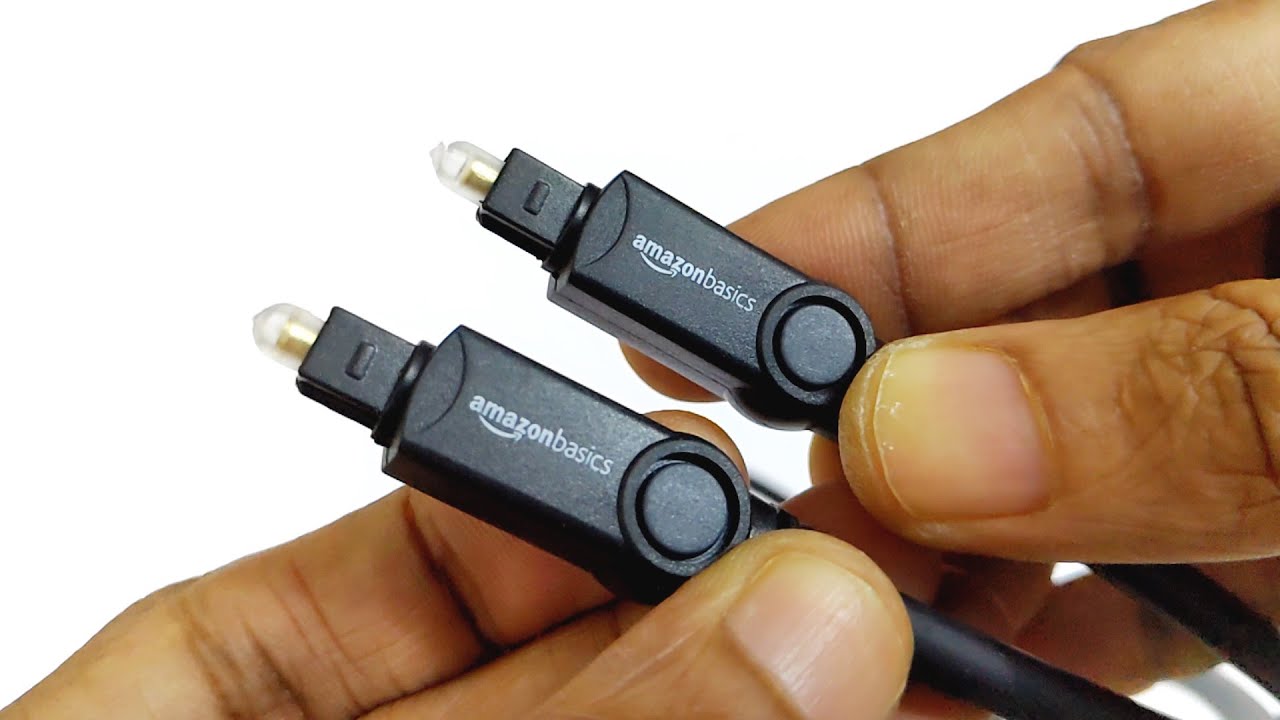
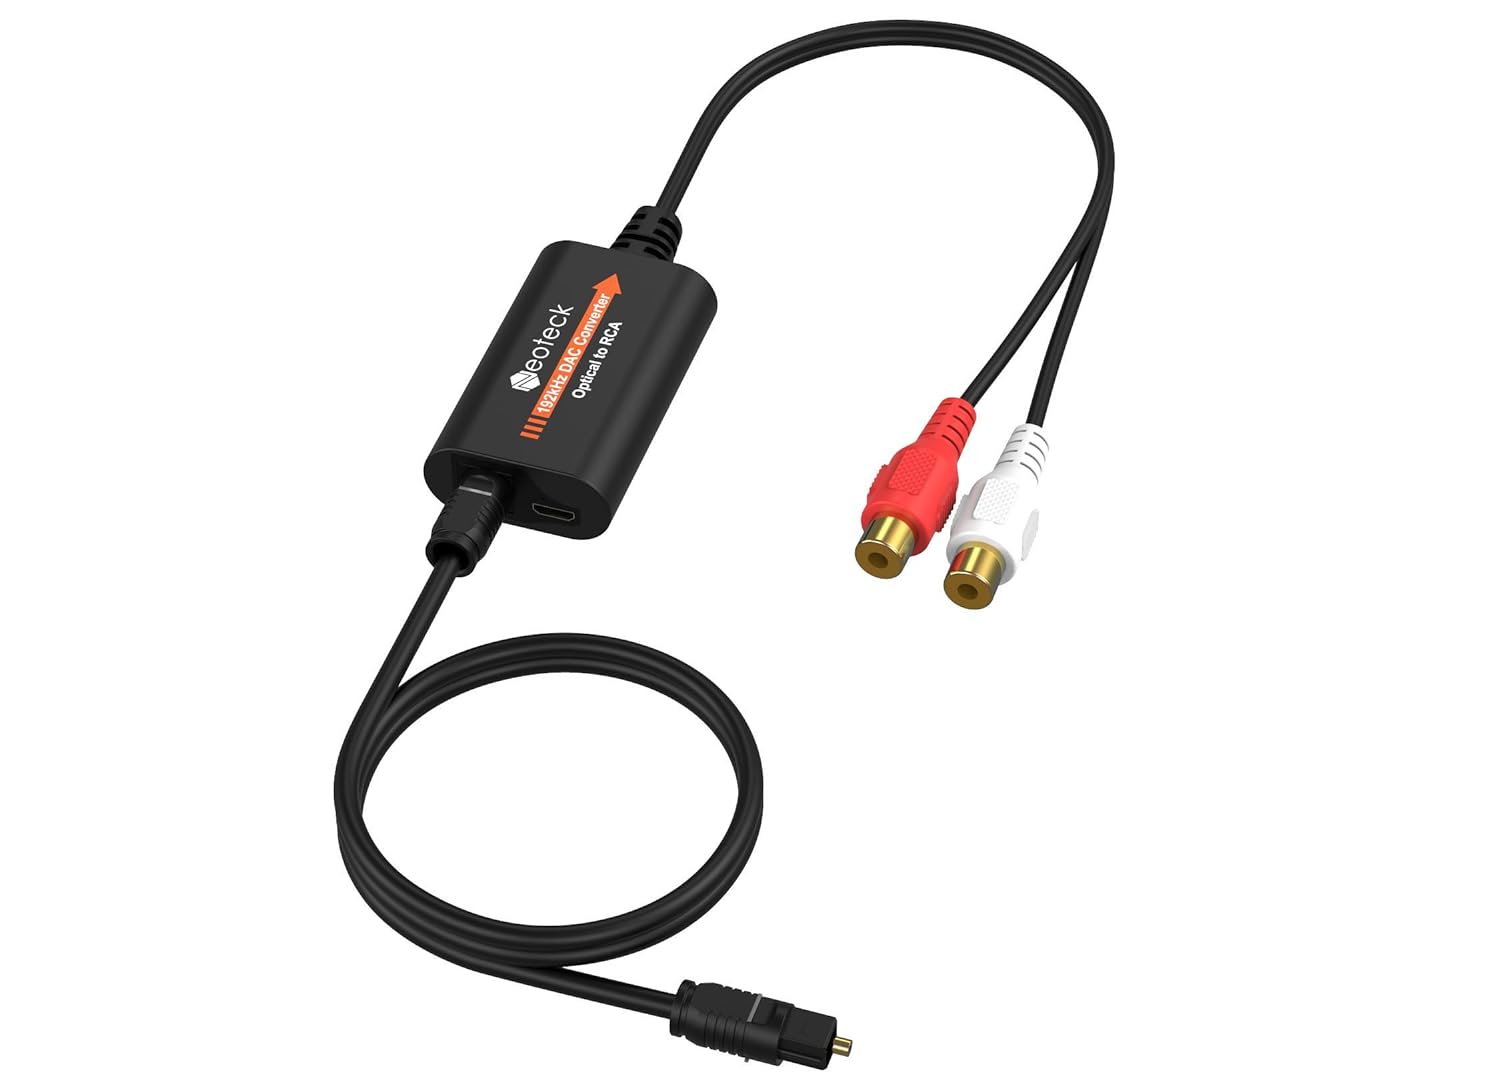
In terms of physical appearance, a digital optical audio cable typically has a square-shaped connector with a small plastic plug at the end. The plug is designed to fit into the digital optical audio output or input port on compatible devices. It is important to note that the cable is not bidirectional, meaning there are specific input and output ends that need to be correctly connected for proper audio transmission.
Overall, a digital optical audio cable provides a reliable and efficient way to transmit high-quality digital audio signals between compatible devices. It is a versatile solution for audio enthusiasts and professionals seeking an enhanced audio experience without compromising signal integrity.
Benefits of Using a Digital Optical Audio Cable
When it comes to audio connectivity, a digital optical audio cable offers several advantages over other types of audio cables. Let’s explore some of the key benefits:
- High-Quality Audio: A digital optical audio cable is capable of transmitting uncompressed audio signals, ensuring superior sound quality. This means that you can enjoy the audio in its purest form without any loss or degradation of the original signal.
- Improved Signal Integrity: Unlike analog audio cables that can be susceptible to interference and noise, a digital optical audio cable uses light signals to transmit audio. This optical transmission method is immune to electromagnetic interference, resulting in a clean and clear audio signal.
- Long Transmission Distance: Digital optical audio cables have the capability to transmit audio over long distances without any loss in quality. This makes them ideal for setting up audio systems in large rooms or home theater environments where devices are located far apart.
- Compatibility: Digital optical audio cables are widely supported by a range of audio devices, including TVs, soundbars, AV receivers, gaming consoles, and more. This versatility ensures that you can easily connect your audio equipment and enjoy high-quality sound.
- Easy to Use: Connecting a digital optical audio cable is a straightforward process. The cable is designed for easy insertion into the digital audio output or input port of your devices. Simply plug it in and you’re ready to enjoy enhanced audio.
- Future-Proof Technology: As digital audio formats continue to evolve, a digital optical audio cable provides a future-proof solution. It can handle advanced audio formats such as Dolby Digital Plus and Atmos, ensuring that your audio system remains compatible with the latest technologies.
Overall, the benefits of using a digital optical audio cable make it an excellent choice for anyone looking to elevate their audio experience. Whether you’re a music enthusiast, a movie lover, or a gamer, this type of cable ensures a seamless and immersive audio connection between your devices.
How to Connect a Digital Optical Audio Cable
Connecting a digital optical audio cable is a simple process that requires a few steps. Follow the steps below to ensure a proper and secure connection:
-
Step 1: Identify the Audio Output and Input Ports
Before you begin, locate the digital audio output port on the device you want to connect the cable to, such as a TV or soundbar. Similarly, identify the digital audio input port on the receiving device, such as an AV receiver or a speaker system. -
Step 2: Prepare the Digital Optical Audio Cable
Take the digital optical audio cable and remove any protective caps from the ends. Avoid bending or kinking the cable, as this can affect the signal transmission quality. -
Step 3: Connect the Cable to the Audio Output Port
Insert one end of the cable into the digital audio output port on the source device. Ensure a secure fit by gently pushing the connector into the port until it clicks into place. Note that the connectors are designed to fit in a specific orientation, so make sure they align correctly. -
Step 4: Connect the Cable to the Audio Input Port
Take the other end of the cable and insert it into the digital audio input port on the receiving device. Again, ensure a secure connection by gently pushing the connector into the port until it clicks. -
Step 5: Test the Connection
Once the cable is properly connected, power on the devices and select the appropriate audio input source on the receiving device. Play some audio content and check to see if the sound is coming through the connected device. If everything is working as expected, you have successfully connected the digital optical audio cable.
It is important to note that digital optical audio cables are not reversible, meaning you cannot connect them the wrong way. If you encounter any difficulties or if the audio is not working, double-check the connections and ensure that the devices are properly configured to output audio through the digital audio output port.
By following these steps, you can easily connect a digital optical audio cable and enjoy high-quality audio from your audio devices.
Step 1: Identify the Audio Output and Input Ports
Before you can connect a digital optical audio cable, it is crucial to identify the audio output and input ports on your devices. The audio output port is where the audio signal will be transmitted from, while the audio input port is where the signal will be received.
Here’s how you can identify these ports:
-
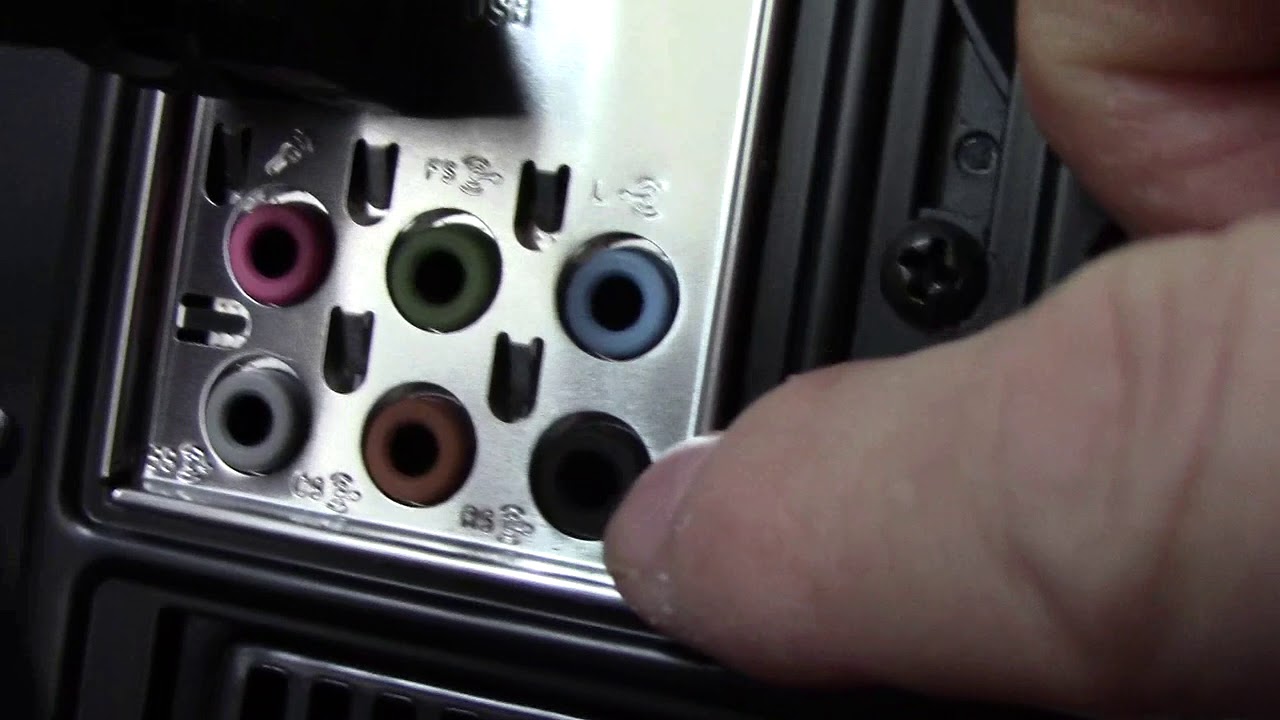
Audio Output Port:
Look for a small, square-shaped port labeled as “Digital Audio Out,” “Digital Optical Out,” or a similar variant. This output port is usually found on devices such as TVs, soundbars, or media players. It may be colored in orange or have a distinctive symbol to indicate its function. -
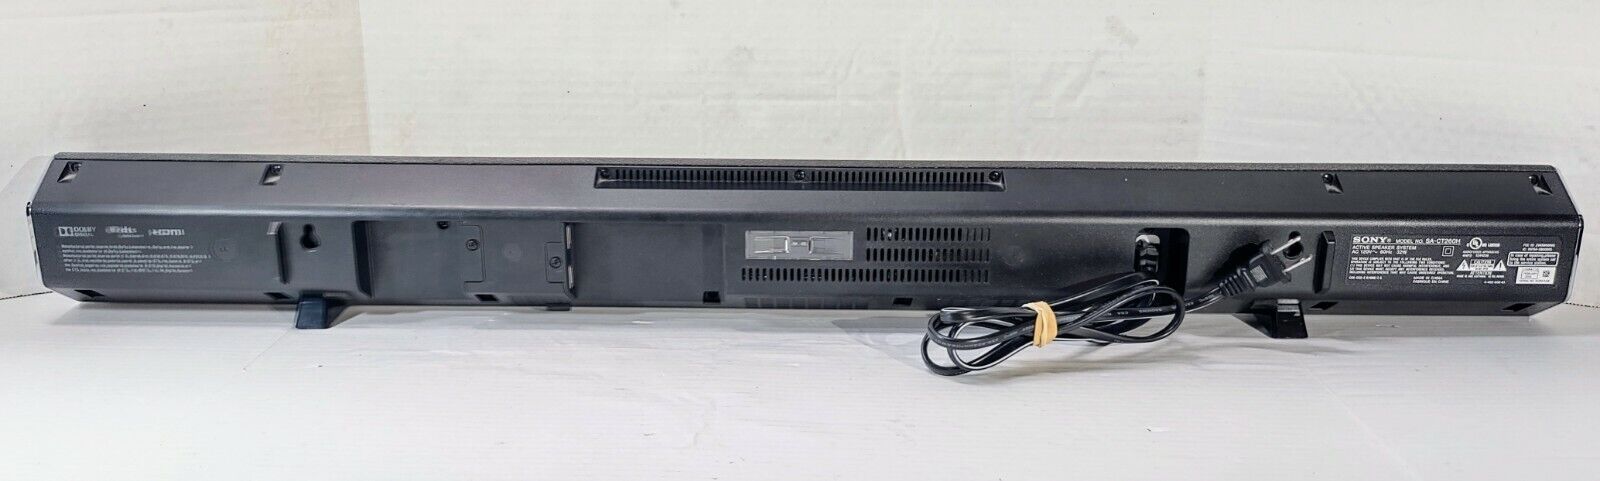
Audio Input Port:
Locate the audio input port on the receiving device, such as an AV receiver, speaker system, or soundbar. This port might be labeled as “Digital Audio In,” “Digital Optical In,” or something similar. It is typically identical in shape and size to the audio output port and often found on the rear or side panel of the device.
If you are unable to locate the audio output and input ports, refer to the user manual of your devices for detailed information and illustrations. The manual should provide clear guidance on where the ports are located and how they are labeled.
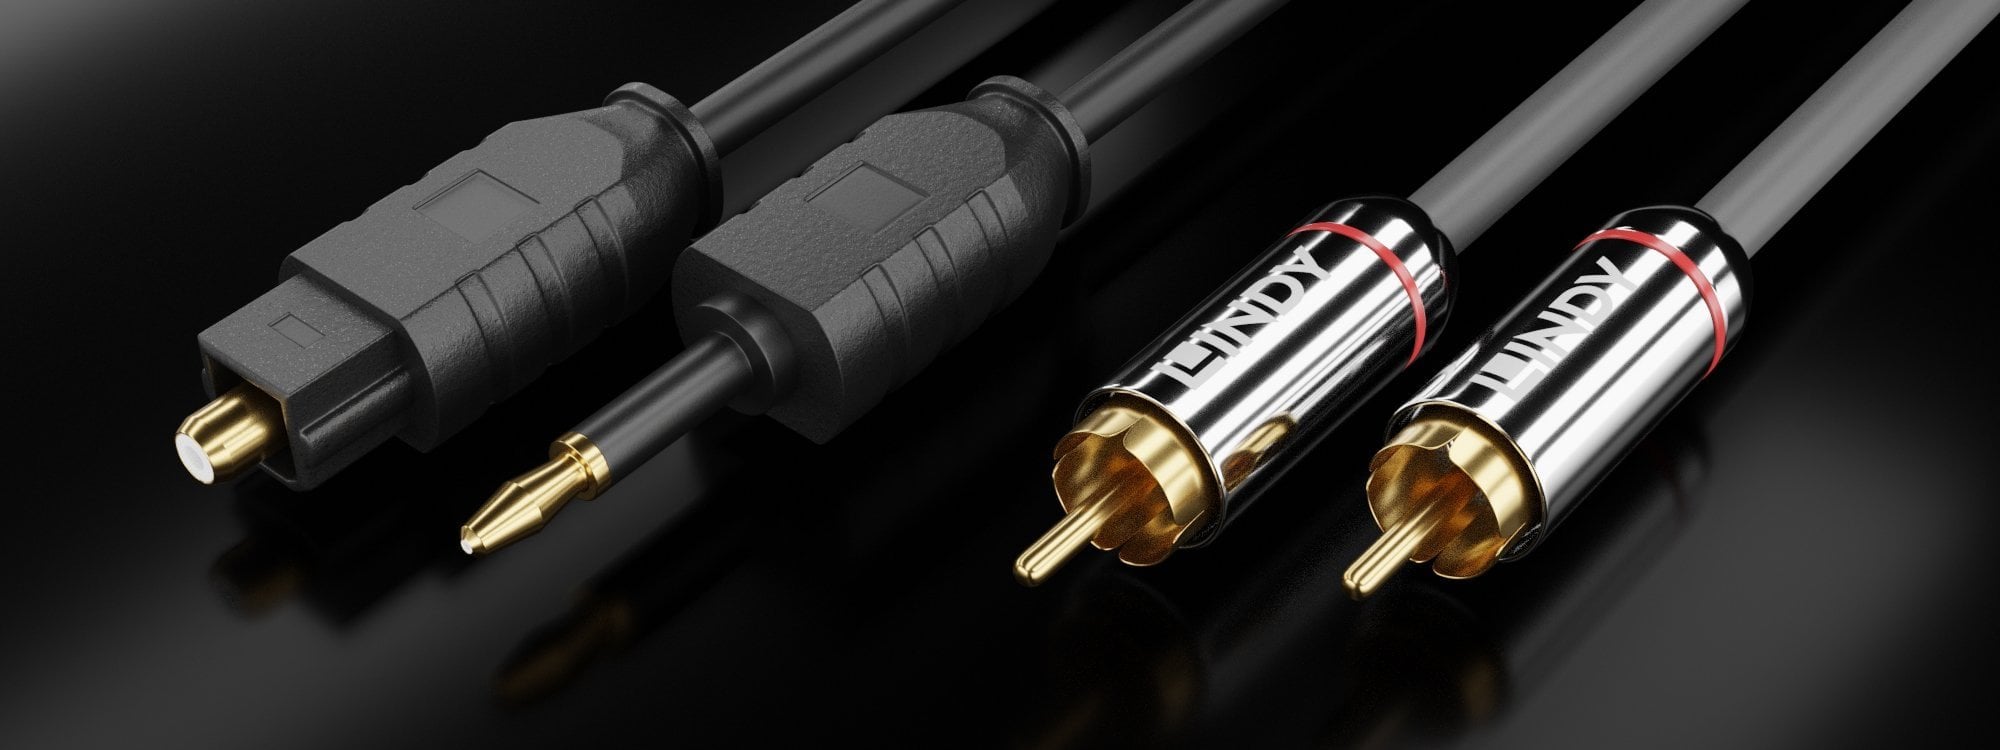
It is essential to ensure that both the audio output and input ports are compatible with the digital optical audio cable. Check that the ports match the same type, as there are different types of digital audio connectors available, including TOSLINK and SPDIF.
Once you have identified the audio output and input ports on your devices, you are ready to proceed with connecting the digital optical audio cable.
Step 2: Prepare the Digital Optical Audio Cable
Before connecting the digital optical audio cable, it’s important to properly prepare it for a secure and reliable connection. Follow these steps to prepare the cable:
-
Inspect the Cable:
Take a close look at the digital optical audio cable to ensure it is in good condition. Check for any frayed or damaged fibers, bent connectors, or loose parts. If you notice any issues, it’s best to replace the cable with a new one to guarantee optimal performance. -
Remove Protective Caps:
Most digital optical audio cables come with protective caps on each end to prevent any dust or dirt from entering the connectors. Remove these caps from both ends of the cable, being careful not to touch the exposed fiber optic tips. Any contaminants on the tips can interfere with signal transmission. -
Avoid Bending or Kinking:
Fiber optic cables are delicate and can be easily damaged if mishandled. Take care to avoid bending or kinking the cable sharply, as this can cause signal loss or even break the fibers. Gently route the cable to ensure a smooth path from the audio output port to the audio input port.
By inspecting the cable, removing protective caps, and handling it with care, you will ensure that the digital optical audio cable is ready for a reliable and secure connection. These preparation steps will help maintain the integrity of the fibers and guarantee optimal audio transmission.
Step 3: Connect the Cable to the Audio Output Port
Once you have prepared the digital optical audio cable, you can proceed to connect it to the audio output port on your device. Follow these steps:
-
Locate the Audio Output Port:
Identify the digital audio output port on your device. It is usually labeled as “Digital Audio Out,” “Digital Optical Out,” or something similar. The port is typically a small, square-shaped opening with a flap or cover. -
Remove the Cover:
If there is a flap or cover over the audio output port, gently push or slide it to remove it, exposing the port. Some devices may have a plastic plug in the port that needs to be removed as well. -
Insert the Cable Connector:
Take one end of the prepared digital optical audio cable and align the connector with the audio output port. The connector has a unique shape that allows it to fit securely into the port. Insert the cable connector into the port, applying gentle pressure until it clicks into place. Ensure that the connector is fully inserted to guarantee a stable connection. -
Secure the Connection:
Once the cable is inserted into the audio output port, give it a gentle tug to ensure that it is securely connected. If it feels loose or comes off easily, remove and reinsert the cable, making sure it is properly seated in the port.
Remember that the connection should be made with precision to prevent any damage to the port or the cable. Take your time and handle the cable and ports delicately to ensure a successful and secure connection.
With the digital optical audio cable securely connected to the audio output port, you are now ready to proceed to the next step and connect it to the audio input port on the receiving device.
Step 4: Connect the Cable to the Audio Input Port
After connecting the digital optical audio cable to the audio output port, you can now proceed to connect it to the audio input port on the receiving device. Follow these steps:
-
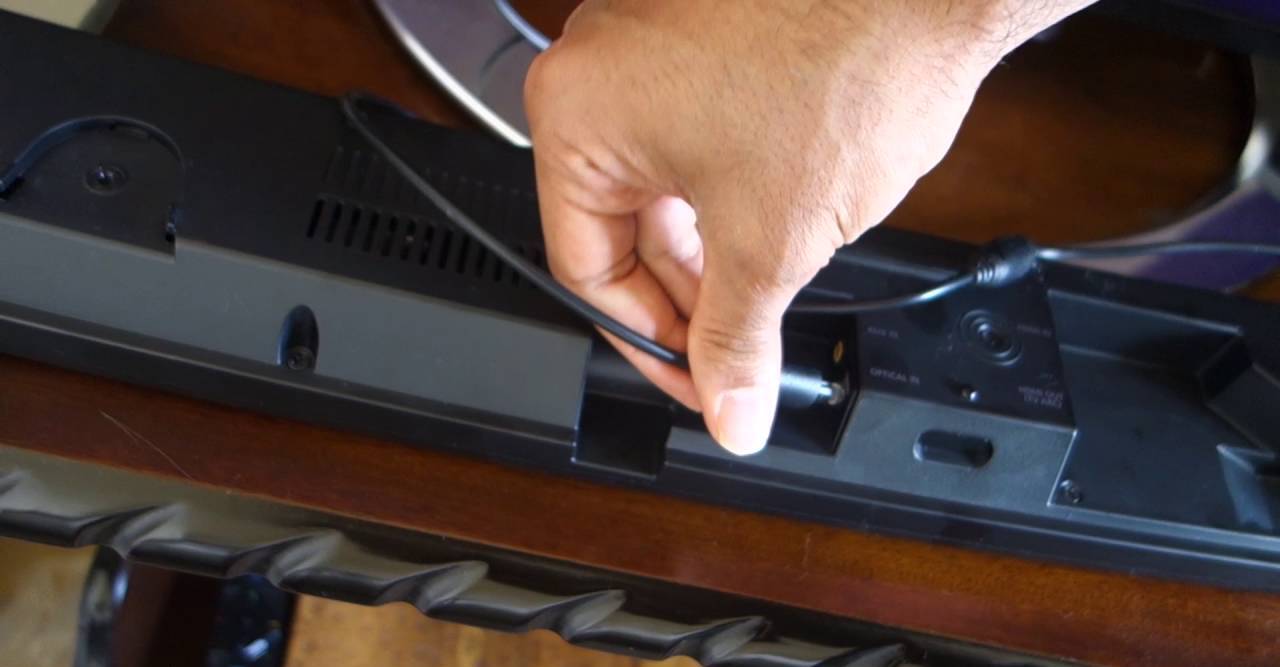
Locate the Audio Input Port:
Identify the digital audio input port on the receiving device, such as an AV receiver, speaker system, or soundbar. The port is often labeled as “Digital Audio In,” “Digital Optical In,” or something similar. It is usually located near other audio input/output ports on the rear or side panel of the device. -
Remove any Covers or Plugs:
If there is a cover or plug in the audio input port, gently remove it to expose the port. Pay attention to any instructions or markings regarding the correct orientation for inserting the cable. -
Align and Insert the Cable Connector:
Take the other end of the digital optical audio cable and align the connector with the audio input port on the receiving device. The connector should fit snugly into the port, ensuring a secure and accurate connection. Insert the cable connector into the port, applying gentle pressure until it clicks into place. -
Verify the Connection:
Once the cable is inserted into the audio input port, give it a gentle tug to ensure that it is securely connected. If it feels loose or comes off easily, remove and reinsert the cable, making sure it is properly seated in the port.
Take care not to force the connector into the port. It should slide in smoothly without any excessive resistance. If the connector does not fit or if you encounter any difficulties, double-check the alignment and ensure that the cable and port are compatible.
With the digital optical audio cable connected to both the audio output and input ports, you have successfully established the audio connection between your devices. However, before you start enjoying the enhanced audio experience, it’s important to move on to the next step: testing the connection.
Step 5: Test the Connection
After connecting the digital optical audio cable to both the audio output and input ports, it’s essential to test the connection to ensure that everything is working correctly. Follow these steps to test the connection:
-
Power on the Devices:
Make sure that both the source device (e.g., TV, gaming console) and the receiving device (e.g., soundbar, AV receiver) are powered on and in the appropriate audio input mode. -
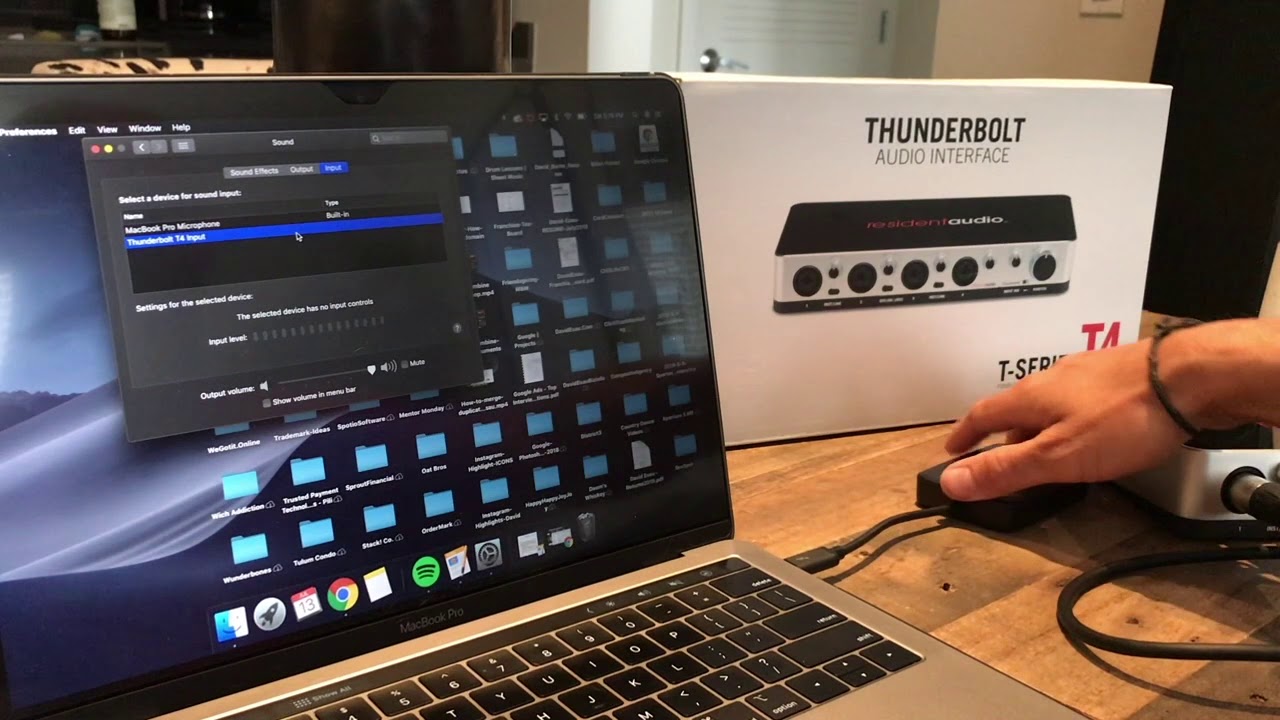
Select the Correct Audio Input Source:
On the receiving device, navigate to the audio input settings and select the input source that corresponds to the digital optical audio connection. This may be labeled as “Digital In,” “Optical,” or similar options. Consult the user manual of the receiving device if you are unsure how to change the input source. -
Play Audio Content:
Choose an audio source on the source device, such as a movie, song, or video game, and play it. The audio signal should now be transmitted through the digital optical audio cable to the receiving device. -
Check for Audio Output:
Pay attention to the receiving device and listen for the audio output. If everything is working correctly, you should hear the audio through the speakers or headphones connected to the receiving device. -
Adjust Volume and Settings:
If necessary, adjust the volume levels on both the source device and the receiving device to achieve the desired audio level. You can also explore the audio settings on the receiving device to customize the sound according to your preferences.
If you do not hear any audio or if the sound quality is poor, here are some troubleshooting steps you can try:
- Double-check the cable connections and ensure they are firmly inserted into the audio ports.
- Inspect the cable for any damage or dirt and clean the connectors if necessary.
- Restart both the source device and the receiving device to reset the audio settings.
- Verify that the correct audio input source is selected on the receiving device.
- Test the digital optical audio cable with a different audio input port on the receiving device, if available.
- Consult the user manuals of your devices or contact their respective customer support for further assistance.
By testing the connection and troubleshooting any issues, you can ensure a successful and reliable digital optical audio connection between your devices. Once the audio is working correctly, sit back and enjoy the enhanced audio experience delivered by the digital optical audio cable.
Troubleshooting common issues
While connecting and using a digital optical audio cable is generally straightforward, you may encounter some common issues along the way. Here are a few troubleshooting tips for addressing these issues:
-
No Audio Output:
If you do not hear any audio, double-check the cable connections at both ends to ensure they are securely inserted into the audio ports. Also, verify that the audio input source on the receiving device is set correctly. Restarting both devices can often help resolve this issue. -
Poor Sound Quality:
If the audio quality is distorted or of poor quality, check the cable for any damage or dirt on the connectors. Cleaning the connectors with a soft, lint-free cloth may help. Additionally, make sure that the audio settings on both the source and receiving devices are properly configured. -
No Sound from Surround Speakers:
If you have a surround sound system connected via a digital optical audio cable, but are not hearing sound from the surround speakers, ensure that the audio settings on the source device are configured to output audio in the desired surround sound format, such as Dolby Digital or DTS. -
Incompatible Audio Formats:
Some devices may not support certain audio formats. Verify that the audio output format of the source device is compatible with the receiving device. You may need to adjust the audio settings or use a different audio output format to ensure compatibility and proper audio playback. -
Interference or Dropouts:
If you experience intermittent audio dropouts or interference, it could be due to external factors such as electromagnetic interference. Ensure that the cable is not placed near any strong electromagnetic sources, such as power cables or Wi-Fi routers. Additionally, try using a shorter cable or repositioning devices to minimize interference.
If troubleshooting steps do not resolve the issue, consult the user manuals of your devices for specific troubleshooting advice. You can also reach out to the customer support of the respective manufacturers for further assistance.
Remember to always handle the digital optical audio cable with care, and ensure that it is not bent, twisted, or subjected to unnecessary tension. By following these troubleshooting steps, you can overcome common issues and enjoy a seamless audio experience with your digital optical audio cable.
Conclusion
Using a digital optical audio cable provides a convenient and effective way to connect audio devices and enjoy high-quality sound reproduction. By understanding the benefits of using this type of cable and following the step-by-step instructions for proper connection, you can enhance your audio experience and make the most out of your audio equipment.
We explored the advantages of using a digital optical audio cable, such as high-quality audio transmission, improved signal integrity, and compatibility with various devices. We also discussed how to connect the cable by identifying the audio output and input ports, preparing the cable, and securely attaching it to the audio ports of your devices.
Testing the connection is an essential step to ensure that everything is working correctly. If you encounter any issues, we provided troubleshooting tips to address common problems that may arise, such as no audio output, poor sound quality, or compatibility issues.
Remember to handle the cable with care, avoiding any bending or kinking, and cleaning the connectors when necessary. By following these guidelines, you can maintain the optimal performance and longevity of your digital optical audio cable.
With the proper connection established, you can now enjoy an immersive audio experience, whether you’re watching movies, playing games, or listening to music. The digital optical audio cable ensures that your sound is clear, accurate, and free from interference.
So go ahead, connect your devices with a digital optical audio cable, and unlock the true potential of your audio setup. Hear every detail, immerse yourself in the rich soundscapes, and elevate your audio experience to new heights.