Home>Production & Technology>Audio Cable>How To Use Stereo Audio Cable For TV
Audio Cable
How To Use Stereo Audio Cable For TV
Modified: January 22, 2024
Learn how to use an audio cable for your TV to enhance your stereo sound experience. Connect your devices hassle-free with our step-by-step guide.
(Many of the links in this article redirect to a specific reviewed product. Your purchase of these products through affiliate links helps to generate commission for AudioLover.com, at no extra cost. Learn more)
Table of Contents
Introduction
Welcome to the world of Audio Cables, where sound quality meets connectivity! Whether you’re an audio enthusiast, a home theater buff, or just looking to improve your TV’s audio experience, understanding how to use stereo audio cables is essential. In this article, we will explore the basics of stereo audio cables, the different types available, and how to connect them to your TV for optimal sound performance.
Picture this: you’re settling down for a movie night, popcorn ready, when you realize that the audio coming from your TV doesn’t quite cut it. The tinny sound quality just doesn’t do justice to the epic explosions or gentle whispers of your favorite films. That’s where stereo audio cables come in. They allow you to connect your TV to external speakers or amplifiers, taking your audio experience to the next level.
But before we dive into the nitty-gritty, let’s go over some basic concepts. Stereo audio cables are designed to transmit two separate audio channels – left and right – for a more immersive and balanced sound. They use analog signals to carry the audio from your TV to your audio equipment.
Now, let’s take a look at the different types of stereo audio cables available:
Understanding the Basics of Stereo Audio Cables
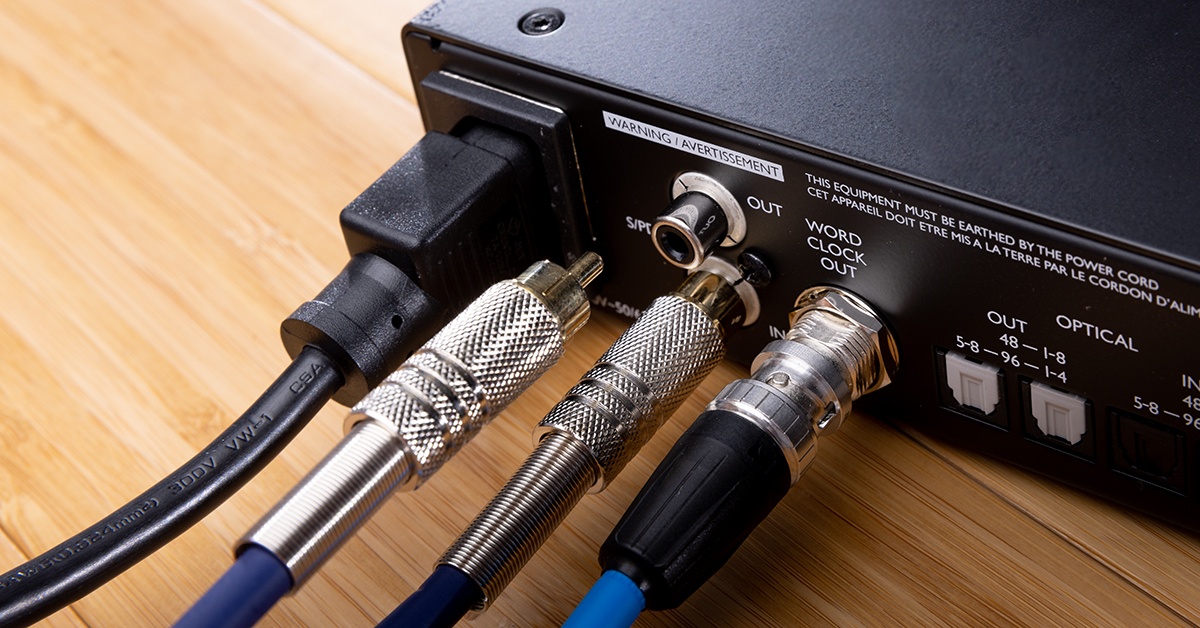
Stereo audio cables, also known as RCA cables or analog audio cables, play a crucial role in delivering high-quality sound from your TV to external speakers or audio equipment. Unlike digital audio cables that transmit audio in a binary format, stereo audio cables carry analog signals that represent the audio waveform. This analog transmission allows for a more nuanced and natural sound reproduction.
At their core, stereo audio cables consist of two separate channels – left and right – that represent the stereo audio signal. Each channel has its own connector, typically color-coded for easy identification. The left channel is usually denoted by a white connector, while the right channel has a red connector. These connectors are designed to fit into corresponding audio input/output jacks on your TV and audio equipment.
When connecting stereo audio cables, it is important to ensure a proper match between the jacks on your TV and audio equipment. The jacks may be labeled with “Audio Out” on the TV and “Audio In” on the speakers or amplifier. This ensures that the audio signal flows from the TV to the external device.
One important thing to note is that stereo audio cables are typically unidirectional, meaning they have a designated input and output side. It is crucial to connect the input end of the cable to the TV’s audio output jack and the output end to the audio equipment’s audio input jack for optimal sound transmission. Plugging the cable in the wrong direction may result in no sound or a distorted audio signal.
Another key aspect of stereo audio cables is their length. It is important to choose the appropriate length based on your setup to ensure optimal signal quality. Longer cables may introduce signal degradation or interference, while shorter cables may limit your placement options for the audio equipment. Consider the distance between your TV and audio equipment when selecting the cable length.
Overall, understanding the basics of stereo audio cables sets the foundation for setting up a great audio experience. In the next section, we will delve into the different types of stereo audio cables available on the market.
Types of Stereo Audio Cables
When it comes to stereo audio cables, there are several types to choose from, each with its own unique features and benefits. Let’s explore the most common types:
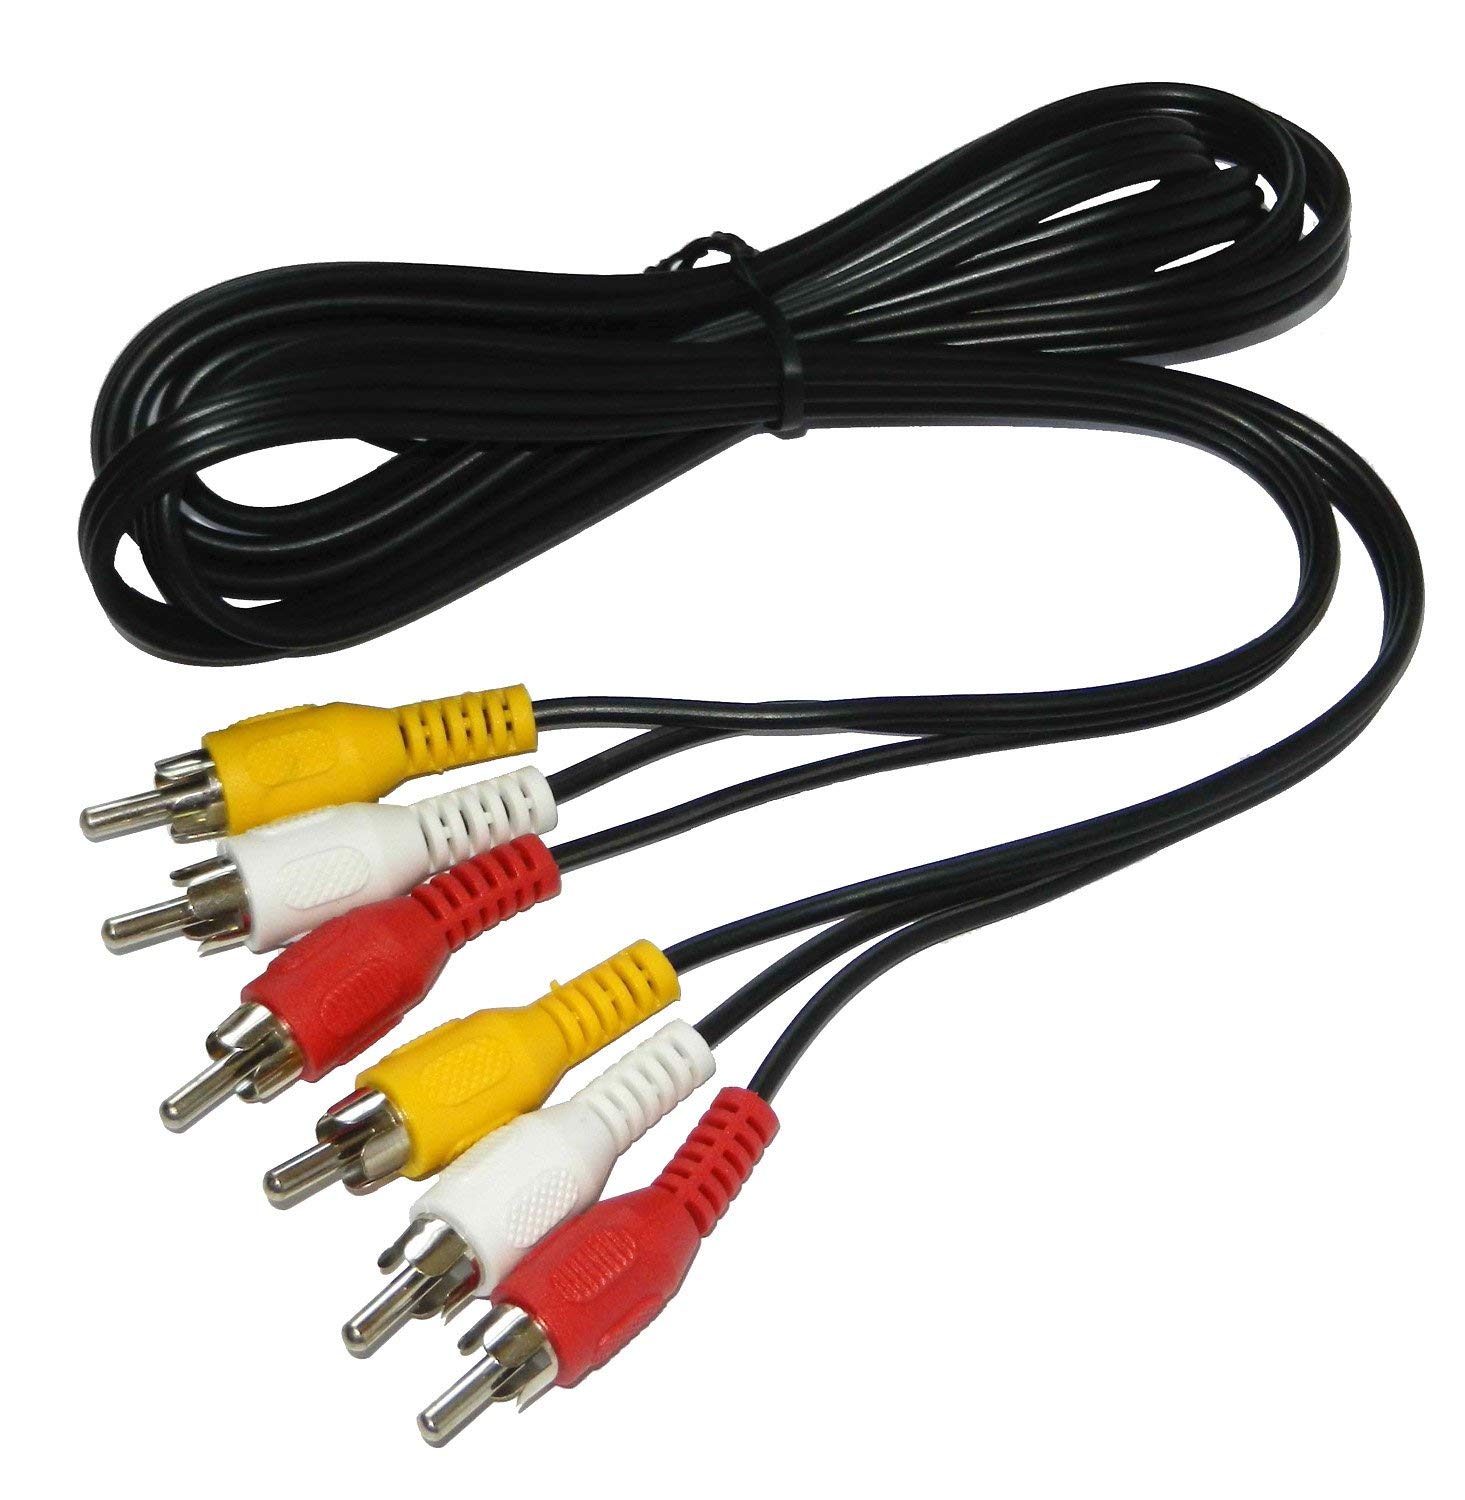
- RCA Cables: RCA cables, also known as phono cables, are one of the most widely used stereo audio cables. They feature color-coded connectors – red and white – to represent the right and left audio channels respectively. RCA cables are versatile and can be used to connect various audio devices such as TVs, DVD players, gaming consoles, and amplifiers.
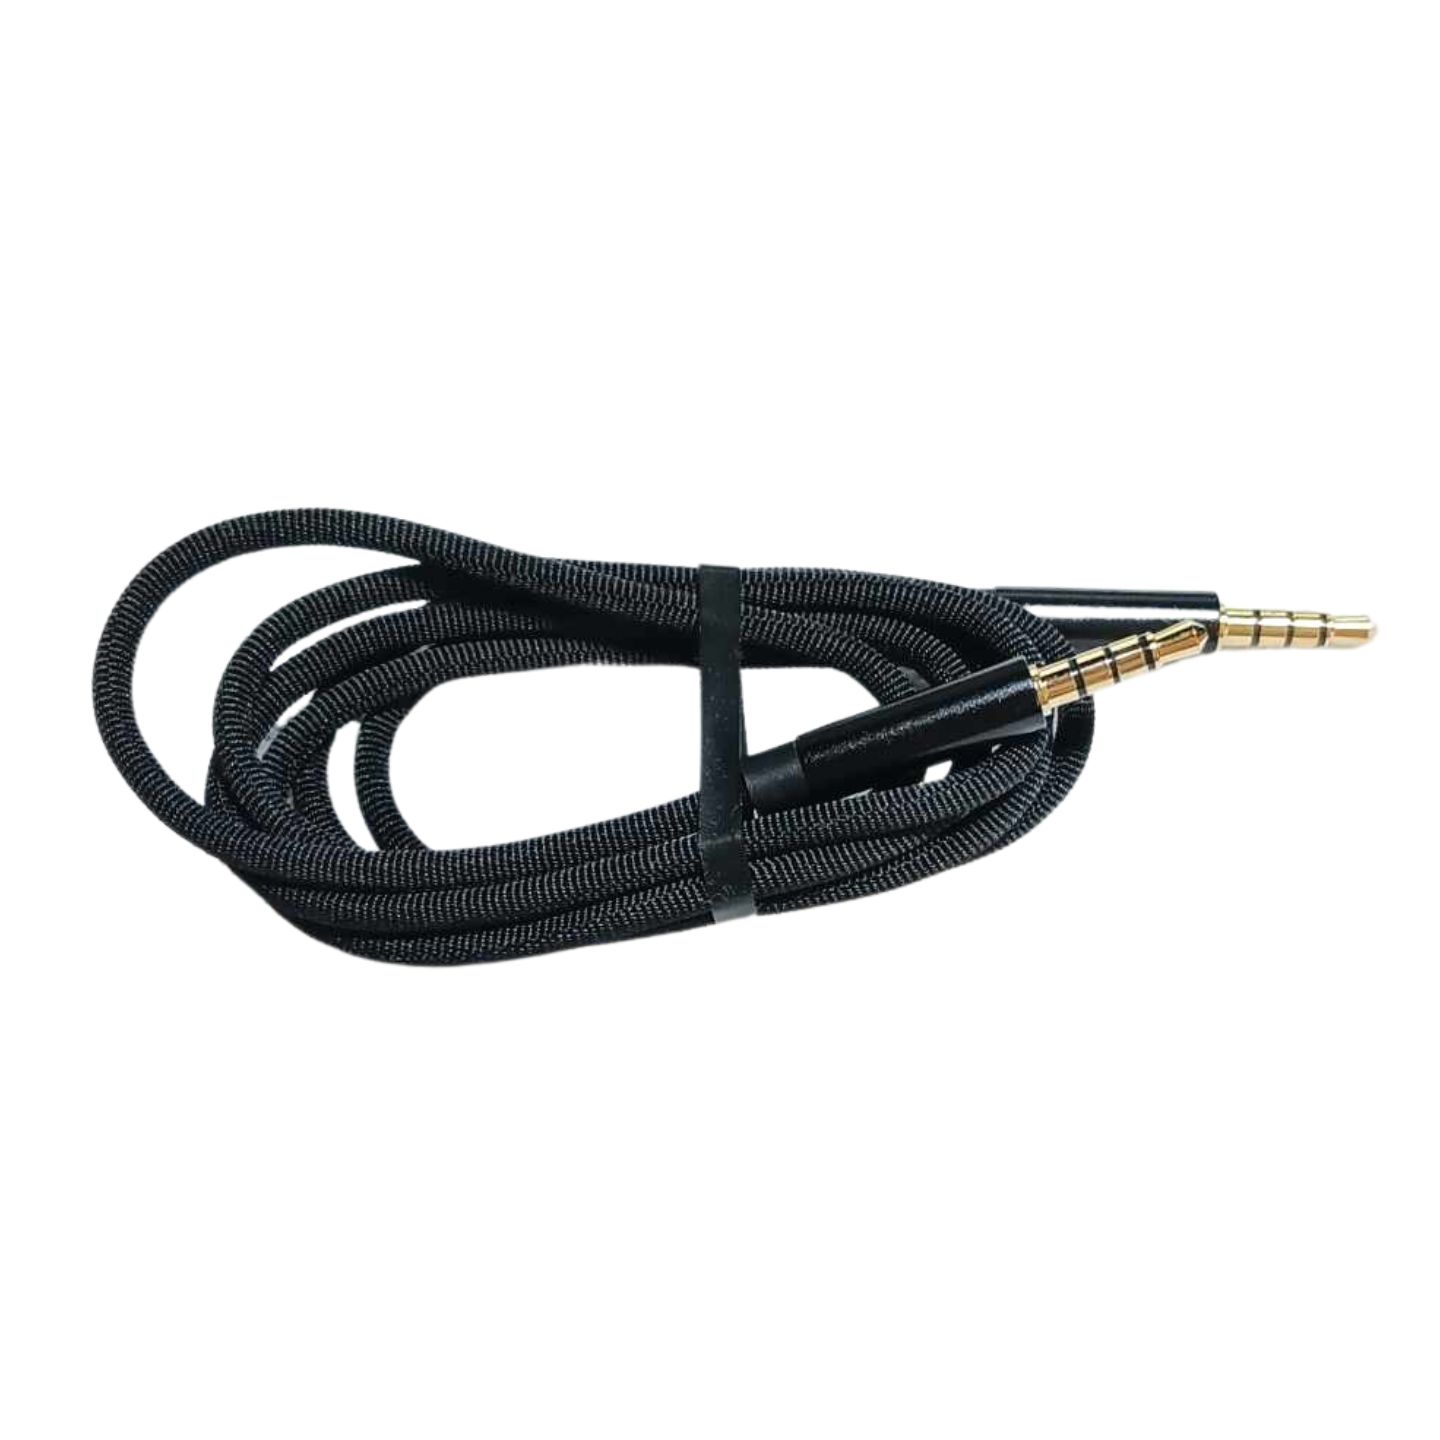
- 3.5mm Stereo Cables: Also known as mini-jack or headphone cables, 3.5mm stereo cables use a 3.5mm connector on both ends. These cables are commonly used to connect devices with a 3.5mm audio jack, such as smartphones, tablets, laptops, and portable speakers. They are compact and provide a convenient way to connect audio devices on the go.
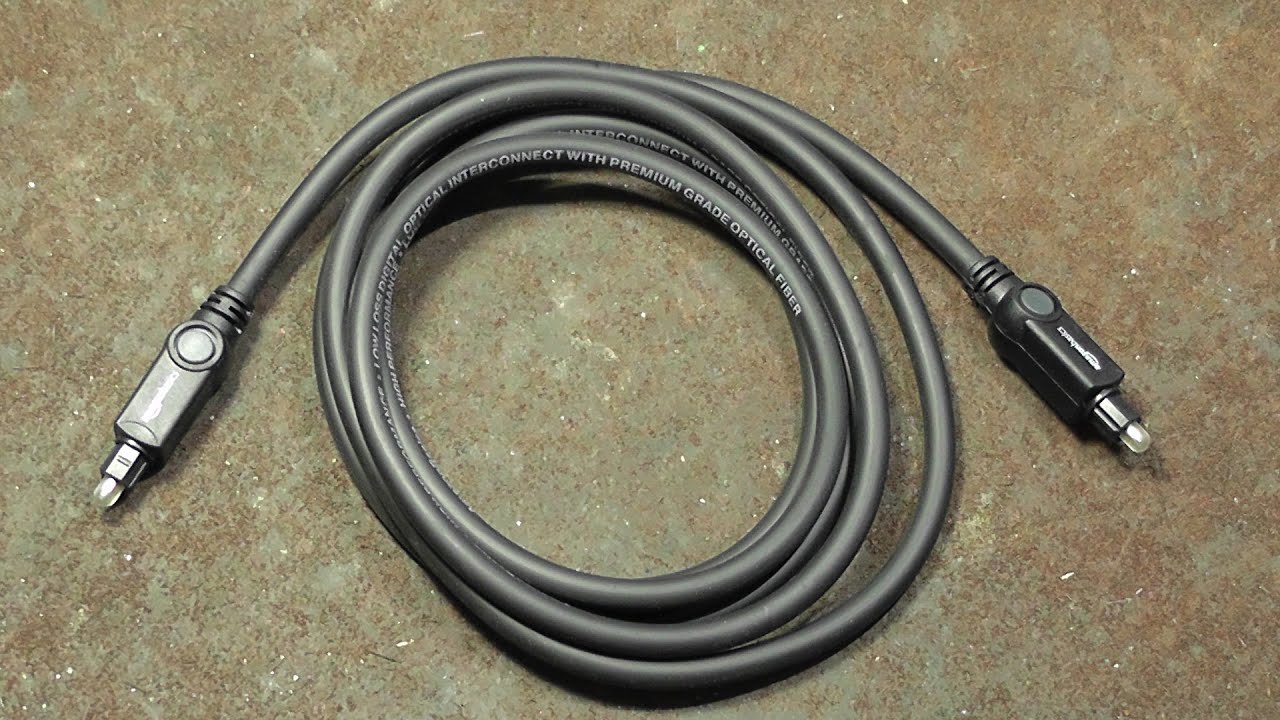
- Optical Cables: Optical cables, also referred to as TOSLINK cables, utilize fiber optic technology to transmit audio signals in a digital format. These cables are capable of carrying high-quality audio and are commonly used to connect devices such as TVs, soundbars, and home theater systems. Optical cables provide a reliable and interference-free audio connection.
- HDMI Cables: While primarily used for transmitting video signals, HDMI cables also carry audio signals. They are capable of delivering high-definition audio formats and are commonly found on modern TVs, gaming consoles, and home theater systems. HDMI cables provide a convenient all-in-one solution for both audio and video transmission.
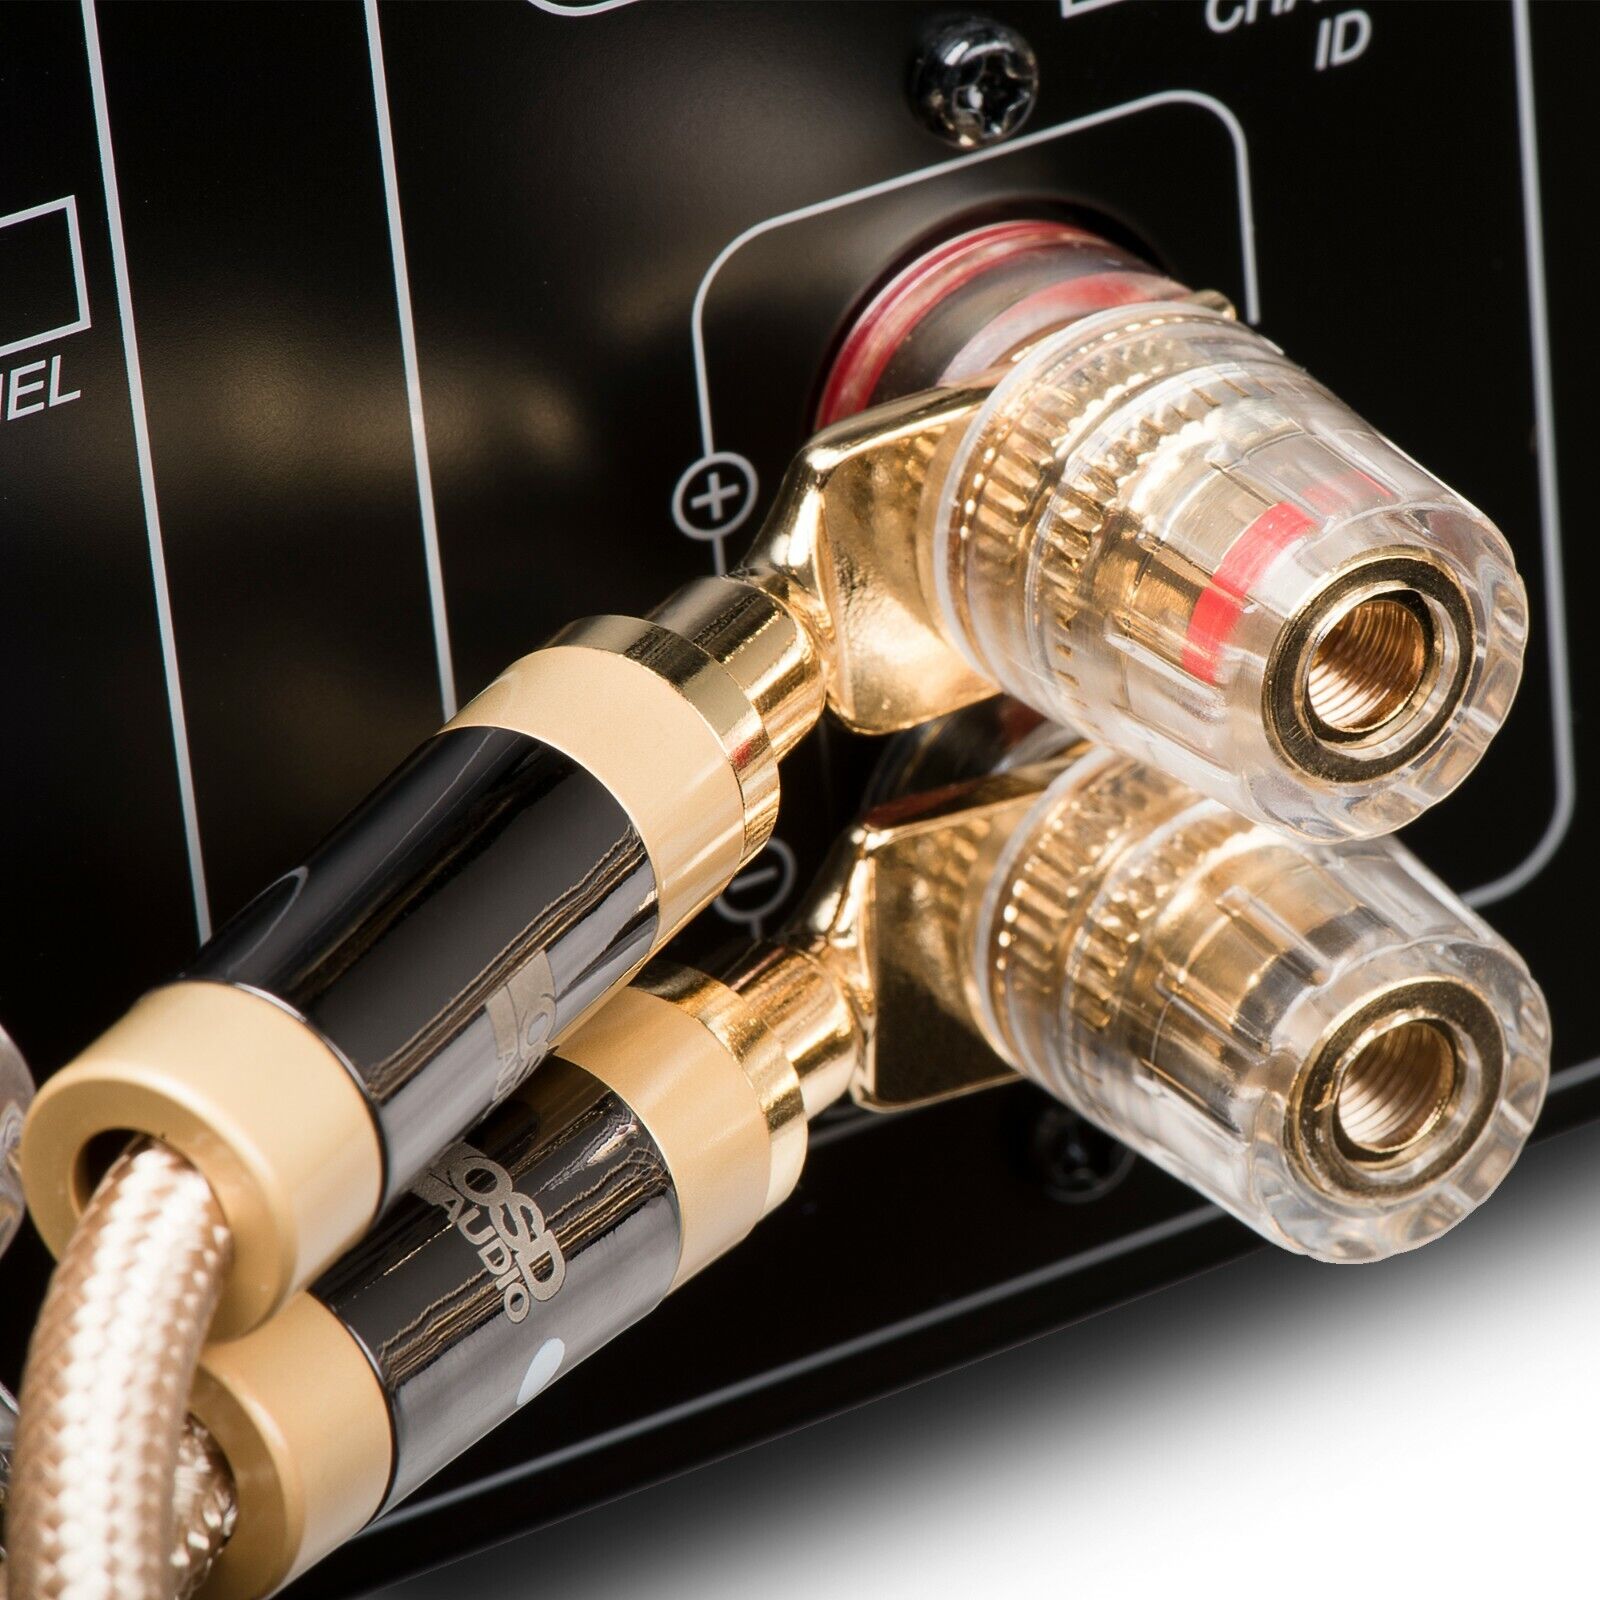
- XLR Cables: XLR cables are commonly used in professional audio setups. They feature three pins and provide a balanced audio connection, reducing interference and noise. XLR cables are often used to connect microphones, studio monitors, and audio mixers.
When selecting a stereo audio cable, consider the compatibility of your devices, the desired sound quality, and the distance between the TV and audio equipment. It is also important to choose cables with good build quality to ensure long-lasting performance.
Now that we have covered the different types of stereo audio cables, it’s time to delve into the process of connecting these cables to your TV for an enhanced audio experience.
Connecting the Stereo Audio Cable to the TV
Now that you have chosen the appropriate stereo audio cable for your setup, it’s time to connect it to your TV. Follow these step-by-step instructions to ensure a successful connection:
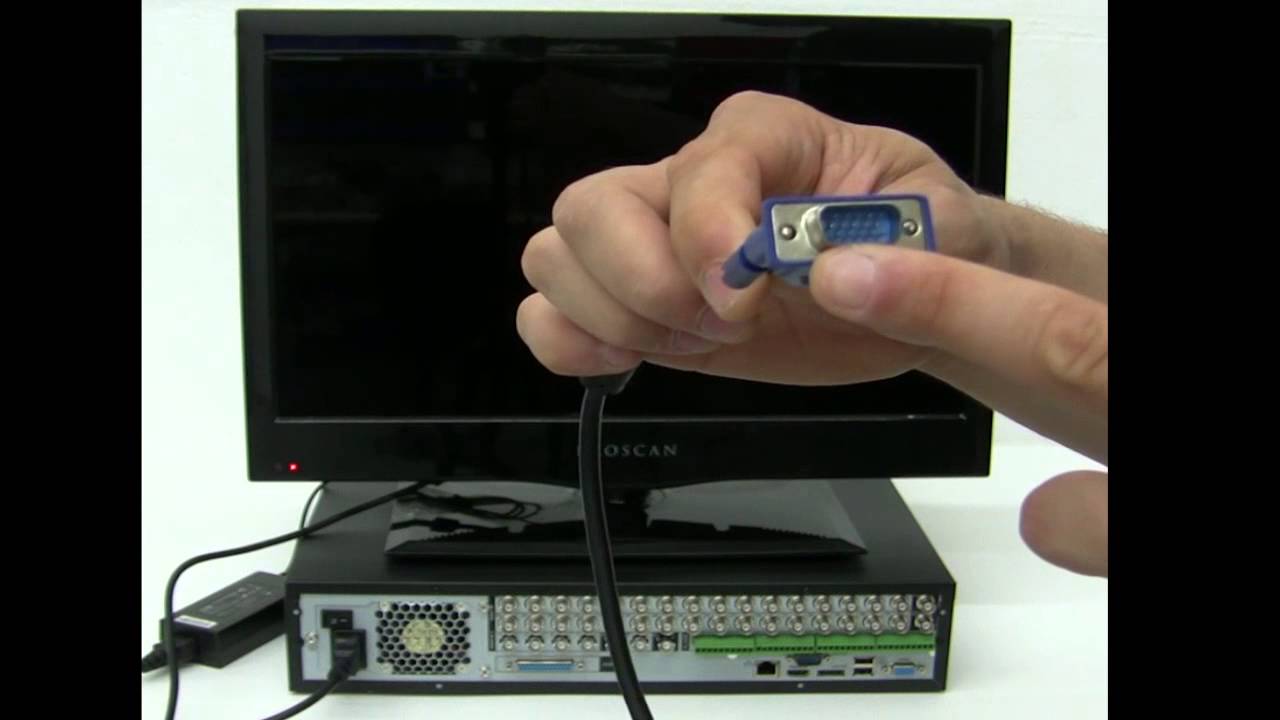
- Identify the audio output jacks on your TV. These are usually labeled as “Audio Out” or “Line Out”. Look for a pair of red and white RCA jacks, a 3.5mm audio jack, or an optical audio output.
- Take one end of your stereo audio cable and locate the corresponding connectors for the left and right audio channels. The connectors may be color-coded, with white or black representing the left channel and red or another color representing the right channel.
- Insert the left channel connector (white or black) of the stereo audio cable into the “Left” or “L” audio output jack on your TV.
- Insert the right channel connector (red or another color) of the stereo audio cable into the “Right” or “R” audio output jack on your TV.
- If using a 3.5mm stereo cable, insert the 3.5mm connector into the corresponding audio output jack on your TV.
- If using an optical cable, insert the male end of the cable into the optical audio output jack on your TV. Ensure a secure connection by tightening the plug if necessary.
- Take the other end of the stereo audio cable and connect it to the audio input jacks on your external speakers, amplifier, or soundbar. Ensure that you match the left and right channels correctly.
- Once the connections are made, power on your TV and audio equipment. Make sure the volume is set to a reasonable level to avoid any sudden loud sounds.
- Access the audio settings on your TV to ensure that the audio output is set to the appropriate source, whether it’s the TV’s internal speakers or the connected audio equipment.
- Test the audio by playing a video or music on your TV. If everything is connected correctly, you should hear the sound coming from your external speakers or audio equipment.
Remember to refer to the user manuals of your TV and audio equipment for specific instructions on connecting audio cables, as the layout of the jacks may vary depending on the make and model.
With the stereo audio cable successfully connected to your TV, you can now enjoy a richer and more immersive audio experience. However, if you encounter any issues or face difficulties, refer to the next section for troubleshooting tips.
Adjusting the Audio Settings on the TV
After connecting the stereo audio cable to your TV, you may need to adjust the audio settings to ensure optimal sound performance. Here are some tips for fine-tuning the audio settings on your TV:
- Audio Output Selection: Access the TV’s settings menu and navigate to the audio settings section. Look for an option to select the audio output source. Choose the appropriate option based on your setup, whether it’s the TV’s internal speakers or the connected external speakers or audio equipment.
- Audio Presets: Many TVs offer preset audio modes such as movie, music, sports, or gaming. Experiment with these presets to find the one that suits your preferences and enhances the audio quality for different types of content.
- Equalizer Settings: Some TVs allow you to adjust the equalizer settings to fine-tune the audio frequencies. You can manually adjust the bass, treble, and other sound characteristics to achieve a more personalized audio experience.
- Surround Sound: If you have a surround sound system connected to your TV, ensure that the TV’s audio settings are configured to output in surround sound mode. This enables the proper distribution of audio channels to create a more immersive and realistic sound environment.
- Volume Leveling: Some TVs offer volume leveling or dynamic range compression features. These features help to balance out the loud and soft moments in audio, ensuring a consistent volume level throughout your viewing experience. Enable this feature if available.
- Audio Delay: In certain setups, you may experience audio and video synchronization issues, where the audio lags behind the video or vice versa. Look for an option to adjust the audio delay in the TV’s settings menu. Fine-tune this setting until the audio and video are in sync.
It is worth noting that the specific audio settings and options available on your TV may vary depending on the make, model, and firmware version. Refer to the TV’s user manual or manufacturer’s website for detailed instructions specific to your television.
Once you have adjusted the audio settings to your liking, sit back, relax, and enjoy the improved sound quality that the stereo audio cable has brought to your TV setup.
If you encounter any audio issues or face challenges during the setup process, the next section will provide troubleshooting tips to help you resolve common problems.
Troubleshooting Common Issues
While setting up and using stereo audio cables, you may come across some common issues. Here are some troubleshooting tips to help resolve these problems:
- No Sound: If you’re not hearing any sound through your external speakers or audio equipment, check the following:
- Ensure that the stereo audio cable is securely connected to both the TV and the audio equipment.
- Verify that the audio output on the TV is correctly selected and set to the appropriate source.
- Check if the volume on the audio equipment is turned up and not muted.
- Try connecting the stereo audio cable to a different audio input on your audio equipment to ensure there are no issues with the specific input jack.
- Poor Audio Quality or Distortion: If you’re experiencing distorted or poor audio quality, consider these solutions:
- Check the cable connections to ensure they are tight and secure. Loose connections can cause audio distortion.
- If using an RCA cable, try swapping the left and right channel connectors to eliminate the possibility of a faulty cable or audio input.
- Verify that the audio settings on both the TV and the audio equipment are properly configured and optimized for the desired sound quality.
- If using longer cables, try using shorter cables or using audio amplifiers or signal boosters to improve signal strength and reduce interference.
- Audio and Video Synchronization Issues: If the audio is not in sync with the video, try the following:
- Adjust the audio delay settings in the TV’s settings menu to synchronize the audio with the video. Gradually increase or decrease the delay until you achieve proper synchronization.
- If using a surround sound system, ensure that the audio processing and decoding settings are correctly configured to match the audio format of the content you’re watching.
- Check for firmware updates for both the TV and the audio equipment, as manufacturer updates may address audio sync issues.
- Noise or Interference: If you’re experiencing background noise, buzzing, or interference in the audio, consider these steps:
- Ensure that the cables are kept away from power cables, other audio-video cables, or any strong electromagnetic sources that may cause interference.
- Try using higher-quality stereo audio cables with better shielding to minimize the impact of external interference.
- Consider using audio isolation transformers or ground loop isolators to eliminate ground loop noise caused by a difference in electrical potential between audio equipment.
If the above troubleshooting steps do not resolve your issues, consult the user manuals of your TV and audio equipment for additional troubleshooting tips or contact the manufacturer’s support for further assistance.
With the help of these troubleshooting techniques, you should be able to overcome common audio issues and enjoy a seamless audio experience with your stereo audio cables.
Conclusion
In conclusion, understanding how to use stereo audio cables can greatly enhance your TV’s audio experience. By connecting your TV to external speakers or audio equipment, you can enjoy richer sound quality, creating a more immersive and enjoyable viewing experience.
We began by exploring the basics of stereo audio cables and their role in transmitting analog audio signals. Understanding the different types of stereo audio cables, such as RCA cables, 3.5mm stereo cables, optical cables, HDMI cables, and XLR cables, enables you to choose the most suitable option for your setup.
Next, we discussed the step-by-step process of connecting the stereo audio cable to your TV, emphasizing the importance of correctly matching the input and output jacks. We also provided tips for adjusting the audio settings on your TV to optimize sound performance, including selecting the audio output source, adjusting equalizer settings, and enabling surround sound features if applicable.
In the event of any audio issues, we provided troubleshooting tips for common problems such as no sound, poor audio quality, audio-video synchronization issues, and noise or interference. By following these troubleshooting techniques, you can identify and resolve issues quickly.
By harnessing the power of stereo audio cables and maximizing the sound potential of your TV, you can elevate your audio experience, immersing yourself in the dynamic soundscape of your favorite movies, TV shows, and music.
So, whether you’re a movie lover, a gaming enthusiast, or simply someone who appreciates great sound quality, don’t overlook the importance of using stereo audio cables to unlock the full potential of your TV’s audio capabilities.
Now, it’s time to grab your popcorn, sit back, and enjoy the enhanced audio experience with your newly connected stereo audio cable!