Home>Production & Technology>Audio Cable>How To Use Digital Coaxial Audio Cable With No Arc

Audio Cable
How To Use Digital Coaxial Audio Cable With No Arc
Modified: January 22, 2024
Learn how to effectively use a digital coaxial audio cable without any audio arcing issues. Enhance your audio experience with our expert tips and techniques.
(Many of the links in this article redirect to a specific reviewed product. Your purchase of these products through affiliate links helps to generate commission for AudioLover.com, at no extra cost. Learn more)
Table of Contents
- Introduction
- Understanding Digital Coaxial Audio Cables
- Troubleshooting No Arc Issues
- Step 1: Check the Cable Connections
- Step 2: Ensure Proper Source Selection
- Step 3: Adjust Audio Settings
- Step 4: Test with Different Devices
- Step 5: Try a Different Coaxial Cable
- Step 6: Update Firmware or Drivers
- Step 7: Contact Technical Support
- Conclusion
Introduction
Welcome to the world of digital audio cables! Whether you are a music enthusiast, a gamer, or a home theater aficionado, having the right audio cables is crucial for an immersive and high-quality audio experience. One such essential cable is the digital coaxial audio cable.
Digital coaxial audio cables are designed to transmit digital audio signals between devices, delivering crystal-clear sound reproduction. They are commonly used to connect devices such as DVD players, Blu-ray players, game consoles, and audio receivers.
In this article, we will dive into the world of digital coaxial audio cables and discuss troubleshooting steps to overcome the “no arc” issue. The “no arc” issue refers to a situation where you experience a lack of audio or sound when using a digital coaxial audio cable.
Don’t worry if you’re a beginner or not tech-savvy – we will guide you through the troubleshooting process step by step. By the end of this article, you will be equipped with the knowledge to overcome the “no arc” issue and enjoy your audio to the fullest.
So, let’s get started by understanding the basics of digital coaxial audio cables and why they are an essential part of any audio setup.
Understanding Digital Coaxial Audio Cables
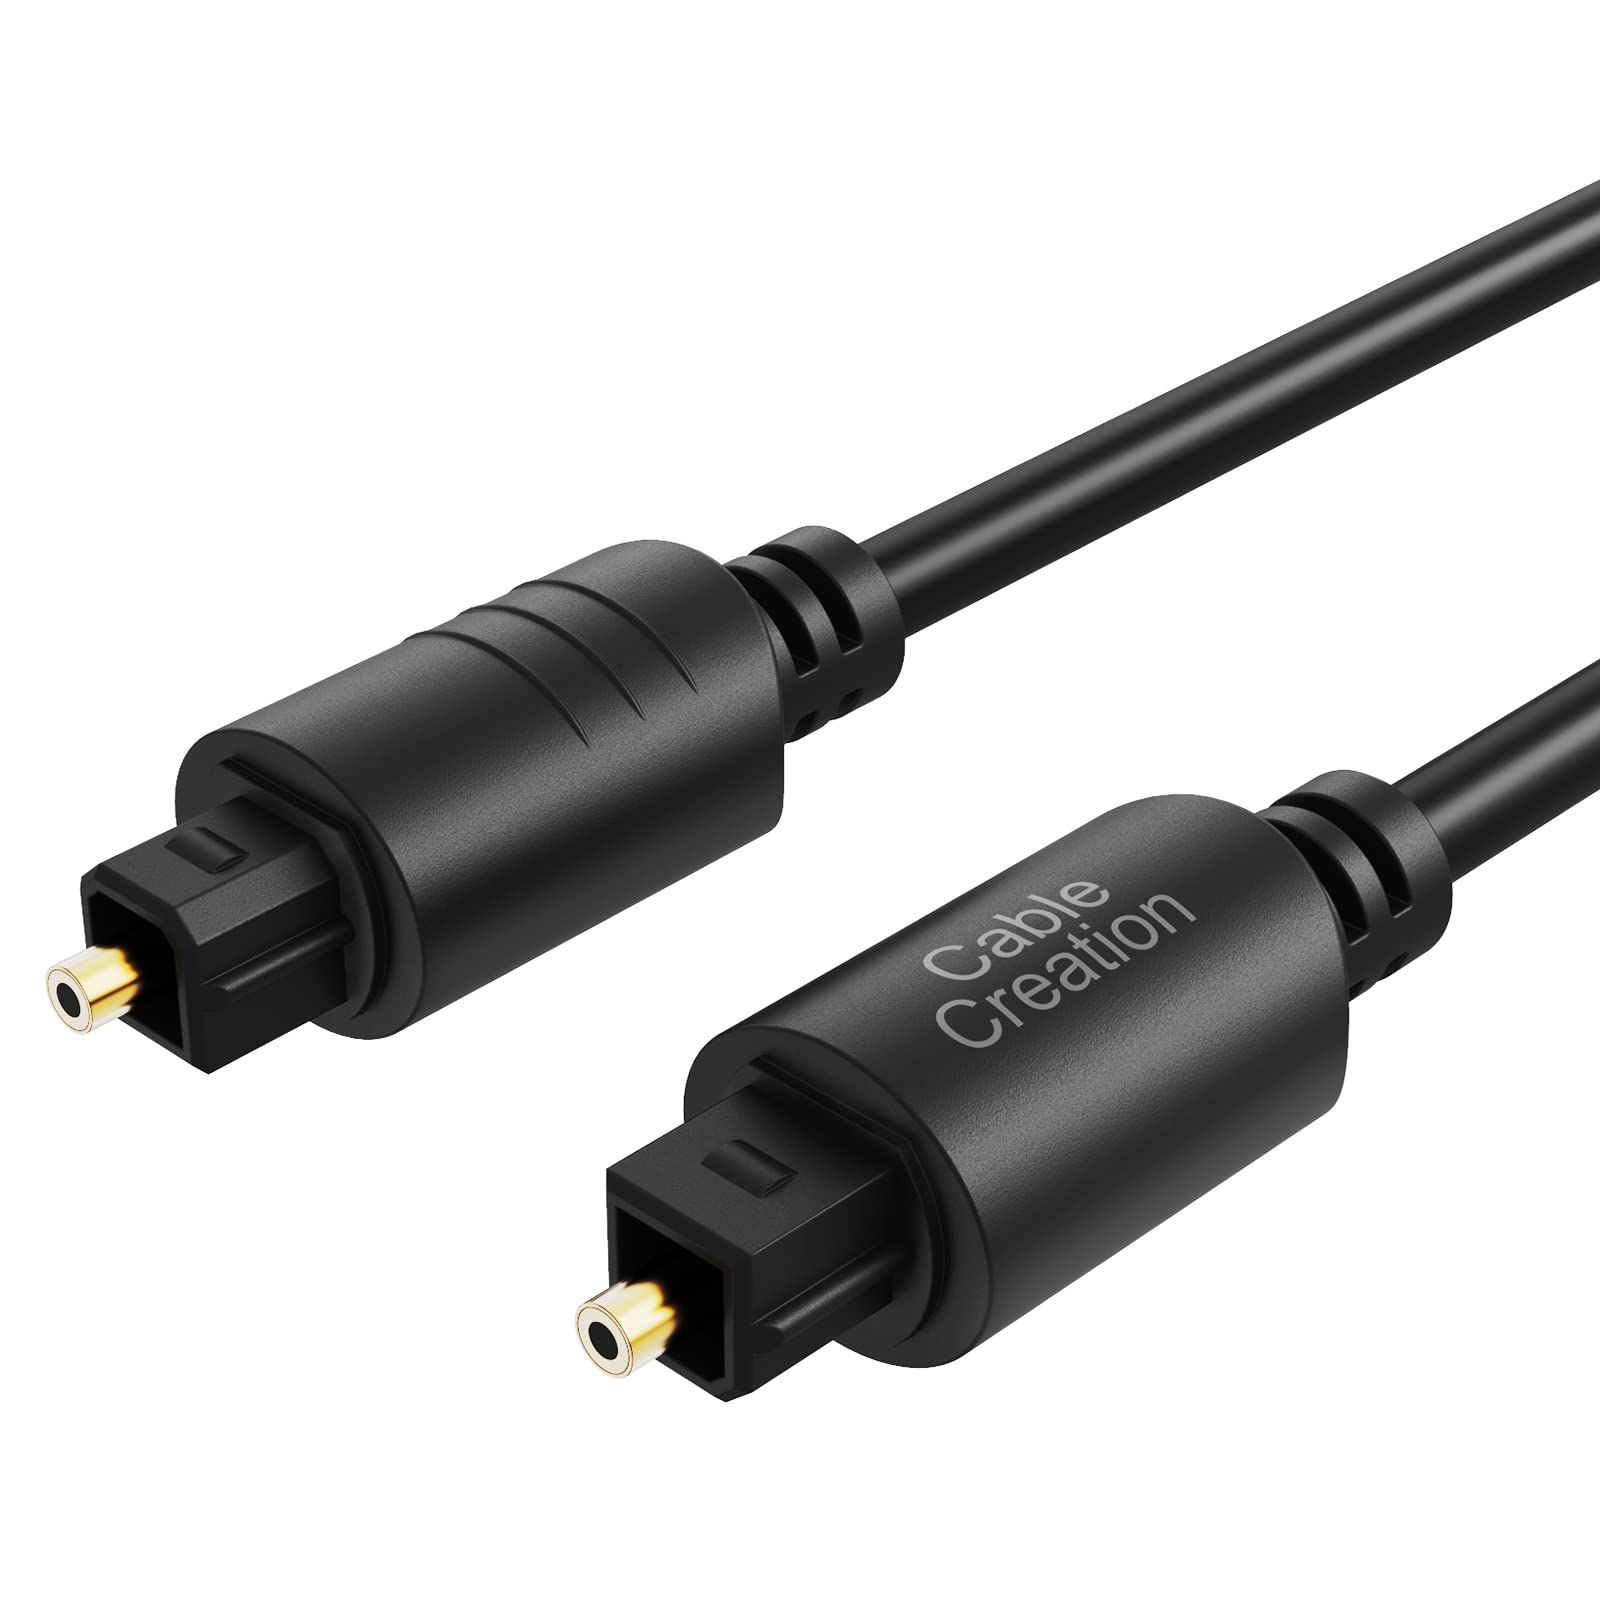
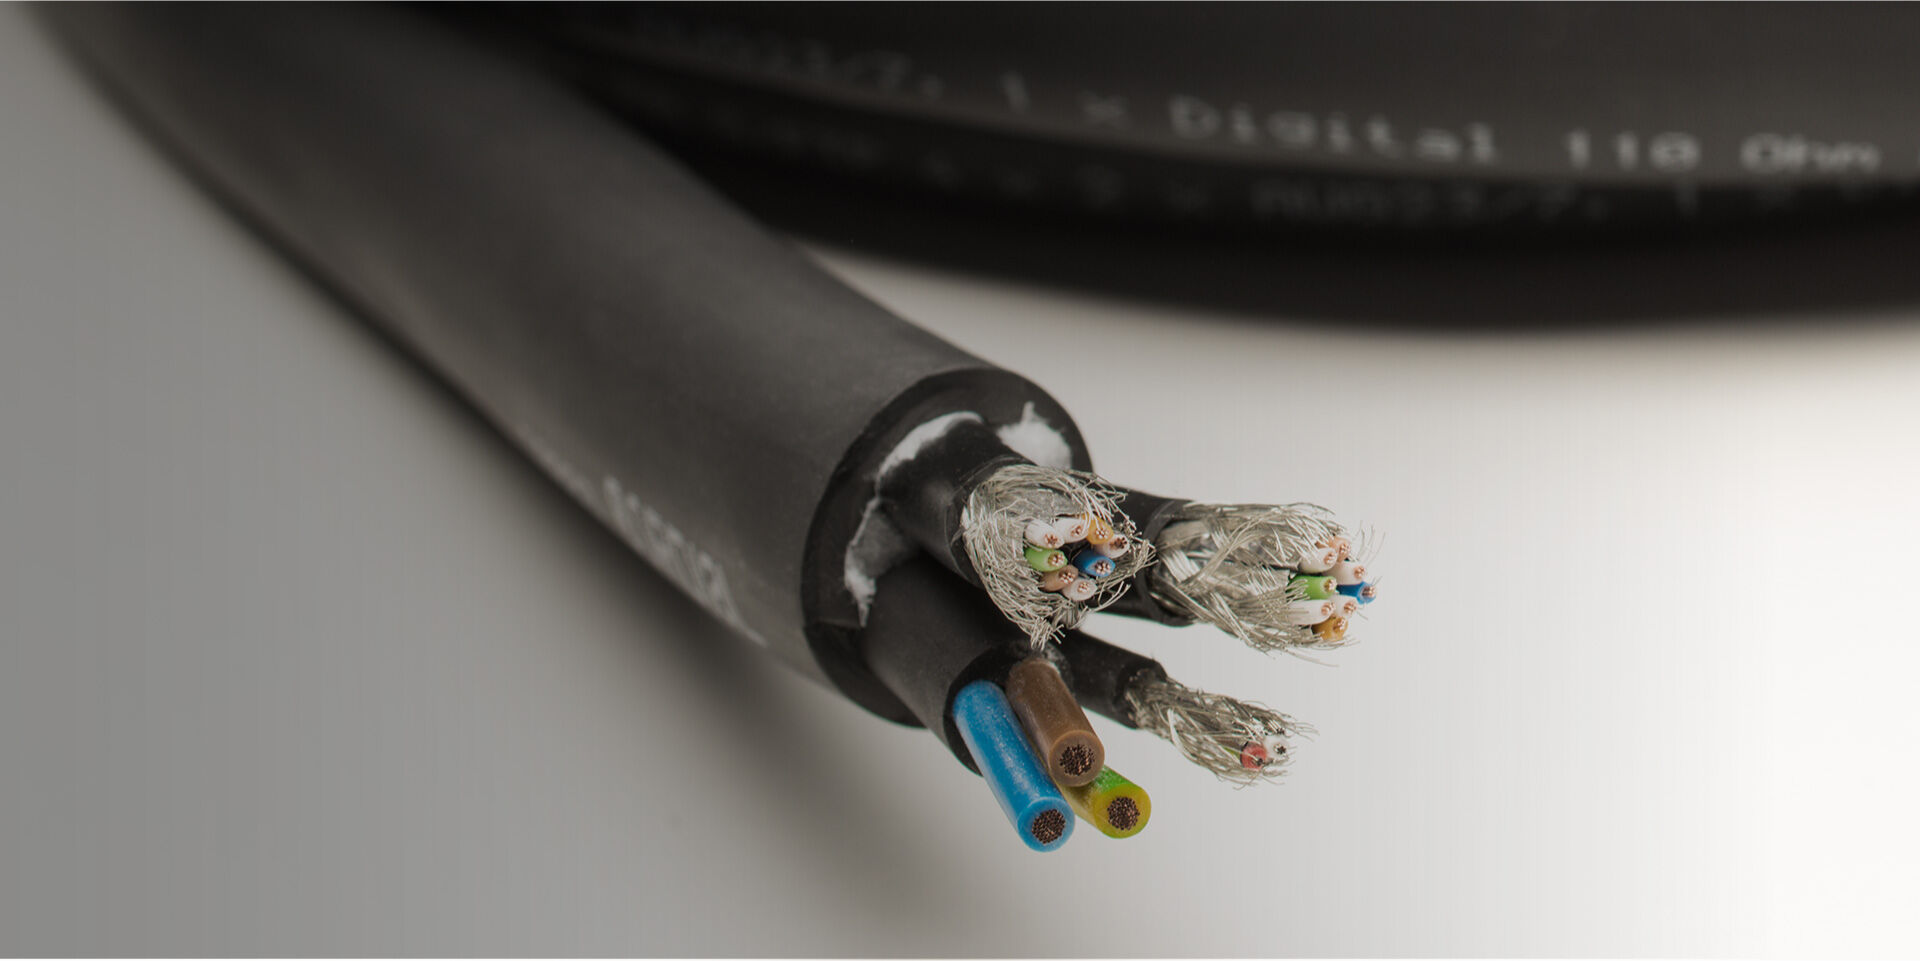
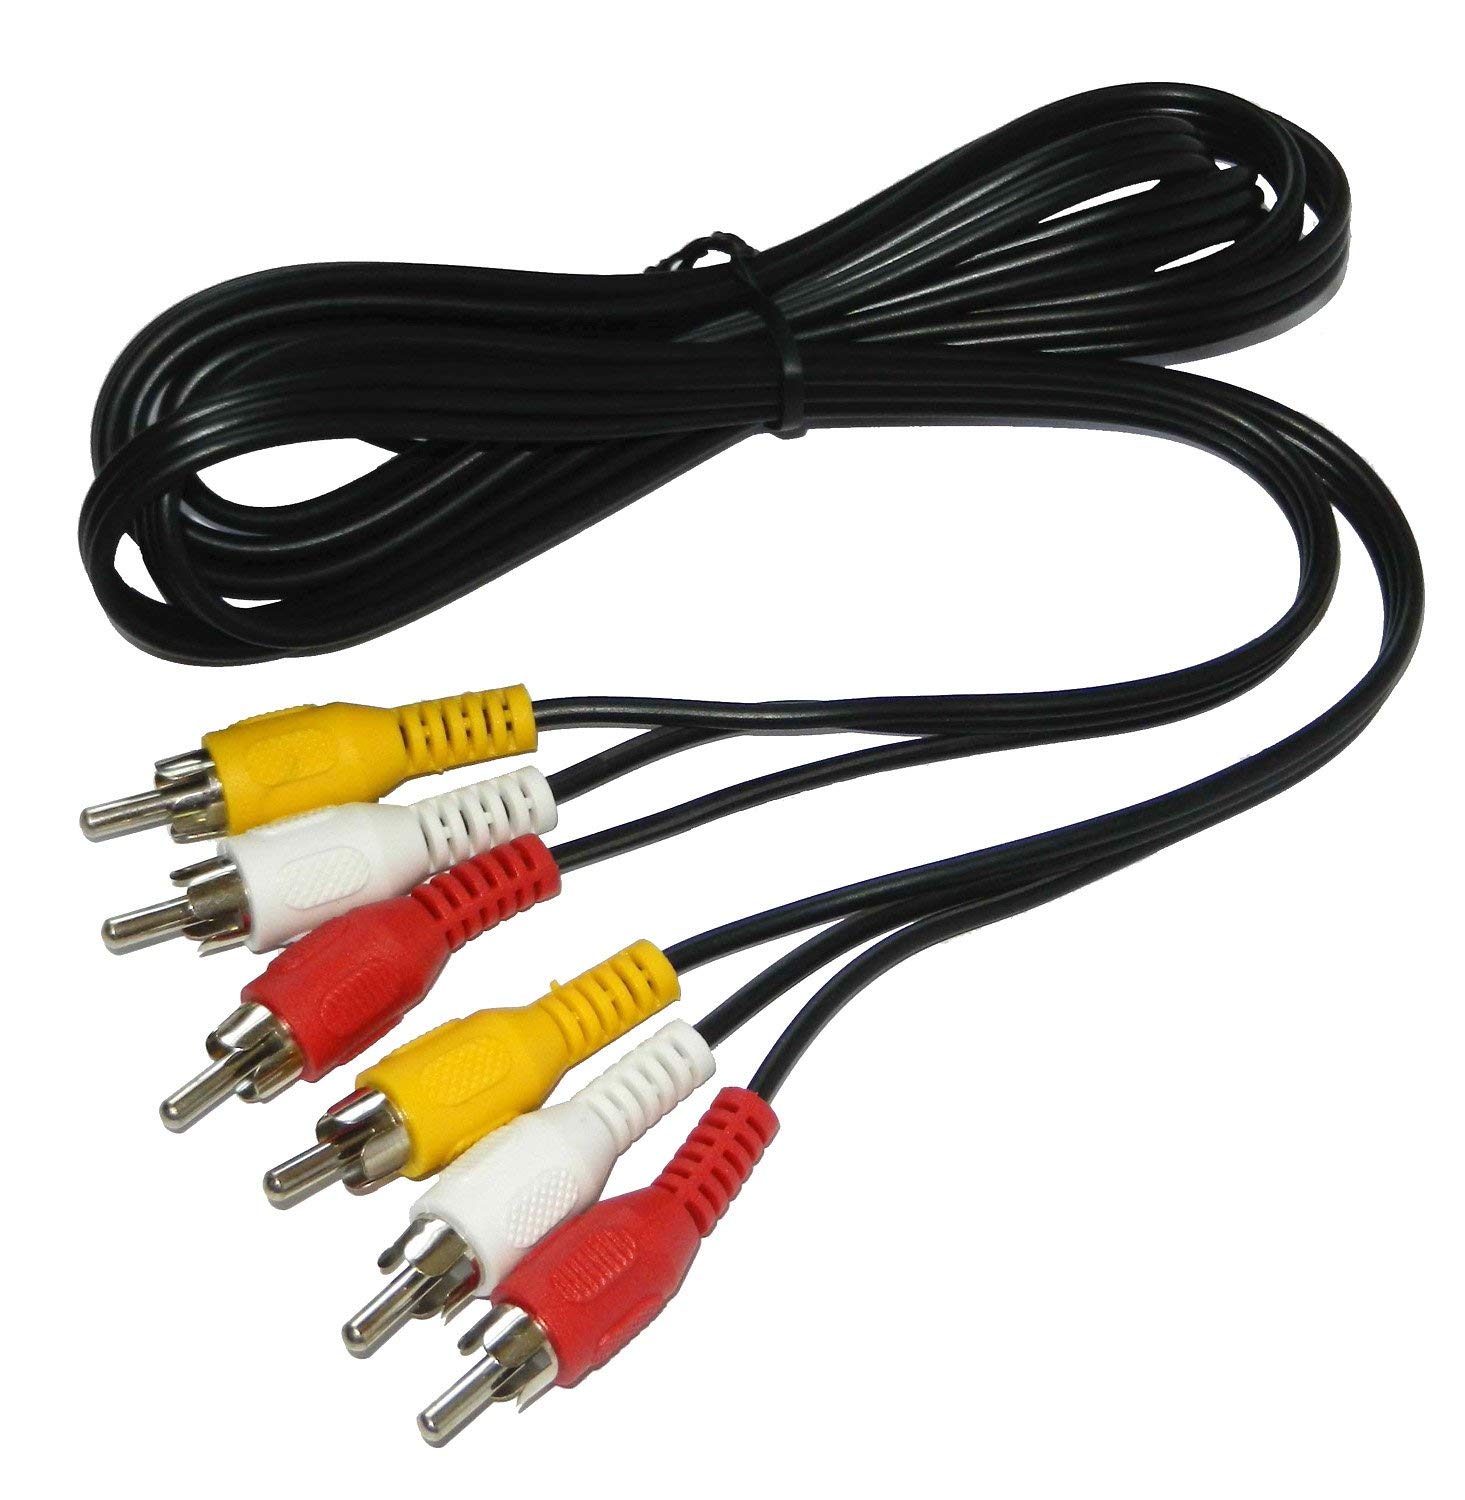
Digital coaxial audio cables are specifically designed to carry digital audio signals between devices. They use a coaxial cable with RCA connectors to transmit the digital audio data. The RCA connectors are typically color-coded, with the orange plug representing the digital audio channel.
One of the key advantages of digital coaxial audio cables is their ability to transmit uncompressed audio signals. This means that the audio quality remains intact throughout the transmission process, resulting in a more precise and detailed sound reproduction.
Unlike analog cables, such as RCA or 3.5mm audio cables, digital coaxial audio cables can transmit multi-channel audio, including 5.1 or 7.1 surround sound formats. This makes them ideal for connecting devices like DVD or Blu-ray players to audio receivers or home theater systems.
When it comes to compatibility, digital coaxial audio cables can be used with various devices that have a coaxial digital audio output or input. These devices include DVD and Blu-ray players, gaming consoles, soundbars, and audio receivers. It’s important to check if your devices have the necessary ports for digital coaxial audio connections.
Another important aspect to consider is the length of the digital coaxial audio cable. Ideally, you should choose a cable that is long enough to reach between your devices without being excessively long. Excessive cable length can introduce signal degradation and interfere with audio quality. It’s recommended to keep the cable length to a minimum while ensuring it is long enough for your specific setup.
Now that we have a basic understanding of digital coaxial audio cables, let’s move on to troubleshooting the “no arc” issue and getting your audio up and running.
Troubleshooting No Arc Issues
Experiencing a “no arc” issue with your digital coaxial audio cable can be frustrating, but fear not – we have the troubleshooting steps to help you resolve this problem. Follow these steps to identify and fix the issue:
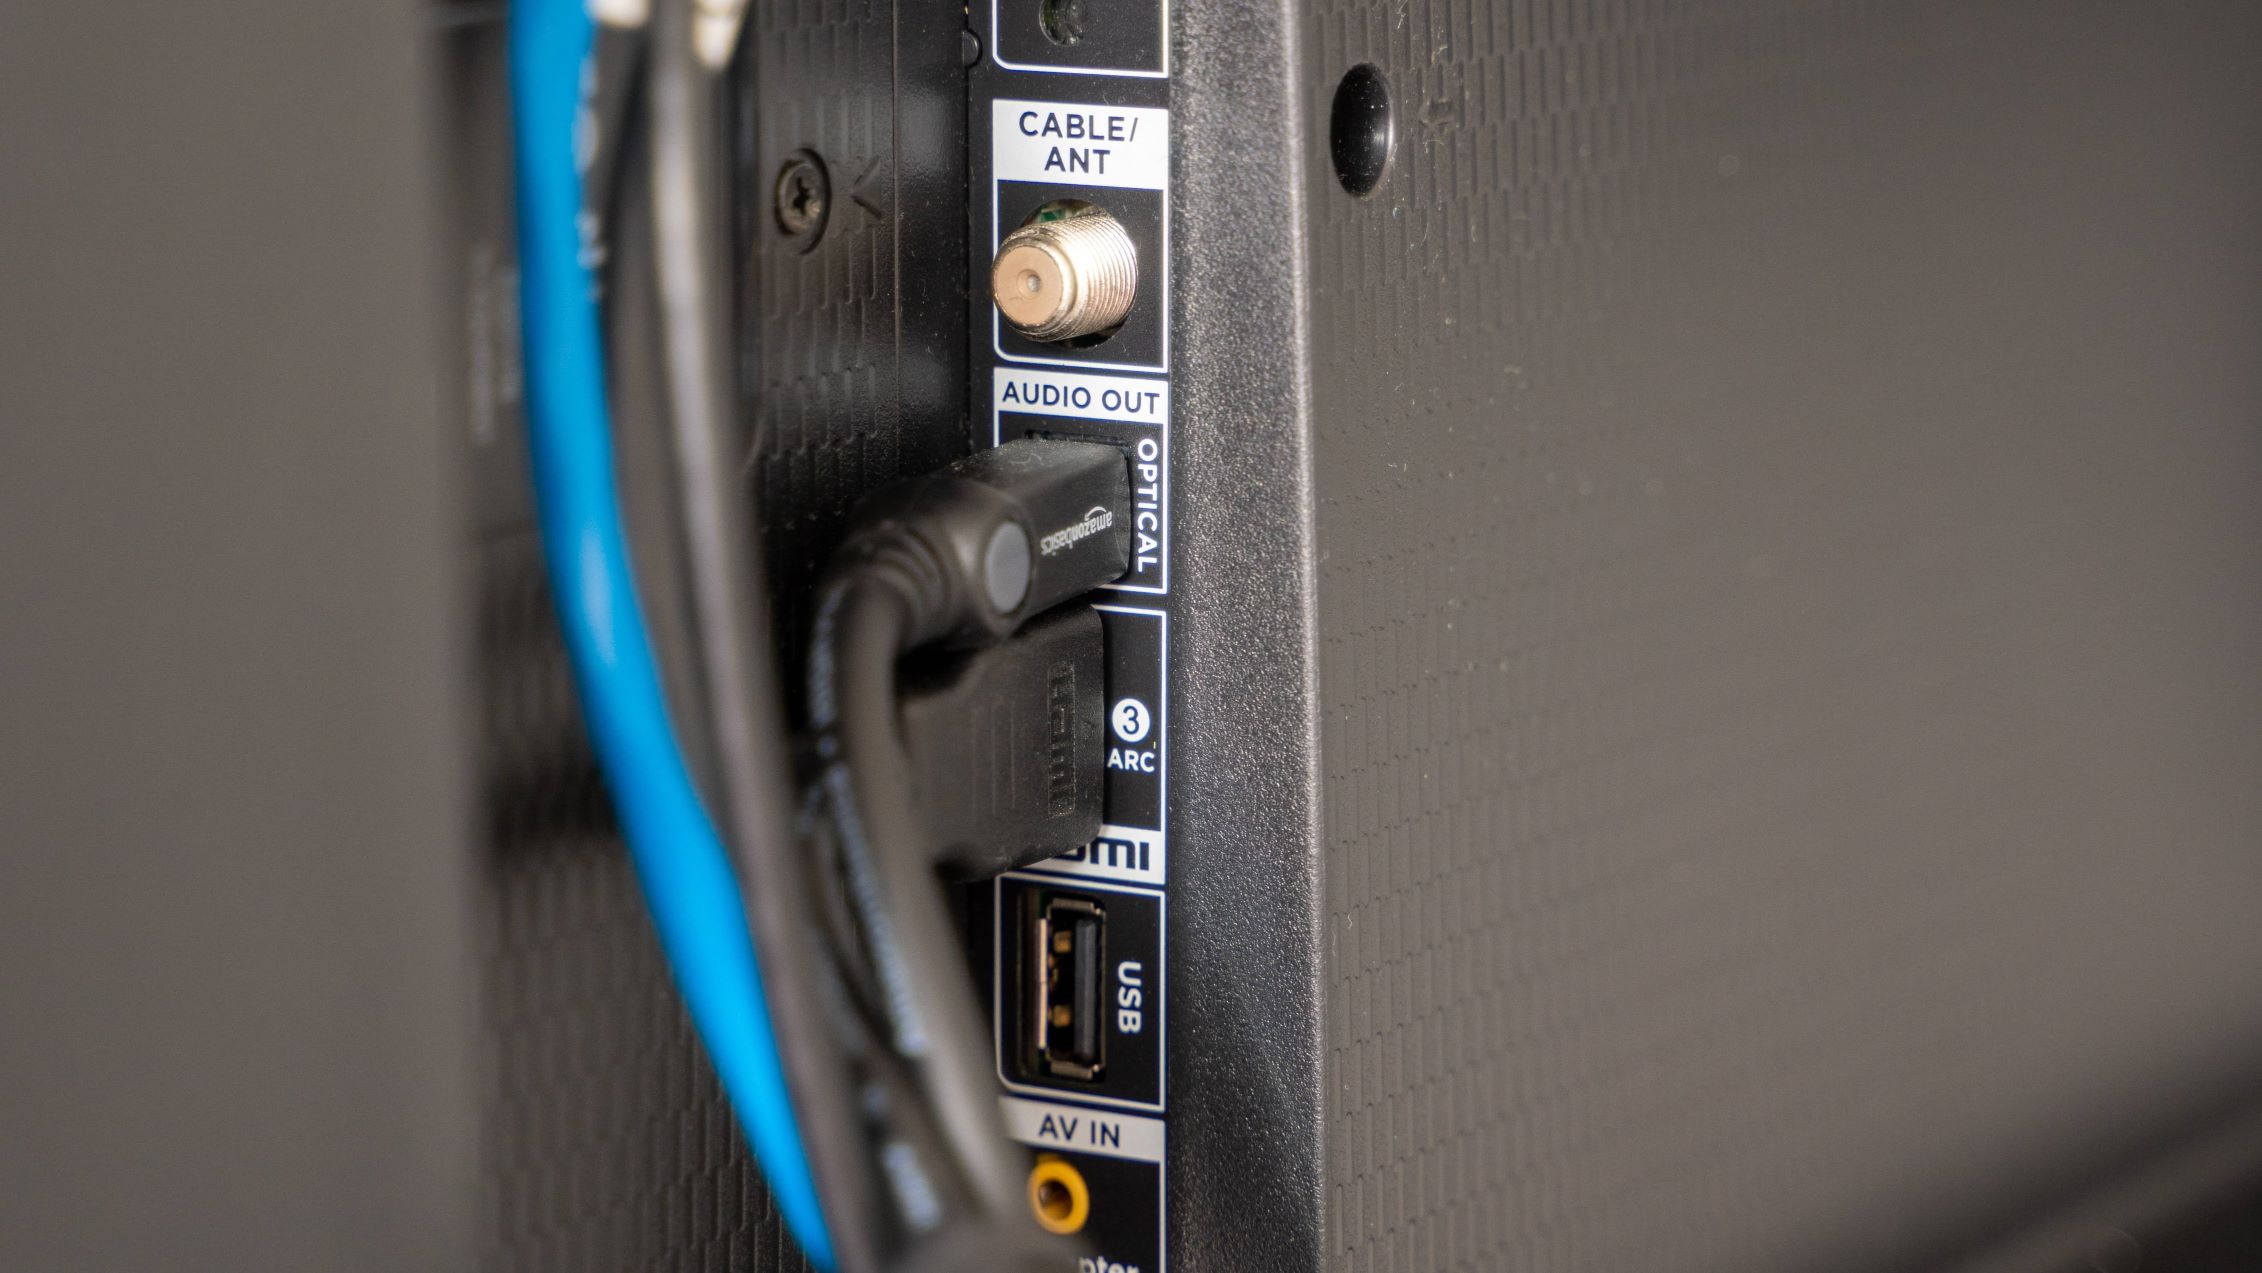
- Check the Cable Connections: The first step is to ensure that the digital coaxial audio cable is securely connected to both devices. Check that the RCA connectors are firmly plugged into the corresponding audio output and input jacks. Any loose or damaged connections can result in a “no arc” issue.
- Ensure Proper Source Selection: Next, confirm that the correct audio source is selected on the receiving device. This could be a DVD player, game console, or audio receiver. Use the device’s remote control or on-screen menu to navigate to the audio settings and verify that the digital coaxial input is selected as the audio source.
- Adjust Audio Settings: Sometimes, the audio settings on the receiving device may need adjustment for the digital coaxial audio to work properly. Ensure that the audio output settings are configured correctly, such as selecting the appropriate audio format (e.g., PCM or Dolby Digital) and adjusting volume levels.
- Test with Different Devices: If the issue persists, try connecting the digital coaxial audio cable to a different set of devices. This will help determine if the issue lies with the cable itself or the original devices. Connect the cable to another DVD player, game console, or audio receiver to see if you get audio output. If you do, then the issue may be with the original device.
- Try a Different Coaxial Cable: If testing with different devices doesn’t solve the problem, try using a different digital coaxial audio cable. Cables can get damaged over time or have manufacturing defects. Switching to a different cable can help determine if the cable is the source of the “no arc” issue.
- Update Firmware or Drivers: Check if any firmware or driver updates are available for your devices. Sometimes, outdated firmware or drivers can cause compatibility issues with digital coaxial audio signals. Visit the manufacturer’s website or contact their support to ensure you have the latest updates installed.
- Contact Technical Support: If you have exhausted all the troubleshooting steps and are still experiencing a “no arc” issue, it may be time to reach out to technical support. Contact the manufacturer of your devices or consult their online support resources for further assistance. They may be able to provide specific troubleshooting steps or recommend a solution based on your setup.
Remember, patience and perseverance are key when troubleshooting audio issues. By following these steps, you can eliminate potential causes and get your digital coaxial audio cable working again.
Now that we have covered the troubleshooting process for the “no arc” issue, let’s wrap up with some final thoughts.
Step 1: Check the Cable Connections
The first step in troubleshooting the “no arc” issue with your digital coaxial audio cable is to check the cable connections. Follow these steps to ensure that the cable is properly connected:
- Inspect the RCA connectors: Take a close look at both ends of the digital coaxial audio cable. Ensure that the RCA connectors are clean, free from debris, and in good condition. If you notice any damage or corrosion, it may be necessary to replace the cable.
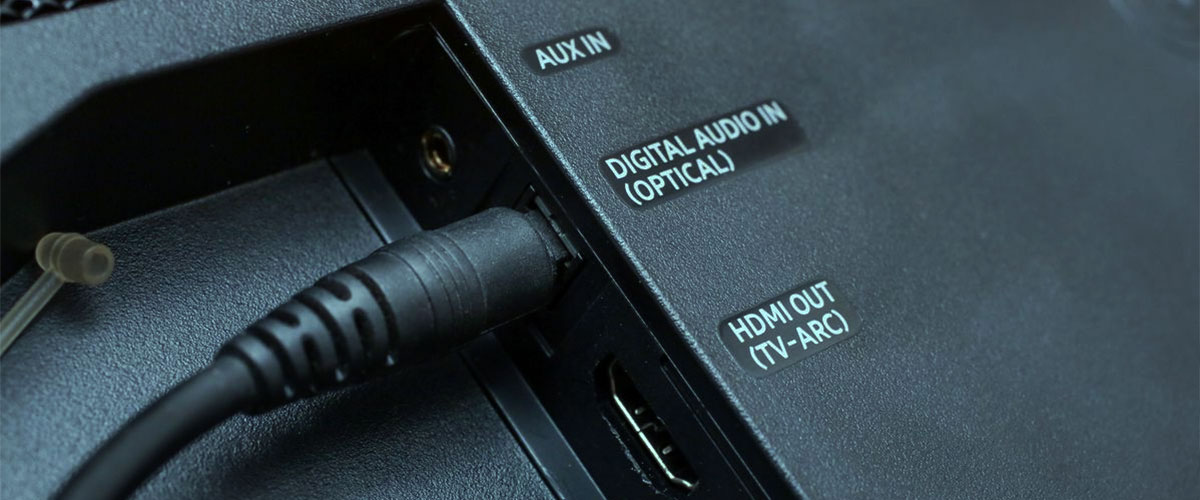
- Identify the audio input and output jacks: Locate the audio input and output jacks on both devices. These jacks are usually color-coded, with the orange plug representing the digital audio channel.
- Connect the cable: Insert one end of the digital coaxial audio cable into the audio output jack of the source device, such as a DVD player. Make sure it is securely plugged in to avoid any loose connections. Then, insert the other end into the audio input jack of the receiving device, such as an audio receiver or soundbar.
- Verify the connections: Double-check that the cable is firmly connected on both ends. Gently tug on the RCA connectors to ensure they are locked in place. Loose connections can cause the “no arc” issue.
- Repeat for additional devices: If you have multiple devices that support digital coaxial audio, such as a gaming console or Blu-ray player, repeat the above steps to connect the cable to those devices as well.
Once you have confirmed that the cable connections are secure, proceed to test the audio output. Play a sound or video on your source device and check if the audio is now being transmitted through the digital coaxial audio cable to the receiving device.
If you are still experiencing the “no arc” issue, move on to the next troubleshooting step. It’s important to systematically go through each step to identify and resolve the problem.
Now that we have checked the cable connections, let’s move on to step 2: ensuring proper source selection.
Step 2: Ensure Proper Source Selection
After checking the cable connections, the next step in troubleshooting the “no arc” issue with your digital coaxial audio cable is to ensure that the correct audio source is selected on the receiving device. Here’s how you can do it:
- Identify the audio input options: On the receiving device, such as an audio receiver or soundbar, locate the audio input options. These options are typically labeled or displayed on the device’s front panel or in the on-screen menu.
- Select the correct audio input: Use the device’s remote control or on-screen menu to navigate to the audio settings. Look for the option to choose the input source for audio. It may be labeled as “Input,” “Source,” or “Audio Input.”
- Choose the digital coaxial input: Once you have accessed the audio input options, select the corresponding digital coaxial input. This input is usually labeled as “Coaxial,” “Digital,” or “Digital Coax.”
- Save the settings: After selecting the digital coaxial input, save the changes in the device’s settings. This may involve pressing a “Save” or “Enter” button on the remote control or navigating to a “Save” or “Apply” option in the on-screen menu.
By ensuring that the correct audio source is selected on the receiving device, you allow it to recognize and receive the audio signal being transmitted through the digital coaxial audio cable.
After adjusting the source selection, test the audio output by playing a sound or video on the source device. Check if the audio is now being properly received and played through the digital coaxial audio cable on the receiving device.
If you are still facing the “no arc” issue, proceed to the next troubleshooting step. We will discuss adjusting audio settings in step 3.
Step 3: Adjust Audio Settings
If you’re still experiencing the “no arc” issue with your digital coaxial audio cable, it’s time to dive into adjusting the audio settings on your devices. Follow these steps to make necessary adjustments:
- Access the audio settings: Using the remote control or on-screen menu of the receiving device (e.g., audio receiver), navigate to the audio settings section.
- Select the correct audio format: Look for an option that allows you to choose the audio format. It may be labeled as “Audio Format,” “Audio Output,” or similar. Select the appropriate audio format that is supported by both the source device and the receiving device. Common formats include PCM, Dolby Digital, or DTS.
- Adjust volume levels: Ensure that the volume levels are set to an appropriate level on both the source and receiving devices. If either device has its volume set too low, it may result in a lack of audio output.
- Disable audio muting: Check for any audio muting options in the settings of the receiving device. Make sure that audio muting is disabled or turned off to allow the audio signal to pass through the digital coaxial audio cable.
- Save the settings: Once you have made the necessary adjustments to the audio settings, save the changes using the appropriate option in the settings menu of the receiving device.
After adjusting the audio settings, test the audio output by playing a sound or video on the source device. Check if the audio is now being transmitted through the digital coaxial audio cable and properly reproduced on the receiving device.
If you’re still facing the “no arc” issue, continue to step 4 where we discuss testing with different devices to identify the source of the problem.
Step 4: Test with Different Devices
If you’re still struggling with the “no arc” issue, it’s time to test your digital coaxial audio cable with different devices. This step will help you determine whether the issue lies with the cable or the original devices. Follow these steps to perform the test:
- Connect the cable to alternate devices: Disconnect the digital coaxial audio cable from the original devices and connect it to different devices that support digital coaxial audio. This could be another DVD player, gaming console, audio receiver, or any other compatible device.
- Secure the connections: Ensure that the cable is securely connected to both the alternate source device and the receiving device. Verify that the RCA connectors are properly inserted into the corresponding audio output and input jacks.
- Test the audio output: Play a sound or video on the alternate source device and check if the audio is being transmitted through the digital coaxial audio cable and properly reproduced on the receiving device. If you get audio output with the alternate devices, it suggests that the cable is working fine.
- Consider the original devices: If you still face the “no arc” issue with the alternate devices, it indicates a possible problem with the original devices. It could be an issue with the audio output settings, firmware, or hardware of those devices. You may need to further investigate or seek technical support for those devices.
By testing the digital coaxial audio cable with different devices, you can narrow down the source of the “no arc” issue and determine if it is related to the cable itself or the original devices.
If the issue persists even with different devices, proceed to step 5, where we discuss trying a different coaxial cable as a potential solution.
Step 5: Try a Different Coaxial Cable
If you have reached this step and are still facing the “no arc” issue with your digital coaxial audio cable, it may be time to try using a different cable. Sometimes, cables can become damaged or faulty over time, leading to audio transmission issues. Follow these steps to test a different coaxial cable:
- Acquire a new coaxial cable: Obtain another digital coaxial audio cable that is known to be in good working condition. Ensure that it is the same type as the cable you have been using (e.g., RCA connectors, compatible audio formats).
- Disconnect the current cable: Carefully disconnect the original coaxial cable from both the source device and the receiving device. Take note of how the cable was connected so that you can replicate the same setup with the new cable.
- Connect the new cable: Connect one end of the new coaxial cable to the audio output jack of the source device, and the other end to the audio input jack of the receiving device. Make sure the connectors are securely plugged in.
- Test the audio output: Play a sound or video on the source device and check if the audio is now being transmitted through the new coaxial cable and properly reproduced on the receiving device. If you have restored audio output, it suggests that the previous cable was the culprit.
- If the issue persists: If you still encounter the “no arc” issue with the new coaxial cable, there may be other factors affecting the audio transmission. Continue with the next troubleshooting steps to explore further options.
By trying a different coaxial cable, you can eliminate any potential issues related to the original cable itself. If the new cable resolves the “no arc” issue, it’s recommended to replace the old cable with a new one to ensure reliable audio transmission.
If the issue persists even with a different cable, proceed to step 6, where we discuss the importance of updating firmware or drivers as a potential solution.
Step 6: Update Firmware or Drivers
If you have reached this step and are still facing the “no arc” issue with your digital coaxial audio cable, it’s worth considering whether there are any firmware or driver updates available for your devices. Outdated firmware or drivers can sometimes cause compatibility issues with digital audio signals. Follow these steps to check for updates:
- Identify the manufacturer and model: Note down the manufacturer and model of the devices involved in the audio setup, such as the source device (e.g., DVD player) and the receiving device (e.g., audio receiver).
- Visit the manufacturer’s website: Go to the official website of each manufacturer. Look for a support or downloads section that provides access to firmware updates or driver downloads.
- Search for updates: Use the model information to search for firmware or driver updates specifically related to the audio capabilities of each device. Look for any updates that mention audio compatibility or stability improvements.
- Download and install updates: If updates are available, carefully read the instructions provided by the manufacturer. Download the appropriate firmware or driver updates and follow the installation instructions to update your devices.
- Reboot and test: After applying the updates, restart your devices to ensure the changes take effect. Test the audio output by playing a sound or video on the source device and confirming that the audio is now being transmitted through the digital coaxial audio cable to the receiving device.
Updating firmware or drivers can address potential software-related issues that may be causing the “no arc” problem with your digital coaxial audio cable. It’s always a good practice to keep your devices up to date with the latest software improvements.
If updating firmware or drivers does not resolve the issue, it’s time to move on to the final step: contacting the technical support of the device manufacturer or seeking further assistance.
Step 7: Contact Technical Support
If you have followed all the previous troubleshooting steps and are still experiencing the “no arc” issue with your digital coaxial audio cable, it may be time to reach out to the technical support team of the device manufacturer for further assistance. Here’s what you can do:
- Collect device and purchase information: Gather all the necessary information about your devices, including the make, model, and serial numbers. Additionally, keep your purchase receipts and warranty information handy.
- Visit the manufacturer’s support website: Go to the official support website of each manufacturer. Look for a dedicated support or contact section where you can find the appropriate channels to report technical issues.
- Submit a support ticket or request: Use the provided online forms or contact information to submit a support ticket or request. Provide a detailed description of the issue you are facing, mentioning the troubleshooting steps you have already taken.
- Follow up on their response: Keep an eye on your email inbox or preferred communication method for a response from the technical support team. They may provide additional troubleshooting steps, request further information, or offer a solution to resolve the “no arc” issue.
- Consider warranty coverage: If your devices are still under warranty and the technical support team cannot resolve the issue, inquire about warranty coverage and the possibility of a repair or replacement for the affected device.
Technical support representatives are trained to handle various issues and can provide specific assistance based on your devices and setup. They may have additional troubleshooting steps or recommend a course of action to resolve the “no arc” issue with your digital coaxial audio cable.
Remember, technical support representatives are there to assist you, so don’t hesitate to reach out for help if you have exhausted all other troubleshooting options.
Now that we have covered the troubleshooting steps, it’s time to wrap up and conclude our guide to resolving the “no arc” issue with your digital coaxial audio cable.
Conclusion
Congratulations! You have reached the end of our guide on troubleshooting the “no arc” issue with your digital coaxial audio cable. By following the steps outlined in this article, you have taken important strides towards resolving any audio transmission problems you may have encountered.
We started by understanding the basics of digital coaxial audio cables and their importance in delivering high-quality audio signals. We then explored troubleshooting steps, including checking cable connections, ensuring proper source selection, adjusting audio settings, testing with different devices, trying a different coaxial cable, updating firmware or drivers, and contacting technical support.
Remember, troubleshooting audio issues can sometimes be a trial-and-error process, and it may take a combination of these steps to identify and resolve the “no arc” issue. Approach the troubleshooting process systematically and be patient as you work through each step.
If you have successfully resolved the “no arc” issue, you can now enjoy the immersive audio experience that your digital coaxial audio cable provides. Sit back, relax, and indulge in your favorite movies, games, or music with pristine sound quality.
However, if you were unable to resolve the issue through the steps outlined in this guide, it may be wise to seek professional assistance. Don’t hesitate to reach out to the technical support of your devices’ manufacturers or consult with an audio specialist who can provide tailored guidance for your specific situation.
Remember to keep your audio setup up to date by regularly checking for firmware or driver updates for your devices. This will help ensure optimal performance and compatibility with your digital coaxial audio cable.
Thank you for reading our comprehensive guide. We hope it has been helpful in troubleshooting the “no arc” issue with your digital coaxial audio cable. Now go forth and enjoy your audio in all its glory!