Home>Production & Technology>Audio Cable>What Tool Do You Use To Terminate Audio Cable

Audio Cable
What Tool Do You Use To Terminate Audio Cable
Modified: March 7, 2024
Looking for the perfect tool to terminate your audio cable? Discover our top recommendations and ensure secure and professional audio connections.
(Many of the links in this article redirect to a specific reviewed product. Your purchase of these products through affiliate links helps to generate commission for AudioLover.com, at no extra cost. Learn more)
Table of Contents
- Introduction
- Understanding Audio Cable Termination
- Common Tools for Terminating Audio Cables
- Tool 1: Wire Cutters
- Tool 2: Wire Strippers
- Tool 3: Cable Tester
- Tool 4: Soldering Iron
- Tool 5: Heat Shrink Tubing
- Tool 6: Crimping Tool
- Tool 7: Cable Connector
- Tool 8: Multimeter
- Tips for Properly Terminating Audio Cables
- Conclusion
Introduction
Welcome to the world of audio cables! Whether you’re a music enthusiast, a professional sound engineer, or just someone who enjoys high-quality audio, understanding how to terminate audio cables is essential. Termination refers to the process of properly connecting the ends of an audio cable to a suitable connector or terminal, ensuring efficient and reliable signal transmission.
Terminating audio cables involves a combination of precision, skill, and the use of specific tools. These tools not only make the termination process easier but also play a crucial role in achieving a clean and secure connection. In this article, we will explore some of the commonly used tools for terminating audio cables and learn how they contribute to creating a seamless audio experience.
Whether you’re working on a project or simply looking to upgrade your audio setup, understanding the tools involved in audio cable termination will empower you to make informed decisions and achieve the best possible audio quality. So, let’s dive in and explore the world of audio cable termination tools!
Understanding Audio Cable Termination
Before we delve into the world of audio cable termination tools, it’s essential to have a basic understanding of what audio cable termination entails. Audio cable termination refers to the process of connecting the ends of an audio cable to connectors or terminals.
The goal of proper cable termination is to ensure a secure and reliable connection that allows for efficient signal transmission. A well-terminated audio cable not only prevents signal loss and interference but also ensures optimal audio quality.
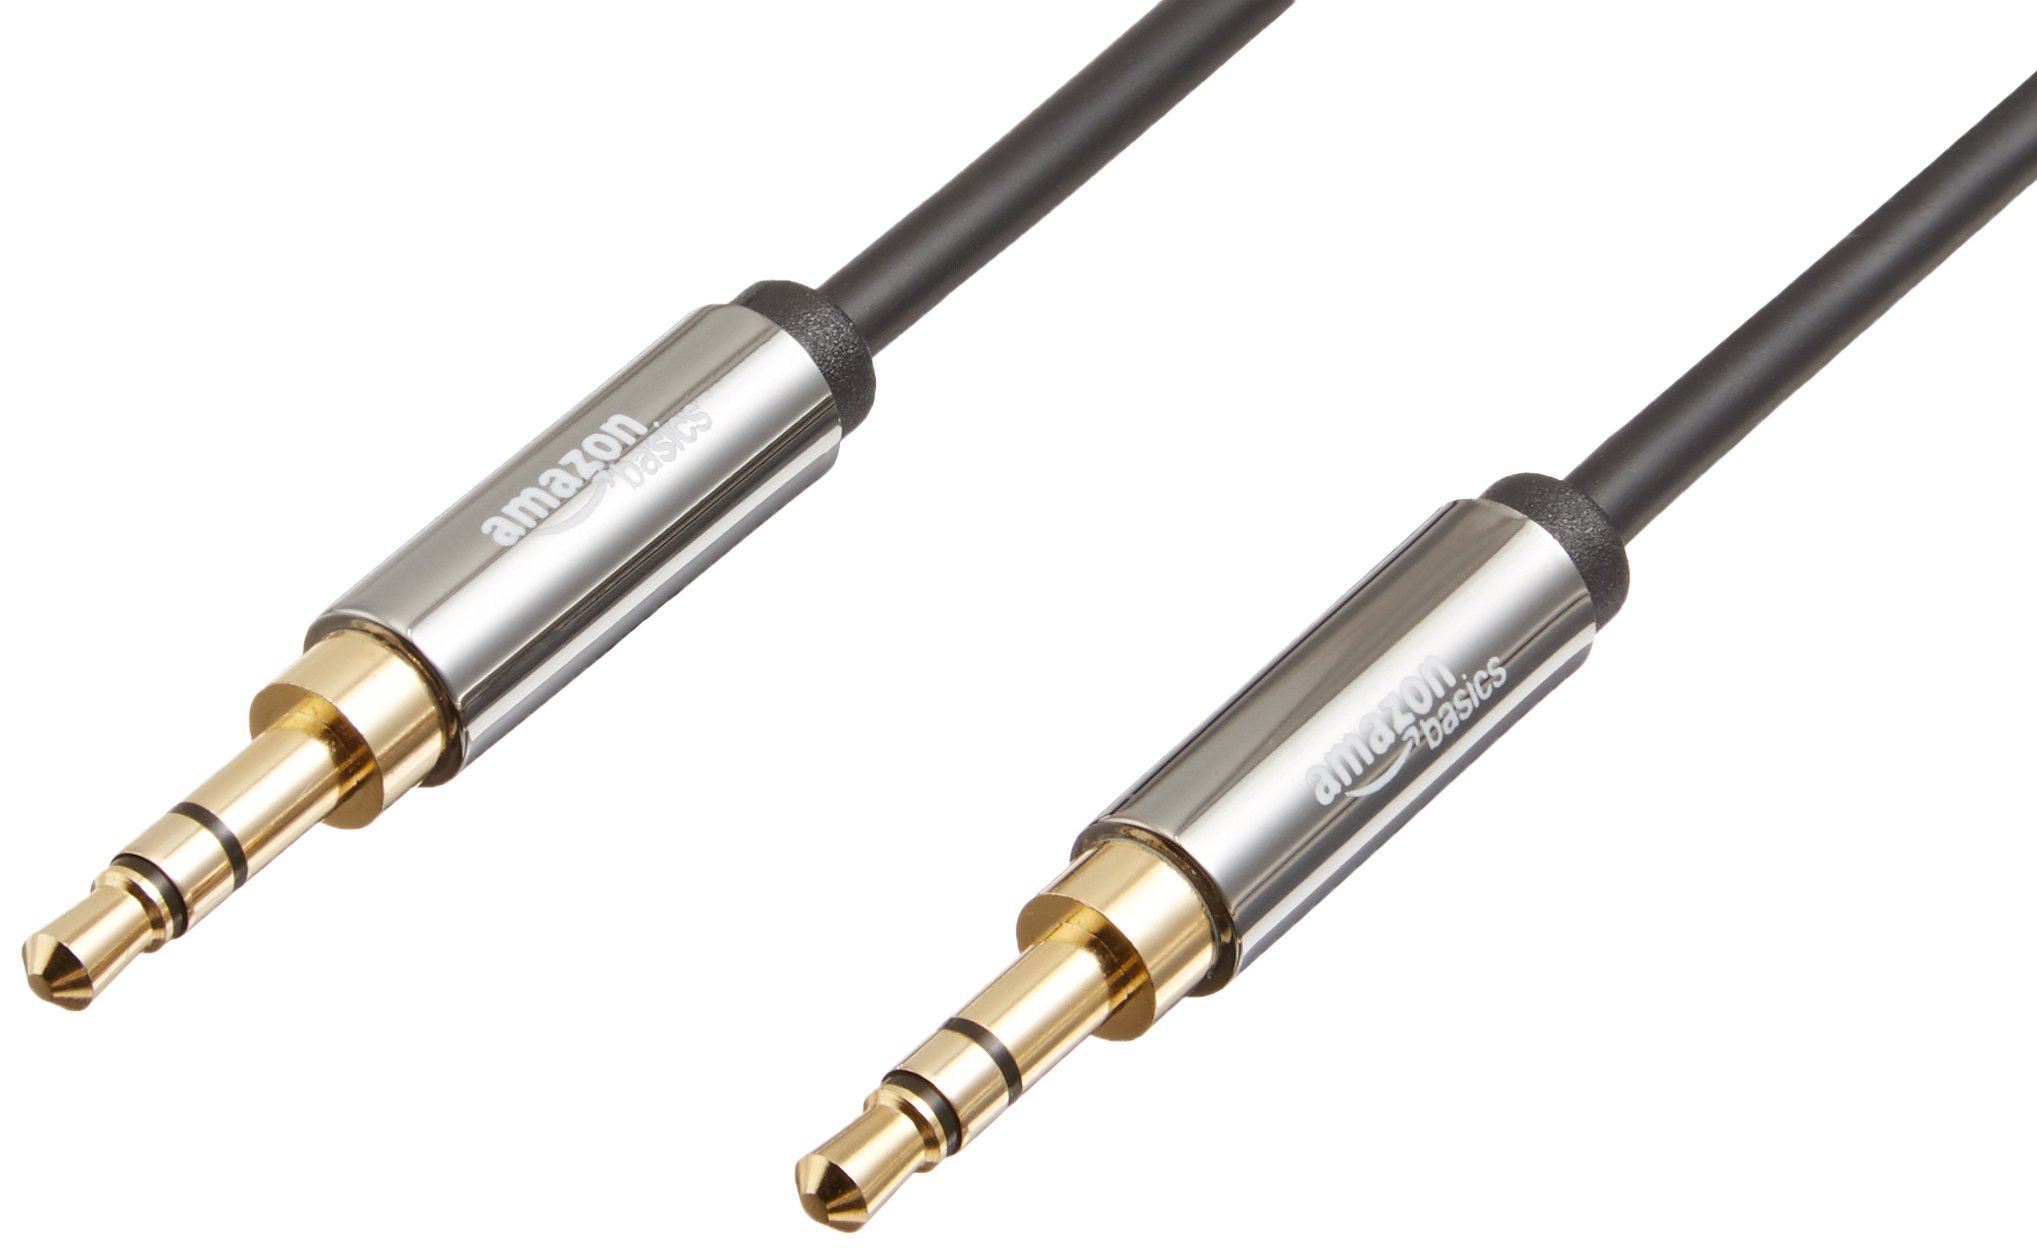
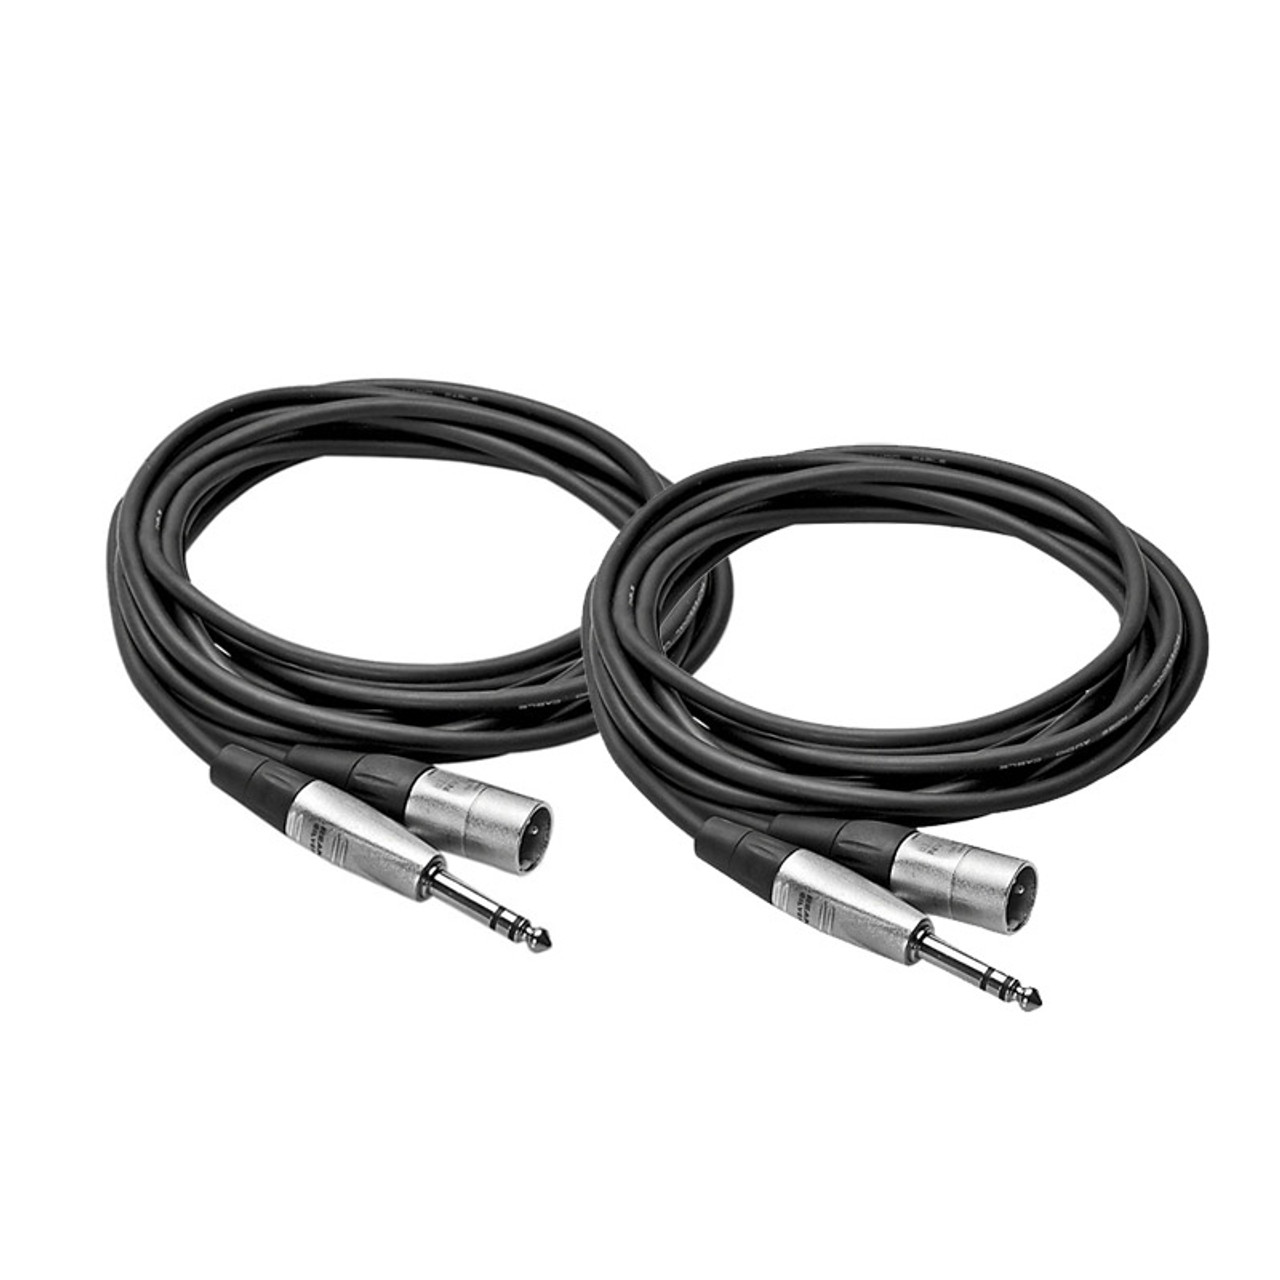
There are various types of audio cables, each with its own termination method. The most common types include XLR cables, TRS cables, and RCA cables. XLR cables are commonly used in professional audio settings, such as recording studios and live sound setups. TRS cables are often used for balanced audio connections, while RCA cables are commonly found in home audio systems and consumer electronics.
When terminating an audio cable, several factors need to be considered. The cable’s conductor material, the connector type, and the desired application all play a crucial role in determining the appropriate termination method. Different connectors may require different techniques, such as soldering, crimping, or compression.
Proper cable termination requires precision and attention to detail. Any loose or poorly connected terminations can result in signal degradation, intermittent connectivity, or even complete signal loss. Additionally, poorly terminated cables may be more prone to malfunctions and damage, compromising the overall audio system’s performance.
Now that we have a basic understanding of audio cable termination, let’s explore the tools that can help us achieve professional, reliable, and high-quality terminations.
Common Tools for Terminating Audio Cables
When it comes to terminating audio cables, there are several essential tools that every audio enthusiast or professional should have in their toolkit. These tools not only simplify the termination process but also ensure that the connections are secure and the signal transmission is reliable. Let’s take a closer look at some of these tools:
- Wire Cutters: Wire cutters are crucial for cleanly cutting the audio cable to the desired length. These tools have sharp blades that make precision cuts, ensuring a clean and even termination.
- Wire Strippers: Wire strippers are used to remove the insulation from the ends of the audio cable, exposing the conductor. They come in various sizes and are designed to strip different gauges of wire.
- Cable Tester: A cable tester is used to check the continuity and integrity of the audio cable after termination. It helps identify any short circuits, open circuits, or faulty connections, allowing for troubleshooting and rectification before installation.
- Soldering Iron: Soldering is a common termination method that involves melting solder onto the exposed conductor and terminal connection point. A soldering iron is essential for melting the solder and creating a strong, permanent bond between the cable and connector.
- Heat Shrink Tubing: Heat shrink tubing is used to provide insulation and strain relief for terminated audio cables. By heating the tubing, it shrinks and conforms to the cable and connector, providing a secure and professional-looking finish.
- Crimping Tool: Crimping tools are used for terminating cables with crimp-style connectors. They compress the connector onto the cable, creating a strong and secure bond without the need for soldering.
- Cable Connector: Audio cable connectors come in various types, including XLR, TRS, RCA, and more. Having a suitable connector for the specific audio cable type ensures compatibility and proper termination.
- Multimeter: A multimeter is a versatile tool that can be used to measure voltage, resistance, and continuity. It is helpful for troubleshooting and ensuring the proper functioning of the terminated audio cable.
These are just some of the common tools used for terminating audio cables. Depending on the specific cable type and termination method, additional tools may be required. Having the right tools in your arsenal makes the termination process smoother, more efficient, and produces professional-quality results.
Tool 1: Wire Cutters
Wire cutters are an essential tool for terminating audio cables. They are designed to cleanly cut through the cable’s outer jacket and inner conductors, allowing for precise and accurate terminations. Wire cutters come in various sizes and designs, ranging from handheld cutters to larger benchtop models. Here’s why wire cutters are an indispensable tool for audio cable termination:
- Precision Cutting: Wire cutters have sharp blades that are specifically designed for cutting through various types and gauges of cables. The sharp blades ensure clean and even cuts, minimizing the risk of damaging the cable or the conductors.
- Custom Cable Lengths: Wire cutters enable you to cut the audio cable to the desired length. This is particularly useful when customizing cable lengths for specific setups or installations, ensuring optimal cable management and minimizing signal loss.
- Efficiency: By using wire cutters, you can quickly and efficiently cut through the cable’s insulation without the need for excessive force. This saves time and effort, making the termination process more streamlined.
- Professional Results: The clean and precise cuts achieved with wire cutters contribute to a professional and tidy termination. This not only enhances the visual appearance of the terminated cable but also ensures optimal signal transmission and longevity.
- Versatility: Wire cutters can be used for various types of audio cables, such as XLR, TRS, and RCA. Whether you’re working with a thick or thin cable, wire cutters provide the versatility to handle different cable sizes and materials.
When using wire cutters, it’s important to select the appropriate cutter size for the cable being terminated. Using cutters that are too large may result in uneven cuts or damage to the conductors, while using cutters that are too small may make cutting the cable more difficult.
Overall, wire cutters are a fundamental tool for achieving precise and clean cuts during audio cable termination. By investing in quality wire cutters and using them correctly, you can ensure professional-grade terminations that optimize audio performance and durability.
Tool 2: Wire Strippers
Wire strippers are an essential tool when it comes to terminating audio cables. They are specifically designed to remove the insulation from the ends of the cable, exposing the conductor for proper termination. Wire strippers come in various sizes and configurations, each suited for different wire gauges. Here’s why wire strippers are a crucial tool for audio cable termination:
- Precision Stripping: Wire strippers are designed with precision-cutting edges that allow for the clean and accurate removal of insulation from the cable. This ensures that the conductor is exposed without any damage, allowing for a secure and reliable connection.
- Multiple Gauge Support: Audio cables come in different gauges, and wire strippers are available in different sizes to accommodate those variances. It’s important to use the appropriate wire stripper size that matches the gauge of the cable being terminated to ensure precise and efficient stripping.
- Efficiency: Wire strippers streamline the process of stripping the insulation from the cable’s end, making it quicker and more efficient compared to other methods like using a knife or scissors. The specially designed cutting edges of wire strippers grip the insulation firmly, allowing for easy removal without damaging the conductor.
- Consistency: Wire strippers provide consistent results in terms of the length of the exposed conductor. This is important for achieving a neat and uniform termination, ensuring that each wire is correctly positioned within the connector or terminal.
- Prevent Conductor Damage: Using wire strippers helps to prevent accidental damage to the conductor during the insulation removal process. By correctly positioning the wire stripper jaws and applying the appropriate amount of pressure, you can strip the insulation without causing any harm to the conductor.
When using wire strippers, it’s important to select the right-sized tool for the cable being terminated. Different wire strippers are designed for specific wire sizes, so using the wrong size can lead to uneven or incomplete stripping.
By utilizing wire strippers during the termination process, you can achieve clean and precise insulation removal, ensuring a secure and reliable connection. These tools increase efficiency, consistency, and ultimately contribute to the overall quality and durability of the audio cable termination.
Tool 3: Cable Tester
A cable tester is a valuable tool used to check the continuity and integrity of audio cables after termination. These testers verify that the cable has been properly terminated and can help identify any potential issues or faults. Here’s why a cable tester is an essential tool for audio cable termination:
- Continuity Check: Cable testers perform continuity checks to ensure that the signal can travel from one end of the cable to the other without any breaks or interruptions. This helps identify any faulty connections, such as loose wires or incomplete terminations.
- Fault Identification: Cable testers not only check for continuity but also identify specific faults, such as short circuits or open circuits within the cable. These faults can cause signal loss or interference, impacting the audio quality. Identifying and rectifying these faults before installation can save time and effort in troubleshooting later on.
- Multifunctional Features: Cable testers often come with additional functions, such as measuring cable length, checking polarity, and detecting wiring misconfigurations. These features provide comprehensive testing capabilities and ensure that the cable termination meets the required specifications.
- Time-saving: By using a cable tester, you can quickly and efficiently verify the integrity of the terminated cable. This saves time and reduces the need for manual inspection, especially in larger installations where multiple cables are involved.
- Prevent Potential Issues: Using a cable tester during the termination process helps identify and resolve any issues before connecting the cable to audio devices or systems. This preemptive action prevents problems such as signal loss, intermittent connections, or poor audio quality once the system is set up.
A cable tester typically consists of a main unit and one or more remote units. The main unit is connected to one end of the cable, while the remote units are connected to the other ends. The tester then sends signals through the cable and compares the received signals to the expected ones, providing accurate test results.
Investing in a cable tester is a wise decision for anyone working with audio cables. Whether you’re a professional sound engineer, installing a home theater system, or simply terminating cables for personal use, a cable tester ensures that your connections are reliable, functional, and optimized for high-quality audio transmission.
Tool 4: Soldering Iron
A soldering iron is a crucial tool for terminating audio cables, especially when it comes to soldering connections. Soldering creates a strong and permanent bond between the cable’s conductor and the connector, ensuring a reliable and uninterrupted electrical connection. Here’s why a soldering iron is an important tool for audio cable termination:
- Solid and Secure Connection: Soldering provides a robust and durable connection between the cable and the connector. It creates a strong bond by melting solder, a metal alloy with a low melting point, which flows and surrounds the conductor and terminal, forming a solid joint.
- Improved Conductivity: Soldering ensures excellent conductivity by minimizing resistance and reducing the chance of signal loss or interference. The solder creates a continuous pathway for the electrical signal to flow, resulting in optimal audio performance.
- Permanent Solution: Once a connection is soldered, it typically becomes a permanent termination. This prevents any accidental disconnections or interruptions in the audio signal due to movement or vibrations, making soldering an ideal choice for long-lasting and reliable terminations.
- Professional Results: Soldering provides a clean and professional-looking finish to the terminated cable. The melted solder forms a smooth, shiny, and uniform joint, indicating a well-executed termination. This not only enhances the visual aesthetics but also instills confidence in the quality of the connection.
- Versatility: A soldering iron can be used with different cable types, connectors, and applications. It allows for the termination of various audio cables, including XLR, TRS, and even smaller gauge wires found in headphone cables or internal electronic connections.
When using a soldering iron, it’s important to follow proper soldering techniques, such as heating the joint evenly, avoiding excessive heat, and using the appropriate soldering technique based on the connector type.
A soldering iron is an invaluable tool for achieving secure and high-quality terminations in audio cables. It ensures a strong and reliable electrical connection, optimal conductivity, and professional-grade results, making it a staple tool in any audio enthusiast’s or professional’s toolkit.
Tool 5: Heat Shrink Tubing
Heat shrink tubing is a versatile tool used during audio cable termination to provide insulation, strain relief, and a professional-looking finish. It is a tube made of polymer material that shrinks when heated, conforming to the shape of the cable and creating a secure and protective covering. Here’s why heat shrink tubing is an essential tool for audio cable termination:
- Insulation: Heat shrink tubing provides insulation by covering the exposed conductors and preventing them from coming into contact with other wires or surfaces. This insulation is crucial for ensuring proper signal flow and minimizing the risk of short circuits or interference.
- Strain Relief: Heat shrink tubing offers strain relief by providing support and protection to the cable termination point. It helps absorb any tension or pulling on the cable, reducing the risk of damage to the soldered connections and extending the cable’s lifespan.
- Protection: Heat shrink tubing offers an additional layer of protection against physical damage, such as abrasions, impact, or moisture. It creates a barrier that shields the terminations from external elements, ensuring the longevity and reliability of the audio cable.
- Professional Appearance: Heat shrink tubing gives the terminated cable a clean and professional look. The tubing, once heated, conforms tightly to the cable and connector, creating a smooth and uniform finish. This not only enhances the aesthetics of the termination but also gives a sense of professionalism and attention to detail.
- Versatility: Heat shrink tubing can be used with various types of audio cables and connectors. It is available in different sizes, allowing for compatibility with different cable diameters and connector types.
When using heat shrink tubing, it is crucial to select the appropriate size that matches the cable and connector being terminated. The tubing should be slightly larger than the cables to ensure a snug fit when shrunk.
Overall, heat shrink tubing is an indispensable tool for audio cable termination as it provides insulation, strain relief, and protection while giving the terminated cables a professional and polished appearance. It is an excellent investment that enhances the overall quality and durability of audio cable terminations.
Tool 6: Crimping Tool
A crimping tool is a specialized tool used for terminating audio cables with crimp-style connectors. It is designed to compress and secure the connector onto the cable, creating a strong and reliable connection. Crimping tools are an essential tool in audio cable termination, particularly for connectors such as RCA or BNC connectors. Here’s why a crimping tool is important:
- Secure Terminations: Crimping tools provide a reliable and secure method of termination by compressing the connector onto the cable. This creates a tight and sturdy connection that ensures optimal signal transmission without the need for soldering.
- Efficiency: With a crimping tool, terminations can be completed quickly and efficiently. The tool simplifies the process by applying consistent pressure to the connector, resulting in a neatly terminated cable.
- No Specialized Skills Required: Unlike soldering, crimping does not require intricate soldering techniques or knowledge. It is a straightforward process that can be easily mastered with some practice, making it an accessible option for both professionals and enthusiasts.
- Reusability: Crimp-style terminations are typically reusable, allowing for flexibility in adjustments or reconfigurations. If necessary, the connector can be easily removed and replaced using the crimping tool, making it a convenient option for system changes or upgrades.
- Versatility: Crimping tools are available in various styles and sizes to accommodate different connector types and cable sizes. This versatility makes crimping tools suitable for a wide range of audio cables, connectors, and applications.
When using a crimping tool, it’s important to follow the instructions provided for the specific connector type. Different connectors have different crimping techniques, and using the correct procedure ensures a proper and secure termination.
A crimping tool is an essential tool for terminating audio cables with crimp-style connectors. It offers secure terminations, efficiency, and versatility, making it a reliable option for achieving professional-grade results in audio cable terminations.
Tool 7: Cable Connector
A cable connector is a vital component in audio cable termination. It serves as the interface between the audio cable and the audio device, ensuring a secure and reliable connection. Cable connectors come in various types, including XLR, TRS, RCA, and more, and each connector requires specific techniques for termination. Here’s why a cable connector is an important tool:
- Compatibility: Cable connectors provide compatibility between the audio cable and the audio device or system. Different connectors are designed for specific applications, such as XLR connectors for balanced audio or RCA connectors for consumer audio equipment. Using the appropriate connector ensures proper signal flow and compatibility with the audio setup.
- Secure Connection: Cable connectors facilitate a secure and stable connection between the audio cable and the equipment. When terminated correctly, the connector’s design and mechanism ensure a reliable and uninterrupted transmission of the audio signal, minimizing the risk of signal loss or interference.
- Signal Integrity: A well-terminated cable connector plays a crucial role in maintaining the integrity of the audio signal. High-quality connectors minimize resistance and ensure optimal conductivity, allowing for accurate and faithful audio reproduction.
- Durability: Cable connectors are designed to withstand the rigors of audio applications. They are constructed with durable materials that can withstand frequent plugging and unplugging without compromising the connection quality. This durability is essential for professional settings where equipment is constantly reconfigured or transported.
- Variety of Applications: Cable connectors come in various types to cater to different audio applications. Whether it’s a microphone, mixer, amplifier, or speaker, having a range of connectors ensures compatibility and versatility in connecting audio devices.
When terminating audio cables with connectors, it’s essential to follow the manufacturer’s instructions and use the appropriate termination technique. This may involve soldering, crimping, or compression, depending on the connector type and design.
A cable connector is not just a tool but an integral part of the audio cable termination process. It ensures compatibility, provides a secure connection, maintains signal integrity, and withstands the demands of professional audio applications. The selection of the right connector is crucial for achieving reliable and high-quality audio cable terminations.
Tool 8: Multimeter
A multimeter is a versatile tool that plays a vital role in audio cable termination. It is used for measuring voltage, resistance, and continuity, allowing for proper testing and troubleshooting during the termination process. Here’s why a multimeter is an essential tool for audio cable termination:
- Continuity Testing: A multimeter enables you to check for continuity in the terminated audio cable. It helps identify any breaks or interruptions in the signal path, ensuring that the connections are secure and properly terminated.
- Resistance Measurement: Multimeters allow you to measure the resistance of the cable and the terminations. This helps ensure that the resistance falls within the expected range, ensuring efficient signal transmission and minimizing potential issues such as signal loss or distortion.
- Voltage Measurement: During audio cable termination, a multimeter can be used to measure voltage at different points in the system. This ensures that the proper voltage is being supplied to the cable and helps identify any voltage irregularities or imbalances that could affect audio performance.
- Testing Connectors and Conductors: Multimeters can be used to test the integrity of connectors and conductors. By measuring the conductivity of the connectors and ensuring proper continuity, you can verify that the cable terminations are functioning as intended.
- Troubleshooting: In the event of an audio issue, a multimeter can be used to troubleshoot and locate the source of the problem. By measuring voltage, resistance, and continuity at various points in the audio system, you can isolate and identify potential issues and rectify them.
Using a multimeter during audio cable termination provides valuable insights into the condition and performance of the terminations. It helps ensure that the connections are secure, the signal flow is efficient, and any potential issues are identified early on.
When using a multimeter, it’s important to follow proper safety precautions and use the appropriate settings for the measurements being taken. Consulting the multimeter’s user manual and familiarizing oneself with its functions and features is essential for accurate and effective usage.
A multimeter is an indispensable tool for audio cable termination, enabling comprehensive testing, troubleshooting, and verification of terminations. By incorporating a multimeter into the termination process, you can ensure the highest level of quality and performance in your audio setup.
Tips for Properly Terminating Audio Cables
Properly terminating audio cables is essential to ensure optimal signal transmission, reliability, and longevity. To achieve professional-grade terminations, here are some valuable tips to keep in mind:
- Use the Right Tools: Invest in high-quality tools specifically designed for audio cable termination. Wire cutters, wire strippers, crimping tools, soldering irons, and cable testers are among the essential tools you should have in your toolkit. Using the right tools will make the termination process easier and more efficient.
- Follow Manufacturer Guidelines: Different audio connectors and cables may have specific termination instructions provided by the manufacturers. It is crucial to follow these guidelines to ensure proper termination and to avoid damaging the connectors or cables.
- Measure Twice, Cut Once: Before cutting the cable, double-check the required length and make precise measurements. Once the cable is cut, there’s no going back, so it’s essential to ensure accuracy to avoid wastage or insufficient cable length.
- Properly Strip the Cable: Take care when stripping the cable’s insulation to expose the conductors. Use wire strippers of the appropriate size to prevent damage to the conductors, and strip only the necessary amount of insulation, leaving enough for a secure termination.
- Ensure Proper Soldering Technique: If soldering is necessary for termination, ensure you have the proper technique. Clean the wires, apply the right amount of heat, and use the correct soldering temperature and solder type for a strong and reliable connection.
- Secure Connections: Whether using crimping, soldering, or compression techniques, ensure that the terminations are securely connected. Loose or poorly secured terminations can lead to signal loss, intermittent connections, or even cable damage.
- Test and Verify: After termination, use a cable tester or a multimeter to verify the continuity, resistance, and proper functionality of the terminated cable. Testing ensures that the terminations are functioning correctly before connecting the cable to audio devices or systems.
- Label and Organize: Properly label and organize the terminated cables to facilitate future troubleshooting or reconfiguration. Clear labeling prevents confusion and minimizes the risk of accidental disconnections or incorrect connections.
- Maintain Proper Cable Management: Use cable management techniques such as cable ties, cable clips, or cable channels to organize and secure the terminated cables. Proper cable management not only ensures a clean and professional appearance but also prevents cable damage and tangles.
- Continue Learning: The field of audio cables and terminations is constantly evolving. Stay updated with the latest techniques, tools, and technologies by continuing to learn and expand your knowledge. Attend workshops, conferences, or online courses to enhance your skills and stay at the forefront of audio cable termination practices.
By following these tips, you can ensure that your audio cable terminations are done with precision, resulting in reliable and high-performance connections. Properly terminated audio cables will not only deliver the best audio quality but also provide durability and longevity for your audio setup.
Conclusion
Properly terminating audio cables is crucial for achieving optimal signal transmission, audio quality, and reliability in any audio setup. By using the right tools and following proper techniques, you can ensure professional-grade terminations that will stand the test of time.
Throughout this article, we have explored the various tools necessary for audio cable termination, including wire cutters, wire strippers, cable testers, soldering irons, heat shrink tubing, crimping tools, cable connectors, and multimeters. Each of these tools plays a critical role in achieving secure, clean, and efficient terminations.
Additionally, we have provided valuable tips for properly terminating audio cables, emphasizing the importance of measuring accurately, following manufacturer guidelines, using appropriate termination techniques, and testing and verifying the terminations for continuity and proper functionality.
By implementing these tips and mastering the art of audio cable termination, you can create reliable and high-performance connections in your audio system. Terminating audio cables with precision ensures optimal audio quality, minimizes signal loss and interference, and promotes the longevity of your audio equipment.
As you continue to explore the world of audio cables and terminations, remember to stay updated with the latest techniques, tools, and technologies. The field is constantly evolving, and keeping up with advancements will further enhance your abilities as an audio enthusiast or professional.
So, armed with the knowledge and understanding of audio cable termination, go forth and confidently terminate your audio cables, creating seamless connections that will elevate your audio experience to new heights!