Home>Production & Technology>Audio Interface>What Cables Do You Need To Hook Up Studio Monitors To Audio Interface
Audio Interface
What Cables Do You Need To Hook Up Studio Monitors To Audio Interface
Published: February 4, 2024
Discover the essential cables needed to connect your studio monitors to an audio interface. Find out which cables provide optimal audio quality for a seamless recording experience.
(Many of the links in this article redirect to a specific reviewed product. Your purchase of these products through affiliate links helps to generate commission for AudioLover.com, at no extra cost. Learn more)
Table of Contents
Introduction
When it comes to setting up a professional audio recording or mixing studio, one of the most crucial components is the audio interface. An audio interface serves as the bridge between your computer and your studio monitors, ensuring high-quality sound reproduction.
However, to properly connect your studio monitors to the audio interface, you’ll need the right cables. The type of cables you choose will depend on the inputs and outputs available on your audio interface and studio monitors. In this article, we’ll explore the various types of cables commonly used to hook up studio monitors to an audio interface and guide you through the setup process.
Understanding the different types of cables and their purpose is essential for achieving optimal audio performance in your studio. Whether you’re a seasoned pro or just starting in the world of audio production, this guide will provide you with the knowledge you need to make informed decisions when it comes to choosing the right cables for your setup.
So without further ado, let’s delve into the world of audio cables and learn how to connect your studio monitors to your audio interface for the ultimate listening experience.
Types of Cables
There are several types of cables that are commonly used to connect studio monitors to audio interfaces. Each type of cable has its own unique characteristics and use cases. Let’s take a closer look at the most commonly used cables:
- XLR Cables: XLR cables are the go-to choice for professional audio applications. They consist of three pins and are known for their balanced signal transmission, which helps minimize interference and noise. XLR cables are commonly used with studio monitors that have XLR inputs.
- TRS Cables: TRS, or Tip-Ring-Sleeve, cables are another commonly used option. They typically have a 1/4-inch connector on each end and can be used for both balanced and unbalanced signals. TRS cables are often used with studio monitors that have 1/4-inch (6.35mm) inputs.
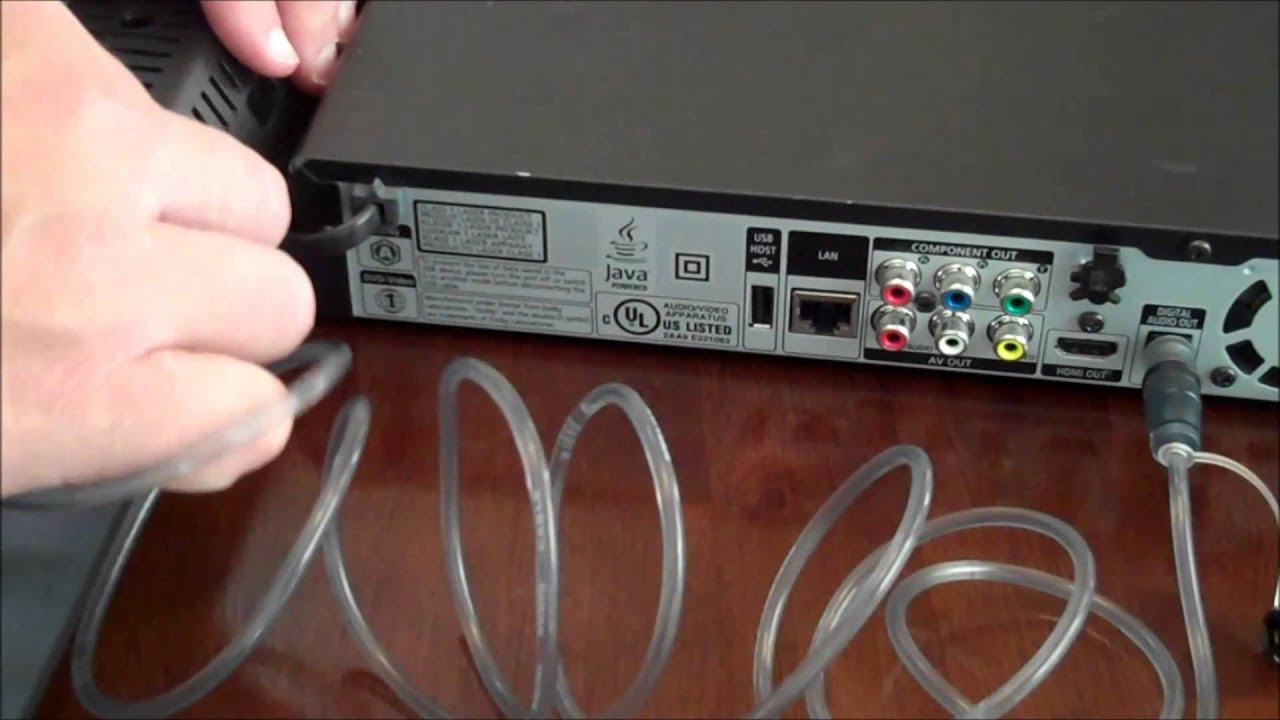
- RCA Cables: RCA cables are a type of unbalanced cable that is commonly used for consumer-grade audio connections. They feature a red and white connector and are often used to connect studio monitors with RCA inputs to an audio interface.
It’s important to note that the type of cable you choose will depend on the inputs and outputs available on your audio interface and studio monitors. Some audio interfaces may have multiple types of outputs, allowing you to choose the cable that best suits your needs.
Additionally, the length of the cable can also have an impact on signal quality. It’s generally advisable to keep cable lengths as short as possible to minimize signal degradation and interference. If you require longer cable runs, consider using higher quality cables to maintain signal integrity.
Now that we know the different types of cables available, let’s dive into the specifics of setting up studio monitors with each type of cable.
XLR Cables
XLR cables are widely regarded as the gold standard for professional audio connections. They are commonly used in recording studios and live sound applications for their superior signal quality and noise rejection.
An XLR cable features three pins, each serving a specific purpose. The first pin is responsible for carrying the audio signal, while the second and third pins are used for grounding and shielding. This balanced configuration helps minimize interference and ensures a clean and clear audio signal.
To set up your studio monitors with XLR cables, follow these steps:
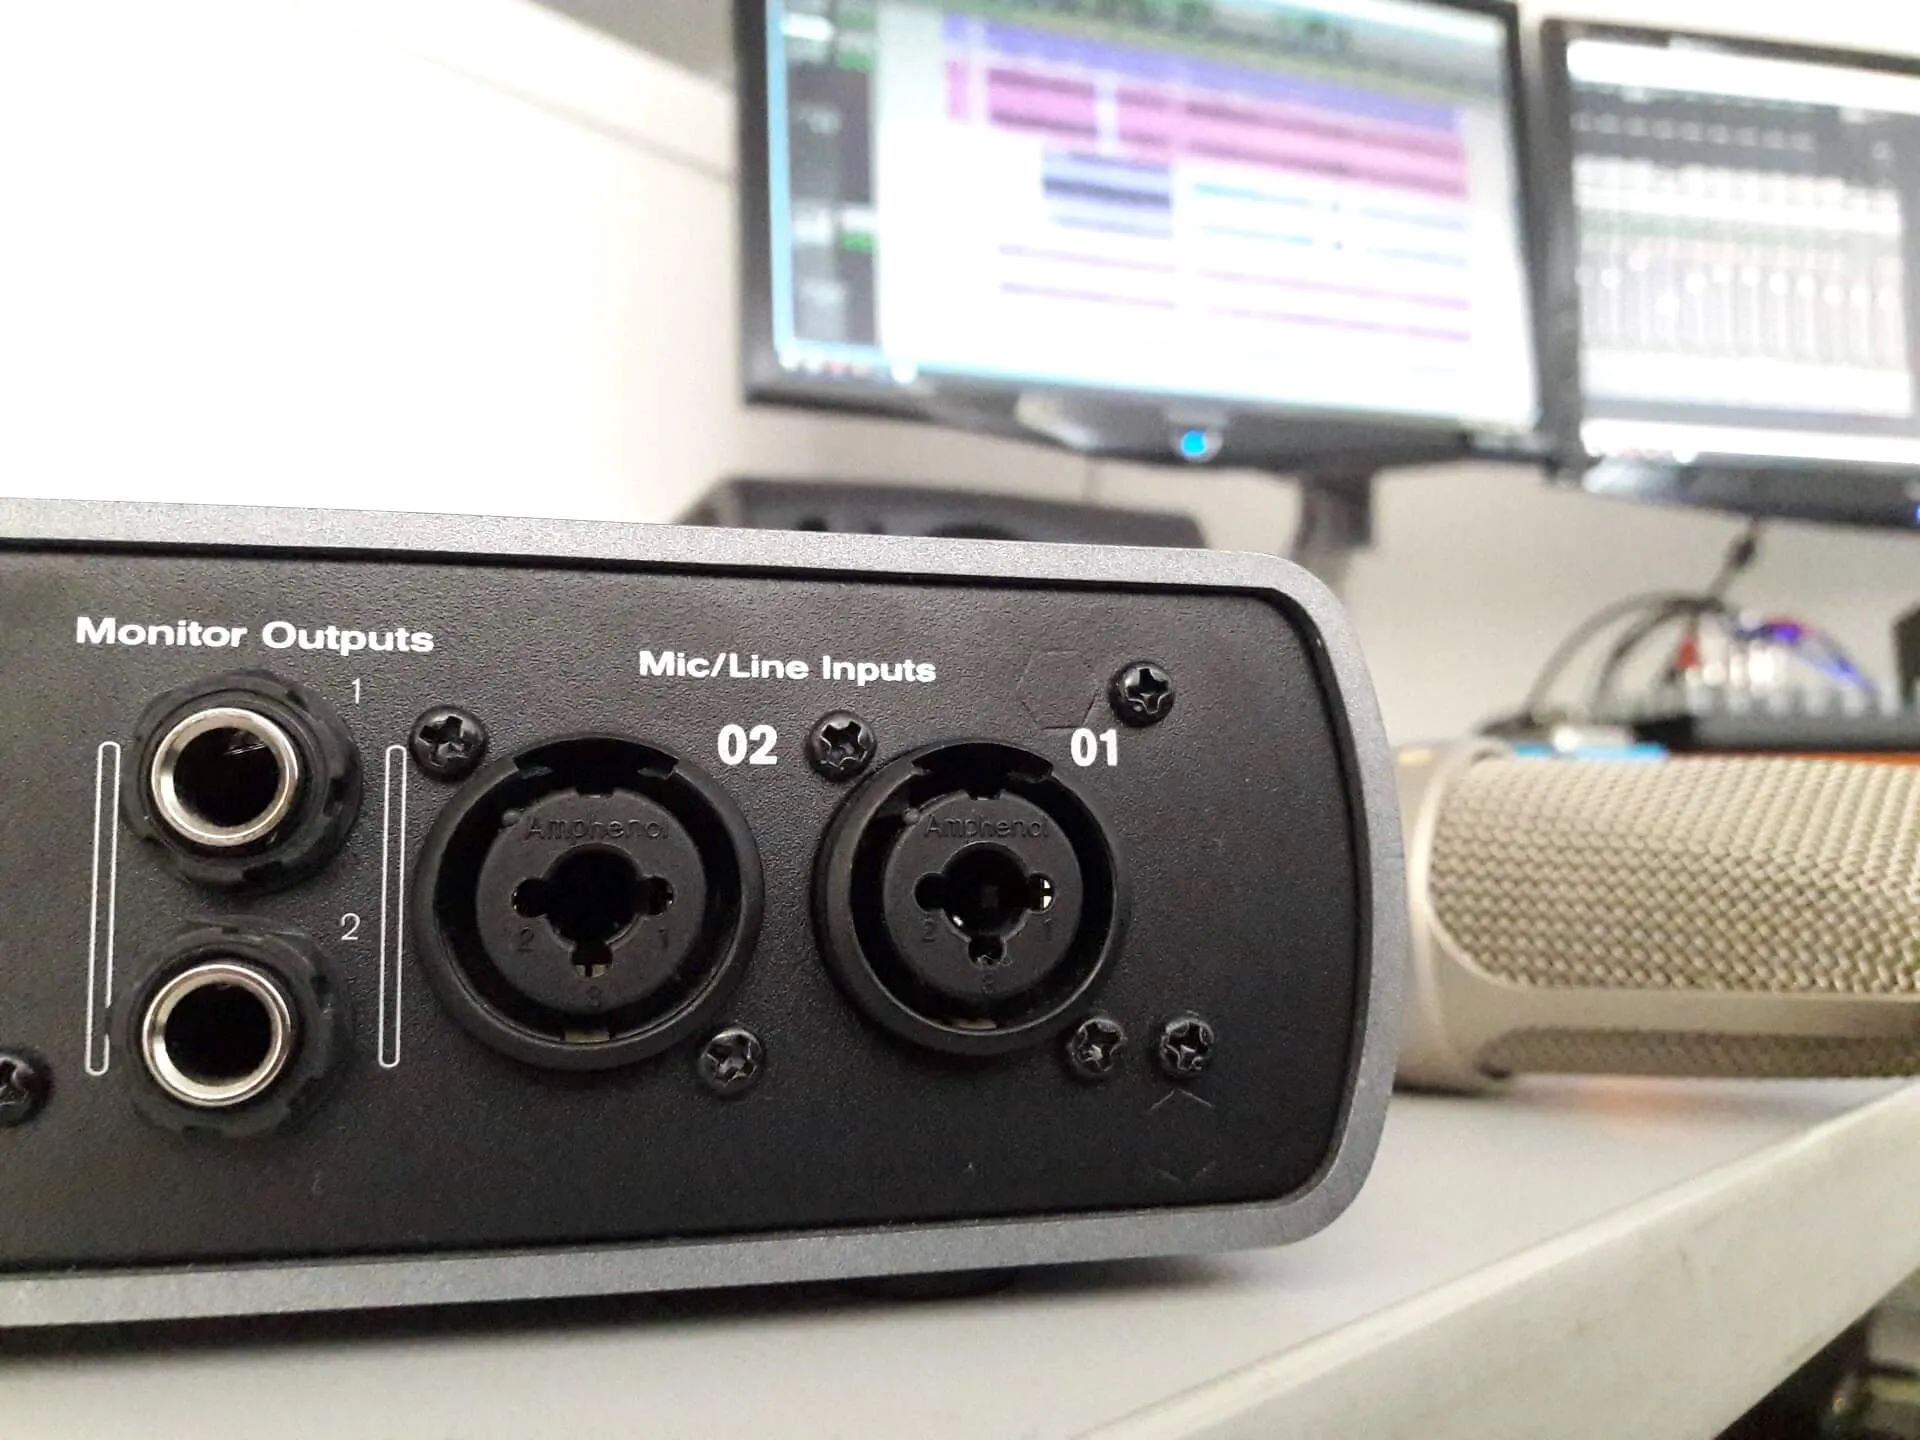
- Identify the XLR outputs on your audio interface. These are typically labeled as “Line Out” or “Monitor Out”.
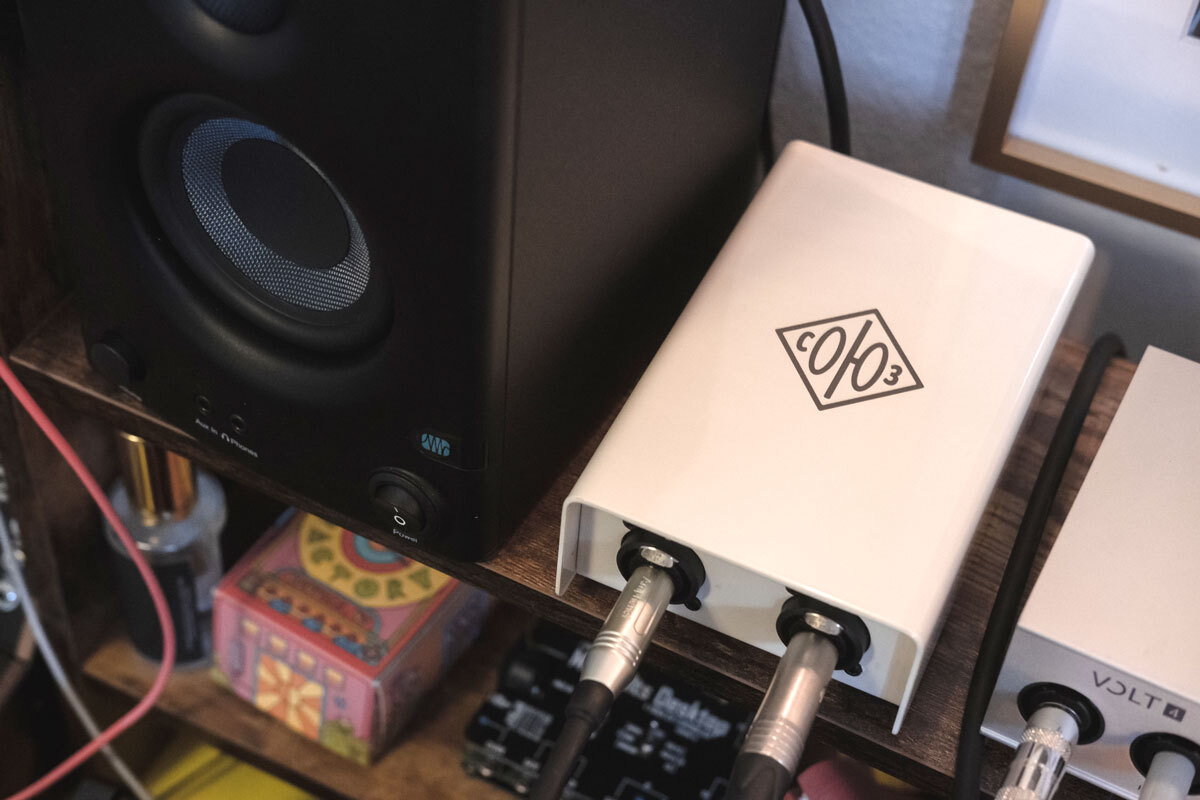
- Connect one end of the XLR cable to the XLR output on the audio interface. Make sure it is firmly inserted and secure.
- Locate the XLR inputs on your studio monitors. These are usually labeled as “Line In” or “Input”.
- Connect the other end of the XLR cable to the XLR input of each studio monitor. Repeat this step for each monitor in your setup.
- Double-check all the connections to ensure they are secure. Loose connections can result in intermittent or poor audio quality.
- Power on your audio interface and studio monitors.
- Adjust the volume levels on your audio interface and studio monitors to your desired listening level.
Once the XLR cables are properly connected, your studio monitors should receive the audio signal from the audio interface, allowing you to monitor and mix your audio with precision and accuracy.
It’s worth mentioning that some studio monitors may have different types of inputs, such as TRS or RCA, in addition to XLR inputs. If your studio monitors have multiple input options, you can choose to connect them via XLR for the best audio performance.
Now that we’ve covered XLR cables, let’s move on to TRS cables and learn how to set up studio monitors using these connectors.
TRS Cables
TRS, or Tip-Ring-Sleeve, cables are commonly used for audio connections in a variety of applications, including studio setups. They are often used with studio monitors that have 1/4-inch (6.35mm) inputs, although they can also be used with devices that have balanced TRS outputs.
TRS cables can carry both balanced and unbalanced audio signals, depending on the configuration of the input and output connectors. The tip of the connector carries the left audio channel, the ring carries the right audio channel, and the sleeve serves as the common ground.
To connect your studio monitors to your audio interface using TRS cables, follow these steps:
- Locate the TRS outputs on your audio interface. These may be labeled as “Line Out”, “Monitor Out”, or “TRS Out”.
- Connect one end of the TRS cable to the TRS output on the audio interface. Make sure it is inserted firmly.
- Identify the 1/4-inch (6.35mm) TRS inputs on your studio monitors. These are typically labeled as “Line In” or “Input”.
- Connect the other end of the TRS cable to the TRS input of each studio monitor. Repeat this step for each monitor in your setup.
- Ensure that all connections are secure and tight to prevent any signal loss or interference.
- Power on your audio interface and studio monitors.
- Use the volume controls on your audio interface and studio monitors to adjust the listening level.
With the TRS cables properly connected, your audio interface will send the audio signal to your studio monitors, providing you with accurate and detailed sound reproduction.
It’s important to note that not all studio monitors have TRS inputs. Some may only have XLR or RCA inputs, so it’s essential to check the input options available on your monitors before deciding to use TRS cables for connection.
Now that we’ve covered TRS cables, let’s move on to the next type: RCA cables.
RCA Cables
RCA cables are a type of unbalanced cable commonly used for consumer-grade audio connections. They consist of two connectors typically color-coded as red and white, representing the right and left audio channels respectively.
Studio monitors that have RCA inputs can be easily connected to your audio interface using RCA cables. Here’s how you do it:
- Locate the RCA outputs on your audio interface. These may be labeled as “Line Out” or “Monitor Out”.
- Connect one end of the RCA cable to the RCA output on the audio interface. Ensure that you match the colors correctly.
- Identify the RCA inputs on your studio monitors. These are typically labeled as “Line In” or “Input”.
- Connect the other end of the RCA cable to the RCA input of each studio monitor. Again, match the colors accordingly.
- Check that all connections are secure and tight to prevent any signal loss.
- Power on your audio interface and studio monitors.
- Adjust the volume levels on your audio interface and studio monitors to your desired listening level.
Once the RCA cables are properly connected, your audio interface will send the audio signal to your studio monitors, allowing you to monitor and mix your audio with accuracy.
Keep in mind that RCA cables are unbalanced, which means they are more susceptible to noise and interference compared to balanced cables like XLR and TRS. However, for studio setups where shorter cable lengths are used in an environment with minimal interference, RCA cables can still deliver satisfactory audio performance.
Remember to check if your studio monitors have RCA inputs before opting for this type of cable. Some monitors may not have RCA inputs at all or may include additional inputs such as XLR or TRS options.
Now that we’ve covered the different types of cables and how to connect your studio monitors to your audio interface using each type, let’s conclude our discussion.
Setting Up Studio Monitors with XLR Cables
If you have chosen to use XLR cables to connect your studio monitors to your audio interface, here is a step-by-step guide to help you set it up correctly:
- Locate the XLR outputs on your audio interface. These are typically labeled as “Line Out” or “Monitor Out”.
- Connect one end of the XLR cable to the XLR output on the audio interface. Ensure it is securely inserted.
- Identify the XLR inputs on your studio monitors. These are usually labeled as “Line In” or “Input”.
- Connect the other end of the XLR cable to the XLR input of each studio monitor. Repeat this step for each monitor in your setup.
- Double-check all the connections to ensure they are secure. Loose connections can result in intermittent or poor audio quality.
- Power on your audio interface and studio monitors.
- Adjust the volume levels on your audio interface and studio monitors to your desired listening level.
Once the XLR cables are properly connected, your studio monitors will receive the audio signal from the audio interface, ensuring accurate and detailed sound reproduction.
Keep in mind that XLR cables provide a balanced signal transmission, which helps minimize interference and noise. This makes them the preferred choice for professional audio applications.
It’s worth noting that some studio monitors may have different types of inputs available, such as TRS or RCA, in addition to XLR inputs. If your studio monitors have multiple input options, connecting them via XLR will generally provide the best audio performance.
Now that you know how to set up studio monitors with XLR cables, let’s move on to the next section where we’ll explore setting up studio monitors with TRS cables.
Setting Up Studio Monitors with TRS Cables
If you have chosen to use TRS cables to connect your studio monitors to your audio interface, follow these steps to properly set up your system:
- Locate the TRS outputs on your audio interface. These may be labeled as “Line Out”, “Monitor Out”, or “TRS Out”.
- Connect one end of the TRS cable to the TRS output on the audio interface. Ensure a secure connection.
- Identify the 1/4-inch (6.35mm) TRS inputs on your studio monitors. These are typically labeled as “Line In” or “Input”.
- Connect the other end of the TRS cable to the TRS input of each studio monitor. Repeat this step for each monitor in your setup.
- Ensure that all connections are secure and tight to prevent any signal loss or interference.
- Power on your audio interface and studio monitors.
- Use the volume controls on your audio interface and studio monitors to adjust the listening level.
With the TRS cables properly connected, your audio interface will send the audio signal to your studio monitors, providing you with accurate and detailed sound reproduction.
Remember to check if your studio monitors have TRS inputs before opting for this type of cable. Some monitors may not have TRS inputs at all or may include additional input options such as XLR or RCA.
TRS cables are widely used in both professional and home studio setups due to their versatility in carrying balanced and unbalanced signals. They are popular for connecting studio monitors with 1/4-inch inputs to audio interfaces with compatible TRS outputs.
Now that you know how to set up studio monitors with TRS cables, let’s move on to the final section where we’ll explore setting up studio monitors with RCA cables.
Setting Up Studio Monitors with RCA Cables
If you have decided to use RCA cables to connect your studio monitors to your audio interface, follow these steps to properly set up your system:
- Locate the RCA outputs on your audio interface. These may be labeled as “Line Out” or “Monitor Out”.
- Connect one end of the RCA cable to the RCA output on the audio interface. Ensure that you match the colors correctly (red to red, white to white).
- Identify the RCA inputs on your studio monitors. These are typically labeled as “Line In” or “Input”.
- Connect the other end of the RCA cable to the RCA input of each studio monitor. Once again, match the colors accordingly.
- Check that all connections are secure and tight to prevent any signal loss.
- Power on your audio interface and studio monitors.
- Adjust the volume levels on your audio interface and studio monitors to your desired listening level.
Once the RCA cables are properly connected, your audio interface will send the audio signal to your studio monitors, allowing you to monitor and mix your audio with accuracy.
It’s important to note that RCA cables are unbalanced, which means they are more susceptible to noise and interference compared to balanced cables like XLR or TRS. However, for studio setups where shorter cable lengths are used in an environment with minimal interference, RCA cables can still deliver satisfactory audio performance.
Before using RCA cables, check if your studio monitors have RCA inputs. Some monitors may not have RCA inputs at all or may include additional input options such as XLR or TRS.
Now that you know how to set up studio monitors with RCA cables, you are ready to enjoy high-quality sound reproduction in your studio.
Conclusion
Properly connecting your studio monitors to your audio interface is essential for achieving optimal audio performance in your studio. Choosing the right cables is crucial to ensure clean and accurate sound reproduction. In this article, we explored the different types of cables commonly used to hook up studio monitors to an audio interface: XLR, TRS, and RCA.
XLR cables are the gold standard for professional audio applications, offering balanced signal transmission and excellent noise rejection. TRS cables are versatile and commonly used with studio monitors that have 1/4-inch inputs. On the other hand, RCA cables are unbalanced and are often used for consumer-grade audio connections.
When setting up your studio monitors, make sure to follow the appropriate steps for each cable type, ensuring secure connections and proper grounding. Keep in mind that cable length and quality can also impact signal integrity, so it’s important to choose appropriate lengths and invest in high-quality cables when necessary.
Remember to check which input options your studio monitors support to select the appropriate cables. Some monitors may offer multiple input options, such as XLR, TRS, or RCA, providing flexibility in connecting to your audio interface.
By understanding and utilizing the correct cables, you can ensure that the audio signal from your audio interface reaches your studio monitors accurately and without any interference, resulting in a professional and immersive listening experience.
Now that you have a comprehensive understanding of the different cables used to connect studio monitors to an audio interface, you’re well-equipped to optimize your studio setup. Take the time to evaluate your specific needs and choose the cables that best suit your setup and provide the highest quality audio transmission.
With the right cables and proper connections, you can unleash the full potential of your studio monitors and embark on a journey of exceptional audio production and mixing.