Home>Production & Technology>Audio Cable>Soundblaster Live Where Do You Plug In Your Audio Cable
Audio Cable
Soundblaster Live Where Do You Plug In Your Audio Cable
Modified: February 19, 2024
Looking for where to plug in your audio cable on your Soundblaster Live? Find the perfect audio connection for your setup and enhance your sound experience.
(Many of the links in this article redirect to a specific reviewed product. Your purchase of these products through affiliate links helps to generate commission for AudioLover.com, at no extra cost. Learn more)
Table of Contents
Introduction
Welcome to the world of audio cables and the versatile Soundblaster Live sound card. If you’re an audiophile or simply love music and want the best audio experience possible, having a good understanding of audio cables is essential. In this article, we will explore the different types of audio cables and how they connect to the Soundblaster Live sound card. Whether you are a novice or an experienced user, this comprehensive guide will provide you with the knowledge you need to maximize the potential of your audio setup.
The Soundblaster Live sound card is a popular choice for music producers, gamers, and home theater enthusiasts. Its powerful features and superb audio quality make it a go-to option for many individuals who require exceptional sound reproduction. However, in order to fully utilize the capabilities of this sound card, it’s important to utilize the appropriate audio cables and make the correct connections.
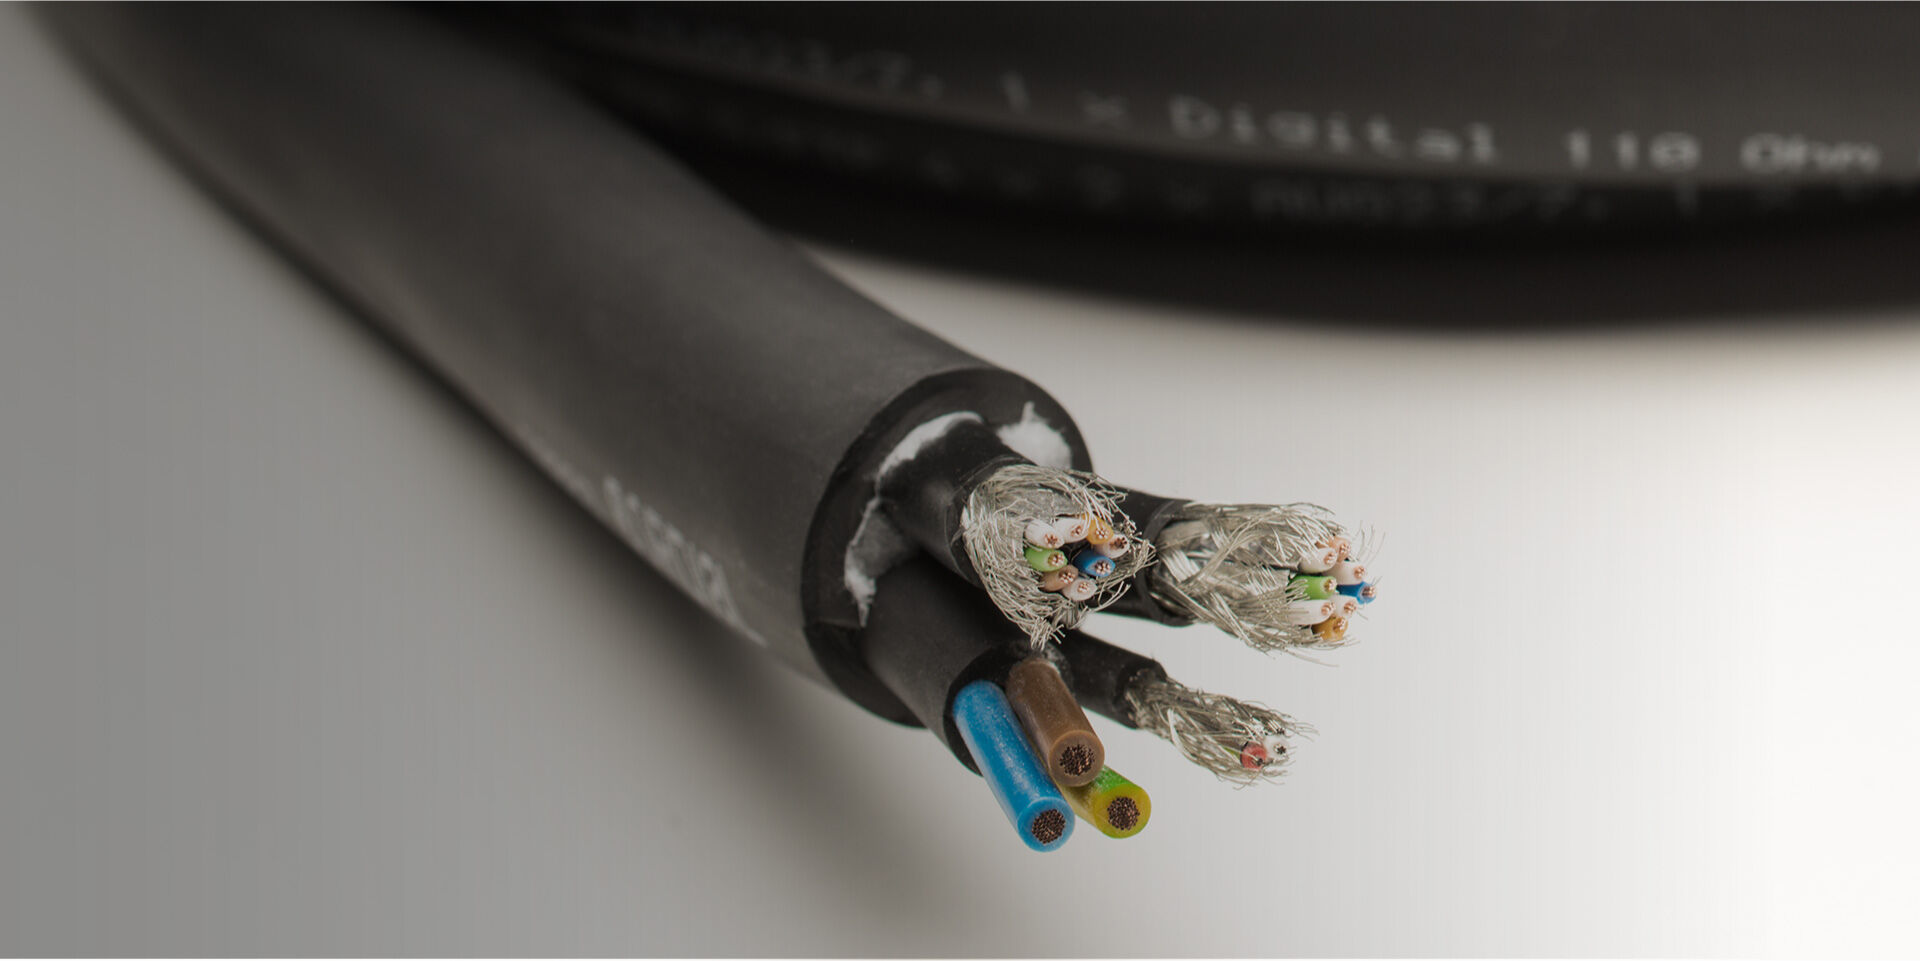
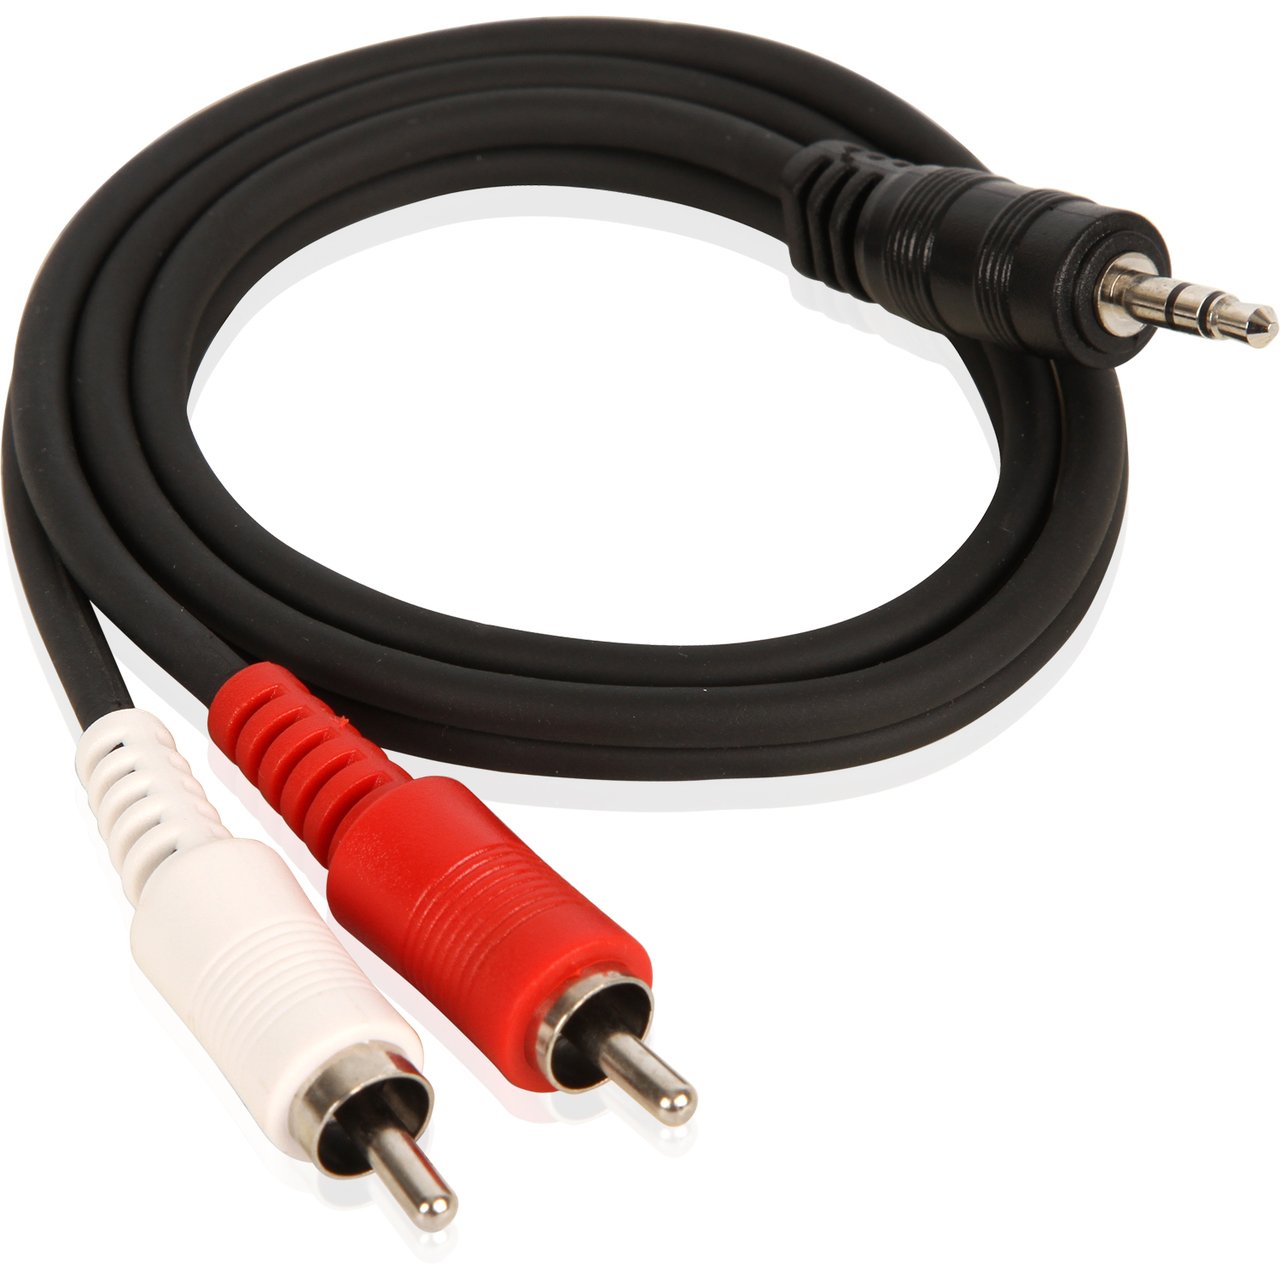
Understanding the different types of audio cables and their functions is the first step towards enhancing your audio setup. Audio cables come in various forms, including RCA, TRS, XLR, and optical cables, among others. Each type of cable is designed for specific purposes and offers different levels of signal quality. By selecting the right cable for the right connection, you can ensure the highest fidelity and audio performance.
In the following sections, we will delve into the various connectors on the Soundblaster Live sound card and explore how to connect different audio devices to it. Whether you’re connecting a microphone, speakers, headphones, or subwoofers, we’ll cover all the necessary information to ensure a seamless and high-quality audio experience.
So, grab your favorite beverage, sit back, and let’s dive into the world of audio cables and the Soundblaster Live sound card. Get ready to unlock the full potential of your audio setup and enjoy the best audio experience that your system can deliver.
Understanding the Soundblaster Live Audio Cable
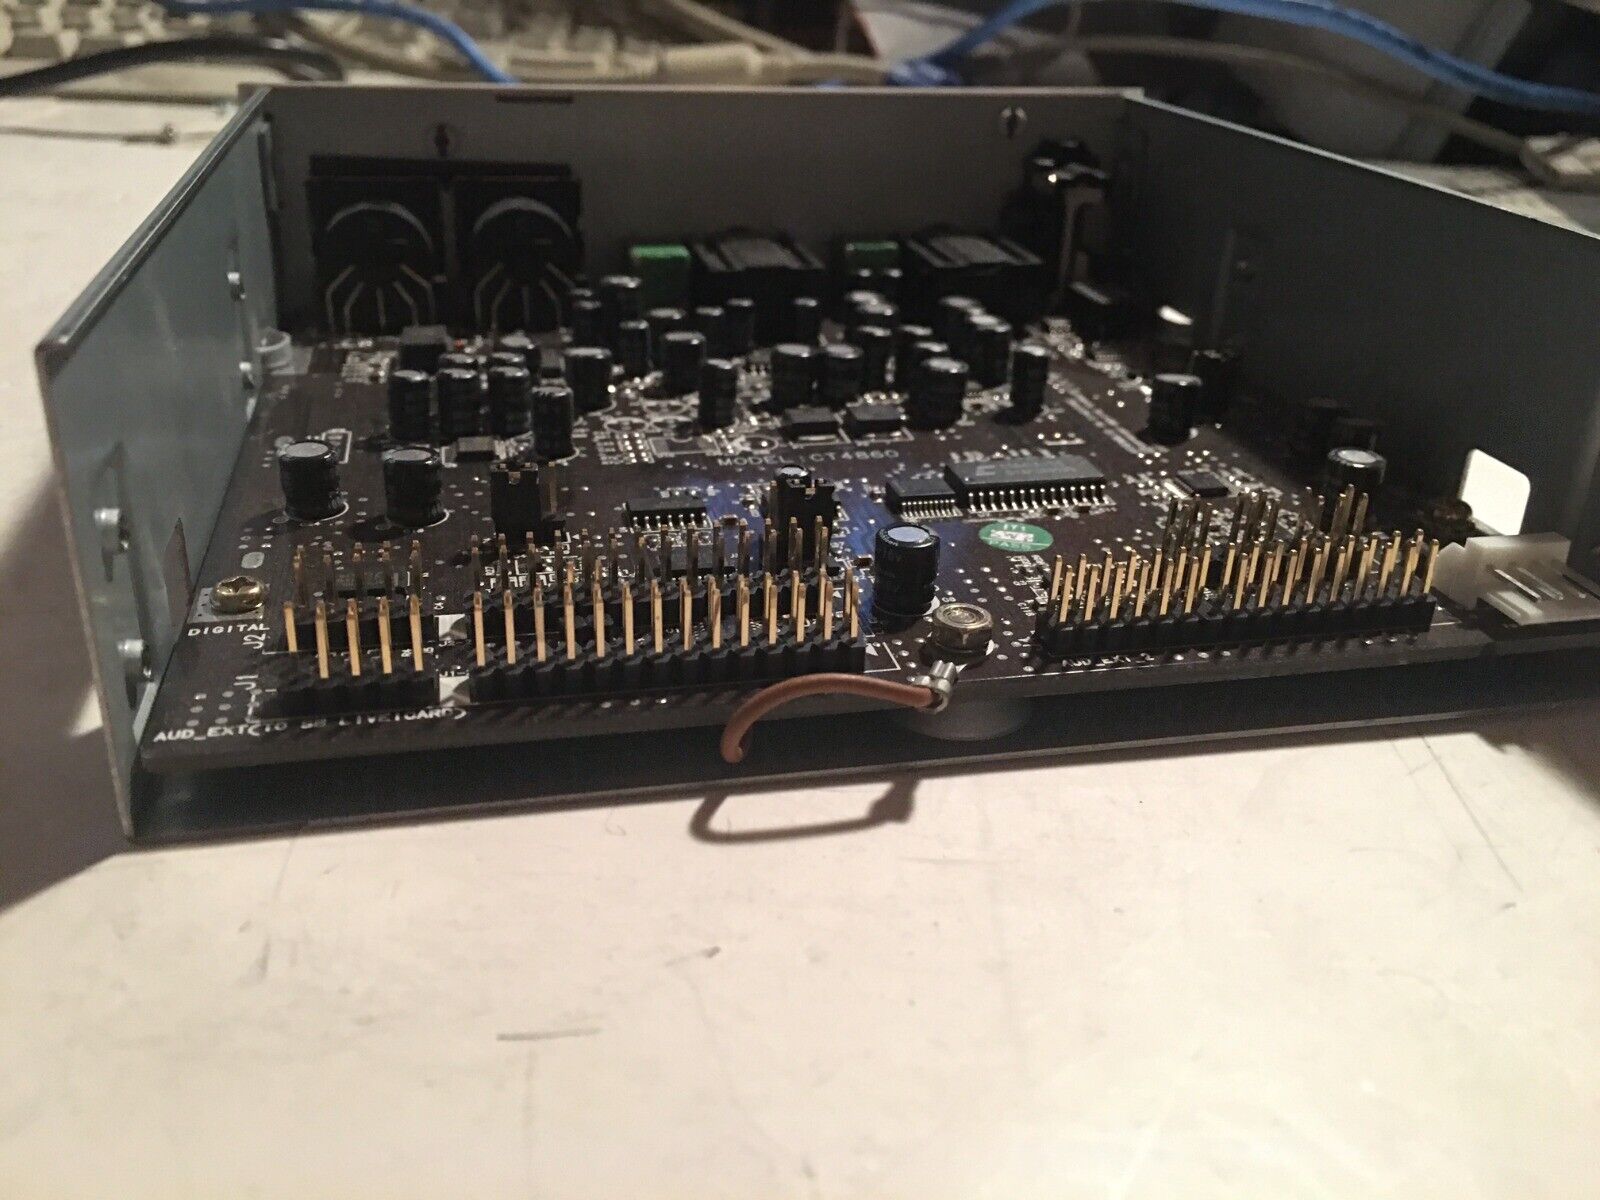
The Soundblaster Live sound card comes equipped with a variety of audio connectors that allow for seamless integration with various audio devices. Understanding the purpose of each connector is crucial to ensuring proper audio connectivity and optimal sound quality. Let’s explore the different types of connectors found on the Soundblaster Live audio cable:
- Line-In: The Line-In connector allows you to connect external devices such as CD players or other audio sources to the Soundblaster Live sound card. This allows you to record audio from external sources or playback audio through your computer speakers.
- Microphone: The Microphone connector is used to connect an external microphone to the Soundblaster Live sound card. This allows you to capture audio input for voice recordings, online gaming, or video conferencing.
- Speaker: The Speaker connectors are used to connect external speakers or a speaker system to the Soundblaster Live sound card. These connectors provide the audio output for all your multimedia needs, delivering crisp and clear sound.
- Headphone: The Headphone connector, also known as the headphone jack, allows you to connect your headphones directly to the Soundblaster Live sound card. This is useful for private listening without disturbing others.
- Subwoofer: The Subwoofer connector is specifically designed for connecting an external subwoofer to the Soundblaster Live sound card. This enhances the low-frequency audio reproduction, adding depth and richness to your audio experience.
Each connector on the Soundblaster Live audio cable serves a specific purpose, allowing you to connect different audio devices and tailor your audio setup to your preferences. By understanding these connectors and their functions, you can make the appropriate connections and achieve the desired audio output.
It’s worth noting that the Soundblaster Live sound card may also include additional connectors, depending on the model and version you have. These connectors can include MIDI interfaces, SPDIF or optical connectors, or additional line outputs for multi-channel audio setups.
Now that we have a good understanding of the Soundblaster Live audio cable and its connectors, let’s delve into each connector in detail and explore how to make the proper connections to enhance your audio experience.
Front Panel Connectors
The front panel connectors on the Soundblaster Live sound card provide easy access to commonly used audio ports, allowing for convenient connection of various devices. Let’s explore the front panel connectors in more detail:
- Line-In/Line-Out: The Line-In/Line-Out connector is a versatile port that can be used for both audio input and output. It allows you to connect external audio sources such as MP3 players or smartphones to the sound card for playback through your speakers or headphones. It can also be used to connect external recording devices like cassette players or turntables, allowing you to digitize your analog audio collection.
- Microphone: The Microphone connector is used to connect an external microphone to the sound card. This is ideal for voice recordings, online gaming, or video conferencing. Simply plug in your microphone, and you’re ready to communicate or record with exceptional clarity.
- Headphone: The Headphone connector on the front panel allows you to connect your headphones directly to the sound card. This is especially useful for private listening when you don’t want to disturb others around you. The front panel headphone connector typically offers easy access and quick control over headphone volume.
These front panel connectors provide convenient access to commonly used audio ports, allowing for quick and easy connections. Whether you’re listening to music, recording audio, or engaging in online communication, the front panel connectors on the Soundblaster Live sound card make it simple to connect and control your audio devices.
It’s important to note that the availability of front panel connectors may vary depending on the specific model and version of the Soundblaster Live sound card you have. Some sound cards may have additional connectors, such as a dedicated headphone amplifier or optical audio outputs, providing even more flexibility in your audio setup.
In the next section, we will explore the rear panel connectors on the Soundblaster Live sound card, which offer a wider range of audio connectivity options.
Rear Panel Connectors
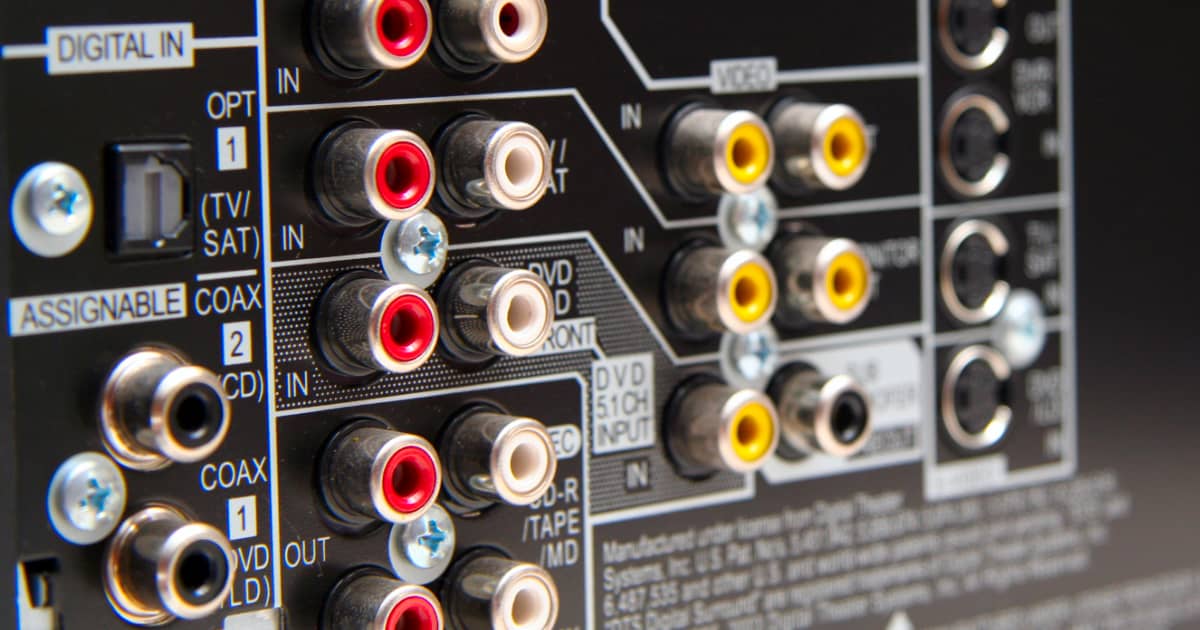
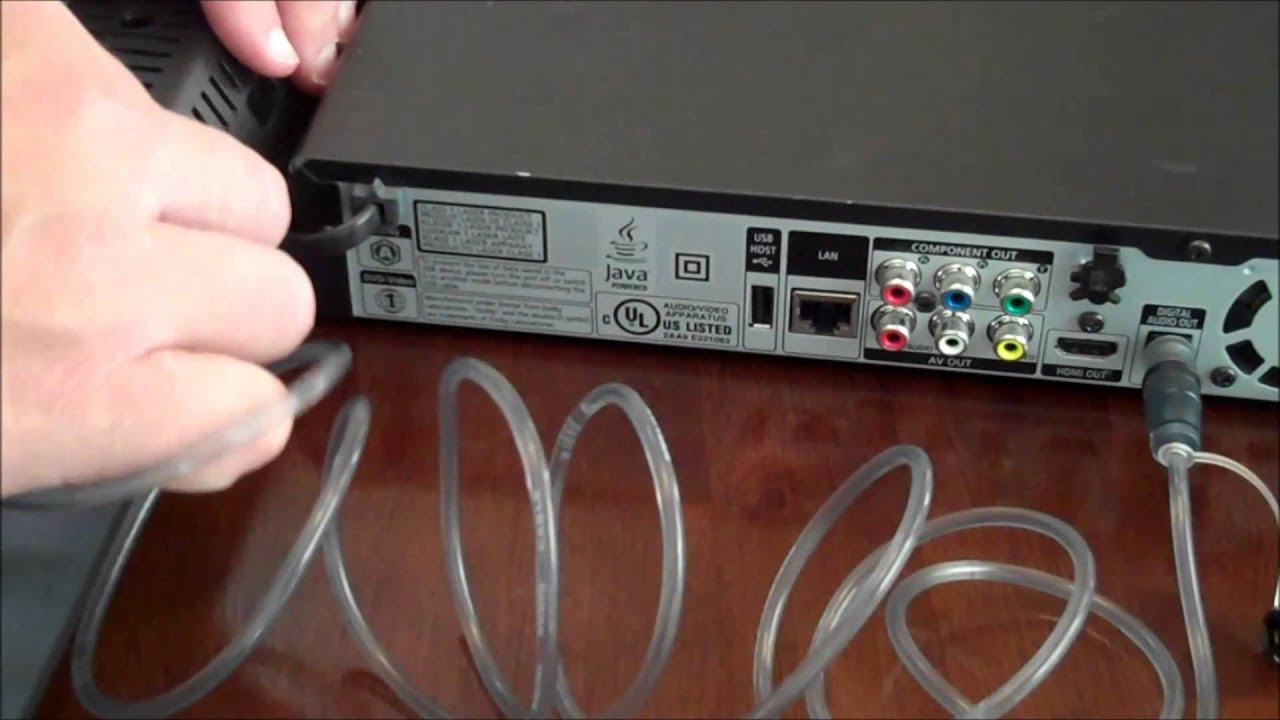
The rear panel connectors on the Soundblaster Live sound card offer a wide array of audio connectivity options, allowing for a more versatile audio setup. Let’s take a closer look at the rear panel connectors:
- Line-In: The Line-In connector on the rear panel is used to connect external audio sources, such as CD players or audio interfaces. This allows you to transfer audio from these sources to your computer for recording or playback through your speakers.
- Line-Out: The Line-Out connector, also known as the speaker output, is used to connect your speakers or amplifier to the sound card. This allows for high-quality audio playback, delivering the full range of your audio content with clarity and precision.
- Microphone: The Microphone connector on the rear panel provides an additional option for connecting an external microphone. This can be useful if you prefer to have your microphone positioned at the back of your computer or if you need multiple microphone inputs for recording or live audio applications.
- Optical: Some versions of the Soundblaster Live sound card may include an optical connector, also known as a TOSLINK or SPDIF connector. This digital audio connection can be used to transmit high-quality audio signals to compatible devices such as home theater systems or soundbars.
- Auxiliary: The Auxiliary connector is designed to connect external devices, such as audio mixers or effects processors, to the sound card. This allows for more advanced audio setups, enabling you to integrate external equipment to enhance your audio capabilities.
The rear panel connectors on the Soundblaster Live sound card provide a wealth of audio connectivity options, allowing you to connect a variety of devices and expand your audio capabilities. Whether you’re looking to connect speakers, microphones, or external audio equipment, the rear panel connectors offer the flexibility and versatility needed to accommodate your audio setup.
It’s important to note that the available rear panel connectors may vary depending on the specific model and version of the Soundblaster Live sound card you have. Some sound cards may also include additional connectors such as MIDI ports or specialized outputs for surround sound setups.
Now that we’ve explored the front and rear panel connectors on the Soundblaster Live sound card, let’s move on to discussing specific types of connections, starting with the Line-In connection.
Line-In Connection
The Line-In connection on the Soundblaster Live sound card allows you to connect external audio sources to your computer for recording or playback purposes. This versatile connector enables you to transfer audio from devices such as CD players, smartphones, or audio interfaces to your computer, amplifying your audio experience. Here’s how to make a Line-In connection:
- Locate the Line-In jack on the sound card. It is often color-coded blue or labeled with the “Line-In” icon.
- Using an appropriate audio cable, connect one end to the Line-Out or headphone jack of the audio source device.
- Connect the other end of the cable to the Line-In jack of the Soundblaster Live sound card.
- Make sure the audio source device is set to output sound through its Line-Out or headphone jack.
- On your computer, open the audio recording or playback software of your choice and configure it to use the Line-In as the audio input. This setup allows you to record audio or play it back through your computer speakers.
The Line-In connection is commonly used for digitizing analog audio sources, such as vinyl records or cassette tapes, or for capturing audio from external devices for recording purposes. It’s important to note that the Line-In connection is a stereo input, so it can accommodate signals from both left and right channels, providing a balanced audio experience.
When using the Line-In connection, it’s essential to ensure that the volume levels are properly set. Adjust the audio levels on both the source device and the software to achieve the desired audio quality without introducing distortion or clipping.
With the Line-In connection on the Soundblaster Live sound card, you can harness the power of external audio sources and incorporate them into your computer-based audio setup. Whether you’re archiving your music collection or using external devices for professional recording purposes, the Line-In connection provides a seamless and efficient way to expand your audio capabilities.
Next, let’s move on to the Microphone connection and explore how to connect an external microphone to the Soundblaster Live sound card.
Microphone Connection
The Microphone connection on the Soundblaster Live sound card allows you to connect an external microphone for various audio recording or communication purposes. Whether you’re a content creator, gamer, or need to conduct online conferences, connecting a microphone to your sound card is essential. Here’s how to make a Microphone connection:
- Locate the Microphone jack on the sound card. It is usually color-coded pink or labeled with the “Mic” icon.
- Using a microphone with a compatible audio cable, connect one end of the cable to the microphone’s output port.
- Connect the other end of the cable to the Microphone jack on the Soundblaster Live sound card.
- Make sure the microphone is securely connected and positioned properly for capturing audio.
- On your computer, open the audio recording or communication software you plan to use and configure it to recognize the microphone connected to the sound card.
- Adjust the microphone volume and audio settings in both the sound card software and the recording or communication software to achieve the desired audio quality.
The Microphone connection on the Soundblaster Live sound card allows for high-quality audio input, capturing clear and accurate sound. It’s essential to choose a microphone that suits your needs and ensures optimal audio recording or communication. There are various types of microphones available, such as dynamic microphones, condenser microphones, or lavalier microphones, each with specific characteristics and applications.
When setting up the Microphone connection, it’s crucial to position the microphone correctly for optimal audio capture. Avoid placing it too far from the sound source or too close, as it can result in distorted or muffled audio. Experiment with microphone placement to find the best position for capturing the desired sound quality.
By connecting a microphone to the Soundblaster Live sound card, you open up a world of possibilities for audio recording, streaming, voiceovers, and more. Whether you’re creating content, engaging in online gaming, or participating in video conferences, the Microphone connection empowers you to communicate and express yourself with clarity and precision.
Next, let’s explore how to connect speakers to the Soundblaster Live sound card for an immersive audio playback experience.
Speaker Connection
The Speaker connection on the Soundblaster Live sound card allows you to connect external speakers or a speaker system for high-quality audio playback. Whether you’re listening to music, watching movies, or playing games, connecting speakers to your sound card provides an immersive audio experience. Here’s how to make a Speaker connection:
- Locate the Speaker or Line-Out jack on the sound card. It is often color-coded green or labeled with the “Speaker” icon.
- Using an appropriate audio cable, connect one end of the cable to the Line-Out or headphone jack on the sound card.
- Connect the other end of the cable to the input port on your external speakers or speaker system.
- Ensure that the speakers are powered on and the volume levels are adjusted accordingly.
- On your computer, open the audio playback software of your choice and configure it to use the sound card as the audio output device.
- Play test audio to ensure that the sound is coming through the connected speakers. Adjust the volume on both the sound card and the speakers to achieve the desired audio level.
The Speaker connection on the Soundblaster Live sound card allows for high fidelity audio reproduction, delivering crisp and immersive sound. Whether you have a basic stereo speaker setup or a more advanced surround sound system, connecting speakers to the sound card brings your audio content to life.
It’s important to note that the specific configuration of your speaker system may vary. Some speakers may require additional connections, such as a separate subwoofer or satellite speakers. Consult the user manual or documentation provided with your speaker system for detailed instructions on connecting and configuring the speakers.
With the Speaker connection established, you can enjoy your favorite music, movies, or games with exceptional audio quality. The Soundblaster Live sound card ensures accurate sound reproduction, allowing you to fully immerse yourself in the audio experience.
Next, let’s explore how to connect headphones to the Soundblaster Live sound card for private and personal listening.
Headphone Connection
The Headphone connection on the Soundblaster Live sound card allows for direct and convenient connection of headphones, providing a private and personal audio listening experience. Whether you want to enjoy music, watch movies, or play games without disturbing others, connecting headphones to your sound card is the way to go. Here’s how to make a Headphone connection:
- Locate the Headphone jack on the sound card. It is typically color-coded green or labeled with the headphone icon.
- Plug your headphones into the Headphone jack on the sound card.
- Adjust the volume levels in both the sound card settings and the audio playback software to a comfortable listening level.
- Play test audio to ensure that sound is coming through the headphones and adjust the volume accordingly if needed.
The Headphone connection on the Soundblaster Live sound card provides a direct audio output to headphones, allowing you to immerse yourself in the audio without disturbing others around you. It offers a convenient and straightforward way to enjoy audio content privately.
Headphones come in various styles, including over-ear, on-ear, and in-ear headphones, each offering different levels of comfort and sound quality. Choose a pair of headphones that best suits your preferences and requirements for an optimal listening experience.
When using headphones with the Soundblaster Live sound card, it’s important to take breaks and listen at a reasonable volume level to prevent ear fatigue or damage. Adjust the volume to a comfortable level that allows you to fully appreciate the nuances of the audio without causing discomfort.
By connecting headphones to the Soundblaster Live sound card, you can enjoy your audio content with remarkable clarity and precision, immersing yourself in a personal audio oasis.
Lastly, let’s move on to the Subwoofer connection and explore how to enhance your audio experience with deep, low-frequency sound reproduction.
Subwoofer Connection
The Subwoofer connection on the Soundblaster Live sound card allows you to connect an external subwoofer to your audio setup, delivering deep and powerful low-frequency sound reproduction. Adding a subwoofer enhances the audio experience, especially when listening to music or watching movies that contain impactful bass elements. Here’s how to make a Subwoofer connection:
- Locate the Subwoofer out or LFE (Low-Frequency Effects) output on the Soundblaster Live sound card. It is typically labeled with the subwoofer or LFE icon.
- Using an appropriate audio cable, connect one end of the cable to the Subwoofer output on the sound card.
- Connect the other end of the cable to the input port on your external subwoofer.
- Ensure that the subwoofer is powered on and set to the desired volume level.
- Configure your audio playback software or sound card settings to route the low-frequency audio signals to the Subwoofer output.
- Play audio with deep bass or low-frequency content to experience the powerful impact and rumbling effects delivered by the subwoofer.
The Subwoofer connection on the Soundblaster Live sound card is designed to enhance the audio experience by reproducing low-frequency sound with precision and depth. The subwoofer adds a layer of richness to your audio, allowing you to feel the impact through its powerful bass output.
When selecting a subwoofer, consider factors such as the room size, the power rating of the subwoofer, and your personal audio preferences. A well-matched subwoofer can greatly enhance the audio immersion and provide a more balanced sound experience.
It’s important to note that not all sound card models or versions may include a dedicated Subwoofer output. In such cases, you can still connect a subwoofer using the Line-Out or speaker connections, if your subwoofer offers those compatibility options. Consult the user manual or documentation of your subwoofer for proper connection guidelines.
With the Subwoofer connection established, you can enjoy a more dynamic and immersive audio experience, with the powerful low-frequency output adding depth and impact to your favorite music, movies, and games.
Now that we’ve explored the various connections available on the Soundblaster Live sound card, you have the knowledge to make the right audio connections and tailor your audio setup to your preferences and requirements. Experiment with different devices and configurations to achieve the best audio quality and immerse yourself in a world of captivating sound.
Conclusion
Congratulations! You’ve now gained a comprehensive understanding of the different audio cable connections available on the Soundblaster Live sound card. By exploring the various audio connectors such as Line-In, Microphone, Speaker, Headphone, and Subwoofer, you can optimize your audio setup for an exceptional listening experience.
With the right audio cables and proper connections, you can connect external devices to the Soundblaster Live sound card, expanding its capabilities and unlocking its full potential. Whether you’re recording audio, communicating online, or immersing yourself in music and multimedia, understanding how to utilize these connections is key.
When making these connections, it’s important to consider the types of audio cables needed, the positioning of the devices, and the adjustment of volume and settings to achieve the desired audio quality. Pay attention to the color-coded jacks and labels on the sound card to ensure correct and efficient connections.
Remember that the specific connectors available on the Soundblaster Live sound card may vary depending on the model and version you have. Some versions may include additional connectors such as MIDI ports or optical audio outputs, adding more versatility to your audio setup.
Whether you’re a music enthusiast, a gamer, or someone who appreciates high-quality audio, the Soundblaster Live sound card offers a range of options to elevate your audio experience. By making the right audio connections and utilizing the available connectors, you can achieve exceptional sound reproduction and immerse yourself in a world of captivating audio.
Now, armed with your newfound knowledge, go ahead and experiment with different devices, cables, and setups. Explore the endless possibilities and enjoy the intricacies and nuances of your favorite audio content.
Remember, the Soundblaster Live sound card and the connections it offers are a gateway to a rich audio experience, allowing you to truly appreciate the power and beauty of sound in all its forms.