Home>Production & Technology>Audio Cable>How To Connect Digital Optical Audio Cable To Bose
Audio Cable
How To Connect Digital Optical Audio Cable To Bose
Modified: January 22, 2024
Learn how to connect a digital optical audio cable to your Bose sound system and enhance your audio experience. Follow our step-by-step guide and enjoy high-quality sound.
(Many of the links in this article redirect to a specific reviewed product. Your purchase of these products through affiliate links helps to generate commission for AudioLover.com, at no extra cost. Learn more)
Table of Contents
- Introduction
- Step 1: Understanding Digital Optical Audio Cables
- Step 2: Check the Compatibility of Your Bose Device
- Step 3: Locate the Digital Optical Audio Input on Your Bose Device
- Step 4: Preparing the Digital Optical Audio Cable
- Step 5: Connect the Digital Optical Audio Cable to Your Bose Device
- Step 6: Connect the Other End of the Cable to the Audio Source
- Step 7: Testing the Connection
- Conclusion
Introduction
When it comes to audio connectivity, having the right cables can make all the difference in delivering high-quality sound. One of the most popular options for audio transmission is the digital optical audio cable. Designed to transmit digital audio signals with precision and clarity, these cables are commonly used to connect audio devices such as televisions, gaming consoles, and sound systems to enhance the audio experience. In this article, we will focus on how to connect a digital optical audio cable to a Bose device.
Bose is renowned for its exceptional audio quality and innovative products, and connecting a digital optical audio cable to a Bose device can significantly enhance the audio performance. Whether you have a Bose soundbar, home theater system, or other audio devices, the process of connecting a digital optical audio cable follows a similar set of steps.
In this step-by-step guide, we will walk you through the process of connecting a digital optical audio cable to a Bose device. We will cover topics such as understanding digital optical audio cables, checking the compatibility of your Bose device, locating the digital optical audio input, preparing the cable, connecting the cable to your Bose device and the audio source, and testing the connection. By the end of this article, you will have the knowledge and confidence to connect a digital optical audio cable effortlessly.
Step 1: Understanding Digital Optical Audio Cables
Before we dive into the process of connecting a digital optical audio cable to your Bose device, let’s take a moment to understand what a digital optical audio cable is and how it works.
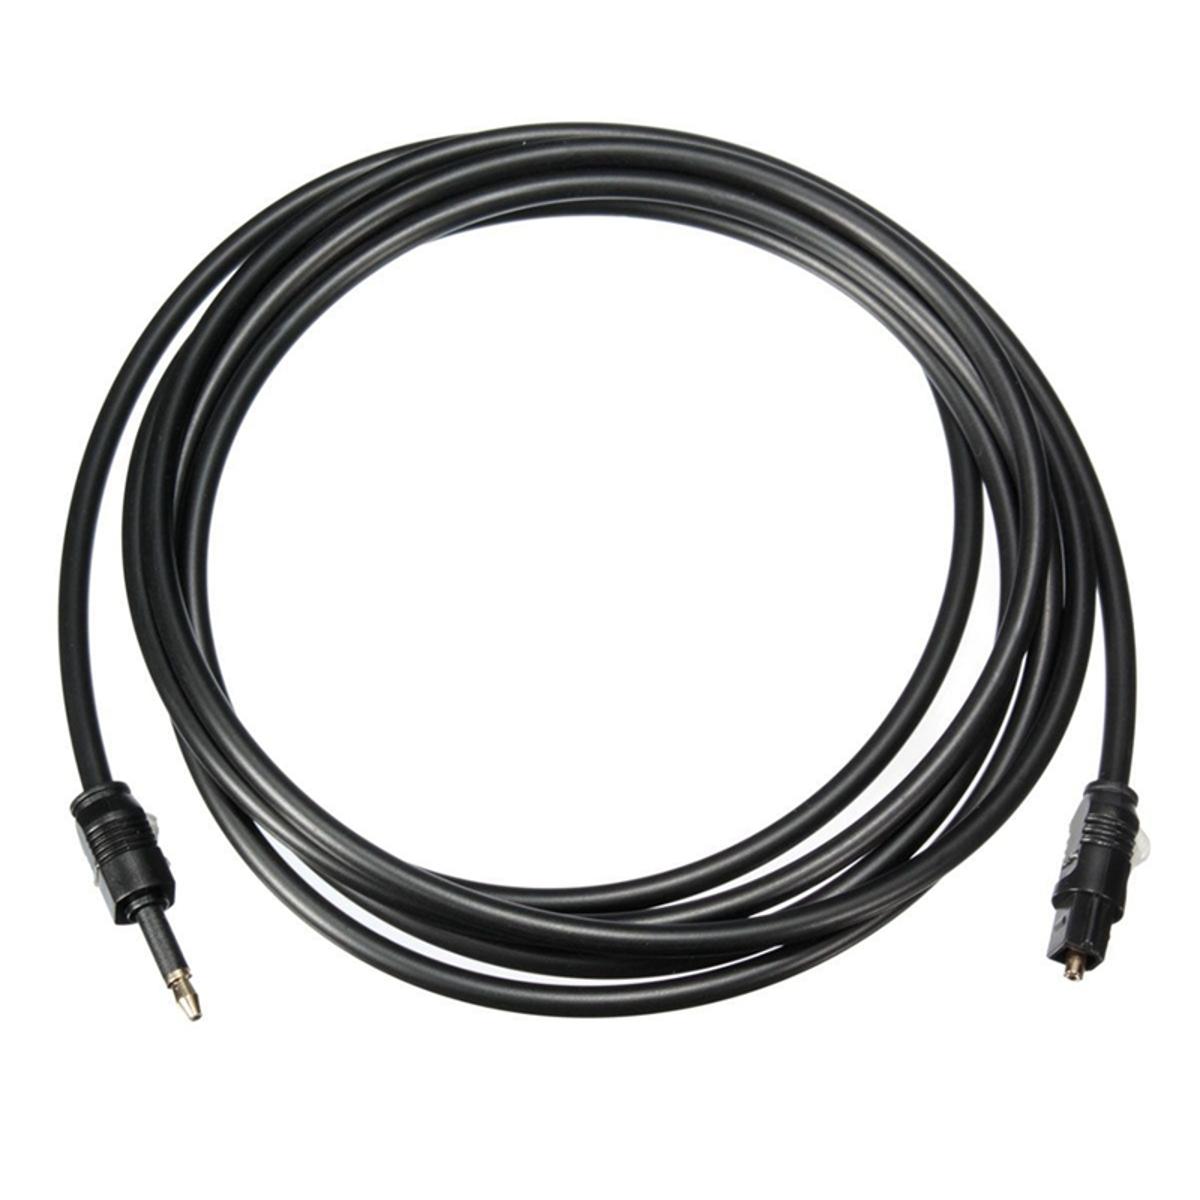
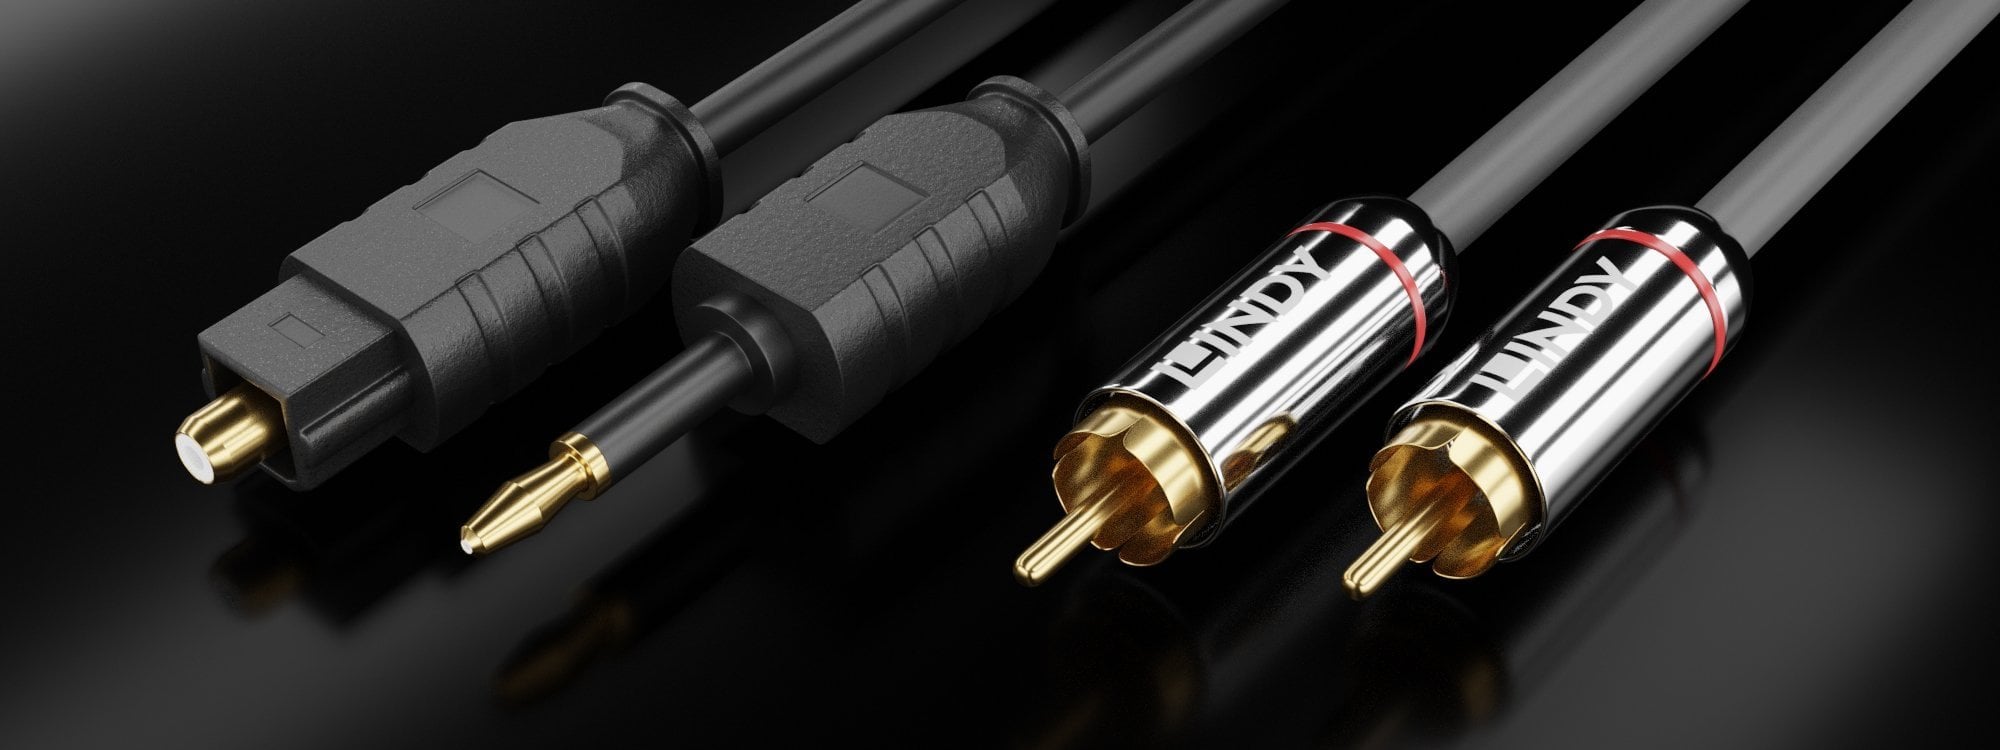
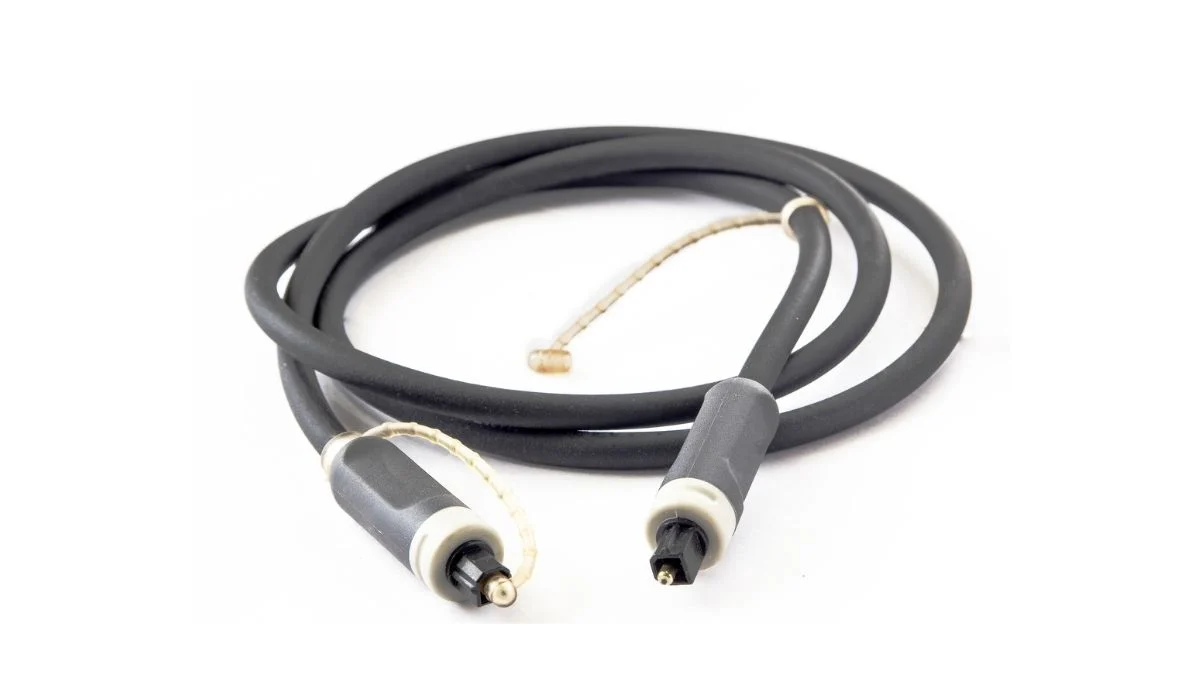
A digital optical audio cable, also known as a TOSLINK or SPDIF cable, is a type of fiber optic cable designed to transmit digital audio signals. It uses pulses of light to transmit the audio data, resulting in high-quality and interference-free audio transmission. The cable itself is made up of a thin optical fiber surrounded by a protective sheath, ensuring optimal signal transfer.
Digital optical audio cables are capable of transmitting several types of audio signals, including Dolby Digital and DTS 5.1 surround sound. This makes them an ideal choice for connecting audio sources that require high bandwidth, such as Blu-ray players, gaming consoles, and set-top boxes.
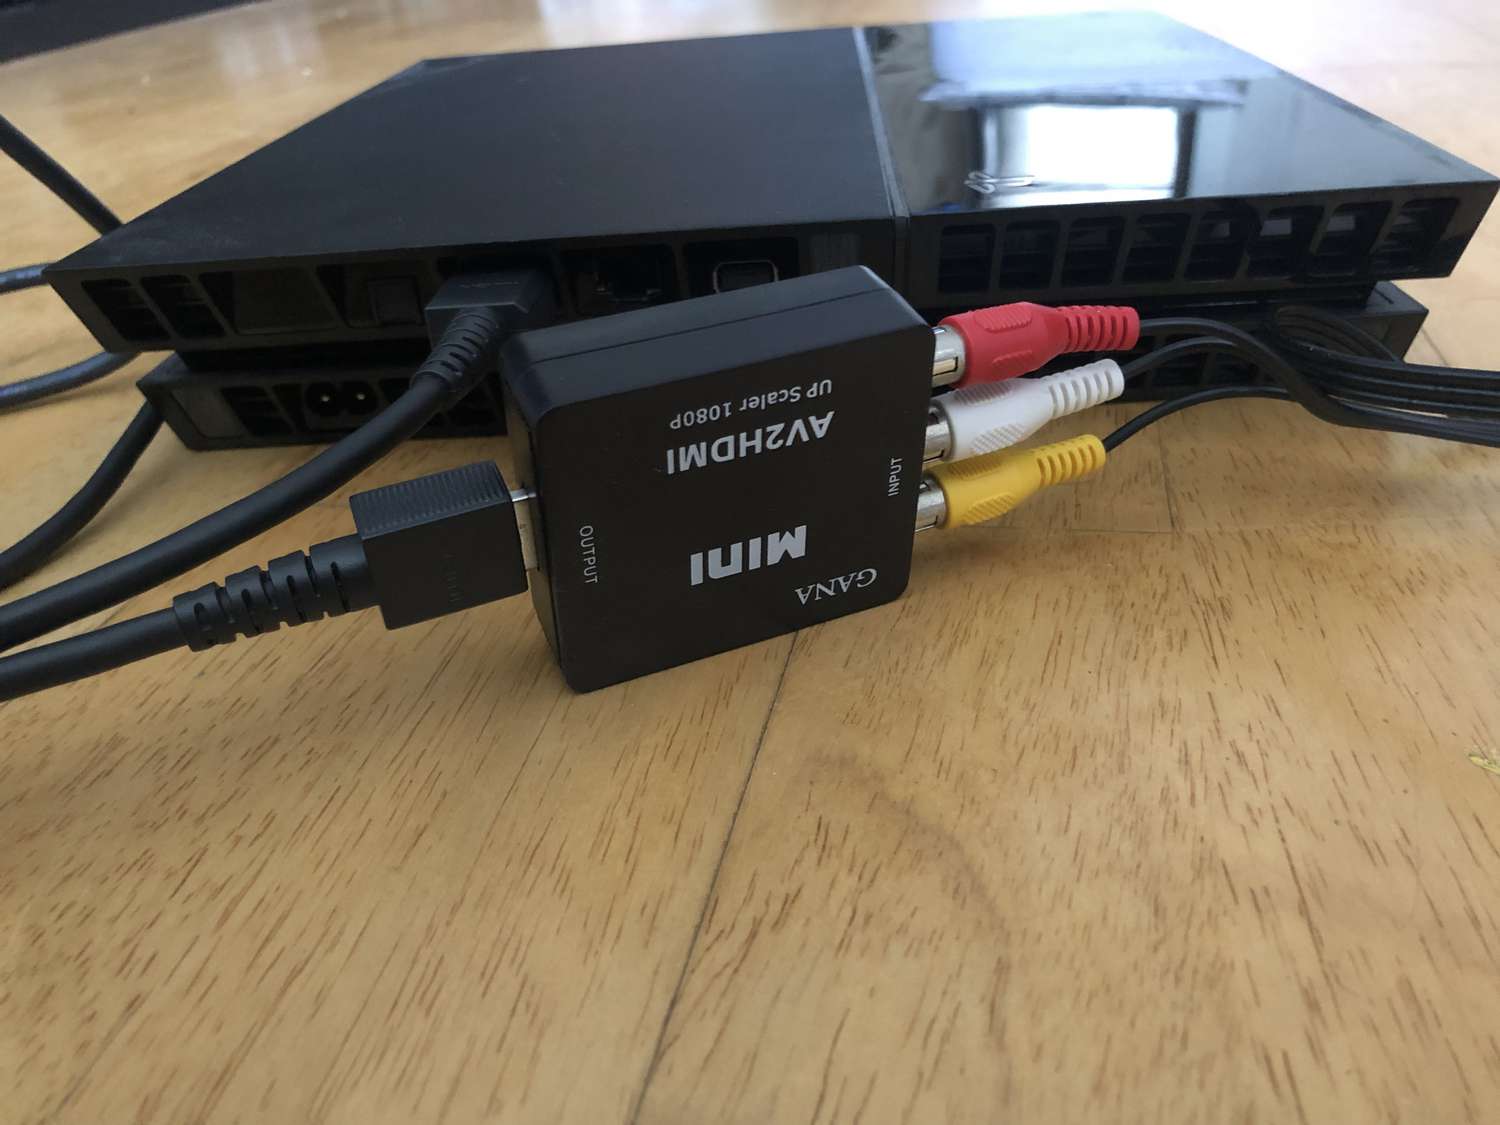
It’s important to note that digital optical audio cables transmit only digital audio signals, not analog signals. This means that if you are trying to connect an analog audio source, such as a vinyl player or cassette player, you will need to use a different type of cable, such as RCA or 3.5mm audio cables.
When it comes to using a digital optical audio cable, it’s worth mentioning that they are not bi-directional. This means that the cable can only transmit audio from the audio source to the receiving device, such as a Bose soundbar or home theater system. If you need to transmit audio in the opposite direction, you will need to use a separate cable or alternative audio connection method.
Overall, digital optical audio cables offer numerous benefits, including high audio quality, immunity to electrical interference, and compatibility with various audio formats. Now that we have a basic understanding of digital optical audio cables, let’s move on to the next step, which is checking the compatibility of your Bose device.
Step 2: Check the Compatibility of Your Bose Device
Before proceeding with the connection, it’s important to ensure that your Bose device is compatible with a digital optical audio cable. While many Bose devices have a dedicated digital optical audio input, it’s always a good idea to double-check the specifications or consult the user manual to confirm the compatibility.
Start by identifying the model of your Bose device. This information can usually be found on the back or bottom of the device, or in the user manual. Once you have the model number, visit the official Bose website or refer to the product documentation to find the specific details and features of your device.
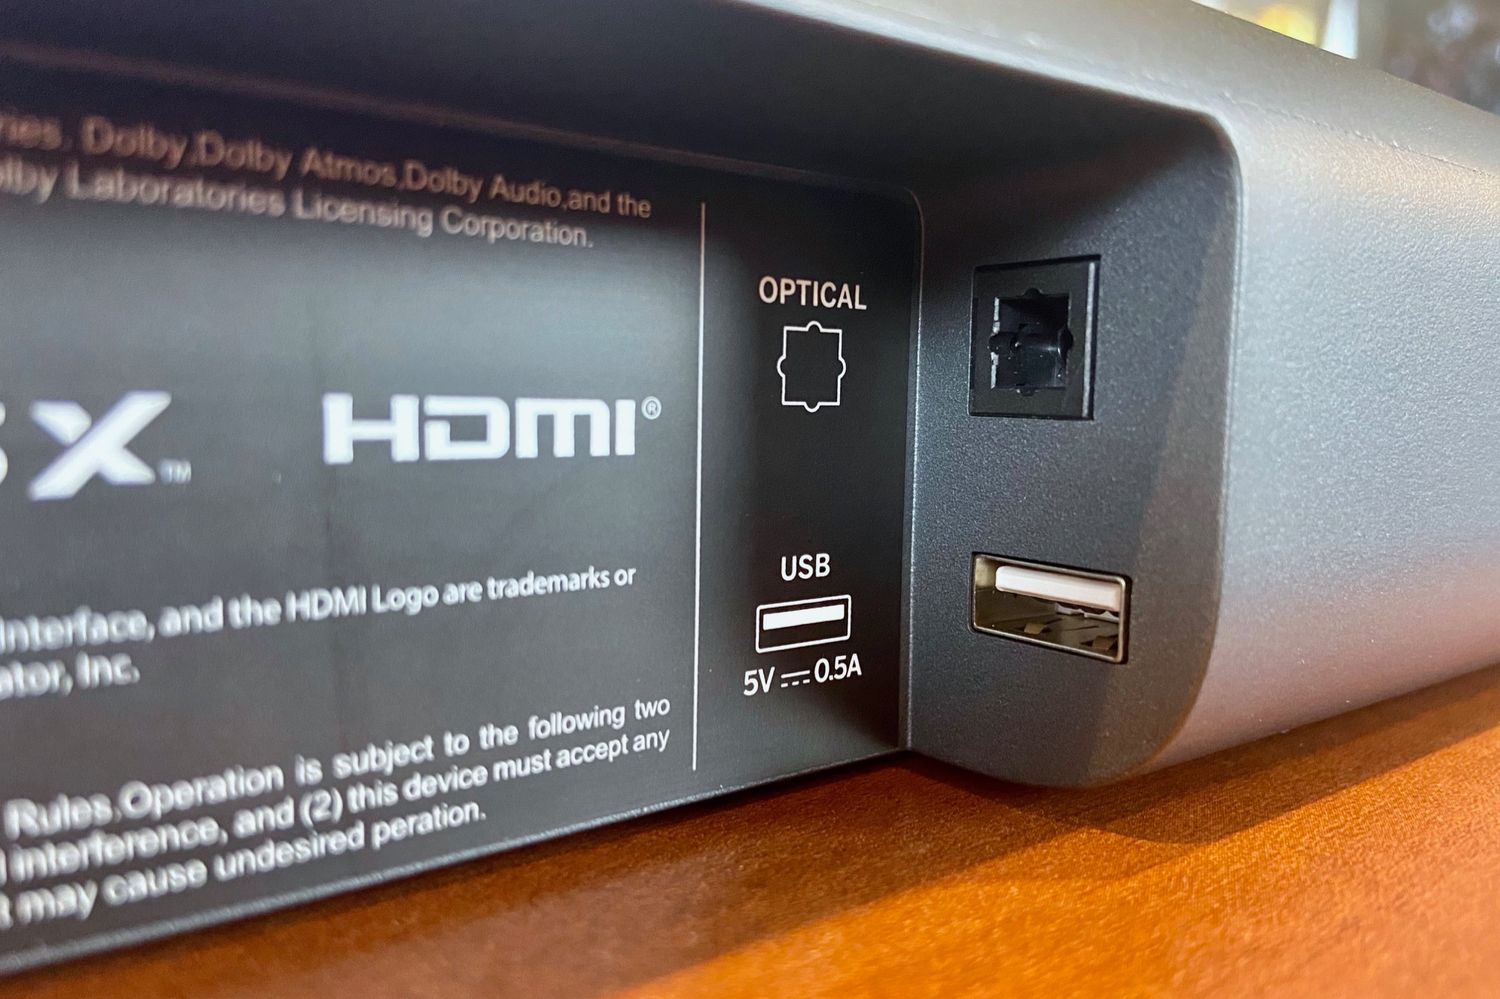
Look for any mention of a digital optical audio input. It may be referred to as “Optical In,” “Digital Audio In,” or something similar. This input is typically marked with a small symbol resembling a square with a dot inside, or with the letters “OPT” or “SPDIF.” If your Bose device does not have a digital optical audio input, it may not be compatible with a digital optical audio cable. In such cases, you may need to explore alternative audio connection options, such as HDMI or analog audio cables.
Additionally, make sure to check if the Bose device supports the audio format you wish to transmit. Most Bose devices support common audio formats like Dolby Digital and DTS. However, it’s always a good idea to verify the supported audio formats in the specifications or user manual of your specific device. This will ensure that the audio signal can be accurately transmitted and decoded by your Bose device.
Once you have confirmed the compatibility of your Bose device with a digital optical audio cable, you are ready to proceed to the next step, which is locating the digital optical audio input on your device.
Step 3: Locate the Digital Optical Audio Input on Your Bose Device
Now that you have confirmed the compatibility of your Bose device with a digital optical audio cable, the next step is to locate the digital optical audio input on your device. This input is where you will connect one end of the cable to establish the audio connection.
The location of the digital optical audio input may vary depending on the model and design of your Bose device. Here are some common places where you can find the digital optical audio input:
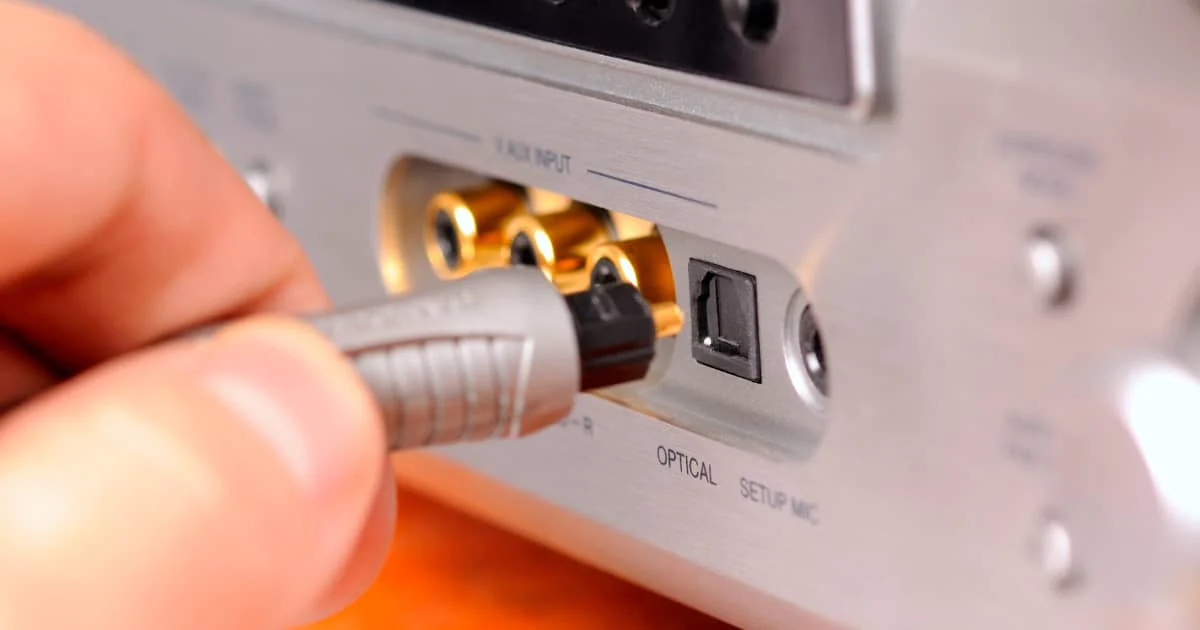
- On the back panel: Many Bose devices have their audio inputs and outputs conveniently located on the back panel. Look for a small port with a square opening that matches the shape of the digital optical audio connector.
- On the side panel: In some cases, the digital optical audio input may be located on one of the side panels of your Bose device. Check the sides of the device to see if there are any labeled audio inputs.
- Behind a removable cover: Certain Bose devices have a removable cover that conceals the audio inputs and outputs. If your device has a removable cover, gently lift or slide it to reveal the digital optical audio input.
Once you have located the digital optical audio input, take note of its position and orientation. It’s essential to align and insert the digital optical audio cable correctly into the input to establish a secure and reliable connection.
In the next step, we will discuss how to prepare the digital optical audio cable for connection to your Bose device.
Step 4: Preparing the Digital Optical Audio Cable
Now that you have located the digital optical audio input on your Bose device, it’s time to prepare the digital optical audio cable for connection. Follow these steps to ensure that the cable is ready for use:
- Inspect the cable: Before connecting the cable, examine it for any signs of damage. Look for frayed wires, bent connectors, or any other visible issues. If you notice any damage, it’s important to replace the cable to ensure optimal audio transmission.
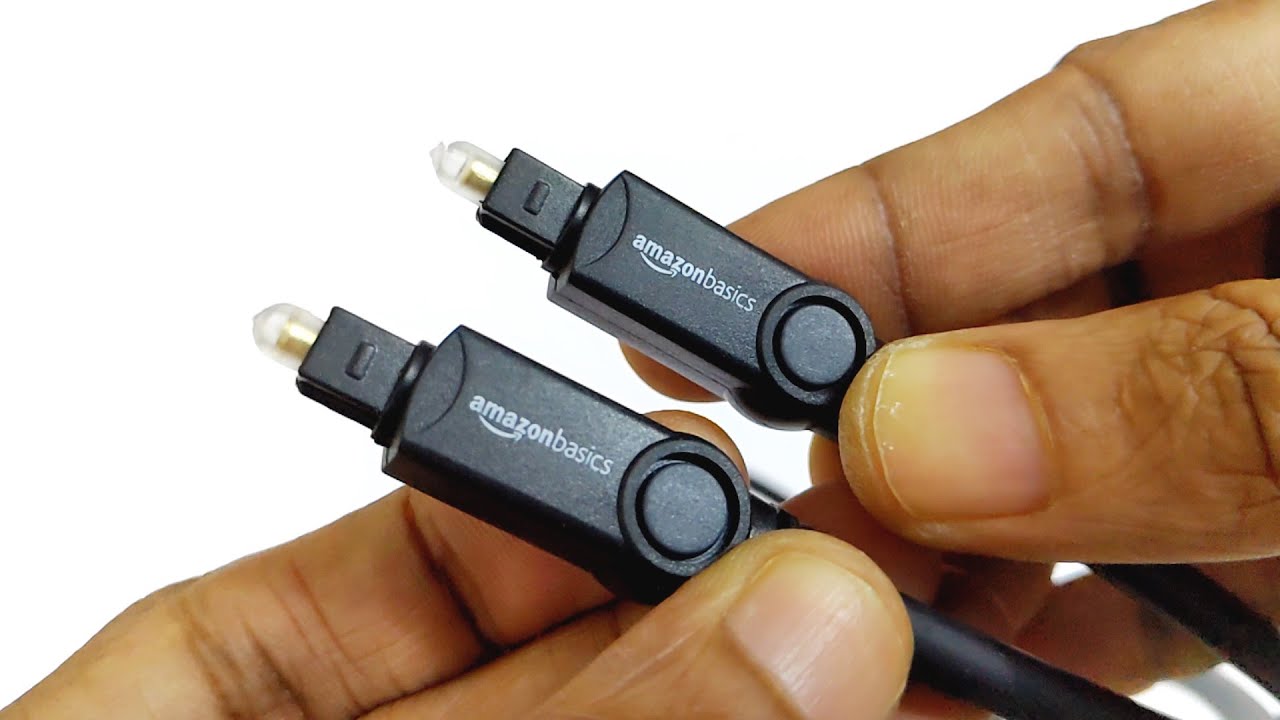
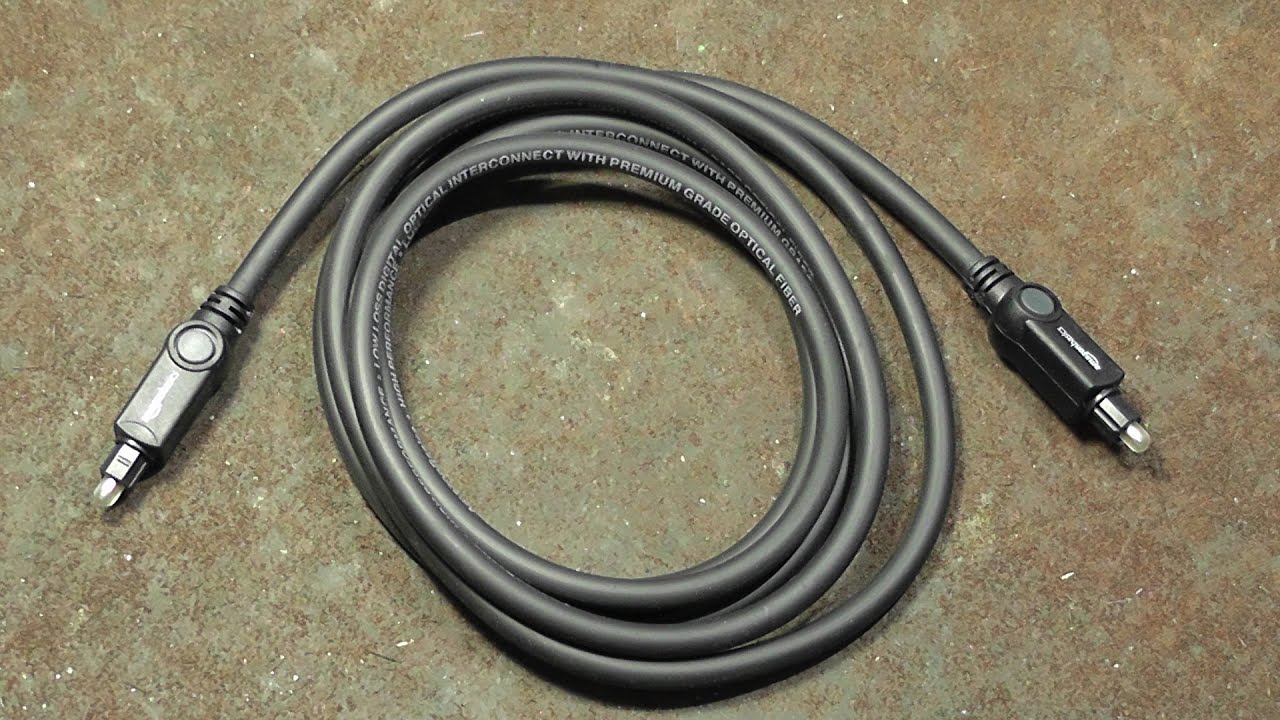
- Remove the protective covers: Digital optical audio cables usually come with protective covers on both ends to prevent dirt and dust from entering the connectors. Carefully remove the protective covers from both the audio source end and the Bose device end of the cable.
- Inspect the connectors: Take a closer look at the connectors on both ends of the cable. One end of the cable features a square-shaped connector, while the other end may have a different type of connector, depending on the audio source. Ensure that the connectors are clean and free from any obstructions.
- Handle the cable with care: Digital optical audio cables are relatively delicate due to their thin optical fiber construction. Avoid kinking or bending the cable sharply, as this can damage the internal fibers and affect the quality of the audio signal. Handle the cable gently during the preparation process.
By following these steps, you will ensure that the digital optical audio cable is in optimal condition and ready for connection. In the next step, we will guide you through the process of connecting the digital optical audio cable to your Bose device.
Step 5: Connect the Digital Optical Audio Cable to Your Bose Device
With the digital optical audio cable prepared, it’s time to connect it to your Bose device. Follow these steps to establish the audio connection:
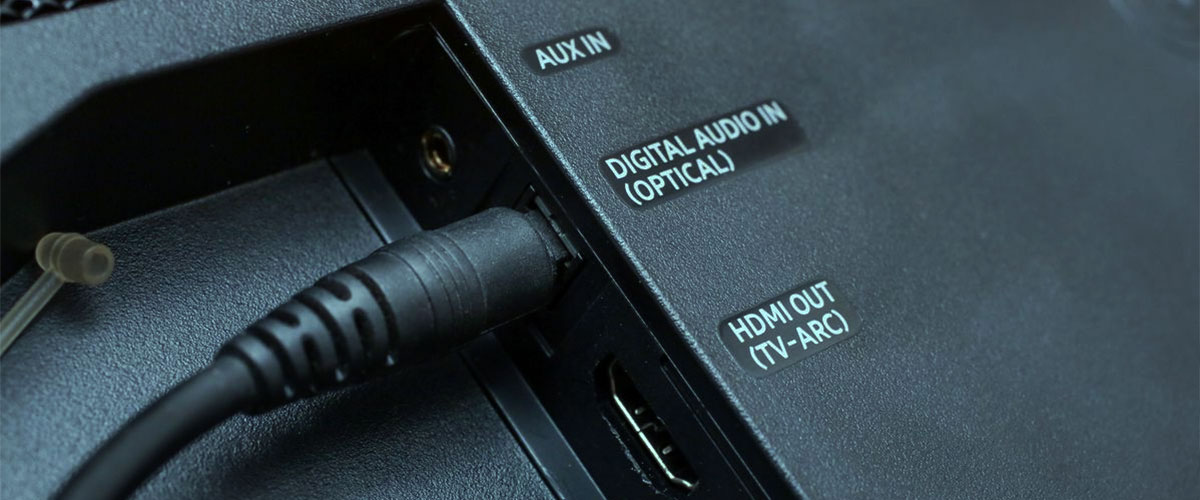
- Align the connector: Take the end of the digital optical audio cable with the square-shaped connector and align it with the digital optical audio input on your Bose device. Make sure the orientation of the connector matches the input, and gently insert it into the port.
- Secure the connection: Once the connector is inserted, gently push it in until it is securely seated in the digital optical audio input. You should feel a slight click or resistance when the connection is properly secured.
- Double-check the connection: After connecting the cable, double-check to ensure that the connector is fully inserted and tightly secured. A loose connection can result in audio issues or intermittent sound, so it’s important to verify the connection for stability.
Once you have connected the digital optical audio cable to your Bose device, you are ready to proceed to the next step, which is connecting the other end of the cable to the audio source.
Step 6: Connect the Other End of the Cable to the Audio Source
Now that you have successfully connected the digital optical audio cable to your Bose device, it’s time to connect the other end of the cable to the audio source. The audio source could be a television, gaming console, Blu-ray player, or any other device that supports digital optical audio output. Follow these steps to establish the audio connection:
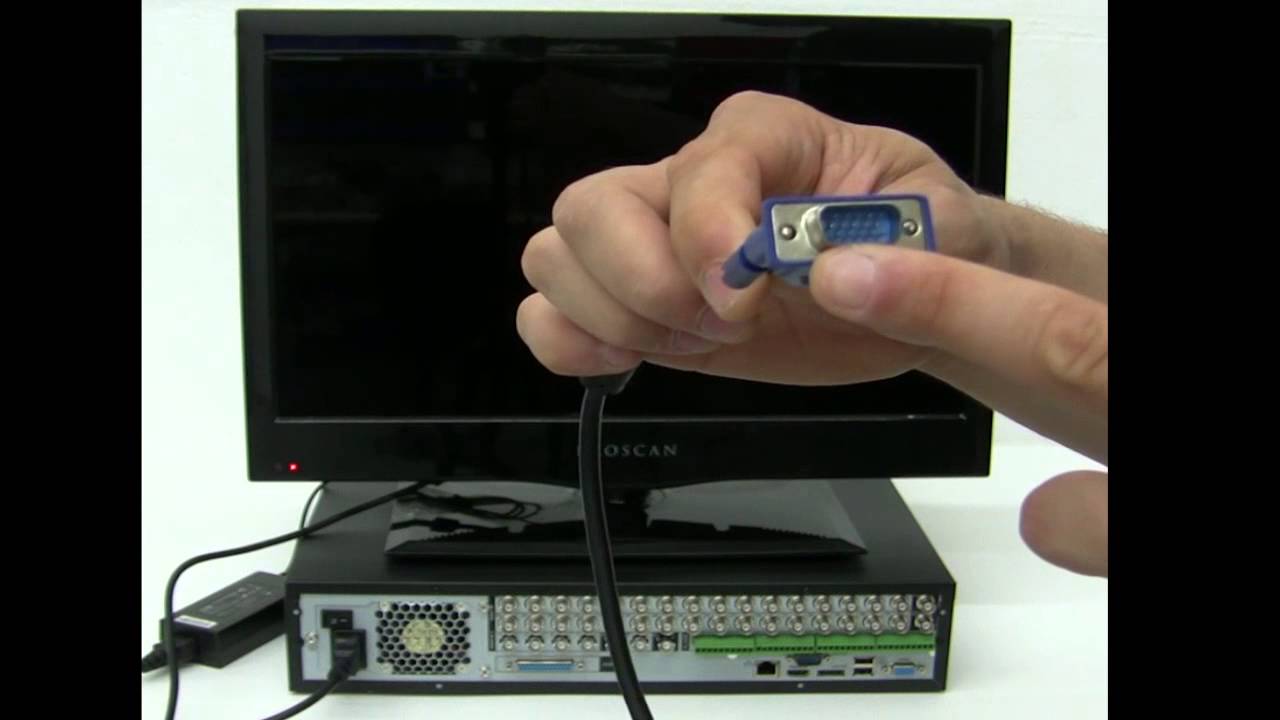
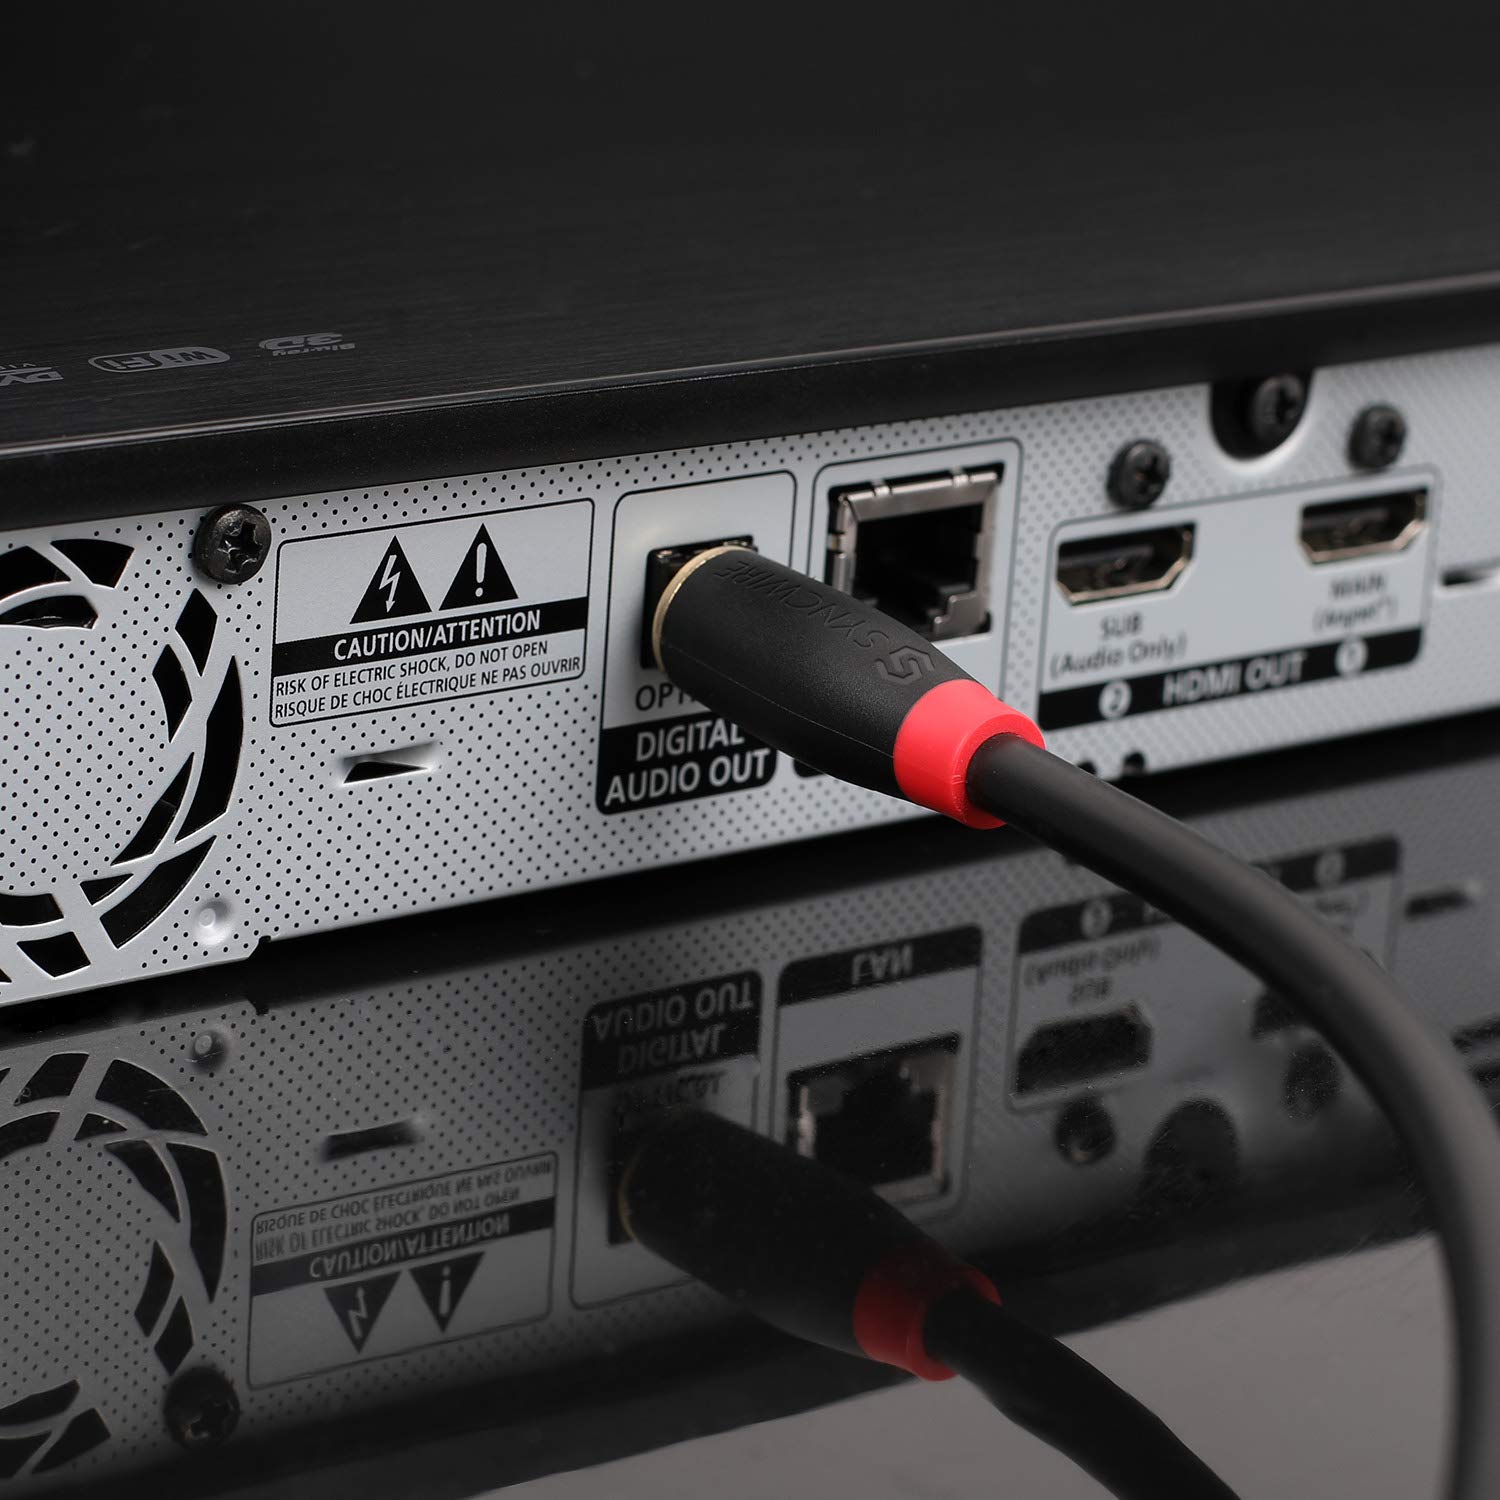
- Locate the digital optical audio output on your audio source device. This output is typically labeled as “Optical Out,” “Digital Audio Out,” or something similar. It may also have the same square-shaped opening that matches the connector on the digital optical audio cable.
- Align the connector: Take the other end of the digital optical audio cable and align the square-shaped connector with the digital optical audio output on your audio source device.
- Insert and secure the connection: Gently insert the connector into the digital optical audio output and ensure it is securely seated. Like before, you may feel a slight click or resistance when the connection is properly secured.
- Double-check the connection: After connecting the cable, double-check to ensure that the connector is fully inserted and tightly secured in the digital optical audio output of your audio source device.
Once the cable is securely connected to both your Bose device and the audio source, you have completed the physical setup. The next step is to test the connection and ensure that the audio is being transmitted successfully.
Step 7: Testing the Connection
After connecting the digital optical audio cable to both your Bose device and the audio source, it’s important to test the connection to ensure that the audio signal is being transmitted correctly. Follow these steps to test the connection:
- Power on your Bose device and the audio source device.
- Select the appropriate input source: On your Bose device, use the remote control or front panel buttons to select the input source that corresponds to the digital optical audio input. Refer to the device’s user manual for specific instructions on selecting the input source.
- Adjust the volume: Make sure the volume on your Bose device is set at a comfortable level. Use the device’s volume controls or the remote control to adjust the volume as needed.
- Play audio: On the audio source device, play an audio file, video, or any form of media that contains sound. It could be a music track, movie, or TV show.
- Listen for audio: Once the audio is playing, listen carefully for the audio coming from your Bose device. If the connection is successful, you should be able to hear the sound clearly through your Bose speakers.
- Verify audio settings: If you are not hearing any sound or experiencing issues, double-check the audio settings on both the audio source device and the Bose device. Make sure the audio output is set to the digital optical audio or SPDIF output. Adjust any necessary audio settings to ensure proper audio output.
If you are still experiencing audio issues or the connection is not working as expected, try the following troubleshooting steps:
- Double-check the cable connections: Ensure that the digital optical audio cable is securely connected to both the Bose device and the audio source device. Disconnect and reconnect the cable if necessary.
- Try a different cable: If possible, test the connection with a different digital optical audio cable to rule out any potential issues with the cable itself.
- Restart the devices: Power off both the Bose device and the audio source device, then power them back on again. This can sometimes help resolve any temporary glitches or conflicts.
- Update firmware or drivers: Check for any available firmware updates for your Bose device and ensure that your audio source device has the latest audio drivers installed.
- Consult technical support: If all else fails, reach out to the manufacturer’s technical support or refer to the user manual for further guidance on troubleshooting the audio connection.
By following these steps and troubleshooting tips, you should be able to establish a successful audio connection using the digital optical audio cable. Enjoy your enhanced audio experience with your Bose device!
Conclusion
Connecting a digital optical audio cable to your Bose device can significantly upgrade your audio experience, providing you with high-quality sound and clarity. By following the step-by-step guide outlined in this article, you can easily establish a seamless audio connection.
We started by understanding what a digital optical audio cable is and how it works. We then emphasized the importance of checking the compatibility of your Bose device and locating the digital optical audio input. The next steps involved preparing the cable, connecting it to your Bose device, and then connecting the other end to the audio source. Finally, we discussed how to test the connection to ensure proper audio transmission.
In the event that you encounter any issues during the setup process, troubleshooting tips were provided to help you resolve common problems. However, it’s always recommended to consult your device’s user manual or reach out to technical support for further assistance.
Now that you have successfully connected your digital optical audio cable to your Bose device, you can enjoy a superior audio experience with enhanced sound quality and increased immersion. Whether you’re listening to music, watching movies, or playing video games, the digital optical audio cable will allow you to fully appreciate the audio performance of your Bose device.
Remember, proper cable management and maintenance can help ensure a long-lasting and optimal audio connection. Regularly check the cable for any signs of damage, keep it away from sharp objects, and handle it with care.
With the knowledge and guidance provided in this article, you can confidently connect a digital optical audio cable to your Bose device and elevate your audio experience to new heights. Enjoy the immersive sound and crystal-clear audio that your Bose device has to offer!