Home>Production & Technology>Audio Cable>Where Do You Put Audio Cable In Computer
Audio Cable
Where Do You Put Audio Cable In Computer
Modified: February 19, 2024
Looking to connect audio cables to your computer? Find out where to insert audio cables in your computer for seamless audio playback.
(Many of the links in this article redirect to a specific reviewed product. Your purchase of these products through affiliate links helps to generate commission for AudioLover.com, at no extra cost. Learn more)
Table of Contents
Introduction
Welcome to the world of audio cables! Whether you’re a music lover, a gamer, or a professional in the field of sound and audio, understanding audio cables and their proper usage is essential. These cables play a crucial role in ensuring high-quality sound transmission between various audio devices, such as computers, headphones, microphones, and speakers.
With the advancements in technology and the ever-growing demand for audio peripherals, it’s important to familiarize yourself with the different types of audio cables and how to connect them to your computer. By doing so, you can enhance your audio experience and unleash the full potential of your devices.
In this article, we’ll delve into the world of audio cables and explore the various types available, as well as the ports and connectors found on a computer. We’ll guide you through the process of connecting headphones, microphones, and speakers to your computer, and offer troubleshooting tips for common audio connectivity issues.
So, whether you’re a beginner looking to set up your audio system or a seasoned audiophile seeking to optimize your setup, let’s dive in and uncover the secrets of audio cable connections!
Understanding Audio Cables
Audio cables are essential tools for transmitting audio signals from one device to another. They are designed to carry electrical signals that represent sound waves, ensuring accurate and high-quality audio reproduction. Understanding the different components and characteristics of audio cables is crucial for selecting the right cable for your specific needs.
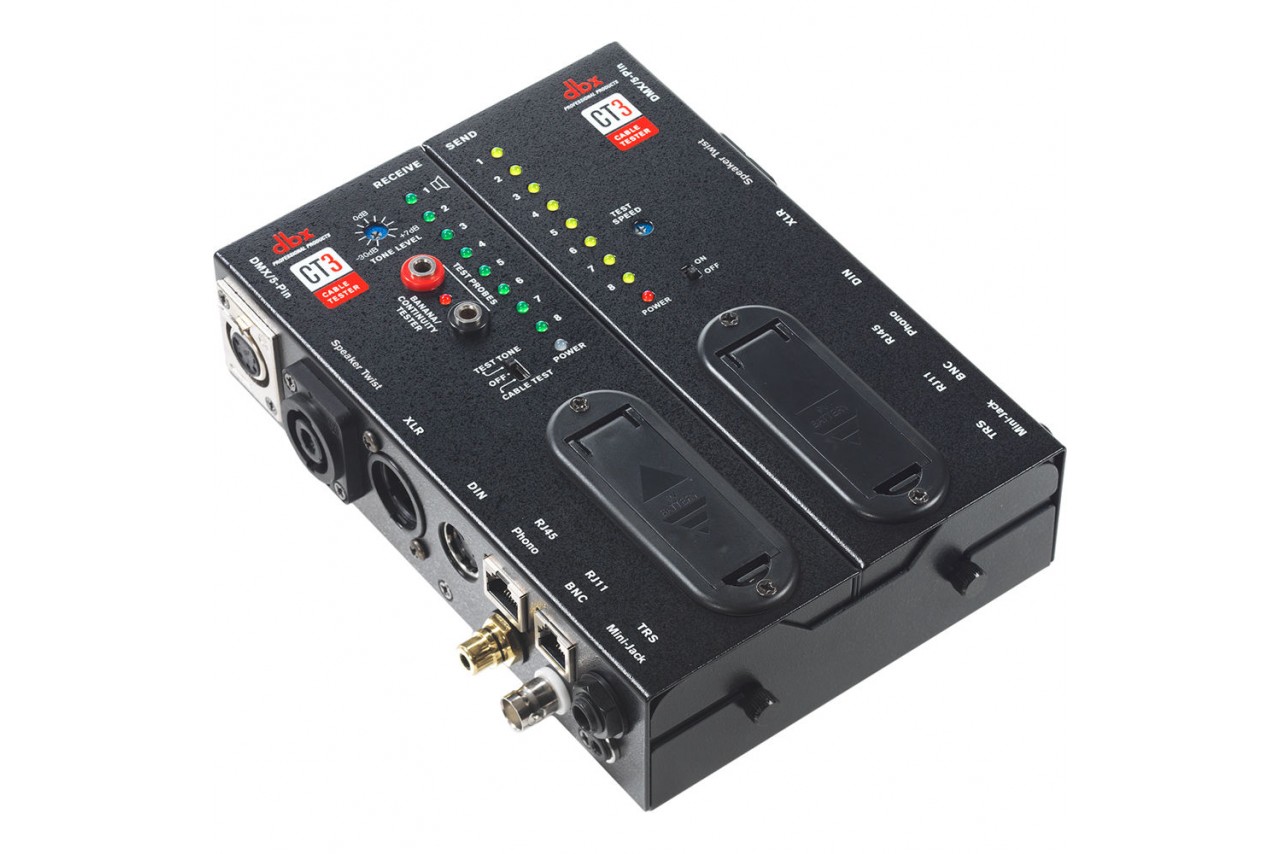
One important factor to consider when it comes to audio cables is the type of connector used. The most common types of connectors include:
- TRS (Tip, Ring, Sleeve): This connector is commonly found on headphones and audio interfaces. It consists of three sections – the tip, ring, and sleeve – which carry the left audio, right audio, and ground signals, respectively.
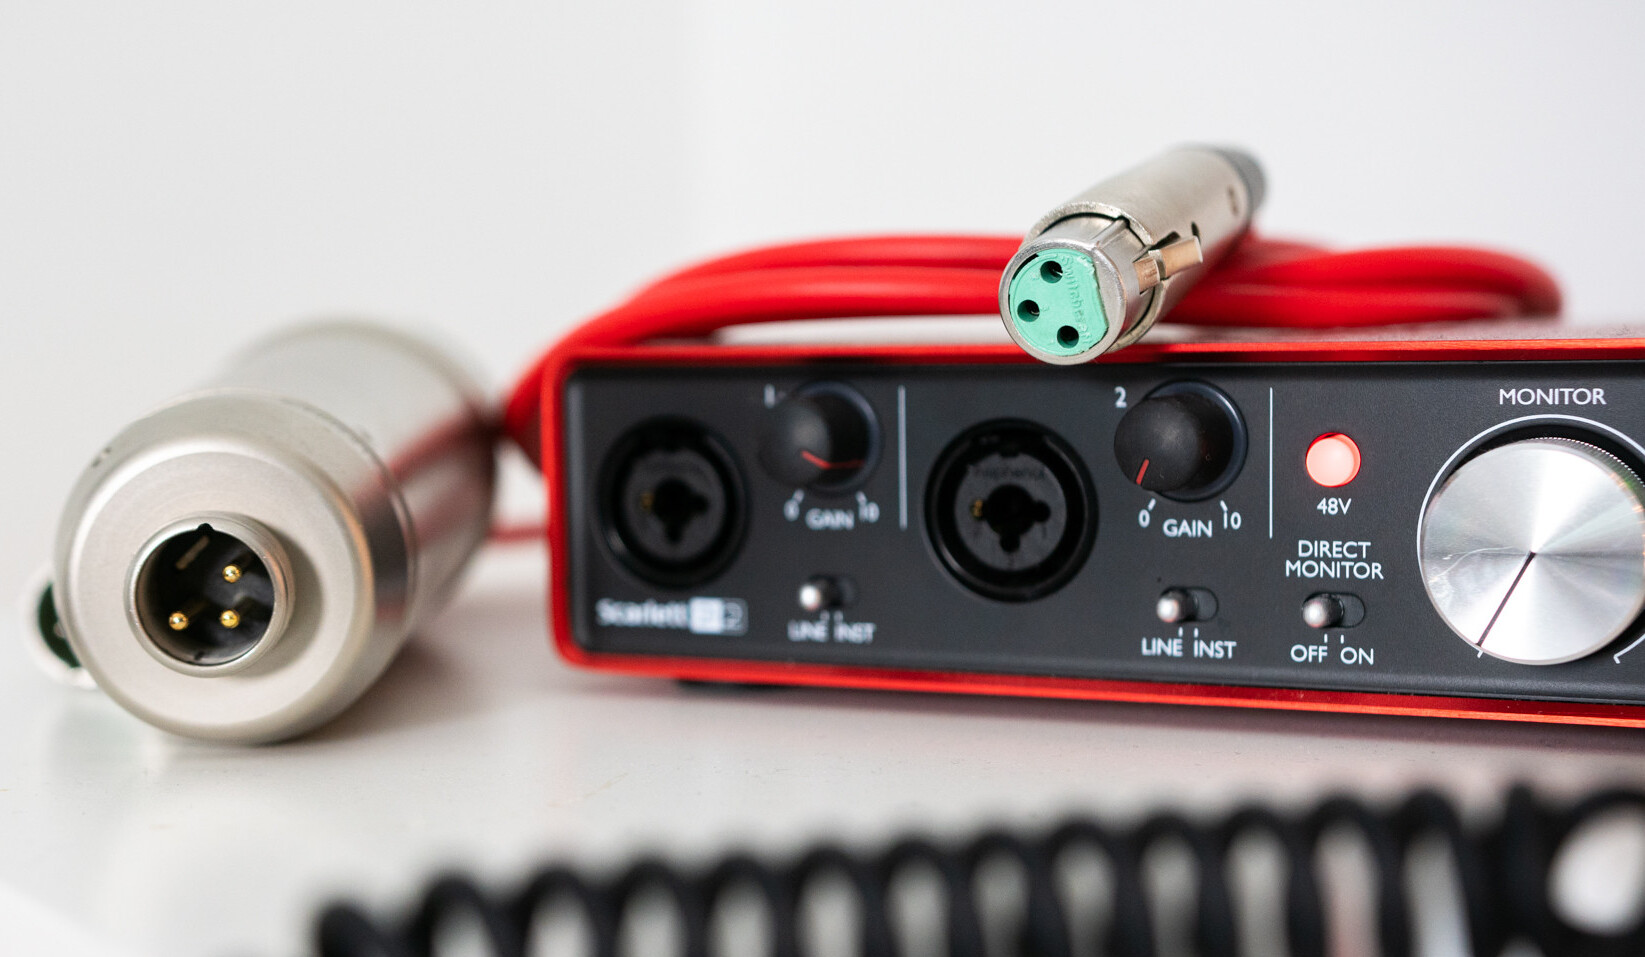
- XLR: This connector is widely used in professional audio setups, such as microphones and studio equipment. It features three pins which carry the audio signals, and is known for its balanced audio transmission, minimizing interference and noise.
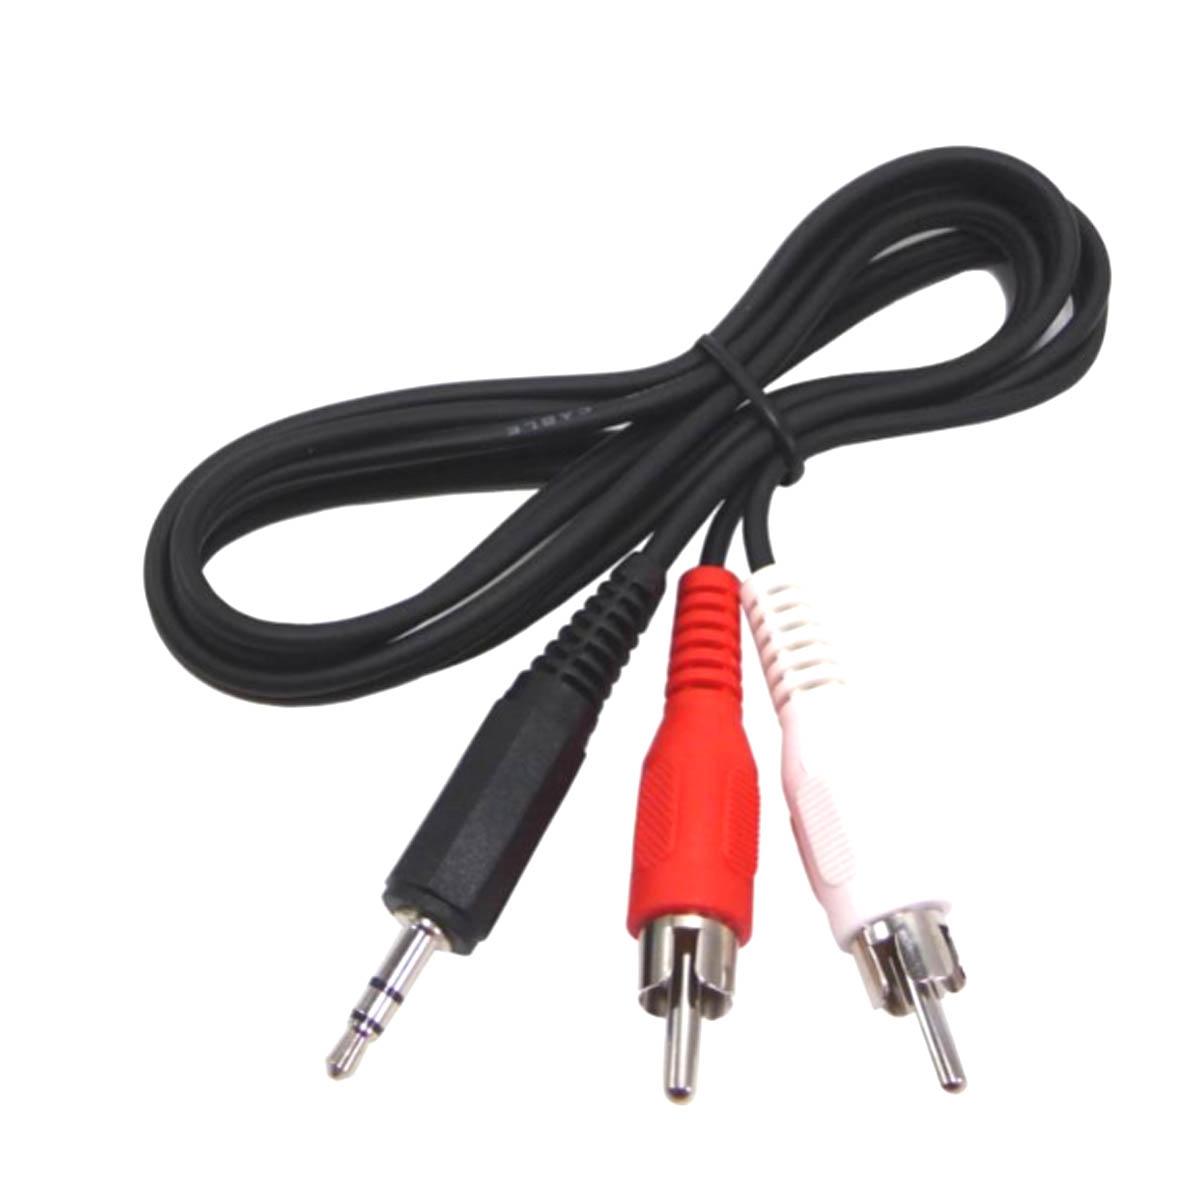
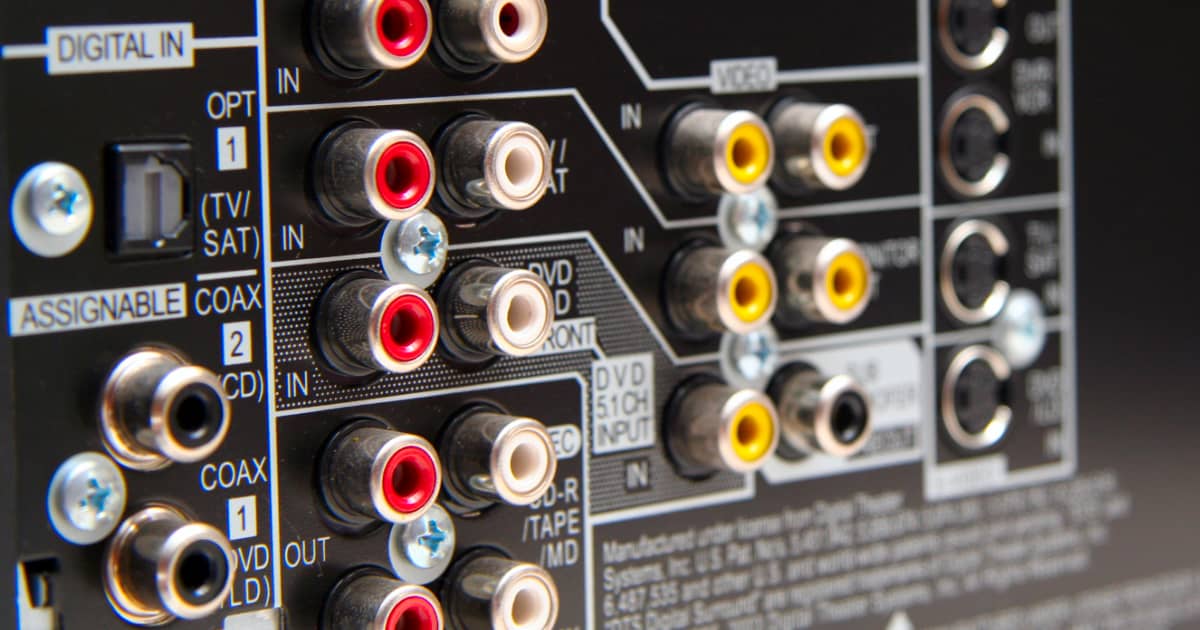
- RCA: This connector is commonly found in consumer audio devices, such as home theater systems and soundbars. It uses a pin and socket design, with one cable carrying the audio signal and another for the ground connection.
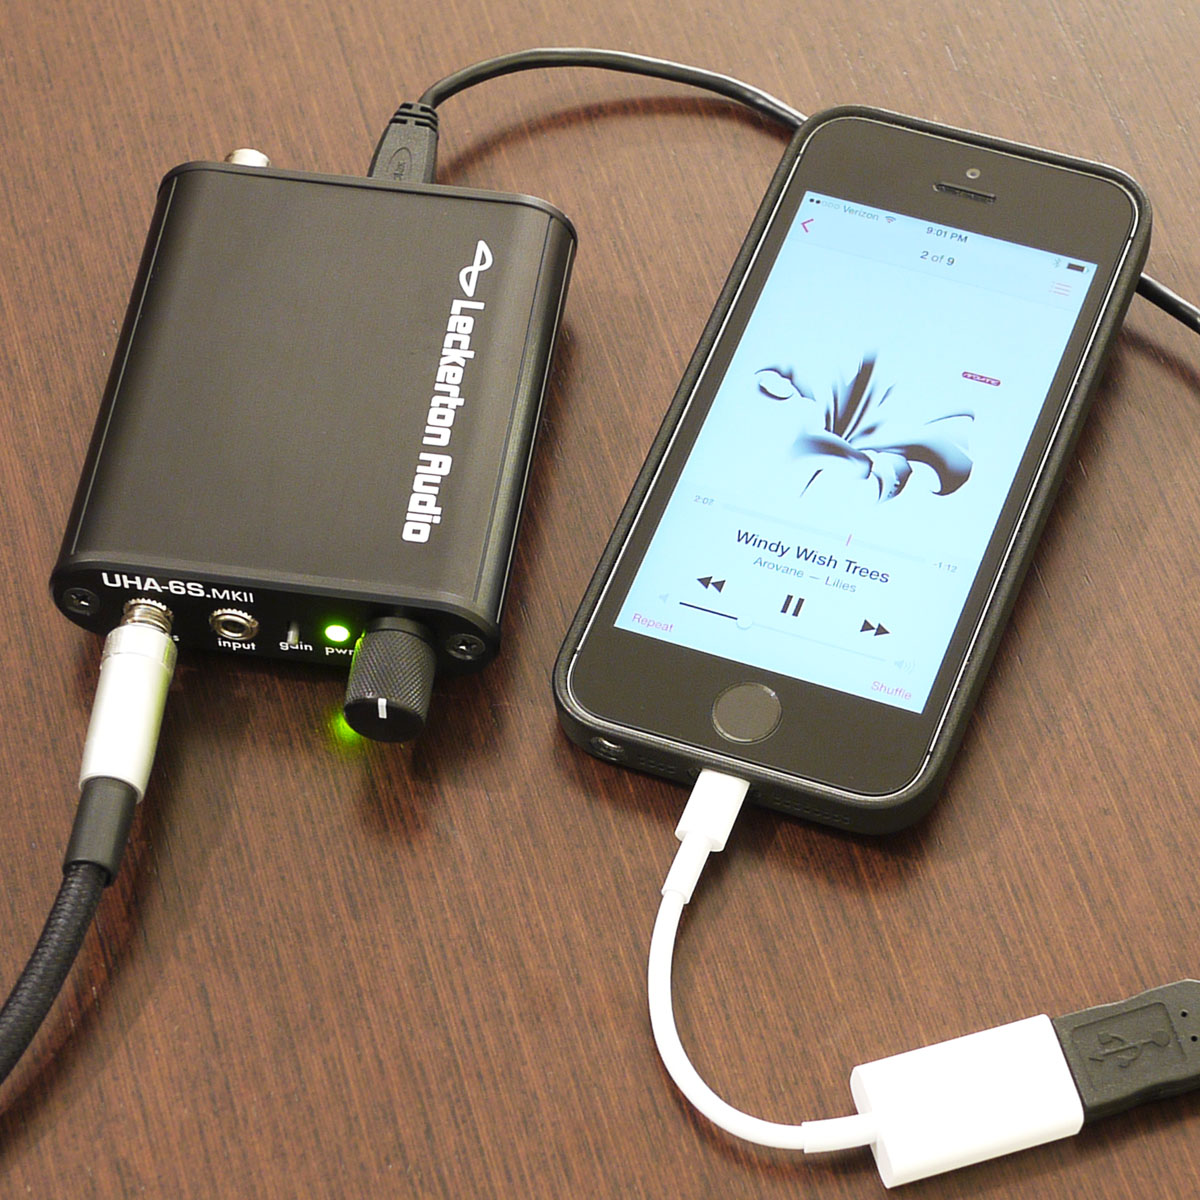
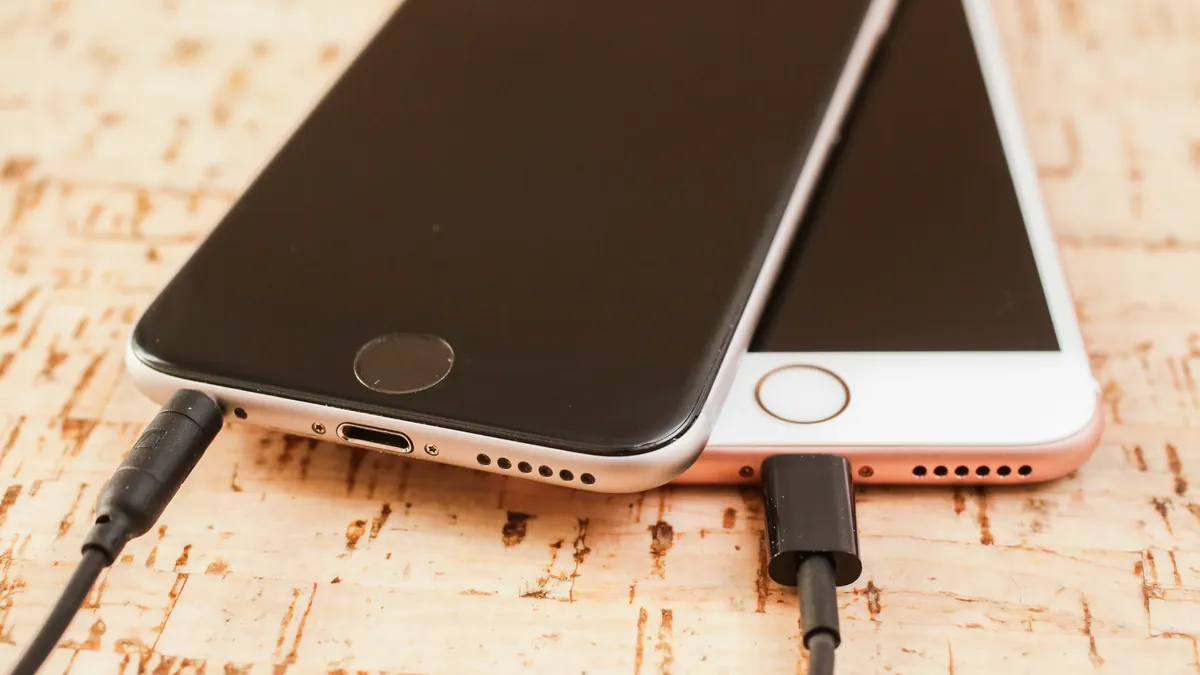
- USB: While not traditionally an audio connector, USB cables are increasingly being used for audio transmission. USB cables can carry both power and audio signals, making them useful for connecting audio interfaces, DACs (Digital-to-Analog Converters), and other audio devices.
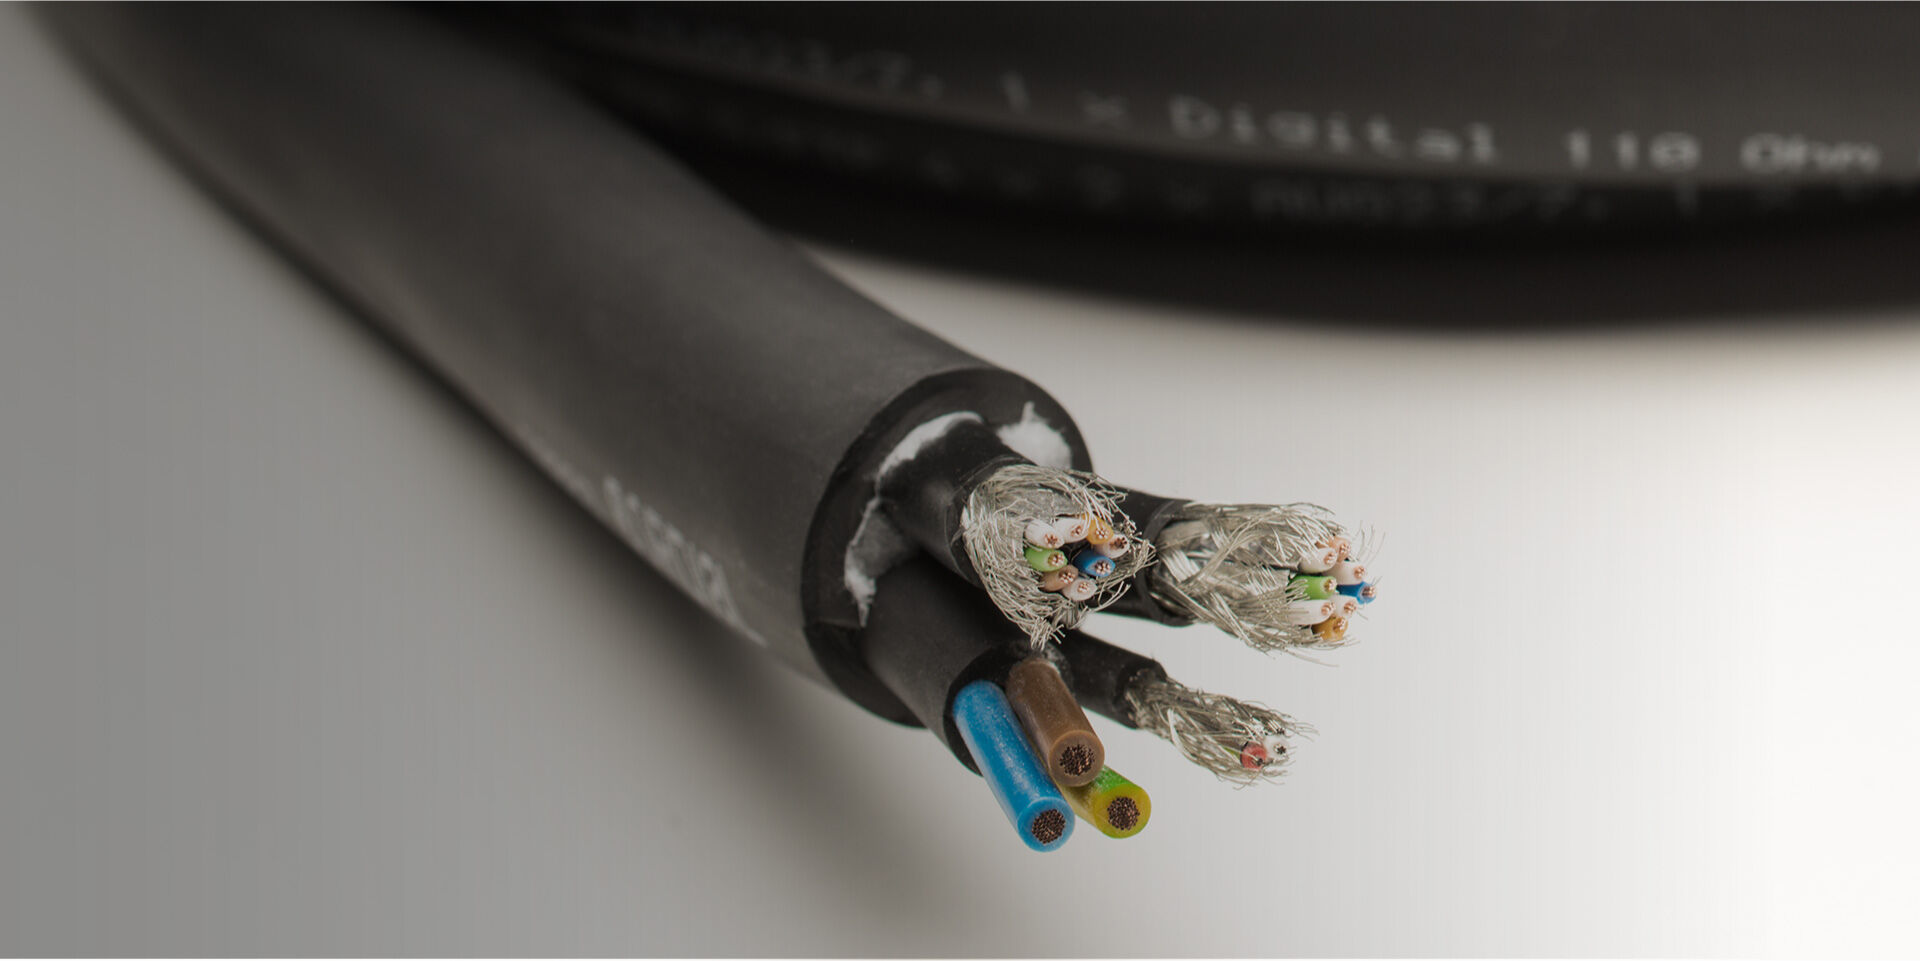
Another factor to consider is the cable’s construction and shielding. Shielding is important as it helps to reduce electromagnetic interference (EMI) and radio frequency interference (RFI) that can degrade the audio signal. The type of cable also plays a role in signal quality. Common types of audio cables include:
- Coaxial Cable: This type of cable features a center conductor surrounded by insulation, a metal shield, and an outer insulation layer. It is commonly used for digital audio transmission, such as for connecting a CD player or digital audio source to an amplifier.
- Twisted Pair Cable: Twisted pair cables consist of two insulated wires twisted together. They are commonly used for analog audio signals and are found in applications like headphone cables or line-level connections.
- Optical Cable (Toslink/SPDIF): Optical cables use light to transmit audio signals. They are commonly used for connecting audio devices that support digital optical audio, such as surround sound systems or gaming consoles.
By understanding the different types of connectors, cable constructions, and their applications, you’ll be better equipped to choose the right audio cable for your specific setup. Additionally, proper cable management and avoiding unnecessary cable length can help minimize signal loss and ensure optimal audio performance.
Types of Audio Cables
Audio cables come in various types, each designed to serve specific purposes and accommodate different audio devices. Understanding the different types of audio cables will help you make informed decisions when selecting the appropriate cable for your specific needs.
Here are some of the most common types of audio cables:
- Auxiliary (AUX) Cables: Also known as stereo cables or headphone cables, AUX cables are versatile and widely used. They typically feature a 3.5mm audio jack on both ends, allowing you to connect devices like smartphones, tablets, laptops, or MP3 players to speakers, headphones, or car stereos.
- TRS Cables: TRS (Tip, Ring, Sleeve) cables are used to transmit balanced audio signals. These cables have a 1/4-inch audio jack at one end and can be used to connect instruments, studio monitors, amplifiers, or audio interfaces.
- XLR Cables: XLR cables are commonly used in professional audio settings. They feature three pins and are known for their balanced audio transmission, which reduces noise and interference. XLR cables are used for connecting microphones, mixing boards, powered speakers, and other professional audio equipment.
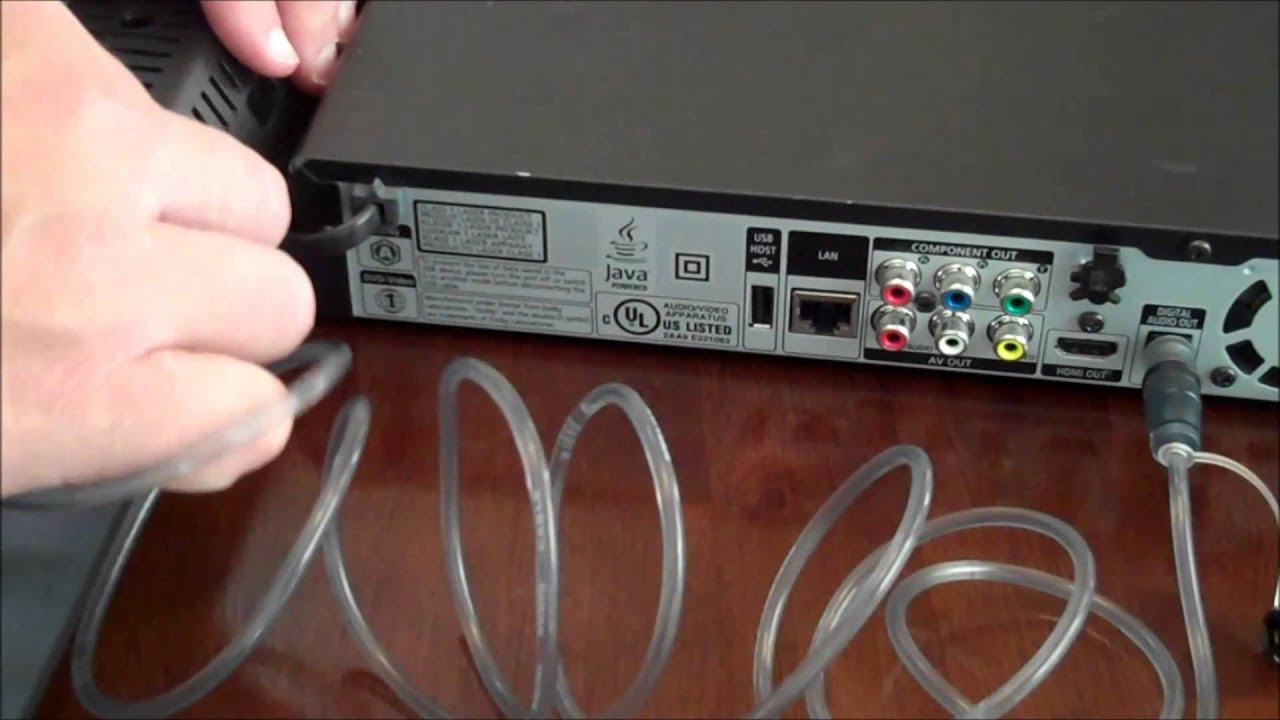
- RCA Cables: RCA cables use a two-pin design and are commonly used for audio and video connections in home theater systems, gaming consoles, and turntables. They are color-coded with red and white connectors, where the red connector carries the right audio channel, and the white connector carries the left audio channel.
- Optical Cables: Also known as Toslink or SPDIF cables, optical cables use fiber optic technology to transmit digital audio signals. These cables are ideal for connecting devices that support optical audio, such as soundbars, gaming consoles, and Blu-ray players.
- HDMI Cables: Although primarily used for transmitting high-definition video signals, HDMI cables also carry high-quality digital audio signals. They are commonly used for connecting gaming consoles, Blu-ray players, home theater systems, and audio/video receivers.
Each type of audio cable offers specific features and advantages depending on the devices being connected. When selecting an audio cable, consider factors such as cable length, connector compatibility, signal quality, and the specific audio devices you are using. It’s also worth investing in high-quality cables, as they can significantly improve audio performance and reduce signal loss or interference.
Ports and Connectors on a Computer
Computers are equipped with a variety of ports and connectors that allow you to connect audio devices and accessories. Understanding these ports and their capabilities is vital for establishing audio connections and ensuring proper compatibility.
Here are some of the common ports and connectors you’ll find on a computer:
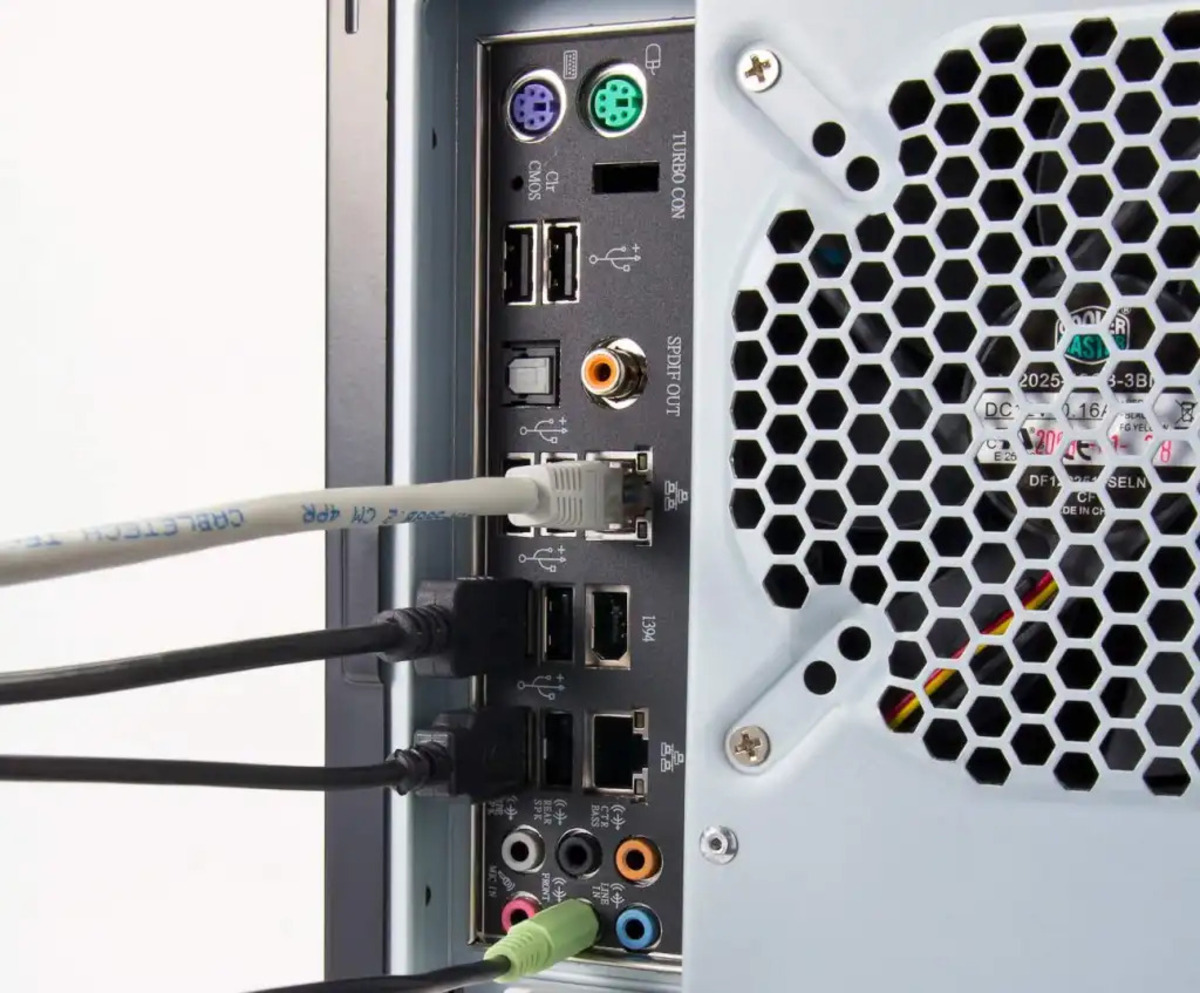
- 3.5mm Audio Jack: This is a standard audio port found on almost all computers. It is typically color-coded in green and is used for connecting headphones, speakers, or external audio devices using an auxiliary cable.
- USB Ports: USB ports are versatile and commonly found on computers. They can be used to connect a wide range of audio devices, including audio interfaces, DACs, microphones, and speakers.
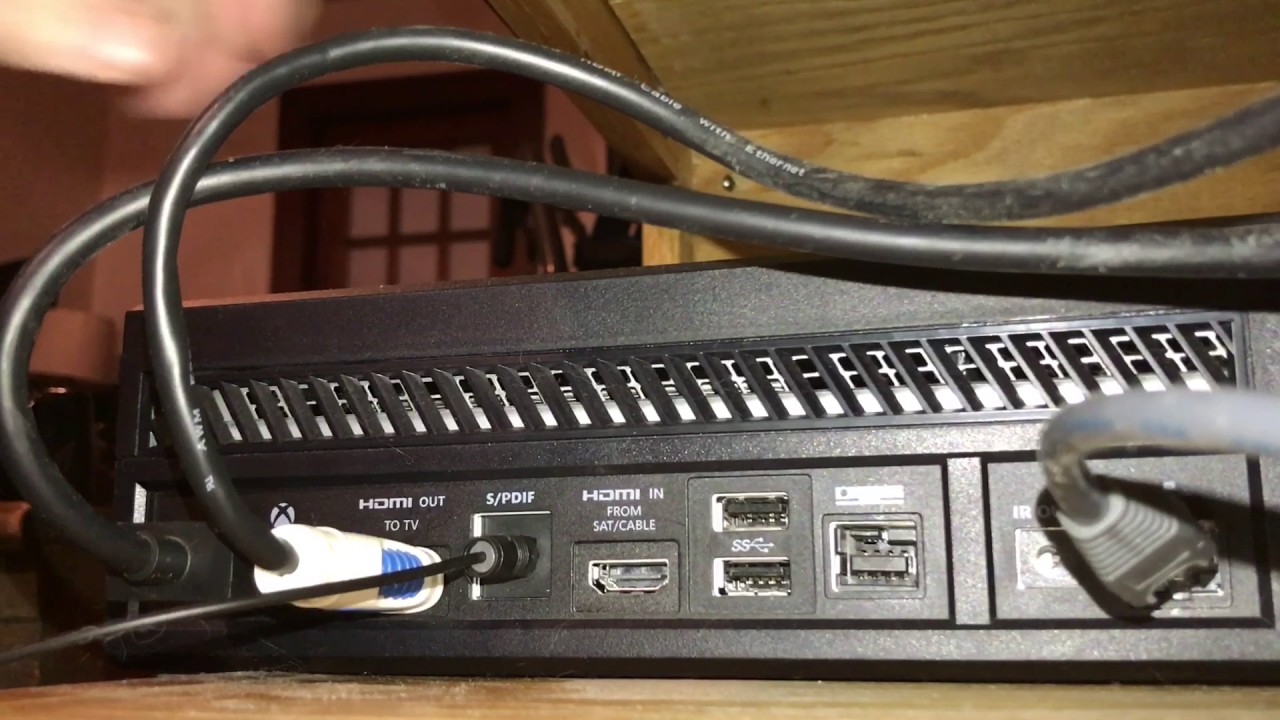
- HDMI Port: HDMI ports are primarily used for video transmission but also support audio signals. If your computer has an HDMI port, you can connect it to an HDMI-enabled display or audio/video receiver for both video and audio output.
- DisplayPort: DisplayPort is a digital interface mainly used for video transmission, but it can also carry audio signals. It provides high-quality audio and video output and is commonly found on newer computers.
- Thunderbolt: Thunderbolt ports are commonly found on Mac computers. They offer high-speed data transfer and also support audio and video signals. Thunderbolt ports are versatile and can be used to connect audio devices, external displays, and various peripherals.
- Optical Audio (SPDIF): Some computers feature an optical audio port, also known as SPDIF, which allows you to connect devices using an optical cable. This port is predominantly used for digital audio transmission and is often found on high-end audio equipment.
In addition to these ports, computers may have other specialized ports, such as TRRS (Tip, Ring, Ring, Sleeve) jacks, used for audio input/output on some laptops and mobile devices, or specialized ports for specific audio functionalities.
Understanding the available ports and connectors on your computer is essential for determining the appropriate cables and adapters necessary to establish audio connections. Additionally, you may need to adjust audio settings in your computer’s operating system to ensure that the correct audio input and output are being used.
Connecting Audio Devices to a Computer
Connecting audio devices to a computer enables you to enjoy high-quality sound and make the most of your audio peripherals. The process of connecting audio devices may vary depending on the specific device and the available ports on your computer. Let’s explore how to connect some common audio devices to a computer:
Connecting Headphones
To connect headphones to a computer, simply plug the headphone jack into the appropriate audio port on your computer. This is typically the 3.5mm audio jack, which can be found on the front or back of the computer tower or on the side of a laptop. Adjust the volume settings on your computer and the headphone controls, if applicable, to get the desired sound levels.
Connecting Microphones
To connect a microphone to your computer, locate the microphone input port. This can be a 3.5mm jack or a specialized port, depending on the type of microphone you have. Plug the microphone into the corresponding port and ensure it is securely connected. Adjust the audio settings on your computer to select the correct input source for the microphone. You may also need to adjust the microphone settings in your computer’s operating system or recording software.
Connecting Speakers
Connecting speakers to a computer can be done in several ways. If you have powered speakers or computer speakers with a built-in amplifier, connect them using the 3.5mm audio jack or any other available audio ports. If you have passive speakers without a built-in amplifier, you’ll need to connect them to an amplifier or audio receiver first. The amplifier is then connected to the computer using the appropriate audio cables or ports, such as RCA or optical. Adjust the volume levels on both the computer and the speakers to ensure balanced audio output.
Other Audio Devices
Connecting other audio devices, such as external sound cards, audio interfaces, or MIDI controllers, follows a similar process. Identify the appropriate ports on your computer and the device you are connecting. Use the appropriate cables or adapters to establish the connection and adjust the audio settings as needed.
Remember to consult the user manuals of your specific audio devices for detailed instructions and guidance. Additionally, ensure that the necessary drivers or software for the audio devices are installed on your computer for optimal performance.
With these steps, you can easily connect various audio devices to your computer and enjoy immersive sound for your entertainment, work, or creative endeavors.
Connecting Headphones
Connecting headphones to a computer is a straightforward process that allows you to enjoy private and immersive audio experiences. Whether you’re gaming, listening to music, or watching movies, here’s a simple guide on how to connect headphones to your computer.
1. Identify the audio port: Locate the audio port on your computer. Most computers have a 3.5mm audio jack, which is the standard headphone jack size. It is typically color-coded in green and can be found on the front or back of a desktop computer, or on the side of a laptop.
2. Plug in the headphones: Take your headphones and insert the connector into the audio port on the computer. Ensure it is securely plugged in to establish a proper connection.
3. Adjust the volume: Check the volume settings on your computer. You can usually adjust the volume using the volume control buttons on your keyboard or through the operating system’s sound settings. Start with a lower volume level and gradually increase it to a comfortable level.
4. Test the audio: Play some audio content, such as a music track or a YouTube video, to test the headphone connection. If you can hear the audio through your headphones, the connection is successful. If not, double-check that the headphones are properly plugged in and that the volume is turned up.
5. Control headphone settings: Some headphones have built-in controls for adjusting volume, changing tracks, or answering calls. Familiarize yourself with the functionalities provided by your headphones and make sure they are properly configured and compatible with your computer.
6. Disconnecting the headphones: When you’re done using your headphones, simply unplug them from the audio port. It’s a good practice to gently pull the connector straight out to avoid any damage to the audio jack or the headphone cable.
Keep in mind that if your computer has separate audio input and output ports, you may need an adapter or splitter to connect headphones with a separate microphone. These adapters allow you to plug in headphones and a microphone into their respective ports and ensure proper functionality.
By following these simple steps, you can easily connect your headphones to your computer and enjoy a personal and immersive audio experience for all your media and entertainment needs.
Connecting Microphones
Connecting a microphone to your computer opens up a world of possibilities for recording audio, voice chatting, podcasting, and more. Whether you have a dynamic microphone, a condenser microphone, or a USB microphone, here’s a step-by-step guide on how to connect a microphone to your computer:
1. Identify the microphone input: Take a look at your computer and locate the microphone input port. This port is commonly color-coded in pink and may have a microphone symbol next to it. It can be found on the back of desktop computers or on the side of laptops.
2. Choose the appropriate connector: Depending on the type of microphone you have, you may need an adapter or cable to connect it to your computer. For microphones with XLR connectors, you will need an XLR to 3.5mm cable or an XLR to USB adapter. USB microphones, on the other hand, simply require a USB cable.
3. Plug in the microphone: Insert the connector into the microphone input port on your computer. Ensure it is securely plugged in to establish a proper connection. If you have a USB microphone, plug it into an available USB port on your computer.
4. Adjust the audio settings: Open the sound settings on your computer. Access the sound control panel or the audio settings in your operating system. Locate the microphone settings and make sure the correct input source is selected. You may need to adjust the microphone levels and settings to optimize audio quality.
5. Test the microphone: Open a recording program or use the built-in voice recorder on your computer to test the microphone. Speak into the microphone and check if the audio levels are responding. If you’re using a USB microphone, it may be automatically recognized by your computer and ready to use without any additional setup.
6. Control microphone settings: Some microphones have built-in controls for adjusting volume, gain, or mute functions. Check the user manual or the microphone’s specifications to understand and utilize these controls effectively.
7. Disconnecting the microphone: When you’re done using the microphone, unplug it from the microphone input port or USB port on your computer. Gently remove the connector to avoid any damage to the ports or the microphone itself.
Note that some computers may have separate microphone and headphone jacks. In such cases, you may need an adapter or a splitter to connect headphones with a separate microphone. These adapters allow you to plug in both the microphone and headphones into their respective ports and ensure proper functionality.
By following these steps, you can easily connect a microphone to your computer and unleash your creative potential with high-quality audio recording and communication.
Connecting Speakers
Connecting speakers to your computer allows you to enjoy rich and immersive audio for gaming, music playback, or watching movies. Depending on the type of speakers you have, there are different methods to connect them to your computer:
Powered Speakers:
1. Locate the audio output: Look for the audio output on your computer. Most computers have a 3.5mm audio jack, usually color-coded in green, which serves as the main audio output.
2. Connect the speakers: Take the audio cable that came with your speakers and plug one end into the audio output port on your computer. Then, connect the other end to the corresponding input on your speakers. This may be a 3.5mm jack or a specialized connector, depending on your speaker system.
3. Power on the speakers: Make sure your speaker system is connected to a power source and turn it on. Adjust the volume levels on both your computer and the speakers to achieve the desired sound balance.
Amplified Speakers:
1. Locate audio outputs: Depending on your setup, your computer may have multiple audio output ports. Identify the appropriate port for connecting your speakers.
2. Connect the amplifier: Take an audio cable and connect one end to the audio output port on your computer. Connect the other end to the input port on your amplifier.
3. Connect the speakers: If your speakers connect directly to the amplifier, use the speaker output terminals on the amplifier to connect the speakers using speaker wire. Ensure that the positive and negative terminals on both the amplifier and speakers are properly aligned.
4. Power on the amplifier and speakers: Turn on the amplifier and speakers, following the manufacturer’s instructions. Adjust the volume levels on both your computer and the amplifier to achieve the desired sound level.
Wireless Speakers:
1. Check compatibility: Ensure that your computer and speakers support the same wireless technology, such as Bluetooth or Wi-Fi.
2. Pairing process: Enable the wireless connectivity on your computer and follow the pairing instructions provided by the speaker manufacturer. Typically, this involves putting the speakers into pairing mode and searching for available devices using your computer’s settings.
3. Select the speakers as audio output: Once paired, go to your computer’s sound settings and select the wireless speakers as the default audio output device.
Remember to consult the user manual provided with your speakers for specific instructions and troubleshooting steps for your particular model. By following the appropriate steps, you can easily connect your speakers to your computer and enjoy high-quality audio for various multimedia experiences.
Troubleshooting Audio Connectivity Issues
While connecting audio devices to a computer is usually a straightforward process, you may encounter occasional connectivity issues. Here are some troubleshooting steps to help you resolve common audio connectivity problems:
No Sound or Audio Playback
If you’re experiencing no sound or audio playback from your connected devices, try the following:
- Check cable connections: Ensure that all cables are securely plugged in. Unplug and reinsert them to establish a better connection.
- Adjust volume settings: Check the volume levels both on your computer and the audio device. Ensure that they are turned up and not muted.
- Update audio drivers: Outdated or missing audio drivers can cause connectivity issues. Update your computer’s audio drivers to the latest version available.
- Test with different devices: Try connecting your audio device to a different computer or connecting a different audio device to your computer. This will help determine if the issue is with the device itself or the computer.
- Check software settings: Ensure that the correct audio output device is selected in your computer’s audio settings. Make sure any audio or sound-enhancing software is properly configured and not causing conflicts.
Poor Audio Quality or Distorted Sound
If you’re experiencing poor audio quality or distorted sound, follow these troubleshooting steps:
- Check cable integrity: Inspect the audio cables for any visible damage or loose connections. Replace any faulty cables to improve audio quality.
- Check audio settings: Verify that the audio settings on your computer are properly configured. Adjust sample rates, bit depths, and audio enhancements based on the capabilities of your audio devices.
- Reduce interference: Move any electronic devices (such as routers or cell phones) away from your audio setup. These devices can cause electromagnetic interference, leading to poor audio quality.
- Update firmware: For devices with firmware that can be updated, ensure that you have installed the latest firmware version provided by the manufacturer. Firmware updates often address audio quality issues.
- Check power supply: Insufficient power supply can lead to audio distortion. Ensure that your audio devices, such as amplifiers or speakers, are receiving adequate power.
Device Not Recognized or Not Working Properly
If your audio device is not being recognized or not working properly, try the following solutions:
- Check device compatibility: Ensure that your audio device is compatible with your computer’s operating system. Confirm that the necessary drivers or software are installed and up to date.
- Try different ports or cables: Connect your audio device to different ports or using different cables to rule out faulty ports or cables that may be causing the issue.
- Restart computer and devices: Sometimes, a simple restart can resolve connectivity issues. Restart your computer and the audio device to see if it resolves the problem.
- Reinstall drivers: Uninstall the drivers for your audio device from the device manager, and then reinstall them. This can help resolve any driver conflicts or corruption issues.
- Seek manufacturer support: If the issue persists, consult the manufacturer’s support resources or contact their customer support for further assistance.
Remember to consult the user manuals of your specific devices for any additional troubleshooting steps or device-specific instructions. By following these troubleshooting steps, you can resolve common audio connectivity issues and enjoy seamless and high-quality audio experiences with your computer.
Conclusion
Understanding audio cables and knowing how to connect audio devices to your computer is essential for maximizing your audio experience. With the guidance provided in this article, you’re now equipped with the knowledge to make proper audio connections and troubleshoot any connectivity issues that may arise.
By familiarizing yourself with the different types of audio cables, such as auxiliary cables, TRS cables, XLR cables, and RCA cables, you can select the appropriate cable for your specific needs. Knowing the various ports and connectors on your computer, including the 3.5mm audio jack, USB ports, HDMI ports, and optical audio ports, allows you to establish seamless audio connections.
Whether you’re connecting headphones, microphones, speakers, or other audio devices to your computer, you can follow the step-by-step instructions provided to ensure a proper and optimized audio setup. Troubleshooting steps for common audio connectivity issues, such as no sound, poor audio quality, or unrecognized devices, can help you quickly resolve any problems that may arise.
Remember to consult the user manuals of your specific audio devices for device-specific instructions and troubleshooting steps, as different devices may have unique requirements.
With the knowledge gained from this article, you can now confidently enjoy high-quality audio experiences with your computer. So, go ahead, connect your favorite audio devices, and immerse yourself in the world of sound!