Home>Production & Technology>Audio Cable>How Do You Use An Optical Audio Cable On Xbox One
Audio Cable
How Do You Use An Optical Audio Cable On Xbox One
Modified: January 22, 2024
Learn how to use an audio cable on Xbox One with this comprehensive guide. Connect your console to external speakers or audio devices for an immersive gaming experience.
(Many of the links in this article redirect to a specific reviewed product. Your purchase of these products through affiliate links helps to generate commission for AudioLover.com, at no extra cost. Learn more)
Table of Contents
Introduction
Welcome to the world of audio cables! If you’re a gamer or a home theater enthusiast looking to enhance your audio experience, you may have come across the term “optical audio cable”. But what exactly is an optical audio cable and how can it benefit you?
An optical audio cable, also known as a Toslink cable or a digital audio cable, is a type of cable that transmits audio signals in a digital format. Unlike traditional analog audio cables, which use electrical currents to transmit sound, optical audio cables utilize light signals, resulting in a cleaner and more precise audio signal.
Optical audio cables are commonly used in home theater setups, gaming consoles, soundbars, and audio receivers. They provide a high-quality audio connection that delivers immersive surround sound and superior audio fidelity. Whether you’re a casual gamer or a dedicated audiophile, using an optical audio cable can significantly enhance your audio experience.
In this article, we will explore the benefits of using an optical audio cable and how you can connect it to your Xbox One gaming console. So, whether you want to elevate your gaming experience or enjoy your favorite movies with immersive sound, keep reading to learn more about optical audio cables and how they can take your audio setup to the next level.
What is an Optical Audio Cable?
An optical audio cable, also known as a Toslink cable or a digital audio cable, is a type of cable that allows for the transmission of audio signals in a digital format. Unlike traditional analog audio cables, which use electrical currents to carry sound, optical audio cables use pulses of light to transmit the audio data. This digital transmission method offers several advantages over analog cables, resulting in higher audio quality and improved performance.
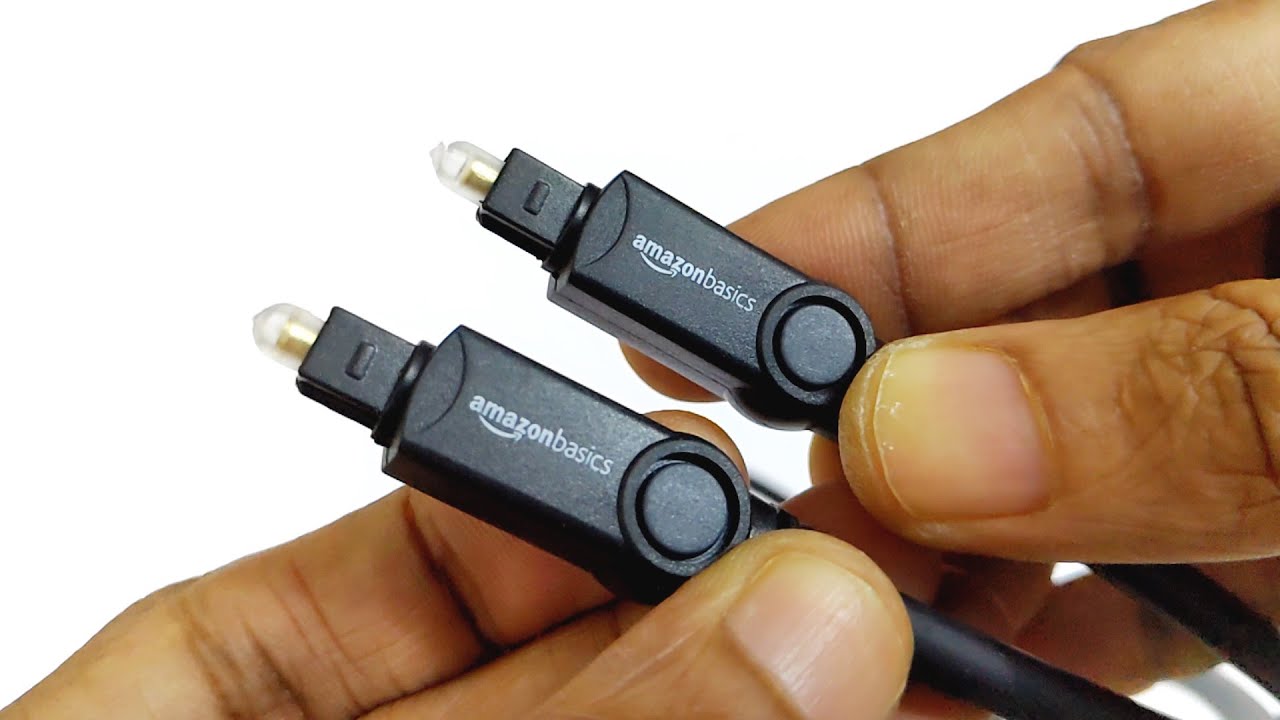
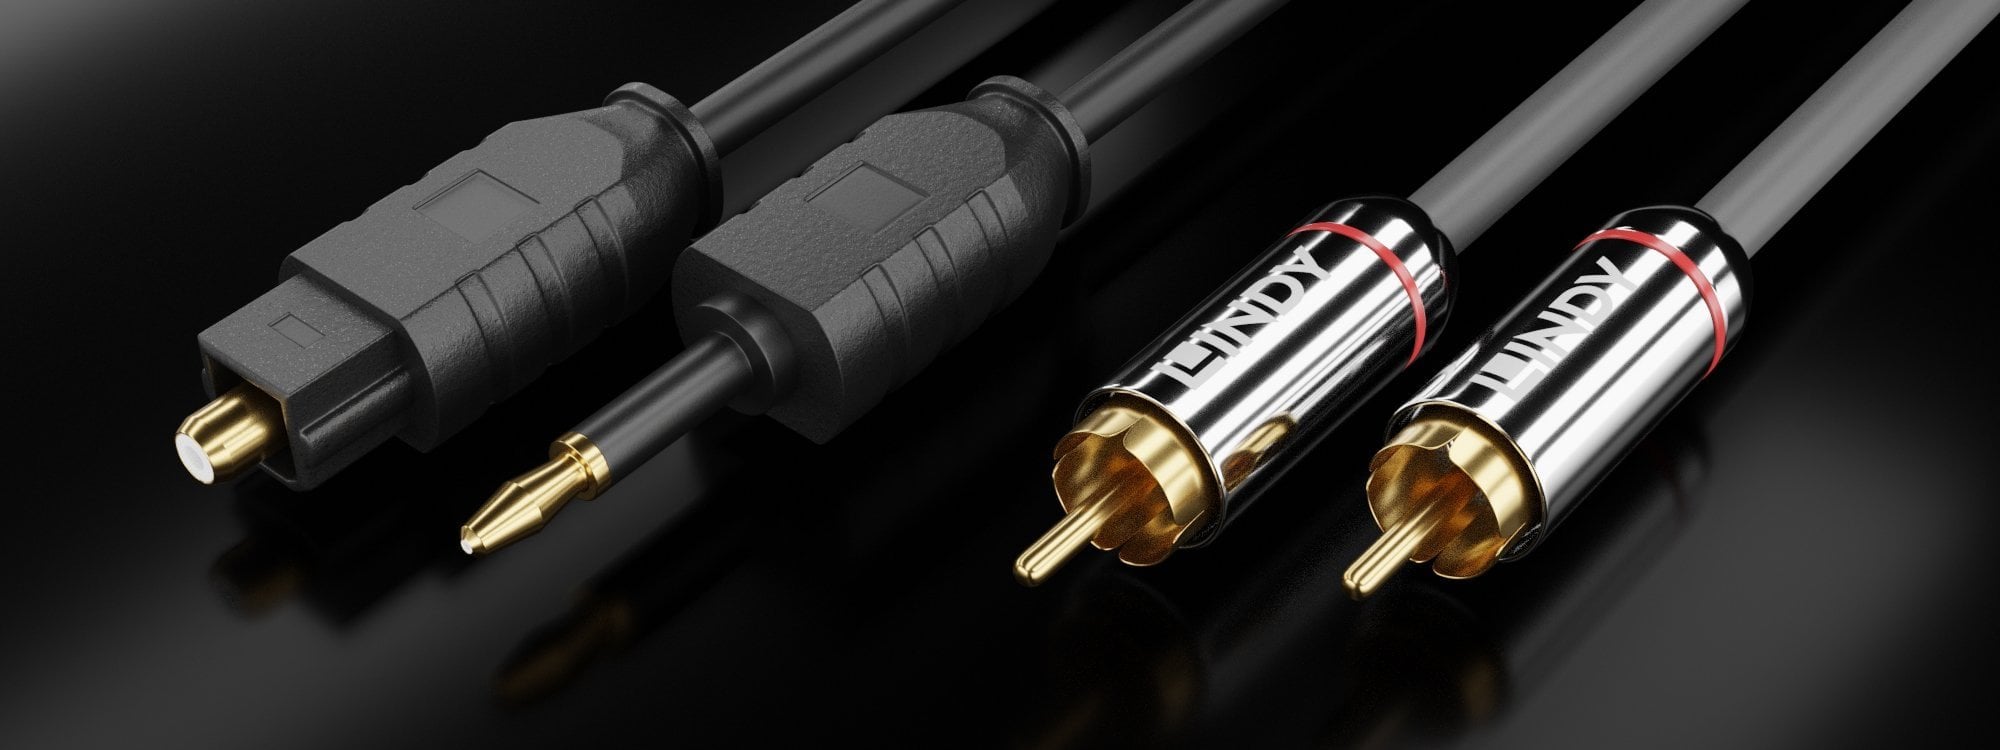
The core of an optical audio cable is a series of optical fibers, usually made from plastic or glass, which allow the transmission of light signals. These fibers are typically encased in a protective jacket to ensure durability and prevent any damage to the delicate fibers. The cable is fitted with standardized optical connectors, usually referred to as “Toslink” connectors, which help establish a secure and reliable connection between devices.
One of the major advantages of using an optical audio cable is the elimination of electrical interference. Analog cables can be susceptible to electromagnetic interference (EMI) and radio frequency interference (RFI), resulting in noise or distortion in the audio signal. Being an optical cable, it is not affected by these interferences, allowing for a clean and accurate transmission of audio data.
Another benefit of optical audio cables is the ability to transmit multichannel audio, including formats like Dolby Digital and DTS. These cables support up to 5.1 or 7.1 surround sound systems, delivering an immersive audio experience. Whether you’re playing video games, watching movies, or listening to music, an optical audio cable ensures that you can fully appreciate the detailed and dynamic sound.
Furthermore, since it is a digital connection, an optical audio cable maintains a high level of audio fidelity throughout the transmission. Analog cables can suffer from signal degradation over long distances, resulting in a loss of audio quality. Optical audio cables, on the other hand, do not experience this degradation and maintain the integrity of the audio signal, even over lengthy cable runs.
Overall, an optical audio cable offers a reliable and high-quality audio connection for various devices, including gaming consoles, home theater systems, soundbars, and more. Its digital transmission method and immunity to interference make it an ideal choice for those looking to elevate their audio experience.
Benefits of Using an Optical Audio Cable
Using an optical audio cable in your audio setup can provide several benefits and improve your overall audio experience. Let’s explore some of the key advantages:
- High-Quality Audio: Optical audio cables transmit audio signals in a digital format, resulting in superior audio quality compared to analog cables. The digital transmission eliminates signal degradation, ensuring that you enjoy clear, precise, and detailed sound.
- Immersive Surround Sound: If you have a surround sound system or a soundbar, using an optical audio cable allows you to experience immersive audio. These cables support formats like Dolby Digital and DTS, providing a true surround sound experience with enhanced depth and spatial awareness.
- Immunity to Interference: Optical audio cables are not susceptible to electromagnetic interference (EMI) or radio frequency interference (RFI) that can impact analog cables. This immunity ensures that you get clean and noise-free audio, free from any distortions or interruptions.
- Durability and Longevity: Optical audio cables are designed with durability in mind. They are resistant to wear and tear, making them a reliable choice for long-term use. Additionally, since optical cables don’t rely on electrical currents, they are less prone to damage from power surges or static electricity.
- Compatibility: Optical audio cables are widely compatible with a range of audio devices, including gaming consoles, TVs, soundbars, AV receivers, and more. This versatility allows you to easily connect and enjoy high-quality audio across different devices without the need for additional adapters or converters.
- Long Distance Transmission: One of the advantages of optical audio cables is their ability to maintain audio quality over long distances. Unlike analog cables that can experience signal degradation, optical cables provide consistent audio performance, even over lengthy cable runs.
Whether you’re a gamer, a movie enthusiast, or a music lover, the benefits of using an optical audio cable are undeniable. By harnessing the power of digital audio transmission, optical cables offer superior audio quality, immersive surround sound, and reliable performance, elevating your audio experience to new heights.
Compatibility of Optical Audio Cable with Xbox One
If you own an Xbox One gaming console, you’ll be glad to know that it is fully compatible with optical audio cables. The Xbox One is equipped with an optical audio output port, allowing you to connect your console to an external audio system or a gaming headset that supports optical audio input.
Using an optical audio cable with your Xbox One can significantly enhance your gaming experience. It enables you to take advantage of the advanced audio technologies supported by the console, such as Dolby Digital and DTS surround sound. These audio formats provide immersive and realistic audio that complements the stunning visuals of your games.
Connecting an optical audio cable to your Xbox One is a straightforward process. Firstly, make sure you have an optical audio cable that is compatible with the Xbox One and your audio system. Most optical audio cables use standard Toslink connectors, which can be easily inserted into the Xbox One’s optical audio output port.
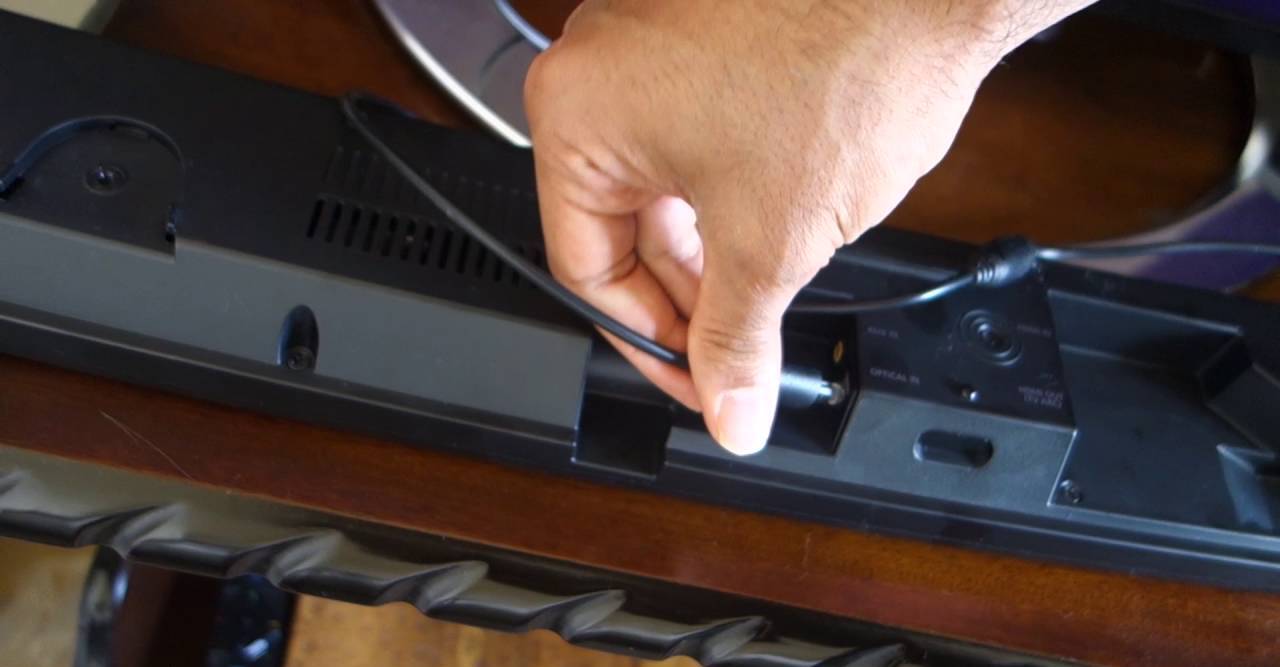
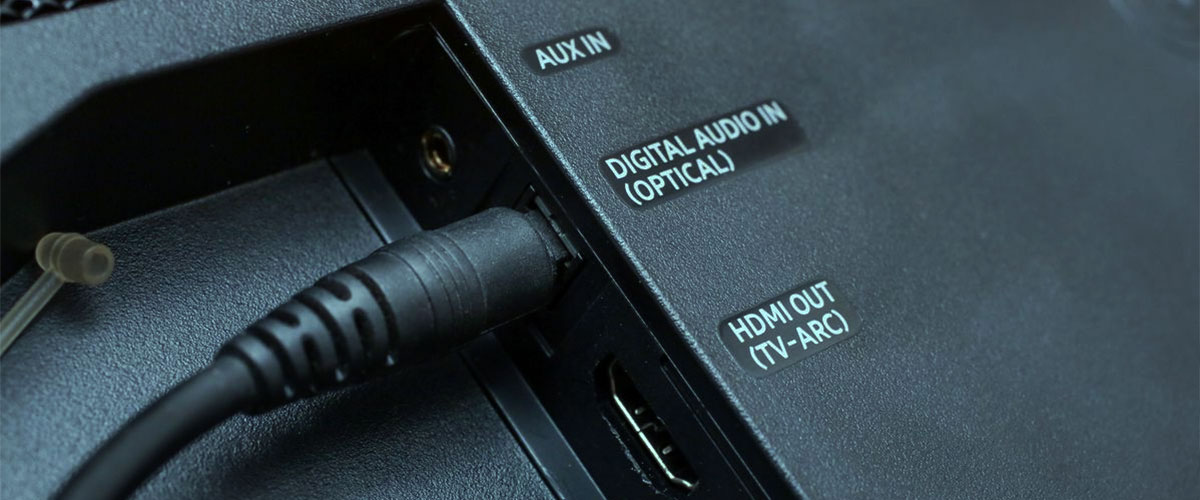
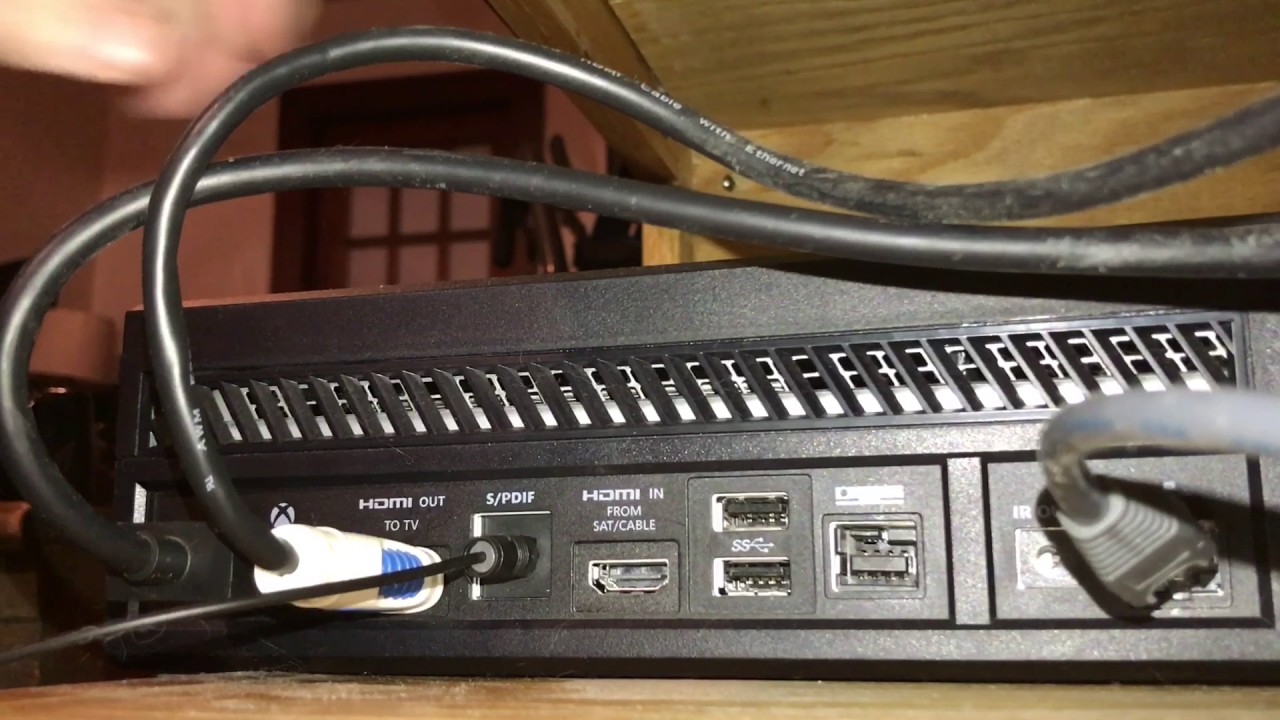
Once you have the cable ready, locate the optical audio output port on the back of the Xbox One. It is usually marked as “TOSLINK” or “S/PDIF” and looks like a small square opening with a red LED inside. Carefully connect one end of the optical audio cable to this port.
Next, connect the other end of the cable to the optical audio input port on your audio system or gaming headset. This port is typically labeled “Optical In” or something similar. Make sure to align the connectors properly and insert the cable firmly to establish a secure connection.
Once the optical audio cable is connected, you may need to adjust the audio settings on your Xbox One. Go to the console’s settings menu and navigate to the audio settings. Select the option to output audio through the optical audio connection. You may also have the option to choose the audio format, depending on the capabilities of your audio system.
With the optical audio cable successfully connected and the appropriate settings configured, you can now enjoy enhanced audio while gaming on your Xbox One. Whether you’re immersed in the explosive sounds of gunfire or the subtle nuances of a game’s soundtrack, the optical audio cable provides a high-quality audio connection that truly elevates your gaming experience.
Remember that not all games or applications on the Xbox One may support surround sound or advanced audio formats. It is always a good idea to check the game’s audio settings or documentation to ensure that you are getting the optimal audio experience.
Step-by-Step Guide on Connecting an Optical Audio Cable to Xbox One
If you want to enhance your audio experience on your Xbox One gaming console, connecting an optical audio cable is a simple and effective solution. Follow these step-by-step instructions to connect an optical audio cable to your Xbox One:
- Make sure you have an optical audio cable that is compatible with the Xbox One. Most optical audio cables use standard Toslink connectors.
- Locate the optical audio output port on the back of your Xbox One console. It is usually labeled as “TOSLINK” or “S/PDIF” and looks like a square opening with a red LED inside.
- Gently insert one end of the optical audio cable into the optical audio output port on your Xbox One. Make sure it is inserted firmly and securely.
- Locate the optical audio input port on your audio system or gaming headset. It is typically labeled as “Optical In” or something similar.
- Insert the other end of the optical audio cable into the optical audio input port on your audio system or gaming headset. Ensure that the connectors are aligned correctly and firmly connected.
- Once the optical audio cable is connected, power on your Xbox One console and the connected audio system or gaming headset.
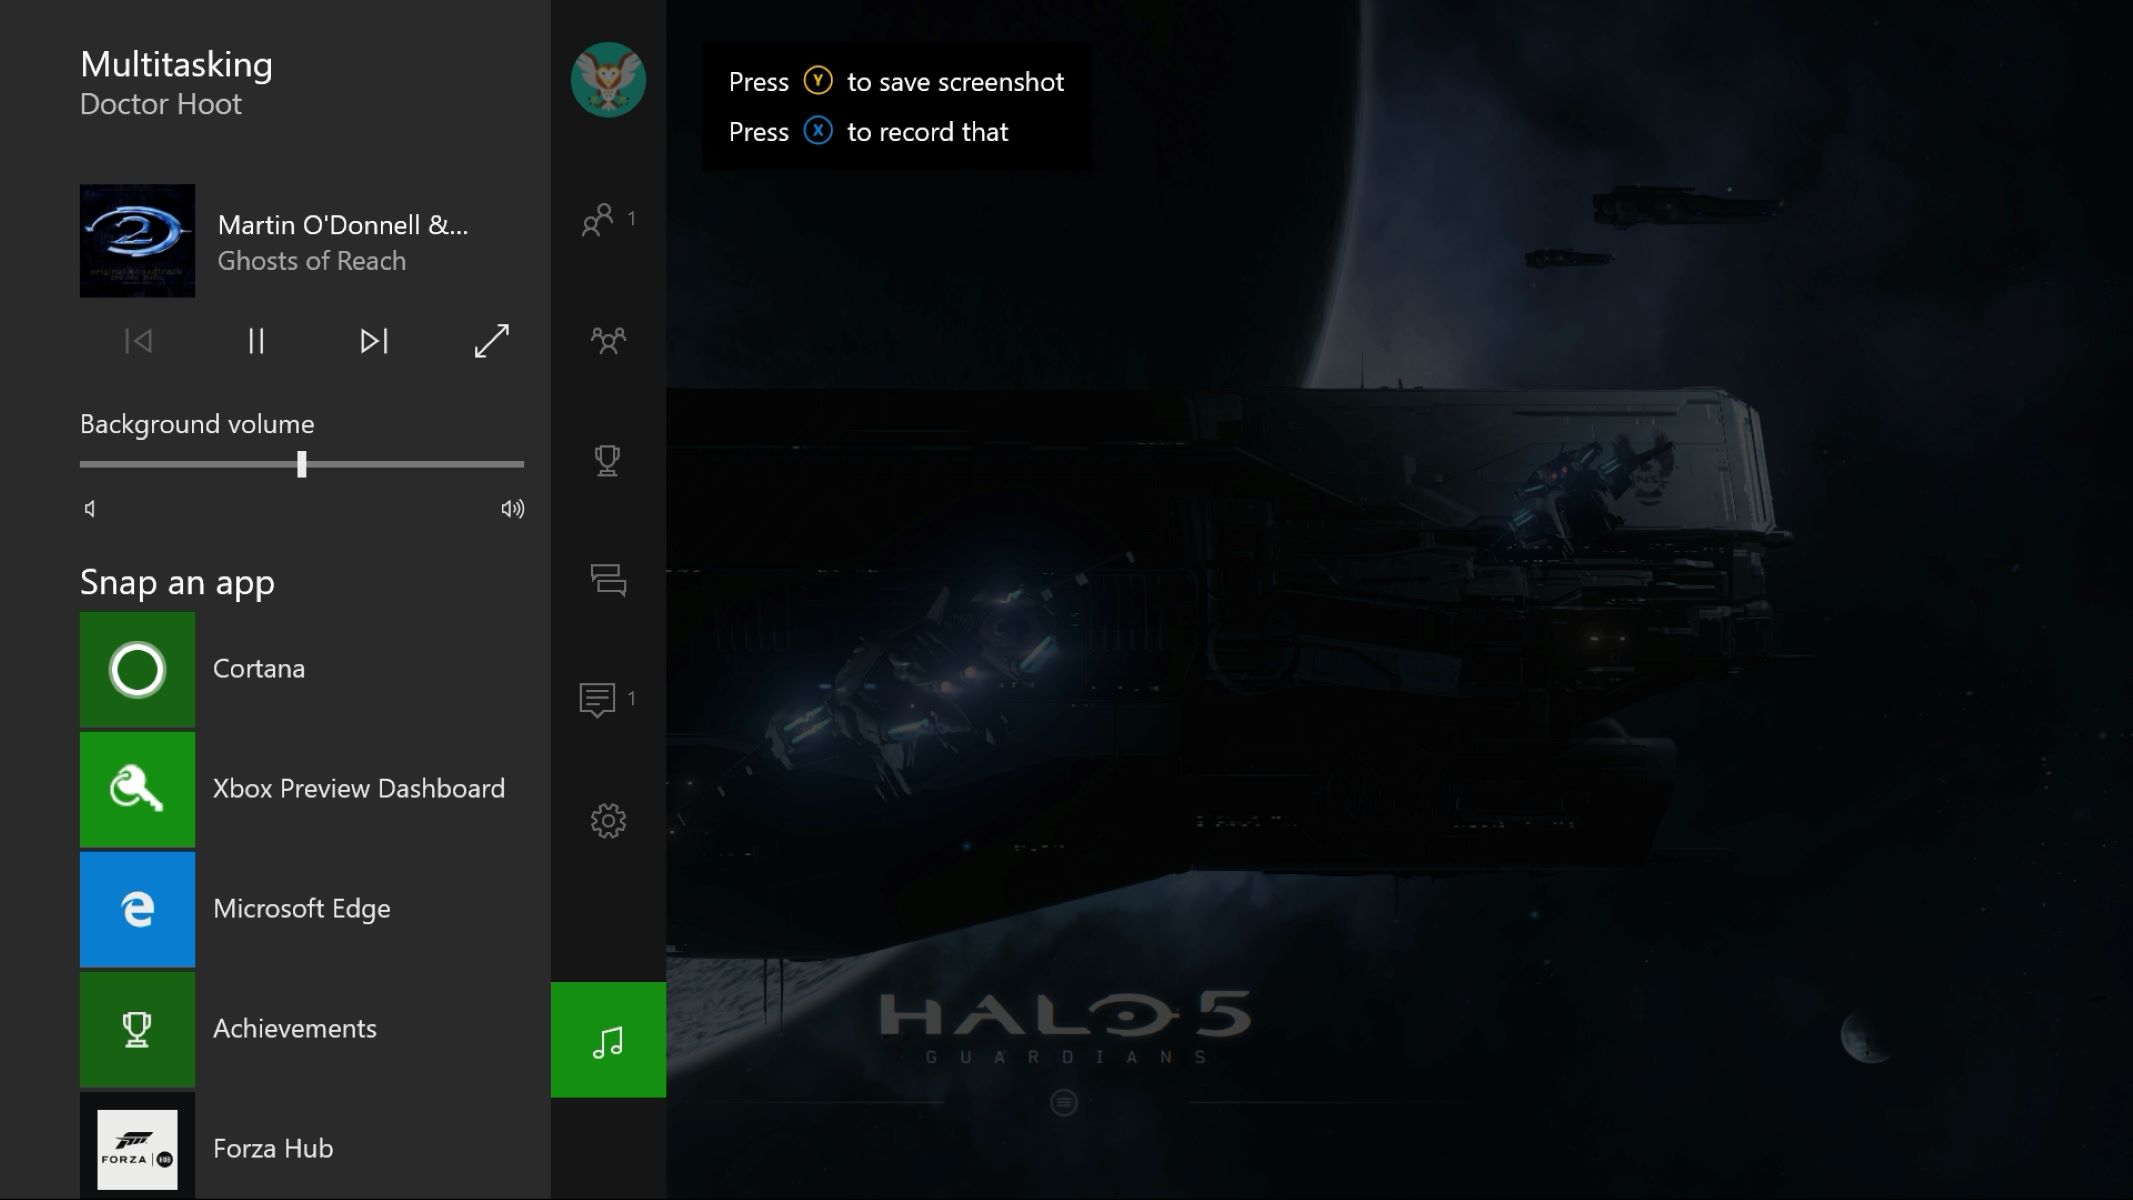
- On your Xbox One, navigate to the console’s settings menu. You can access this by pressing the Xbox button on your controller and selecting the gear icon for “Settings”.
- In the settings menu, select “General” and then choose “TV & display options”.
- Scroll down and select “Audio” to access the audio settings.
- In the audio settings, locate the option for audio output and select “Bitstream out”. This setting allows your Xbox One to transmit audio in a digital format through the optical audio cable.
- Based on the capabilities of your audio system or gaming headset, you may also have the option to select the audio format. Choose the format that your device supports, such as Dolby Digital or DTS for surround sound.
- Once you have selected the desired audio settings, exit the settings menu and start enjoying your enhanced audio experience on your Xbox One.
By following these simple steps, you can easily connect an optical audio cable to your Xbox One and experience improved audio quality, surround sound, and an immersive gaming experience. Remember to check the audio settings of your games or applications to ensure that they are compatible with the audio format and settings you have selected.
Troubleshooting Common Issues
While connecting an optical audio cable to your Xbox One can greatly enhance your audio experience, you may encounter some common issues along the way. Here are a few troubleshooting tips to help you resolve these issues:
No Audio:
- Ensure that all connections are secure and properly inserted into their respective ports.
- Check the audio settings on your Xbox One to make sure that the audio output is set to “Bitstream out” and the correct audio format is selected.
- Verify that the audio system or gaming headset is powered on and set to the correct input source.
Low Volume or Distorted Sound:
- Check the volume settings on your Xbox One and the connected audio system or gaming headset. Make sure they are set to an appropriate level.
- Inspect the optical audio cable for any damages or loose connections. Consider replacing the cable if necessary.
- Test the audio system or gaming headset with another device to determine if the issue is specific to the Xbox One.
No Surround Sound:
- Ensure that your audio system or gaming headset is capable of decoding surround sound formats such as Dolby Digital or DTS.
- Check the audio settings on your Xbox One to make sure that the correct audio format is selected. Some games or applications may require specific audio settings for surround sound.
- Verify that the audio system or gaming headset is properly configured for surround sound and all speakers are connected correctly.
Interference or Audio Dropouts:
- Keep the optical audio cable away from sources of electromagnetic interference, such as power cables or other electronic devices.
- Check if there are any obstacles blocking the line of sight between the Xbox One and the audio system or gaming headset, as this can affect the optical signal transmission.
- Consider using a higher quality optical audio cable, as cheaper cables may be more susceptible to interference or signal loss.
If you have attempted the troubleshooting steps above and are still experiencing issues, consult the user manual of your audio system or gaming headset for further guidance. Additionally, reaching out to the manufacturer’s customer support may help in resolving specific issues related to your setup.
Remember, patience and persistence are key when troubleshooting audio issues. With some troubleshooting and adjustments, you should be able to resolve common issues and enjoy a seamless and immersive audio experience with your Xbox One and optical audio cable.
Conclusion
In conclusion, incorporating an optical audio cable into your audio setup can have a significant impact on your gaming and entertainment experience, especially when used with an Xbox One gaming console. The use of optical audio cables provides several benefits, including high-quality audio, immersive surround sound, immunity to interference, and compatibility with various devices.
By connecting an optical audio cable to your Xbox One, you can unlock the full potential of the console’s advanced audio technologies and enjoy dynamic and realistic sound while gaming. The step-by-step guide provided in this article ensures a hassle-free setup process, allowing you to start experiencing enhanced audio in no time.
However, in the event of any common issues, the troubleshooting tips outlined in this article can help you resolve them and optimize your audio setup. Remember to check your settings, ensure secure connections, and consider the possibility of interference when troubleshooting.
Overall, an optical audio cable is a powerful tool that can elevate your audio experience on your Xbox One and other devices. Its digital transmission method and compatibility with various audio formats make it a versatile and reliable choice for audio enthusiasts and gamers alike.
So, whether you’re looking to immerse yourself in the vibrant soundscape of a video game or enjoy a cinematic audio experience while watching movies, an optical audio cable is a worthy investment that will undoubtedly enhance your audio journey.