Home>Production & Technology>Audio Cable>Where To Plug In HD Audio Cable
Audio Cable
Where To Plug In HD Audio Cable
Modified: January 22, 2024
Find the perfect spot to plug in your HD audio cable and enjoy high-quality sound with our comprehensive guide. Discover the best options for connecting your audio devices.
(Many of the links in this article redirect to a specific reviewed product. Your purchase of these products through affiliate links helps to generate commission for AudioLover.com, at no extra cost. Learn more)
Table of Contents
Introduction
Welcome to the world of audio cables! In today’s digital age, where wireless connections dominate, audio cables may seem like a relic of the past. However, when it comes to high-quality audio transmission, nothing quite compares to a reliable and well-constructed audio cable. In particular, HD audio cables have gained popularity for their ability to deliver crystal-clear sound and maintain high fidelity.
Whether you’re an avid audiophile, a gamer looking for immersive audio experiences, or simply someone who wants to ensure the best audio quality for their home entertainment system, understanding how to connect and utilize an HD audio cable is essential.
In this article, we’ll delve into the world of HD audio cables, exploring their purpose, how to find the appropriate ports on your computer and motherboard, and how to connect them effectively. We’ll also highlight some common troubleshooting issues you may encounter and provide tips on resolving them. So, let’s dive in and discover the world of HD audio cables!
What is an HD Audio Cable?
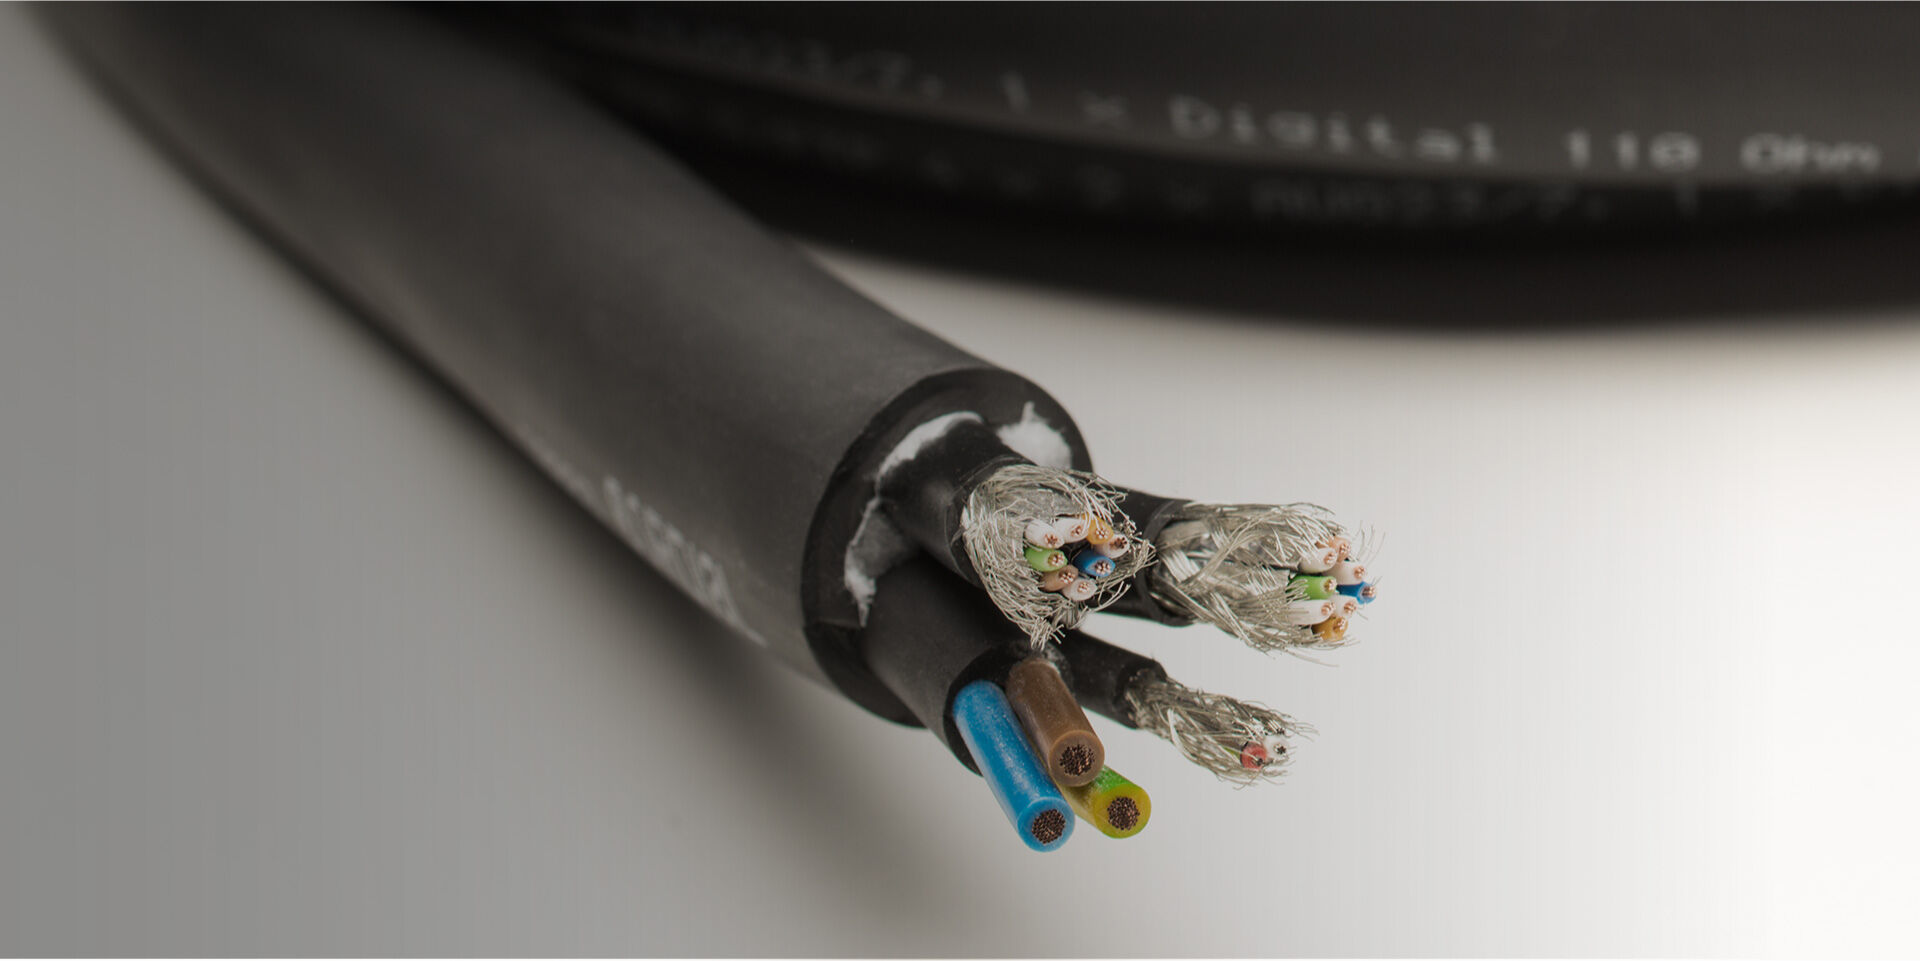
An HD audio cable, also known as a high-definition audio cable, is a specialized audio cable designed to transmit high-quality audio signals between audio devices. It is commonly used to connect audio devices such as sound cards, motherboards, CD/DVD players, speakers, and headphones.
Unlike standard analog audio cables, HD audio cables are designed to carry digital audio signals. This means that they are capable of transmitting audio data in a digital format, resulting in improved audio quality and reduced interference. HD audio cables utilize various digital audio formats, such as Dolby Digital, DTS, and PCM, to deliver immersive and high-fidelity sound.
One of the key features of HD audio cables is their ability to support multiple audio channels, allowing for surround sound setups. This makes them ideal for gaming, home theater systems, and audio production environments where a multi-channel audio experience is desired. HD audio cables can handle audio configurations from stereo (2.0) to 7.1 surround sound setups, ensuring an immersive audio experience.
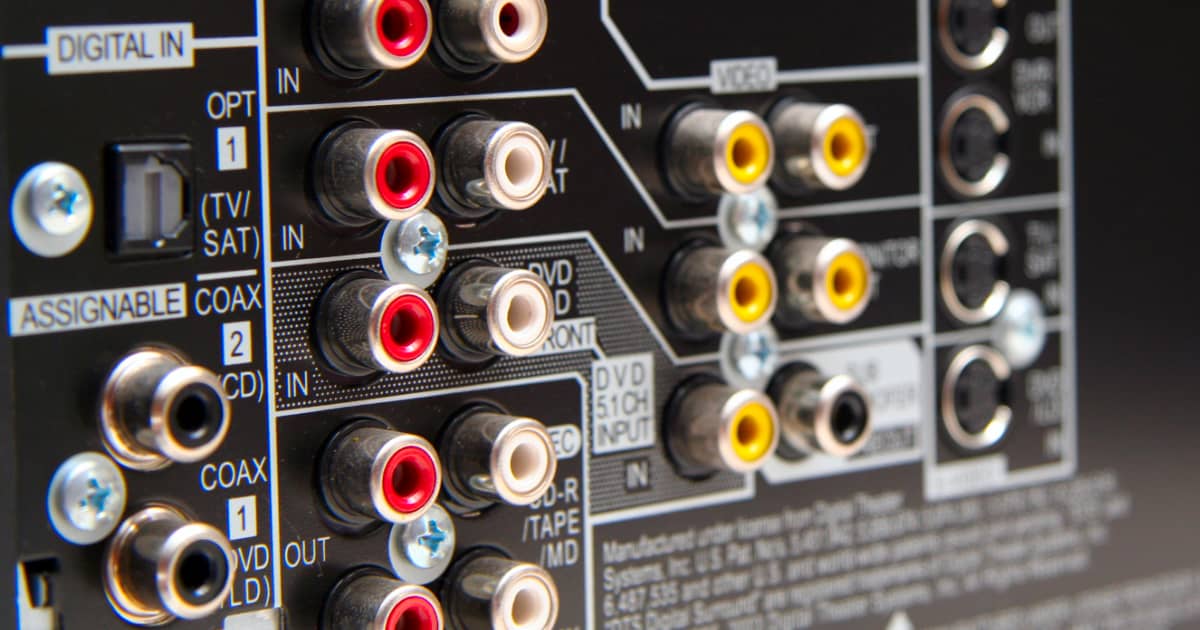
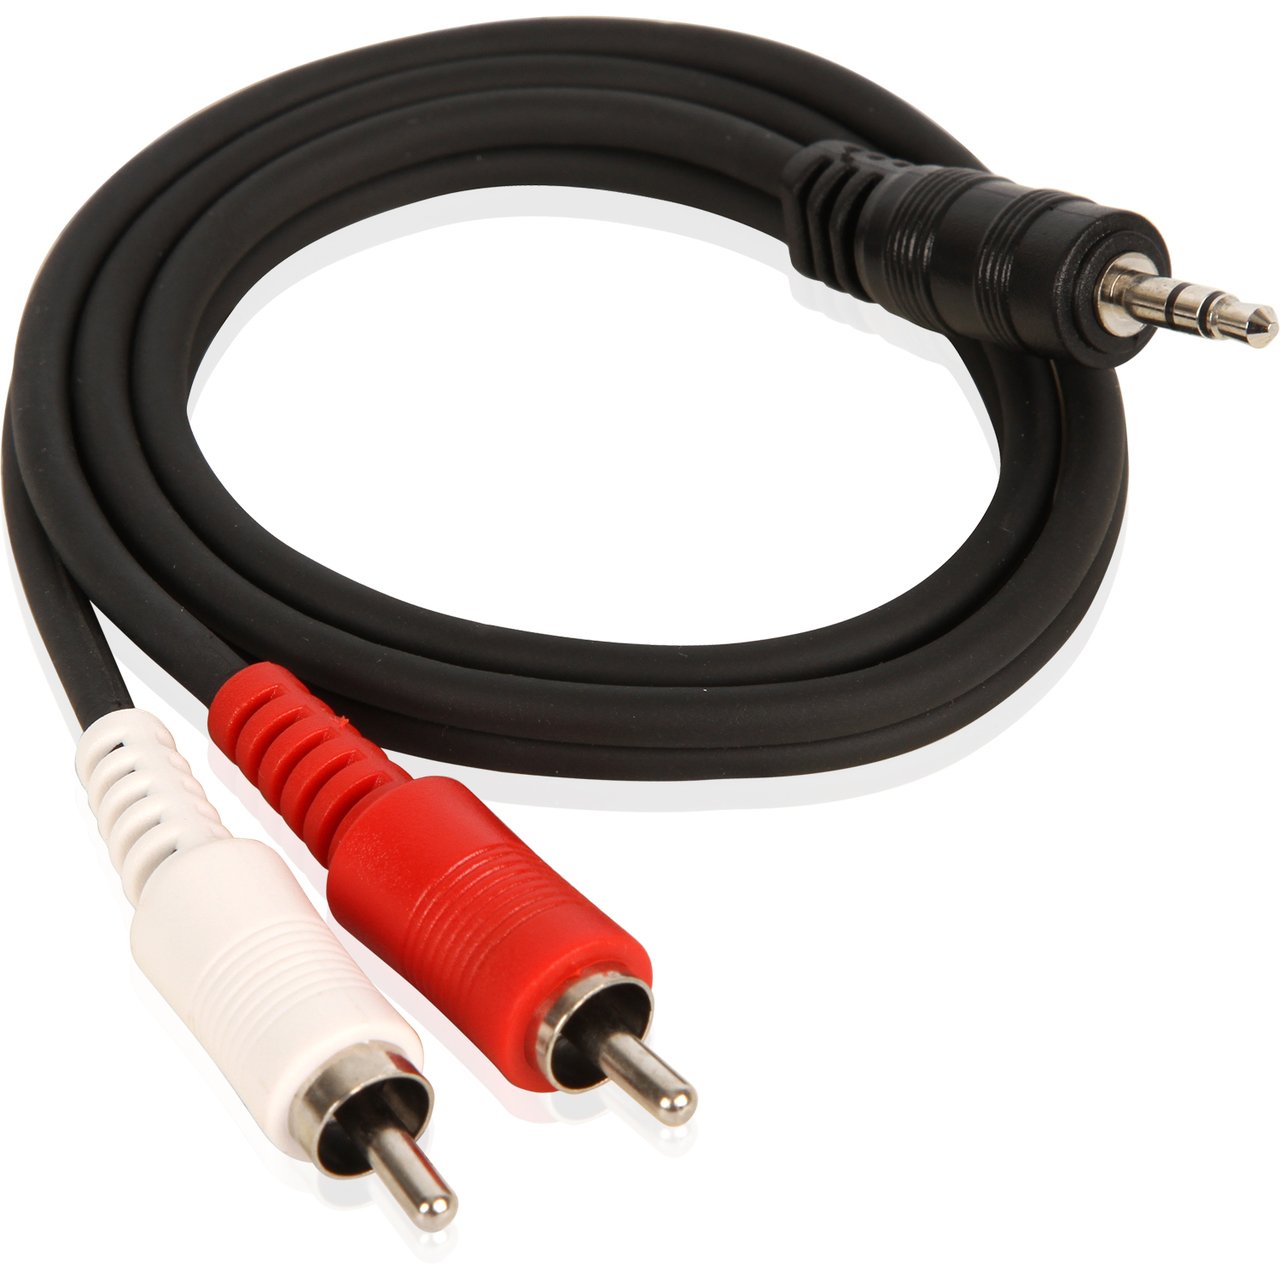
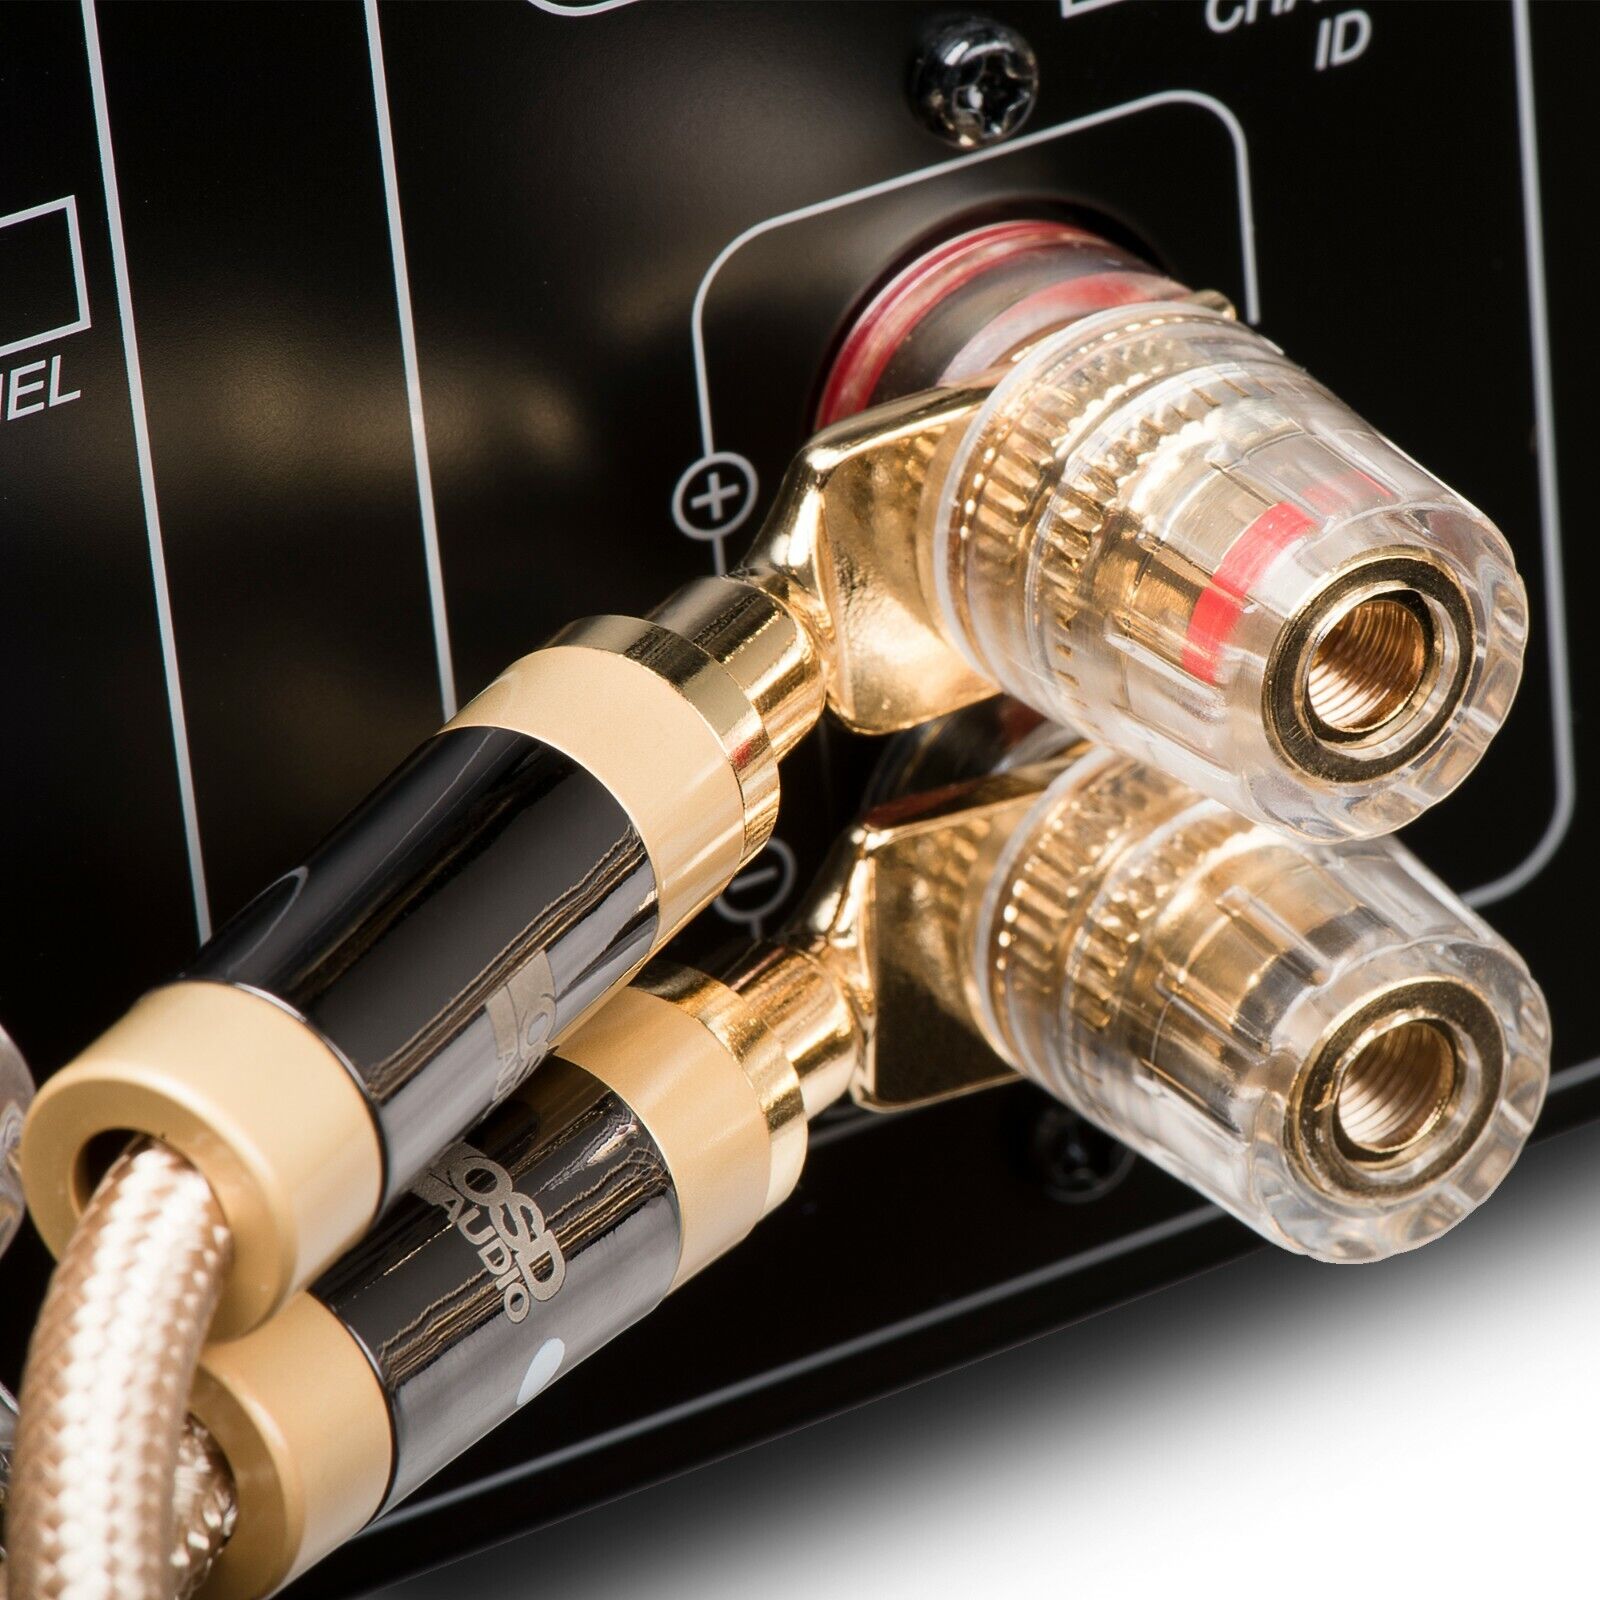
HD audio cables come in different connector types, including the familiar 3.5mm (1/8-inch) headphone jack, RCA connectors, and optical/toslink cables. The choice of connector depends on the devices you are connecting and their available ports.
It’s essential to note that HD audio cables are different from HDMI cables, which can also transmit audio signals along with high-definition video. HDMI cables are primarily used for connecting devices such as TVs, gaming consoles, and Blu-ray players, while HD audio cables are dedicated to audio transmission.
Overall, an HD audio cable is a crucial component in any audio setup, ensuring superior sound quality and enabling a seamless connection between audio devices. Whether you’re a music enthusiast, a gamer, or an audio professional, investing in a quality HD audio cable can greatly enhance your audio experience.
Understanding the Purpose
Before diving into the technical aspects of connecting an HD audio cable, it’s important to understand its purpose and why it’s essential for your audio setup. An HD audio cable serves two primary purposes: audio transmission and maintaining audio fidelity.
Firstly, an HD audio cable allows for the transmission of audio signals between different devices. Whether you’re connecting your computer to external speakers or plugging in headphones to your gaming console, the HD audio cable ensures that the audio data can be conveyed accurately and without any noticeable loss in quality. This is especially crucial in scenarios where wireless connections may introduce latency or interference, compromising the audio experience.
Secondly, an HD audio cable is designed to preserve the audio fidelity and deliver high-quality sound reproduction. By utilizing digital audio formats, such as Dolby Digital or PCM, the HD audio cable can accurately capture and transmit audio signals with minimal degradation. The result is a more immersive, detailed, and dynamic audio experience, allowing you to fully appreciate the nuances in music, movie soundtracks, and game sound effects.
Furthermore, HD audio cables are capable of supporting multi-channel audio setups, enabling surround sound configurations. This means that you can connect multiple speakers or headphones to your audio playback device and experience audio from different directions, creating a more realistic and immersive soundstage.
In addition to their primary purposes, HD audio cables also offer compatibility with various audio devices. Whether you have a desktop computer, laptop, gaming console, or home theater system, there are HD audio cable options available to connect your devices together seamlessly.
Overall, the purpose of an HD audio cable is to ensure reliable transmission and superior audio quality. By using an HD audio cable in your setup, you can enjoy a more immersive, detailed, and accurate audio experience, whether you’re listening to music, watching movies, or gaming. Now that we understand the purpose of an HD audio cable, let’s explore how to locate the appropriate ports on your computer and motherboard to make the necessary connections.
Finding the HD Audio Cable Port on Your Computer
When it comes to connecting an HD audio cable to your computer, the first step is to locate the HD audio cable port. This port is typically found on the front or back panel of your computer’s tower or on the side of your laptop.
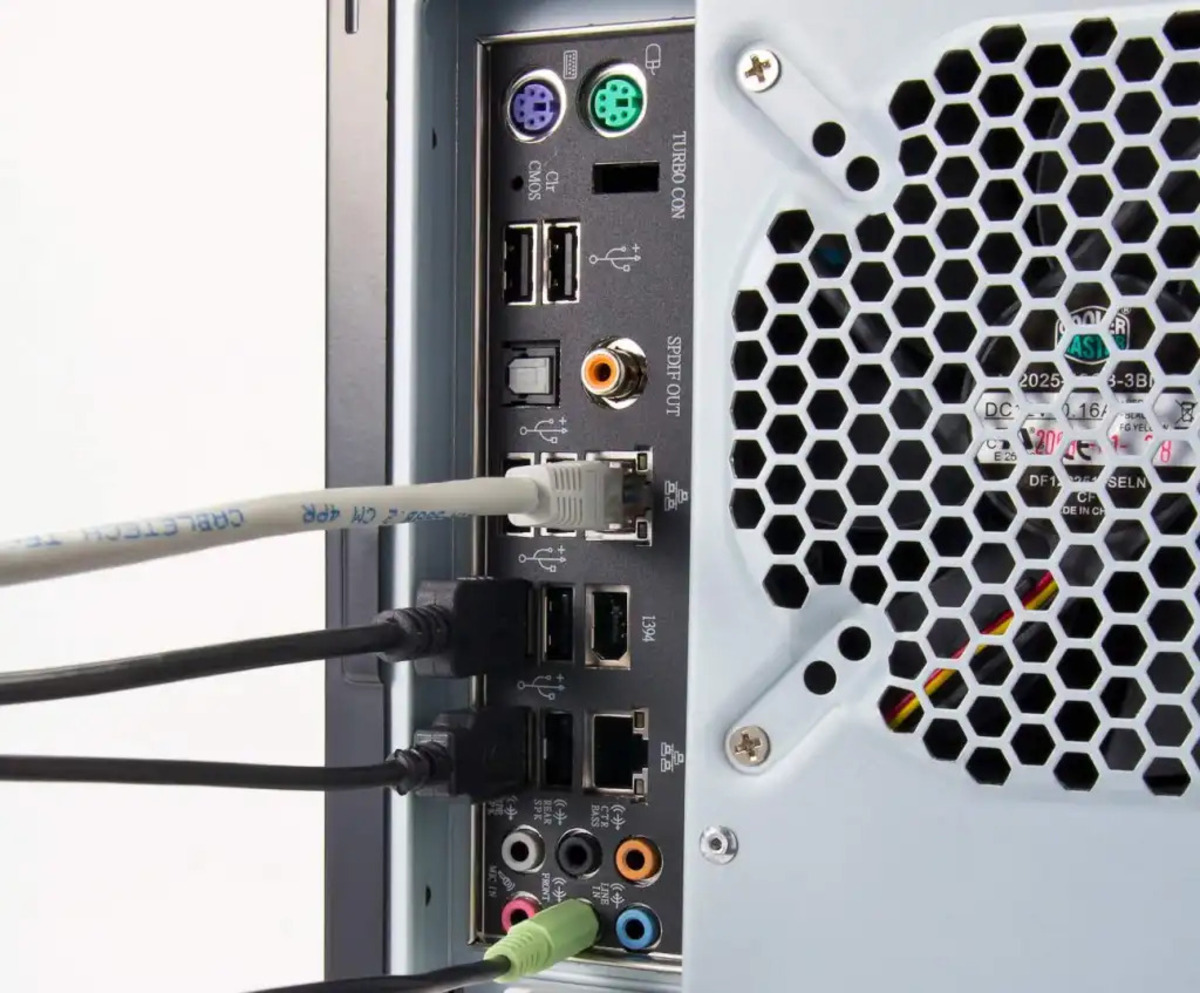
If you are using a desktop computer tower, you can start by examining the front panel. Look for a small rectangular or square-shaped port labeled “HD Audio” or “Audio Out.” It is often color-coded with green to indicate the audio output. This port is where you will plug in one end of the HD audio cable.
In some cases, the HD audio port may be located on the rear panel of the tower. It can appear as a cluster of ports, including USB ports, HDMI ports, and audio jacks. Look for a similar rectangular or square port labeled “HD Audio” or “Audio Out” in close proximity to the audio jacks. Just like on the front panel, this port may also be color-coded in green.
If you are using a laptop, the HD audio port is usually located on the side of the device. Look for a small headphone or speaker icon next to the port. This is where you will connect one end of the HD audio cable.
It is important to note that the specific location of the HD audio port may vary depending on the make and model of your computer. Be sure to consult your computer’s manual or manufacturer’s website for accurate information on locating the HD audio port.
Once you have identified the HD audio port on your computer, you are ready to move on to the next step, which is finding the appropriate HD audio cable port on your motherboard if necessary. This step is crucial if you are building a custom computer or troubleshooting audio connectivity issues.
Next, we’ll explore how to locate the HD audio cable port on your motherboard to ensure a proper connection.
Locating the HD Audio Cable Port on Your Motherboard
If you are building a custom computer or need to troubleshoot audio connectivity, it is important to locate the HD audio cable port on your motherboard. This port allows for a direct connection between the motherboard and your audio devices.
The exact location of the HD audio cable port on your motherboard may vary depending on the motherboard model and manufacturer. However, there are a few general steps you can follow to locate it.
- Refer to the motherboard manual: The first and most reliable method is to consult the user manual that came with your motherboard. The manual will have detailed diagrams and descriptions of the ports on the motherboard, including the HD audio cable port. Look for terms such as “HD Audio,” “Front Panel Audio,” or “Audio Out.”
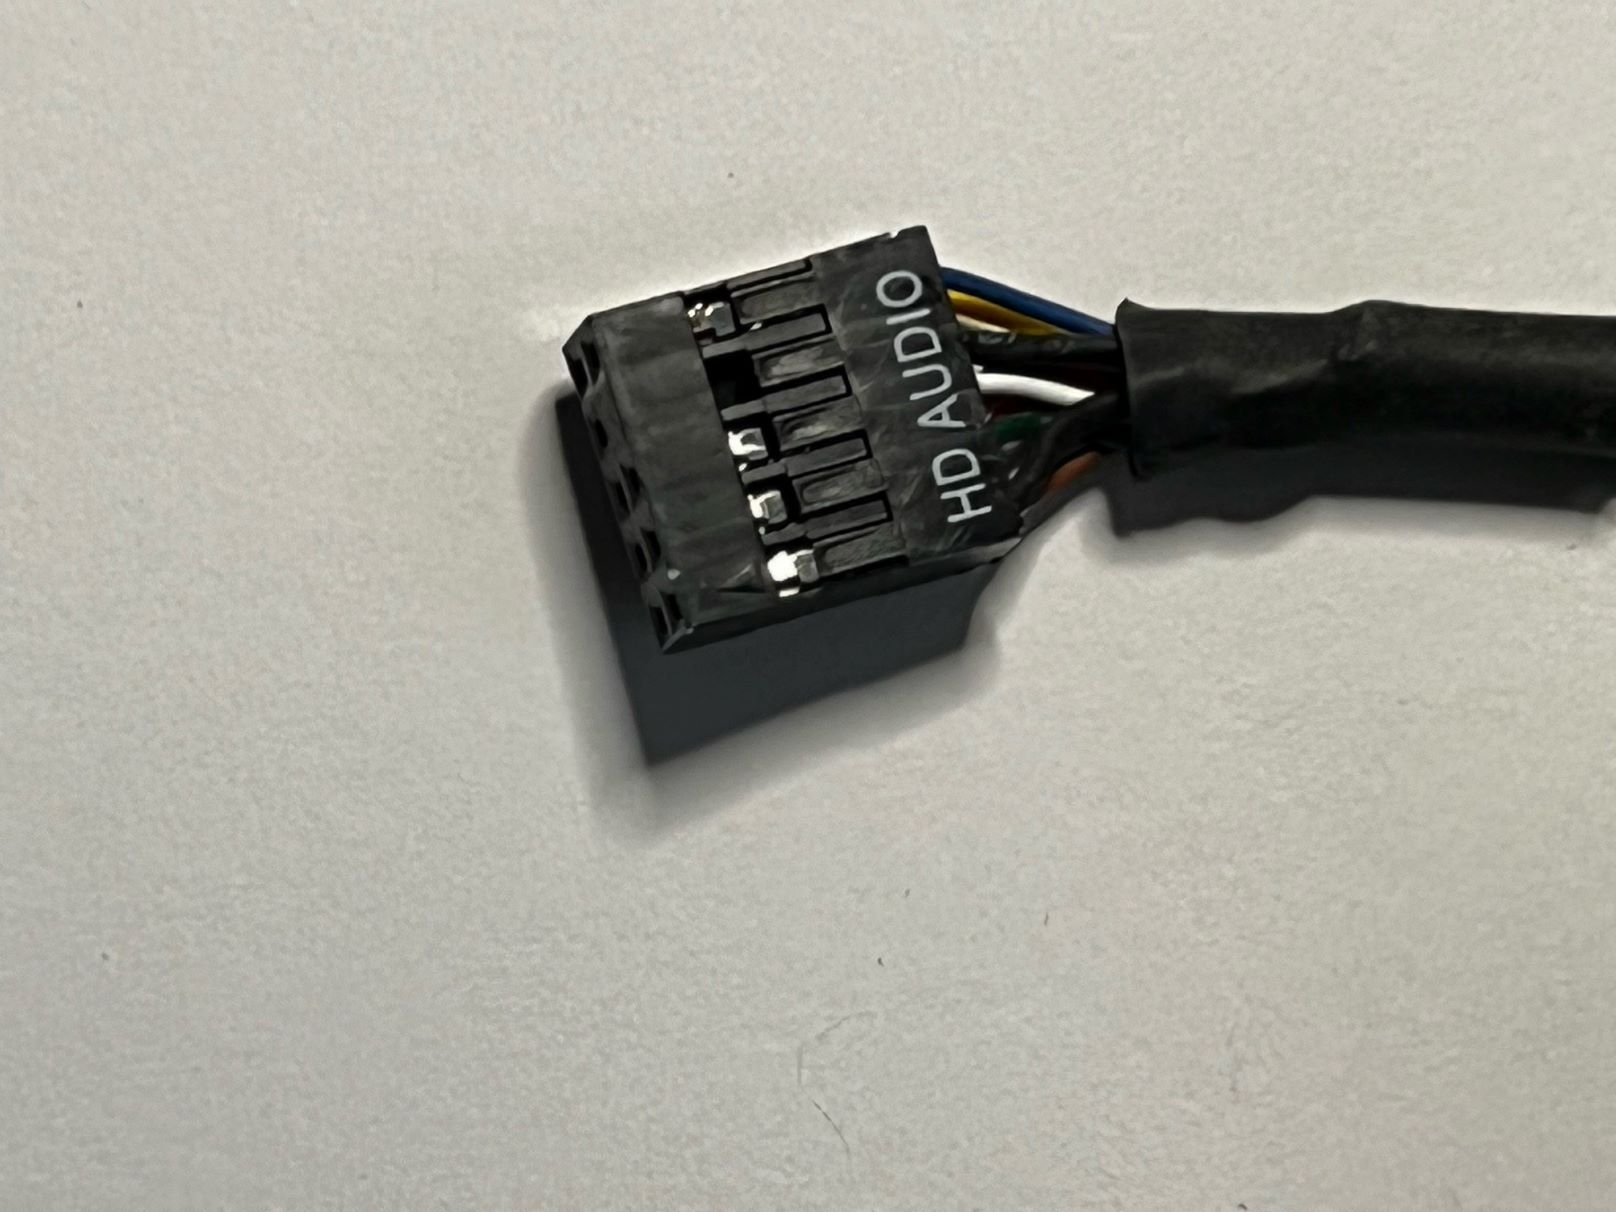
- Look for the connector panel: On most motherboards, there is a panel of connectors located along one edge. This panel includes various ports for different purposes, such as USB, Ethernet, and audio. The HD audio cable port is typically grouped with the other audio-related ports, such as microphone and line-in. Look for a set of pins or a header labeled “HD Audio.”
- Inspect the motherboard markings: In some cases, the motherboard may have markings or labels directly on the PCB (printed circuit board) that indicate the location of the HD audio cable port. Check for text such as “HD_AUDIO” or refer to the motherboard manufacturer’s website for any specific markings.
- Identify the front audio headers: The front panel of your computer case where the power button, USB ports, and audio jacks are located is connected to the motherboard via a set of pins or a header. The HD audio cable port is typically connected to this front audio panel. Trace the audio cables from the front panel to where they connect on the motherboard; the corresponding port will be the HD audio cable port.
Remember to exercise caution when handling the motherboard and ensure that you are properly grounded to prevent any electrostatic discharge. If you are unsure about locating the HD audio cable port, it is recommended to seek professional assistance or consult the motherboard manufacturer for further guidance.
Once you have successfully located the HD audio cable port on your motherboard, you can proceed to connect the HD audio cable from your computer to the motherboard. In the next section, we’ll explore how to make this connection and ensure a secure and reliable audio transmission.
Connecting the HD Audio Cable to Your Computer
Now that you have located the HD audio cable port on your computer and motherboard, it’s time to connect the HD audio cable. Follow these steps to ensure a secure and reliable connection:
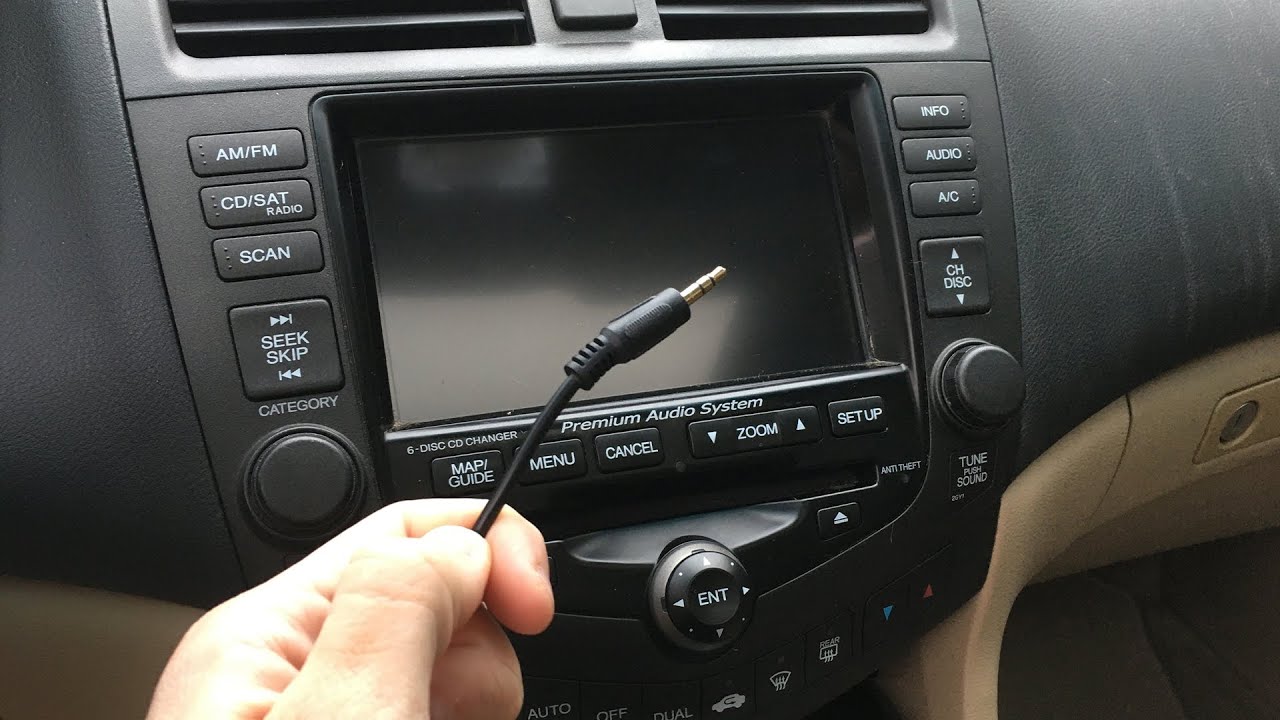
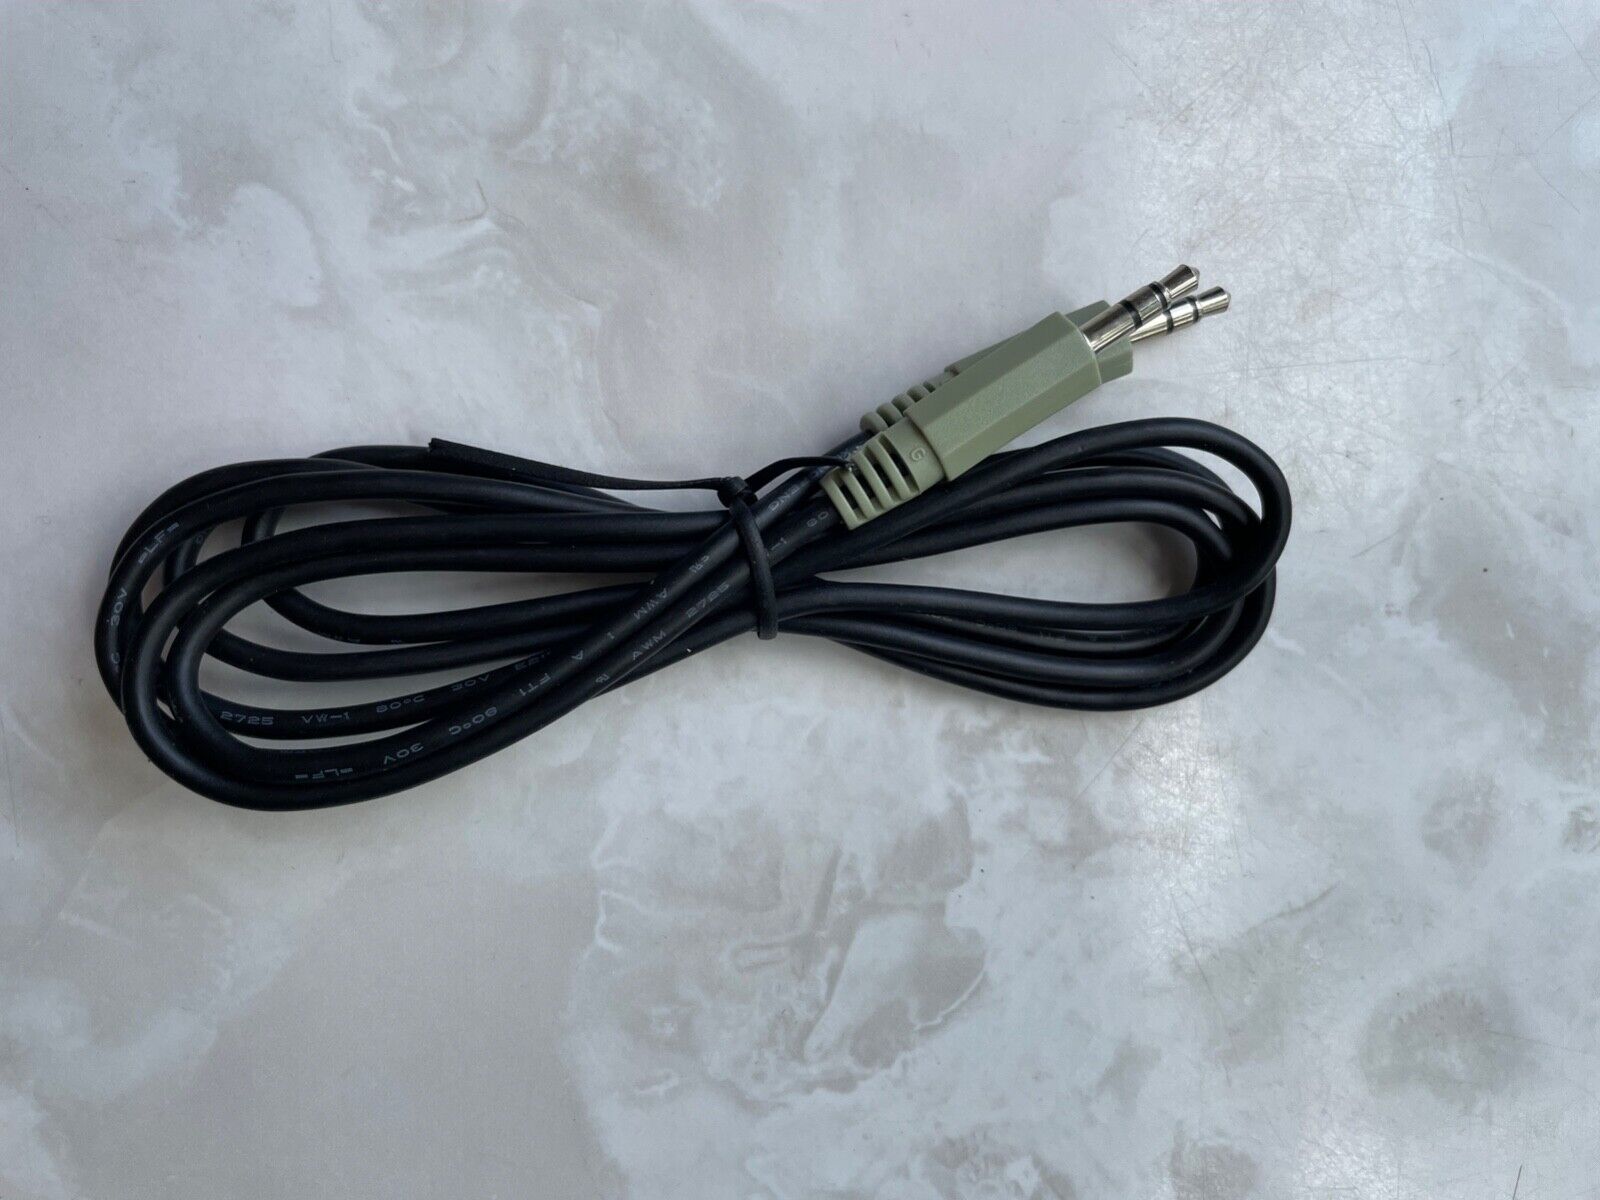
- Begin by identifying the ends of the HD audio cable. One end will have a male connector, which is typically a 3.5mm (1/8-inch) audio jack, while the other end may have various connectors, depending on the audio device you are connecting.
- Take the end of the HD audio cable with the male connector and insert it firmly into the corresponding HD audio port on your computer. Ensure that it is fully inserted, and you may hear a click or feel a slight resistance when it is properly connected.
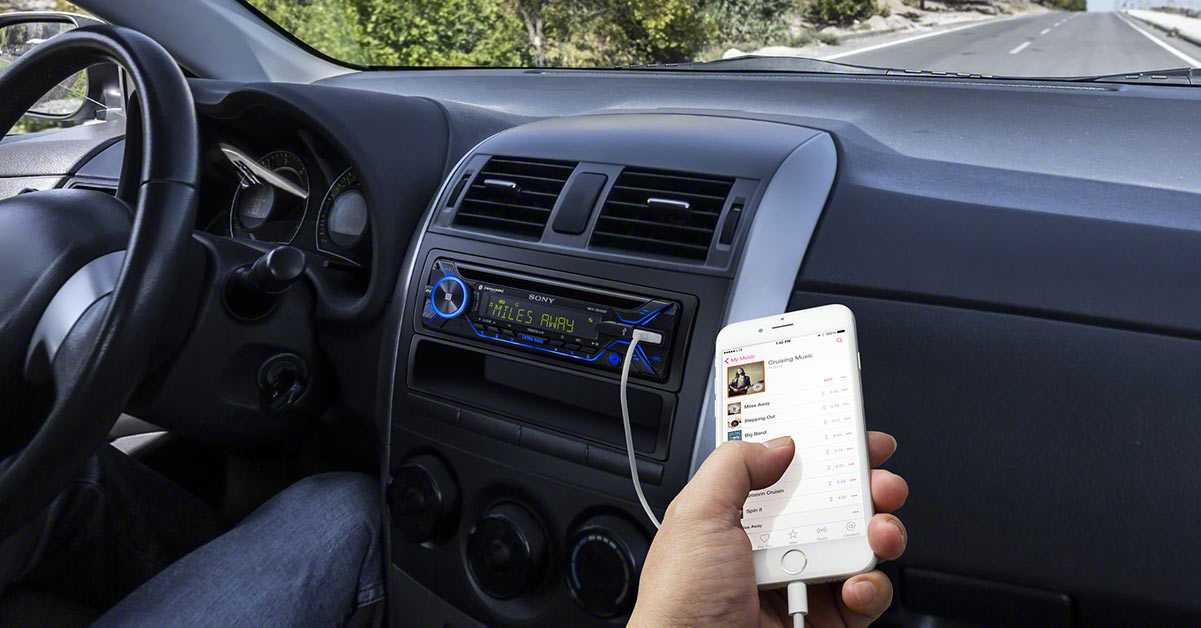
- If you are connecting the other end of the HD audio cable to external speakers or headphones, simply insert the appropriate connector into the corresponding audio input on your audio device. This could be a headphone jack, RCA connectors, or an optical/toslink port, depending on your setup.
- If you are connecting the other end of the HD audio cable to your motherboard, locate the HD audio cable port on the motherboard as discussed in the previous section. Align the pins on the cable connector with the corresponding pins on the motherboard’s HD audio port, and gently push the connector onto the pins. Be careful not to apply excessive force, as this may damage the pins or the motherboard.
- Once connected, ensure that the HD audio cable is secure and not loose. A loose connection can result in audio distortion, interruptions, or no sound at all. Confirm that both ends of the cable are firmly plugged in.
It is important to note that some motherboards may have multiple HD audio cable ports. In such cases, refer to the motherboard manual or manufacturer’s documentation to determine which port to use. Usually, the manual will specify a primary HD audio cable port that is recommended for general use.
After making the necessary connections, turn on your computer and audio device and test the audio output. Play some music or a video file to ensure that the audio is being transmitted correctly. If you are experiencing any issues, refer to the troubleshooting section in the next section of this article.
Congratulations! You have successfully connected the HD audio cable to your computer, ensuring proper audio transmission and high-quality sound. In the next section, we will discuss some common issues that you may encounter when working with HD audio cables and provide troubleshooting tips to help resolve them.
Troubleshooting Common Issues
While connecting an HD audio cable to your computer is generally a straightforward process, there may be times when you encounter some common issues. Here are a few troubleshooting tips to help you resolve them:
No Sound or Distorted Sound:
- Ensure that the HD audio cable is securely connected at both ends and that there are no loose connections.
- Check the volume settings on your computer and audio device. Make sure they are not muted or set to very low volume.
- Verify that the correct audio output is selected on your computer. Go to the sound settings and choose the relevant output device.
- Try plugging the HD audio cable into a different HD audio port on your computer or motherboard to rule out any port-related issues.
- If you are using external speakers or headphones, check their connections and ensure they are functioning properly.
Interference or Noise:
- Make sure that the HD audio cable is not close to any other cables or power sources that may cause interference. Keep it away from power cables, USB cables, and other electronic devices.
- Try using a shielded HD audio cable to reduce the effects of electromagnetic interference.
- Ensure that the audio drivers on your computer are up to date. Visit the manufacturer’s website and download the latest drivers for your sound card or motherboard.
- If you are using multiple audio devices simultaneously, such as speakers and headphones, disconnect the ones you are not using to eliminate potential conflicts or interference.
Incompatible Cable or Port:
- Ensure that you are using the correct type of HD audio cable for your specific audio setup. Check the specifications and compatibility requirements for your devices.
- If your computer or motherboard has multiple HD audio cable ports, try using a different port to determine if the issue lies with a specific port.
- Refer to the user manual or contact technical support for your audio devices or computer to confirm compatibility and troubleshoot any compatibility issues.
Driver Issues:
- If you are experiencing audio problems after updating your operating system or installing new hardware, check for driver conflicts. Uninstall and reinstall the audio drivers for your sound card or motherboard.
- Make sure that the audio drivers are compatible with your operating system. Looking for updated drivers on the manufacturer’s website or using trusted driver update software can help resolve driver-related issues.
If you have tried these troubleshooting steps and are still experiencing issues with your HD audio cable, it may be helpful to seek professional assistance or contact the manufacturer’s support team for further guidance.
Remember, patience and persistence are key when troubleshooting audio issues. By following these tips, you will be better equipped to identify and resolve common problems, ensuring a smooth and enjoyable audio experience.
Conclusion
Connecting an HD audio cable to your computer is a crucial step in achieving high-quality audio performance. By understanding the purpose of an HD audio cable and locating the appropriate ports on your computer and motherboard, you can ensure a seamless and reliable audio connection.
We explored the importance of HD audio cables and how they transmit audio signals while maintaining audio fidelity. We discussed the various types of connectors used in HD audio cables and their compatibility with different devices.
Locating the HD audio cable port on your computer and motherboard is essential for making the proper connections. By following the steps outlined in this article, you can easily find and connect the HD audio cable, ensuring optimal audio transmission.
We also provided some troubleshooting tips for common issues that may arise when working with HD audio cables. From resolving no sound or distorted sound to addressing interference or compatibility problems, these tips can help you troubleshoot and resolve audio issues effectively.
Remember, patience and attention to detail are key when working with audio connections. Taking the time to double-check your connections and troubleshoot any issues will lead to a better audio experience.
Now that you are equipped with the knowledge of HD audio cables and how to connect them, you can enjoy enhanced audio quality in your music, movies, and gaming experiences. So go ahead and immerse yourself in the world of high-quality sound!