Home>Production & Technology>Audio Cable>How To Troubleshoot An Optical Digital Audio Cable
Audio Cable
How To Troubleshoot An Optical Digital Audio Cable
Modified: January 22, 2024
Learn how to troubleshoot an audio cable with our step-by-step guide. Fix common issues such as connectivity problems and audio distortion for optimal sound quality.
(Many of the links in this article redirect to a specific reviewed product. Your purchase of these products through affiliate links helps to generate commission for AudioLover.com, at no extra cost. Learn more)
Table of Contents
- Introduction
- What is an Optical Digital Audio Cable?
- Common Issues with Optical Digital Audio Cables
- Troubleshooting Steps
- Step 1: Checking the Optical Digital Audio Cable Connection
- Step 2: Verifying the Source Device Settings
- Step 3: Testing the Audio Output Device
- Step 4: Checking for Physical Damage
- Step 5: Trying a Different Cable
- Step 6: Updating Device Firmware or Drivers
- Conclusion
Introduction
Welcome to the world of digital audio cables! In this technological age, audio cables play a crucial role in delivering high-quality sound from your devices to your speakers or headphones. One such type of audio cable is the Optical Digital Audio Cable.
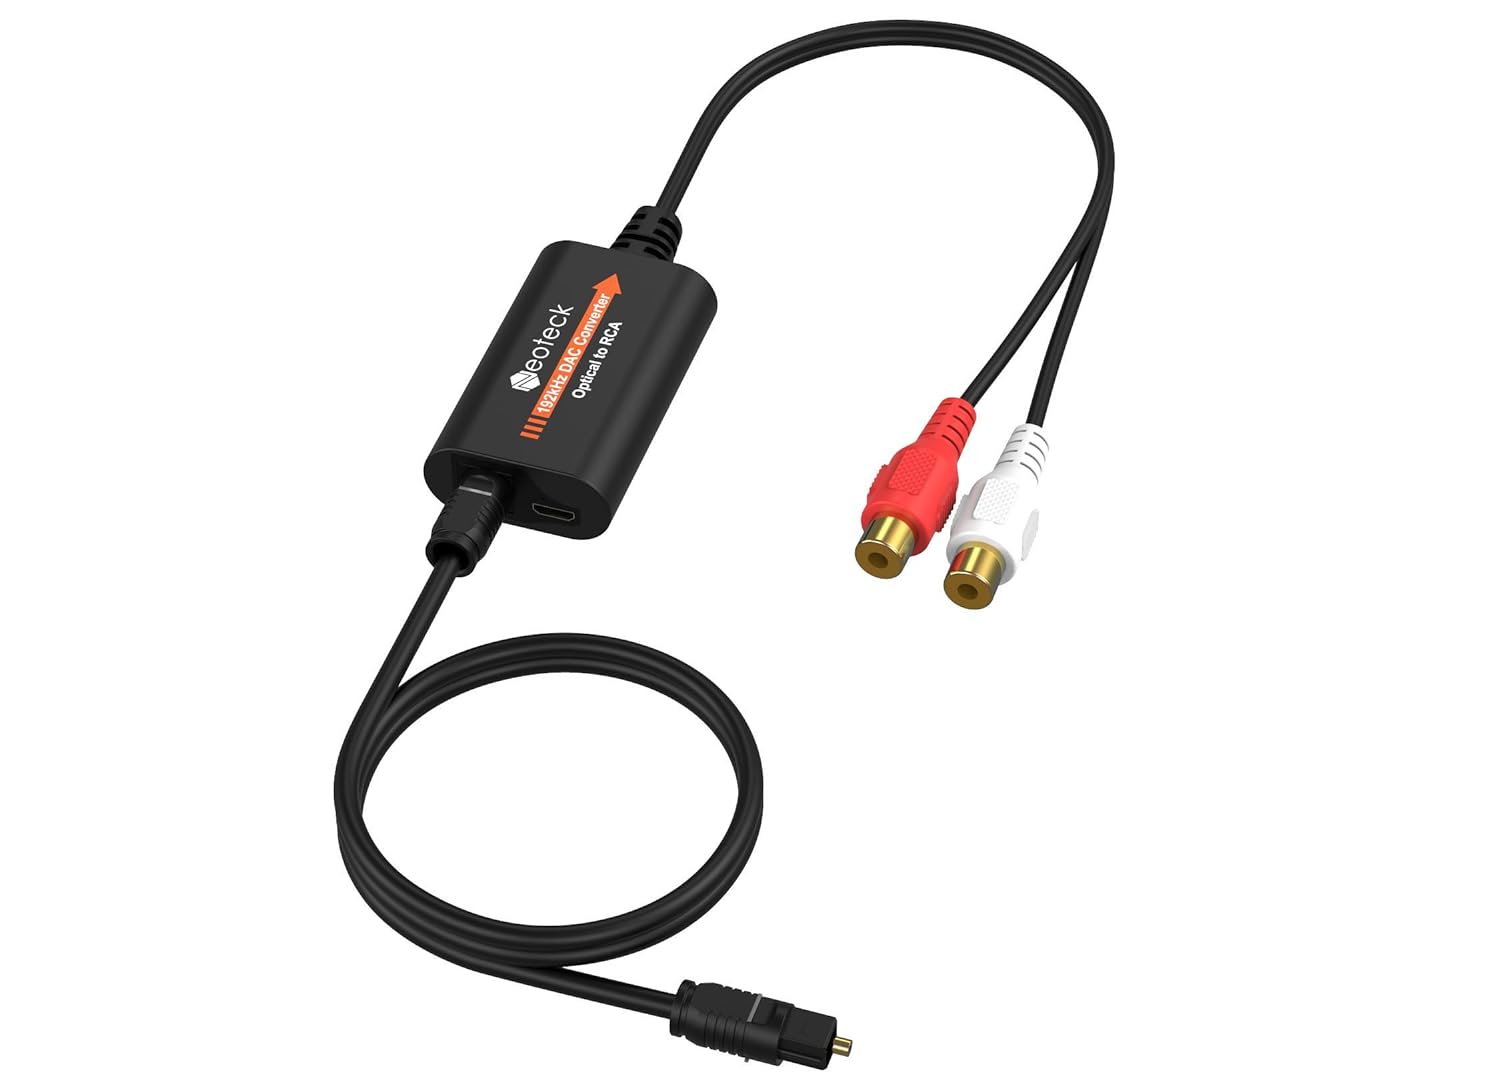
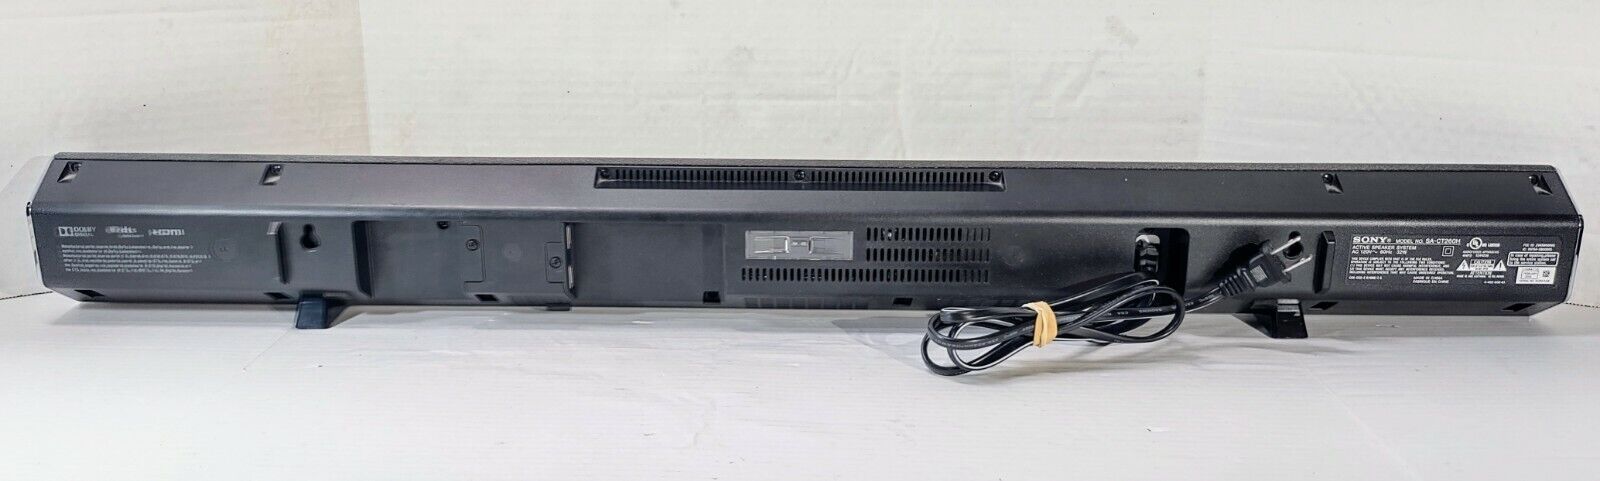
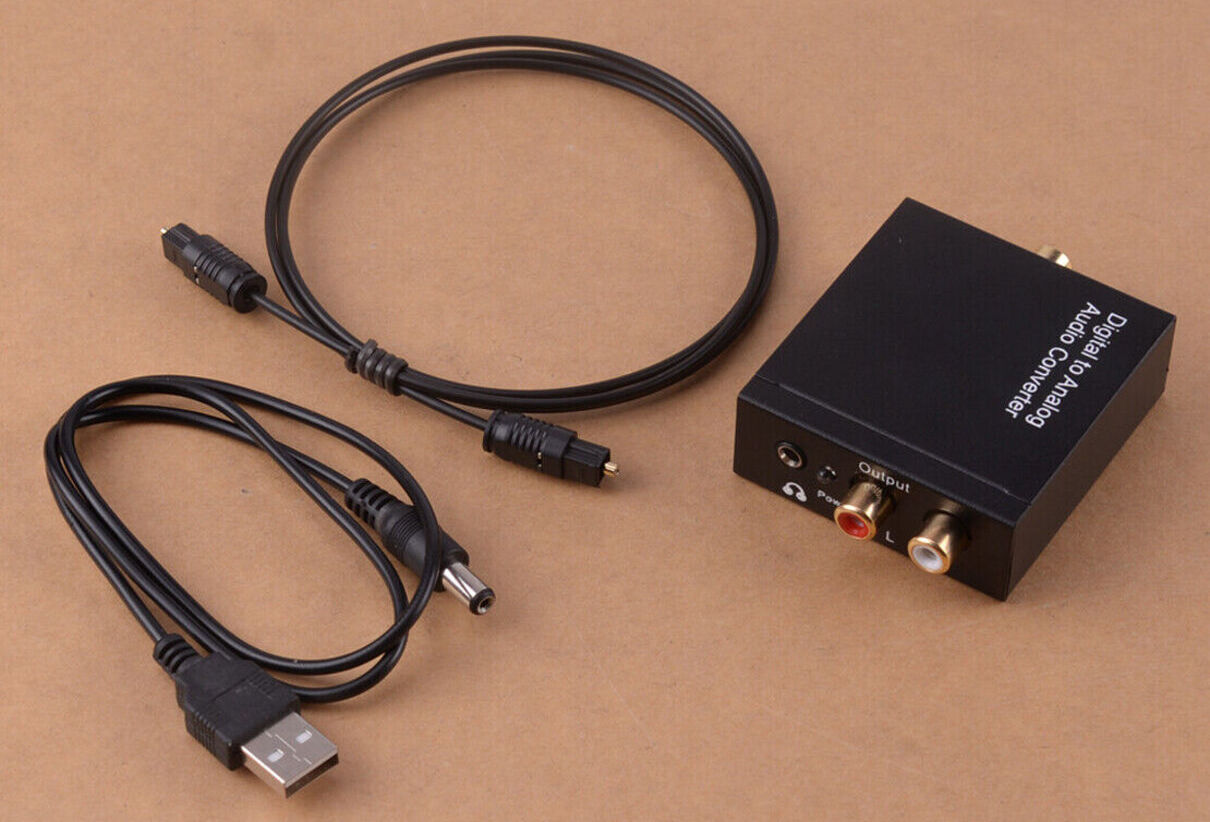
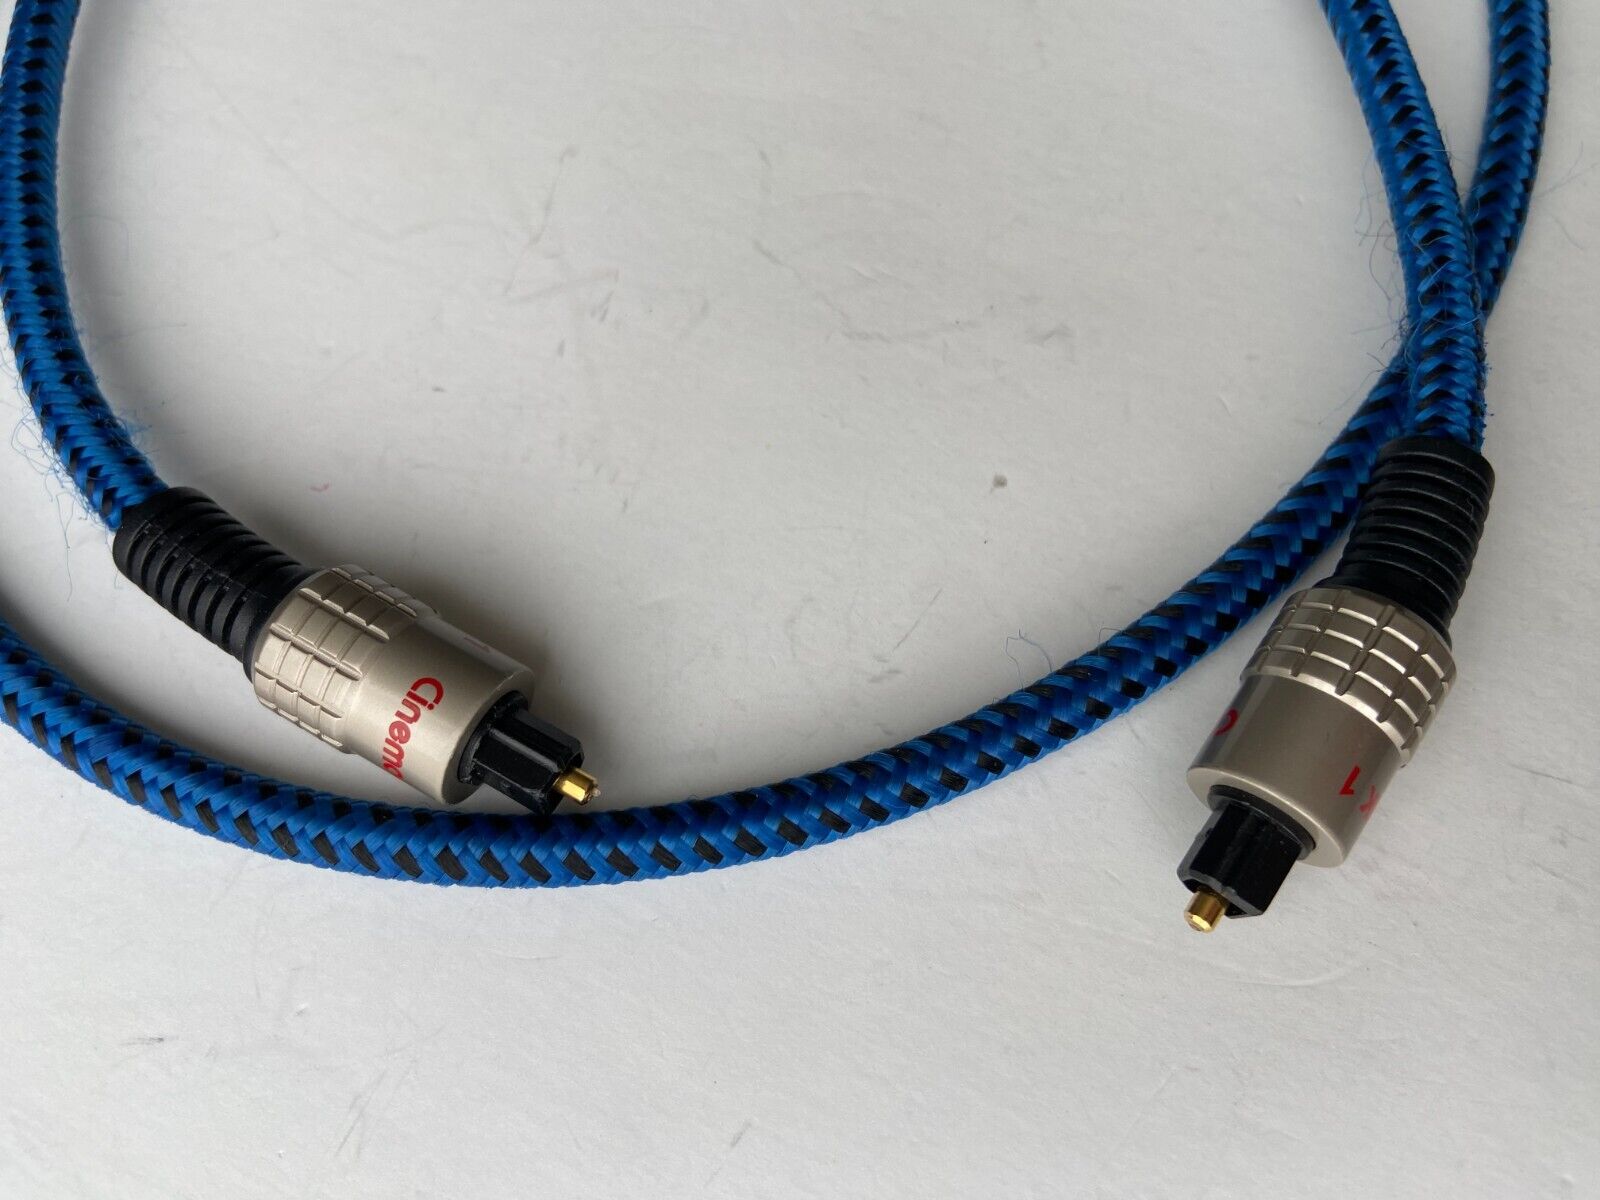
An Optical Digital Audio Cable, also known as a TOSLINK or SPDIF cable, is a fiber optic cable that transmits audio signals in a digital format. It utilizes light signals to carry audio data from the source device, such as a TV, soundbar, or game console, to the audio output device, such as a receiver or speaker system.
These cables have gained popularity due to their ability to transmit uncompressed and high-fidelity audio signals, ensuring an immersive audio experience. However, like any technology, Optical Digital Audio Cables may encounter issues that can impact the audio quality or even cause it to stop working altogether.
In this article, we will explore common issues that can occur with Optical Digital Audio Cables and provide troubleshooting steps to help you resolve any problems you may encounter. So, let’s dive in and unravel the mysteries of troubleshooting an Optical Digital Audio Cable!
What is an Optical Digital Audio Cable?
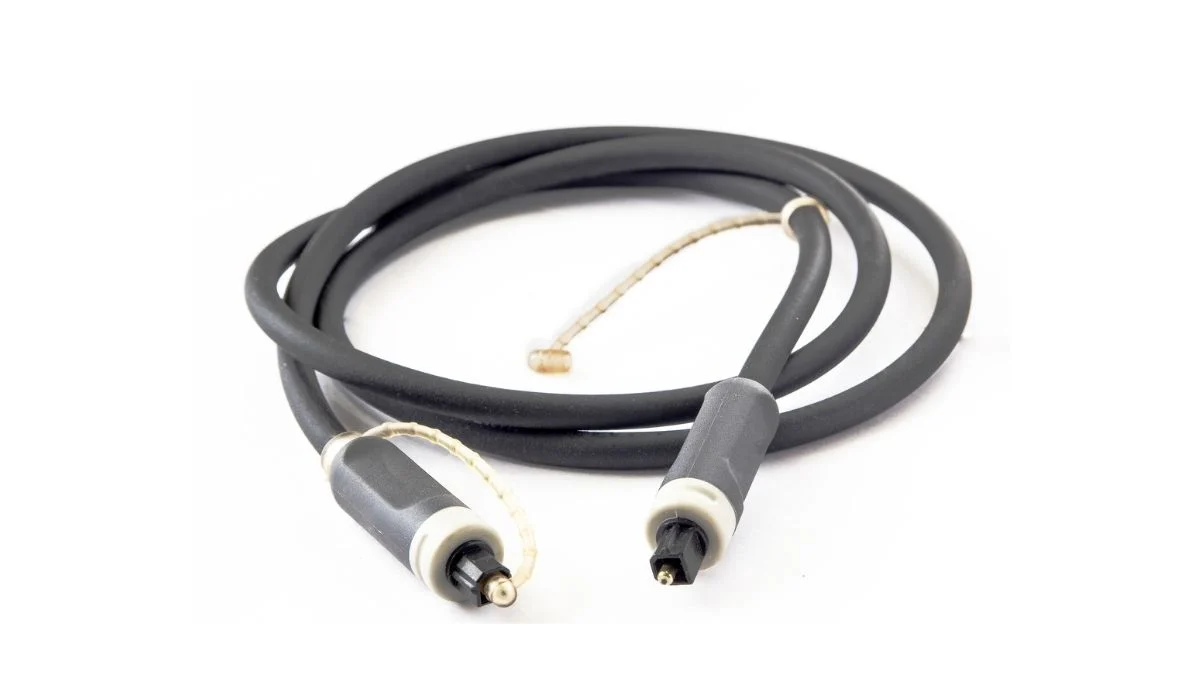
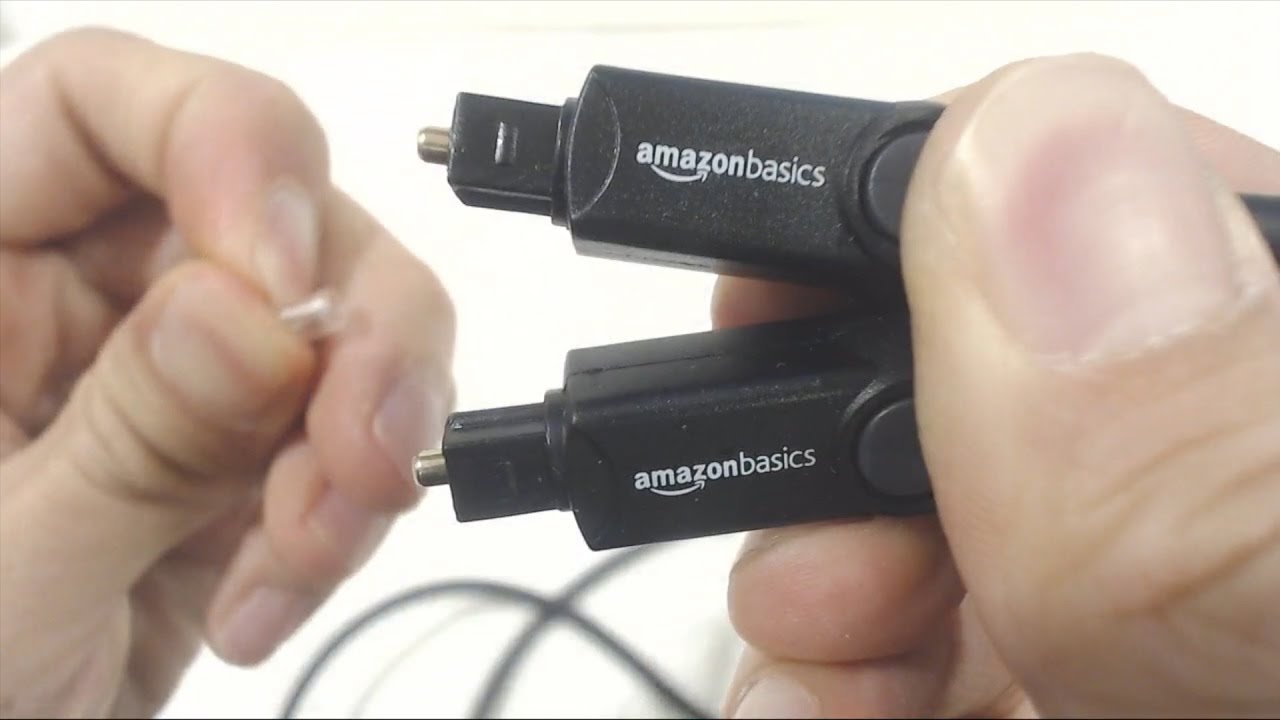
An Optical Digital Audio Cable, also known as a TOSLINK or SPDIF (Sony/Philips Digital Interface) cable, is a type of audio cable that uses fiber optic technology to transmit digital audio signals. It consists of a thin plastic or glass fiber core surrounded by a protective layer and a connector on each end. The connectors are typically square-shaped and have a small cover that must be removed before plugging in.
The main advantage of an Optical Digital Audio Cable is its ability to transmit audio signals in a digital format without any loss of quality. Unlike traditional analog audio cables, which can be susceptible to interference, an optical cable uses light signals to transmit the audio data. This means that the audio is not affected by electromagnetic interference or signal degradation, resulting in a cleaner and more accurate sound reproduction.
Optical Digital Audio Cables are commonly used to connect audio devices such as TVs, soundbars, AV receivers, gaming consoles, and DVD/Blu-ray players. They can carry various digital audio formats, including PCM (Pulse-Code Modulation), Dolby Digital, DTS (Digital Theater Systems), and more.
To use an Optical Digital Audio Cable, simply plug one end of the cable into the optical audio output of the source device and the other end into the optical audio input of the receiving device. Most devices have clearly labeled ports for easy identification.
It’s important to note that Optical Digital Audio Cables are designed specifically for transmitting audio signals and cannot transmit video or other types of data. If you need to transmit both audio and video signals, you may need to use a different type of cable, such as HDMI.
Overall, Optical Digital Audio Cables offer a reliable and high-quality solution for transmitting digital audio signals. Now that we understand what these cables are, let’s explore the common issues that can arise and how to troubleshoot them effectively.
Common Issues with Optical Digital Audio Cables
While Optical Digital Audio Cables are generally reliable, there are a few common issues that users may encounter. Understanding these issues can help you troubleshoot and resolve any problems you may come across. Here are some of the most common issues:
- No Audio: One of the most frustrating issues is when there is no audio output from the receiving device. This can occur due to incorrect cable connections, a muted source device, or a faulty cable.
- Poor Audio Quality: Another issue is when the audio quality is distorted, muffled, or intermittent. This can be caused by a loose or damaged cable, incompatible audio formats, or improper settings on the source or receiving device.
- Interference: Optical Digital Audio Cables are generally resistant to interference, but certain factors like nearby electrical devices, improper cable routing, or dirty connectors can introduce interference, resulting in audio dropouts or static noise.
- Physical Damage: Cables are prone to physical damage over time. If the cable is bent, kinked, or has frayed ends, it can affect the signal transmission and lead to audio issues.
- Incompatible Devices: Sometimes, certain devices may not be compatible with each other, resulting in audio compatibility issues. This can occur if the source or receiving device does not support the specific audio format or if there is a firmware or driver compatibility problem.
It’s worth noting that these issues can occur with any type of audio cable, but they are particularly relevant to Optical Digital Audio Cables. Troubleshooting these issues requires a systematic approach to identify and resolve the underlying cause. In the next section, we will walk you through the troubleshooting steps to help you address these issues effectively.
Troubleshooting Steps
When encountering issues with your Optical Digital Audio Cable, it’s important to follow a step-by-step troubleshooting process to identify and resolve the problem. Here are some steps you can take to troubleshoot common issues:
- Step 1: Checking the Optical Digital Audio Cable Connection: Ensure that the cable is securely connected to both the source and receiving devices. Disconnect and reconnect the cable to make sure it’s seated properly.
- Step 2: Verifying the Source Device Settings: Check the audio settings on the source device to ensure that the correct audio output format is selected. Make sure the volume is not muted or set too low.
- Step 3: Testing the Audio Output Device: Connect a different audio output device, such as headphones or another set of speakers, to the receiving device to check if the issue is with the cable or the device itself.
- Step 4: Checking for Physical Damage: Inspect the cable for any signs of physical damage, such as frayed ends, bent connectors, or kinks. If you find any damage, consider replacing the cable.
- Step 5: Trying a Different Cable: If possible, try using a different Optical Digital Audio Cable to eliminate the possibility of a faulty cable. Sometimes, cables can become damaged or develop internal issues, affecting the audio signal.
- Step 6: Updating Device Firmware or Drivers: Check for firmware or driver updates for both the source and receiving devices. Outdated firmware or drivers can cause compatibility issues, so keeping them up to date can potentially resolve audio problems.
By going through these troubleshooting steps, you can often pinpoint and resolve the issue with your Optical Digital Audio Cable. However, if you are still experiencing problems after following these steps, it may be useful to consult the user manuals or contact the manufacturer’s customer support for further assistance.
Remember, each situation may be unique, so it’s important to rely on your own judgment and adapt these troubleshooting steps accordingly. With patience and persistence, you’ll be able to enjoy high-quality audio through your Optical Digital Audio Cable once again!
Step 1: Checking the Optical Digital Audio Cable Connection
When troubleshooting issues with your Optical Digital Audio Cable, the first step is to ensure that the cable is properly connected to both the source and receiving devices. A loose or incorrect connection can lead to no audio or poor audio quality. Here’s how to check the cable connection:
- Inspect the cable: Start by visually inspecting the cable. Look for any visible damage, such as frayed ends or kinks. If you notice any damage, it may be necessary to replace the cable.
- Remove any protective covers: If your Optical Digital Audio Cable has protective covers on the connectors, make sure to remove them before attempting to connect the cable.
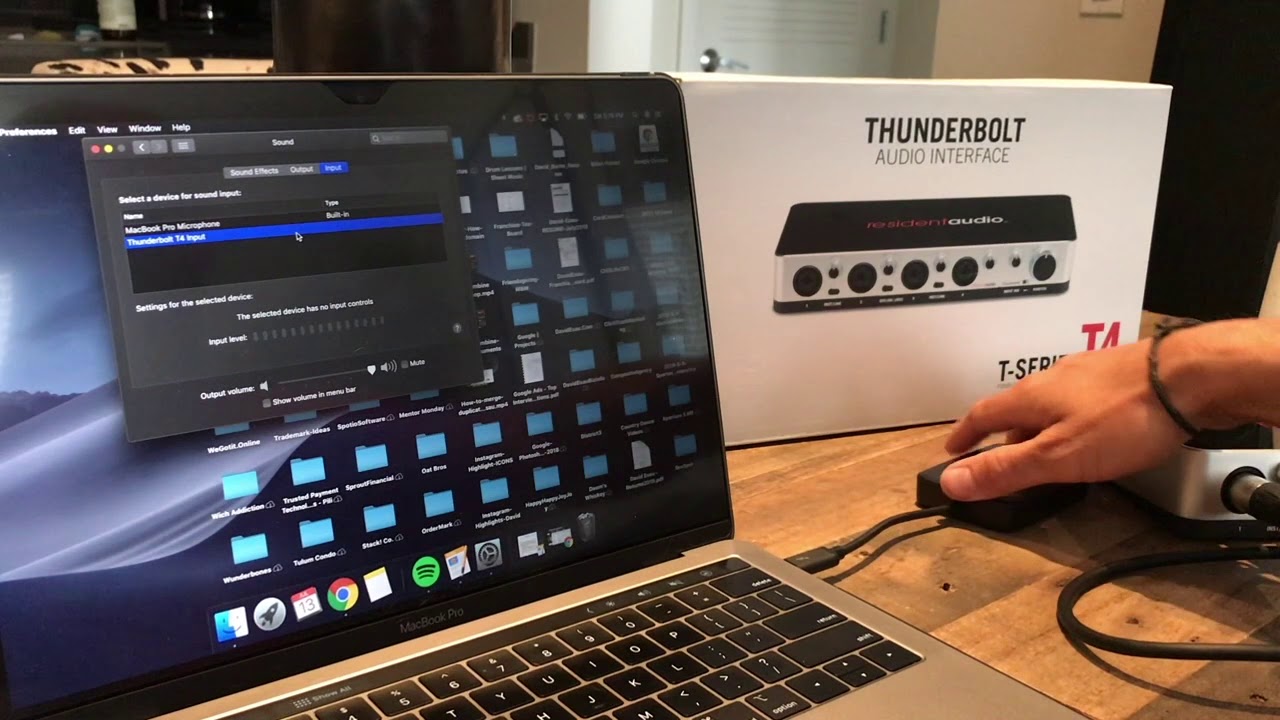
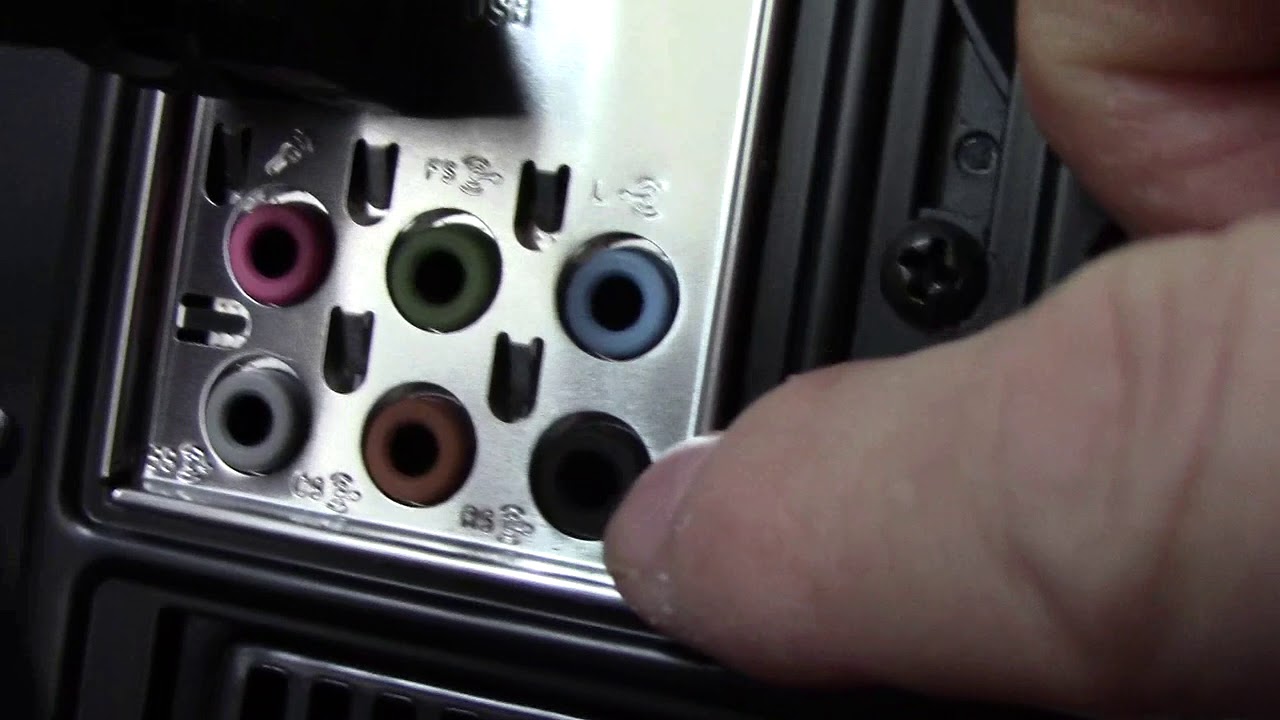
- Identify the audio input and output ports: Locate the optical audio output port on the source device, such as a TV or soundbar, and the optical audio input port on the receiving device, such as a receiver or speaker system. These ports are typically labeled with “TOSLINK” or “OPTICAL.”
- Align the connectors: Align the square-shaped connectors on the ends of the cable with the corresponding ports on the source and receiving devices. Ensure that the connectors are inserted straight and fully into the ports.
- Secure the cable: Once the connectors are inserted, gently push the connectors in to ensure a secure connection. Avoid applying excessive force, as this could damage the connectors or the ports.
- Ensure the cable is seated properly: Double-check that the cable is seated securely in both the source and receiving device. A loose connection can result in audio issues, so wiggle the cable gently to confirm that it is firmly in place.
After following these steps, test the audio output on your receiving device to see if the connection issue has been resolved. If you’re still experiencing problems, move on to the next troubleshooting step. It’s essential to eliminate any potential issues with the cable connection before exploring other possible causes.
Remember, the quality of the audio signal is dependent on a solid and secure connection. Taking the time to check and ensure proper cable connection can often resolve common audio problems with Optical Digital Audio Cables. Let’s move on to the next step of troubleshooting and tackle any audio issues that may persist.
Step 2: Verifying the Source Device Settings
After checking the cable connection, the next step in troubleshooting your Optical Digital Audio Cable is to verify the audio settings on the source device. Incorrect settings can often lead to audio issues or no sound output. To ensure the optimal audio experience, follow these steps to verify the source device settings:
- Access the audio settings: Depending on the source device, access the menu or settings options. This is typically done through the device’s remote control, on-screen display, or a dedicated audio settings button.
- Select the correct audio output format: Look for the audio output settings and choose the appropriate audio format for your setup. Common options include PCM (Stereo) or Bitstream (Dolby Digital/DTS). Refer to your device’s manual or specifications for the recommended audio format.
- Check the volume level: Make sure the volume is not muted or set too low. Adjust the volume settings to the desired level and test the audio output again. Sometimes, the simplest solution is overlooking the volume control.
- Reset the source device: If you are still encountering audio issues, try restarting or resetting the source device. Power cycling the device can sometimes resolve minor software or configuration glitches that may be affecting the audio output.
- Ensure compatibility: Verify that the source device and the receiving device are compatible with each other. Some devices may have specific requirements for audio output, and using an incompatible format could result in audio issues. Consult the user manuals or manufacturer’s website for compatibility information.
Once you have gone through these steps and made any necessary changes to the source device settings, test the audio output on your receiving device again. This will help determine if the issue has been resolved. If you are still experiencing problems, move on to the next troubleshooting step to further investigate the issue.
Remember, verifying and adjusting the source device settings is an essential part of troubleshooting audio issues with Optical Digital Audio Cables. Taking the time to ensure the correct audio settings can lead to improved audio quality and a more enjoyable listening experience.
Step 3: Testing the Audio Output Device
If you’re still encountering audio issues after checking the cable connection and verifying the source device settings, the next step in troubleshooting your Optical Digital Audio Cable is to test the audio output device. By connecting an alternative audio output device, you can determine whether the issue lies with the receiving device or the cable itself. Follow these steps to test the audio output device:
- Identify an alternative audio output device: Find an alternate audio output device that you can connect to the receiving device. This can be a pair of headphones, a different set of speakers, or another audio system.
- Connect the alternative audio output device: Plug in the alternative audio output device to the receiving device using a different audio cable or headphone jack, depending on the device’s available connections.
- Test the audio output: Play audio on the source device and listen for any issues with the alternative audio output device. Check for clarity, volume, and any other audio abnormalities.
- Compare the results: Compare the audio quality and functionality of the alternative audio output device with the initial receiving device. If the audio issue disappears or is significantly improved with the alternative device, it may indicate that the original receiving device is the source of the problem.
By testing an alternative audio output device, you can determine whether the issue lies with the receiving device or the cable itself. If the audio quality and performance are satisfactory with the alternative device, it suggests that the receiving device may require further troubleshooting or even repairs. Consult the user manual or contact the manufacturer for guidance on resolving specific issues pertaining to the receiving device.
If the audio issue persists, it’s likely that the problem is related to the Optical Digital Audio Cable itself. In this case, continue to the next troubleshooting step to further investigate the issue and work towards a resolution.
Remember, testing the audio output device helps narrow down the possible causes of audio issues when troubleshooting your Optical Digital Audio Cable. It allows you to identify whether the issue lies with the receiving device or the cable, bringing you closer to resolving the problem and enjoying optimal audio performance.
Step 4: Checking for Physical Damage
If you’ve encountered audio issues with your Optical Digital Audio Cable and have already checked the cable connection and verified the source device settings, the next step is to inspect the cable itself for any physical damage. Physical damage can impact the signal transmission and lead to audio problems. Here’s how to check for physical damage:
- Visually inspect the cable: Examine the entire length of the cable, looking for any visible signs of damage such as frayed ends, kinks, or bends. Pay close attention to the connectors as well.
- Gently run your fingers along the cable: Feel for any abnormalities like cuts, tears, or areas that seem uneven or rough. These could indicate damage to the protective layer of the cable.
- Check the connectors: Inspect the connectors on both ends of the cable. Look for any bent or missing pins, loose connections, or signs of corrosion. Ensure that the connectors are clean and free from any dirt or debris.
- Bend the cable gently: Bend the cable slightly along its length, paying attention to any resistance or unusual bending. A damaged cable may exhibit stiffness or unusual flexibility in certain areas.
- Test with another cable (if available): If possible, try using a different Optical Digital Audio Cable to connect the source and receiving devices. This will help determine if the issue lies with the cable or another component of the audio setup.
If you discover any physical damage to the cable, it is advisable to replace it. Damaged cables can disrupt the transmission of the audio signal and result in poor audio quality or a complete lack of sound. Replacing the cable with a new one can often help resolve these issues.
If no physical damage is found, or if the issue persists even after replacing the cable, it may be necessary to explore further troubleshooting steps. Move on to the next step to continue investigating the audio issues and finding a solution.
Remember, checking for physical damage is a critical step when troubleshooting your Optical Digital Audio Cable. Identifying and addressing any physical issues with the cable can help ensure optimal audio performance and minimize audio disruptions.
Step 5: Trying a Different Cable
If you’ve gone through the previous troubleshooting steps and are still experiencing audio issues with your Optical Digital Audio Cable, it’s time to try using a different cable. Sometimes, cables can develop internal issues or become faulty over time, affecting the audio signal transmission. By using a different cable, you can determine whether the problem lies with the original cable or another component of your audio setup. Follow these steps to try a different cable:
- Obtain a replacement cable: Get your hands on another Optical Digital Audio Cable. If you have one available, use a spare cable or borrow one from a friend or family member. Alternatively, purchase a new cable suitable for your audio setup.
- Disconnect the original cable: Disconnect the original Optical Digital Audio Cable from both the source and receiving devices. Carefully remove the connectors from the ports, ensuring not to damage the connectors or the ports.
- Connect the replacement cable: Take the new cable and connect one end to the optical audio output port of the source device and the other end to the matching optical audio input port of the receiving device. Insert the connectors firmly but gently, making sure they are aligned and fully seated.
- Test the audio output: Play audio on the source device and check the audio output on the receiving device connected with the new cable. Listen for any improvements in audio quality, clarity, and stability.
- Compare the results: Compare the performance of the audio with the new cable to that of the original cable. If the audio issues are resolved or significantly improved with the new cable, it suggests that the original cable may be faulty or defective.
If the audio issues persist even with the new cable, it indicates that the problem lies elsewhere in your audio setup, such as the source or receiving device settings, the audio output device, or other components. You may need to explore further troubleshooting or seek professional assistance.
Remember, trying a different cable is a valuable step in troubleshooting audio issues with your Optical Digital Audio Cable. It helps determine if the problem lies with the cable itself or with another component in your audio setup, bringing you closer to finding a resolution and restoring optimal audio performance.
Step 6: Updating Device Firmware or Drivers
If you’ve exhausted the previous troubleshooting steps and are still facing audio issues with your Optical Digital Audio Cable, it’s time to consider updating the firmware or drivers of your devices. Outdated firmware or drivers can cause compatibility issues and impact the proper functioning of your audio setup. Follow these steps to update device firmware or drivers:
- Identify the devices requiring an update: Determine which devices are involved in your audio setup and may require firmware or driver updates. This could include the source device, receiving device, or both.
- Check for updates: Visit the manufacturer’s website for each device and search for firmware or driver updates specifically related to audio or the devices themselves. Look for any release notes or documentation that mention enhancements or fixes related to audio issues.
- Download the latest firmware or driver: If updates are available, download the latest firmware or driver files provided by the manufacturer. Be sure to select the appropriate version for your specific device model and operating system.
- Follow the update instructions: Carefully follow the manufacturer’s instructions to install the firmware or update the drivers. This may involve connecting the device to a computer, running an update utility, or following on-screen prompts to complete the installation process.
- Restart the devices: After completing the firmware or driver update, restart the devices involved in your audio setup. This ensures that the updates are applied properly and any necessary changes take effect.
- Test the audio output: Play audio on the source device and verify the audio output on the receiving device. Listen for any improvements in audio quality and stability. Check for the presence of previously experienced audio issues.
Updating the firmware or drivers of your devices can address potential compatibility issues and resolve audio problems. Make sure to keep a record of the firmware or driver versions installed to easily track any future updates and enhancements provided by the manufacturer.
If the audio issues persist even after updating the firmware or drivers, it may be advisable to contact the manufacturer’s support or seek professional assistance for further troubleshooting and resolution.
Remember, updating device firmware or drivers is an important step to ensure the optimal performance and compatibility of your audio setup. By keeping your devices up to date, you enhance the functionality of your Optical Digital Audio Cable and maintain high-quality audio output.
Conclusion
Troubleshooting audio issues with your Optical Digital Audio Cable can be a daunting task, but by following the steps outlined in this guide, you can effectively diagnose and resolve common problems. Remember, the key is to approach troubleshooting systematically, starting with checking the cable connection and verifying the source device settings. If the issue persists, proceed to test the audio output device and inspect the cable for physical damage. Trying a different cable or updating device firmware/drivers can also help in resolving audio issues.
Throughout the troubleshooting process, it’s crucial to remain patient and methodical. Not every step may be necessary in every situation, but by following these steps, you increase the likelihood of identifying and rectifying the issue with your Optical Digital Audio Cable.
Keep in mind that while these troubleshooting steps cover common issues, there may be complex situations that require further assistance from the manufacturer’s support team. When in doubt, consult the user manual or reach out to customer support for guidance specific to your devices.
By maintaining good cable connections, ensuring proper device settings, and addressing physical damage or compatibility issues, you can enjoy high-quality audio from your Optical Digital Audio Cable once again.
Remember, troubleshooting audio issues is a learning experience that helps you understand your audio setup better and empowers you to solve problems independently. So, embrace the challenge, follow the steps, and get ready to immerse yourself in the rich and captivating sounds delivered by your Optical Digital Audio Cable. Happy troubleshooting and happy listening!