Home>Production & Technology>Audio Cable>Where Do I Plug An Audio Cable Into IPhone 7 Plus
Audio Cable
Where Do I Plug An Audio Cable Into IPhone 7 Plus
Modified: January 22, 2024
Discover where to plug an audio cable into your iPhone 7 Plus and enjoy high-quality sound. Follow our step-by-step guide for seamless audio connectivity.
(Many of the links in this article redirect to a specific reviewed product. Your purchase of these products through affiliate links helps to generate commission for AudioLover.com, at no extra cost. Learn more)
Table of Contents
Introduction
Welcome to the world of audio cables, where a simple connection can transform your listening experience. In this article, we will guide you through the process of connecting an audio cable to an iPhone 7 Plus.
The iPhone 7 Plus is a powerful device that offers a wide range of audio capabilities. However, with the removal of the traditional headphone jack, many users have found themselves wondering where to plug in an audio cable. Fortunately, Apple has introduced alternative options to connect audio devices to the iPhone 7 Plus.
Understanding the various audio ports and the compatible adapters is essential to ensure a seamless audio connection. Whether you want to connect your iPhone to a speaker system, car stereo, or any other audio device, this article will provide you with all the information you need.
Join us as we explore the different methods and adapters available, and troubleshoot any potential audio connection issues that may arise.
So, if you’re ready to dive into the world of audio cables and unleash the true potential of your iPhone 7 Plus, let’s get started!
Understanding the Audio Ports on iPhone 7 Plus
Before we dive into connecting audio cables to your iPhone 7 Plus, let’s take a closer look at the audio ports on the device. Understanding the different ports will help you choose the appropriate adapter and ensure a successful audio connection.
The iPhone 7 Plus has two primary audio ports:
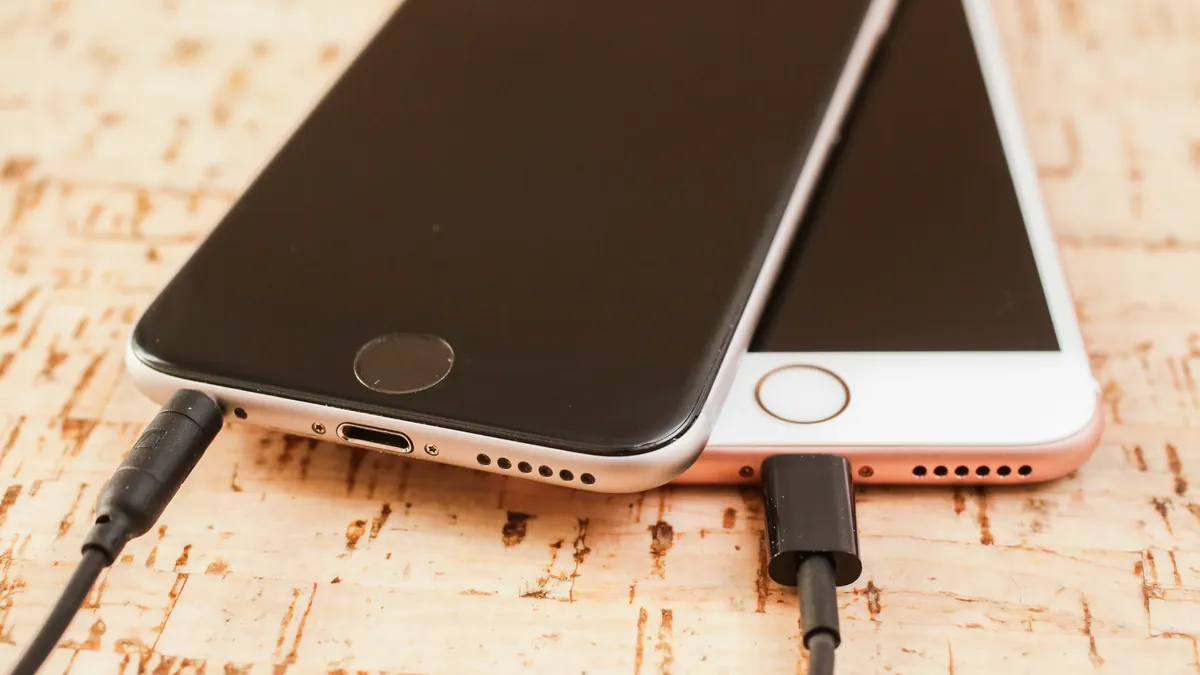
- Lightning Port: This is the main port used for charging the device, as well as for audio connections. It is a small, reversible connector located at the bottom of the iPhone.
- Bluetooth: The iPhone 7 Plus is equipped with Bluetooth technology, allowing you to wirelessly connect to compatible audio devices such as headphones or speakers.
The lightning port has become the primary means of connecting audio devices to the iPhone 7 Plus due to the removal of the traditional headphone jack. The lightning port provides a digital audio signal transmission, resulting in improved sound quality and increased compatibility with various audio devices.
If you prefer a wireless audio experience, Bluetooth connectivity is a convenient option. With Bluetooth, you can connect to compatible audio devices without the need for cables or adapters. Simply pair your iPhone 7 Plus with your Bluetooth headphones or speakers, and you’re ready to enjoy your favorite tunes.
It’s important to note that while the lightning port can be used to connect audio devices, it can also be used for other purposes such as charging, data transfer, or connecting accessories. Therefore, you may need an adapter or specific audio cable to establish a proper audio connection depending on the device you wish to connect.
Now that we have a better understanding of the audio ports on the iPhone 7 Plus, let’s explore the different adapter options available to connect your audio cables.
Finding the Correct Audio Adapter
With the removal of the traditional headphone jack on the iPhone 7 Plus, finding the correct audio adapter is crucial for connecting your audio cables to the device. Depending on the audio device you want to connect, you may need a specific adapter to ensure compatibility.
One common adapter you may need is a 3.5mm to Lightning adapter. This adapter allows you to connect standard audio cables with a 3.5mm headphone jack to the lightning port on your iPhone 7 Plus. Simply plug one end of the adapter into your iPhone’s lightning port and connect the audio cable to the other end of the adapter.
It’s worth noting that Apple includes a 3.5mm to Lightning adapter in the box with the iPhone 7 Plus, so you may already have it. If not, you can easily purchase one from Apple or third-party retailers.
If you prefer a wireless audio experience, you can connect your iPhone 7 Plus to Bluetooth headphones or speakers without the need for an adapter. Simply turn on the Bluetooth function on your iPhone, put your Bluetooth device into pairing mode, and follow the on-screen instructions to connect the two devices.
When purchasing a Bluetooth device, ensure that it is compatible with the iPhone 7 Plus and supports the necessary Bluetooth version. This will ensure a stable and reliable wireless audio connection.
In addition to the 3.5mm to Lightning adapter and Bluetooth devices, there are other specific adapters available for different audio connection scenarios. For example, if you want to connect your iPhone 7 Plus to a car stereo, you may need a car audio adapter that allows you to connect the lightning port to the car’s auxiliary input or USB port.
It’s important to research and identify the specific audio adapter that suits your needs. Consider factors such as compatibility, audio quality, and convenience before making a purchase.
Now that you know how to find the correct audio adapter for your iPhone 7 Plus, let’s explore how to connect an audio cable to the lightning port.
Connecting an Audio Cable to the Lightning Port
Connecting an audio cable to the lightning port on your iPhone 7 Plus is a straightforward process. With the right adapter, you can easily enjoy your favorite music through your preferred audio device.
Here are the steps to connect an audio cable to the lightning port:
- Ensure that you have a 3.5mm to Lightning adapter if you’re using a standard audio cable with a 3.5mm headphone jack.
- Plug the 3.5mm end of the adapter into the audio cable.
- Insert the Lightning end of the adapter into the Lightning port of your iPhone 7 Plus.
- Ensure a secure connection by gently pushing the adapter into the port until it clicks into place.
- Once the cable is securely connected, you can play audio through your audio device.
It’s important to note that when using an audio cable connected to the Lightning port, your iPhone 7 Plus may display a prompt asking if you trust the device. This is a security measure to ensure that you are connecting to a trusted audio accessory. Simply select “Trust” to proceed with the audio connection.
If you’re using a specific audio adapter for other audio connection scenarios, follow the manufacturer’s instructions for connecting the adapter to your iPhone 7 Plus. The steps may vary depending on the type of adapter you’re using.
With the audio cable successfully connected to the Lightning port, you can now enjoy your favorite music, podcasts, or videos through your preferred audio device.
However, if you prefer a wireless audio experience, you can connect your iPhone 7 Plus to Bluetooth headphones or speakers.
Next, we’ll explore how to connect an audio cable to a Bluetooth headphone.
Connecting an Audio Cable to the Bluetooth Headphone
Connecting an audio cable to a Bluetooth headphone might seem counterintuitive since Bluetooth headphones are typically used for wireless audio. However, there may be instances where you want to use your Bluetooth headphones with a device that doesn’t support Bluetooth or during situations when you prefer a wired connection.
Here’s how you can connect an audio cable to your Bluetooth headphone:
- Check if your Bluetooth headphones have a 3.5mm audio input. This is usually located on the earcup or inline with the headphone cable.
- Make sure you have a 3.5mm audio cable available.
- Plug one end of the audio cable into the 3.5mm audio input on your Bluetooth headphone.
- Take the other end of the audio cable and connect it to the audio device you want to use (in this case, your iPhone 7 Plus).
- Ensure a secure connection by gently pushing the audio cable into the headphone jack or audio port.
Once the audio cable is connected, the audio will be routed through the cable instead of the wireless Bluetooth connection. This can be useful when conserving battery life on your Bluetooth headphones or when using devices that don’t have Bluetooth capabilities.
Remember, when using the Bluetooth headphone with an audio cable, you won’t have the convenience of wireless mobility. However, it allows for a direct audio connection that can provide a reliable and high-quality audio experience.
When you’re ready to switch back to the wireless Bluetooth connection, simply unplug the audio cable from both the headphone and the audio device. Your Bluetooth headphone will automatically reconnect to your iPhone 7 Plus if it was previously paired.
Now that you know how to connect an audio cable to your Bluetooth headphone, you can choose between a wired or wireless listening experience based on your preference and situation.
However, if you encounter any audio connection issues or face difficulties in establishing a successful connection, don’t worry. We’ll address some common troubleshooting tips next.
Troubleshooting Common Audio Connection Issues
Despite the ease of connecting audio cables to your iPhone 7 Plus, you may occasionally encounter some issues. Here are some common audio connection problems and troubleshooting steps to help you resolve them:
- No sound or distorted audio: If you’re not hearing any sound or the audio is distorted when connected to an audio device, make sure the volume on both your iPhone and the audio device is turned up. Check that the audio cable or adapter is properly connected and free from any damage. Additionally, try disconnecting and reconnecting the audio cable to ensure a secure connection.
- Intermittent audio disconnects: If you experience intermittent audio disconnects, try resetting the Bluetooth connection. Turn off Bluetooth on your iPhone, turn it back on, and try reconnecting to the Bluetooth device. If the issue persists, make sure that both your iPhone and the Bluetooth device have enough battery power and are within close proximity of each other.
- Compatibility issues: Some audio devices may not be fully compatible with the iPhone 7 Plus, especially if they are older devices. Make sure to check the device’s compatibility specifications before attempting to connect. If compatibility continues to be a problem, you may need to consider using a different audio device or seeking out an alternative solution.
- Audio delays or lag: If you experience audio delays or lag when using Bluetooth headphones or speakers, try restarting both your iPhone and the audio device. Ensure that both devices are running on the latest software updates, as this can help address any compatibility issues and improve audio synchronization.
If you’ve tried the troubleshooting steps above and are still experiencing audio connection issues, it may be helpful to consult the manufacturer’s website or customer support for specific guidance on troubleshooting your audio device.
Remember, maintaining your audio cables, adapters, and devices in good condition can also prevent connection problems. Regularly check for any signs of wear and tear, clean the connectors, and store them properly when not in use.
By troubleshooting common audio connection issues, you can ensure a seamless and enjoyable audio experience with your iPhone 7 Plus.
Now, let’s wrap up our discussion.
Conclusion
Connecting an audio cable to your iPhone 7 Plus may initially seem challenging due to the absence of a traditional headphone jack. However, with the right adapters and understanding of the audio ports available, you can easily enjoy your favorite audio content.
In this article, we explored the different audio ports on the iPhone 7 Plus, including the lightning port and Bluetooth connectivity. We discussed the importance of finding the correct audio adapter, such as the 3.5mm to Lightning adapter, for a seamless audio connection.
We also learned how to connect an audio cable to the lightning port, as well as how to connect an audio cable to Bluetooth headphones for wired audio playback.
Additionally, we covered common audio connection issues and troubleshooting steps to help you resolve any difficulties you may encounter along the way.
Remember, it’s essential to keep your audio cables, adapters, and devices in good condition for optimal performance. Regular maintenance and staying up-to-date with software updates can help prevent any potential connection problems.
Now armed with the knowledge of audio cable connections on the iPhone 7 Plus, you can confidently enjoy your favorite music, podcasts, and more with high-quality audio.
So, go ahead and plug in your audio cable, connect your headphones or speakers, and immerse yourself in a world of exceptional sound.