Home>Production & Technology>Audio Cable>Where Does The TV Audio Cable Go On Receiver
Audio Cable
Where Does The TV Audio Cable Go On Receiver
Modified: January 22, 2024
Learn where the TV audio cable connects on the receiver. Ensure optimal audio quality with the correct placement of your audio cable.
(Many of the links in this article redirect to a specific reviewed product. Your purchase of these products through affiliate links helps to generate commission for AudioLover.com, at no extra cost. Learn more)
Table of Contents
Introduction
Welcome to the exciting world of audio cables! In today’s increasingly connected digital age, audio cables play a vital role in delivering high-quality sound between various devices, such as televisions and receivers.
Whether you are a tech enthusiast, an audio aficionado, or simply someone looking to improve their home entertainment setup, understanding how to connect audio cables is essential. This article will guide you through the process of connecting a TV audio cable to a receiver, providing step-by-step instructions and troubleshooting tips to ensure a seamless audio experience.
Before we dive into the specifics, let’s take a moment to familiarize ourselves with the different types of audio cables commonly used in television setups. These cables serve as the bridge between your TV and receiver, carrying audio signals that bring your favorite movies, shows, and music to life.
Keep in mind that there are several types of audio cables available, including HDMI, optical, RCA, and 3.5mm. The type of cable you choose depends on the ports available on both your TV and receiver, as well as the audio quality you desire. For the purpose of this article, we will focus on RCA and optical cables as they are widely used and provide excellent audio connectivity.
In the following sections, we will explore how the receiver fits into the equation and where to find the audio input ports. We will then delve into the step-by-step process of connecting the TV audio cable to the receiver. So, let’s get started and uncover the mysteries of audio cables!
Overview of TV Audio Cables
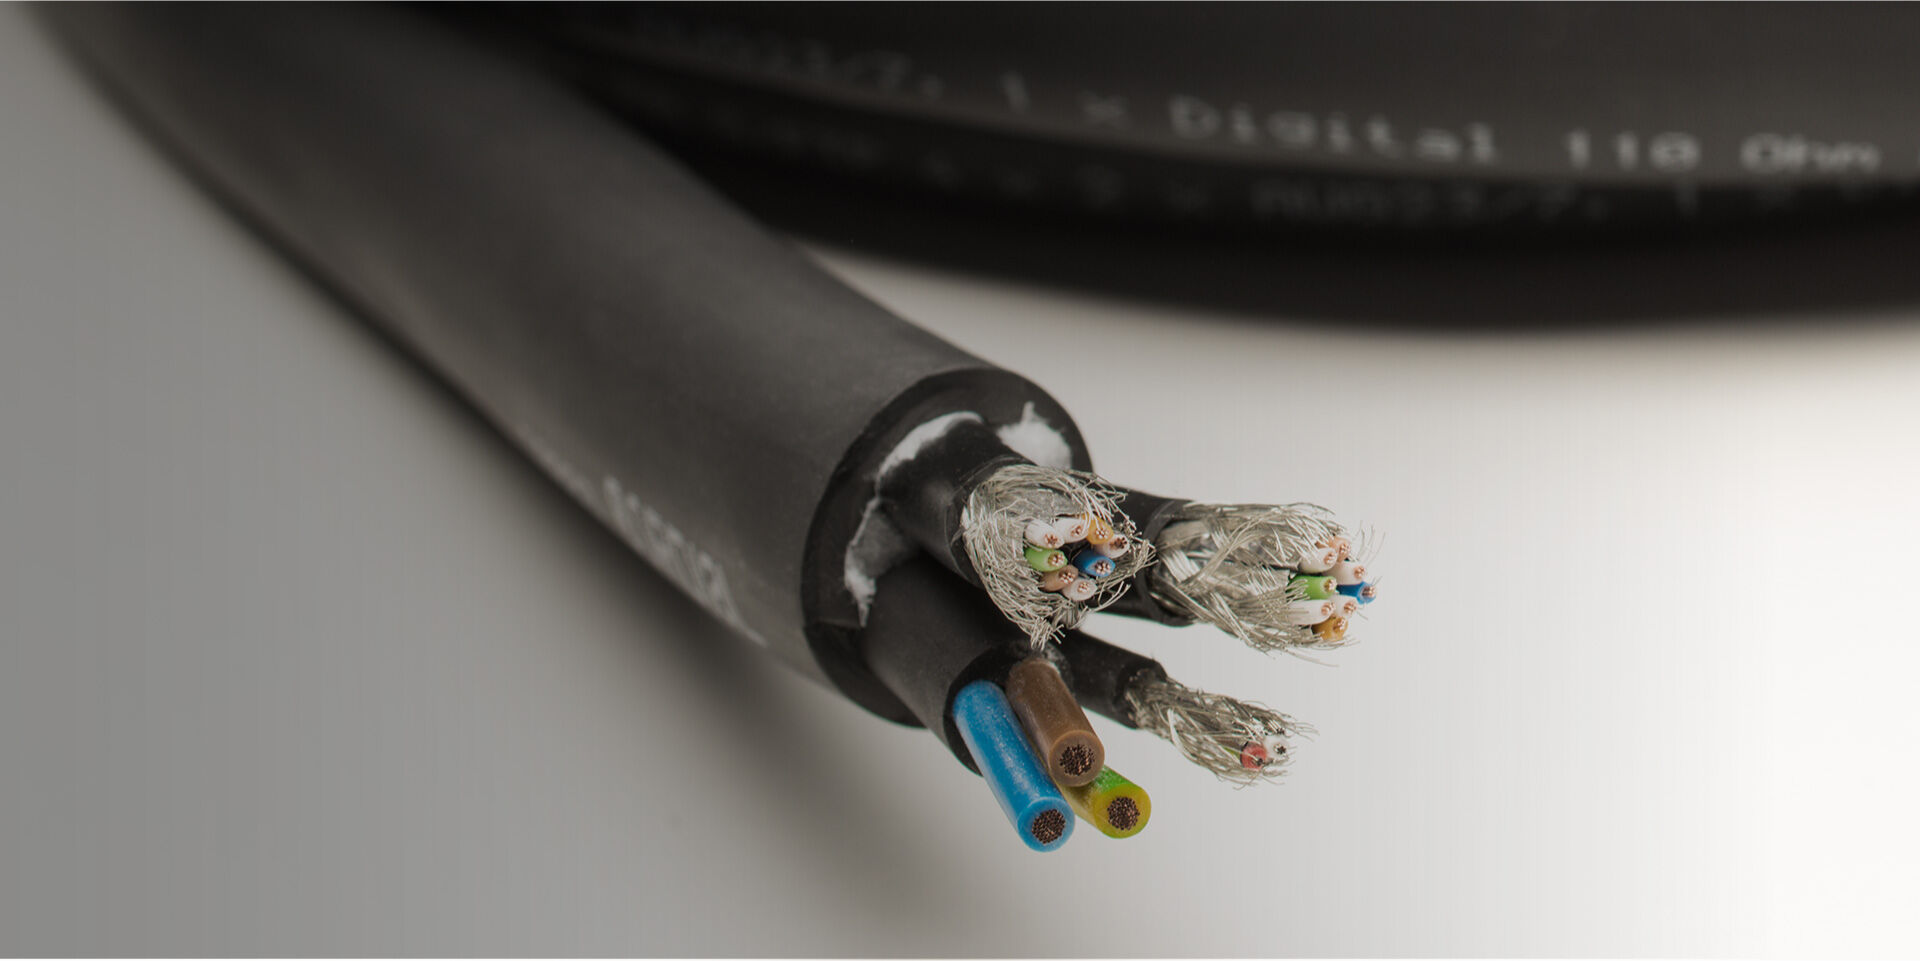
TV audio cables are essential for transmitting audio signals from your television to an external audio device, such as a receiver or soundbar. They come in various types and connectors, each designed to serve a specific purpose and deliver a particular level of audio quality.
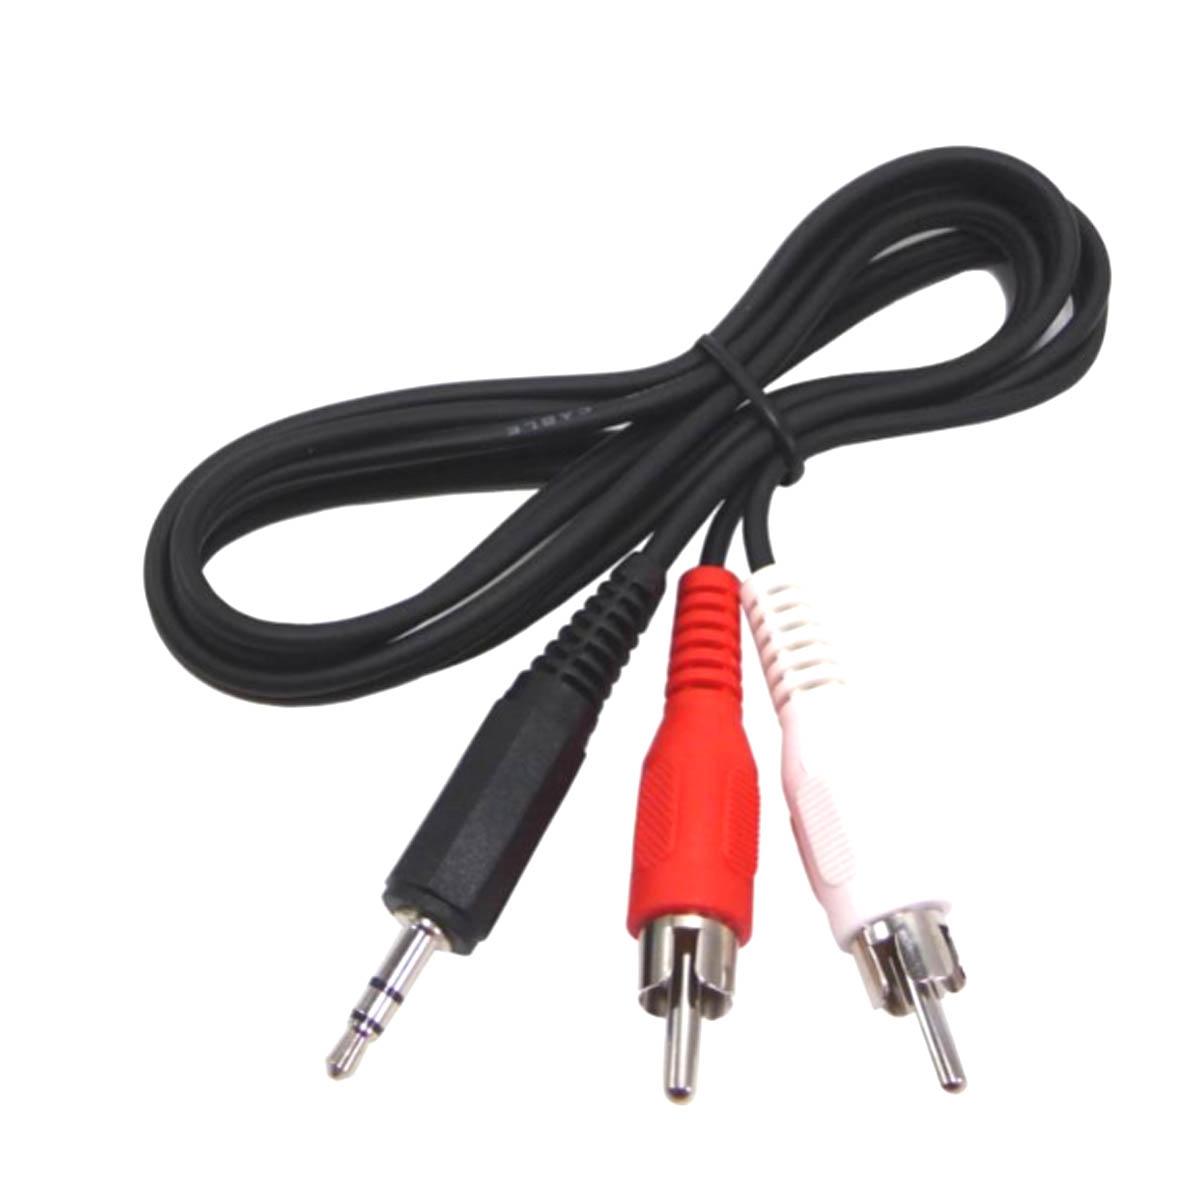
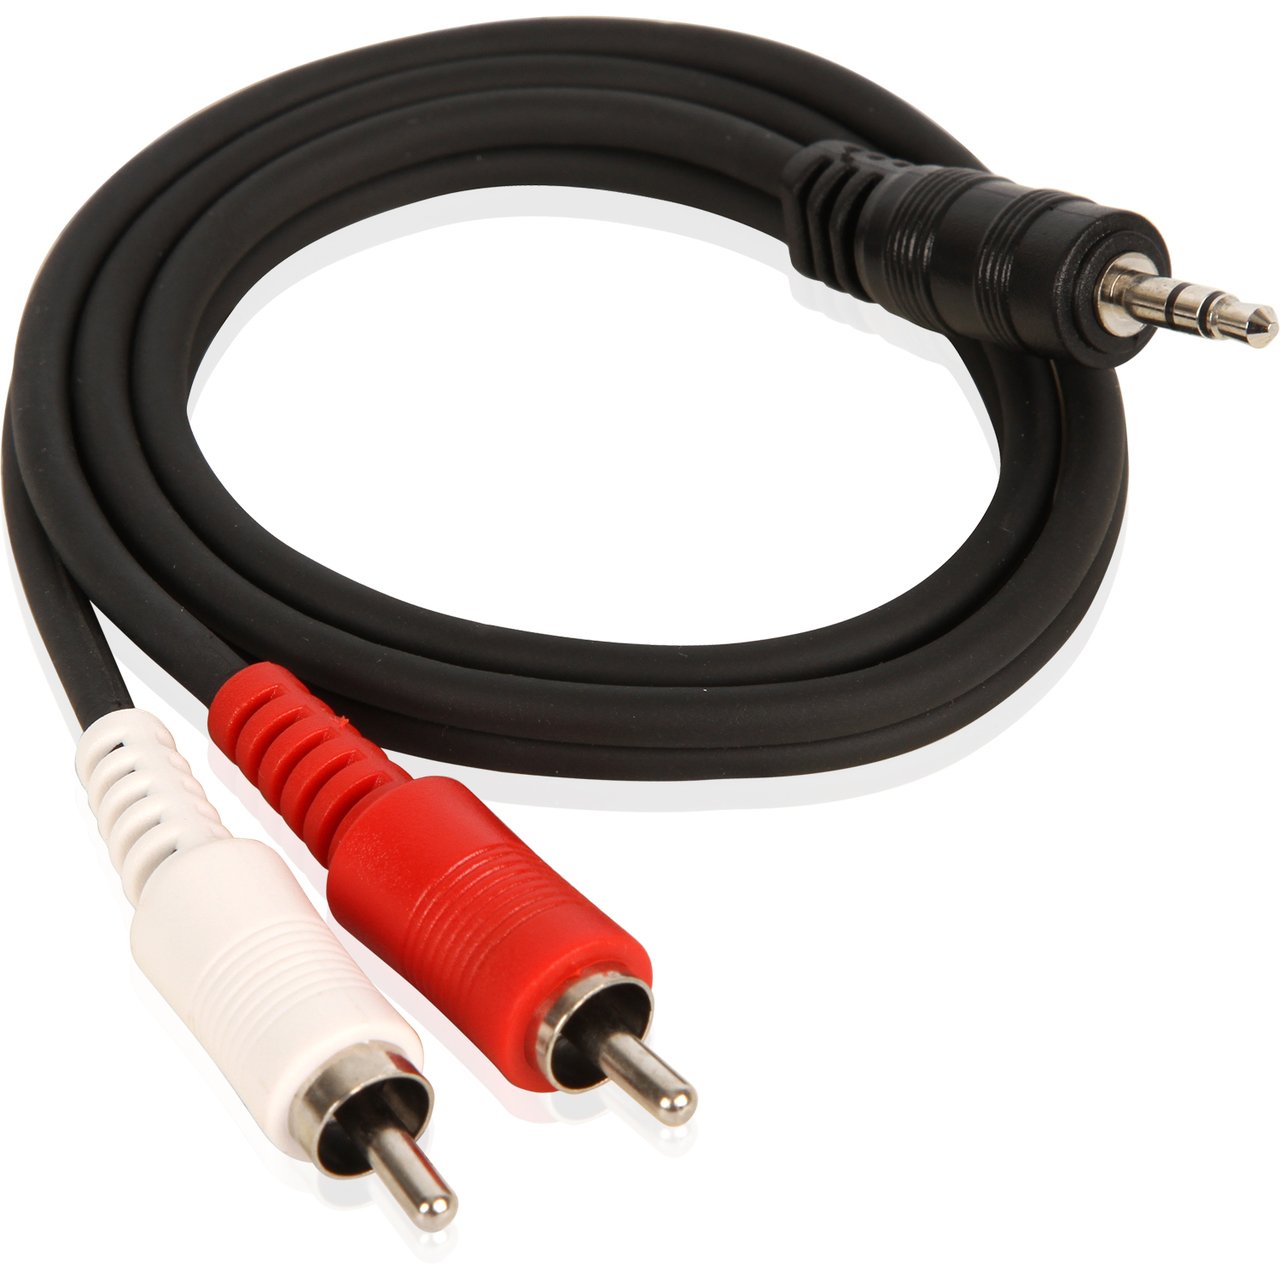
RCA Cables: RCA cables, also known as composite cables, are one of the most common types of audio cables used in home entertainment setups. They consist of three color-coded connectors: red (right audio), white (left audio), and yellow (video, if applicable). RCA cables are widely compatible and can carry analog audio signals, making them a popular choice for connecting TVs to audio receivers.
Optical Cables: Optical cables, also referred to as TOSLINK or SPDIF cables, deliver high-quality digital audio signals. They utilize fiber optic technology to transmit the audio data as light pulses. Optical cables are capable of carrying multi-channel audio formats, such as Dolby Digital and DTS, and are commonly used for connecting TVs and receivers that support digital audio.
HDMI Cables: HDMI (High-Definition Multimedia Interface) cables are renowned for their versatility, as they can transmit both high-definition video and audio signals in a single cable. HDMI cables support digital audio formats, such as Dolby TrueHD and DTS-HD Master Audio, and are commonly used in modern home entertainment setups. They offer the advantage of simplifying cable management by consolidating both video and audio connections.
3.5mm Cables: 3.5mm cables, also known as aux cables or headphone cables, are primarily used for connecting devices with 3.5mm audio jacks. While commonly associated with headphones and mobile devices, 3.5mm cables can also be used to connect TVs to external speakers or receivers that have a 3.5mm audio input. They are analog cables and provide a straightforward solution for audio connectivity.
When selecting a TV audio cable, consider the available ports on both your television and receiver, as well as the desired audio quality. It’s important to ensure compatibility between the cable type and the audio input/output ports of your devices to establish a seamless connection.
Now that we have a better understanding of the different types of TV audio cables, let’s move on to exploring the receiver and its crucial role in the audio setup.
Understanding the Receiver
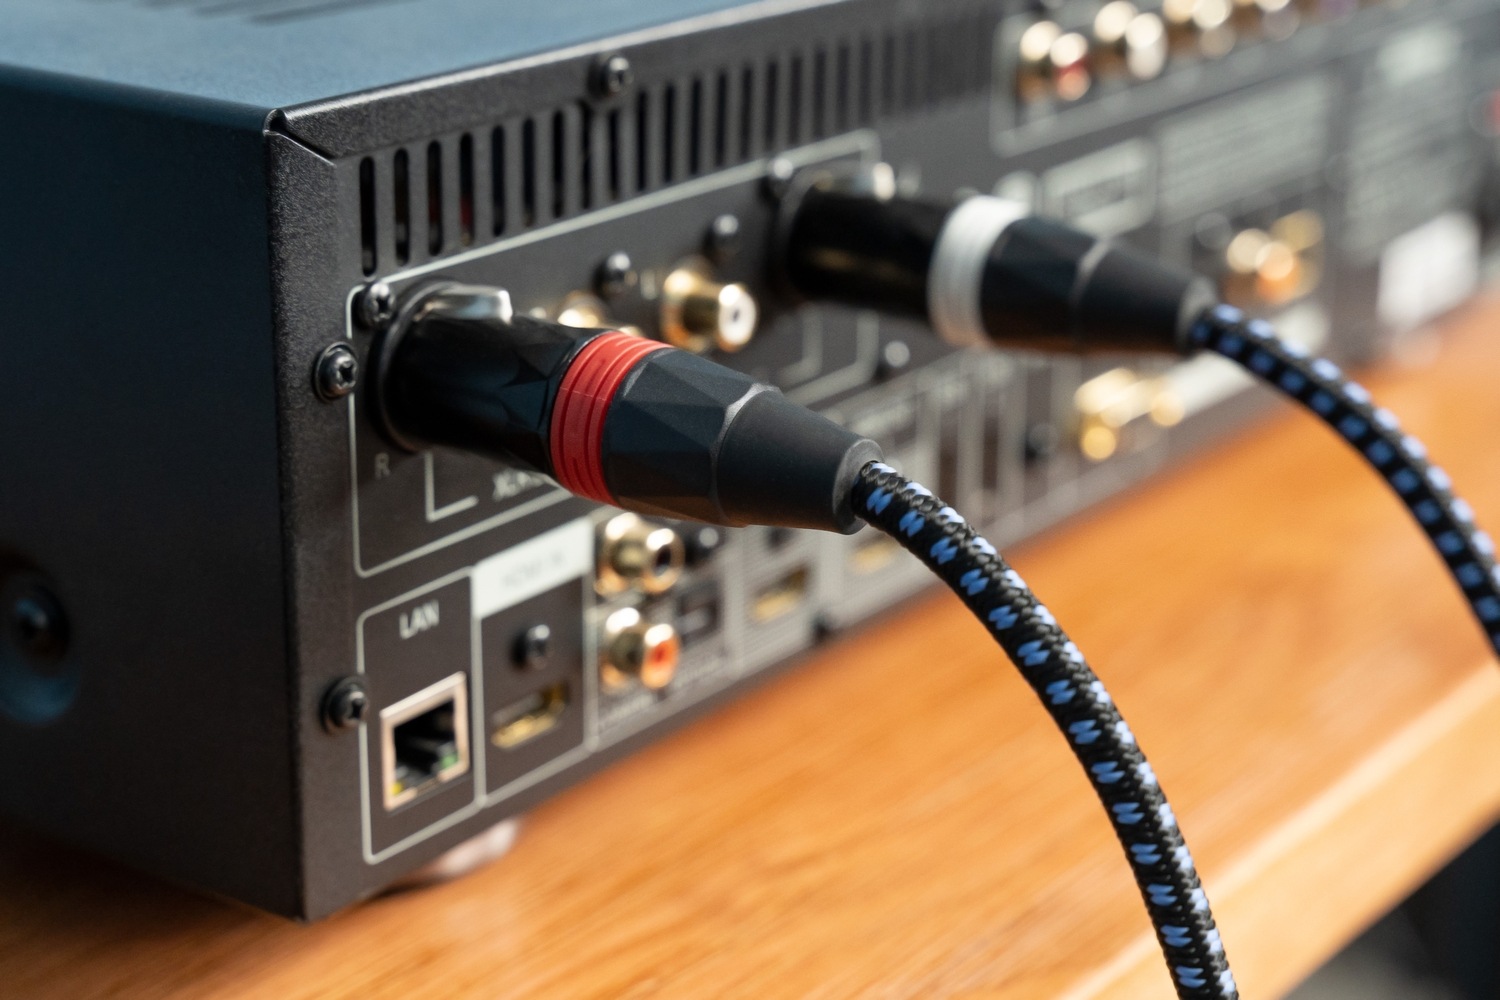
The receiver is a vital component in any audio setup, acting as the central hub for connecting various audio sources, such as TVs, DVD players, gaming consoles, and more. Its primary function is to process audio signals and distribute them to the appropriate speakers to create an immersive sound experience.
Receivers come in different configurations and offer a wide range of features and capabilities. They typically include multiple audio input and output ports, allowing you to connect a variety of devices simultaneously. Some advanced receivers support surround sound formats, such as Dolby Atmos and DTS:X, enabling you to enjoy a cinematic audio experience in the comfort of your home.
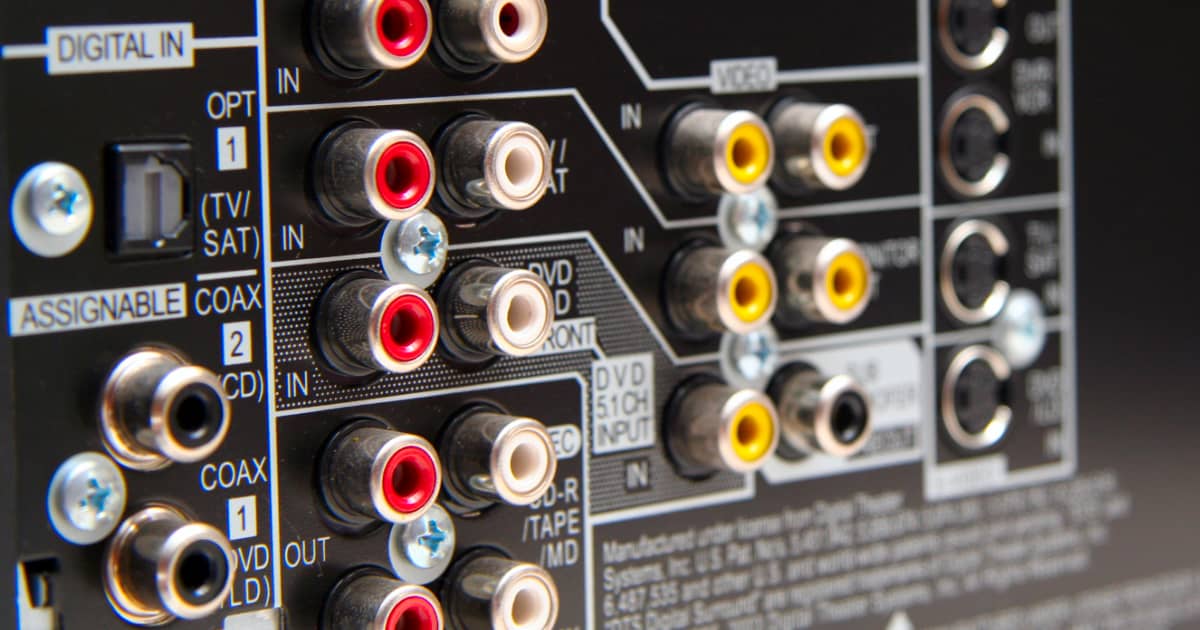
When it comes to connecting a TV audio cable to a receiver, it’s important to understand the different audio input ports found on the receiver. Here are some commonly available audio input ports:
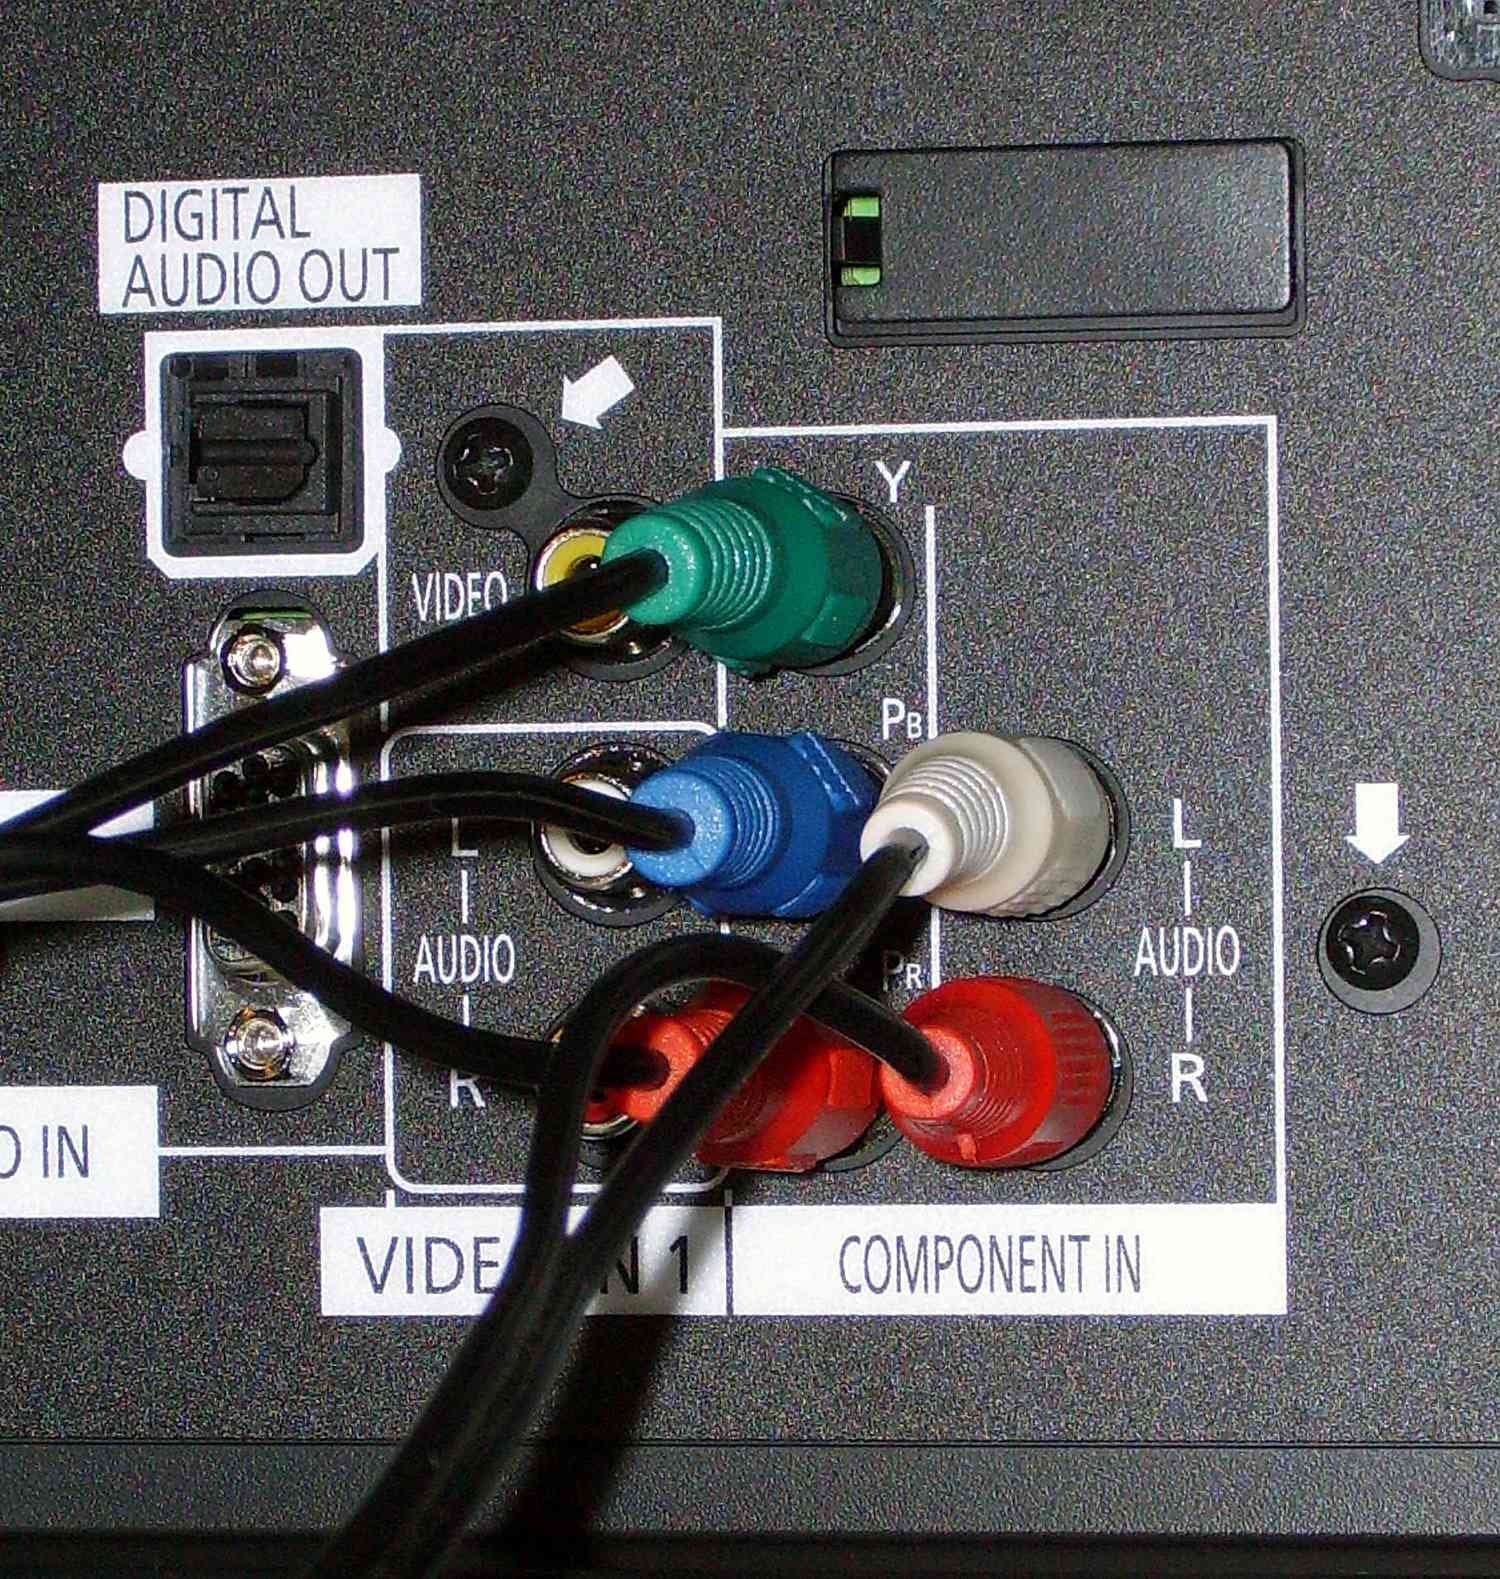
- RCA Input: RCA inputs are usually color-coded, with red and white connectors for right and left audio channels, respectively. These inputs are commonly found on receivers and support analog audio signals. If your TV has RCA output ports, you can use an RCA cable to connect it to the receiver.
- Optical Input: Optical inputs, also known as TOSLINK or SPDIF inputs, are square-shaped connectors that use fiber optic technology to transmit digital audio signals. They are commonly found on receivers and are used to connect devices that support digital audio output, such as a TV or a media player with an optical output.
- HDMI Input: HDMI inputs are rectangular-shaped ports that can carry both high-definition video and audio signals. If your TV has an HDMI ARC (Audio Return Channel) port, you can use an HDMI cable to connect it to the receiver. This allows for simplified audio connection and can transmit multi-channel audio formats, providing a high-quality audio experience.
- 3.5mm Input: The 3.5mm input, also known as an auxiliary input or headphone jack, is a small circular port commonly found on audio devices. It allows you to connect devices with a 3.5mm audio output, such as mobile phones or tablets, to the receiver using a 3.5mm cable.
Each receiver may have a different combination of audio input ports, so it’s important to refer to the receiver’s manual or examine the rear panel to identify the appropriate ports for connecting your TV audio cable.
Now that we have a better understanding of the receiver and its audio input ports, let’s move on to the next section, where we will explore how to locate the audio input ports on the receiver.
Locating the Audio Input Ports on the Receiver
When it comes to connecting a TV audio cable to a receiver, it’s essential to identify the correct audio input ports on the receiver. Locating these input ports can vary depending on the make and model of the receiver, but there are some general guidelines that can help you find them.
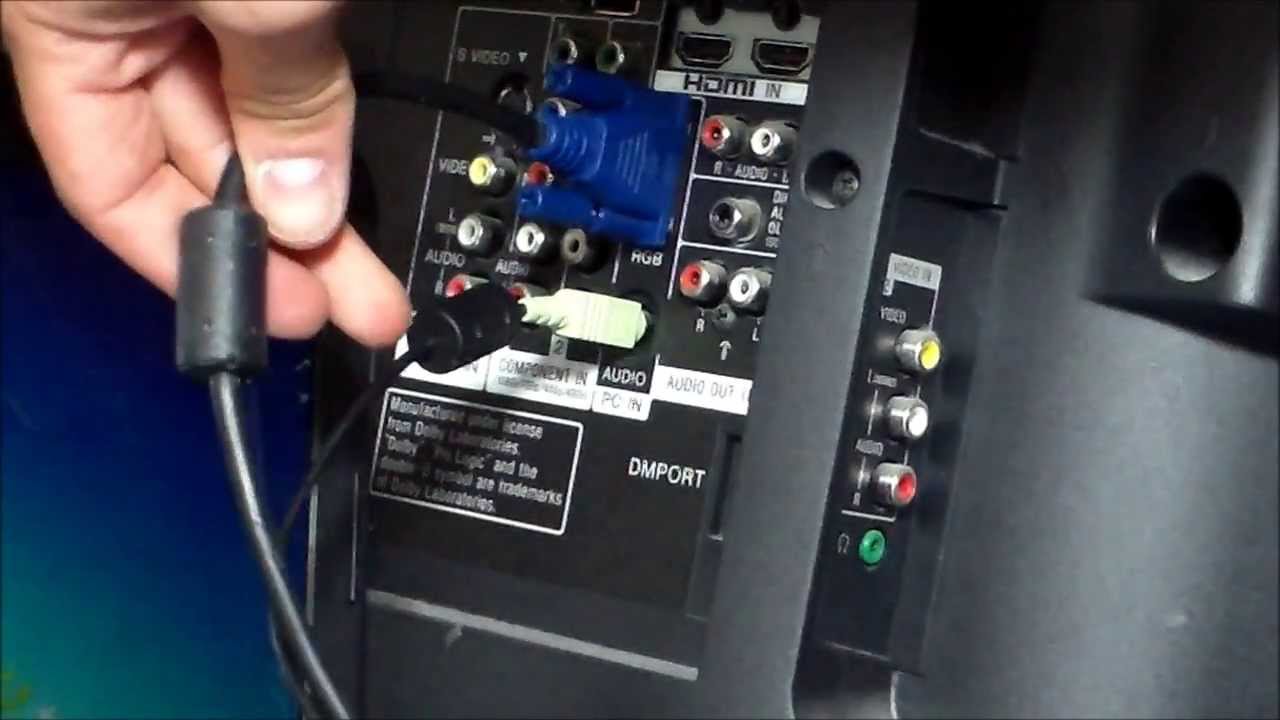
Most receivers have their audio inputs located on the rear panel. Look for a section labeled “Audio Inputs” or “Input Ports” on the back of the receiver. Here are some commonly encountered audio input ports:
- RCA Inputs: RCA inputs are typically labeled with corresponding colors, such as “Red (R)” and “White (L)” or “Audio-In (R)” and “Audio-In (L)”. They may also be labeled with specific device names, such as “TV” or “Aux”. Make sure to match the colors on your RCA cable connectors with the corresponding input ports on the receiver.
- Optical Input: Optical inputs are usually labeled as “Optical-In” or “TOSLINK”. Look for a small, square-shaped port resembling a headphone jack but with a different shape. This is where you can connect your optical cable.
- HDMI Input: HDMI inputs are often labeled as “HDMI-In” or “ARC HDMI”. Look for rectangular-shaped ports with the label close by. If your receiver supports HDMI ARC, make sure to connect the HDMI cable to the ARC HDMI input for seamless audio playback.
- 3.5mm Input: The 3.5mm audio input may be labeled as “Aux-In” or “Line-In”. It is typically a small circular port that can accommodate a 3.5mm cable. Look for a headphone icon or a label indicating the input type.
If you’re having trouble locating the audio input ports on your receiver, consult the receiver’s manual or visit the manufacturer’s website for detailed information. They often provide diagrams or illustrations to help you find the appropriate ports.
Once you have identified the audio input ports on your receiver, you’re ready to connect the TV audio cable. In the next section, we will explore the step-by-step process of connecting the TV audio cable to the receiver.
Connecting the TV Audio Cable to the Receiver
Now that you have located the audio input ports on your receiver, it’s time to connect the TV audio cable. The specific steps may vary depending on the type of cable you are using, so let’s take a look at how to connect RCA and optical cables to the receiver.
Connecting RCA Cables
- Ensure that your TV and receiver are powered off to avoid potential electrical shocks.
- Locate the RCA output ports on your TV. They are typically color-coded with red (right audio), white (left audio), and sometimes yellow (video).
- Take the RCA cable and connect the red and white connectors to the corresponding output ports on your TV. Make sure to match the colors correctly.
- Locate the RCA input ports on your receiver. They are usually grouped together and labeled with colors or device names.
- Connect the other end of the RCA cable to the matching input ports on the receiver, ensuring that the colors match.
- Power on your TV and receiver, and select the appropriate input source on your receiver to start enjoying the audio from your TV.
Connecting Optical Cables
- Ensure that both your TV and receiver are powered off to prevent any electrical mishaps.
- Locate the optical output port on your TV. It is a small, square-shaped port labeled “Optical-Out” or “TOSLINK”.
- Take the optical cable and insert one end into the optical output port on your TV, ensuring a secure connection.
- Find the optical input port on your receiver, typically labeled as “Optical-In” or “TOSLINK”.
- Insert the other end of the optical cable into the optical input port on the receiver, making sure it is properly inserted.
- Power on both your TV and receiver, and choose the appropriate input source on your receiver to begin enjoying the audio from your TV.
Remember to refer to the user manuals of your TV and receiver for specific instructions related to audio output and input settings. They may provide additional information to optimize your audio experience.
Congratulations! You have successfully connected the TV audio cable to your receiver. Now it’s time to sit back, relax, and immerse yourself in the rich sound of your favorite movies, shows, and music.
In case you encounter any issues with the audio setup, let’s explore some common troubleshooting tips in the next section.
Troubleshooting Common Issues
While connecting a TV audio cable to a receiver is usually a straightforward process, sometimes issues may arise. Let’s take a look at some common troubleshooting tips to help resolve any potential problems.
No Sound
- Double-check that the TV and receiver are powered on and properly connected.
- Ensure that the volume on both the TV and receiver are turned up and not muted.
- Confirm that the correct input source is selected on the receiver.
- Try using a different audio cable or test the same cable with a different device to determine if the cable is faulty.
- Verify that the audio settings on the TV are configured to output sound to the connected receiver.
Poor Audio Quality or Distorted Sound
- Check the audio settings on the TV and receiver and adjust the equalizer or audio presets to improve the sound quality.
- Ensure that all cable connections are secure and properly seated. Loose connections can cause audio distortion.
- Verify that the audio format settings on both the TV and receiver are compatible. If necessary, change the audio format to a supported format.
- Try using a different audio cable or port to rule out any potential issues with the current setup.
Audio Delay
- Check if the receiver has a “lip sync” or “audio delay” setting. Adjusting this setting can help synchronize the audio with the video.
- Make sure the HDMI cable is properly connected and functioning. HDMI cables with higher bandwidth capabilities tend to have less audio delay.
- Try connecting the TV audio cable to a different input port on the receiver to see if the delay persists.
- Update the firmware of the TV and receiver to ensure that you have the latest software versions, as this can sometimes resolve audio delay issues.
If the aforementioned troubleshooting tips do not resolve the issue, consult the user manuals of your TV and receiver for further guidance or consider reaching out to the manufacturer’s customer support for assistance.
By ensuring proper connections, adjusting audio settings, and troubleshooting common problems, you can overcome most audio issues and enjoy the full audio potential of your TV and receiver setup.
Now that you are equipped with the knowledge of connecting TV audio cables to a receiver and troubleshooting common issues, you can take your audio experience to new heights!
Conclusion
Connecting a TV audio cable to a receiver is a fundamental step in creating an immersive and high-quality audio experience. Understanding the different types of audio cables, locating the audio input ports on the receiver, and following the correct connection procedures are all essential for a successful setup. By connecting RCA or optical cables to the appropriate ports and troubleshooting any potential issues, you can ensure optimal audio performance.
Remember to consider the compatibility of your TV and receiver when selecting the type of audio cable to use. RCA cables are versatile and widely compatible, while optical cables offer excellent digital audio quality. HDMI cables offer the added benefit of carrying both audio and video signals in one cable.
Take the time to familiarize yourself with the audio input ports on your receiver and refer to the user manuals for specific instructions. This will help you connect the TV audio cable correctly and ensure that you can enjoy the audio from your TV through the receiver.
If you encounter any issues, such as no sound, poor audio quality, or audio delay, try the troubleshooting tips provided in this article. By adjusting settings, checking connections, and exploring different cable options, you can resolve most common audio problems.
Now that you have the knowledge and guidance to connect TV audio cables to a receiver, you can elevate your home entertainment experience to the next level. Sit back, relax, and enjoy the immersive sound that enhances your favorite movies, shows, and music.
Remember, experimenting with different audio cable setups and exploring advanced features of your receiver can further enhance your audio experience. So go ahead and unleash the full potential of your TV and receiver setup!