Home>Production & Technology>Audiophile>How To Make The Ultimate Gaming Headset With Audiophile Headphones
Audiophile
How To Make The Ultimate Gaming Headset With Audiophile Headphones
Modified: January 22, 2024
Learn how to create the ultimate gaming headset using audiophile headphones. Enhance your gaming experience with top-notch audio quality.
(Many of the links in this article redirect to a specific reviewed product. Your purchase of these products through affiliate links helps to generate commission for AudioLover.com, at no extra cost. Learn more)
Table of Contents
- Introduction
- Step 1: Choosing the Right Audiophile Headphones
- Step 2: Selecting the Proper Amplifier/DAC
- Step 3: Modifying the Headphones for Gaming
- Step 4: Enhancing Comfort and Ergonomics
- Step 5: Implementing Spatial Audio Technologies
- Step 6: Customizing the Headset’s Connectivity Options
- Step 7: Optimizing the Audio Settings
- Step 8: Further Customization and Personalization
- Conclusion
Introduction
Welcome to the world of audiophile gaming! If you’re a passionate gamer with a discerning ear, then you’ve come to the right place. In this article, we will explore how to transform your gaming experience by creating the ultimate gaming headset using audiophile headphones.
While gaming headsets are readily available in the market, they often compromise on audio quality and overall performance. Audiophile headphones, on the other hand, are designed to deliver exceptional sound accuracy and clarity. By combining the best of both worlds – the immersive gaming experience and the audio fidelity of high-end headphones – you can elevate your gaming sessions to new heights.
The process of creating the ultimate gaming headset with audiophile headphones involves several crucial steps, from selecting the right headphones and amplifiers to implementing spatial audio technologies and optimizing audio settings. So without further ado, let’s dive into the steps to help you achieve gaming audio nirvana.
But first, a word of caution:
Modifying your headphones or using external amplifiers may void the manufacturer’s warranty. Proceed with caution and only undertake modifications if you are confident in your technical abilities. Additionally, always research and follow proper safety precautions when handling electronic equipment.
Now that we’ve covered the disclaimer, let’s move on to the exciting part – creating the ultimate gaming headset!
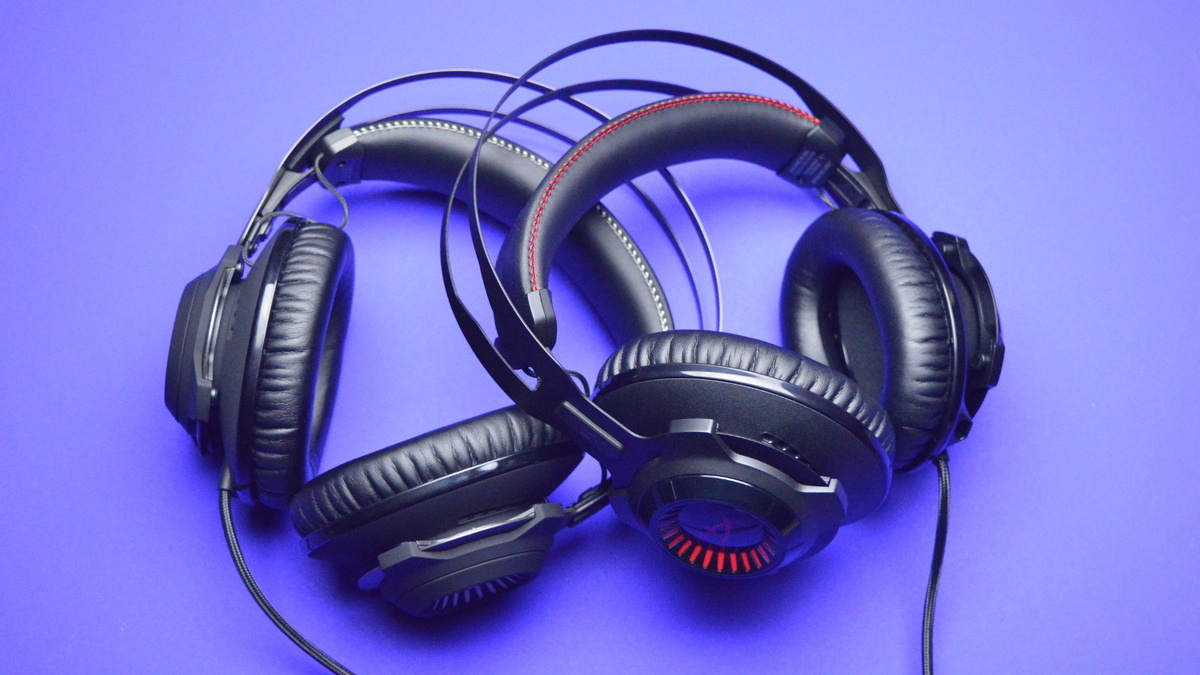
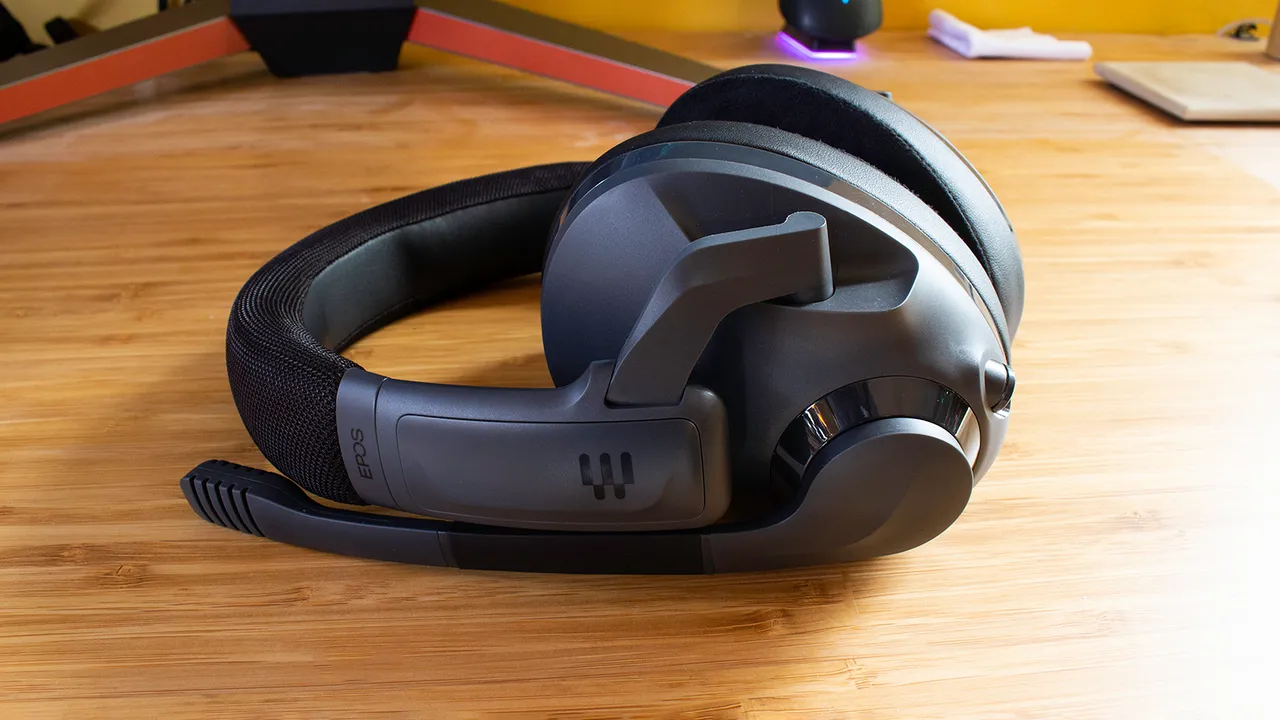
Step 1: Choosing the Right Audiophile Headphones
The first step in creating the ultimate gaming headset is to select the right pair of audiophile headphones. When it comes to gaming, you need headphones that not only reproduce accurate and detailed sound but also provide comfort over long gaming sessions. Here are some factors to consider when choosing your audiophile headphones:
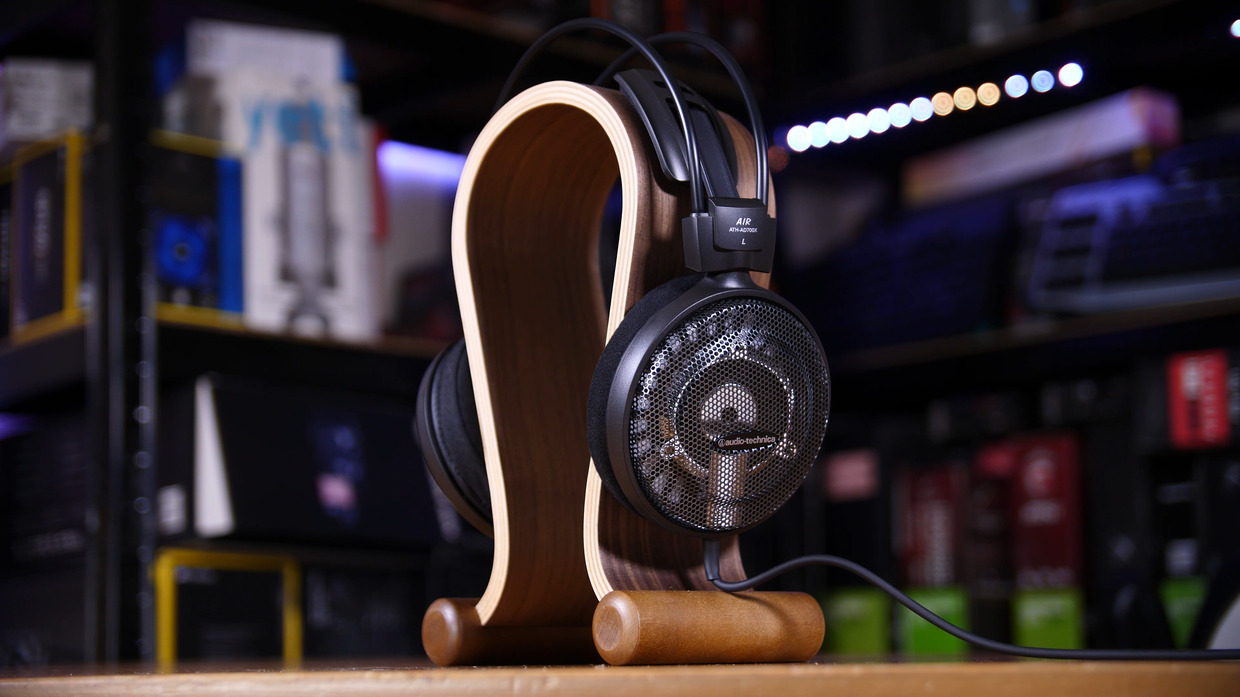
- Sound Quality: Look for headphones that offer a balanced and accurate sound signature. This will allow you to hear every detail in the game, from the faintest whisper to the booming explosions. Open-back headphones are often preferred by audiophiles for their spacious soundstage and natural sound reproduction.
- Comfort: Since gaming sessions can last for hours, it’s essential to prioritize comfort. Look for headphones with plush padding and an adjustable headband that can fit your head comfortably without causing any discomfort or fatigue.
- Build Quality: Opt for headphones that are built to last. Look for materials such as metal or high-quality plastic that can withstand heavy usage. Additionally, detachable cables are a plus as they provide the flexibility to replace them if needed.
- Compatibility: Check if the headphones you choose are compatible with your gaming platform. Ensure that they have the appropriate connectors or adapters to work seamlessly with your gaming console or PC.
Some popular audiophile headphone brands that are renowned for their gaming-worthy sound quality include Sennheiser, Beyerdynamic, Audio-Technica, and AKG. Do thorough research and read reviews to find the perfect pair that suits your preferences and budget.
Once you’ve chosen your audiophile headphones, it’s time to move on to the next step – selecting the proper amplifier/DAC to further enhance your gaming audio experience.
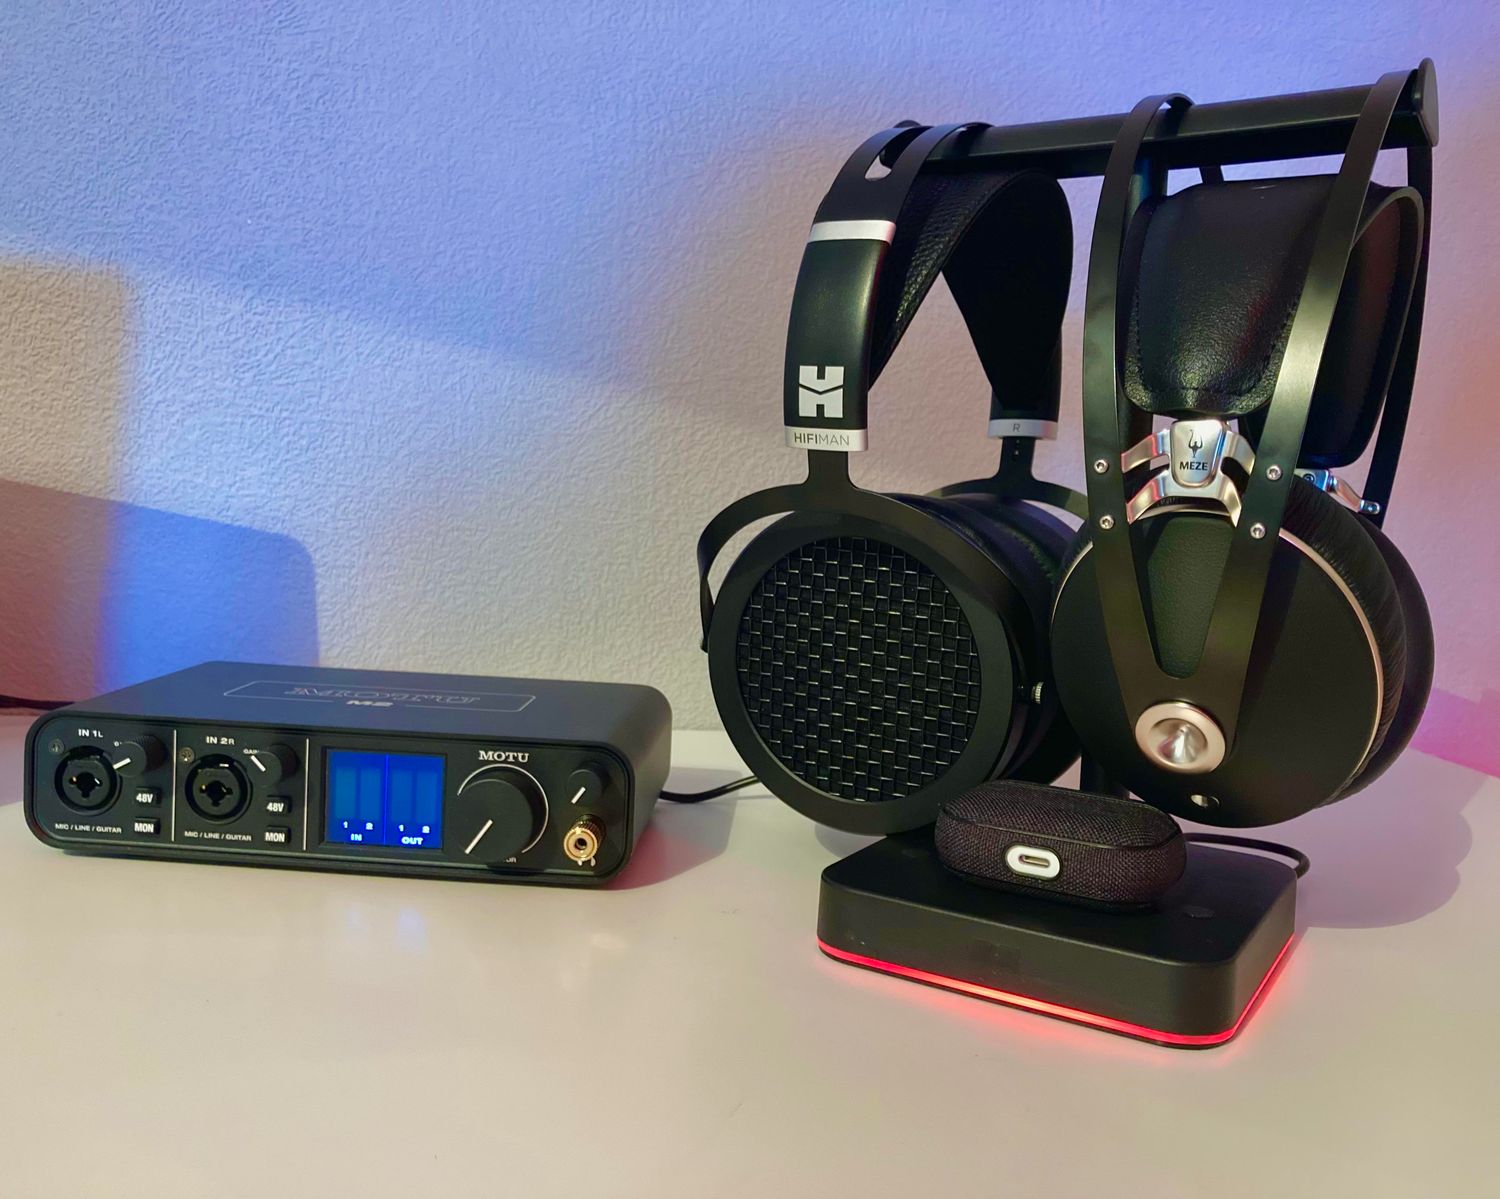
Step 2: Selecting the Proper Amplifier/DAC
Now that you have chosen your audiophile headphones, it’s time to consider the proper amplifier and digital-to-analog converter (DAC) to complement them. While many headphones can be driven directly from your gaming device, using a dedicated amplifier/DAC setup can significantly enhance the audio quality and overall performance.
An amplifier is responsible for increasing the power output, ensuring that your headphones are properly driven and delivering optimal sound. On the other hand, a DAC converts digital audio signals from your gaming device into analog signals that can be processed by the amplifier and accurately reproduced by the headphones.
When selecting an amplifier/DAC combo, consider the following:
- Power Output: Ensure that the amplifier provides enough power to properly drive your headphones. It’s important to match the impedance and sensitivity of your headphones to the output capabilities of the amplifier.
- Connectivity: Check for compatibility with your gaming device. Look for amplifiers/DACs that offer USB, RCA, or optical inputs to connect to your console or PC.
- Features: Some amplifiers/DACs offer additional features such as EQ adjustments, gain control, and various connectivity options. Consider your specific needs and preferences when choosing a model.
- Size and Portability: If you plan on using your ultimate gaming headset in different environments, consider the size and portability of the amplifier/DAC setup. Compact and portable options may be more convenient for on-the-go gaming.
There are numerous amplifier/DAC options available from reputable brands like Schiit, FiiO, and Audioengine. Make sure to do research and read reviews to find the best match for your chosen headphones and gaming setup.
Once you have the appropriate amplifier/DAC setup, you can move on to step three, where we will explore how to modify your headphones specifically for gaming.
Step 3: Modifying the Headphones for Gaming
To optimize your audiophile headphones for gaming, you can consider making some modifications that can enhance your gaming experience. These modifications can help improve the overall audio performance and provide better immersion during gameplay. Here are a few modifications to consider:
- Padding and Earcup Modifications: Upgrading the earpads with a softer and more breathable material can improve comfort and help reduce fatigue during long gaming sessions. Additionally, changing the shape or thickness of the earpads can also affect the soundstage and sound isolation, providing a more immersive experience.
- Cable Replacement or Customization: If your headphones come with a fixed cable, you may consider replacing it with a detachable cable. This allows for easier cable management and gives you the option to switch between different cable options, such as shorter or longer cables for different gaming setups.
- Noise Isolation: If you prefer a quieter gaming environment and want to minimize external distractions, you can use aftermarket accessories like noise-isolating earpads or add-on dampeners to reduce outside noise interference.
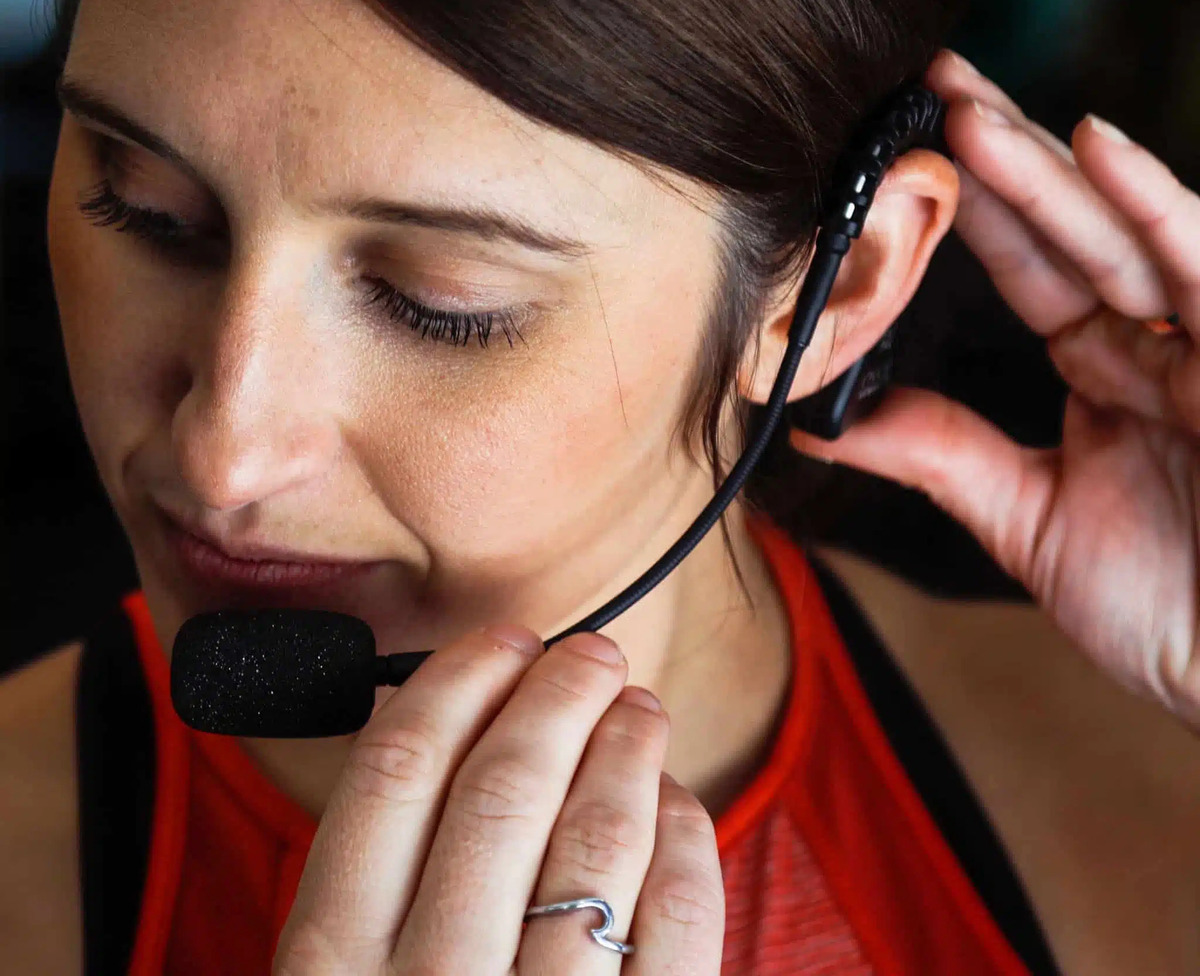
- Mic Attachment: If your headphones don’t come with a built-in microphone, you can attach an external microphone to convert them into a complete gaming headset. There are various microphone options available, ranging from attachable boom microphones to clip-on mics.
Before attempting any modifications, it is essential to follow the manufacturer’s instructions or seek professional assistance if necessary. Additionally, be aware that some modifications may void the warranty of your headphones, so proceed with caution.
Remember, modifying your headphones is an optional step, and if you’re satisfied with their default performance, you can skip this step and move on to the next one. However, if you’re up for the challenge and want to fine-tune your headphones specifically for gaming, these modifications can take your gaming audio to the next level.
Now that you’ve modified your headphones (if desired), it’s time to explore how to enhance comfort and ergonomics for those long gaming sessions. Continue reading to learn more in step four.
Step 4: Enhancing Comfort and Ergonomics
Comfort is key during marathon gaming sessions, and it’s important to ensure that your ultimate gaming headset is comfortable and ergonomic. Making a few adjustments and adding accessories can greatly enhance your gaming experience by reducing fatigue and allowing for hours of uninterrupted gameplay. Here are some tips to enhance comfort and ergonomics:
- Headband Padding: If your headphones have a hard or thin headband, consider adding additional padding for improved comfort. You can find aftermarket headband cushions or make your own using materials like memory foam or gel pads.
- Headphone Clamping Force: The clamping force of headphones can impact comfort. If your headphones feel too tight, you can try stretching them gently or using a clamp stretcher tool to loosen the fit. Conversely, if they feel too loose, you can add foam inserts or pads to increase the clamping force.
- Cable Management: Tangled and messy cables can be frustrating during gaming. Use cable management solutions like Velcro straps or cable clips to keep your cables organized and out of the way.
- Weight Distribution: If your headphones feel heavy on your head, you can try using a headphone stand or wall-mount when not in use. This can relieve the pressure on your head and neck during breaks and prevent strain during extended gaming sessions.
- Adjustable Armrests or Desk Stands: If you’re using a gaming chair with adjustable armrests, finding an optimal height and position can improve comfort for your arms and shoulders. Similarly, using a desk stand or headphone hanger can provide a convenient resting place for your headphones when not in use.
It’s important to remember that everyone’s comfort preferences vary, so feel free to experiment with these suggestions and find what works best for you. Investing in ergonomic enhancements ensures that you can focus on the game without discomfort or distractions.
With your enhanced comfort and ergonomic setup, you’re ready to move on to step five, where we will explore how to implement spatial audio technologies and further enhance your gaming audio immersion.
Step 5: Implementing Spatial Audio Technologies
Creating the ultimate gaming headset involves taking advantage of spatial audio technologies to enhance your gaming experience. Spatial audio allows for a more immersive and realistic soundstage, providing a sense of direction and positioning in the virtual world. Here are some spatial audio technologies you can consider implementing:
- Virtual Surround Sound: Virtual surround sound technologies simulate the effect of multiple speakers in a surround sound setup using only two drivers in your headphones. This creates a more expansive and 3D-like audio experience, allowing you to accurately pinpoint sound sources in games.
- Head-Related Transfer Function (HRTF): HRTF technology mimics the way sound waves interact with the shape of our ears and head to create spatial cues. By utilizing HRTF processing, headphones can provide a more accurate perception of sound direction and distance, improving immersion in games.
- 3D Audio: Some gaming platforms and software offer 3D audio formats, such as Dolby Atmos or DTS:X, which support object-based audio. These formats reproduce sounds in a 3D space, allowing for more precise positioning of audio sources, height effects, and a more realistic sound experience.
Implementing spatial audio technologies can be done through various means, including software configurations, dedicated gaming sound cards, or using specific gaming platforms that support these technologies. Consult the documentation and settings of your gaming platforms or PC sound cards to enable or optimize spatial audio features.
It’s important to note that not all games or content may fully utilize these spatial audio technologies, so do some research to ensure compatibility and maximize your gaming experience. By implementing spatial audio, you’ll have a significant edge in competitive games and a more immersive experience in story-driven games.
Now that your audio is spatially enhanced, let’s move on to step six, where we will explore customizing the connectivity options of your ultimate gaming headset.
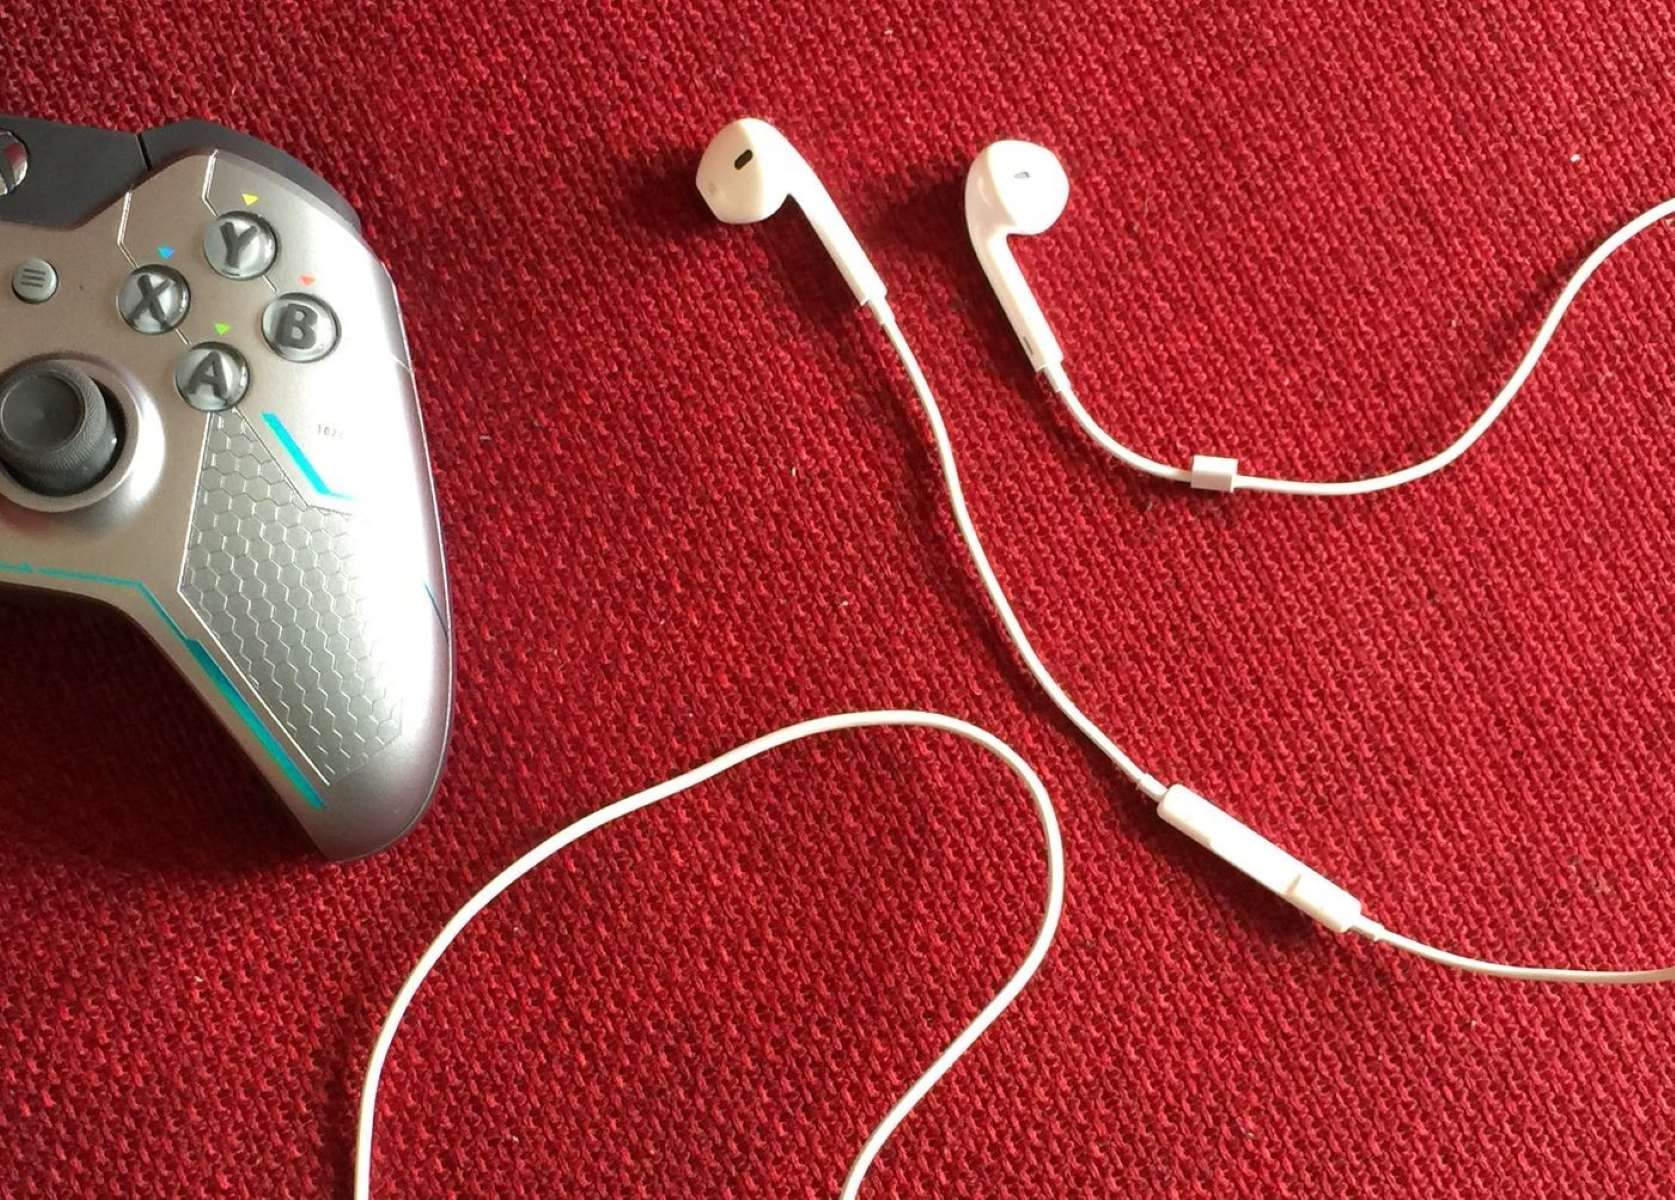
Step 6: Customizing the Headset’s Connectivity Options
Customizing the connectivity options of your ultimate gaming headset can provide you with the flexibility to use it with various gaming devices and platforms. Different gaming setups require different types of connections, so having the right connectivity options ensures seamless compatibility. Here are some customization options to consider:
- Wired or Wireless: Decide whether you prefer a wired or wireless connection for your gaming headset. Wired connections offer a reliable and low-latency connection, while wireless options provide the freedom to move around without cables. Some headsets even offer the ability to switch between wired and wireless modes.
- Bluetooth Connectivity: If you opt for wireless connectivity, ensure that your headset supports Bluetooth technology. Bluetooth allows you to connect your headset to multiple devices, such as your gaming console, PC, or even mobile devices, providing versatility in usage.
- Multi-Device Connectivity: Look for gaming headsets that offer the ability to connect to multiple devices simultaneously. This enables you to easily switch between your gaming platform, smartphone, or other devices without needing to disconnect and reconnect cables.
- Console-Specific Connectivity: For console gaming, ensure that your headset is compatible with the specific gaming console you use. Some headsets come with dedicated connectors or adapters for consoles like Xbox, PlayStation, or Nintendo Switch.
- Removable Cables: Consider a gaming headset with detachable cables. This allows you to replace damaged cables easily or use different cable lengths for different setups, such as shorter cables for PC gaming and longer cables for console gaming.
Customizing the connectivity options of your headset ensures that it seamlessly integrates into your preferred gaming environment. Whether you prioritize wired reliability or the freedom of wireless connectivity, finding the right customization options will enhance your gaming experience.
Now that you have customized the connectivity options of your gaming headset, it’s time to move on to step seven, where we will explore optimizing the audio settings for a truly immersive auditory experience.
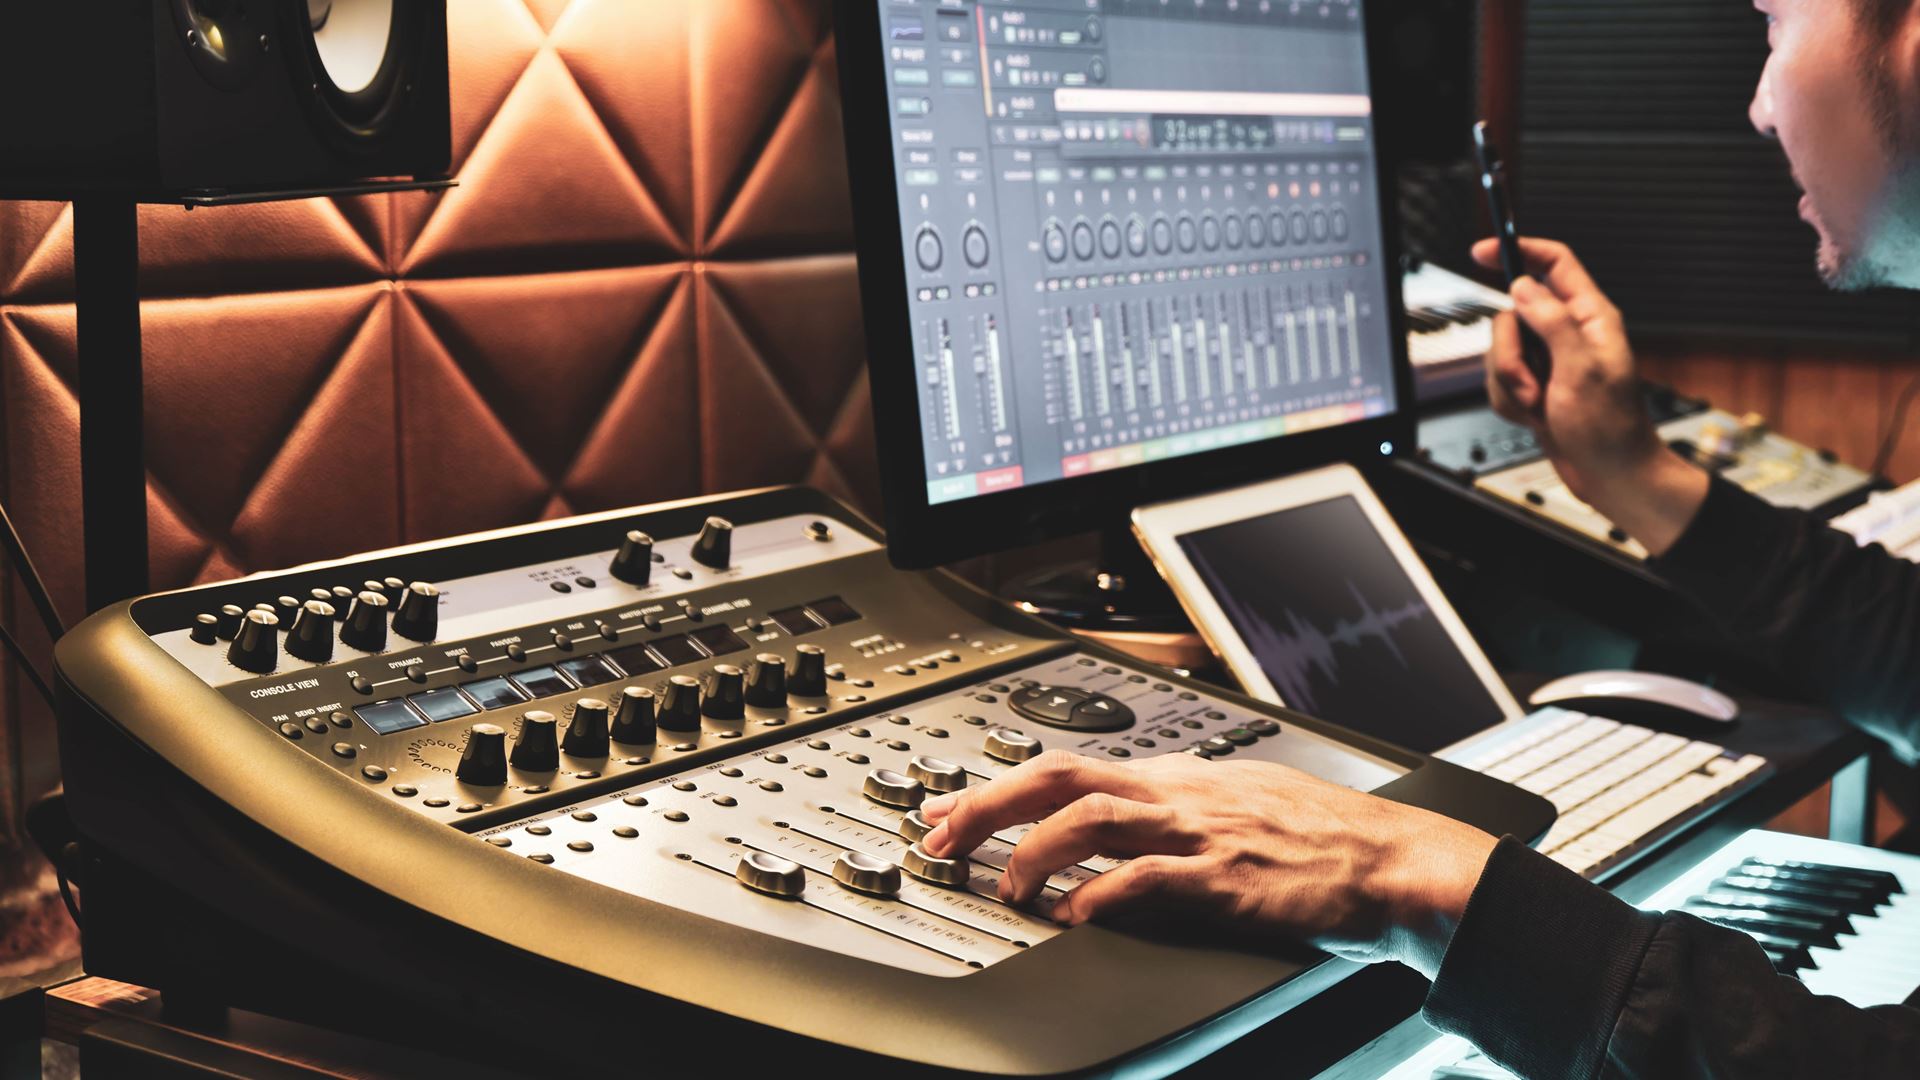
Step 7: Optimizing the Audio Settings
To fully unleash the potential of your ultimate gaming headset, it’s crucial to optimize the audio settings on your gaming device. Fine-tuning the audio settings can greatly enhance your gaming experience, allowing you to hear every sound detail and immerse yourself in the virtual world. Here are some key aspects to consider when optimizing your audio settings:
- Equalizer Settings: Utilize the equalizer settings on your gaming platform or audio software to adjust the audio frequencies to your preference. This can help enhance specific audio elements such as bass, treble, or overall balance, providing a more personalized audio experience.
- Spatial Audio Configuration: If your gaming device or software supports spatial audio technologies, ensure that you have them enabled and optimized for your headset. This includes setting up surround sound, configuring virtual surround sound settings, or enabling specific 3D audio formats.
- Volume Levels: Adjust the volume levels to a comfortable level that allows you to hear the game sounds clearly without causing discomfort or potential hearing damage. Avoid excessively high volume levels, and be mindful of regulating volume when switching between different gaming sessions or content.
- Mic Settings: If you’re using a headset with a built-in microphone, adjust the microphone settings to ensure optimal clarity and minimal background noise. You can control settings like microphone gain, noise cancellation, and sidetone (hearing your own voice in the headphones) to suit your preferences.
- Game-Specific Audio Settings: Some games offer their own audio settings, allowing you to customize elements like dialog volume, music volume, and sound effects. Explore these options and fine-tune them to enhance your gameplay experience and maintain a balance between game audio and communication with other players.
Remember, optimizing your audio settings is an ongoing process. Continually experiment with different configurations, as different games and genres may have unique audio characteristics. Take the time to listen carefully and make adjustments until you find the perfect balance for an immersive and enjoyable audio experience.
Now that you’ve optimized your audio settings, it’s time for the final step: further customization and personalization of your ultimate gaming headset. Continue reading to discover how you can add your own unique touch to the headset.
Step 8: Further Customization and Personalization
Now that you have created your ultimate gaming headset, it’s time to add your own personal touch and customize it further. This step allows you to make your headset uniquely yours and show off your individual style. Here are some ideas for further customization and personalization:
- Headset Skins and Stickers: Explore the world of headset skins and stickers. These adhesive accessories allow you to change the appearance of your headset by adding designs, patterns, or artwork. There are pre-made options available, or you can even create your own custom designs.
- Custom Earcup Caps: Some audiophile headphones offer interchangeable earcup caps, allowing you to swap them out with different designs or materials. You can find various options, including wooden caps, metal caps, or even personalized 3D-printed caps.
- LED Lighting: Many gaming headsets feature RGB LED lighting options. Customize the lighting effects and colors to match your gaming setup or personal preferences to create a visually stunning headset.
- Engraving or Embossing: For a more sophisticated touch, consider engraving or embossing your headset with your initials, gamer tag, or a meaningful symbol. This adds a unique and personalized element to your ultimate gaming headset.
- Cable Sleeving: Add a touch of style and functionality by sleeving the cables of your headset. Cable sleeving not only protects the cables from wear and tear but also allows you to choose colors and patterns that match your gaming setup aesthetic.
These are just a few suggestions to get you started on customizing and personalizing your gaming headset. Feel free to explore and experiment with different ideas that reflect your personality and gaming style. Remember, the ultimate gaming headset is not only about audio quality and performance but also about showcasing your unique flair.
With that, you’ve completed all the steps to create the ultimate gaming headset using audiophile headphones. Enjoy your immersive gaming experience and have a blast exploring virtual worlds with your carefully crafted and customized gaming audio setup!
Thank you for joining us on this journey, and we hope you now have the tools and knowledge to create a truly exceptional gaming audio setup. Happy gaming!
Conclusion
Congratulations on creating your ultimate gaming headset using audiophile headphones! By following the steps outlined in this guide, you have transformed your gaming experience and elevated the audio quality to a whole new level. From choosing the right audiophile headphones to customizing and personalizing your headset, you have crafted a gaming audio setup tailored to your preferences and style.
Remember, the combination of audiophile headphones and gaming opens up a world of immersive soundscapes and detailed audio that truly brings games to life. With the right amplifiers, modifications, comfort enhancements, and spatial audio technologies, you can hear every nuance and feel fully immersed in the virtual worlds you explore.
Optimizing your audio settings, personalizing your headset, and ensuring compatibility across various gaming devices further enhance your gaming experience and allow you to enjoy each game to its fullest potential.
Now it’s time to put your ultimate gaming headset to the test, dive into your favorite games, and experience the breathtaking audio quality and immersive soundstage you’ve created. Get ready for a whole new level of gaming audio immersion and enjoy the incredible details, spatial accuracy, and crystal-clear sound reproduction that your audiophile headset brings to your gaming sessions.
Remember to always prioritize safety when making modifications and adhere to the manufacturer’s guidelines. Continually explore and experiment with different settings and configurations to find the perfect balance for your gaming preferences.
Thank you for joining us on this journey toward creating the ultimate gaming headset. We hope this guide has provided valuable insights and inspiration to help you achieve audiophile-level audio quality in your gaming setup. Happy gaming!