Home>Production & Technology>Audiophile>How To Setup Sound Blaster Connect 2 For Audiophile Headphones
Audiophile
How To Setup Sound Blaster Connect 2 For Audiophile Headphones
Modified: January 22, 2024
Learn how to optimize your audiophile headphones with Sound Blaster Connect 2 for the ultimate audio experience. Discover step-by-step instructions on setting up your headphones to enjoy high-quality sound.
(Many of the links in this article redirect to a specific reviewed product. Your purchase of these products through affiliate links helps to generate commission for AudioLover.com, at no extra cost. Learn more)
Table of Contents
Introduction
Welcome to the world of audiophile headphones! If you’re a music lover or an audio enthusiast, you know that the quality of your headphones plays a vital role in your listening experience. Whether you’re a casual listener or a professional musician, having the right equipment is essential to truly enjoy the nuances and intricacies of your favorite songs.
In this article, we will explore how to set up Sound Blaster Connect 2 for your audiophile headphones. Sound Blaster Connect 2 is a powerful software suite that allows you to customize and enhance your audio experience. By following these steps, you’ll be able to optimize the settings and unleash the full power of your headphones.
Before we dive into the setup process, let’s briefly go over the system requirements. To use Sound Blaster Connect 2, you’ll need a compatible Sound Blaster audio device and a computer running Windows 7 or later. Additionally, make sure you have the latest drivers installed for your Sound Blaster device to ensure compatibility and functionality.
Once you have met the system requirements and installed Sound Blaster Connect 2, you’re ready to set up your audiophile headphones. Whether you’re using a high-end pair of over-ear headphones or a pair of in-ear monitors, the steps provided in this guide will help you optimize your listening experience.
Are you ready to transform your audio experience and unlock the true potential of your audiophile headphones? Let’s get started with the installation of Sound Blaster Connect 2.
System Requirements
In order to utilize Sound Blaster Connect 2 for your audiophile headphones, you’ll need to ensure that your system meets the necessary requirements. Here are the system requirements for using Sound Blaster Connect 2:
- A compatible Sound Blaster audio device: Sound Blaster Connect 2 is designed to work with select Sound Blaster audio devices. Check the product documentation or the Sound Blaster website to confirm if your audio device is supported.
- A computer running Windows 7 or later: Sound Blaster Connect 2 is currently compatible with Windows operating systems, including Windows 7, 8, 8.1, and 10. Make sure your computer meets this requirement before proceeding with the installation.
- Latest drivers for your Sound Blaster device: To ensure compatibility and functionality, it’s essential to have the latest drivers installed for your Sound Blaster audio device. Visit the official Sound Blaster website and download the latest drivers specific to your device model.
- An internet connection: Although not strictly required for the initial setup, an internet connection is recommended to access any available software updates and additional features provided by Sound Blaster Connect 2.
By meeting these system requirements, you can ensure a smooth and optimal experience with Sound Blaster Connect 2. Take the time to verify that your hardware, operating system, and drivers are up-to-date to avoid any compatibility issues during the setup process.
Once you have confirmed that your system meets these requirements, you can proceed with the installation of Sound Blaster Connect 2. In the next section, we will guide you through the steps to install the software on your computer.
Installing Sound Blaster Connect 2
Now that you have confirmed that your system meets the necessary requirements, it’s time to install Sound Blaster Connect 2 on your computer. Follow these steps to complete the installation process:
- Locate the installation file: If you have a physical installation CD, insert it into your computer’s CD/DVD drive. Alternatively, you can visit the official Sound Blaster website and download the latest version of Sound Blaster Connect 2.
- Run the installation file: Once you have the installation file, double-click on it to begin the installation process. This will launch the Sound Blaster Connect 2 installer.
- Follow the on-screen instructions: The installer will guide you through the installation process. Read and agree to the end-user license agreement, and choose the desired installation options. You can typically leave the default settings unless you have specific preferences.
- Wait for the installation to complete: The installation process may take a few minutes to complete, depending on your computer’s performance. During the installation, the necessary files and components will be copied to your system.
- Restart your computer (if prompted): After the installation is finished, you may be prompted to restart your computer to complete the setup. It is recommended to restart your computer for the changes to take effect.
Once your computer has restarted, Sound Blaster Connect 2 is now installed and ready to be configured for your audiophile headphones. In the next section, we will guide you through the steps to set up your headphones within the Sound Blaster Connect 2 software.
Remember to keep your installation files and documentation in a safe place in case you need to reinstall the software in the future or refer to the user manual for additional information and troubleshooting.
Setting Up Audiophile Headphones
Before you can start configuring your audiophile headphones with Sound Blaster Connect 2, it’s important to make sure they are properly set up and connected to your computer. Follow these steps to ensure a seamless setup:
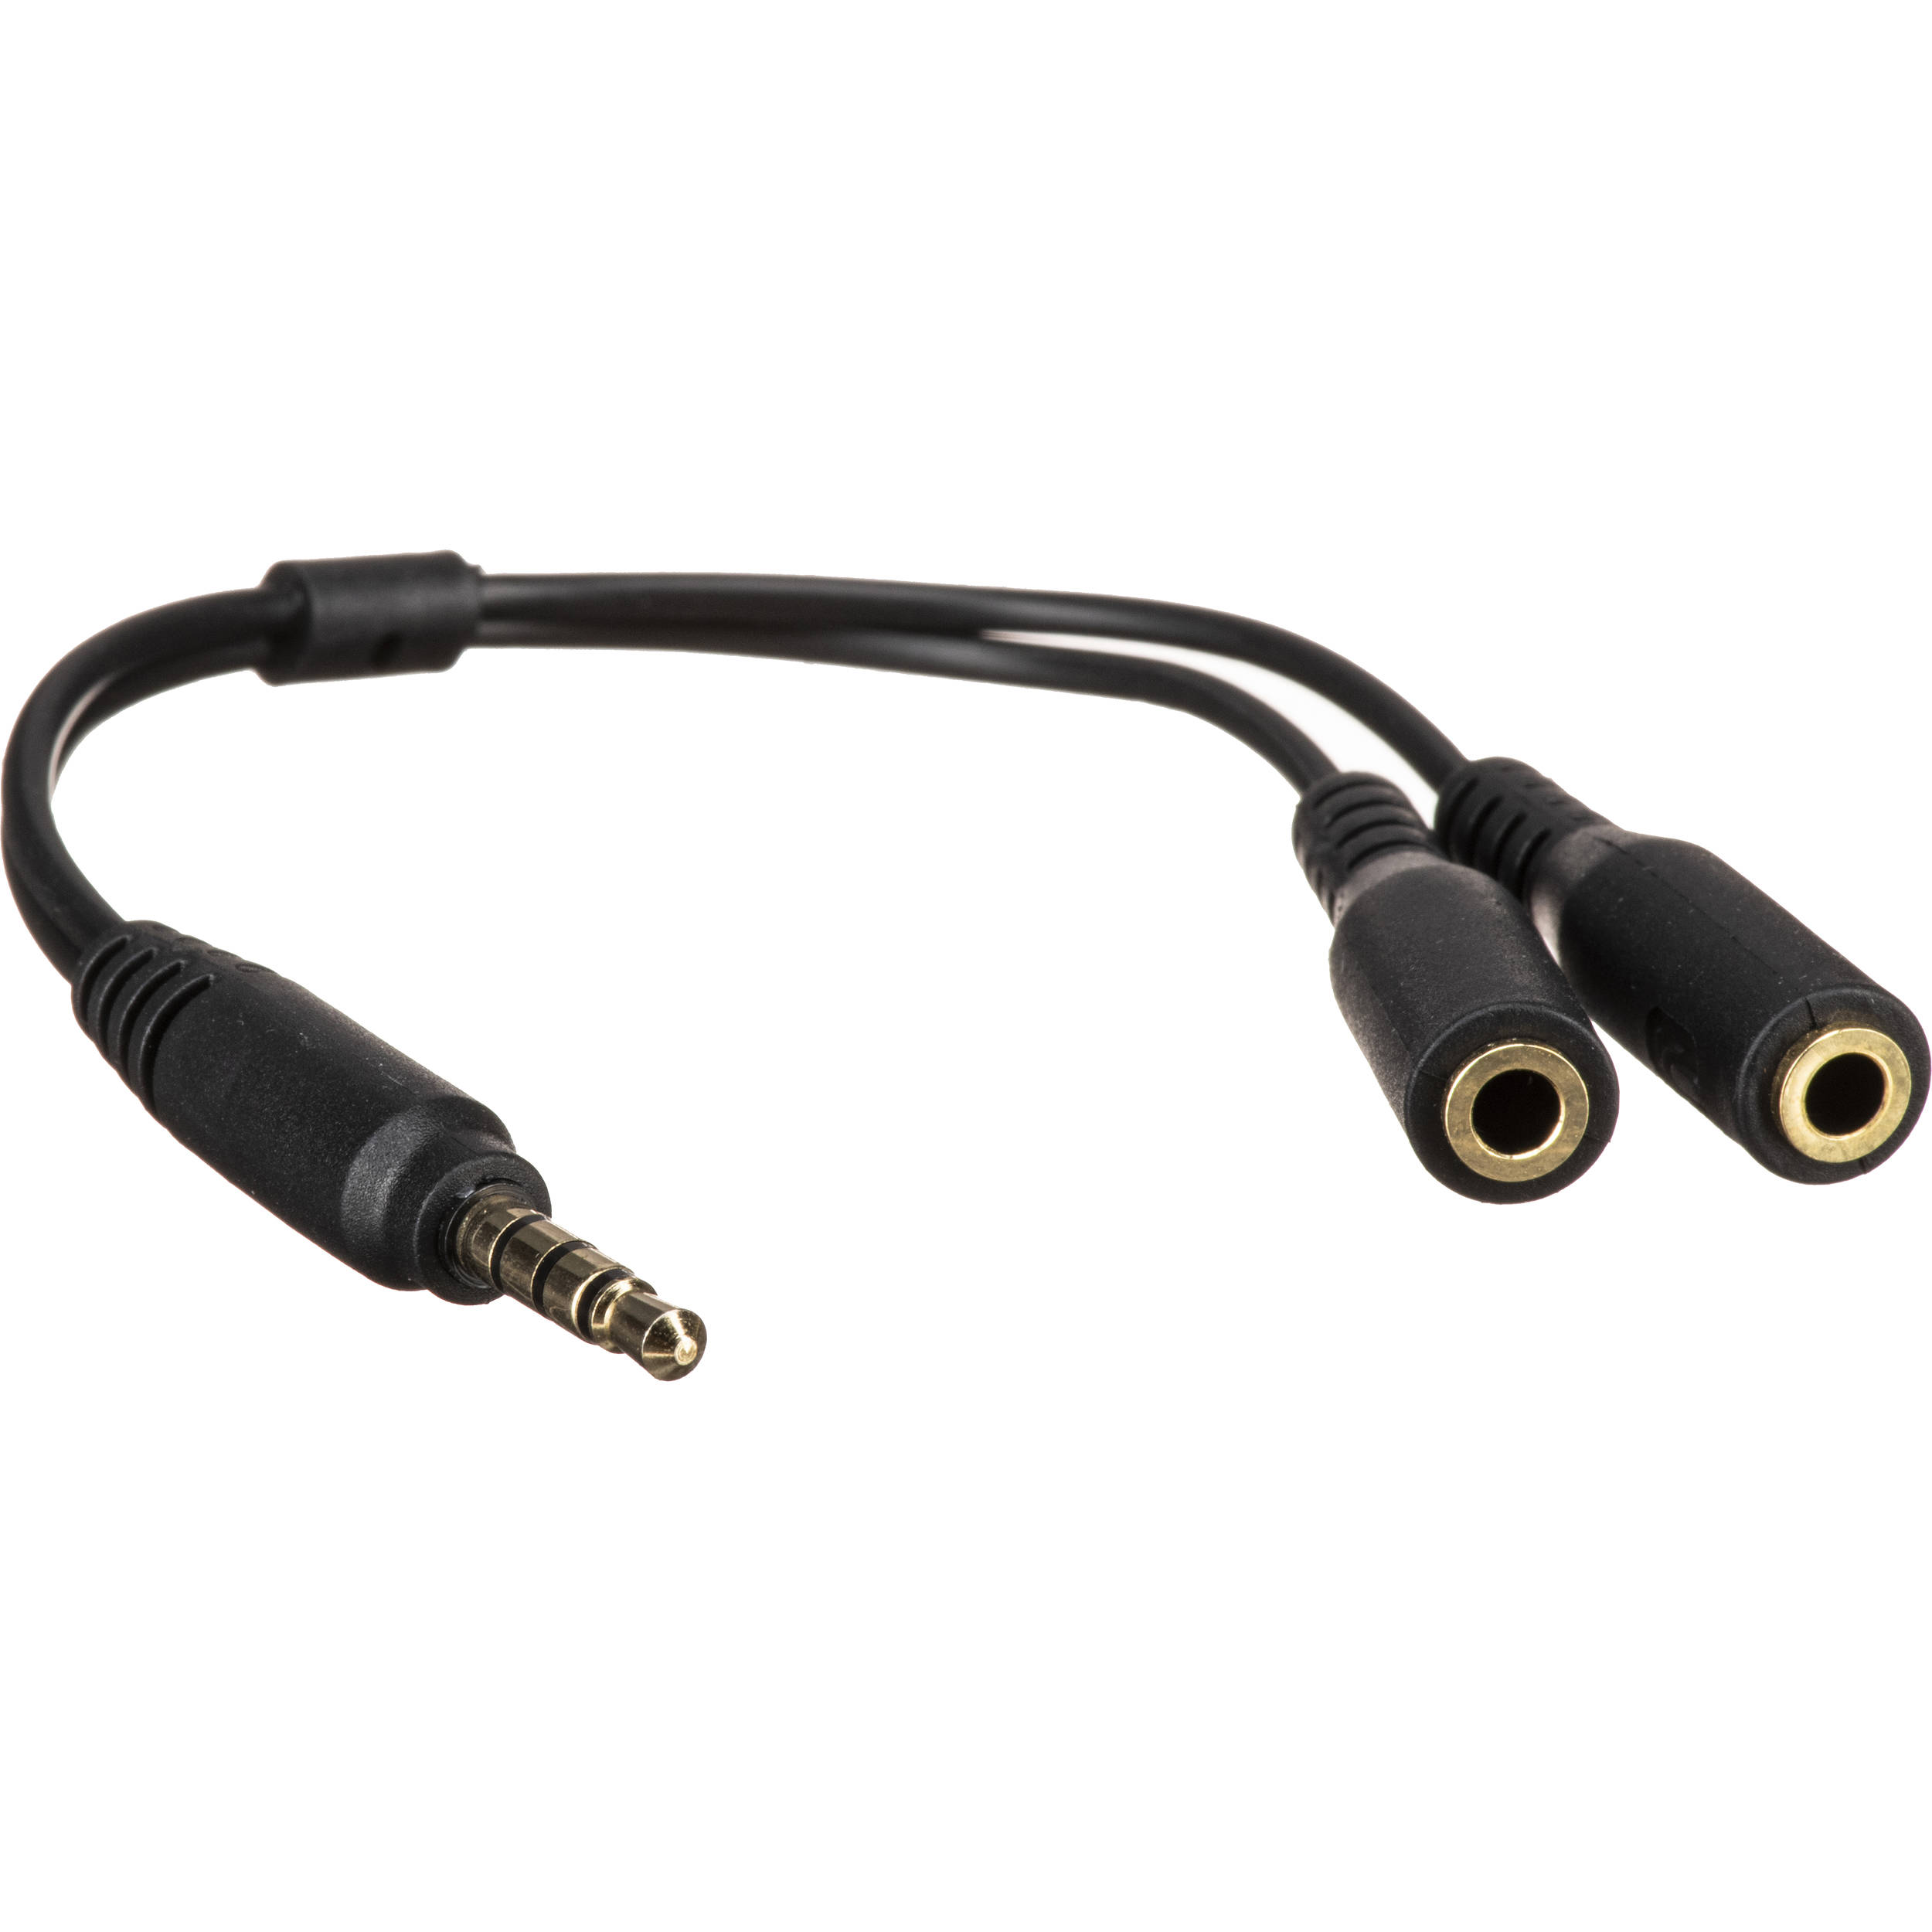
- Check the headphone connectors: Depending on the type of headphones you have, they may use a 3.5mm jack, a USB connection, or a specialized audio interface. Ensure that you have the appropriate connectors and cables required to connect your headphones to your computer. If needed, refer to the user manual or manufacturer’s instructions for specific details.
- Connect the headphones to your computer: Carefully connect your audiophile headphones to the corresponding audio output on your computer. For USB headphones, simply plug them into an available USB port. For headphones with a 3.5mm jack, insert the jack into the audio output or headphone jack on your computer.
- Test the headphone connection: Once your headphones are connected, test the audio playback to ensure the connection is successful. Play a sample audio file or your favorite music to verify that you can hear sound through your headphones. Adjust the volume as needed.
- Ensure proper power supply (if applicable): If your audiophile headphones require additional power, such as built-in amplifiers or active noise cancellation, make sure they are powered on and properly charged, if applicable. Refer to your headphone’s user manual for specific instructions on how to power them on and check the battery status.
- Adjust headphone fit: Comfort is essential for long listening sessions. Adjust the fit of your headphones to ensure they are secure and comfortable on your head. If your headphones have adjustable headbands or earcups, find the right fit that provides both a comfortable experience and a good seal for optimal sound quality.
By following these steps, you can ensure that your audiophile headphones are properly set up and ready to be fine-tuned using Sound Blaster Connect 2. Now that your headphones are connected and ready, let’s move on to the next section to configure Sound Blaster Connect 2 for optimal audio performance with your headphones.
Configuring Sound Blaster Connect 2 for Audiophile Headphones
Now that you have set up your audiophile headphones, it’s time to configure Sound Blaster Connect 2 to optimize the audio performance specifically for your headphones. Follow these steps to get started:
- Launch Sound Blaster Connect 2: Locate the Sound Blaster Connect 2 application on your computer and open it. You can typically find it in the Start menu or the system tray.
- Select your audio device: Sound Blaster Connect 2 will detect and display your connected Sound Blaster audio device. Choose the appropriate device from the list. If you have multiple devices connected, select the one that corresponds to your headphones.
- Explore the available settings: Sound Blaster Connect 2 offers a variety of settings and options to customize your audio experience. Spend some time exploring the different tabs and options to familiarize yourself with the available features.
- Adjust the EQ settings: The equalizer (EQ) allows you to fine-tune the audio frequencies to your preference. Experiment with different EQ presets or create a custom EQ profile for your headphones. Pay attention to the bass, midrange, and treble levels to achieve a balanced and immersive sound signature.
- Enable virtual surround effects (if available): Some versions of Sound Blaster Connect 2 offer virtual surround sound effects to enhance the audio experience. If this feature is available for your headphones, consider enabling it to create a more spacious and immersive listening environment.
- Enable additional audio enhancements: Sound Blaster Connect 2 may offer other audio enhancements, such as Crystalizer, Smart Volume, or Dialog Plus. Experiment with these features to see if they enhance your listening experience.
- Test and fine-tune the settings: After making adjustments, play various types of audio content to test the settings and see how they affect the sound quality. Make further adjustments as needed until you achieve the desired audio performance.
Remember, the optimal settings may vary depending on your personal preference and the characteristics of your audiophile headphones. Take the time to listen to different genres of music and multimedia content to find the combination of settings that suits your taste.
It’s worth noting that the specific features and options available in Sound Blaster Connect 2 may differ depending on the version and model of your Sound Blaster audio device. Refer to the user manual or online documentation for your device for more information on the specific features and settings available.
With Sound Blaster Connect 2 now configured for your audiophile headphones, you can enjoy an enhanced and immersive audio experience like never before. In the next section, we will explore how to adjust the sound settings within Sound Blaster Connect 2 to further customize your audio experience.
Adjusting Sound Settings
Now that you have configured Sound Blaster Connect 2 for your audiophile headphones, you may want to further fine-tune the sound settings to enhance your listening experience. Sound Blaster Connect 2 offers various settings that allow you to customize the audio output according to your preferences. Here are some key sound settings you can adjust:
- Volume control: The volume control setting determines the overall loudness of the audio output. You can adjust the volume using the volume sliders within Sound Blaster Connect 2 or by using the hardware volume controls on your computer or headphones.
- Balance control: The balance control setting allows you to adjust the volume balance between the left and right channels. If you find that the audio is uneven, you can use the balance control to even it out for a more balanced sound experience.
- Bass and treble control: Sound Blaster Connect 2 usually provides dedicated controls for adjusting the bass and treble levels. If you prefer more pronounced bass or brighter treble, you can use these controls to enhance or reduce the levels to your liking.
- Surround sound settings: If your Sound Blaster audio device supports virtual surround sound, you can adjust the level and intensity of the surround effects. This allows you to create a more immersive audio experience by expanding the soundstage and spatial awareness.
- Reverb and effects: Some versions of Sound Blaster Connect 2 offer additional sound effects, such as reverb or ambiance effects. These effects can simulate different room environments or add a sense of depth to the audio. Experiment with these effects to find the level that enhances your listening experience.
- Advanced settings: Sound Blaster Connect 2 may offer advanced settings, such as sample rate selection, channel mapping, or audio processing options. These settings allow you to have more control over the technical aspects of the audio output. Adjust them based on your specific requirements and preferences.
Remember that sound preferences are subjective, and what sounds good to one person may not be the same for another. Take the time to listen to different types of audio content and make subtle adjustments to find the balance and settings that suit your personal preference and the characteristics of your audiophile headphones.
Additionally, don’t hesitate to revisit and fine-tune these settings periodically as you discover new music or multimedia content. Different genres and formats may benefit from slight adjustments to accommodate their unique sound signatures.
By adjusting the sound settings to your liking, you can ensure that your audio experience with Sound Blaster Connect 2 and your audiophile headphones is personalized and tailored to your preferences.
In the next section, we will discuss how you can create and customize sound profiles within Sound Blaster Connect 2 for different usage scenarios.
Customizing Sound Profiles
One of the great features of Sound Blaster Connect 2 is the ability to create and customize sound profiles. Sound profiles allow you to save and switch between different audio settings for different usage scenarios or music genres. This gives you the flexibility to have optimized sound settings for various activities. Here’s how you can customize sound profiles in Sound Blaster Connect 2:
- Create a new sound profile: Open Sound Blaster Connect 2 and navigate to the sound profiles section. Click on the “New” or “Create” button to create a new profile. Give it a name that reflects the specific purpose or music genre associated with the profile.
- Adjust the sound settings: Once you’ve created the profile, you can fine-tune the sound settings to your liking. This includes adjusting the EQ settings, virtual surround effects, volume levels, and other audio enhancements. Customize the settings according to the desired sound signature for that particular profile.
- Save the sound profile: After you’ve adjusted the settings, make sure to save the sound profile. Sound Blaster Connect 2 will usually have a “Save” or “Apply” button to save the profile. Repeat this process for any additional sound profiles you wish to create.
- Switch between sound profiles: Once you have saved multiple sound profiles, you can easily switch between them. In the sound profiles section of Sound Blaster Connect 2, select the desired profile from the list. The audio settings will automatically update to reflect the chosen profile, allowing for a seamless transition between different sound profiles.
- Edit or delete sound profiles: If you want to make changes to an existing sound profile or remove it entirely, Sound Blaster Connect 2 provides options to edit or delete profiles. Simply select the profile you wish to modify or remove and follow the appropriate options provided by the software.
Customizing sound profiles allows you to have instant access to tailored audio settings for different activities or music genres. For example, you may have a profile optimized for gaming, another for watching movies, and another for specific music genres like classical or electronic. This way, you can enjoy the optimal sound experience whenever you switch to a particular activity or genre.
Experiment with different combinations of settings, EQ presets, and audio enhancements to create unique sound profiles that suit your preferences and enhance your overall audio experience.
Now that you know how to customize sound profiles in Sound Blaster Connect 2, let’s move on to the next section where we will discuss common troubleshooting tips for any issues you may encounter during the setup or usage process.
Troubleshooting Common Issues
While setting up and using Sound Blaster Connect 2 for your audiophile headphones, you may encounter some common issues. Here are a few troubleshooting tips to help you resolve these issues:
- Ensure proper connections: Double-check that your audiophile headphones are correctly connected to your computer. Make sure the cables are securely plugged in, and any adapters or converters are properly attached.
- Check for driver updates: Visit the Sound Blaster website or use the software’s built-in update feature to check for the latest drivers for your Sound Blaster audio device. Installing the latest drivers can address compatibility issues and ensure optimal performance.
- Restart the software and computer: Sometimes, a simple restart can resolve temporary software glitches. Close Sound Blaster Connect 2, restart the software, and if necessary, restart your computer as well.
- Reset Sound Blaster Connect 2 settings: If you’re experiencing unusual behavior or settings that don’t work as expected, try resetting Sound Blaster Connect 2 settings. Look for a “Reset” or “Restore Defaults” option in the software’s settings menu.
- Check other audio software and settings: Ensure that no other audio software, such as equalizers or virtualization tools, are conflicting with Sound Blaster Connect 2. Check your computer’s audio settings to confirm that Sound Blaster is the selected default audio device.
- Verify headphone compatibility: Not all features of Sound Blaster Connect 2 may work with every headphone model. Check the manual or Sound Blaster’s website to confirm if your headphones are compatible with the software, including any advanced features or enhancements.
- Contact customer support: If you have exhausted all troubleshooting options and are still experiencing issues, reach out to Sound Blaster’s customer support for further assistance. They can provide personalized guidance and solutions to resolve any persistent problems.
Remember, troubleshooting steps may vary depending on your specific audio device and configuration. Refer to the documentation provided by Sound Blaster and your headphone manufacturer for additional troubleshooting tips and instructions.
By following these troubleshooting tips, you can overcome common issues and ensure a smooth experience with Sound Blaster Connect 2 and your audiophile headphones.
Now it’s time to conclude our guide on setting up and optimizing Sound Blaster Connect 2 for your audiophile headphones.
Conclusion
Congratulations on successfully setting up and optimizing Sound Blaster Connect 2 for your audiophile headphones! You’ve taken important steps to enhance your audio experience and unlock the full potential of your headphones.
By following the installation process, connecting your headphones properly, and configuring the audio settings within Sound Blaster Connect 2, you have customized your sound experience to suit your preferences and enjoy high-quality audio.
Remember, each individual’s audio preferences are unique, and what may sound great to one person may not be the same for another. Take the time to experiment with different settings, EQ presets, and sound profiles to find the perfect audio signature for your listening pleasure.
In case you encounter any issues along the way, refer to the troubleshooting section to address common problems and reach out to Sound Blaster’s customer support if needed.
With Sound Blaster Connect 2 now fully set up and customized, you can indulge in your favorite music, movies, games, and multimedia content, and experience them in a whole new way.
Don’t forget to keep your audio drivers and Sound Blaster Connect 2 updated to ensure compatibility with future hardware and software updates. Stay tuned to the Sound Blaster website for any new features or enhancements that may enhance your audio experience even further.
Enjoy your journey as an audiophile with the optimized sound quality and personalized settings provided by Sound Blaster Connect 2. Immerse yourself in the richness and detail of your favorite audio content, and let the extraordinary sound quality of your audiophile headphones transport you to a world of sonic bliss.