Home>Production & Technology>Audiophile>How To Turn Your Audiophile Headphones Into 7.1 Audio?
Audiophile
How To Turn Your Audiophile Headphones Into 7.1 Audio?
Modified: January 22, 2024
Learn how to transform your audiophile headphones into a 7.1 audio experience and immerse yourself in the ultimate sound quality.
(Many of the links in this article redirect to a specific reviewed product. Your purchase of these products through affiliate links helps to generate commission for AudioLover.com, at no extra cost. Learn more)
Table of Contents
- Introduction
- Understanding Audiophile Headphones
- What is 7.1 Audio?
- Benefits of Converting Audiophile Headphones to 7.1 Audio
- Requirements for Converting Audiophile Headphones to 7.1 Audio
- Step 1: Choosing the Right Sound Processing Software
- Step 2: Configuring the Sound Processing Software
- Step 3: Connecting Audiophile Headphones to the Sound Processing Software
- Step 4: Adjusting Audio Settings for 7.1 Surround Sound
- Step 5: Testing and Fine-tuning the Setup
- Conclusion
Introduction
Welcome to the world of audiophile headphones! If you’re a lover of high-quality audio and an enthusiast seeking the ultimate listening experience, then you’ve come to the right place. Audiophile headphones are specifically designed to deliver exceptional sound reproduction, capturing every nuanced detail of your favorite music or audio tracks.
But what if you could take your audiophile headphones to the next level? What if you could transform them into a 7.1 audio powerhouse, providing an immersive and cinematic audio experience? In this article, we will explore how you can turn your audiophile headphones into a 7.1 audio system and unlock a whole new level of audio enjoyment.
But before we delve into the world of 7.1 audio, let’s first understand what makes audiophile headphones so special. These headphones are meticulously engineered to reproduce sound with utmost accuracy and clarity. They are designed with high-quality components, including premium drivers, to ensure faithful sound reproduction. Audiophile headphones are renowned for their ability to reproduce a wide frequency range, exceptional dynamic range, and minimal distortion. This attention to detail results in an audio experience that is incredibly detailed, immersive, and true to the original recording.
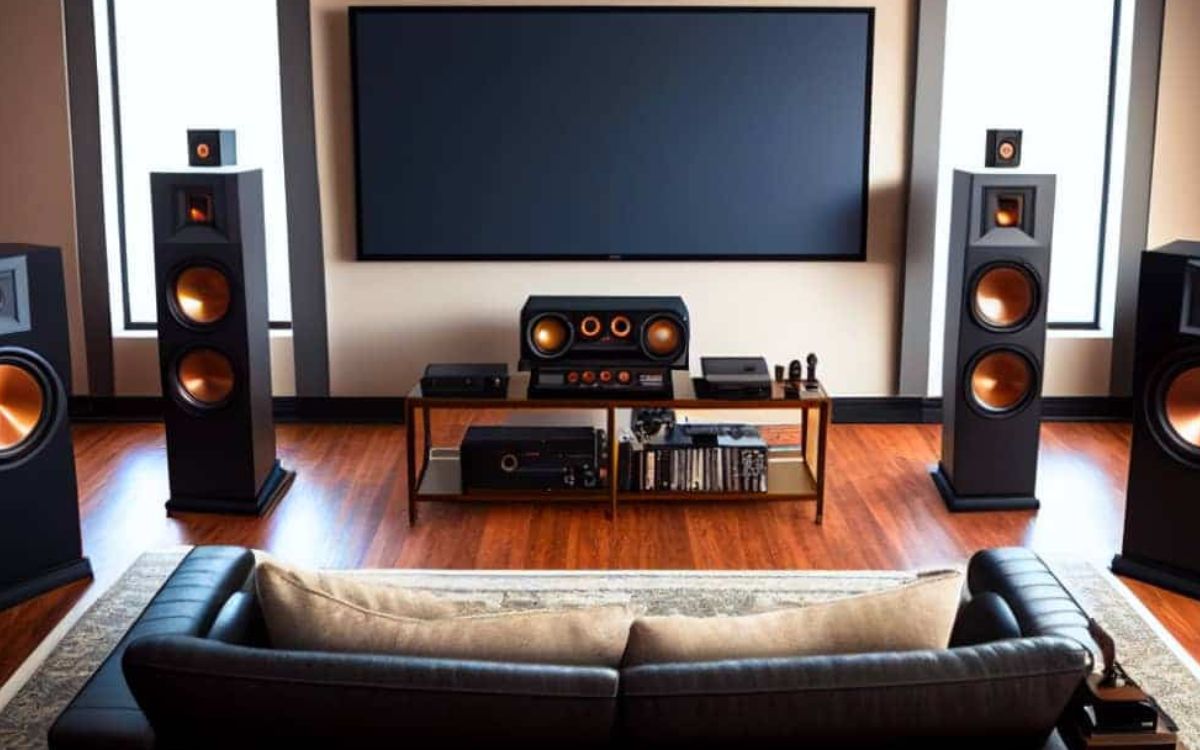
Now that we have a better understanding of audiophile headphones, let’s explore what exactly 7.1 audio entails. 7.1 audio is a surround sound technology that utilizes eight audio channels to create a captivating and immersive audio experience. It is commonly used in home theater systems and gaming setups to provide a cinematic soundstage where audio can be placed around the listener, creating a more realistic and engaging audio experience.
By converting your audiophile headphones to 7.1 audio, you can bring the immersive sound of a home theater system or a gaming setup directly to your ears. This means that you can enjoy your favorite movies, music, and games with enhanced spatial awareness and a more realistic audio environment. Whether you’re watching an action-packed movie scene or engaging in a thrilling gaming session, 7.1 audio will elevate your listening experience to new heights.
In the next sections, we will discuss the benefits of converting your headphones to 7.1 audio and the requirements for setting up this system. We will also guide you through a step-by-step process on how to configure your sound processing software, connect your headphones, and fine-tune the setup. So, let’s dive in and unlock the full potential of your audiophile headphones!
Understanding Audiophile Headphones
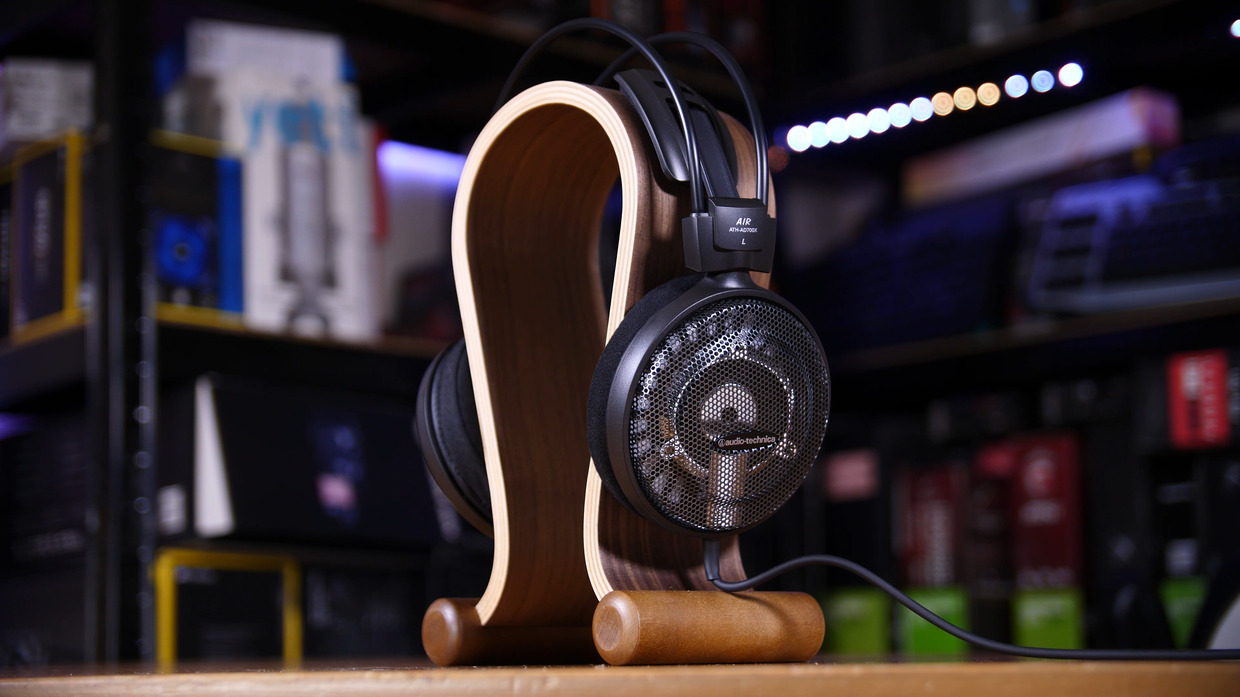
Audiophile headphones are not your average run-of-the-mill headphones. They are designed for those who have a deep appreciation for audio quality and seek to experience music in its purest form. These headphones prioritize accuracy, detail, and clarity, providing an immersive and lifelike audio experience.
One of the key aspects of audiophile headphones is the use of high-quality components. They feature premium drivers, which are the tiny speakers inside the headphones that convert electrical signals into sound waves. These drivers are meticulously engineered to reproduce sound with exceptional precision, delivering a wide frequency range and low distortion. With audiophile headphones, you can expect to hear every subtle nuance of your favorite tracks, from the delicate high notes to the powerful lows.
Another crucial element of audiophile headphones is their build quality. They are crafted with premium materials, such as high-grade metals and premium-grade plastics, to ensure durability and longevity. Comfort is also a top priority, with features like cushioned earpads and adjustable headbands. These headphones are designed to be worn for extended periods without causing discomfort or fatigue.
Audiophile headphones also offer a wide soundstage, which refers to the perceived spatial dimension of the audio. They create a sense of depth and width, allowing you to pinpoint the location of instruments and vocals within the virtual soundstage. This creates a more immersive and realistic listening experience, making you feel like you’re in the same room as the musicians.
Furthermore, audiophile headphones prioritize a neutral sound signature. This means that they aim for a balanced and unbiased representation of the audio. Unlike consumer headphones that often emphasize certain frequency ranges, such as enhanced bass for a more impactful sound, audiophile headphones strive for accuracy and transparency. This neutrality allows you to hear the music as the artist intended, without any extra coloration or artificial enhancements.
Overall, audiophile headphones are crafted with precision and dedicated to delivering exceptional audio quality. If you appreciate the intricacies of music and want to experience it with the utmost fidelity, audiophile headphones are an excellent choice. With their high-quality components, immersive soundstage, and neutral sound signature, they are an audiophile’s dream come true.
What is 7.1 Audio?
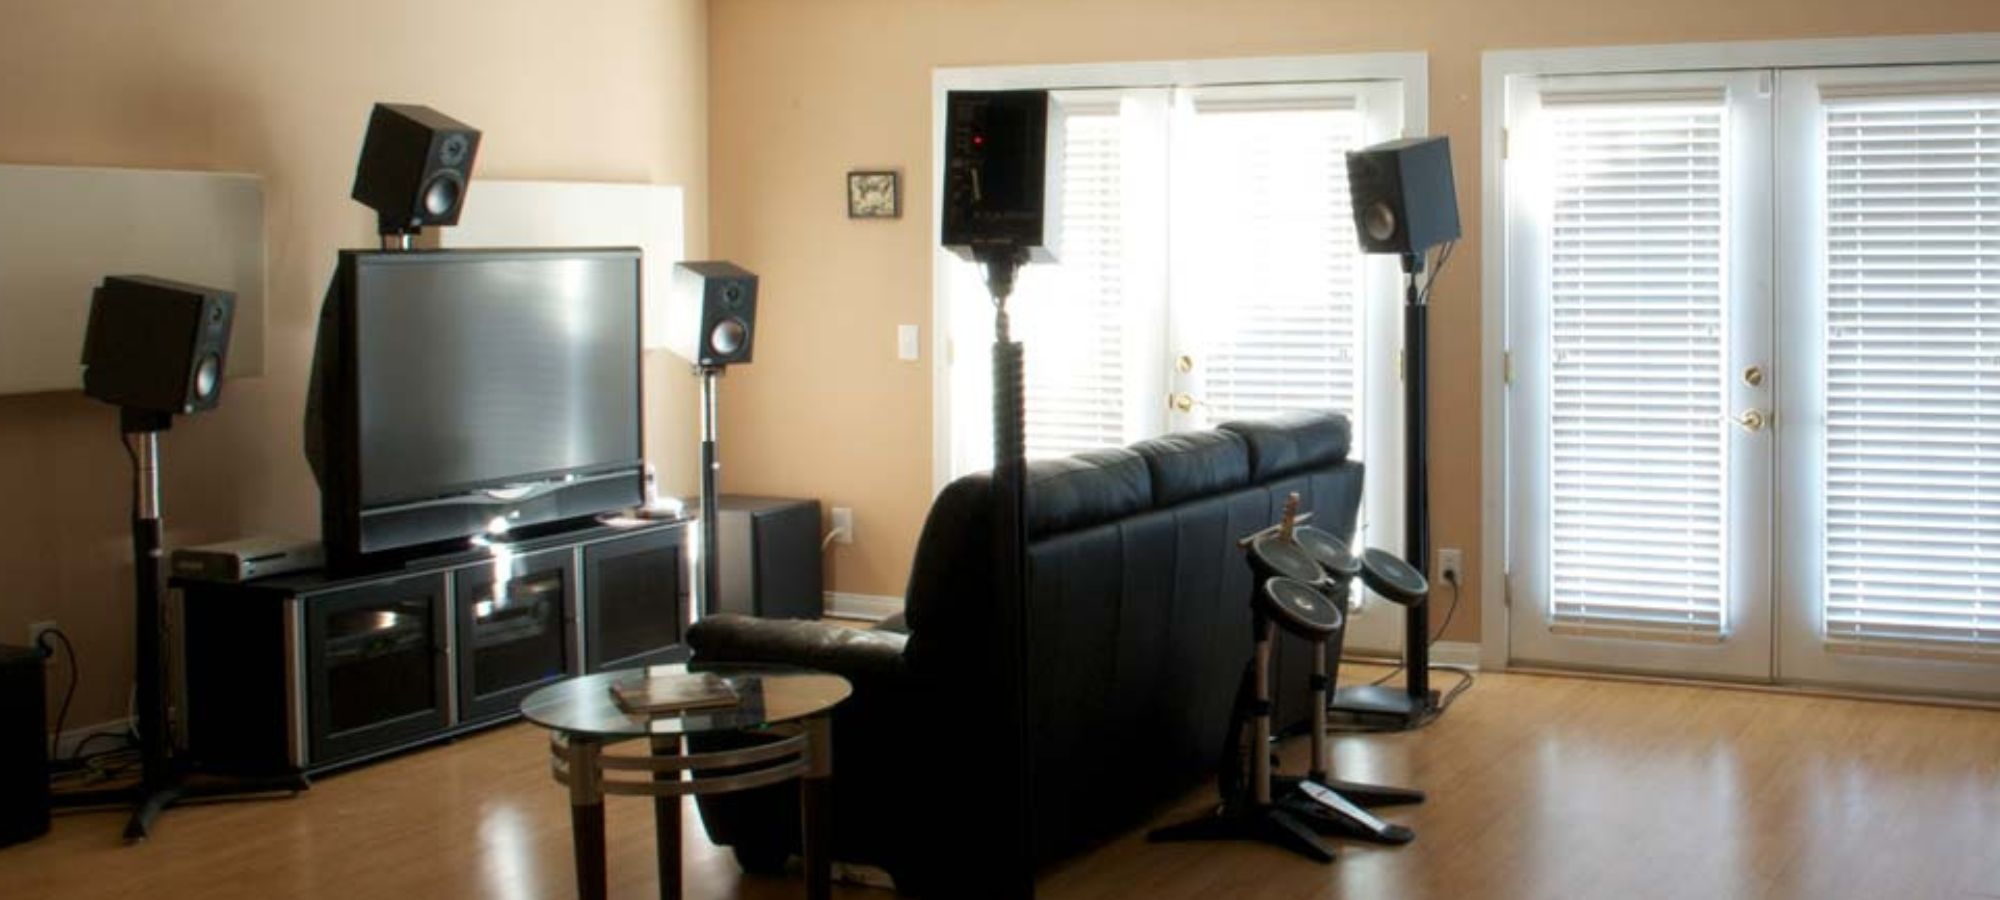
7.1 audio, also known as 7.1 channel audio, is a surround sound technology that aims to create an immersive and captivating audio experience. It utilizes eight audio channels, including seven full-range speakers and one subwoofer, to reproduce audio with enhanced spatial awareness and depth.
The “7” in 7.1 audio refers to the seven full-range speakers, which are strategically positioned around the listening area. These speakers are responsible for producing the main audio content, including dialogue, music, and sound effects. Three speakers are placed in the front: the center channel, which is responsible for dialogue and vocals, and two front left and right channels, which handle music and sound effects. Four speakers are placed in the rear: the surround left and right channels, which provide ambient sounds and immersive effects, and the surround back left and right channels, which further enhance the surround sound experience.
The “.1” in 7.1 audio refers to the dedicated subwoofer, which reproduces low-frequency sounds, commonly known as bass. The subwoofer adds depth and richness to the overall audio experience, allowing you to feel the impact of explosions, deep bass notes, and rumbling effects.
By utilizing multiple speakers and a subwoofer, 7.1 audio creates a multidimensional audio environment. This means that sound can be placed around the listener, enhancing the sense of realism and immersion. Whether you’re watching a movie, playing a video game, or listening to music, 7.1 audio adds a new dimension to the audio experience, making you feel like you’re right in the middle of the action.
It’s worth noting that 7.1 audio is commonly used in home theater systems and gaming setups. Home theaters with 7.1 audio configurations provide a cinematic experience, where you can enjoy movies with surround sound effects and detailed audio placement. Gaming setups with 7.1 audio enhance the gaming experience, allowing you to accurately locate in-game sounds and immerse yourself in virtual worlds.
Now that we understand what 7.1 audio is, let’s explore the benefits of converting your audiophile headphones to 7.1 audio and how you can achieve this exciting upgrade.
Benefits of Converting Audiophile Headphones to 7.1 Audio
Converting your audiophile headphones to 7.1 audio brings a multitude of benefits that enhance your audio experience and take it to the next level. Let’s explore some of the key advantages of this conversion:
1. Immersive Surround Sound: By upgrading to 7.1 audio, you can enjoy a truly immersive surround sound experience. The additional audio channels and enhanced spatial awareness create a virtual soundstage around you, making you feel like you’re right in the middle of the action. Whether you’re watching movies, playing games, or listening to music, the immersive surround sound enhances the realism and depth of the audio.
2. Accurate Audio Placement: 7.1 audio allows for precise audio placement within the virtual soundstage. This means that you can accurately identify the direction from which sounds are coming, giving you a heightened sense of realism and immersion. You’ll be able to pinpoint the location of footsteps, explosions, and other in-game or movie sound effects, enhancing your overall audio experience.
3. Enhanced Detail and Clarity: Converting your headphones to 7.1 audio can increase the level of detail and clarity in the audio. The additional audio channels help to separate different audio elements, ensuring that each sound is reproduced with utmost precision. This enhances the overall audio quality, allowing you to hear subtle nuances, instrument separation, and spatial cues that may have been previously missed.
4. Cinematic Movie Experience: If you’re a movie enthusiast, upgrading to 7.1 audio can transform your viewing experience into a cinematic delight. With surround sound, you’ll be able to enjoy movies with a level of audio immersion that replicates the theater experience. Dialogue will sound more realistic, action sequences will be more thrilling, and background music will envelop you, making every movie-watching session a truly memorable one.
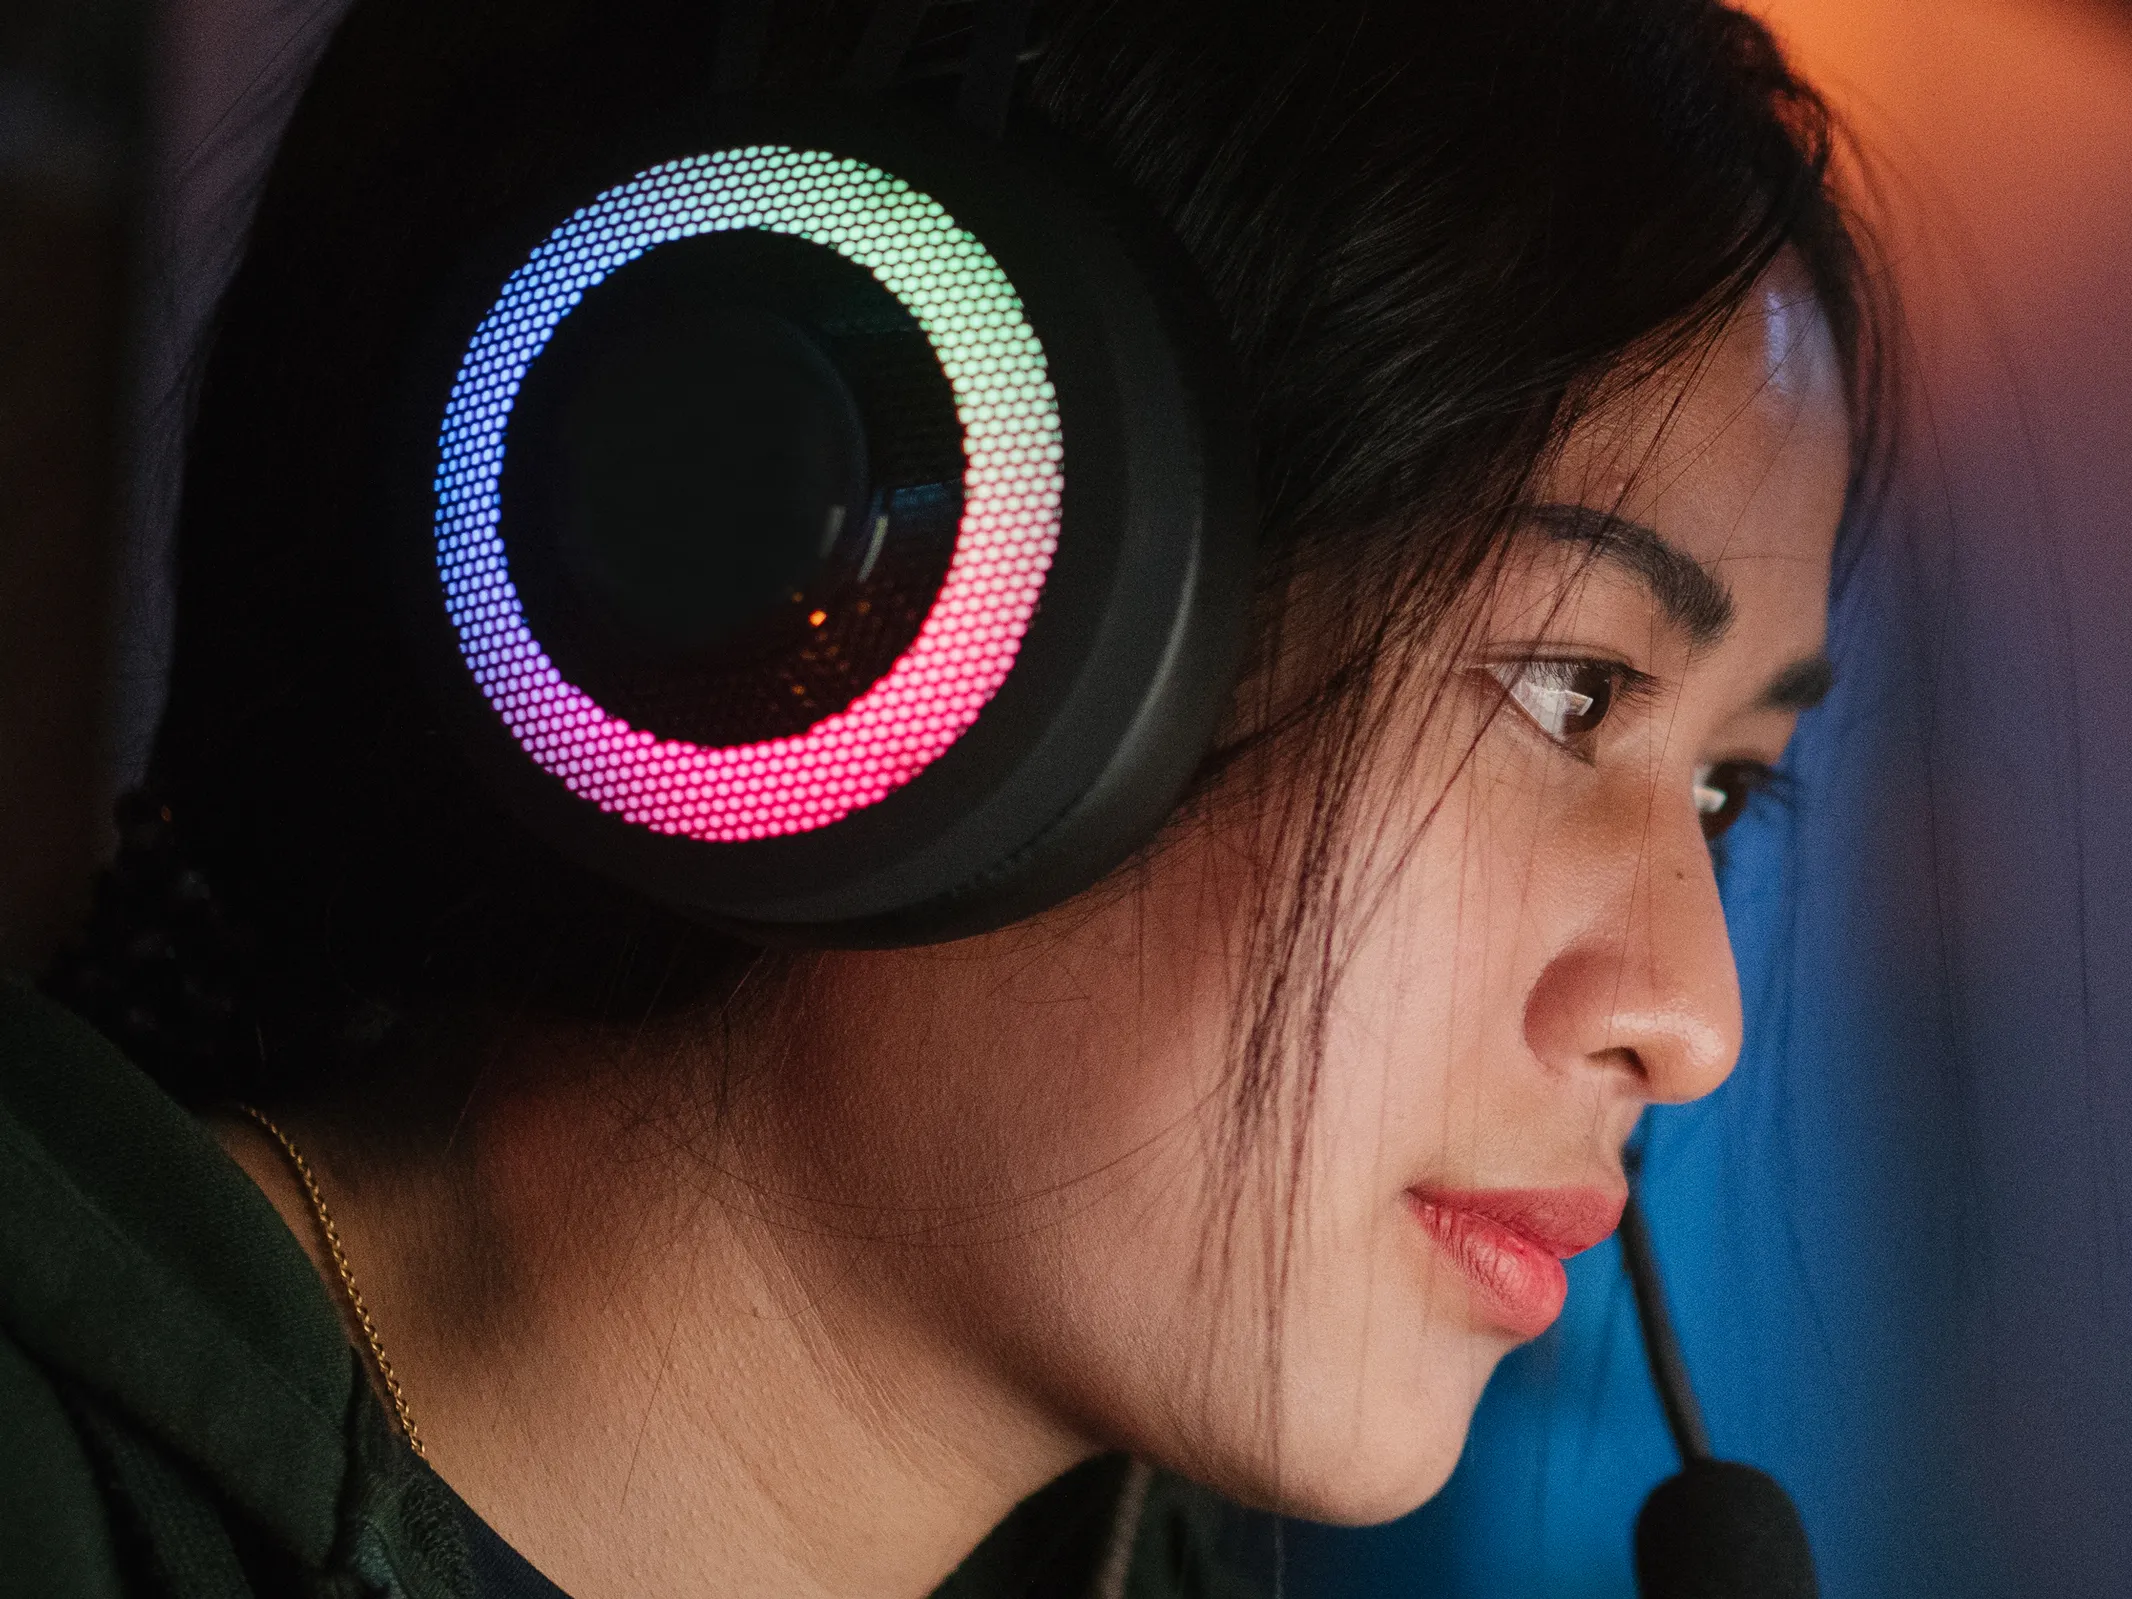
5. Engaging Gaming Experience: For gamers, 7.1 audio can significantly enhance the gaming experience. The immersive surround sound allows you to perceive in-game sounds with precision, giving you a competitive edge. You’ll be able to accurately locate enemy footsteps, incoming projectiles, and ambient sounds, immersing yourself in the virtual world and heightening the overall gaming experience.
6. Upgraded Music Listening: Even for music enthusiasts, converting to 7.1 audio can bring a fresh perspective to music listening. With the increased audio channels, you’ll experience music in a more dynamic and immersive way. Whether it’s a live concert recording or a studio album, the enhanced spatial placement and added depth will make your favorite songs come alive, allowing you to appreciate the intricacies of the music like never before.
By converting your audiophile headphones to 7.1 audio, you unlock a new world of audio enjoyment. The immersive surround sound, accurate audio placement, enhanced detail, and cinema-like experience elevate your listening experiences to new heights. In the next sections, we will explore the requirements and steps to convert your audiophile headphones to 7.1 audio, so you can start experiencing these benefits firsthand.
Requirements for Converting Audiophile Headphones to 7.1 Audio
Before you can enjoy the benefits of 7.1 audio on your audiophile headphones, there are a few key requirements that you need to fulfill. Let’s take a look at what you’ll need:
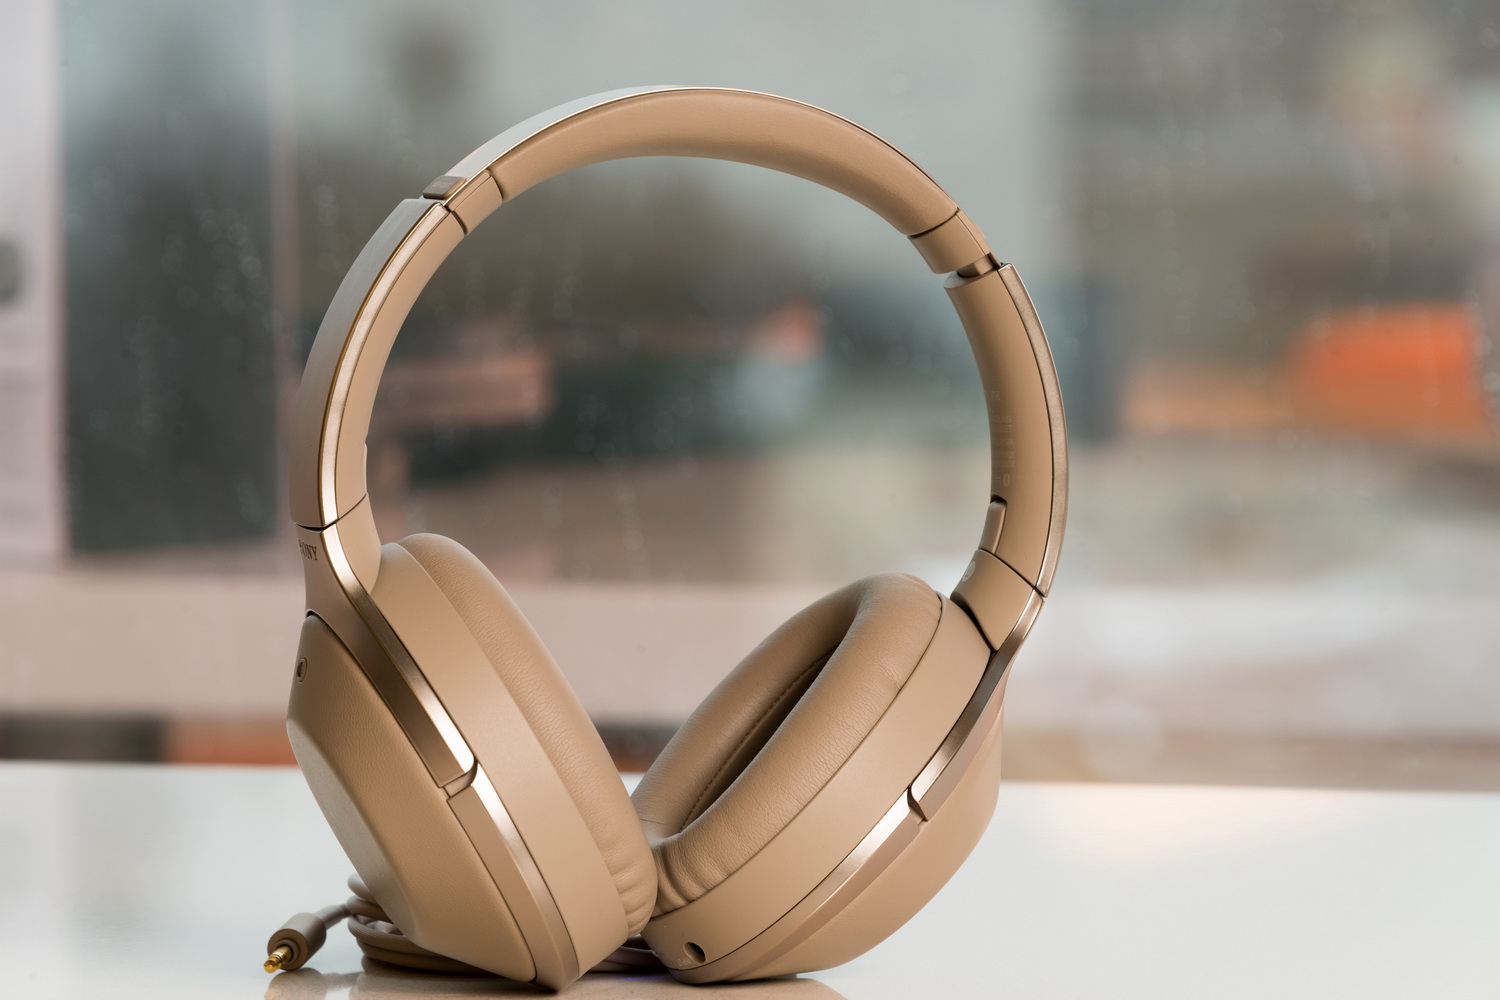
1. Audiophile Headphones: First and foremost, you’ll need a pair of high-quality audiophile headphones. These headphones should have a wide frequency response, excellent dynamic range, and accurate sound reproduction. Look for headphones that prioritize clarity, detail, and a neutral sound signature for the best results.
2. Sound Processing Software: To convert your audiophile headphones to 7.1 audio, you’ll need sound processing software that can simulate and process surround sound. There are various options available, both free and paid, that offer features like virtual surround sound and audio channel mapping. Make sure to choose a software that is compatible with your operating system and provides the necessary audio customization options.
3. Audio Interface or Sound Card: An audio interface or sound card is recommended to ensure optimal audio quality and performance. These devices act as a bridge between your computer and headphones, providing improved sound processing capabilities. While it is possible to use the built-in audio output of your computer, an external audio interface or dedicated sound card can enhance the audio fidelity and provide better control over audio settings.
4. 7.1 Audio Source: To fully experience 7.1 audio, you’ll need audio content that is encoded in a 7.1 format. This can include movies, TV shows, video games, or music that have been mixed or mastered specifically for surround sound. Look for media files or streaming platforms that support 7.1 audio to make the most out of your setup.
5. Computer Hardware Requirements: Converting to 7.1 audio may require a computer with sufficient hardware specifications. Ensure that your computer meets the minimum requirements specified by the sound processing software. This can include processor speed, RAM, and available audio ports. Additionally, having a dedicated graphics card may be beneficial for gaming setups to handle the added audio processing workload.
6. Connectivity and Cables: Finally, ensure that you have the necessary cables and connectors to connect your headphones and audio interface/sound card to your computer. This can include USB cables, audio jacks, and adapters, depending on the specific audio setup you are using. Consider the length and quality of the cables to minimize signal loss and interference.
By fulfilling these requirements, you’ll have everything you need to convert your audiophile headphones to 7.1 audio. In the next sections, we will guide you through the step-by-step process of configuring the sound processing software, connecting your headphones, and fine-tuning the setup for the ultimate audio experience.
Step 1: Choosing the Right Sound Processing Software
The first step in converting your audiophile headphones to 7.1 audio is selecting the right sound processing software. This software will allow you to simulate and process surround sound, creating an immersive audio experience. Here are some factors to consider when choosing the software:
Compatibility: Ensure that the software you choose is compatible with your operating system. Whether you’re using Windows, macOS, or Linux, there are options available for each platform. Check the software’s system requirements to ensure it will run smoothly on your computer.
Features: Look for software that offers virtual surround sound capabilities and the ability to map audio channels. Virtual surround sound technology simulates the effect of surround sound using stereo headphones, creating a more immersive audio experience. The ability to map audio channels allows you to configure the software to match the specific layout of your audiophile headphones.
User Interface: Opt for software with a user-friendly interface that is easy to navigate and customize. This will make the setup process more straightforward and allow for seamless adjustments to audio settings. Look for software with intuitive controls and a visually appealing layout.
Customization Options: Consider the level of customization offered by the software. Look for options to adjust equalization settings, room simulation, and audio effects. This will allow you to fine-tune the audio output to suit your preferences and the characteristics of your headphones.
Reviews and Recommendations: Take the time to read reviews and consider recommendations from other audiophiles or enthusiasts who have experience with 7.1 audio software. This can provide valuable insights into the performance, compatibility, and overall user experience of different software options.
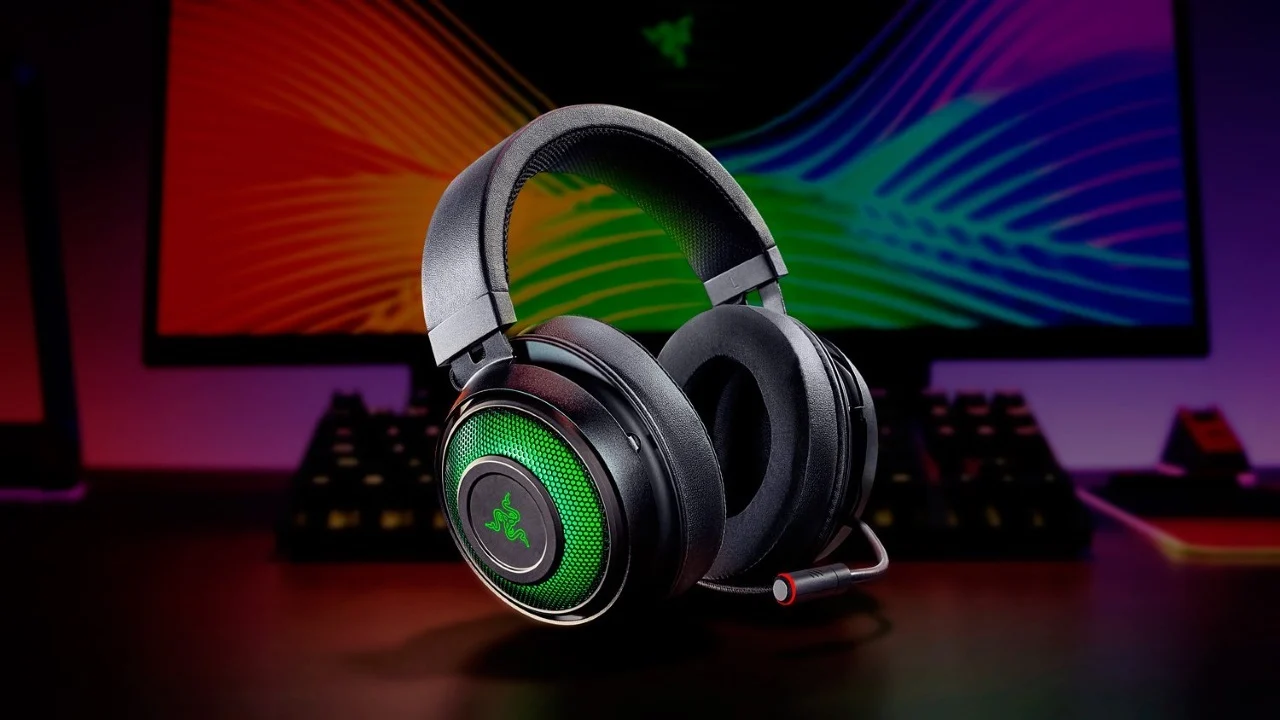
Some popular sound processing software options for 7.1 audio include Voicemeeter, Razer Surround, Dolby Atmos for Headphones, and Waves NX. Each of these software solutions offers its own unique set of features and customization options, so be sure to research and choose the one that best suits your needs.
Once you have selected the right sound processing software, you’re ready to move on to the next step: configuring the software to optimize the 7.1 audio experience for your audiophile headphones.
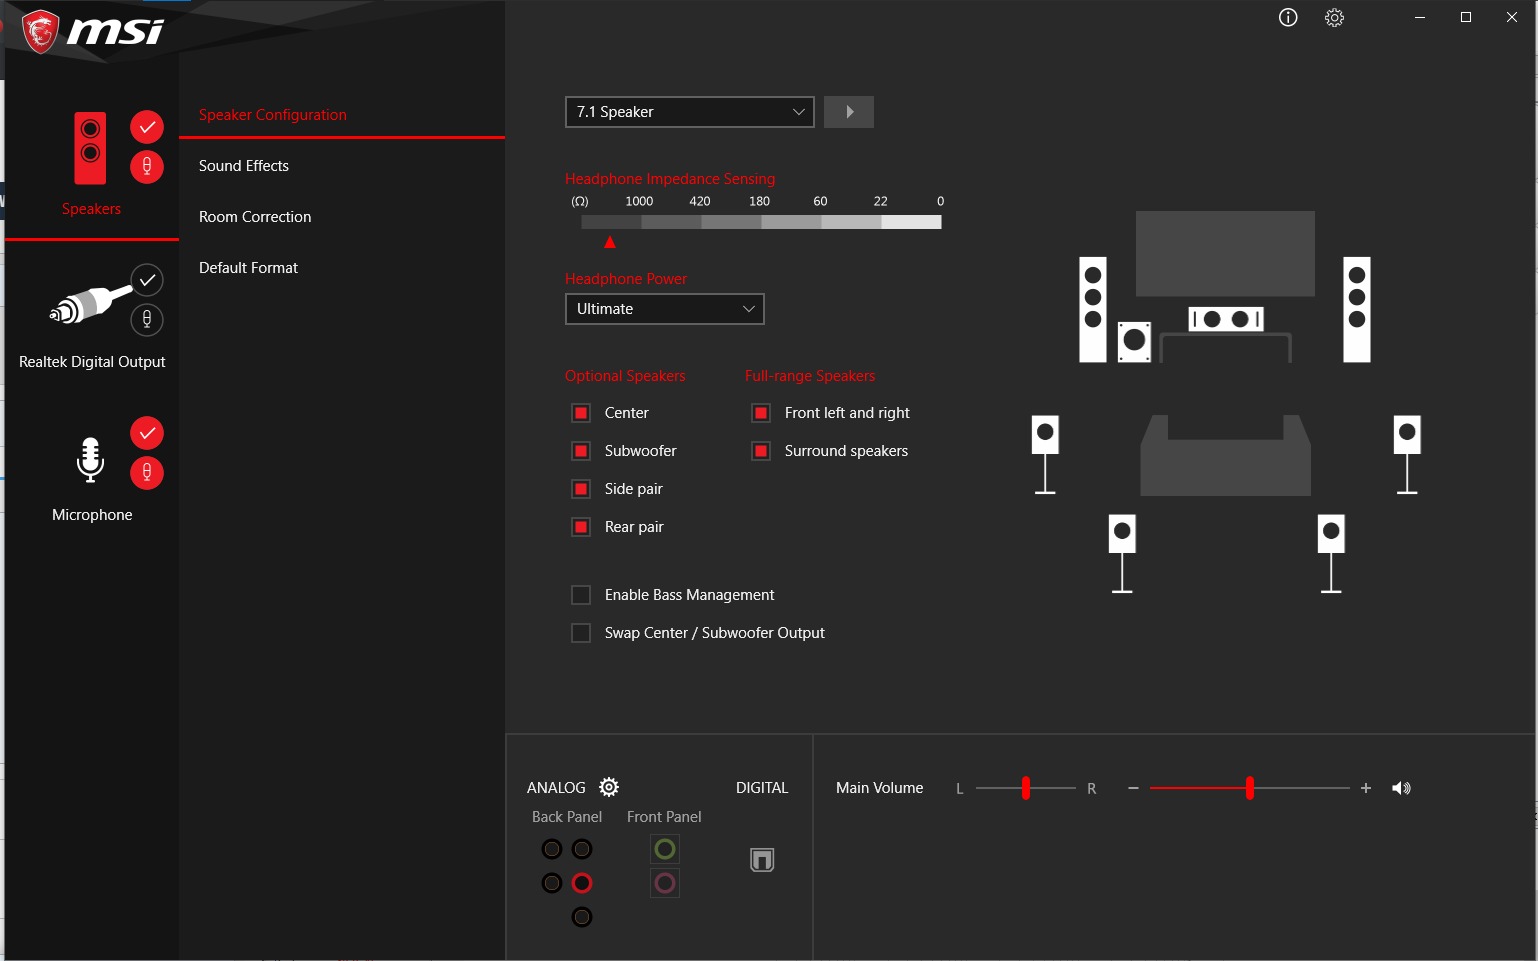
Step 2: Configuring the Sound Processing Software
After choosing the right sound processing software for your 7.1 audio experience, it’s time to configure the software and optimize the settings for your audiophile headphones. Follow these steps to ensure the best possible configuration:
1. Install the Software: Begin by downloading and installing the chosen sound processing software on your computer. Follow the installation instructions provided by the software developer to complete the setup process.
2. Open the Software: Launch the software and familiarize yourself with its interface and controls. Take note of any specific settings or features that are unique to the software you have chosen.
3. Choose the Audio Output Device: In the software settings or preferences, locate the option to select the audio output device. Choose your audiophile headphones as the default output device to ensure that the surround sound processing is applied correctly.
4. Select the Surround Sound Mode: Look for the option to enable the surround sound mode or virtual surround sound. Choose the appropriate surround sound mode that matches your desired configuration (e.g., 7.1 surround sound).
5. Customize the Audio Channels: Some software allows you to map the audio channels to match the layout of your audiophile headphones. Use this feature to ensure that the sound is accurately distributed to the correct channels of your headphones.
6. Adjust Equalization Settings: Explore the equalization (EQ) settings within the software and make adjustments to fine-tune the sound. Experiment with different EQ presets and customize the settings to match your preferences and the characteristics of your headphones.
7. Configure Room Simulation (Optional): If the software offers room simulation or ambience effects, consider enabling this feature to add a sense of acoustic space to your audio experience. Experiment with the settings to find a balance that enhances the immersion without overwhelming the sound.
8. Save and Apply the Configuration: Once you are satisfied with the configuration and settings, save them within the software. This will ensure that the settings are retained each time you use the software with your headphones.
By carefully configuring the sound processing software, you can optimize the 7.1 audio experience for your audiophile headphones. Experiment with different settings and adjustments to find the best sound quality and surround sound immersion that suits your personal preferences and listening environment.
Once you have completed the configuration, you’re ready to move on to the next step: connecting your audiophile headphones to the sound processing software.
Step 3: Connecting Audiophile Headphones to the Sound Processing Software
Now that you have configured the sound processing software, it’s time to connect your audiophile headphones to your computer and configure the software to recognize and optimize the audio output. Follow these steps to connect your headphones:
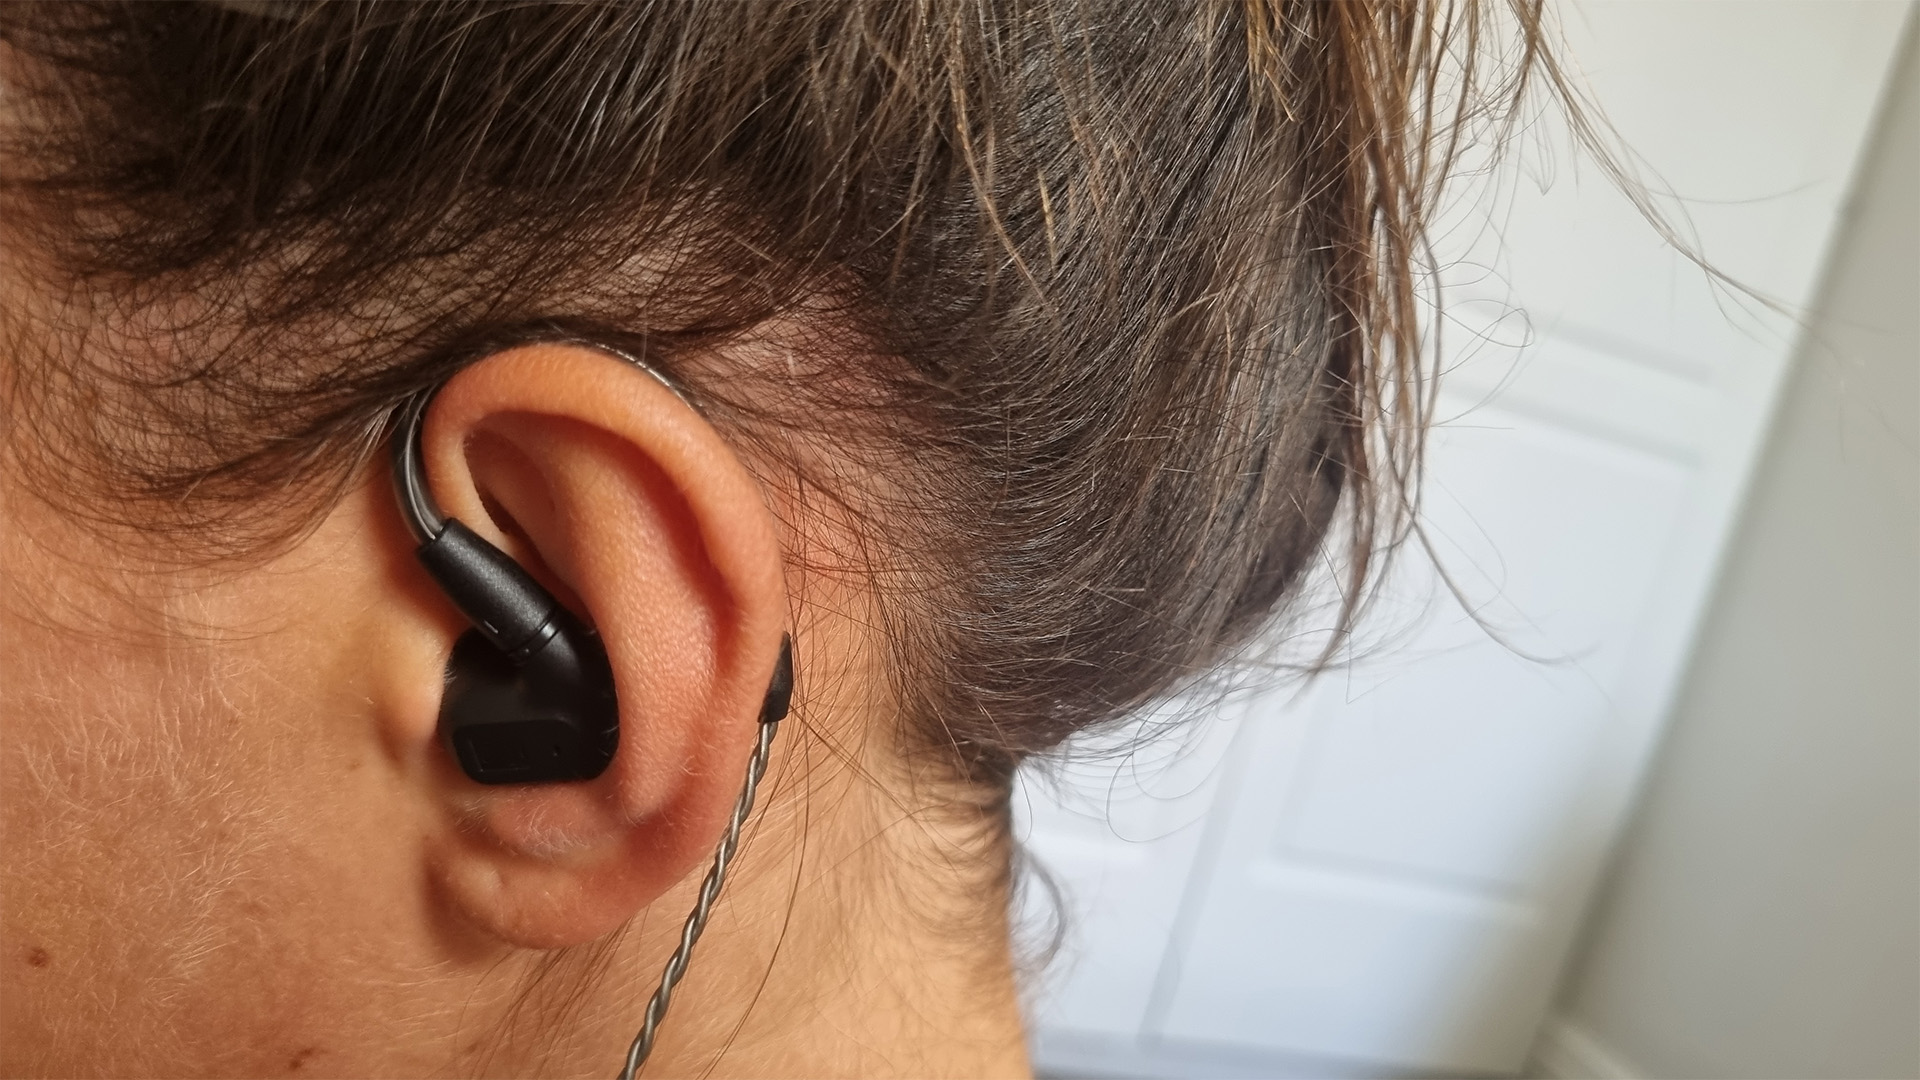
1. Determine the Connection Type: Identify the type of connection that your audiophile headphones use. Most headphones connect via a 3.5mm audio jack, USB, or wireless connection (Bluetooth, RF, or infrared).
2. Connect via 3.5mm Audio Jack: If your headphones have a 3.5mm audio jack, locate the headphone jack on your computer or audio interface. Plug the headphone cable into the appropriate audio output port. Make sure the connection is secure to avoid any audio issues.
3. Connect via USB: If your headphones have a USB connection, locate a USB port on your computer or audio interface. Plug the USB cable into the USB port. Your computer should automatically detect and recognize the headphones as the default audio device.
4. Connect Wirelessly: For wireless headphones, ensure that they are properly paired with your computer or connected audio device. Follow the manufacturer’s instructions to establish a stable wireless connection. Make sure the headphones are set as the default audio device in your computer’s sound settings.
5. Configure Sound Settings: Open the sound settings on your computer and ensure that the connected audiophile headphones are selected as the default audio output device. This will ensure that the sound processing software recognizes and optimizes the audio output for your headphones.
6. Launch Sound Processing Software: Open the sound processing software that you configured in the previous steps. Verify that the software recognizes the connected headphones as the audio output device. If not, check the software settings to manually select the headphones.
7. Test the Audio: Play some audio or use the test feature within the sound processing software to ensure that the headphones are correctly connected and the software is processing the audio in the desired surround sound format. Adjust the volume and listen for any distortions or issues with the audio output.
By properly connecting your audiophile headphones to the sound processing software, you ensure that the software recognizes and optimizes the audio output for the headphone’s capabilities. This connection allows you to take full advantage of the 7.1 audio experience on your audiophile headphones, bringing your audio to life with enhanced surround sound immersion.
Once you have successfully connected and verified the audio output, you are ready to move on to the next step: adjusting the audio settings for 7.1 surround sound.
Step 4: Adjusting Audio Settings for 7.1 Surround Sound
After connecting your audiophile headphones to the sound processing software, it’s time to fine-tune the audio settings to optimize the 7.1 surround sound experience. Follow these steps to adjust the audio settings:
1. Open the Sound Processing Software: Launch the sound processing software that you configured in previous steps, ensuring that your audiophile headphones are still recognized as the audio output device.
2. Locate the Audio Settings: Look for the audio settings or preferences section within the software. This is where you can adjust various audio parameters to enhance the surround sound experience.
3. Equalization (EQ) Settings: Explore the EQ settings in the software and make adjustments to fine-tune the sound. Depending on the software, you may have access to various EQ presets or customizable EQ bands. Experiment with different EQ settings to achieve the desired audio balance and clarity.
4. Surround Sound Mode: Verify that the surround sound mode is enabled and set to 7.1 audio. This ensures that the software processes the audio to take full advantage of the surround sound capabilities of your audiophile headphones.
5. Channel Balance: Check the channel balance settings within the software. Some software allows you to adjust the volume levels of each audio channel individually. This can be useful for fine-tuning the audio output to achieve the desired balance and ensure that no channels dominate over others.
6. Room Simulation and Effects: If the software offers additional features like room simulation or audio effects, you may want to experiment with these settings. Adjust the room simulation parameters to create a sense of space and depth in the audio. Be mindful not to overdo it, as excessive effects may distract from the overall audio experience.
7. Test and Listen: Use the software’s built-in test feature or play audio content to evaluate the adjustments you’ve made. Listen critically to the audio output and make any necessary tweaks to customize the settings further. Pay attention to the separation of sound, spatial cues, and overall immersion.
8. Save the Settings: Once you’re satisfied with the adjustments, save the settings within the sound processing software. This ensures that your customized audio settings will be applied each time you use the software with your audiophile headphones.
By adjusting the audio settings within the sound processing software, you can fine-tune the 7.1 surround sound experience to match your preferences and the characteristics of your audiophile headphones. Take the time to experiment and find the optimal settings that provide an immersive, balanced, and detailed audio experience.
With the audio settings adjusted, you’re ready to move on to the final step: testing and fine-tuning the setup to ensure optimal performance and audio quality.
Step 5: Testing and Fine-tuning the Setup
After configuring the sound processing software and adjusting the audio settings, it’s important to test and fine-tune the setup to ensure optimal performance and audio quality. Here are the steps to follow:
1. Test Different Audio Content: Play a variety of audio content that supports 7.1 surround sound. This can include movies, video games, or music specifically mixed or mastered in a surround sound format. Pay attention to the audio separation, spatial cues, and overall immersion to assess the accuracy of the surround sound representation.
2. Evaluate Channel Balance: Listen carefully to each audio channel and assess the balance between them. Ensure that no channel overpowers the others and that the sound distribution feels natural and immersive. Adjust the channel balance settings within the software if necessary to achieve a pleasing audio balance.
3. Fine-tune Equalization (EQ): Continuously assess the EQ settings and make subtle adjustments to achieve the desired audio balance. Pay attention to different audio frequencies, including lows, mids, and highs, and ensure that they’re well-balanced. Customize the EQ settings further to match your personal preferences and the characteristics of your audiophile headphones.
4. Experiment with Room Simulation: If the sound processing software offers room simulation features, experiment with different settings to create a subtle sense of space. Find the balance that enhances the audio experience without overwhelming the sound. Adjust the parameters to your liking and the specific audio content you’re enjoying.
5. Seek Feedback: Consider seeking feedback from peers or fellow audiophiles who have experience in 7.1 audio setups. They may provide valuable insights and suggestions on how to further optimize the setup for the best surround sound experience with your audiophile headphones.
6. Continuously Refine: The process of testing and fine-tuning is not a one-time task. As you explore different audio content and become more familiar with the setup, continue to refine the settings to achieve the desired audio quality and immersion. Don’t hesitate to make adjustments as needed to optimize the experience for various types of content.
7. Enjoy the Result: Once you are satisfied with the performance and audio quality of the setup, sit back and enjoy the immersive 7.1 surround sound experience with your audiophile headphones. Immerse yourself in movies, games, and music, and appreciate the enhanced depth, detail, and realism that the setup offers.
Remember that each setup and individual preferences may differ, so take the time to fine-tune the setup to achieve the best possible audio experience with your audiophile headphones and the selected sound processing software.
With the testing and fine-tuning complete, you have successfully converted your audiophile headphones into a 7.1 audio system. Enjoy the immersive soundstage and enhanced audio experience that 7.1 surround sound brings, whether you’re watching movies, playing games, or listening to music.
Lastly, don’t forget to periodically revisit the settings to ensure they continue to provide the desired audio quality and fine-tune them as your preferences evolve over time.
Conclusion
Congratulations! You have now successfully converted your audiophile headphones into a 7.1 audio system, unlocking a whole new level of audio immersion and enjoyment. By following the steps outlined in this guide, you have optimized your headphones to deliver an immersive surround sound experience that rivals that of home theaters and gaming setups.
Throughout the process, you learned about the essence of audiophile headphones and their commitment to high-quality audio reproduction. You also gained an understanding of what 7.1 audio is and the benefits it brings, including immersive surround sound, accurate audio placement, enhanced detail, and a more cinematic and engaging audio experience.
By choosing the right sound processing software, configuring it to match your headphones, and adjusting the audio settings, you have created a tailored setup that complements your audiophile headphones’ capabilities. The careful fine-tuning and testing ensure that you have achieved a surround sound experience that suits your personal preferences and listening environment.
Now, it’s time to sit back, relax, and enjoy the fruits of your efforts. Immerse yourself in movies with lifelike audio, get fully engrossed in gaming worlds with precise audio cues, and appreciate music with enhanced depth and clarity. Every moment of audio enjoyment will be heightened and enriched by the 7.1 audio experience you have created.
Remember that audio preferences are subjective, and your experience may be unique to you. It’s important to continuously experiment, refine, and adapt your setup based on your personal tastes and the specific audio content you enjoy. Stay curious and open to exploring new techniques and technologies that can further enhance your audio experience.
Thank you for joining us on this journey to convert your audiophile headphones into a 7.1 audio system. We hope that this guide has provided you with valuable insights and empowered you to elevate your audio experience to new heights. Embrace the immersive surround sound and revel in the incredible details and clarity that your converted headphones now offer!