Home>Production & Technology>Audiophile>How To Run Diagnostics On Audiophile Cd Player
Audiophile
How To Run Diagnostics On Audiophile Cd Player
Modified: January 22, 2024
Learn how to run diagnostics on your audiophile CD player with our step-by-step guide. Ensure optimal sound quality and troubleshoot any issues.
(Many of the links in this article redirect to a specific reviewed product. Your purchase of these products through affiliate links helps to generate commission for AudioLover.com, at no extra cost. Learn more)
Table of Contents
- Introduction
- Step 1: Check the Power Connection
- Step 2: Verify the Audio Connections
- Step 3: Inspect the Disc and Disc Tray
- Step 4: Clean the CD Player
- Step 5: Reset the CD Player
- Step 6: Update Firmware (if applicable)
- Step 7: Test with Different CDs
- Step 8: Check for Error Messages
- Step 9: Consult the User Manual
- Conclusion
Introduction
Welcome to the world of audiophiles, where sound quality is paramount and every detail matters. As an audiophile, you understand the importance of having a high-quality CD player to experience music in its purest form. However, like any electronic device, CD players can encounter issues or malfunctions over time. When faced with such problems, it’s essential to know how to run diagnostics on your audiophile CD player to pinpoint and potentially resolve the issue.
Running diagnostics on your CD player can help you identify various issues, such as skipping tracks, distorted sound, or even complete failure to play. Before panicking or considering costly repairs, it’s worth going through some troubleshooting steps to narrow down the problem. In this article, we will guide you through a step-by-step process to help you run diagnostics on your audiophile CD player.
Before we dive into the diagnostics, it’s important to note that not all CD players are the same. Different models and brands might have slightly different features and functionalities. However, the basic diagnostic steps we will cover in this article should be applicable to most audiophile CD players. Always refer to your CD player’s user manual for specific instructions or troubleshooting tips provided by the manufacturer.
So, if you’re experiencing any issues with your audiophile CD player, whether it’s a high-end standalone player or a CD transport integrated into your Hi-Fi setup, grab your favorite hot beverage, sit back, and let’s dive into the world of CD player diagnostics and troubleshooting!
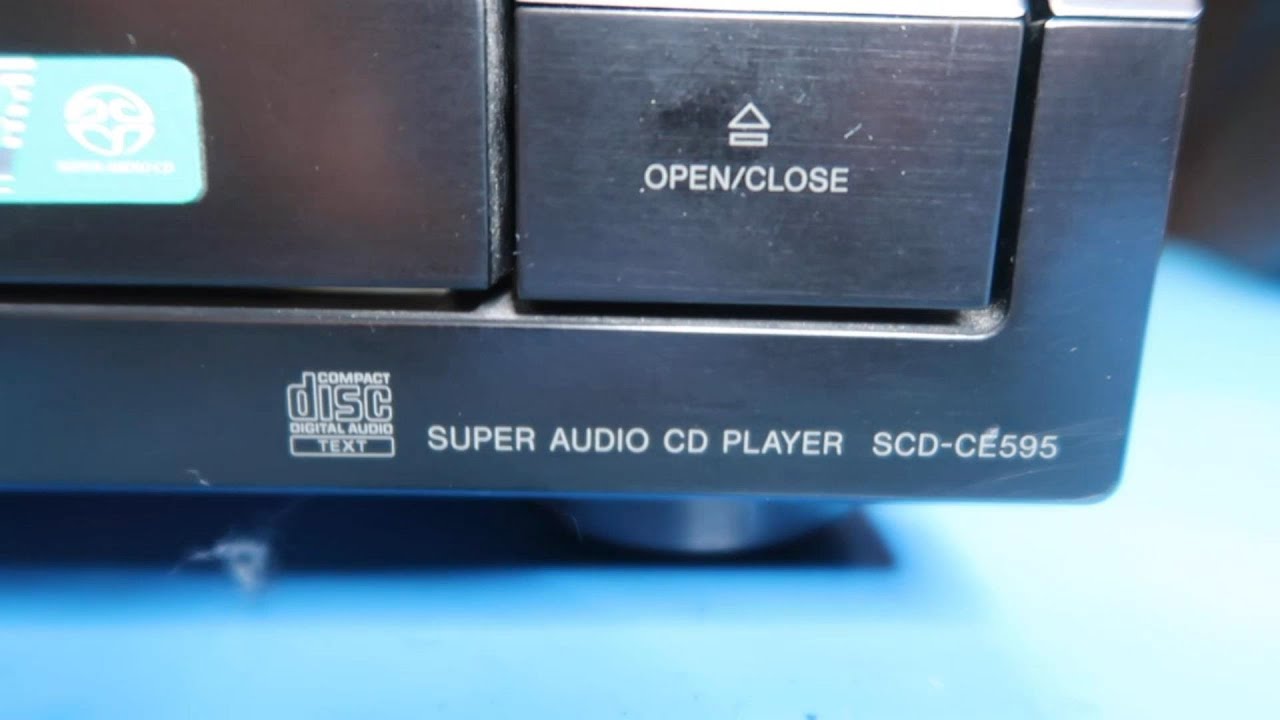
Step 1: Check the Power Connection
The first step in running diagnostics on your audiophile CD player is to check the power connection. Ensure that the CD player is properly connected to a power outlet and that the power cable is securely plugged in.
Check for any loose connections or frayed cables that could be hindering the power supply. If you find any issues with the power cable, it may need to be replaced. It’s also worth trying a different power outlet to rule out any issues with the specific outlet.
Additionally, some CD players have power switches on the back or side of the device. Make sure that the power switch is in the correct position and that the CD player is receiving power. Some CD players also have a standby mode, so ensure that the device is not in standby mode and is fully powered on.
If you have a portable CD player or a CD player with a rechargeable battery, check the battery level. Make sure the battery is charged or replace it with a new one if necessary.
Once you have verified the power connection and ensured that the CD player is receiving power, move on to the next step to further diagnose the issue.
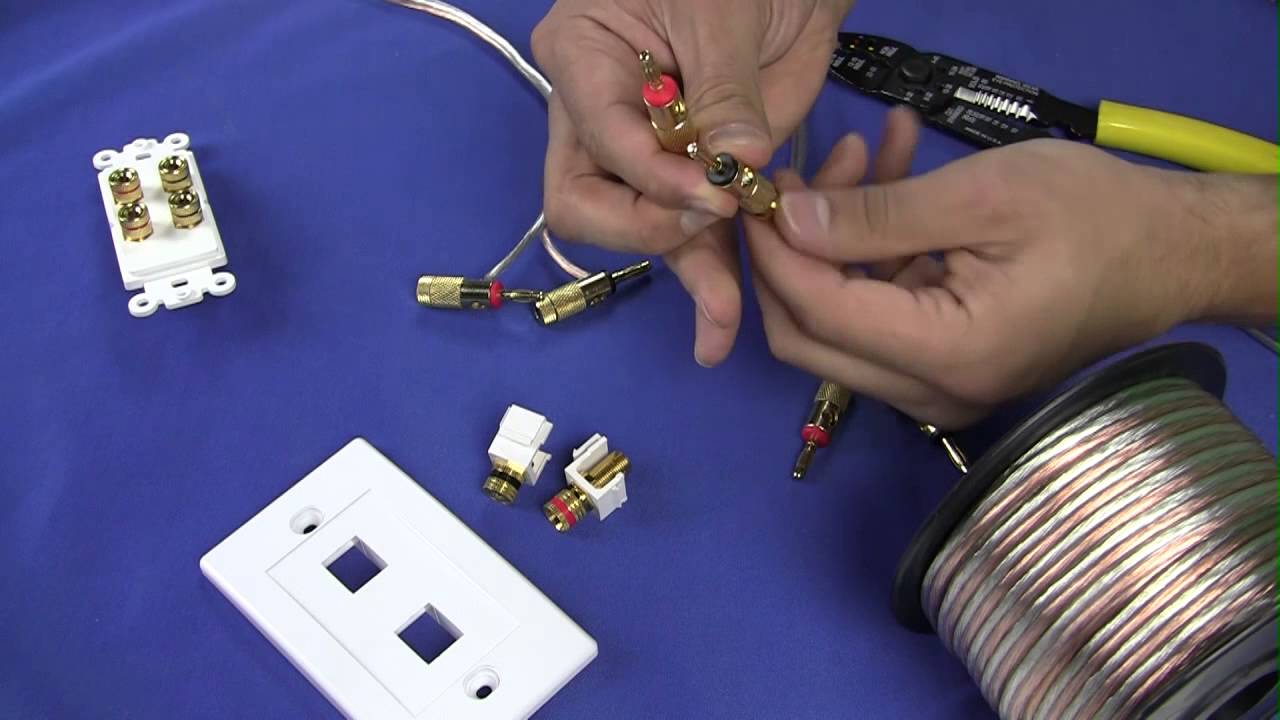
Step 2: Verify the Audio Connections
After checking the power connection, the next step in diagnosing your audiophile CD player is to verify the audio connections. Proper audio connections are crucial for optimal sound quality and playback.
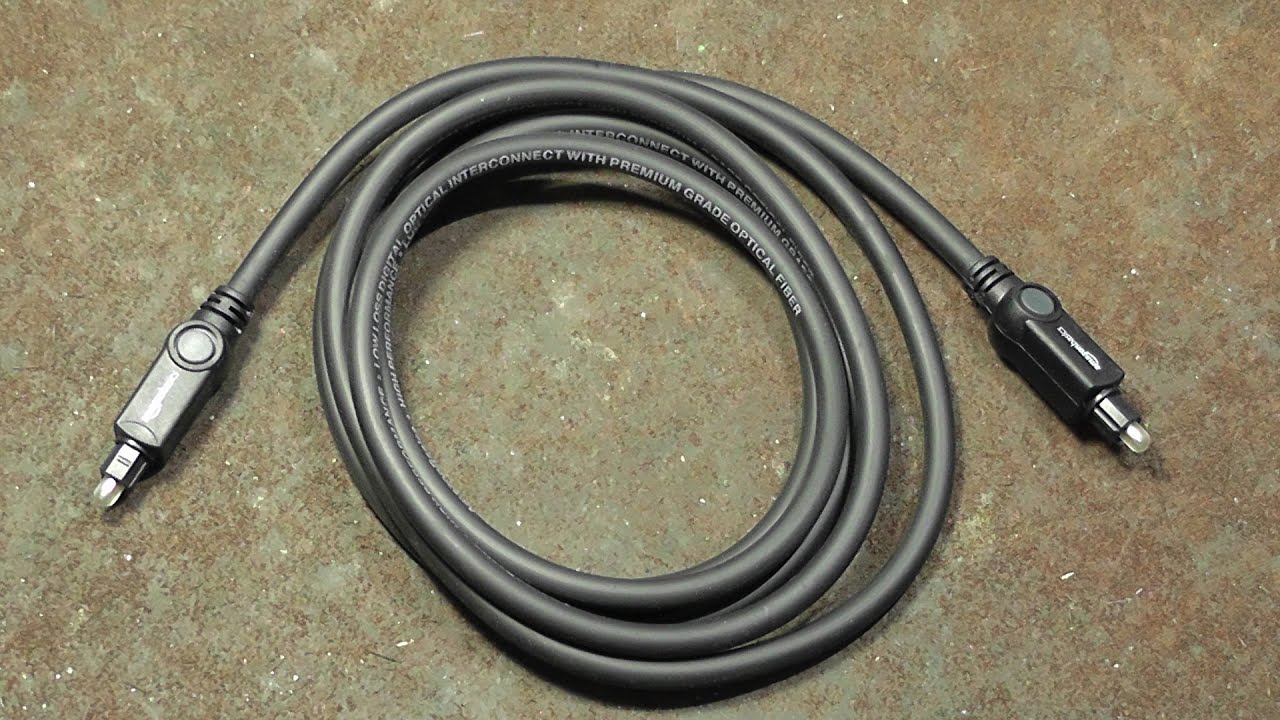
Start by checking the audio cables that connect your CD player to your amplifier, receiver, or speakers. Ensure that the cables are securely plugged into the correct audio input/output ports on both the CD player and the amplifier/receiver.
Inspect the cables for any signs of damage or fraying. If you notice any issues with the cables, it’s recommended to replace them with high-quality audio cables to ensure a clean and reliable connection.
If your CD player has both analog and digital audio outputs, make sure that you are using the correct output for your setup. Some audiophile CD players may also offer balanced audio outputs, which can provide enhanced sound quality and noise rejection.
Additionally, if your CD player has multiple audio output options (such as RCA, XLR, or coaxial/optical digital), try connecting to a different output to see if the issue persists. This can help determine if the problem lies specifically with one audio output.
Check the volume settings on both your CD player and the connected amplifier/receiver. Make sure that the volume is appropriately adjusted and not set too low or muted.
If you have a multi-component audio setup, such as using a separate DAC (Digital-to-Analog Converter), ensure that the DAC is properly connected to the CD player and the amplifier/receiver.
Once you have verified the audio connections, proceed to the next step to continue troubleshooting your audiophile CD player.
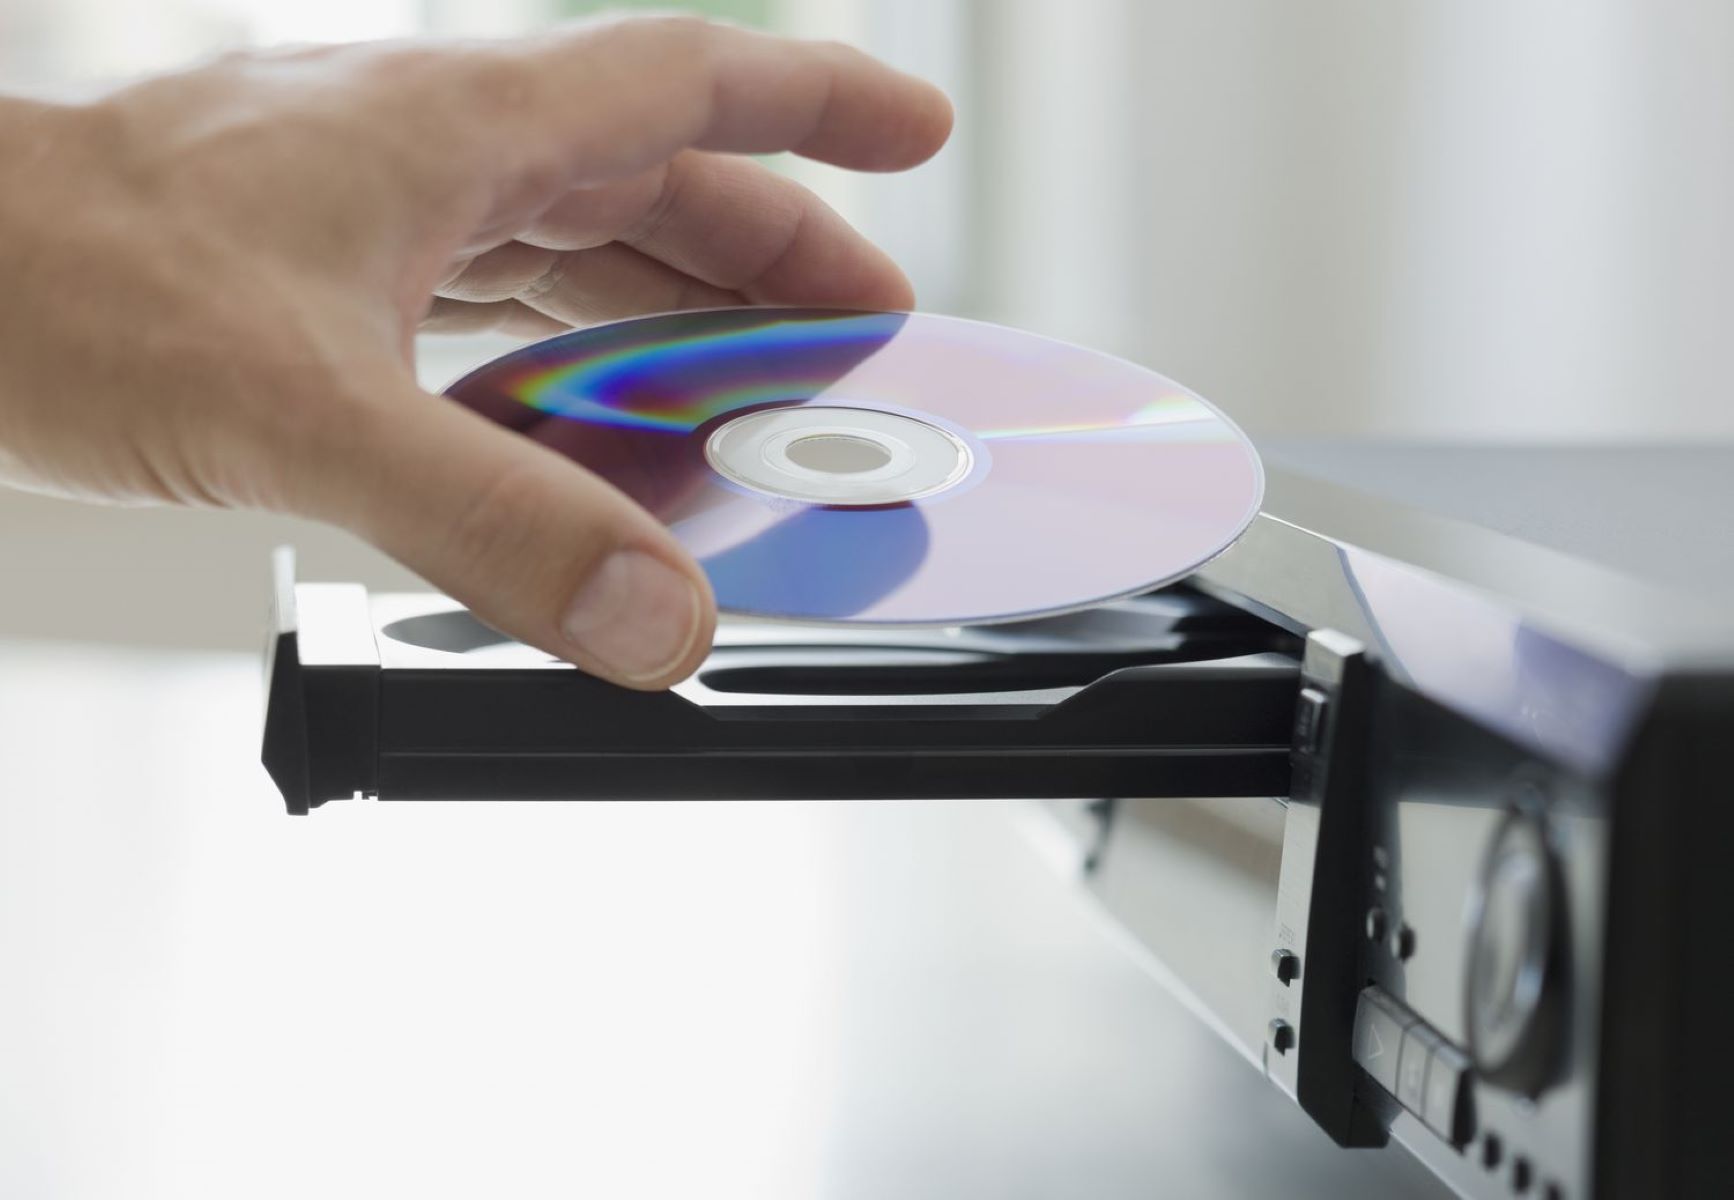
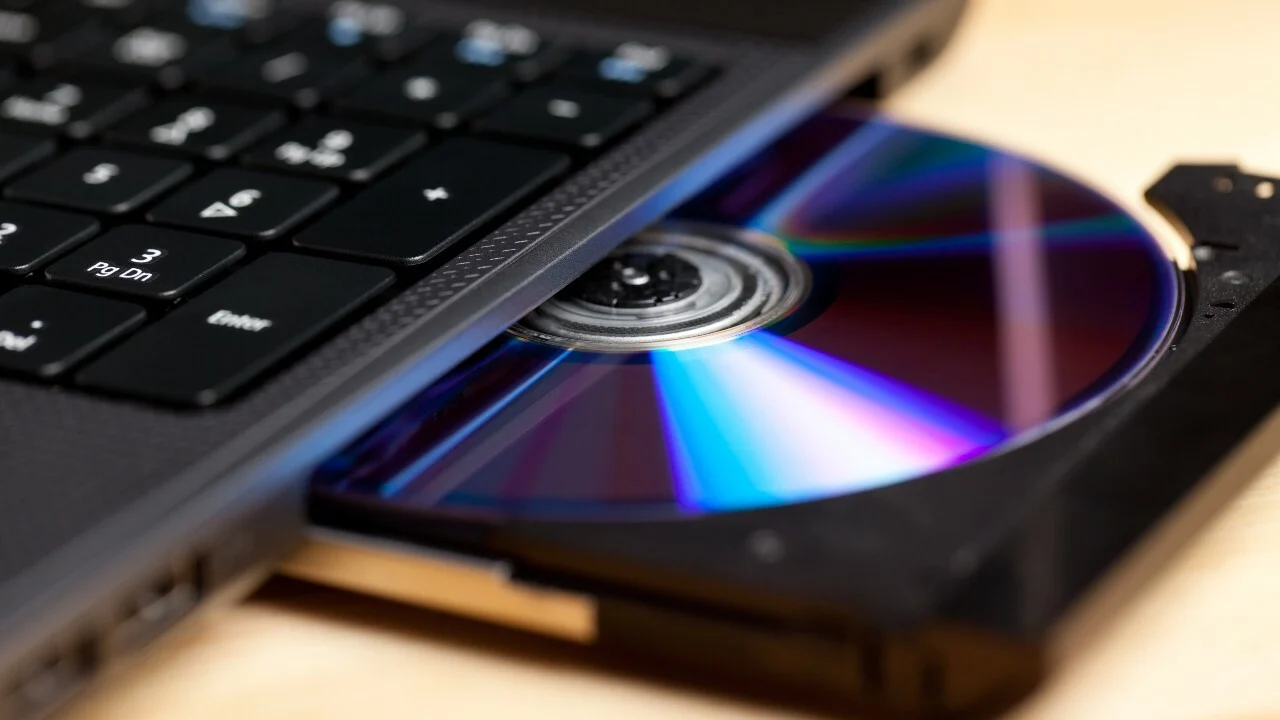
Step 3: Inspect the Disc and Disc Tray
When your audiophile CD player is experiencing issues, it’s important to inspect the disc and the disc tray. Physical damage or dirt on the disc can affect playback quality.
First, carefully remove the disc from the CD player’s tray. Inspect the disc for any visible scratches, smudges, or dirt. Clean the disc using a soft, lint-free cloth and gentle circular motions from the center of the disc to the outer edge.
If the disc is severely scratched or damaged, it may be the cause of playback issues. In such cases, you may need to replace the disc with a new one to ensure optimal performance.
Next, examine the disc tray for any obstructions or foreign objects. Sometimes, debris or small particles can get stuck in the tray, preventing it from properly closing or opening. Carefully remove any foreign objects that you find.
Ensure that the disc tray is aligned properly and sits flush with the CD player when closed. If the tray appears misaligned or doesn’t close properly, it may require attention or repair from a professional.
During the inspection, take note of any unusual noises or grinding sounds when operating the disc tray. Unusual mechanical noises could indicate a problem with the tray mechanism or drive belt, which may require professional repair.
After inspecting the disc and disc tray, clean the CD player’s laser lens. Dust and dirt on the lens can hinder the player’s ability to read the disc accurately. Use a CD laser lens cleaner, following the manufacturer’s instructions, to clean the lens and improve performance.
Once you have inspected and cleaned the disc and disc tray, move on to the next step to further troubleshoot your audiophile CD player.
Step 4: Clean the CD Player
Regular cleaning is essential to maintain the optimal performance of your audiophile CD player. Over time, dust, dirt, and debris can accumulate inside the player, affecting the laser lens and other components.
Start by powering off and unplugging the CD player from the power source. This precaution ensures your safety during the cleaning process.
Using a soft, lint-free cloth lightly dampened with water or a mild, non-abrasive cleaning solution, gently wipe the exterior surfaces of the CD player. Be cautious not to use excessive moisture, as it may damage the player’s electronics.
Pay special attention to ventilation openings, buttons, and knobs, as they tend to accumulate more dirt and dust. It’s recommended to use a soft brush or a can of compressed air to remove stubborn dust particles from these hard-to-reach areas.
To clean the CD player’s laser lens, use a CD lens cleaner specifically designed for optical disc players. Follow the instructions provided with the cleaner to ensure safe and effective cleaning.
If you prefer a more thorough cleaning, you can remove the CD player’s cover, usually by unscrewing it, to access the interior components. However, keep in mind that removing the cover may void any existing warranty or service agreements. If you are not comfortable with this step, it’s best to seek professional assistance.
Using a can of compressed air or a soft brush, carefully remove any dust or debris from the interior of the CD player. Make sure to avoid touching any internal components, as they are sensitive and can be easily damaged.
Once you have completed the cleaning process, allow the CD player to dry completely before reconnecting it to the power source and testing it.
Cleaning your audiophile CD player regularly can help maintain its performance and extend its lifespan. However, if the cleaning process does not resolve the issues you are experiencing, proceed to the next step to continue troubleshooting.
Step 5: Reset the CD Player
If your audiophile CD player is still experiencing issues after cleaning, performing a reset can often help resolve various software or firmware-related problems.
Before proceeding with the reset, it’s crucial to consult the CD player’s user manual for specific instructions. Different CD player models may have different reset methods.
Typically, the reset process involves powering off the CD player and disconnecting it from the power source. Leave it unplugged for a few minutes to allow any residual power to dissipate.
After the waiting period, reconnect the CD player to the power source and power it on. This reset action helps to refresh the player’s internal software and settings, potentially resolving any minor glitches that may have been causing the issues.
During the reset process, make sure to monitor the CD player for any error messages or unusual behavior. Sometimes, the reset may trigger a firmware update or restore factory default settings, so be prepared for any changes that may occur.
If the reset process does not resolve the issues or if your CD player does not have a reset option, proceed to the next step for further troubleshooting.
Remember to consult the user manual or the manufacturer’s website for specific instructions regarding the reset procedure for your particular CD player model.
In the next step, we will explore the possibility of updating the firmware, which can address certain software-related issues and improve the overall performance of your audiophile CD player.
Step 6: Update Firmware (if applicable)
If your audiophile CD player supports firmware updates, updating the firmware can help resolve software-related issues and improve the overall performance of the device.
Before proceeding with the firmware update, it’s important to check the manufacturer’s website or consult the user manual for instructions specific to your CD player model. Different manufacturers may have different procedures for updating the firmware.
Typically, firmware updates can be downloaded from the manufacturer’s website onto a USB drive. Make sure to use a USB drive formatted in a compatible file system (such as FAT32) and follow the instructions provided by the manufacturer to properly install the firmware update.
Connect the USB drive to the CD player’s designated USB port or follow the instructions provided by the manufacturer to initiate the firmware update process. It’s crucial to follow all the steps accurately and avoid interrupting the update process, as this may cause permanent damage to the CD player.
During the firmware update, the CD player may display a progress indicator or prompt you to take specific actions. Be patient and allow the update to complete without interruption.
After the firmware update is complete, power off and then power on the CD player to ensure that the new firmware is properly installed. Recheck the functionality of the CD player and test various functions to confirm that the firmware update has resolved any issues you were experiencing.
It’s important to note that firmware updates should only be performed if necessary. If your CD player is functioning properly and you are not experiencing any issues, it may not be necessary to update the firmware.
If updating the firmware does not resolve the issues you are facing with your audiophile CD player, proceed to the next step for further troubleshooting.
Regularly checking for firmware updates can help ensure that your CD player stays up to date with the latest performance enhancements and bug fixes provided by the manufacturer.
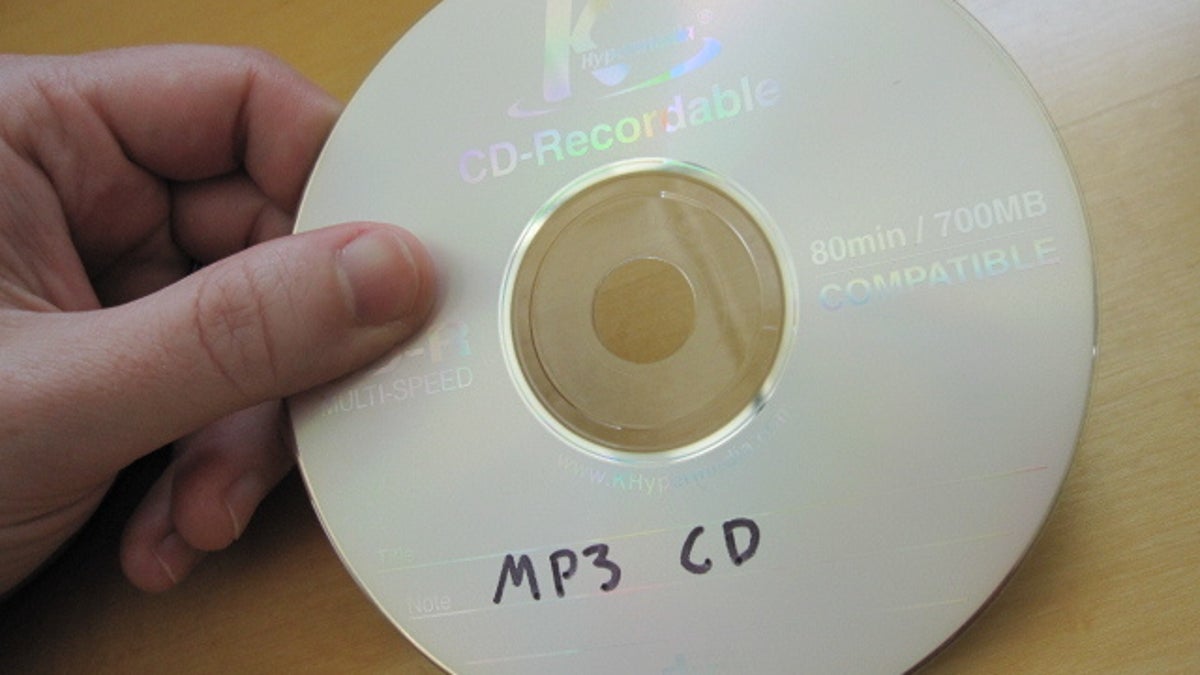
Step 7: Test with Different CDs
If you’re still experiencing issues with your audiophile CD player, it’s essential to test it with different CDs to determine if the problem lies with the player or the specific discs you have been using.
Gather a selection of CDs from various genres and production years. Choose CDs that are in good condition and have been known to play successfully on other CD players.
Start by inserting the first CD into the disc tray and observe how the CD player handles it. Pay attention to any error messages, skipping, or distortion during playback. If the CD plays without any issues, proceed to test the other CDs in a similar manner.
If you encounter problems with specific CDs, examine them for scratches, marks, or dirt. Clean them using a soft, lint-free cloth and try playing them again. If the issue persists with a particular CD, it may be damaged or incompatible with your CD player.
On the other hand, if all the CDs exhibit similar issues or if your CD player consistently has trouble reading or playing discs, it is likely that the problem lies with the CD player itself.
To further isolate the issue, try playing the same CDs on other CD players or audio systems. If they play without any problems, it confirms that the issue is specific to your audiophile CD player.
If testing with different CDs reveals that the issue is indeed with your CD player, proceed to the next step to check for error messages or consult the user manual for additional troubleshooting guidance.
Testing with different CDs helps determine whether the problem is with the CDs themselves or with the CD player’s ability to read and play discs effectively.
Step 8: Check for Error Messages
If you’re encountering issues with your audiophile CD player, it’s crucial to pay attention to any error messages or indicators displayed on the player’s screen or interface. These error messages can provide valuable insight into the nature of the problem and help guide your troubleshooting efforts.
When using your CD player, take note of any error codes, error messages, or warning lights that appear. These messages may indicate specific issues, such as “disc error,” “no disc,” “loading error,” or “unable to read disc.”
Consult the CD player’s user manual or the manufacturer’s website to decipher the meaning of the error message. The manual may provide a list of error codes and potential solutions for each one.
If you come across an error message that is not clearly defined in the manual, it’s a good idea to search online forums or audiophile communities to see if others have experienced similar issues and have found solutions.
Sometimes, error messages can occur due to temporary issues, such as a dirty disc or a momentary glitch in the player’s software. In such cases, try cleaning the disc or performing a brief reset of the CD player to see if the error resolves.
If the error message persists or if you continuously encounter the same error, it may indicate a more significant problem with the CD player’s hardware or software. At this point, it’s advisable to contact the manufacturer’s customer support or consult a professional technician for further assistance and guidance.
Remember to document the exact wording of the error message, any accompanying error codes, and any troubleshooting steps you have already taken. This information will be helpful when seeking support or discussing the issue with a technician.
By paying attention to and properly interpreting error messages, you can gain valuable insights into the underlying issues with your audiophile CD player and take appropriate steps towards resolving them.
Step 9: Consult the User Manual
If you’ve reached this step and are still experiencing issues with your audiophile CD player, it’s time to consult the user manual provided by the manufacturer. The user manual serves as a valuable resource to understand the specific features, functions, and troubleshooting steps for your particular CD player model.
The user manual typically includes detailed information about the CD player’s operation, maintenance, and troubleshooting procedures. It may also contain a troubleshooting section that addresses common issues and provides step-by-step instructions to resolve them.
Start by locating the user manual that came with your CD player. If you can’t find the physical manual, check the manufacturer’s website, as they often provide digital copies for download.
Once you have the user manual in hand, carefully read through the troubleshooting section, paying attention to any sections related to the specific issues you are facing. The manual may provide specific troubleshooting steps that are not covered in this article.
As you go through the troubleshooting steps outlined in the manual, make sure to follow them accurately, taking note of any specific instructions or precautions mentioned.
If the manual suggests any additional troubleshooting methods or provides contact information for customer support, consider reaching out to the manufacturer for assistance. They may be able to provide further guidance or recommend authorized service centers for professional repairs, if necessary.
Keep in mind that the user manual is tailored to your specific CD player model and provides the most accurate and reliable information for troubleshooting. It is always advisable to rely on the manufacturer’s instructions and recommendations to ensure the proper functioning of your CD player.
Through consulting the user manual, you can gain a deeper understanding of your audiophile CD player’s functionality and discover specific troubleshooting steps that can assist you in resolving any persistent issues.
Conclusion
Congratulations! You have successfully gone through the steps to run diagnostics on your audiophile CD player. By following these troubleshooting steps, you have taken important strides in identifying and potentially resolving issues that may be affecting the performance of your CD player.
Throughout the process, you checked the power connection, verified the audio connections, inspected the disc and disc tray, cleaned the CD player, reset the device, updated the firmware if applicable, tested with different CDs, checked for error messages, and consulted the user manual for further guidance.
It’s important to remember that audiophile CD players can be complex devices with various components and functionalities. Therefore, it’s natural to encounter occasional issues or malfunctions. However, by running diagnostics and following these steps, you have increased your chances of resolving the problem on your own.
If, after diligently completing the troubleshooting steps, you are still unable to resolve the issue, it may be necessary to consult a professional technician or contact the manufacturer’s customer support for further assistance. These experts can offer expert advice and recommend appropriate solutions based on your specific situation.
Remember, maintaining your audiophile CD player by keeping it clean, updating the firmware when necessary, and following the manufacturer’s recommended maintenance procedures can help ensure its continued performance and longevity.
With your audiophile CD player back in optimal working condition, you can once again immerse yourself in the rich, high-fidelity music that brings joy and satisfaction to your ears. Sit back, relax, and enjoy the pure sound that only an audiophile CD player can deliver!