Home>Production & Technology>Audio Cable>How To Run Fiber Optic Audio Cable
Audio Cable
How To Run Fiber Optic Audio Cable
Modified: March 7, 2024
Learn how to run fiber optic audio cable for crystal clear sound quality. Upgrade your audio system with our step-by-step guide.
(Many of the links in this article redirect to a specific reviewed product. Your purchase of these products through affiliate links helps to generate commission for AudioLover.com, at no extra cost. Learn more)
Table of Contents
Introduction
Welcome to the world of audio cables! In this article, we will explore the fascinating realm of fiber optic audio cables and learn how to run them effectively. Whether you are a music enthusiast, a professional sound engineer, or simply someone who wants to enhance their audio experience, understanding how to navigate the world of audio cables is essential.
Fiber optic audio cables, also known as optical audio cables, have revolutionized the way we transmit audio signals. This cutting-edge technology offers superior sound quality, higher bandwidth capacity, and immunity to interference, making it a popular choice among audiophiles and professionals in the audio industry.
So, if you are ready to take your audio game to the next level, join us as we dive into the world of fiber optic audio cables. We will explore the benefits of using these cables, the equipment needed, and provide a step-by-step guide on how to run them effectively.
But first, let’s take a closer look at what exactly fiber optic audio cables are and why they are worth considering.
What is Fiber Optic Audio Cable?
Fiber optic audio cables are a type of cable that use optical fibers to transmit digital audio signals. These cables are made up of thin strands of glass or plastic fibers that are capable of carrying audio signals through the use of light pulses.
The principle behind fiber optic audio cables is based on the concept of total internal reflection. When the audio signal is converted into light pulses, these pulses travel through the core of the fiber optic cable via multiple reflections until they reach the other end. This ensures that the audio signal remains intact and free from any interference or degradation.
Unlike traditional copper cables, which transmit audio signals as electrical currents, fiber optic audio cables transmit signals in the form of light. This offers several advantages. Firstly, light signals are not affected by electromagnetic interference, making fiber optic cables immune to outside electromagnetic radiation, which can cause signal degradation. Secondly, fiber optic cables can transmit signals over much longer distances without any loss in signal quality.
Another key advantage of fiber optic audio cables is their ability to support high bandwidth signals. This means they are capable of transmitting uncompressed audio formats, such as Dolby TrueHD and DTS-HD Master Audio, which provide superior audio quality compared to compressed formats.
In addition, fiber optic audio cables are also known for their durability and flexibility. The glass or plastic fibers used in these cables are highly resistant to corrosion and can withstand a wide range of temperature variations. They are also lightweight and easy to handle, making them suitable for both professional and home audio setups.
In summary, fiber optic audio cables are an advanced and reliable solution for transmitting digital audio signals. They offer superior sound quality, immunity to interference, and the ability to transmit signals over long distances. Now that we understand the basics of fiber optic audio cables, let’s dive into why you should consider using them.
Why Use Fiber Optic Audio Cable?
There are several compelling reasons to choose fiber optic audio cables over traditional copper-based cables. Let’s explore the key advantages of using fiber optic audio cables:
- Superior Sound Quality: Fiber optic cables transmit audio signals as light pulses, which results in a cleaner and more accurate reproduction of sound. This means you can enjoy a richer and more detailed audio experience, especially when listening to high-quality audio formats.
- Immunity to Interference: One of the major drawbacks of traditional copper cables is their susceptibility to electromagnetic interference. Fiber optic cables, on the other hand, are immune to such interference, ensuring that your audio signals remain clear and distortion-free, even in electrically noisy environments.
- Long Distance Transmission: Fiber optic cables have the capability to transmit audio signals over much longer distances compared to copper cables. This makes them ideal for large venues, concert halls, and installations where audio sources and receivers are located far apart.
- Secure and Private Connection: Fiber optic cables offer a high level of security for audio transmission. Unlike copper cables, which can be vulnerable to tapping or signal interception, fiber optic cables are more difficult to tap into. This ensures a secure and private connection for your audio signals.
- Compatibility and Future-proofing: Fiber optic audio cables support a wide range of audio formats, making them compatible with various audio devices and systems. Additionally, as technology advances and new audio formats emerge, fiber optic cables are well-equipped to handle these future developments.
Whether you are a professional sound engineer working in a recording studio, a musician performing on stage, or simply a music enthusiast looking to elevate your audio experience, fiber optic audio cables provide a reliable and high-quality solution. With their superior sound quality, immunity to interference, long-distance transmission capabilities, and compatibility with different audio formats, these cables are the future of audio connectivity.
Now that we understand the benefits of using fiber optic audio cables, let’s move on to the equipment needed to set up your own fiber optic audio system.
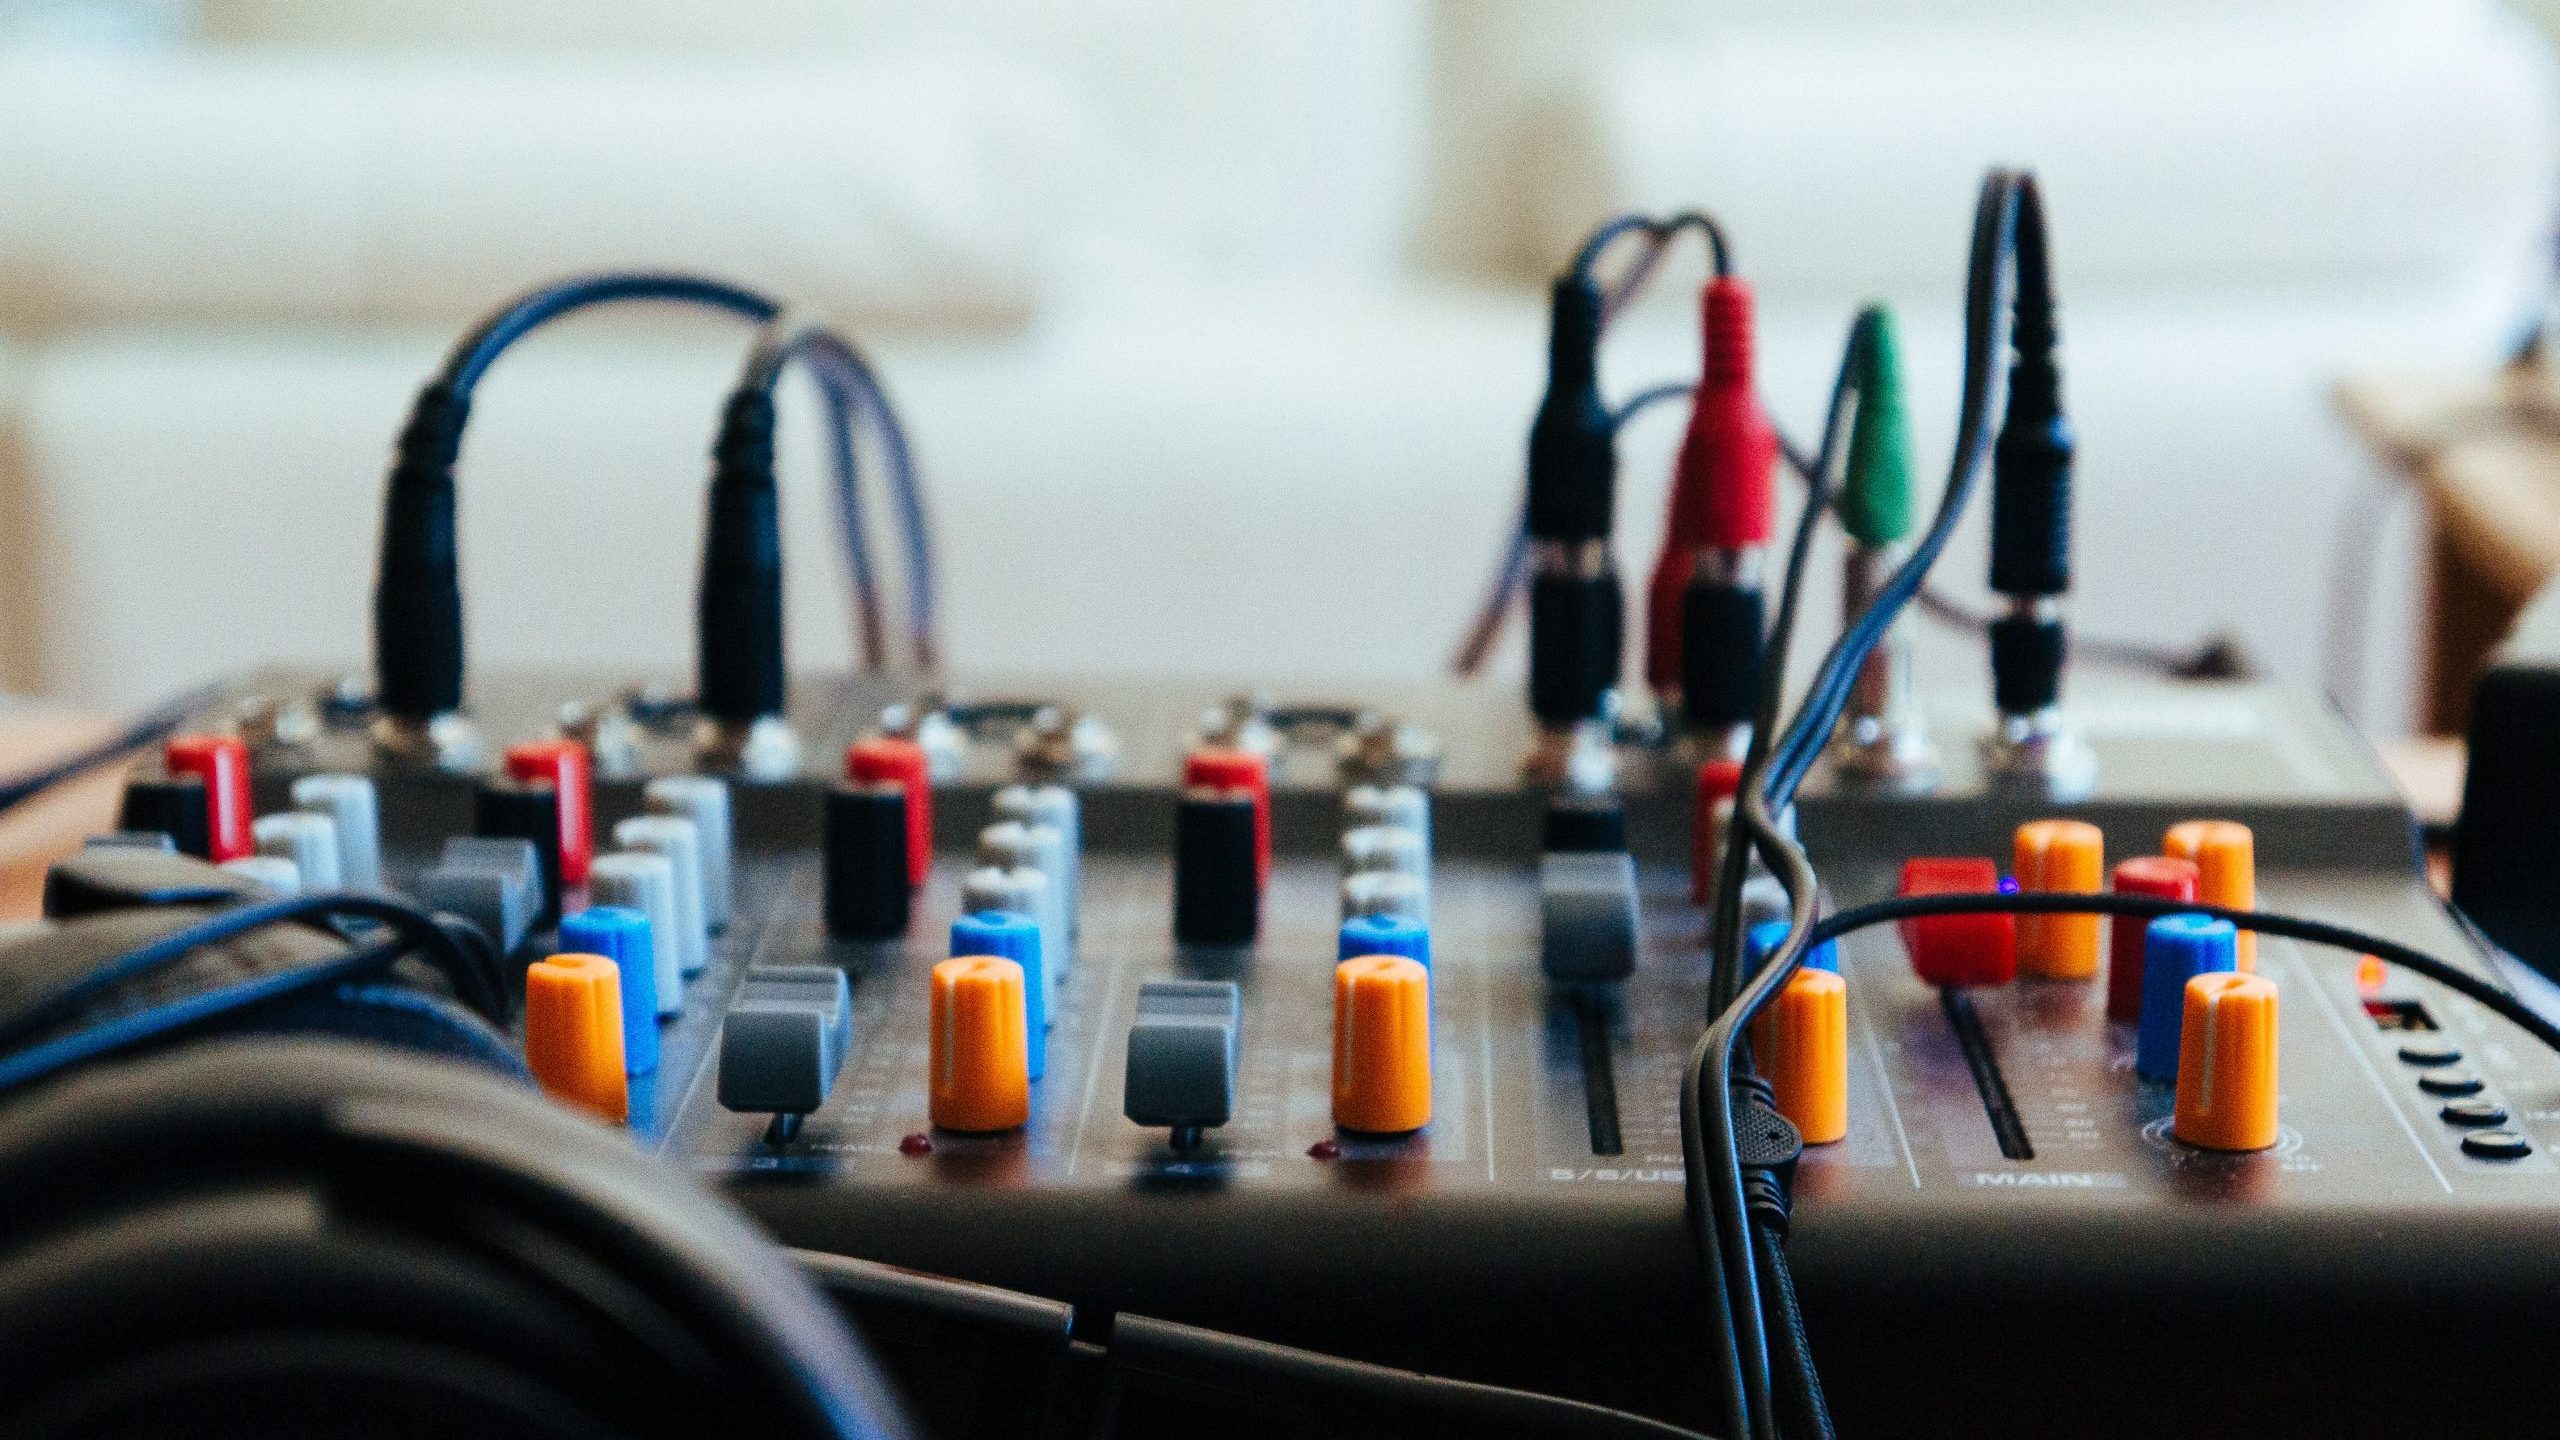
Equipment Needed
Before you can start running fiber optic audio cables, you will need the following equipment:
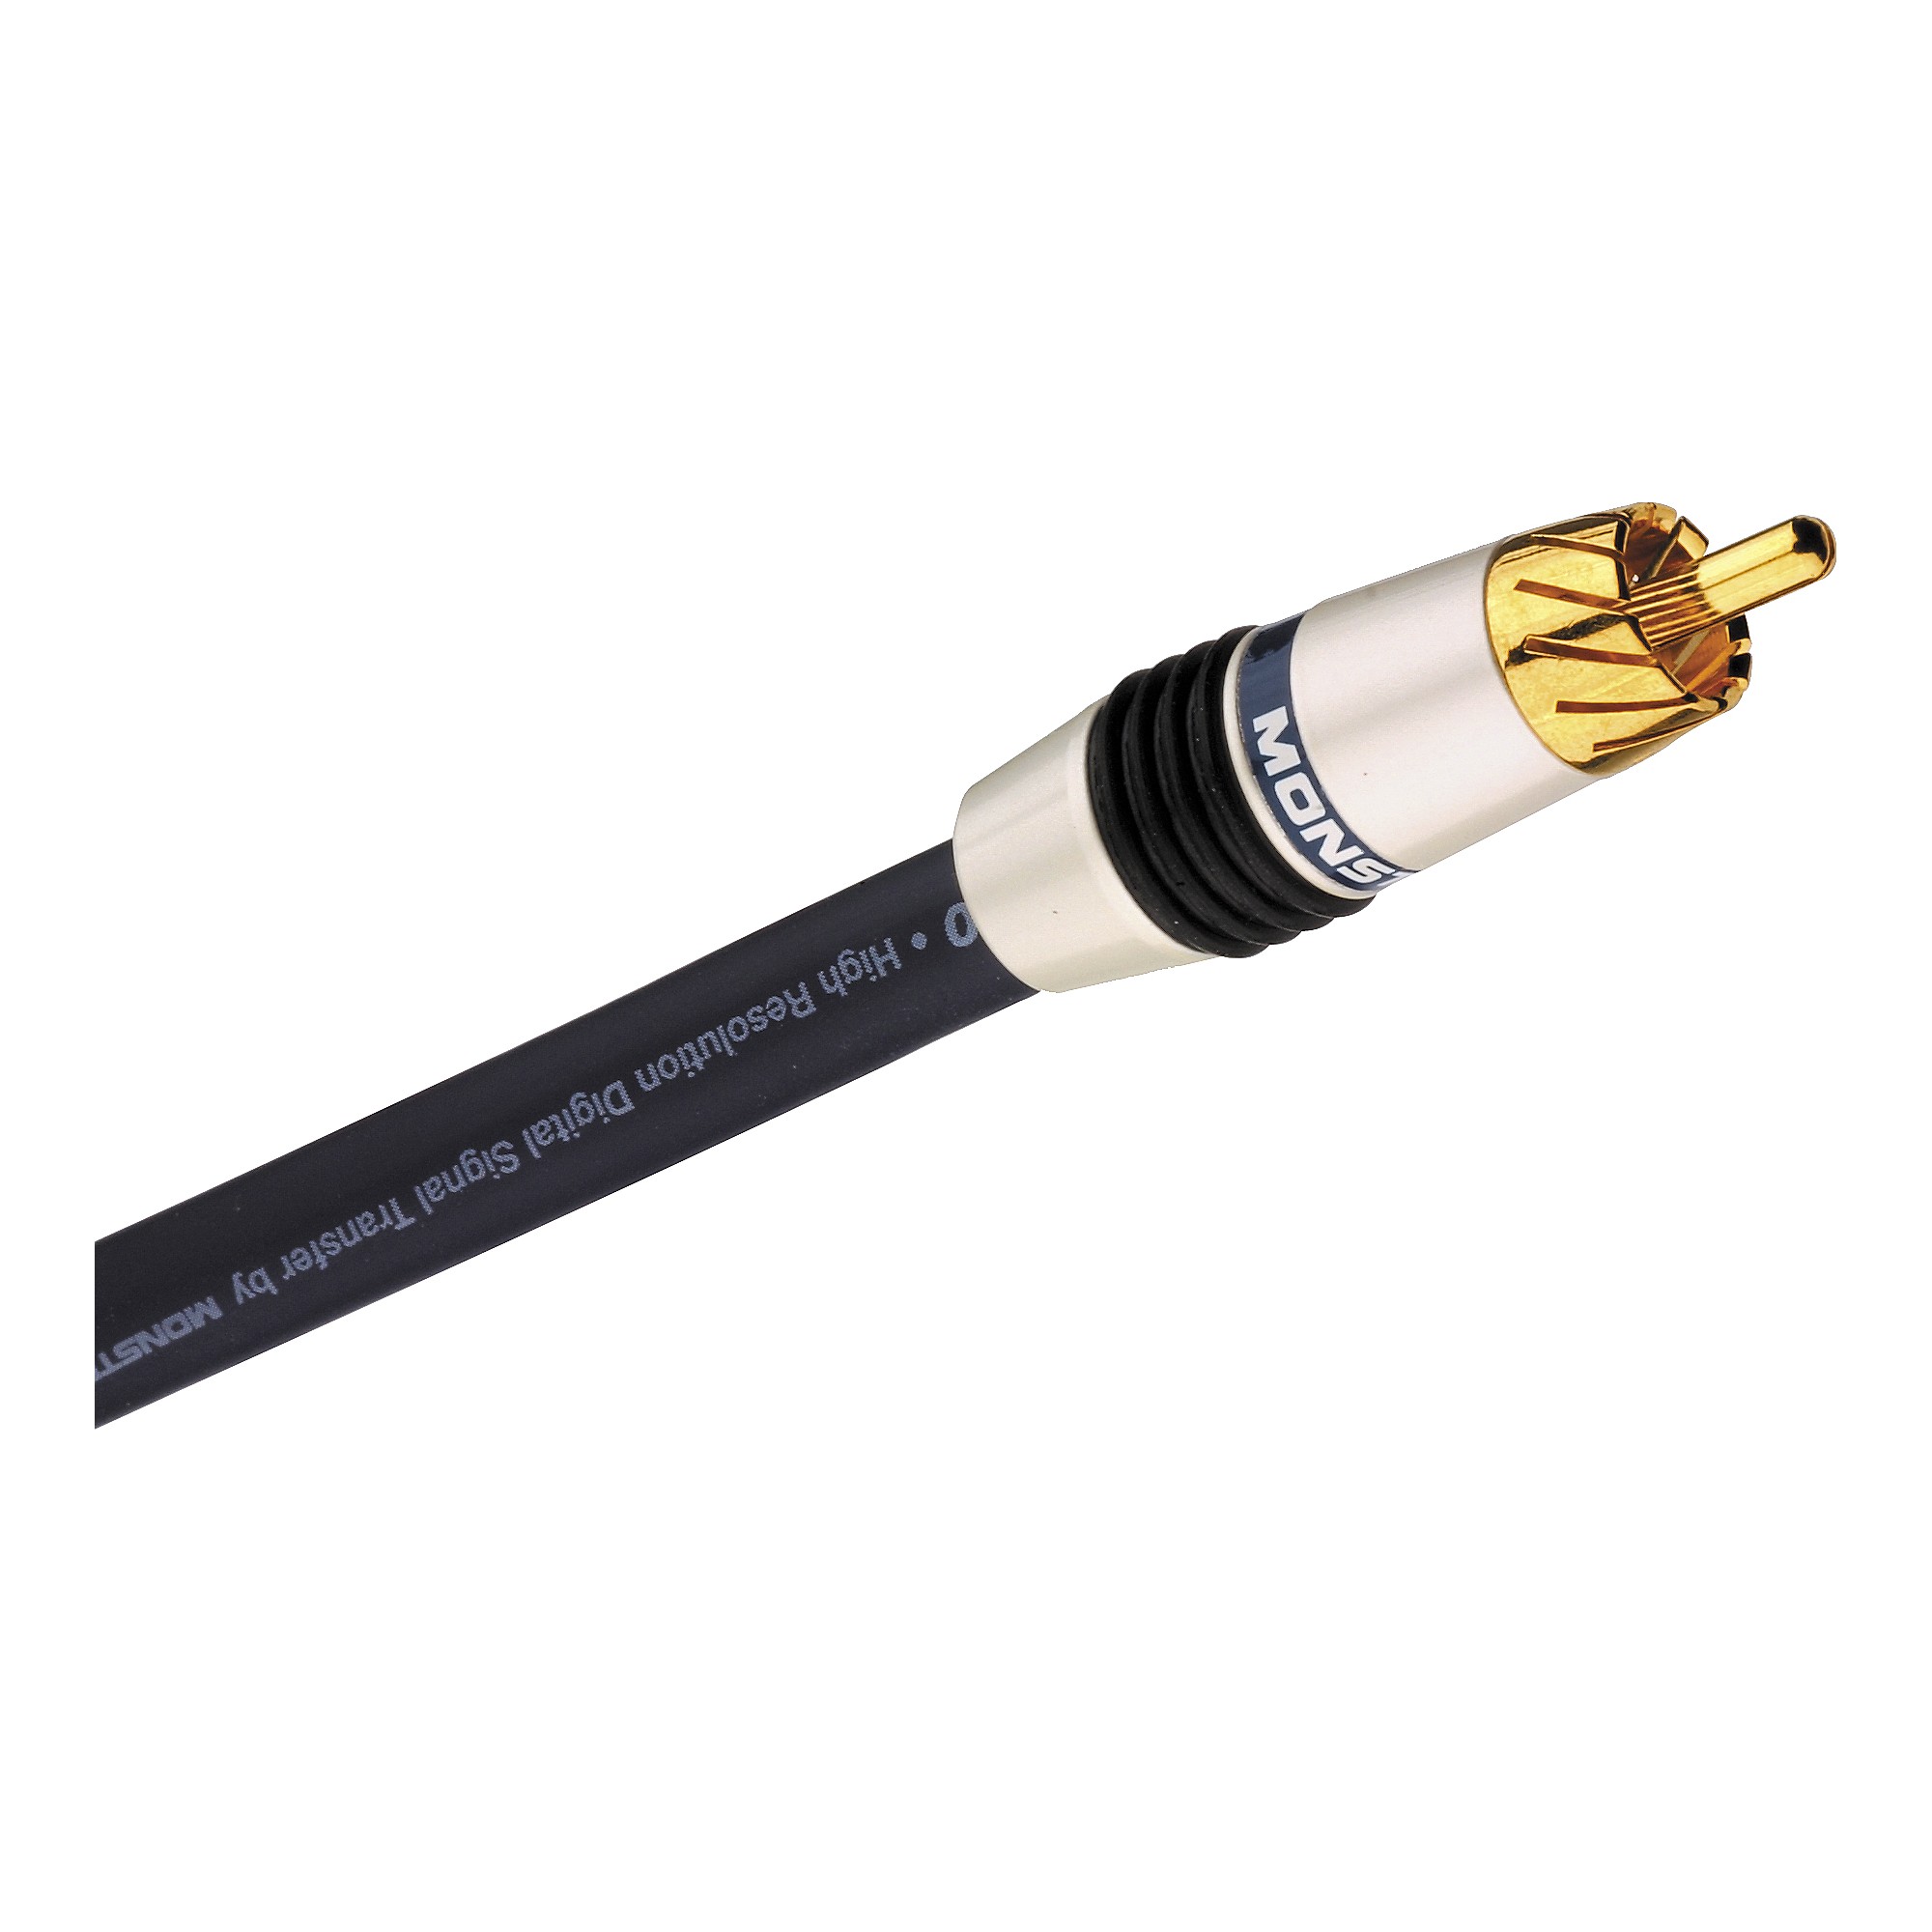
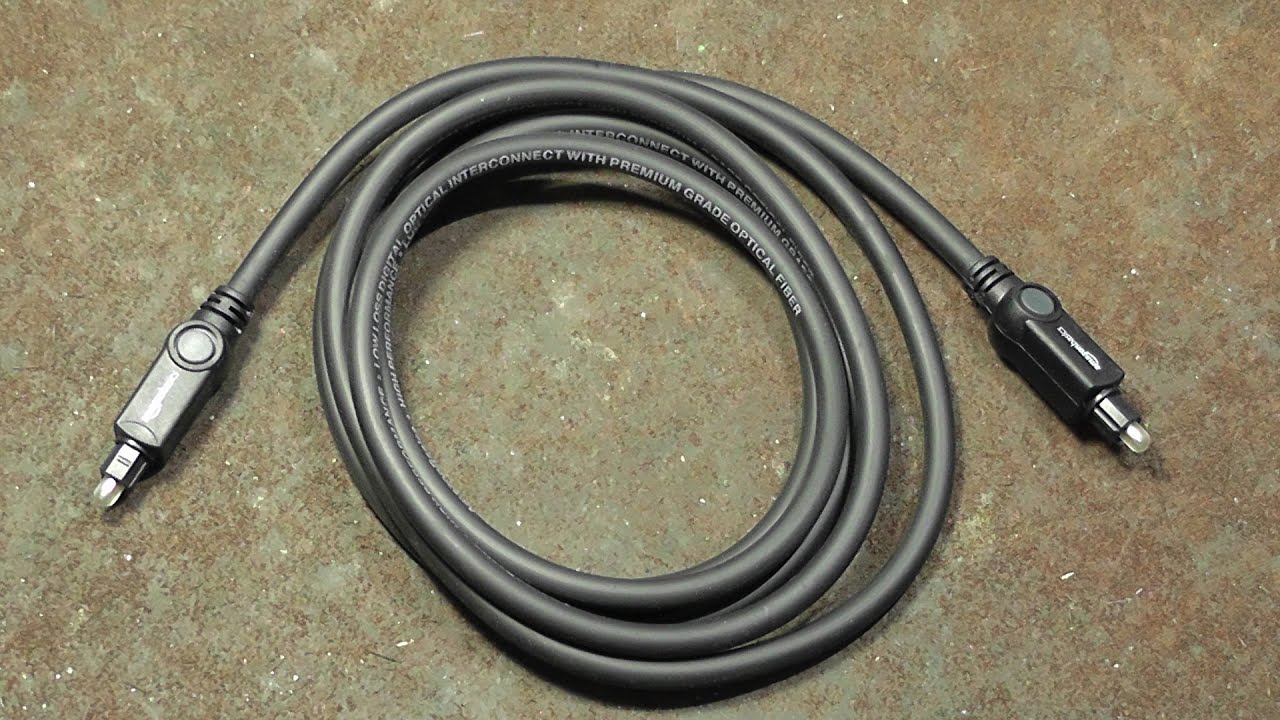
- Fiber Optic Audio Cable: This is the main component of your setup. Look for a high-quality fiber optic audio cable that meets your specific requirements in terms of length, connector type, and audio format compatibility.
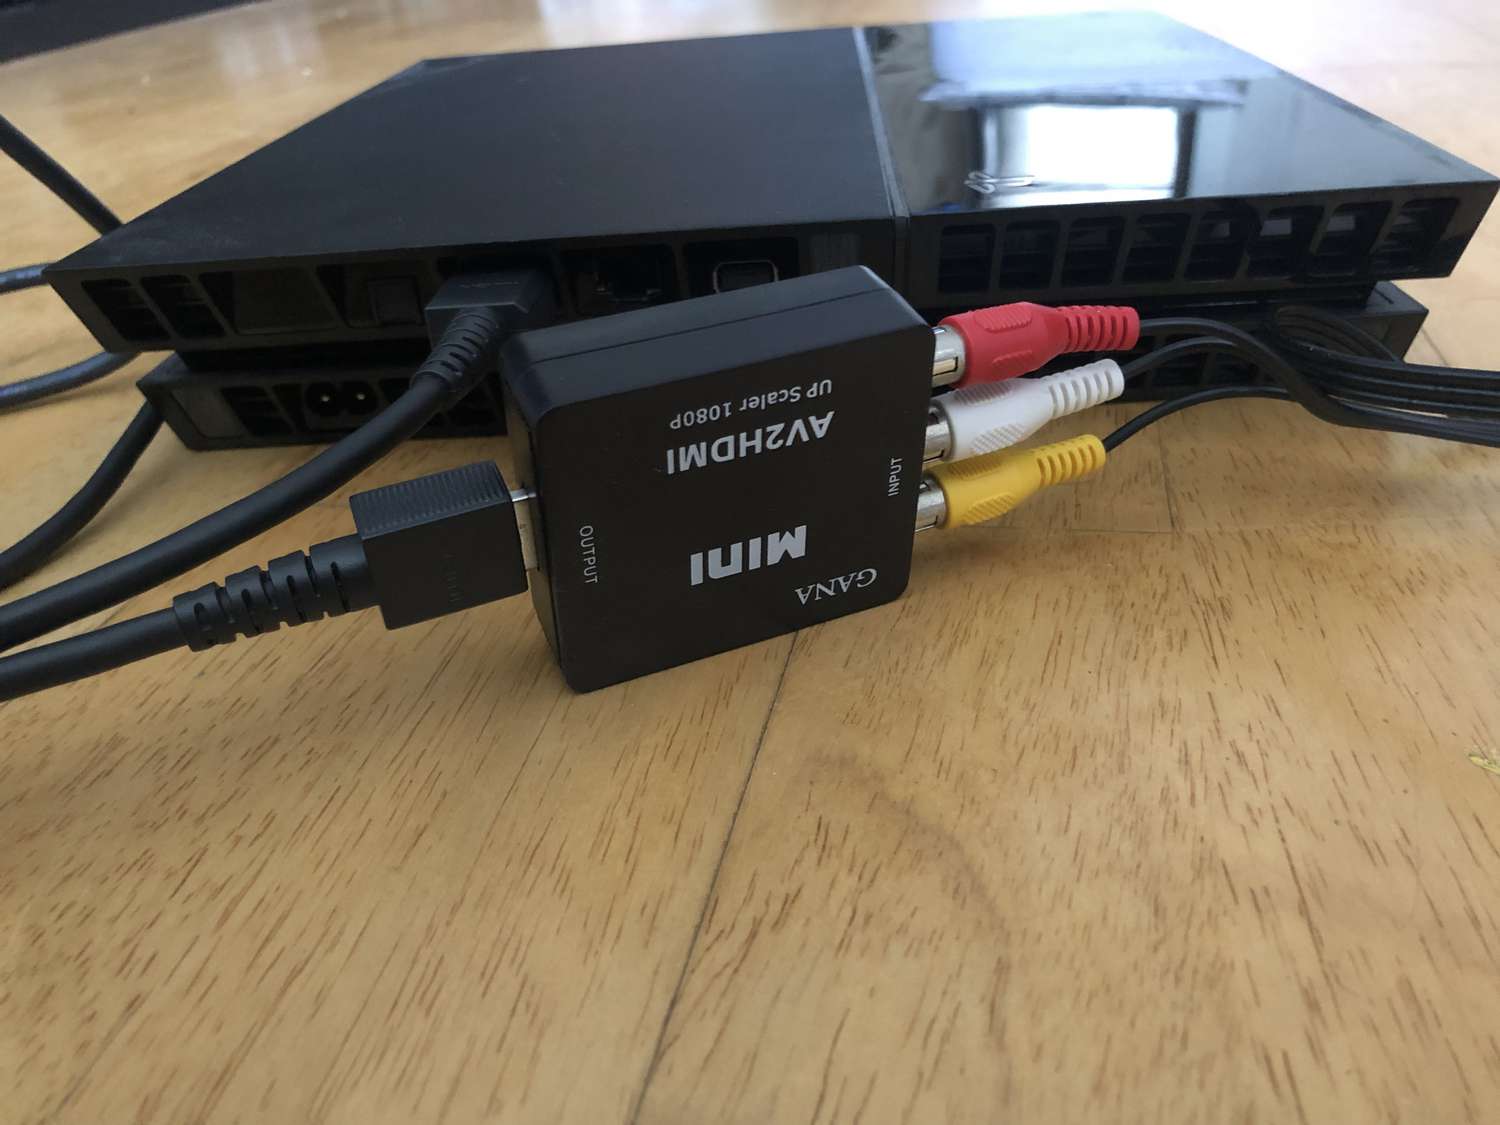
- Source Device: This is the audio device from which the audio signals will be transmitted. It could be a computer, Blu-ray player, gaming console, or any other device with an optical audio output. Make sure your source device has an optical audio output port.
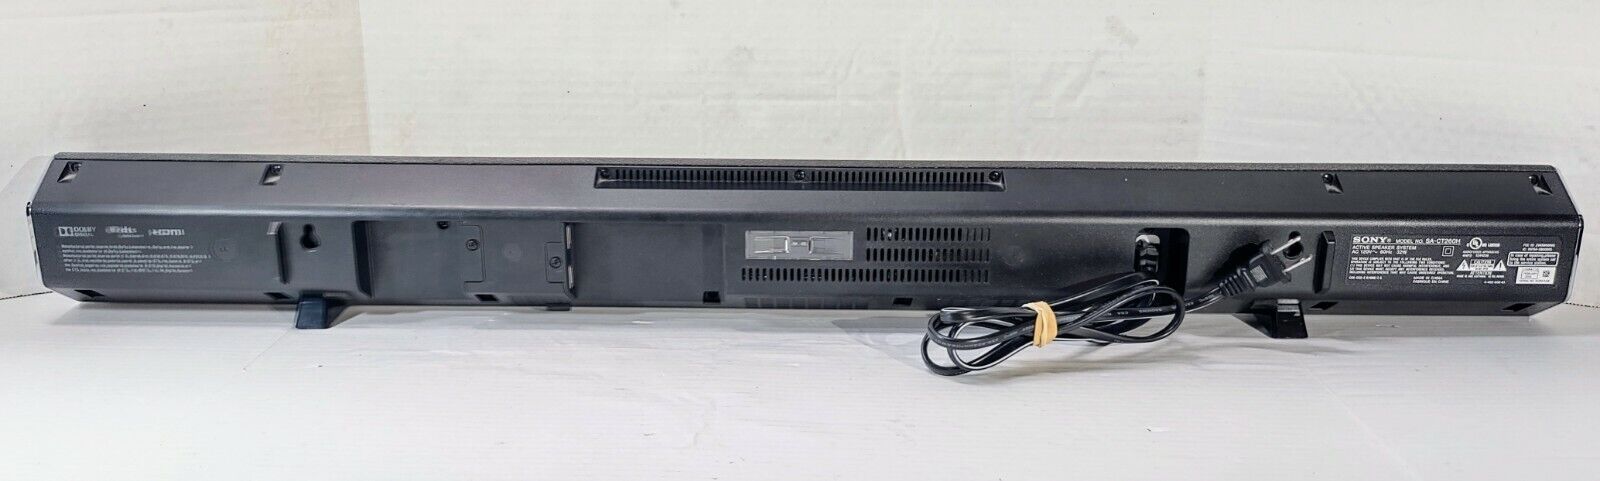
- Receiver Device: This is the audio device that will receive the audio signals. It could be an AV receiver, soundbar, home theater system, or any other device with an optical audio input. Ensure that your receiver device has an optical audio input port.
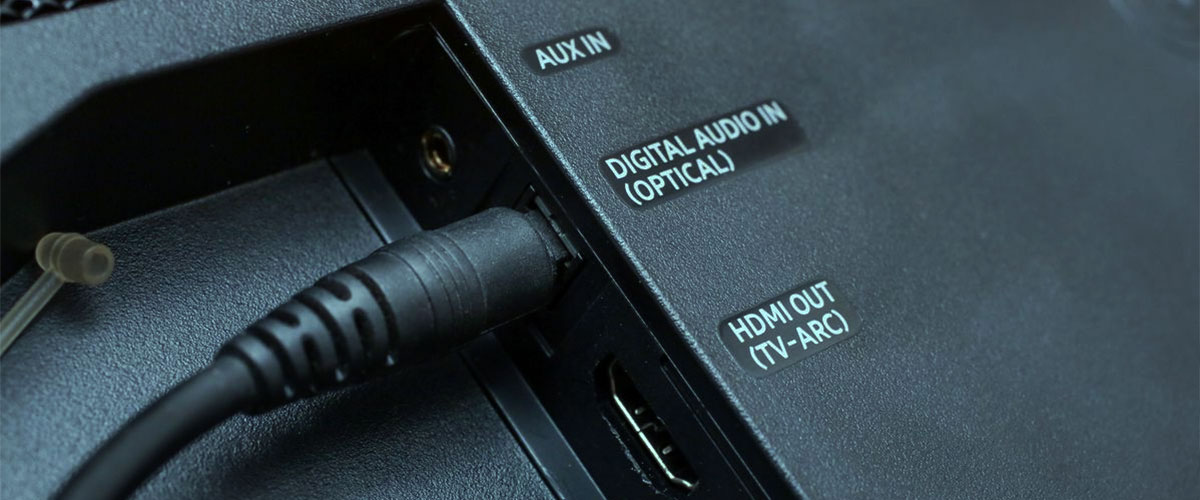
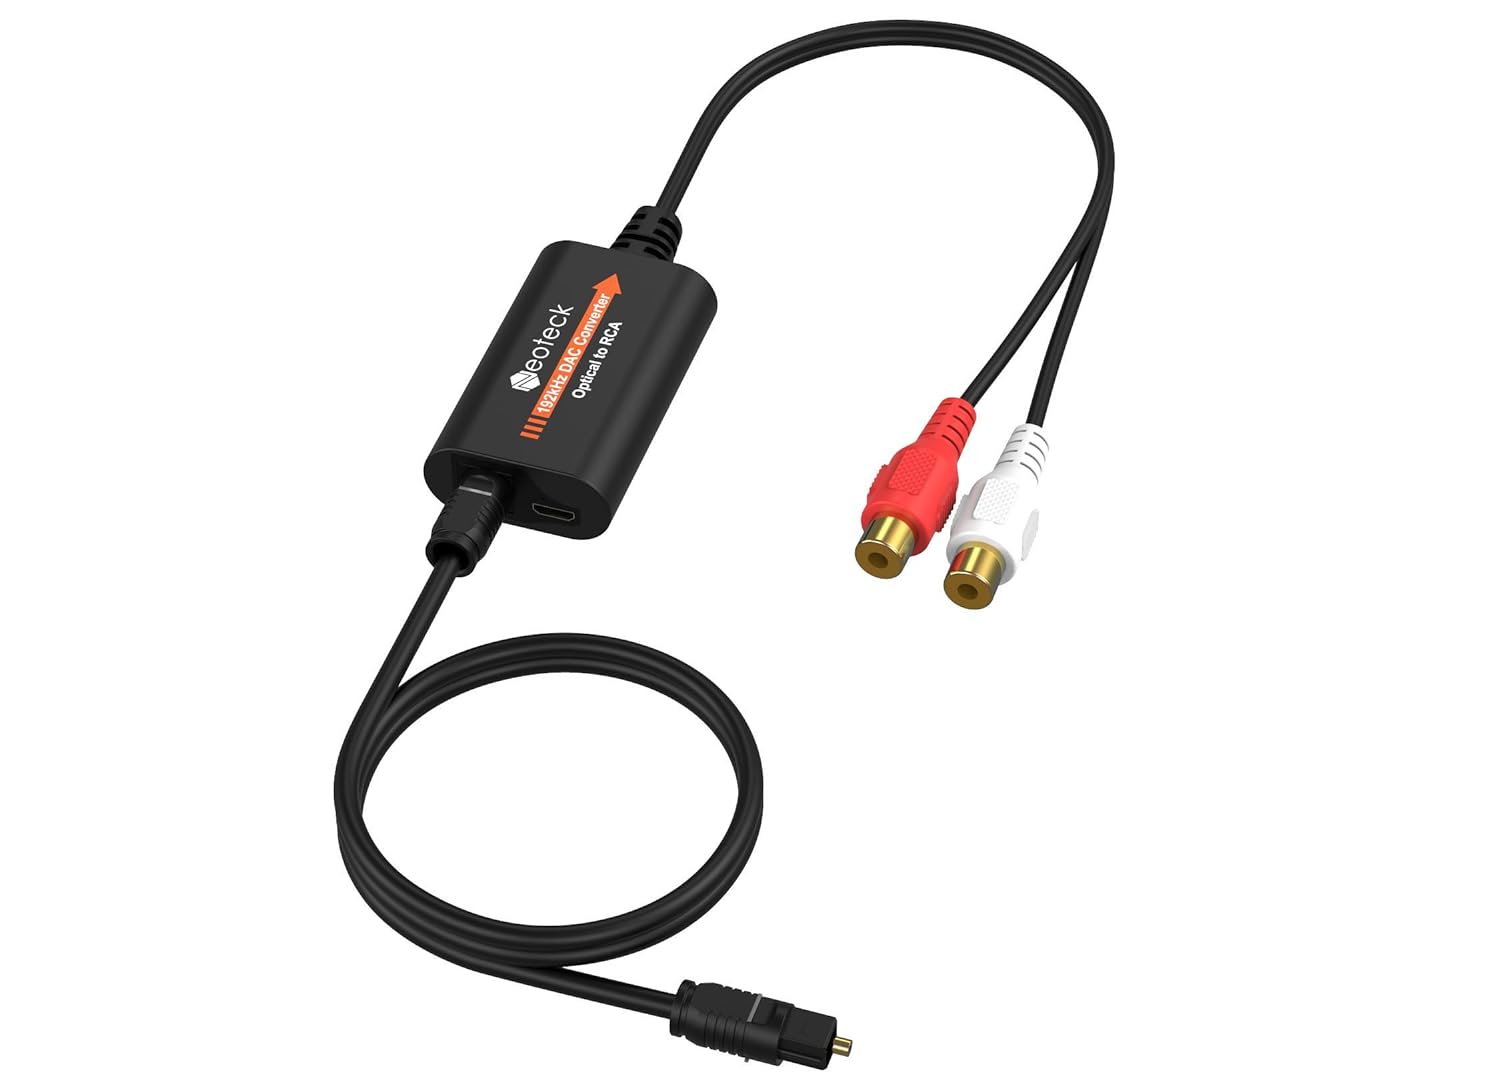
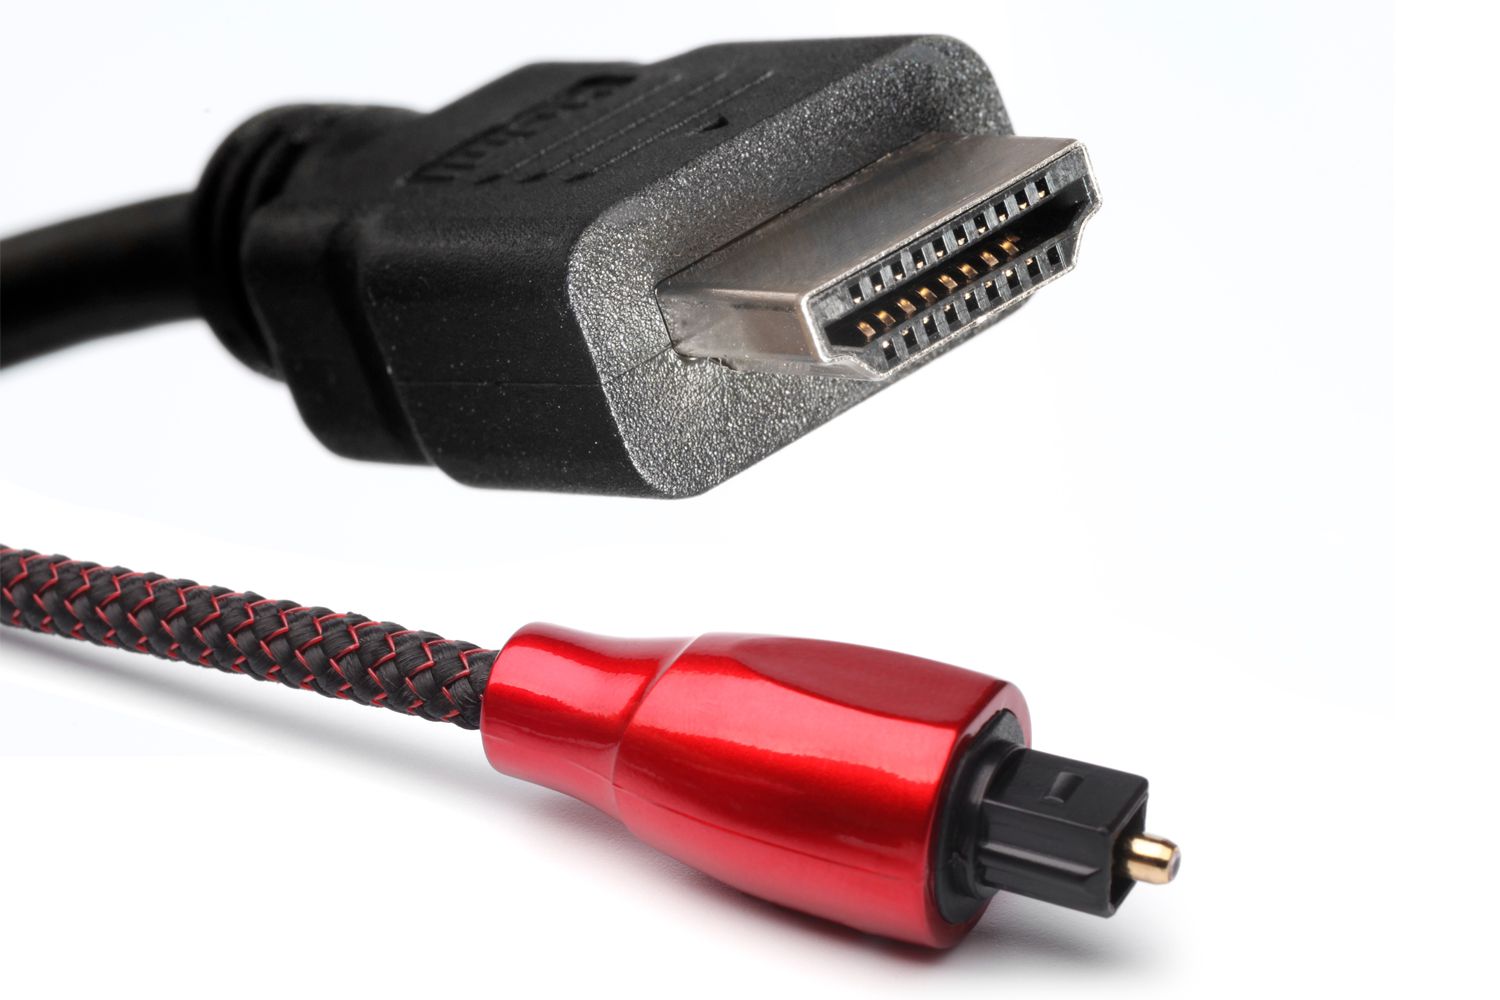
- Optical Toslink Connectors: These connectors will be required to connect the fiber optic audio cable to the source and receiver devices. Ensure that the connectors match the type of optical ports on your devices (usually Toslink).
- Adapters (if necessary): Depending on your specific setup, you may need adapters to convert between different types of optical connectors. For example, if your source device has a mini-Toslink port, but your cable and receiver use full-size Toslink connectors, you will need a mini-Toslink to Toslink adapter.
- Optional Accessories: Depending on your specific needs, you may also consider investing in additional accessories such as cable management solutions, fiber optic cable testers, or protective cable sleeves. These can help ensure proper cable organization and maintenance.
When shopping for the necessary equipment, make sure to choose reputable brands and high-quality components. This will ensure reliable performance and longevity for your fiber optic audio setup.
Now that we have gathered the required equipment, let’s move on to the step-by-step process of running the fiber optic audio cable.
Step 1: Determine Cable Length
The first step in running a fiber optic audio cable is to determine the appropriate cable length for your setup. This will ensure that you have enough cable to connect your source device to your receiver device with some room for maneuverability.
To determine the cable length, consider the distance between your source device and receiver device. Measure the straight-line distance between the two devices and add a few extra feet for flexibility. It’s important to avoid stretching the cable taut or creating excessive slack.
Keep in mind that fiber optic cables are available in various lengths, ranging from a few feet to several hundred feet. Choose a cable length that suits your specific needs, but try to avoid excessive cable lengths as they can introduce signal loss and affect the audio quality.
If you are unsure about the cable length or need to cover a long distance, it is better to consult with a professional or refer to the manufacturer’s recommendations for maximum cable lengths in your specific audio setup.
Once you have determined the cable length, it’s time to prepare the cable for installation.
Step 2: Prepare the Cable
Now that you have determined the length of the fiber optic audio cable, it’s time to prepare it for installation. Follow these steps to ensure a smooth and efficient setup:
- Carefully unwrap the cable: Remove any packaging material from the cable, taking care not to damage the delicate fiber optic strands.
- Inspect the cable: Examine the cable for any signs of visible damage, such as kinks, cuts, or frayed ends. If you notice any damage, it is recommended to replace the cable to ensure optimal performance.
- Remove any protective caps: Most fiber optic audio cables come with protective caps on the connector ends. Remove these caps to expose the connectors for installation.
- Handle the cable with care: Fiber optic cables are delicate and sensitive to bending or excessive force. Avoid bending the cable at sharp angles or applying too much pressure. Handle the cable gently and avoid twisting or pulling on it excessively.
- Keep the connectors clean: Fiber optic connectors can accumulate dust or debris, which can affect signal transmission. Before connecting the cable to your devices, use a clean, lint-free cloth to wipe the connectors and ensure they are free from any dirt or smudges.
By preparing the cable properly, you ensure that it is in good condition and ready for installation. Now, let’s move on to connecting the fiber optic audio cable to the audio source.
Step 3: Connect the Cable to the Audio Source
With the cable prepared, it’s time to connect it to the audio source device. Follow these steps to establish a secure and reliable connection:
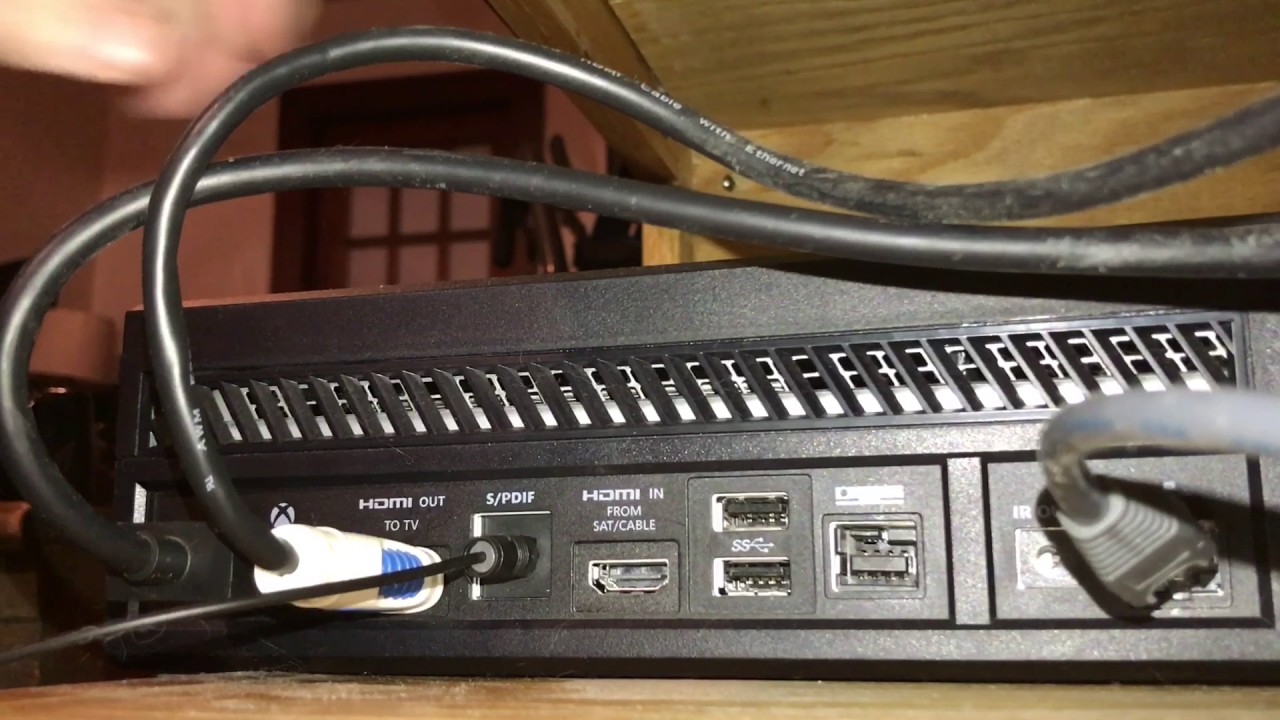
- Locate the optical audio output: Identify the optical audio output port on your source device. It is usually labeled as “Optical Out” or “Toslink Out.” Refer to the device’s user manual or manufacturer’s instructions if you are having trouble finding it.
- Insert the connector: Take one end of the fiber optic audio cable and align the connector with the optical audio output port. Insert the connector firmly but gently into the port, ensuring a secure fit. Do not force the connector as it could damage the port or the cable.
- Tighten the connector: If the connector has a locking mechanism, such as a rotating collar, make sure to tighten it gently to secure the connection. This will prevent accidental disconnection and ensure a stable audio transmission.
- Double-check the connection: Once the cable is connected to the audio source, visually inspect the connection to ensure that it is properly aligned and fully inserted. A secure and aligned connection will prevent any signal loss or interruptions.
Once you have successfully connected the fiber optic audio cable to the audio source, it’s time to move on to the next step: connecting the cable to the audio receiver.
Step 4: Connect the Cable to the Audio Receiver
Now that you have successfully connected the fiber optic audio cable to the audio source, it’s time to connect the other end of the cable to the audio receiver device. Follow these steps to complete the connection:
- Locate the optical audio input: Find the optical audio input port on your audio receiver device. Look for labels such as “Optical In” or “Toslink In.” Refer to the device’s user manual or manufacturer’s instructions if you are unsure about the location of the port.
- Insert the connector: Take the other end of the fiber optic audio cable and align the connector with the optical audio input port on the audio receiver. Carefully insert the connector into the port, making sure it is fully inserted but without applying excessive force.
- Secure the connection: If the connector has a locking mechanism, such as a rotating collar, tighten it gently to secure the connection. This will help prevent accidental disconnection or signal loss.
- Verify the connection: After connecting the cable to the audio receiver, visually inspect the connection to ensure it is secure and properly aligned. This will provide a reliable and uninterrupted audio transmission.
With the fiber optic audio cable successfully connected to the audio receiver, you are one step closer to enjoying enhanced audio quality. However, before finalizing the setup, it is crucial to test the connection and ensure everything is working as expected.
Move on to the next step to perform a thorough test of the fiber optic audio connection.
Step 5: Test the Connection
After connecting the fiber optic audio cable to both the audio source and receiver, it’s crucial to test the connection to ensure that everything is working as expected. Follow these steps to perform a thorough test of the fiber optic audio connection:
- Power on the devices: Turn on the audio source device (e.g., computer, Blu-ray player) and the audio receiver device (e.g., AV receiver, soundbar) connected to the fiber optic audio cable.
- Select the correct input/source: On the audio receiver, select the corresponding input/source that corresponds to the connected fiber optic audio cable. This could be labeled as “Optical In” or “Toslink In.”
- Play audio content: Play audio content on the source device, such as a music track or a movie with audio. Make sure the volume is set to an appropriate level on both the source device and the audio receiver.
- Listen for audio: Listen for audio output from the audio receiver connected to the fiber optic cable. Ensure that the sound is clear, without any distortion or intermittent interruptions. Also, check if the audio is coming from the correct speakers or output channels.
- Test different audio formats: If your source device and audio receiver support various audio formats, test different formats to confirm that the fiber optic audio connection can handle them. This will help verify the compatibility of the cable and ensure optimal performance.
- Check for loose connections: While playing audio, inspect the fiber optic audio cable connections at both ends to ensure they are not loose or unplugged. A loose connection can result in intermittent audio or even complete signal loss.
If you encounter any issues during the testing phase, double-check the connections, ensure all devices are properly powered on, and confirm that the correct input/source is selected on the audio receiver. If problems persist, refer to the troubleshooting tips section for further assistance.
By following these steps and performing a thorough test of the fiber optic audio connection, you can confirm that your setup is functioning correctly and enjoy superior audio quality.
Now that you have successfully tested the connection, let’s move on to some troubleshooting tips that can help resolve any potential issues that may arise.
Troubleshooting Tips
While setting up and using fiber optic audio cables, you may encounter some common issues. Here are some troubleshooting tips to help you address them:
- No audio output: If you are not hearing any audio output, ensure that all devices are powered on, the correct input/source is selected on the audio receiver, and the volume is set to an appropriate level on both the source device and the audio receiver.
- Intermittent audio or signal loss: Check the fiber optic audio cable connections at both ends to make sure they are secure and properly inserted. Loose connections can result in intermittent audio or signal loss. Also, inspect the connectors for any damage or dirt and clean them if necessary.
- Poor audio quality: If you are experiencing poor audio quality, ensure that you are using a high-quality fiber optic audio cable. Low-quality cables may affect the transmission and result in reduced sound quality. Also, make sure that your audio source and receiver are set to output the desired audio format and consider checking the audio settings in your devices.
- Compatibility issues: Verify that both your audio source device and audio receiver support the same audio format. Incompatible formats can result in no audio output or distorted sound. Consult the user manuals or documentation of your devices to confirm their compatibility.
- Electromagnetic interference: Keep the fiber optic audio cable away from any potential sources of electromagnetic interference, such as power cables, wireless routers, or large electronic devices. These can introduce noise or signal degradation into the audio transmission.
- Try different cable or ports: If all else fails, try using a different fiber optic audio cable or different optical ports on your devices. This can help isolate any issues related to a faulty cable or damaged ports.
If you are unable to resolve the issue with these troubleshooting tips, it may be helpful to consult a professional or reach out to the customer support of your audio devices or the fiber optic audio cable manufacturer for further assistance.
Remember, troubleshooting requires patience and careful examination of the connections and settings. With the right approach, most issues can be resolved, allowing you to enjoy the benefits of your fiber optic audio setup.
Now that we have covered some troubleshooting tips, let’s wrap up everything we’ve learned so far.
Conclusion
Congratulations! You have now learned how to run a fiber optic audio cable and set up a reliable and high-quality audio connection. By using fiber optic audio cables, you can enjoy superior sound quality, immunity to interference, and the ability to transmit audio signals over long distances.
We began by understanding the basics of fiber optic audio cables and why they are worth considering. We explored their superior sound quality, immunity to interference, and compatibility with various audio formats. We then discussed the equipment needed for the setup, including the fiber optic audio cable itself, the source device, receiver device, connectors, and optional accessories.
Following that, we provided a step-by-step guide on running the fiber optic audio cable, including determining the cable length, preparing the cable for installation, connecting it to the audio source, connecting it to the audio receiver, and testing the connection. We also provided troubleshooting tips to address common issues that may arise during the setup process.
Remember that proper cable handling, careful connection, and testing are key to ensuring optimal audio performance. If you encounter any difficulties, refer to the troubleshooting tips or consult a professional for further assistance.
With your fiber optic audio cable properly installed, you can now enjoy an immersive audio experience, whether you are watching movies, listening to music, or working with audio in a professional setting.
So, go ahead and unleash the full potential of your audio devices with the power of fiber optic audio cables. Upgrade your audio setup today and elevate your listening experience to new heights!