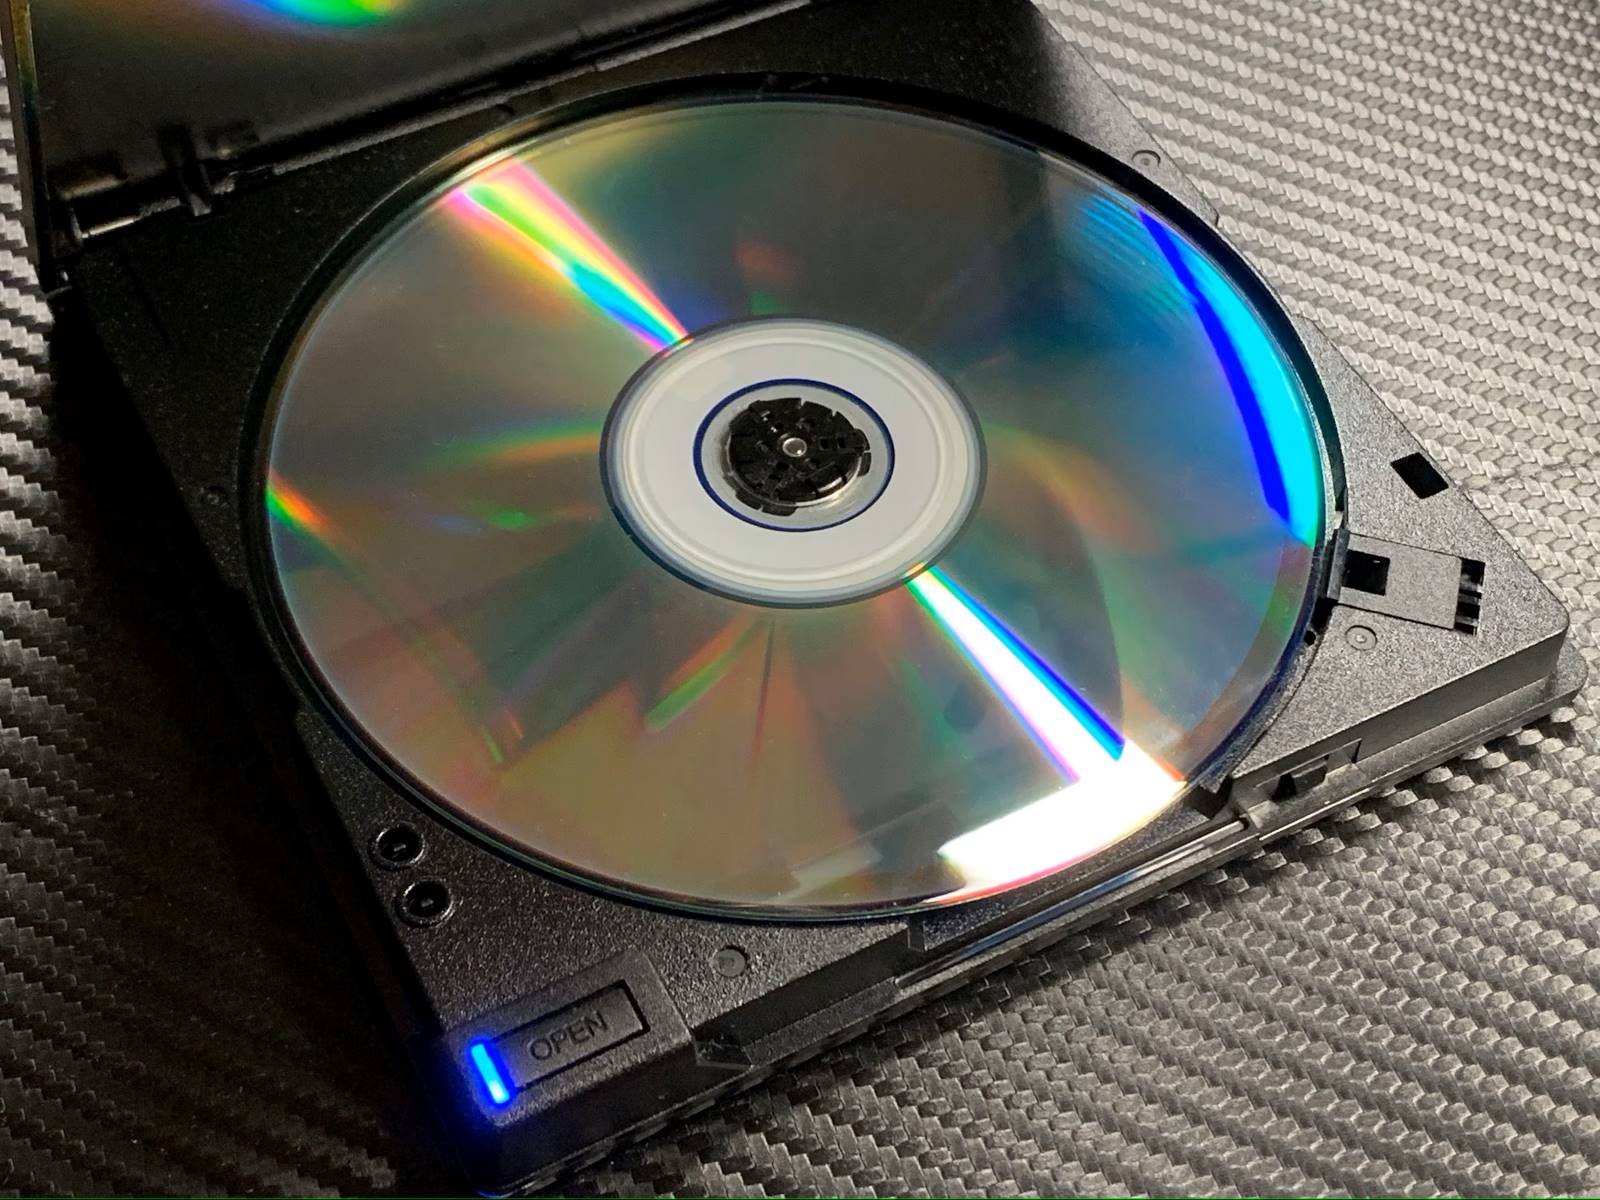
Home>Production & Technology>MP3>How To Burn An MP3 To A CD
MP3
How To Burn An MP3 To A CD
Modified: January 22, 2024
Learn how to burn an MP3 to a CD with easy step-by-step instructions. Enjoy your favorite music on a traditional CD format.
(Many of the links in this article redirect to a specific reviewed product. Your purchase of these products through affiliate links helps to generate commission for AudioLover.com, at no extra cost. Learn more)
Table of Contents
- Introduction
- Requirements
- Step 1: Prepare the MP3 files
- Step 2: Choose the right CD burning software
- Step 3: Insert a blank CD into your computer
- Step 4: Open the CD burning software
- Step 5: Add MP3 files to the CD project
- Step 6: Arrange the MP3 files in the desired order
- Step 7: Customize CD settings
- Step 8: Start burning the MP3 files to the CD
- Step 9: Verify the burned CD
- Step 10: Enjoy your MP3 files on CD
- Conclusion
Introduction
Welcome to the world of MP3s, where you can enjoy your favorite music anytime, anywhere. While digital music has become the norm, there may be instances when you want to burn your MP3 collection onto a physical CD for various reasons – to create a mixtape for a road trip, to share music with friends, or simply to have a backup copy. In this article, we will guide you through the process of burning an MP3 to a CD, providing you with all the necessary steps and information to make it happen.
Burning an MP3 to a CD allows you to create a personalized music collection that can be played on any standard CD player or car stereo. It gives you the freedom to choose the songs you want to listen to, without relying on digital devices or internet connectivity. Plus, it’s a great way to preserve and share your favorite music with others.
In order to burn an MP3 to a CD, you’ll need a few essentials: a computer with a CD burner, a blank CD, and CD burning software. Most computers nowadays come with built-in CD burners and software, but if yours doesn’t, there are plenty of free and paid alternatives available for download.
Once you have everything you need, the process itself is relatively straightforward. You’ll need to prepare the MP3 files you want to burn, choose the right CD burning software, insert a blank CD into your computer, open the CD burning software, add the MP3 files to the CD project, arrange them in the desired order, customize CD settings if needed, and finally, start the burning process. We’ll go through each step in detail to ensure you have a successful experience.
So, whether you’re a music lover looking to create the ultimate playlist or someone who just wants to have their MP3 collection on the go, this article will provide you with all the information you need to burn an MP3 to a CD. Let’s get started!
Requirements
Before you start burning an MP3 to a CD, it’s important to ensure that you have everything you need. Here are the essential requirements:
- Computer with a CD burner: You’ll need a computer that has a CD burner, either built-in or externally connected. Most modern computers come with a CD burner, so you shouldn’t have any issues with this requirement.
- Blank CD: You’ll need a blank CD that is compatible with your CD burner. There are different types of blank CDs available, such as CD-R and CD-RW. CD-R is the most common type and can only be burned once, while CD-RW allows you to rewrite and erase data multiple times. Make sure to use a blank CD that matches the capabilities of your CD burner.
- CD burning software: To burn an MP3 to a CD, you’ll need CD burning software. Most computers come with built-in software for this purpose, such as Windows Media Player on Microsoft Windows or iTunes on macOS. If you don’t have CD burning software pre-installed on your computer, you can download free alternatives like ImgBurn or CDBurnerXP.
- MP3 files: Of course, you’ll need the MP3 files that you want to burn onto the CD. Make sure the files are saved on your computer’s hard drive or an external storage device for easy access during the burning process. It’s a good idea to create a separate folder to organize your MP3 files before starting the burning process.
With these requirements in place, you’re ready to start burning your MP3s to a CD. It’s worth mentioning that the burning process may vary slightly depending on the CD burning software you’re using, but the general steps will remain the same. By following the upcoming steps and using the appropriate software, you’ll be able to create your customized music CD and enjoy your favorite MP3s in a physical format.
Step 1: Prepare the MP3 files
Before you can begin burning an MP3 to a CD, you need to ensure that you have properly prepared the MP3 files that you want to include on the CD. Here’s what you need to do:
- Gather your MP3 files: Locate and gather all the MP3 files that you wish to burn onto the CD. These files should be saved on your computer’s hard drive or an external storage device. Take some time to organize the files into a separate folder for easy access during the burning process.
- Check the quality of your MP3 files: It’s important to ensure that the MP3 files you are going to burn are of good quality and play without any issues. Verify that the files are not corrupted or incomplete. You can do this by playing them in a media player or audio software on your computer.
- Consider the total length of the MP3 files: Take note of the total length of your MP3 files. This will help you determine whether they will fit onto a single CD or if you may need multiple CDs. The capacity of a standard CD is usually around 700 MB or 80 minutes of audio playback.
- Organize the files: If you want your MP3 files to play in a specific order on the CD, make sure to arrange them accordingly. You can easily do this in the next steps when adding the MP3 files to the CD burning software. Alternatively, you can prefix the filenames with numbers to ensure the desired order.
- Consider creating a playlist: Some CD burning software allows you to create playlists, which are essentially a list of the MP3 files in the desired order. Creating a playlist can be helpful if you want to easily manage and update the contents of your CD at a later time.
By following these steps to prepare your MP3 files, you will have everything ready for the CD burning process. Taking the time to properly organize and verify the quality of your MP3 files will ensure a smooth and enjoyable playback experience once the CD is burned.
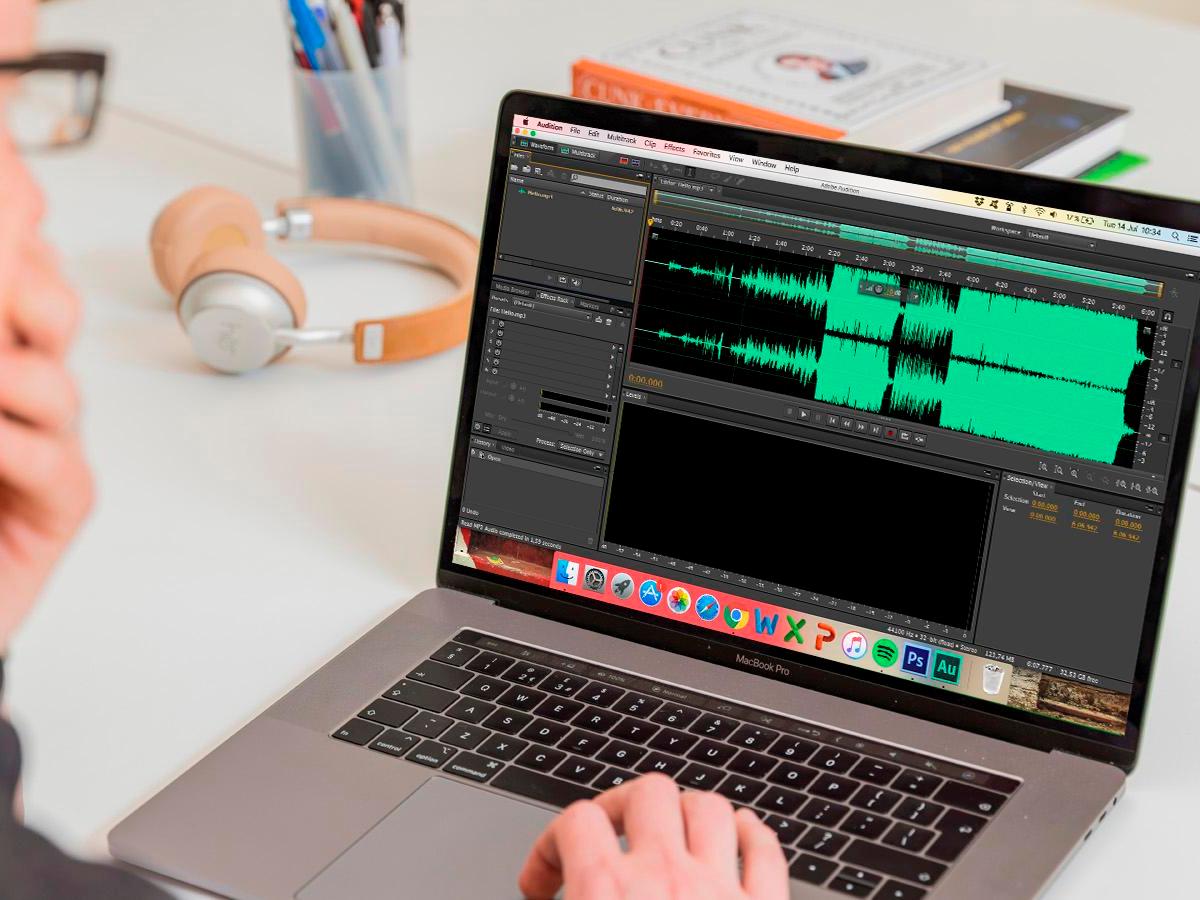
Step 2: Choose the right CD burning software
Now that you’ve prepared your MP3 files, it’s time to select the appropriate CD burning software to use. Different operating systems have built-in CD burning software, but you can also choose from a variety of third-party options. Here’s how to choose the right CD burning software:
- Operating system compatibility: Consider the compatibility of the CD burning software with your operating system. If you’re using Windows, you can use the built-in Windows Media Player or explore other popular options like Nero Burning ROM or Ashampoo Burning Studio. For macOS users, iTunes is a reliable choice. Make sure to choose a software that is compatible with your specific operating system version.
- User-friendly interface: Look for CD burning software that has an intuitive and user-friendly interface. This will make the process of adding and arranging your MP3 files much easier. A clean and organized interface will allow you to navigate through the software’s features effortlessly.
- Advanced features: Consider whether you need any advanced features in your CD burning software. Some programs offer additional functionalities, such as the ability to create audio CDs with crossfades between tracks, add CD text, or create a custom CD cover. Evaluate your needs and choose a software that offers the features you desire.
- Reliability and customer support: Research the reliability and customer support of the CD burning software you are considering. Look for reputable software providers that offer regular updates and have a good track record. Check user reviews and forums for feedback on their software’s performance and customer service.
- Cost: Determine your budget for CD burning software. While there are free options available, some software may require a purchase or have premium versions with additional features. Compare the features and pricing of different software options to find one that meets your needs within your budget.
Remember, the CD burning software you choose will determine your experience throughout the burning process. Take the time to research and select a software that aligns with your needs and preferences. Once you have chosen the right CD burning software, you can move on to the next step and start burning your MP3 files onto the CD.
Step 3: Insert a blank CD into your computer
Now that you have selected the appropriate CD burning software, it’s time to insert a blank CD into your computer’s CD burner. Follow these steps to ensure a smooth process:
- Choose the right type of blank CD: Ensure that the blank CD you are using is compatible with your CD burner. There are different types of blank CDs available, such as CD-R and CD-RW. CD-R discs can only be burned once, while CD-RW discs can be rewritten and erased multiple times. Choose a blank CD that suits your needs.
- Check the capacity of the blank CD: Take note of the capacity of the blank CD. Most standard CDs have a capacity of around 700 MB or 80 minutes of audio playback. Ensure that the total size of your MP3 files does not exceed the capacity of the CD, otherwise, you may need to burn the files onto multiple CDs.
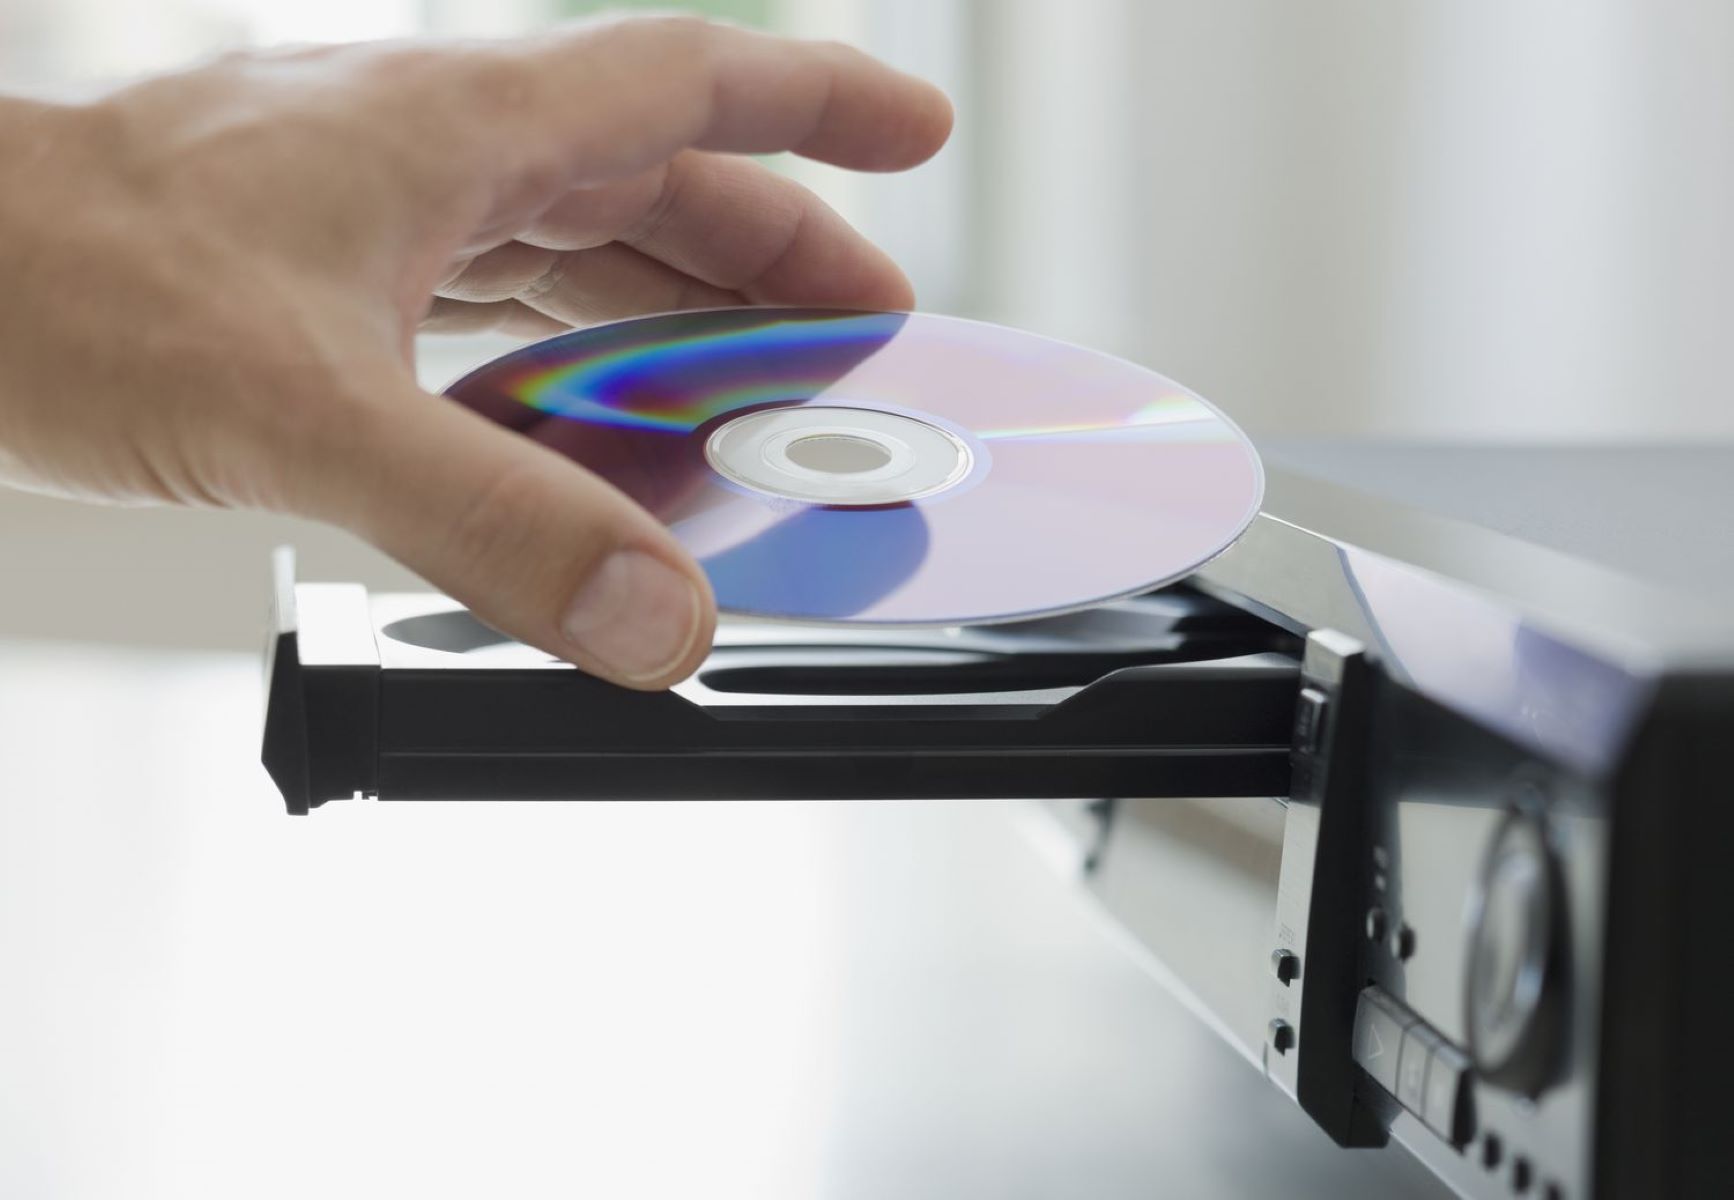
- Insert the blank CD into the CD burner: Carefully insert the blank CD into the CD burner on your computer. The CD burner is generally located on the front or side of the computer tower. Gently push the CD into the drive until it is securely in place.
- Wait for the computer to recognize the blank CD: Once the blank CD is inserted, your computer should automatically detect it. Wait for a notification or confirmation message from your operating system that the blank CD has been recognized and is ready for use.
- Ensure the CD is clean and free from scratches: Before proceeding with the burning process, make sure that the blank CD is clean and free from scratches or any dirt. Any dirt or scratches on the surface of the CD can potentially cause errors during the burning process.
By following these steps, you will have successfully inserted a blank CD into your computer’s CD burner, preparing it for the next steps of the CD burning process. It’s essential to ensure that you are using a compatible and clean blank CD to avoid any issues during the burning process.
Step 4: Open the CD burning software
With the blank CD inserted into your computer, it’s time to open the CD burning software that you have chosen. Follow these steps to open the CD burning software:
- Locate the CD burning software: Look for the CD burning software on your computer. If you’re using the built-in software like Windows Media Player or iTunes, you can access them from the Start menu or your application folder. If you have downloaded third-party software, locate the software’s icon on your desktop or in your installed programs list.
- Launch the CD burning software: Double-click on the software’s icon to launch it. The software should open and present you with its main interface. Depending on the software, you may see options for burning CDs, creating media libraries, or accessing other features. Make sure the software is fully loaded before proceeding.
- Check for any software updates: Before you proceed further, check if there are any available updates for the CD burning software. Some software may prompt you to update it at startup, while others may have a dedicated update feature within the software. Keeping the software up to date ensures that you have the latest features and bug fixes.
Once you have opened the CD burning software and ensured that it’s up to date, you’re ready to move on to the next step of adding MP3 files to the CD project. The software’s interface will be the main hub for you to access various features and perform actions like adding files, arranging track order, and customizing settings before burning the CD.
Each software may have a slightly different interface, but the general layout should include options for creating a new CD project or selecting an existing project. Familiarize yourself with the software’s interface and navigation to make it easier to follow the upcoming steps. Remember, practice makes perfect, so don’t hesitate to explore the software and get comfortable with its features.
Step 5: Add MP3 files to the CD project
With the CD burning software open and ready, it’s time to add your MP3 files to the CD project. Follow these steps to add your desired MP3 files:
- Locate the “Add Files” or “Add Tracks” option: Look for the option to add files or tracks within the CD burning software. This option is usually located in the software’s toolbar or menu bar. It may be represented by an icon with a plus sign, a folder, or the word “Add”. Click on it to proceed.
- Browse for your MP3 files: After selecting the “Add Files” or “Add Tracks” option, a file browser window will appear. Navigate to the folder where you have saved your MP3 files and select the files you want to add to the CD project. You can select multiple files by holding down the Ctrl or Command key while clicking on the files.
- Confirm the addition of files: Once you have selected the desired MP3 files, click on the “Open” or a similar button within the file browser window to confirm the addition of the files to the CD project. The files will then be imported into the CD burning software.
- Verify the added files: Take a moment to review the list of added files within the CD burning software. Ensure that all the desired MP3 files are listed and in the correct order. Some software may display additional details about the files, such as their duration or file size.
By following these steps, you will have successfully added your MP3 files to the CD project within the CD burning software. This step is crucial as it allows you to select and organize the specific MP3 files that will be burned onto the CD. If you made a mistake or want to make changes, most software will provide options to remove or rearrange the added files.
Remember, the number of MP3 files you can add will depend on the available space on the CD. Ensure that the total size of the added files does not exceed the capacity of the CD. You may need to remove or replace some files if they exceed the CD’s limits.
In the next step, you will have the opportunity to arrange the MP3 files in the desired playback order before proceeding with the burning process. This will ensure that your CD plays exactly how you want it to.
Step 6: Arrange the MP3 files in the desired order
Once you have added your MP3 files to the CD project in the burning software, it’s time to arrange them in the desired order. Follow these steps to configure the playback order of your MP3 files:
- Locate the “Arrange” or “Sort” option: Look for the option to rearrange or sort the MP3 files within the CD burning software. This option is usually located in the software’s toolbar or menu bar. It may be represented by arrows, numbers, or the word “Arrange”. Click on it to proceed.
- Drag and drop files: Once you access the “Arrange” or “Sort” option, you will typically see a list of the added MP3 files. Simply click and drag the files to rearrange them in the desired order. You can move files up or down in the list, or even move them to different positions.
- Use numbering or prefixes: If your CD burning software doesn’t have a drag-and-drop feature, you can resort to numbering or using prefixes in the file names. Simply rename the MP3 files with numbers at the beginning of the file name to indicate the order. For example, “01_songname.mp3”, “02_songname.mp3”, and so on.
- Verify the final order: Take a moment to review the arrangement of the MP3 files within the CD burning software. Ensure that the order matches your desired playback sequence. This step is important as once the CD is burned, you won’t be able to change the order without starting the process over.
By following these steps, you will have successfully arranged the MP3 files in the desired order within the CD burning software. Organizing the playback sequence allows you to create a cohesive flow of music or prioritize your favorite songs at the beginning or end of the CD.
If you’re unsure about the best order for your MP3 files, you may consider creating a playlist within the CD burning software. Playlists provide a convenient way to manage and update the contents of your CD in the future without having to rearrange files manually.
Once you are satisfied with the arrangement of the MP3 files, you’re ready to move on to the next step and customize any additional CD settings based on your preferences or requirements.
Step 7: Customize CD settings
Before proceeding with the burning process, you have the option to customize various settings for the CD, depending on your preferences and requirements. Follow these steps to customize the CD settings in your chosen CD burning software:
- Access the CD settings: Look for the option to customize CD settings within the CD burning software. This option is usually available in the software’s toolbar or menu bar. It may be represented by icons like “Settings”, “Options”, or “Preferences”. Click on it to proceed.
- Select the CD format: Choose the format you want the CD to be in. In most cases, you’ll want to select “Audio CD” or “Music CD” format. This format ensures that the CD will be playable on standard CD players, including car stereos. Some software may also offer additional formats like “MP3 CD” or “Data CD”, which are meant for specific purposes.
- Set the writing speed: Adjust the writing speed for the CD burning process. A higher writing speed may be quicker, but it can also result in lower quality burns. It is generally recommended to choose a moderate or lower writing speed to ensure a better quality burn, especially if you are burning a large number of files or using a CD-RW.
- Enable or disable audio normalization: Audio normalization is a feature that equalizes the volume levels of the MP3 files. If enabled, the CD burning software will adjust the volume of each track to make them more consistent. Enable this option if you want a consistent listening experience, especially if your MP3 files vary in volume.
- Add CD metadata (optional): Some CD burning software allows you to add metadata, such as the album name, artist name, and track information, to the CD. This information is usually displayed when playing the CD on compatible devices. If desired, fill in the relevant details to provide a more complete and organized experience.
Remember, the available customization options may vary depending on the CD burning software you are using. It’s important to explore the software’s settings and features to see what options are available to you. Take your time to configure the settings according to your preferences before proceeding to the next step.
Once you have customized the CD settings, you’re almost ready to start the burning process. Before you do that, it is advisable to double-check all the settings and ensure they are aligned with your requirements. This way, you can be confident that the CD will be burned exactly as you intended.
Step 8: Start burning the MP3 files to the CD
After preparing your MP3 files, arranging them in the desired order, and customizing the CD settings, you are now ready to start the burning process. Follow these steps to burn the MP3 files onto the CD in your chosen CD burning software:
- Locate the “Burn” or “Start” button: Look for the button or option to initiate the burning process within the CD burning software. This button is usually prominently displayed in the software’s interface, often labeled as “Burn” or “Start”. Click on it to initiate the burning process.
- Choose the burning speed: If prompted, select the burning speed for the CD. As mentioned earlier, it is generally recommended to choose a moderate or lower writing speed to ensure a better quality burn. Follow the prompts and select an appropriate burning speed for your CD.
- Monitor the progress: Once the burning process starts, you will see a progress indicator or timer that shows the status of the burn. Depending on the size of the MP3 files and the selected burning speed, this process may take several minutes. Pay attention to the progress and do not interrupt or remove the CD until the burning process is complete.
- Finalize the CD: In some CD burning software, you may have an option to finalize or close the CD after the burning process is complete. Finalizing the CD ensures that no further additions or changes can be made to it. Check the software’s options or preferences to determine if you need to finalize the CD or if it is done automatically.
- Eject the CD: After the burning process is complete, the CD burning software will usually prompt you to eject the CD. Click on the option to safely eject the CD from your computer’s CD burner. Once the CD is ejected, remove it carefully and ensure it is handled with care to avoid scratches or damage.
By following these steps, you will have successfully burned the MP3 files onto the CD. Congratulations! You now have a physical CD containing your favorite music that can be played on any standard CD player or car stereo.
It’s worth noting that the burning process may take longer or shorter depending on the speed of your CD burner, the size of the MP3 files, and the selected burning speed. Be patient and let the software complete the process without interruptions to ensure a successful burn.
Keep in mind that once the CD is burned, you cannot make any changes to its contents. If you wish to make changes or burn additional MP3 files, you will need to start a new CD project and repeat the steps described in this guide.
With the CD burned and in your hands, the next step is to verify the burned CD to ensure that it has been created successfully without any errors or issues.
Step 9: Verify the burned CD
Once you have finished burning the MP3 files onto the CD, it is essential to verify the integrity and playback quality of the burned CD. Follow these steps to verify the burned CD:
- Insert the burned CD: Carefully insert the burned CD into a CD player or a computer with a CD drive. Ensure that the CD is clean and free from any fingerprints, scratches, or dirt that could potentially interfere with playback.
- Test playback on different devices: Play the burned CD on various devices, such as CD players, car stereos, and computers, to ensure that it is readable and plays without any issues. If possible, listen to a few tracks from different parts of the CD to check for consistent audio quality and smooth transitions between songs.
- Verify track order: Pay attention to the order in which the songs play on the CD. Ensure that the track order matches the sequence you intended during the CD burning process. If the order is incorrect or songs are missing, you may need to review the CD burning software settings or repeat the burning process.
- Check for any playback errors: Listen to the CD carefully and watch out for any playback errors, such as skipping, popping sounds, or distorted audio. These issues could indicate a problem with the burn quality or compatibility. If you encounter any playback errors, you may need to inspect the CD for scratches or try burning the CD at a lower speed.
- Verify CD metadata (if applicable): If you added CD metadata during the burning process, confirm that the CD player or computer recognizes and displays the correct information, such as the album name, artist name, and track titles. In some cases, the metadata may not be recognized on all devices, so it’s important to test this on multiple devices.
By following these steps to verify the burned CD, you can ensure that the CD has been created successfully and plays back as intended. It’s important to perform this step to address any possible issues before sharing or using the CD, ensuring the best listening experience for yourself and others.
If you encounter any problems during the verification process, such as playback errors or incorrect track order, you may need to troubleshoot and repeat the CD burning process. Make sure to double-check the settings, the integrity of the source MP3 files, and the compatibility of the CD player or device before attempting to burn the CD again.
Once you have verified the burned CD and are satisfied with the playback quality, you can finally enjoy your favorite MP3 files on CD, whether it’s on your home stereo system, in your car, or as a gift for someone special.
Step 10: Enjoy your MP3 files on CD
Congratulations! You have successfully burned your MP3 files onto a CD and verified its playback quality. Now it’s time to sit back, relax, and enjoy your favorite music on CD. Here are some tips to enhance your experience:
- Choose the right environment: Find a comfortable and quiet place to listen to your CD. Create a cozy atmosphere where you can fully immerse yourself in the music.
- Use a high-quality audio system: To optimize the audio quality, connect your CD player to a high-quality audio system, such as a stereo system or a set of bookshelf speakers. This will enhance your listening experience and bring out the best in your music.
- Explore the physicality of the CD: Appreciate the tangible nature of the CD medium. Read the album cover, check out the artwork, and delve into any liner notes or lyrics that may be included. It’s a chance to connect with the music on a visual and tactile level.
- Create a playlist: If you have burned a compilation of different MP3 files onto the CD, consider creating a playlist based on the track order. This way, you can easily navigate through the songs and create a seamless listening experience.
- Share your CD with others: CDs make great gifts, so consider sharing your creation with friends or loved ones who may appreciate your musical taste. It’s a thoughtful way to introduce others to new artists or create a personalized mixtape.
- Keep your CD collection organized: If you plan to continue burning MP3 files onto CDs, establish a system to keep your CD collection organized. Consider using CD storage cases or binders, and label them clearly for easy access.
Remember, the beauty of having your MP3 files on a physical CD is the flexibility it offers. You can listen to the music wherever you go, whether it’s in your car during a road trip, at home while relaxing, or even as background music during social gatherings.
Lastly, enjoy the nostalgic feeling of playing your favorite music on a CD. Relax, let the notes transport you, and immerse yourself in the full album experience. Embrace the unique charm and simplicity that a physical music collection can bring.
Now sit back, press play, and enjoy the extraordinary blend of digital convenience and vintage appeal as you listen to your MP3 files on CD.
Conclusion
Congratulations on successfully burning your MP3 files to a CD! You have learned the step-by-step process of preparing the MP3 files, choosing the right CD burning software, inserting a blank CD, adding files to the CD project, arranging them in the desired order, customizing CD settings, and finally, burning the MP3 files onto the CD. The process allows you to create personalized music collections that can be enjoyed on standard CD players or car stereos.
By taking the time to organize your MP3 files, select the appropriate software, and customize the settings, you have ensured a seamless and enjoyable listening experience. Verifying the burned CD has also given you the confidence that your music will play without any issues.
Having your MP3 files on a physical CD brings a retro charm to your music collection. It allows you to enjoy your favorite songs without relying on digital devices or internet connectivity. The physical aspect of the CD, including the album cover and liner notes, adds a tactile dimension to your music experience.
Whether you choose to create mixtapes, share your music with friends, or simply have a backup copy, burning MP3 files to a CD gives you the freedom and versatility to enjoy your preferred music on any CD player.
Remember, the process of burning MP3s to a CD is not just about the end result; it’s about the journey of curating a personalized compilation and savoring the joy of physical music media. So, make the most of your burned CDs, create playlists, share your music, and immerse yourself in the pleasure of listening to your favorite tracks in a nostalgic format.
Now that you have the knowledge and tools to create your own CD collection, go ahead and embark on an adventure of musical expression. Enjoy the incredible world of MP3s on CD and let your passion for music shine through.