Home>Production & Technology>Audio Cable>How To Run Audio Cable On Wall
Audio Cable
How To Run Audio Cable On Wall
Modified: January 22, 2024
Learn how to properly run audio cable on your wall for a clean and professional look. Follow our step-by-step guide and ensure a seamless installation.
(Many of the links in this article redirect to a specific reviewed product. Your purchase of these products through affiliate links helps to generate commission for AudioLover.com, at no extra cost. Learn more)
Table of Contents
- Introduction
- Tools and Materials Needed
- Planning and Preparation
- Locating the Wall Studs
- Measuring and Marking the Cable Pathway
- Drilling Holes in the Wall
- Fishing the Audio Cable through the Wall
- Securing the Cable with Cable Clips or Staples
- Connecting the Audio Cable to the Source and Speaker
- Testing and Troubleshooting
- Conclusion
Introduction
When it comes to setting up your home audio system, running audio cables on the wall can provide a clean and professional look, while also minimizing the risk of tripping over loose cables. By hiding the cables behind the walls, you can create a clutter-free and aesthetically appealing audio setup.
To successfully run audio cables on the wall, you’ll need the right tools, careful planning, and a bit of patience. In this article, we’ll guide you through the step-by-step process of running audio cables on the wall, ensuring a seamless and well-organized installation.
By following these instructions, you can confidently hide your audio cables and achieve a streamlined appearance in your home audio system. Whether you’re connecting speakers to a receiver or installing a surround sound system, knowing how to run audio cables on the wall will simplify the setup process and improve the overall look of your audio system.
Before you begin, it’s important to gather the necessary tools and materials for the job. Let’s take a look at what you’ll need:
Tools and Materials Needed
Before you start running audio cables on the wall, make sure you have the following tools and materials ready:
- Tape Measure: Use a tape measure to determine the length of cable needed and to measure the distance between the desired connection points.
- Stud Finder: A stud finder is essential for locating the wall studs, which you’ll need to secure the cable and avoid drilling into electrical wiring or plumbing.
- Drill: You’ll need a power drill with a drill bit suitable for your wall material.
- Fishing Tape or Wire: Fishing tape or wire is used to guide the audio cable through walls. It helps navigate corners and obstacles.
- Cable Clips or Staples: Cable clips or staples are used to secure the audio cable to the wall studs once it’s in place.
- Screwdrivers: You may need screwdrivers for removing wall plates or securing cable clips.
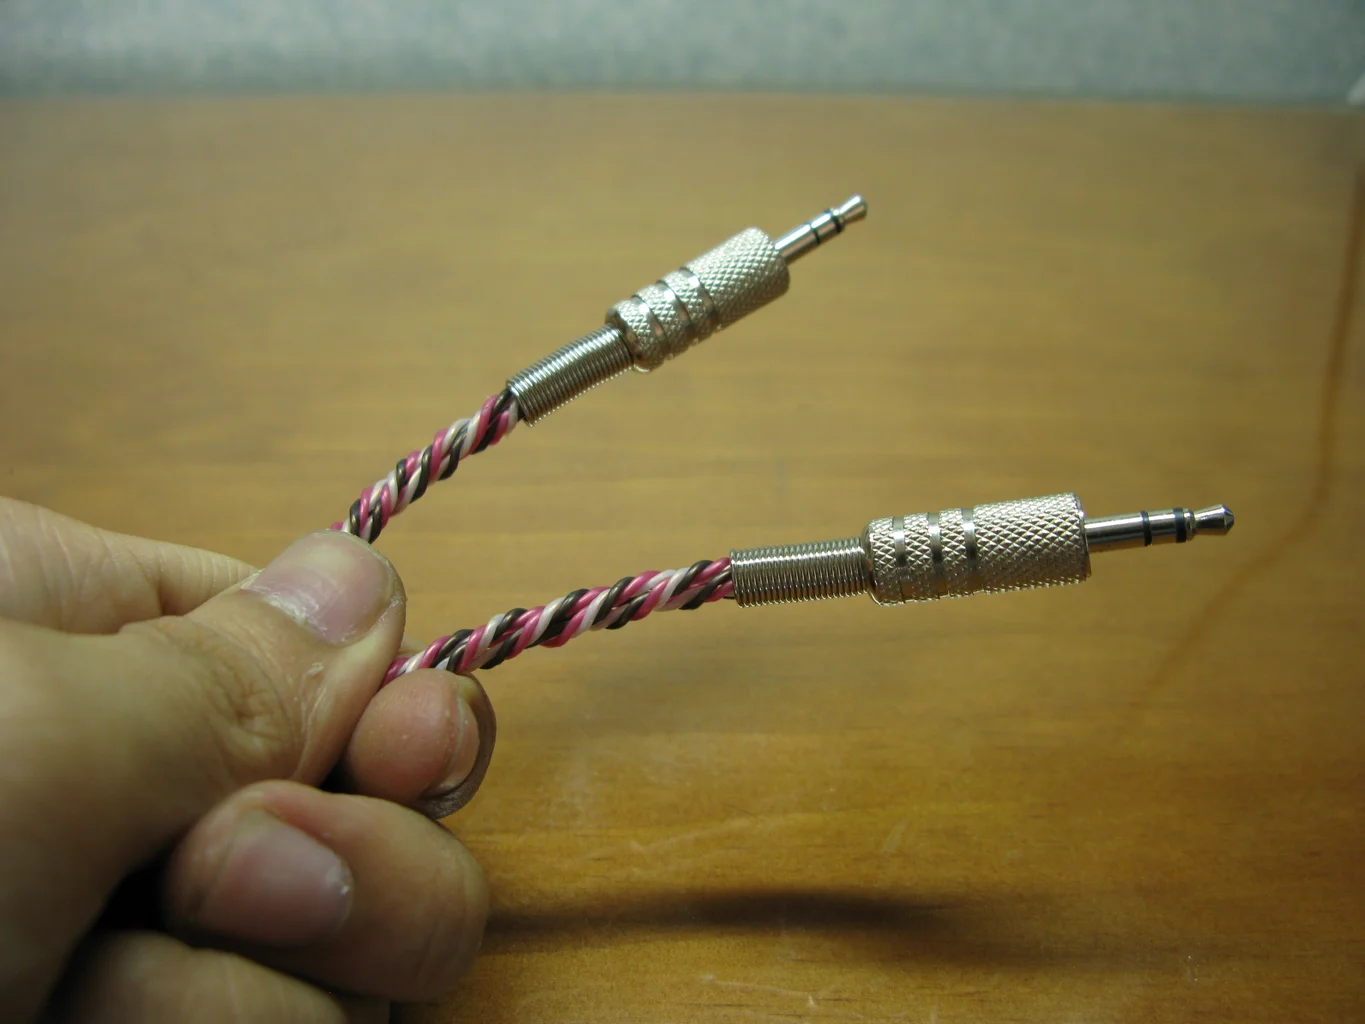
- Audio Cable: Choose high-quality audio cables that are suitable for your specific audio needs, such as speaker wire or RCA cables.
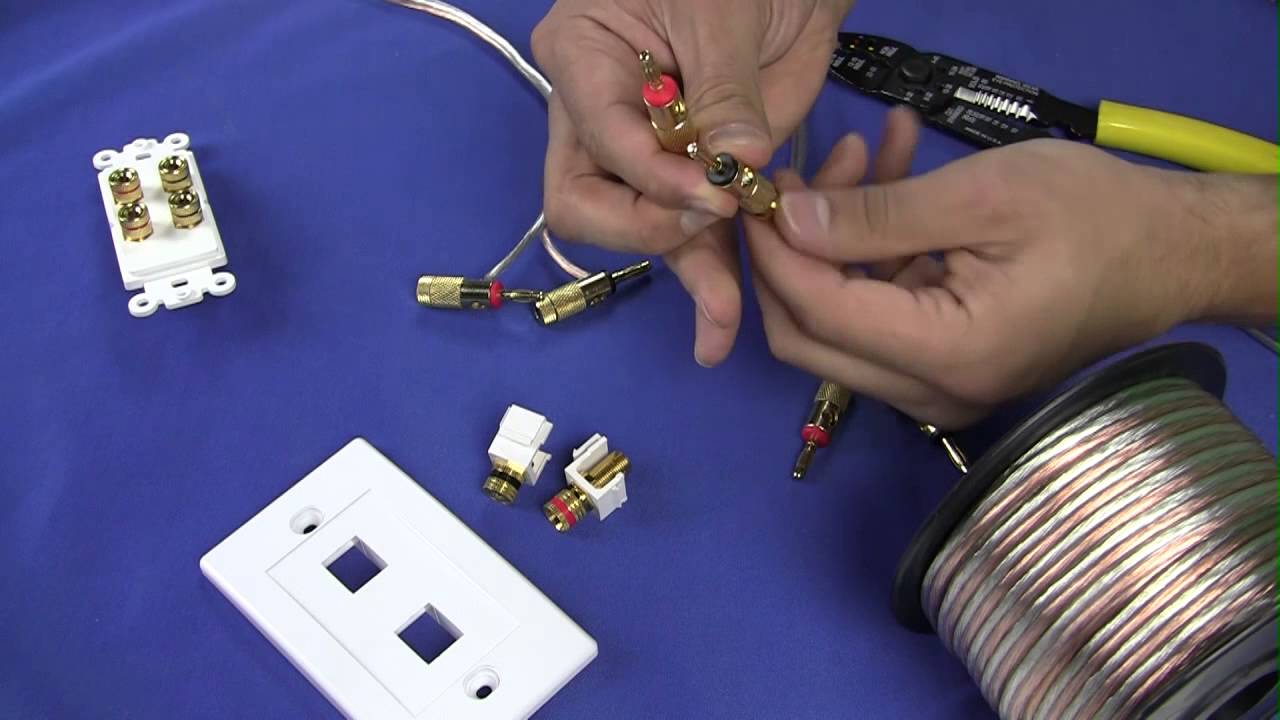
- Wall Plates and Connectors: Depending on your setup, you may need wall plates and connectors for connecting the audio cables to your audio source or speakers.
- Pencil: A pencil is useful for marking the cable pathway and drilling holes in the wall.
- Safety Glasses: It’s always important to protect your eyes while drilling and working with tools.
It’s crucial to have all the necessary tools and materials on hand before you begin so that you can work efficiently and avoid unnecessary delays.
Planning and Preparation
Before you start running audio cables on the wall, careful planning and preparation are essential. Follow these steps to ensure a successful installation:
- Determine the cable pathway: Decide on the most convenient and discreet route for running the audio cable on the wall. Consider factors such as the location of your audio source, speakers, and any obstacles that may affect the cable pathway.
- Measure the cable length: Use a tape measure to determine the length of audio cable needed for the installation. Add a bit of extra length to account for any curves or unexpected obstacles along the pathway.
- Review building codes and regulations: Check with your local building codes and regulations to ensure compliance with any specific requirements for running electrical or audio cables on the wall. This step is crucial for ensuring safety and avoiding any potential issues in the future.
- Consider future needs: Think about any potential changes or upgrades you may make to your audio system in the future. Leaving some extra slack in the cable or planning for additional cables can save you time and effort down the line.
- Plan for wall plates: If you plan to have wall plates for connecting the audio cables to your devices or speakers, decide on their placement. Ensure that the chosen locations are within reach and easily accessible.
- Shut off power: Before drilling any holes in the wall, shut off the power to the room or area where you’ll be working. This precaution will prevent any accidental damage to electrical wiring.
By taking the time to plan and prepare, you’ll set yourself up for a smoother installation process and ensure that the running of audio cables on the wall is done to your satisfaction.
Locating the Wall Studs
Locating the wall studs is a crucial step in running audio cables on the wall. The studs provide the necessary support for securing the cables and prevent any accidental damage to electrical wires or plumbing. Follow these steps to locate the wall studs:
- Use a stud finder: Start by using a stud finder to locate the studs in the wall. Slide the stud finder along the wall, following the manufacturer’s instructions, and listen for the beep or see the LED light up when it detects a stud.
- Mark the stud locations: Once you’ve identified the studs, mark their locations using a pencil or painter’s tape. Make sure the marks are easily visible and distinguishable.
- Tap the wall: As an additional confirmation, lightly tap the wall where you’ve marked the stud locations. A solid and firm sound indicates the presence of a stud.
- Check for electrical outlets: In some cases, electrical outlets may be installed near wall studs. Use caution when drilling near outlets to avoid damaging electrical wiring.
Locating the wall studs prior to running audio cables ensures that you can securely attach the cables without any risk of them coming loose or causing damage. It’s essential to be thorough and accurate in this step to ensure a successful installation.
Measuring and Marking the Cable Pathway
Once you’ve located the wall studs, it’s time to measure and mark the pathway for running the audio cables. Follow these steps to ensure accurate measurements and a clean installation:
- Measure the cable length: Using a tape measure, measure the distance between the connection points where you’ll be running the audio cables. Add a bit of extra length to account for any curves or bends along the pathway.
- Mark the cable pathway: Use a pencil or painter’s tape to mark the desired pathway on the wall. Make sure the marks are straight, level, and aligned with the stud locations.
- Consider wall plate placement: If you’re planning to use wall plates for connecting the audio cables to your devices or speakers, mark the locations where the wall plates will be installed. Ensure that the marks align with the cable pathway and are within reach of the connection points.
- Double-check the measurements: Before moving on to the next step, double-check your measurements to ensure accuracy. Adjust the marks as necessary to ensure a smooth and streamlined cable pathway.
By carefully measuring and marking the cable pathway, you’ll be able to run the audio cables in a neat, organized manner. Accurate measurements and clear markings will also help you avoid any unnecessary drilling or cable adjustments during the installation process.
Drilling Holes in the Wall
With the cable pathway measured and marked, it’s time to drill holes in the wall to accommodate the audio cables. Follow these steps to ensure clean and precise holes for a professional-looking installation:
- Select the appropriate drill bit: Choose a drill bit size that matches the diameter of your audio cables. It’s important to use a drill bit that will allow the cable to pass through without being too tight or loose.
- Put on safety glasses: Before drilling, ensure you’re wearing safety glasses to protect your eyes from any potential debris or flying particles.
- Position the drill: Hold the drill firmly and position it at a 90-degree angle to the wall where you’ve marked the hole locations. Start drilling slowly and steadily to avoid any damage to the wall or cables.
- Drill the holes: Gently apply pressure and drill straight into the wall. Be mindful of the depth to avoid drilling through any hidden electrical wires or plumbing. Drill through the wall until you reach the desired depth for running the cables.
- Clear away debris: After drilling each hole, remove any debris or dust using a vacuum cleaner or brush. This will ensure a clean pathway for the audio cables.
- Repeat for additional holes: If you have multiple holes to drill along the cable pathway, repeat the drilling process for each one, ensuring they are evenly spaced and aligned with the marked pathway.
When drilling holes in the wall, precision and caution are key. Take your time and ensure that the holes are clean and free of any obstructions. By following these steps, you’ll create the necessary entry and exit points for running the audio cables through the wall.
Fishing the Audio Cable through the Wall
Once you have the holes drilled, it’s time to fish the audio cable through the wall. This step requires patience and a steady hand to guide the cable through the designated pathway. Follow these steps to successfully fish the audio cable through the wall:
- Prepare the fishing tape or wire: Attach the fishing tape or wire to the end of the audio cable. Secure it tightly, ensuring it won’t come loose while fishing it through the wall.
- Insert the fishing tape/wire into the entry hole: Carefully insert the end of the fishing tape or wire into the entry hole. Push it gently until it reaches the other side of the wall. If needed, use a flashlight or a mirror to confirm that it has come out in the intended location.
- Pull the fishing tape/wire through the exit hole: On the other side of the wall, gently pull the fishing tape or wire through the exit hole. Make sure to keep a firm grip on it to avoid losing it back into the wall.
- Attach the audio cable: Once the fishing tape or wire is through the wall, detach it from the audio cable. Make sure the cable is securely attached and won’t come loose during the pulling process.
- Carefully pull the audio cable through the wall: Holding the other end of the audio cable, gently pull it through the wall. Use steady and consistent pressure to guide it along the designated pathway. If you encounter any resistance, stop pulling and reassess the situation to ensure the cable doesn’t get damaged.
- Repeat the process if necessary: If you have multiple audio cables to run through the wall, repeat the fishing process for each cable, making sure to keep them separate to avoid tangling.
Fishing the audio cable through the wall requires careful maneuvering and attention to detail. Take your time and be patient throughout the process to avoid any unnecessary damage or frustration. With the audio cable successfully fished through the wall, you’re one step closer to achieving a clean and clutter-free installation.
Securing the Cable with Cable Clips or Staples
Once the audio cable has been successfully fished through the wall, it’s important to secure it using cable clips or staples. This step ensures that the cable remains firmly in place and prevents it from getting tangled, bent, or damaged. Follow these steps to properly secure the audio cable:
- Prepare the cable clips or staples: Gather the appropriate cable clips or staples that will securely hold the audio cable in place. Choose clips or staples that are specifically designed for low voltage cables like audio cables.
- Determine the spacing: Decide on the spacing between the cable clips or staples along the cable pathway. Ideally, you’ll want to space them out evenly to provide proper support.
- Align with the wall studs: Position the cable clips or staples along the cable pathway, ensuring they are aligned with the wall studs. This will provide added stability and a secure hold for the audio cable.
- Insert the cable into the clips or staples: Gently insert the audio cable into the cable clips or staples, making sure it sits securely. Be careful not to squeeze or pinch the cable too tightly, as this may cause damage to the insulation.
- Secure the clips or staples to the wall: Using a screwdriver, carefully secure the cable clips or staples to the wall. Make sure they are firmly attached and won’t move or come loose over time.
- Check for proper cable tension: Once all the cable clips or staples are in place, check the tension of the audio cable. Ensure that it is taut but not overly stretched or strained. Make any necessary adjustments to achieve the desired tension.
By securing the audio cable with cable clips or staples, you will not only keep it neatly organized but also protect it from accidental damage. This step is essential for maintaining the integrity and performance of the audio cable over time.
Connecting the Audio Cable to the Source and Speaker
With the audio cable securely in place, the next step is to connect it to the source device and speakers. Follow these steps to ensure proper connections and optimal audio performance:
- Identify the source device: Determine the audio source device, such as a receiver, amplifier, or audio interface, that will send the audio signal.
- Locate the audio output: Identify the appropriate audio output on the source device. This can be labeled as “Line Out,” “Audio Out,” or similar.
- Connect the audio cable to the source device: Plug one end of the audio cable into the audio output of the source device. Ensure a secure connection by firmly inserting the plug into the corresponding jack.
- Identify the speaker terminals: Locate the speaker terminals on the speakers or the amplifier/receiver that will receive the audio signal.
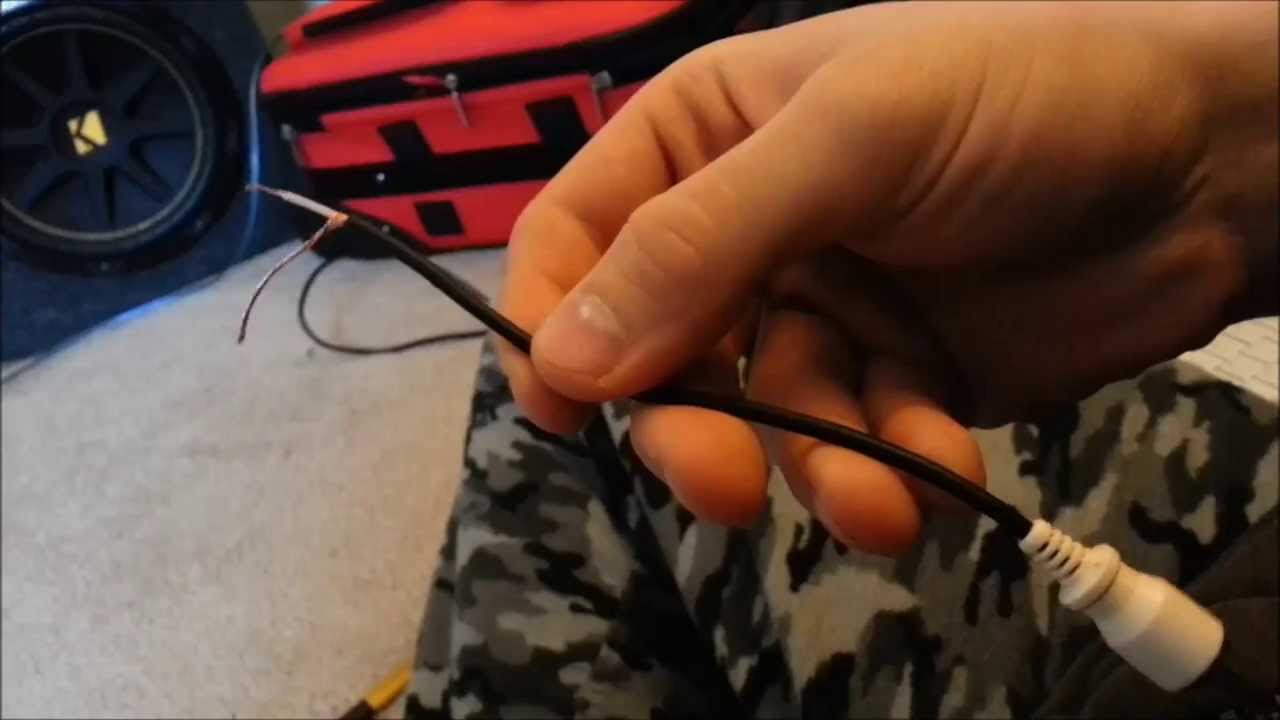
- Prepare the speaker wires: If you’re using speaker wires, strip off a small section of insulation from the ends to expose the bare wire.
- Connect the speaker wires to the terminals: For each speaker, match the positive (+) and negative (-) terminals with the corresponding wires. Connect the positive wire to the positive terminal and the negative wire to the negative terminal, ensuring a secure and proper connection.
- Ensure proper polarity: It’s crucial to maintain proper polarity when connecting the speaker wires. The positive terminal on the speaker should be connected to the positive terminal on the source device.
- Repeat for additional speakers: If you have multiple speakers in your audio setup, repeat the process for each speaker, connecting them to the appropriate terminals on the source device.
Once you have successfully connected the audio cable to the source device and the speakers, you’re ready to enjoy high-quality audio playback. Remember to double-check all the connections and ensure they are secure to prevent any sound issues or interruptions.
Testing and Troubleshooting
After completing the installation and connecting the audio cable to the source and speakers, it’s important to test the setup and troubleshoot any potential issues. Here are some steps to help you with the testing and troubleshooting process:
- Power on the audio system: Turn on the source device, amplifier, or receiver, and ensure that the speakers are powered on as well.
- Play audio: Play some audio on the source device to test if the audio signal is being properly transmitted through the audio cable and reaching the speakers.
- Check for sound: Verify that sound is coming from all the speakers in your setup. If there’s no sound or if it’s distorted, check the connections and ensure that the cables are properly inserted into the audio outputs and speaker terminals.
- Adjust volume levels: Ensure that the volume levels are set appropriately on both the source device and any accompanying amplifiers or receivers. Adjust the levels as needed to achieve the desired sound.
- Inspect cable connections: Double-check all the cable connections to ensure they are secure and properly plugged in. Sometimes, loose connections can lead to sound issues or one-sided audio.
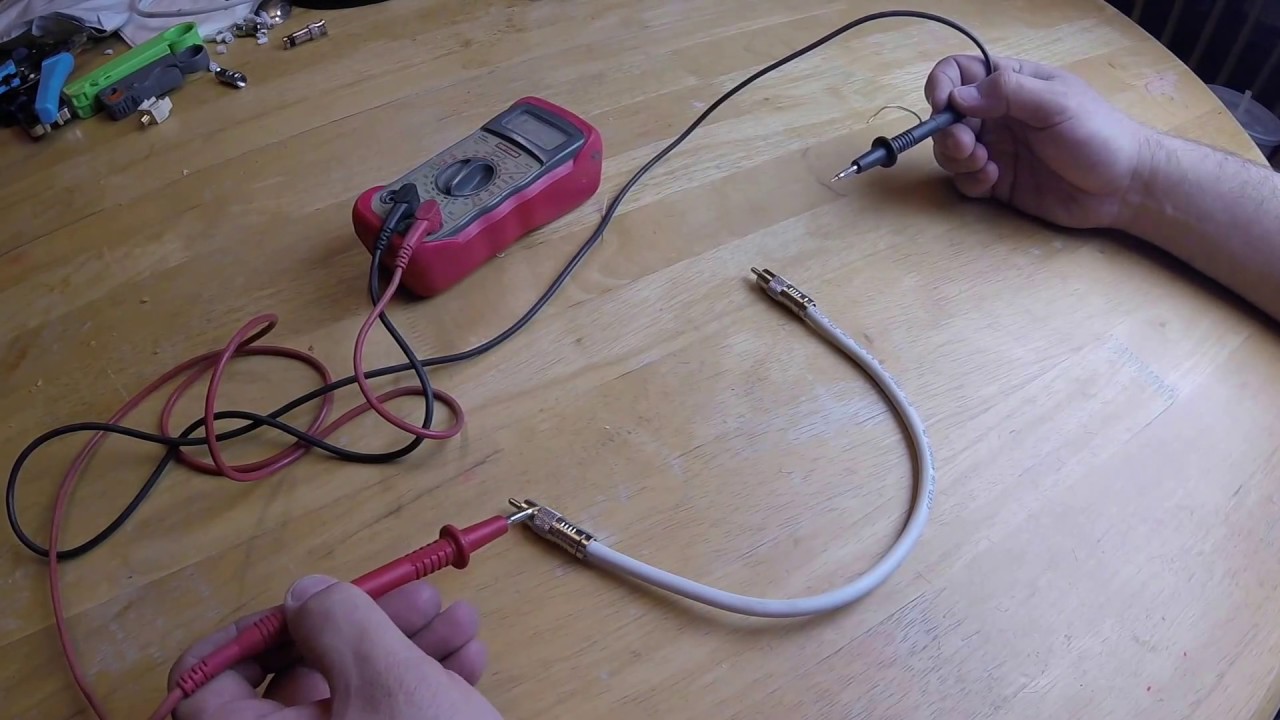
- Test alternative cables: If you’re experiencing sound problems, try testing with alternative audio cables to see if there’s an issue with the cable itself. Faulty cables can result in poor audio quality or intermittent sound.
- Consult equipment manuals: Refer to the manuals of your source device, amplifiers, receivers, and speakers for troubleshooting tips specific to your setup. Manufacturers often provide troubleshooting guidance for common issues.
- Seek professional help if needed: If you are unable to resolve the sound issues or identify the cause of the problem, consider seeking assistance from a professional audio technician or the customer support of the equipment manufacturers.
Through proper testing and troubleshooting, you can ensure that your audio system is working optimally and delivering the desired audio experience. Addressing any potential issues early on will help you enjoy uninterrupted and high-quality sound.
Conclusion
Running audio cables on the wall can be a rewarding and practical way to enhance the aesthetics and functionality of your home audio system. By following the step-by-step guide outlined in this article, you’ll be able to successfully run audio cables on the wall while maintaining a clean and professional look.
Throughout the process, it’s important to have the necessary tools and materials, plan the cable pathway, measure and mark accurately, and carefully drill holes in the wall. Fishing the audio cable through the wall requires patience and attention to detail, while securing the cable with cable clips or staples ensures it remains in place.
Connecting the audio cable to the source device and speakers completes the installation process, allowing you to enjoy high-quality sound. Remember to test the setup and troubleshoot any issues that may arise, ensuring optimal audio performance.
Running audio cables on the wall not only creates a visually appealing setup but also reduces the risk of tripping hazards and tangled wires. It provides a clean and organized environment for enjoying your favorite music, movies, and games.
As technology advances, wireless audio solutions are becoming more popular. However, there’s still a place for traditional audio cables and their reliability in delivering consistent and high-fidelity sound.
With the knowledge and guidance provided in this article, you have the tools to confidently run audio cables on the wall and create a seamless audio experience in your home. So, grab your tools, plan your cable pathway, and dive into transforming your audio system into a clutter-free and immersive setup.