Home>Production & Technology>Cover Song>How To Make A Multicam Cover Song Screenflow
Cover Song
How To Make A Multicam Cover Song Screenflow
Modified: January 22, 2024
Learn how to create a professional and engaging multicam cover song video using Screenflow. Master the art of cover songs with our step-by-step tutorial.
(Many of the links in this article redirect to a specific reviewed product. Your purchase of these products through affiliate links helps to generate commission for AudioLover.com, at no extra cost. Learn more)
Table of Contents
- Introduction
- Step 1: Selecting the Song
- Step 2: Recording Individual Instrument Tracks
- Step 3: Preparing the Video Footage
- Step 4: Importing Audio and Video Clips into Screenflow
- Step 5: Syncing Audio and Video Tracks
- Step 6: Arranging and Editing Video Clips
- Step 7: Applying Multicam Editing Techniques
- Step 8: Adding Effects and Transitions
- Step 9: Fine-tuning the Audio and Video
- Step 10: Exporting the Final Multicam Cover Song Video
- Conclusion
Introduction
Cover songs have become a popular trend in the music industry, with musicians and bands showcasing their talent by reinterpreting popular songs. One of the most engaging ways to present a cover song is through a multicam music video, where multiple camera angles are seamlessly edited together to create a visually dynamic and captivating viewing experience.
Creating a multicam cover song video may seem like a daunting task, but with the right tools and techniques, it can be a rewarding and enjoyable process. In this article, we will guide you through the step-by-step process of making a multicam cover song video using the popular video editing software, Screenflow.
Screenflow is known for its powerful editing capabilities and user-friendly interface, making it an ideal choice for both beginner and experienced video editors. Whether you’re a solo artist looking to showcase your musical prowess or a band wanting to create a visually stunning music video, this guide will provide you with the knowledge and skills to produce a professional multicam cover song video.
From selecting the perfect song to syncing audio and video tracks, applying multicam editing techniques, adding effects and transitions, fine-tuning the audio and video, to exporting the final masterpiece, we will cover every step in detail. By the end of this guide, you’ll be equipped with the necessary tools to create your own multicam cover song video that will wow your audience and showcase your musical talent.
So, let’s dive in and discover the art of making a multicam cover song video with Screenflow!
Step 1: Selecting the Song
The first step in creating a multicam cover song video is selecting the perfect song to showcase your musical talent. When choosing a song, consider your personal style and the genre you want to explore. You can opt for a popular hit or a lesser-known gem that resonates with you.
Here are a few things to keep in mind when selecting a song:
- Choose a song that suits your vocal range and musical abilities: It’s essential to select a song that allows you to showcase your vocal range and musical skills. Consider whether the song fits comfortably within your vocal range and if you can faithfully reproduce its melodies and intricacies.
- Consider the instrumentation: If you’re planning to play multiple instruments in your cover song video, make sure the song lends itself well to your chosen instruments. Alternatively, if you’re collaborating with other musicians, ensure that everyone can play their parts convincingly.
- Personal connection: Select a song that resonates with you on a personal level. Having an emotional connection to the song will help you deliver a more authentic performance, which will be reflected in the final video.
- Song popularity: Consider the popularity of the song. Covering a popular song can help you attract a wider audience and increase the chances of your video being discovered. However, don’t shy away from covering lesser-known songs if they align with your musical style and showcase your uniqueness.
Once you have selected the song, take some time to listen to various renditions and covers to get inspiration for your own arrangement. Experiment with different musical styles and approaches to make the song your own while staying true to its essence.
Remember, the song you choose will be the foundation of your multicam cover song video, so take the time to make the right selection. Now that you have the perfect song in mind, let’s move on to the next step: recording individual instrument tracks.
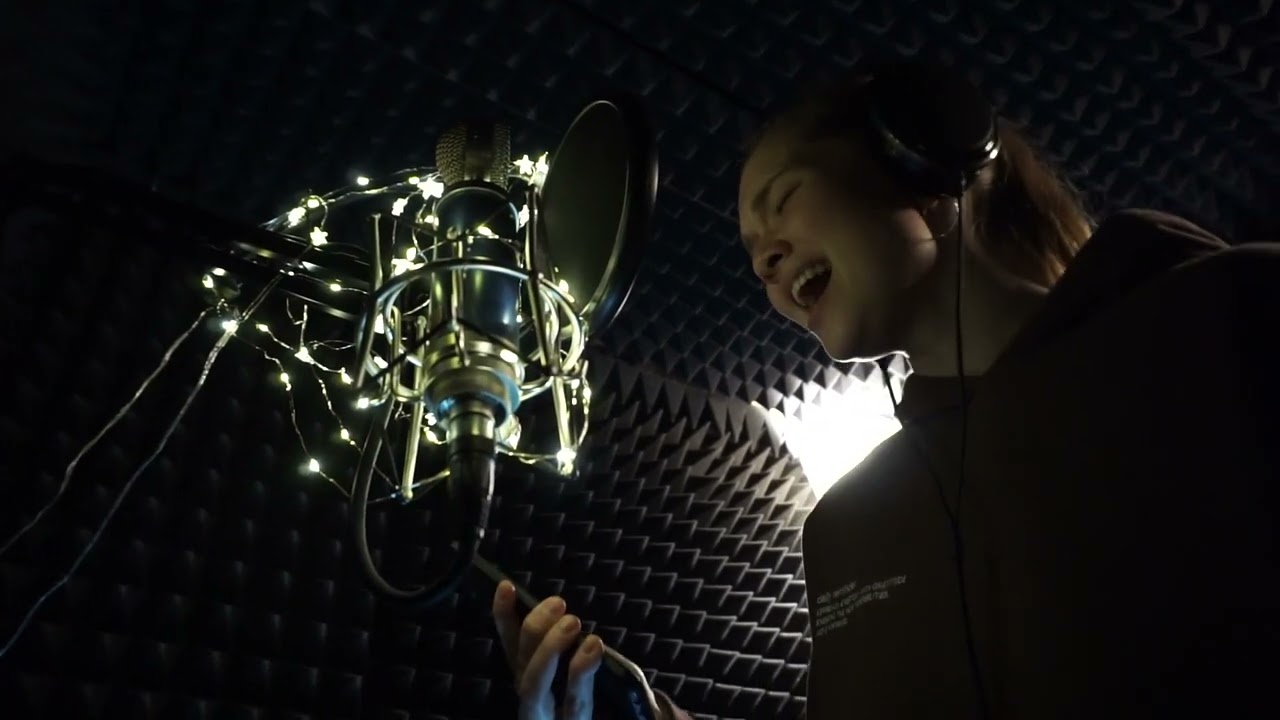
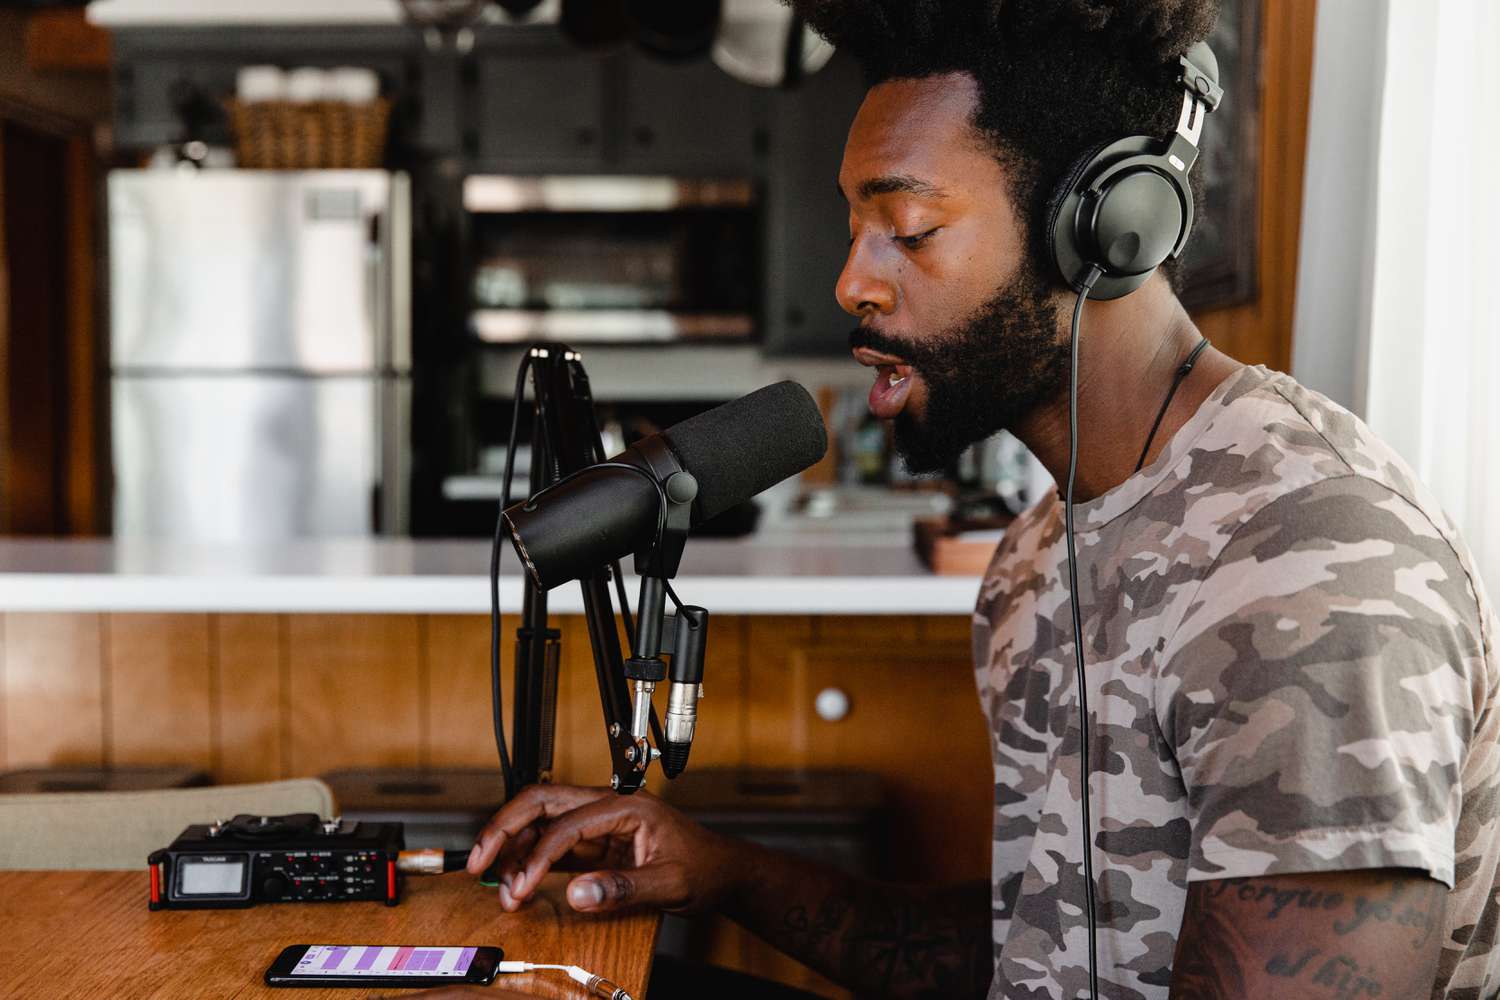
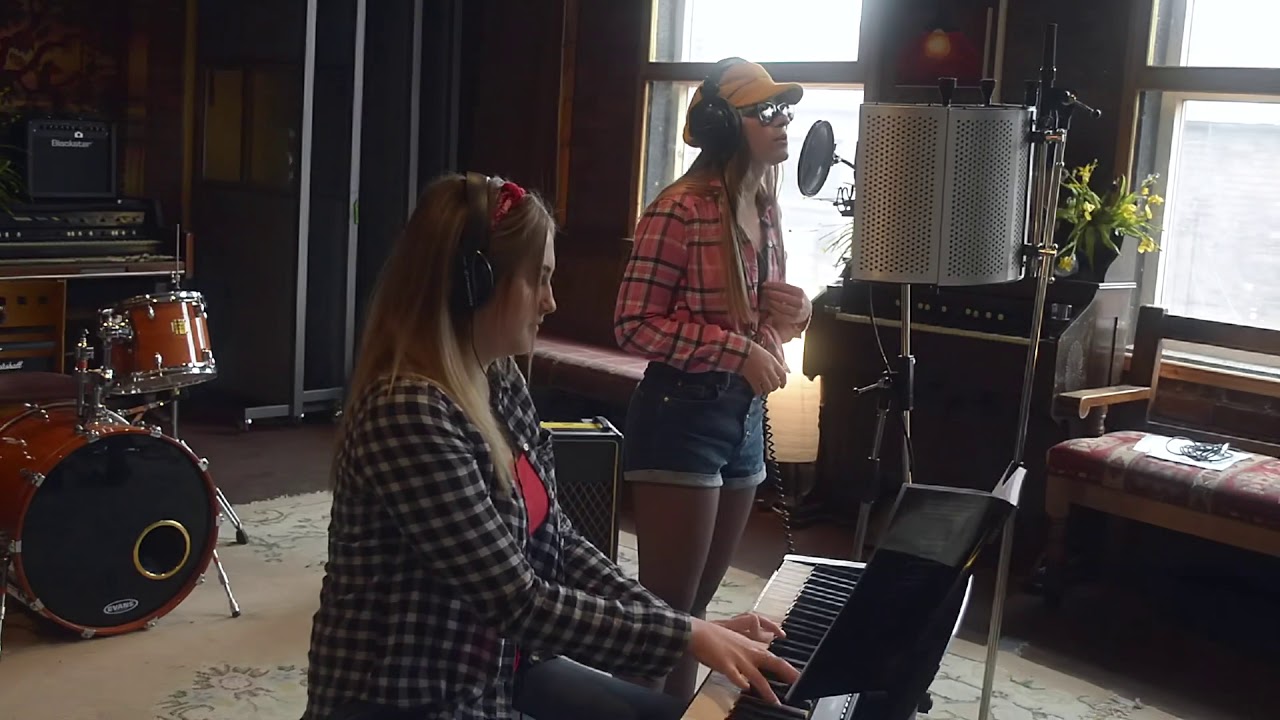
Step 2: Recording Individual Instrument Tracks
Once you have selected the song for your multicam cover video, it’s time to start recording the individual instrument tracks. This step is crucial in ensuring that each instrument is captured with clarity and precision.
Here’s a step-by-step guide to recording individual instrument tracks:
- Set up your recording equipment: Start by setting up your recording equipment, including microphones, audio interfaces, and any necessary cables. Make sure everything is properly connected and functioning.
- Choose your recording space: Select a quiet and acoustically treated space for recording. Ideally, use a separate room or a well-isolated area to minimize background noise and unwanted reflections.
- Position the microphone(s): Determine the best microphone placement for each instrument. Experiment with different positions to find the optimal sound. Consider factors like proximity, angle, and microphone type to capture the instrument’s unique tone.
- Set recording levels: Adjust the recording levels to ensure that the sound is neither too quiet nor distorted. Aim for a balanced and clean signal that captures the nuances of your instrument.
- Record each instrument track: Start recording each instrument track separately. Play along with the song’s reference track or metronome to maintain consistent timing and alignment. Take multiple takes if necessary to achieve the desired performance quality.
- Monitor and adjust: Continuously monitor the recorded tracks and make adjustments as needed. Pay attention to any noticeable issues like noise, clipping, or timing discrepancies. It’s better to address these issues during the recording process rather than in post-production.
Repeat the process for each instrument in your arrangement, ensuring that you capture the best possible performance for each track. Remember, the quality of your individual instrument tracks will significantly impact the final outcome of your multicam cover song video.
Once you have recorded all the instrument tracks, you’re ready to move on to the next step: preparing the video footage. Keep in mind that the success of a multicam cover song video relies on both the audio and visual elements working harmoniously together.
Step 3: Preparing the Video Footage
Preparing the video footage is an essential step in creating a high-quality multicam cover song video. This involves capturing multiple camera angles and organizing the footage for seamless editing.
Here’s how to prepare the video footage for your multicam cover song video:
- Decide on the number of camera angles: Determine how many camera angles you want to include in your video. This will depend on the available resources, the size of your production team, and the overall aesthetic you want to achieve.
- Choose the right cameras: Select cameras that can capture high-quality video, preferably with manual control options for exposure, focus, and white balance. If you don’t have multiple cameras, consider borrowing or renting additional cameras to capture different angles.
- Set up the cameras: Position the cameras at various angles around the recording space to capture different perspectives. Experiment with wide shots, close-ups, and different framing techniques to add visual interest to your video.
- Ensure proper lighting: Good lighting is crucial for producing professional-looking video footage. Set up adequate lighting to ensure that all musicians and instruments are well-lit and clearly visible. Consider utilizing natural light or adding additional lights, such as softboxes or LED panels, to achieve the desired lighting ambiance.
- Record the video footage: Once everything is set up, start recording the video footage alongside the audio recording. Make sure to maintain consistent timing with the audio reference track or metronome to ensure accurate synchronization during editing.
- Take multiple takes if necessary: Repeat the recording process as needed to capture different angles, performances, and camera movements. Having multiple takes gives you more options during the editing phase.
- Organize and label the video files: After recording, create a clear and logical file organization system for your video footage. Label and categorize the files based on the camera angles and takes to streamline the editing process.
By properly preparing and organizing your video footage, you’ll have a solid foundation for creating a compelling and visually engaging multicam cover song video. With your footage ready, it’s time to move on to the next step: importing audio and video clips into Screenflow.
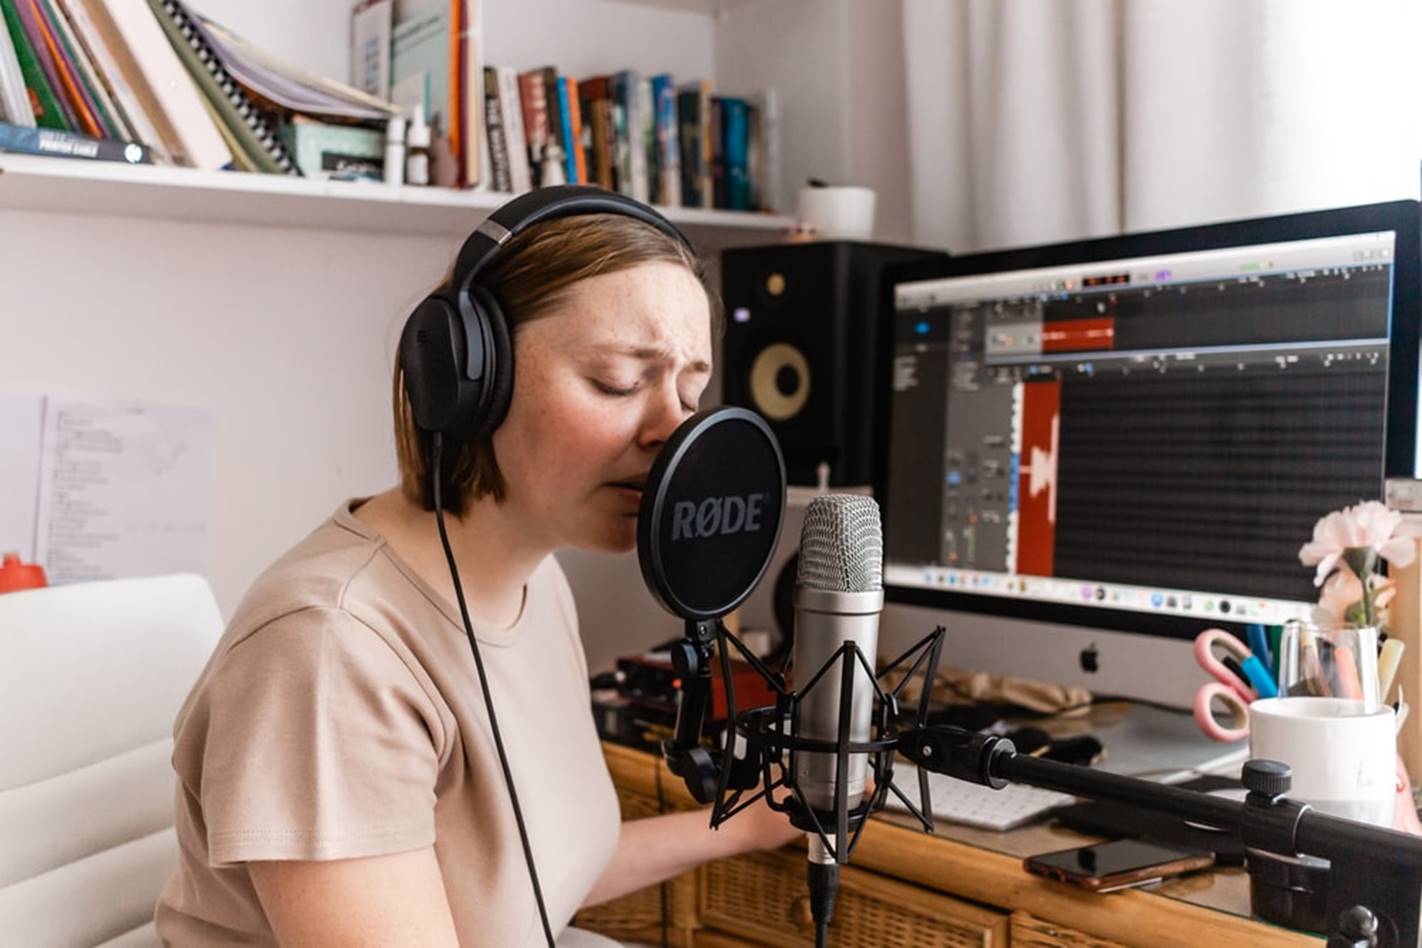
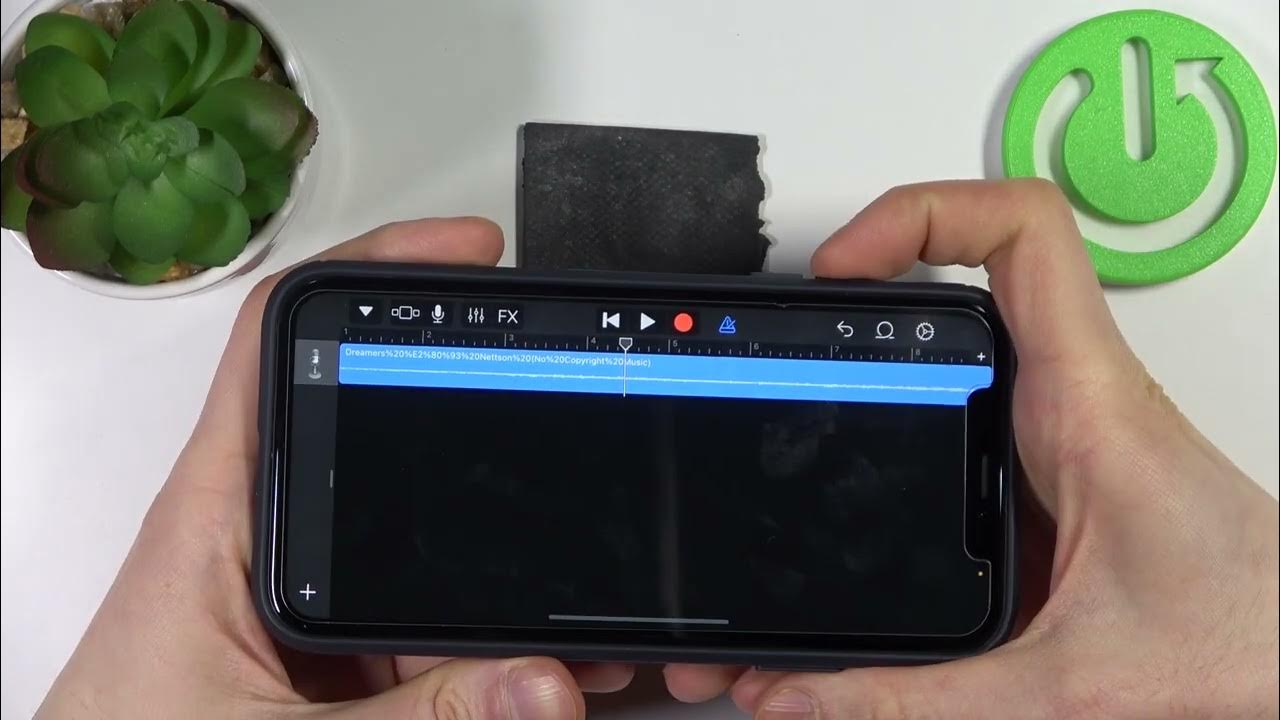
Step 4: Importing Audio and Video Clips into Screenflow
Now that you have your audio and video footage recorded and organized, it’s time to import them into Screenflow, the video editing software we’ll be using to create the multicam cover song video. Screenflow offers a user-friendly interface and powerful editing tools that will assist you in seamlessly editing your project.
Follow these steps to import your audio and video clips into Screenflow:
- Launch Screenflow: Open the Screenflow application on your computer.
- Create a new project: Click on “New Document” or go to “File” and select “New” to create a new project.
- Import audio files: To import your audio tracks, go to “File” and select “Import” or use the keyboard shortcut (Command + I for Mac or Ctrl + I for Windows). Choose the audio files you want to import from your organized folder and click “Open.” The audio tracks will appear in the Screenflow timeline.
- Import video files: To import your video footage, navigate to “File” and select “Import” or use the keyboard shortcut. Choose the video files you want to import and click “Open.” The video clips will be added to the Screenflow timeline.
- Arrange the clips in the timeline: Drag and drop the audio and video clips in the timeline in the desired order. Make sure that the audio and video tracks are properly aligned.
- Trim and adjust clips: If necessary, trim the audio and video clips to remove any unwanted sections and ensure they align perfectly. Use the trimming tool in Screenflow to adjust the length of the clips.
Now that you have successfully imported your audio and video clips into Screenflow, you’re ready to move on to the next step: syncing the audio and video tracks to create a seamless multicam cover song video.
Step 5: Syncing Audio and Video Tracks
Syncing the audio and video tracks is a crucial step in creating a seamless multicam cover song video. It ensures that the visuals and the corresponding audio are perfectly aligned, giving the video a polished and professional look. In Screenflow, you can easily sync the audio and video tracks using the powerful editing tools available.
Follow these steps to sync the audio and video tracks in Screenflow:
- Select a reference point: Identify a clear reference point in both the audio and video tracks, such as a visual cue or a specific instrument hit.
- Zoom in for precision: Zoom in on the timeline to get a closer view of the audio and video tracks for better accuracy during the syncing process.
- Align the audio and video: Move the audio and video tracks independently by dragging them horizontally along the timeline until the reference points align.
- Fine-tune the synchronization: Listen and watch closely to ensure that the audio and video tracks remain in sync throughout the entire cover song. Make minor adjustments as needed by moving the tracks slightly forwards or backward in the timeline.
- Check for any timing drift: Pay attention to any timing drift that may occur over longer recordings. If you notice any discrepancies, make additional adjustments and use short crossfades to smoothen the transitions between cuts.
- Repeat the process for multiple camera angles: If you have multiple camera angles, repeat the syncing process for each video track, ensuring that they are all aligned with the audio track.
By accurately syncing the audio and video tracks, you’ll create a cohesive and visually pleasing multicam cover song video. Take your time and listen/watch attentively to achieve perfectly synchronized footage for each camera angle.
Now that your audio and video tracks are in sync, it’s time to move on to the next step: arranging and editing the video clips to create a captivating visual experience.
Step 6: Arranging and Editing Video Clips
Once the audio and video tracks are synchronized, you can start arranging and editing the video clips to create a visually engaging multicam cover song video. In this step, you will have the opportunity to showcase your creativity and storytelling skills through the editing process.
Follow these steps to arrange and edit the video clips in Screenflow:
- Choose the primary camera angle: Select the camera angle that will serve as the primary view for the majority of the video. This will be the main angle that captures the overall performance.
- Arrange the clips in the timeline: Drag and drop the video clips into the timeline, positioning the primary camera angle as the base layer.
- Add secondary camera angles: Introduce additional camera angles throughout the video to create visual interest and variety. Experiment with different shots, such as close-ups, wide angles, and unique perspectives.
- Trim and cut the clips: Trim and cut the video clips to showcase the best moments of the performance. Focus on capturing the energy, emotion, and key musical elements.
- Create smooth transitions: Use transitions, such as cuts, fades, and crossfades, to seamlessly transition between different camera angles. This will create a polished and professional look.
- Enhance the visual appeal: Explore the various visual effects and filters available in Screenflow to enhance the overall look of the video. This can include adjusting brightness, contrast, saturation, and applying color grading to achieve a specific mood.
- Add overlays and text: Consider adding overlays, lower thirds, and text to provide additional information, such as song titles or band credits. This will give the video a professional touch.
- Experiment with special effects: Get creative and experiment with special effects, such as slow-motion, transitions, or split-screen, to add unique visual elements and captivate the viewers.
Throughout the editing process, keep the pace and flow of the video in mind. Make sure the editing choices align with the rhythm and emotions of the cover song, creating a cohesive and engaging viewer experience.
By arranging and editing the video clips thoughtfully, you will transform the raw footage into an exciting and visually captivating multicam cover song video. Now, let’s move on to the next step: applying multicam editing techniques to bring your video to the next level.
Step 7: Applying Multicam Editing Techniques
To elevate your multicam cover song video and create a dynamic viewing experience, it’s essential to apply multicam editing techniques. These techniques allow you to seamlessly switch between different camera angles, capturing the excitement and energy of the performance from various perspectives.
Follow these steps to apply multicam editing techniques in Screenflow:
- Create a multicam clip: Select all the video angles you want to include in the multicam clip. Right-click on the selected clips and choose “Create Multicam Clip” from the menu.
- Open the multicam clip: Double-click on the created multicam clip to open it in the viewer. You’ll now have access to all the different camera angles within this compound clip.
- Switch between camera angles: In the viewer, use the angle viewer or choose the desired camera angle from the multicam clip menu to switch between different shots. This allows you to select the best camera angle for each section of the song.
- Create dynamic cuts and transitions: Utilize cuts, crossfades, or other transition effects to smoothly transition between camera angles. This adds dynamism and visual interest to your multicam cover song video.
- Sync audio with multicam clips: Ensure that the audio remains synchronized with the multicam clips. If needed, make minor adjustments to align the audio with the visual changes.
- Experiment with picture-in-picture: Incorporate picture-in-picture effects to showcase multiple camera angles simultaneously. This technique can be especially effective during instrumental solos or captivating moments in the performance.
- Use markers for key moments: Add markers to highlight significant moments in the song, such as powerful vocals or impressive instrumental breaks. This helps in organizing the footage and creating impactful visual moments.
Applying multicam editing techniques adds depth and excitement to your cover song video, enhancing the viewer’s engagement and providing a dynamic viewing experience. Remember to experiment with different camera angles, transitions, and creative effects to make your multicam video truly stand out.
Now that you’ve applied multicam editing techniques, it’s time to move on to step 8 and add effects and transitions to further enhance your multicam cover song video.
Step 8: Adding Effects and Transitions
Adding effects and transitions can elevate your multicam cover song video by adding a professional and polished touch. They enhance the visual appeal and seamlessly connect different sections of the video, creating a cohesive viewing experience.
Here’s how you can add effects and transitions in Screenflow:
- Browse the effects library: Explore the effects library in Screenflow to discover a variety of options, including color grading, filters, overlays, and more. Experiment with different effects to find the ones that enhance the mood and style of your cover song video.
- Apply effects to clips: Drag and drop the desired effects onto the clips in the timeline. Adjust the settings and parameters as needed to achieve the desired look and feel.
- Add transitions between clips: Choose from a range of transition effects, such as crossfade, dissolve, or wipe, to create smooth transitions between different sections or camera angles. Apply the transitions by dragging them between the clips.
- Adjust transition durations: Fine-tune the timing and duration of the transitions to ensure they align with the rhythm and flow of the song. Longer transitions can create a more gradual change, while shorter transitions add a quick and seamless shift between clips.
- Experiment with split-screen: Consider using split-screen effects to showcase multiple camera angles simultaneously. This can be particularly effective during intense musical moments or harmonious sections.
- Add text overlays or subtitles: Include text overlays or subtitles to provide additional information, lyrics, or song titles. This not only enhances the viewer’s understanding but also creates a visually engaging element.
- Apply audio effects: Enhance the audio by applying effects such as equalization, reverb, or dynamics processing. This helps in achieving a more balanced and professional sound.
- Preview and adjust: Regularly preview your video to ensure that the effects and transitions flow smoothly and enhance the overall visual aesthetic. Make adjustments as necessary to maintain a cohesive and visually pleasing look.
By adding effects and transitions, you can take your multicam cover song video to the next level, creating a visually captivating experience that keeps viewers engaged from start to finish. However, make sure not to overdo the effects and transitions. Keep them tasteful and relevant to the content and style of your cover song.
Now that you’ve added effects and transitions to your multicam cover song video, it’s time to fine-tune the audio and video elements in the next step.
Step 9: Fine-tuning the Audio and Video
Fine-tuning the audio and video elements is a crucial step in ensuring that your multicam cover song video is of the highest quality. This step involves making adjustments to the audio and video tracks to optimize their clarity, balance, and overall impact.
Follow these steps to fine-tune the audio and video in Screenflow:
- Balance the audio levels: Review the audio tracks and adjust their levels to achieve a balanced mix. Ensure that no instrument or vocal is overpowering or getting lost in the mix.
- Equalize the audio: Use equalization (EQ) to enhance the tonal balance of the audio. Adjust the EQ settings to emphasize desired frequencies, remove unwanted frequencies, and shape the overall sound of the cover song.
- Apply compression: Use compression to control the dynamic range of the audio. This helps to even out the volume levels and ensure a consistent and polished sound throughout the video.
- Eliminate background noise: Identify and remove any unwanted background noise or hiss from the audio tracks. This can be done using noise reduction tools or by manually editing out noise during silent sections.
- Color correct the video: Review the color and exposure of the video footage. Use the color correction tools in Screenflow to adjust the brightness, contrast, saturation, and overall color balance of the clips. This ensures a visually appealing and cohesive look.
- Stabilize shaky footage: If you have any shaky footage, use the stabilization feature in Screenflow to smooth out the camera movements and improve the overall stability of the video.
- Correct any visual imperfections: Spot-check the video for any visual imperfections, such as dust or blemishes. Utilize the retouching tools in Screenflow to remove or minimize these imperfections.
- Add visual effects sparingly: While adding effects can enhance the video, ensure not to go overboard. Use effects sparingly and only when they contribute to the overall aesthetic and storytelling of the cover song video.
- Review the final mix: Play through the video multiple times to review the audio and video elements thoroughly. Make any necessary adjustments to achieve the desired audio-visual balance and impact.
By fine-tuning the audio and video, you can optimize the overall quality and impact of your multicam cover song video. Pay attention to the details and ensure that the audio and video components complement each other harmoniously.
With the audio and video now finely tuned, it’s time for the final step: exporting the completed multicam cover song video.
Step 10: Exporting the Final Multicam Cover Song Video
Congratulations! You’ve reached the final step of creating your multicam cover song video. Now it’s time to export your project and share it with the world.
Follow these steps to export your final multicam cover song video in Screenflow:
- Select the desired export settings: In Screenflow, navigate to the “File” menu and select “Export” or use the keyboard shortcut (Command + E for Mac or Ctrl + E for Windows). Choose the export format that suits your needs, such as MP4, MOV, or any other preferred video format.
- Set the export parameters: Customize the export parameters, including video resolution, frame rate, and audio settings. Consider the platform where you intend to share the video to ensure optimized playback and compatibility.
- Specify the export destination: Choose the folder or location where you want to save the exported video file. Select a name for the video and confirm the export settings.
- Begin the export process: Click “Export” to start the export process. The time taken for the export will depend on the length of your video and the processing power of your computer.
- Preview the exported video: Once the export is complete, take the time to watch the exported video file. Check for any issues or inconsistencies and ensure that the video looks and sounds as you intended.
- Share and distribute the video: With the final video exported and confirmed, it’s time to share your multicam cover song video with your intended audience. Upload it to video-sharing platforms, social media channels, personal websites, or share it with your friends, fans, and followers.
Remember to consider the specific requirements of the platform where you plan to share your video. Some platforms may have limitations on file size, format, or video duration. Ensure that your video meets these requirements to avoid any issues during the upload process.
Congratulations once again on completing all the steps involved in creating your multicam cover song video! Your hard work and creative efforts have paid off, and you can now proudly share your musical talent with the world.
Now, sit back, relax, and enjoy the positive feedback and the thrill of seeing your multicam cover song video being appreciated by viewers worldwide!
Conclusion
Congratulations on completing the journey of creating a stunning multicam cover song video using Screenflow! Throughout this guide, we’ve covered the step-by-step process, from selecting the song to exporting the final video. By following these steps, you have learned how to showcase your musical talent and captivate your audience with a visually engaging production.
Creating a multicam cover song video allows you to unleash your creativity and showcase your unique interpretation of the song. With multiple camera angles, synchronized audio, and seamless transitions, you have the power to create a professional-quality music video that stands out in the crowded online world.
Remember, the key to a successful multicam cover song video is careful planning, attention to detail, and the use of creative techniques to enhance the visual and audio elements. Whether you’re a solo artist, a band, or a group of talented musicians, these steps will help you produce a captivating video that complements your musical talent.
As you progress through each step, don’t be afraid to experiment, try new techniques, and infuse your unique style and personality. The more you engage with the creative process, the more your video will stand out and leave a lasting impression on your viewers.
Now that you have all the tools, knowledge, and techniques at your disposal, it’s time to put them into action and create your own multicam cover song video masterpiece. So, gather your instruments, set up your cameras, and let your musical creativity shine!
Remember, the world is waiting to discover your talent, so don’t hesitate—go ahead and create an unforgettable multicam cover song video that will leave a lasting impact on your audience.