Home>Production & Technology>Cover Song>How To Make A Cover Song With Audacity

Cover Song
How To Make A Cover Song With Audacity
Modified: January 22, 2024
Learn how to create a professional cover song with Audacity, the free audio editing software. Master the art of blending your unique style with popular hits.
(Many of the links in this article redirect to a specific reviewed product. Your purchase of these products through affiliate links helps to generate commission for AudioLover.com, at no extra cost. Learn more)
Table of Contents
- Introduction
- Step 1: Choosing the right song
- Step 2: Setting up Audacity
- Step 3: Importing the backing track and recording your vocals
- Step 4: Editing and adjusting the vocals
- Step 5: Adding effects and enhancing the sound
- Step 6: Mixing and balancing the tracks
- Step 7: Exporting and saving your cover song
- Conclusion
Introduction
Cover songs have always been a popular way for musicians to pay homage to their favorite artists and put their own spin on a beloved track. Whether you’re a seasoned musician or just starting out, creating a cover song can be a fun and rewarding experience.
With the advancement of technology, it has become easier than ever to create high-quality cover songs at home. One such tool that is widely used by musicians is Audacity, a free and open-source audio editing software.
In this article, we will take you through the process of making a cover song using Audacity. We will walk you through each step, from choosing the right song to exporting the final product. By the end, you’ll have all the knowledge and tools you need to create your own amazing cover songs.
Before we dive in, it’s important to note that when creating a cover song, you need to obtain the necessary permissions and licenses. This ensures that you are complying with copyright laws and giving credit to the original artist. Make sure to do your research and reach out to the appropriate parties to obtain the necessary permissions.
Now, let’s get started on creating your own stunning cover song with Audacity!
Step 1: Choosing the right song
The first step in creating a cover song is selecting the perfect song to work with. While you may have a wide range of options, it’s important to choose a song that resonates with you and showcases your musical style and abilities.
Here are a few tips to help you choose the right song for your cover:
- Personal connection: Choose a song that you enjoy listening to and have a personal connection with. It could be a song that holds sentimental value or one that you feel you can relate to on a deep level.
- Relevance: Consider the genre and style of music that you are comfortable with and that aligns with your musical abilities. Select a song that showcases your strengths as a musician and allows you to bring your unique touch to it.
- Audience appeal: Take into account the preferences and tastes of your target audience. If you are aiming to reach a specific demographic, choose a song that they are likely to recognize and appreciate.
- Challenging but achievable: Select a song that is challenging enough to push your boundaries and bring out the best in your musical skills, but make sure it’s a song you can realistically tackle and successfully perform.
- Uniqueness: Consider how you can make the song your own and add your personal touch to it. Think about different arrangements, unique vocal or instrumental interpretations, or incorporating a different genre or style.
Once you have chosen the song, take the time to familiarize yourself with the original version. Listen to it multiple times, paying attention to the melody, lyrics, and overall structure. This will help you understand the essence of the song and give you a solid foundation to build upon when creating your cover.
Remember, the goal of a cover song is to bring your own interpretation and style to the original, so don’t be afraid to experiment and put your creative spin on it. Now that you’ve chosen the perfect song, let’s move on to the next step: setting up Audacity.
Step 2: Setting up Audacity
Before you can start recording and editing your cover song, you’ll need to set up Audacity on your computer. Here’s how to get started:
- Download and install Audacity: Visit the official Audacity website (www.audacityteam.org) and download the latest version of the software for your operating system. Follow the installation instructions to install it on your computer.
- Check your audio settings: Once Audacity is installed, open the software and go to the “Edit” tab at the top of the window. From the dropdown menu, select “Preferences.” In the Preferences window, navigate to the “Audio I/O” or “Devices” section and ensure that your microphone and speakers are selected as the input and output devices.
- Adjust the recording settings: To optimize your recording quality, go to the “Edit” tab again and select “Preferences.” This time, navigate to the “Recording” section. Here, you can adjust the sample rate, bit depth, and other settings based on your preferences. For cover songs, a sample rate of 44100 Hz and a bit depth of 16-bit are commonly used.
Once you have configured your audio settings, you’re ready to start recording your cover song. Before you begin, make sure you have a quiet environment and that any background noise is minimized as much as possible. This will ensure that your recording is of the highest quality.
In the next step, we’ll discuss how to import the backing track and record your vocals in Audacity. Stay tuned!
Step 3: Importing the backing track and recording your vocals
Now that you have Audacity set up and ready to go, it’s time to import the backing track and record your vocals for your cover song. Here’s how:
- Import the backing track: Start by finding the backing track of the song you chose for your cover. You can search for it online or create your own using instruments or MIDI software. Once you have the backing track saved on your computer, open Audacity and go to “File” > “Import” > “Audio.” Locate the file on your computer and click “Open” to import it into Audacity.
- Set up a new track: After importing the backing track, you’ll need to create a new audio track for recording your vocals. To do this, go to the top menu and click on “Tracks” > “Add New” > “Audio Track.” This will create a blank track where you can record your vocals.
- Adjust track volume: Before you start recording, it’s important to ensure that the volume levels of the backing track and the recording track are balanced. Click on the drop-down menu next to the track name and adjust the volume sliders accordingly. This will help prevent clipping or distortion in the final mix.
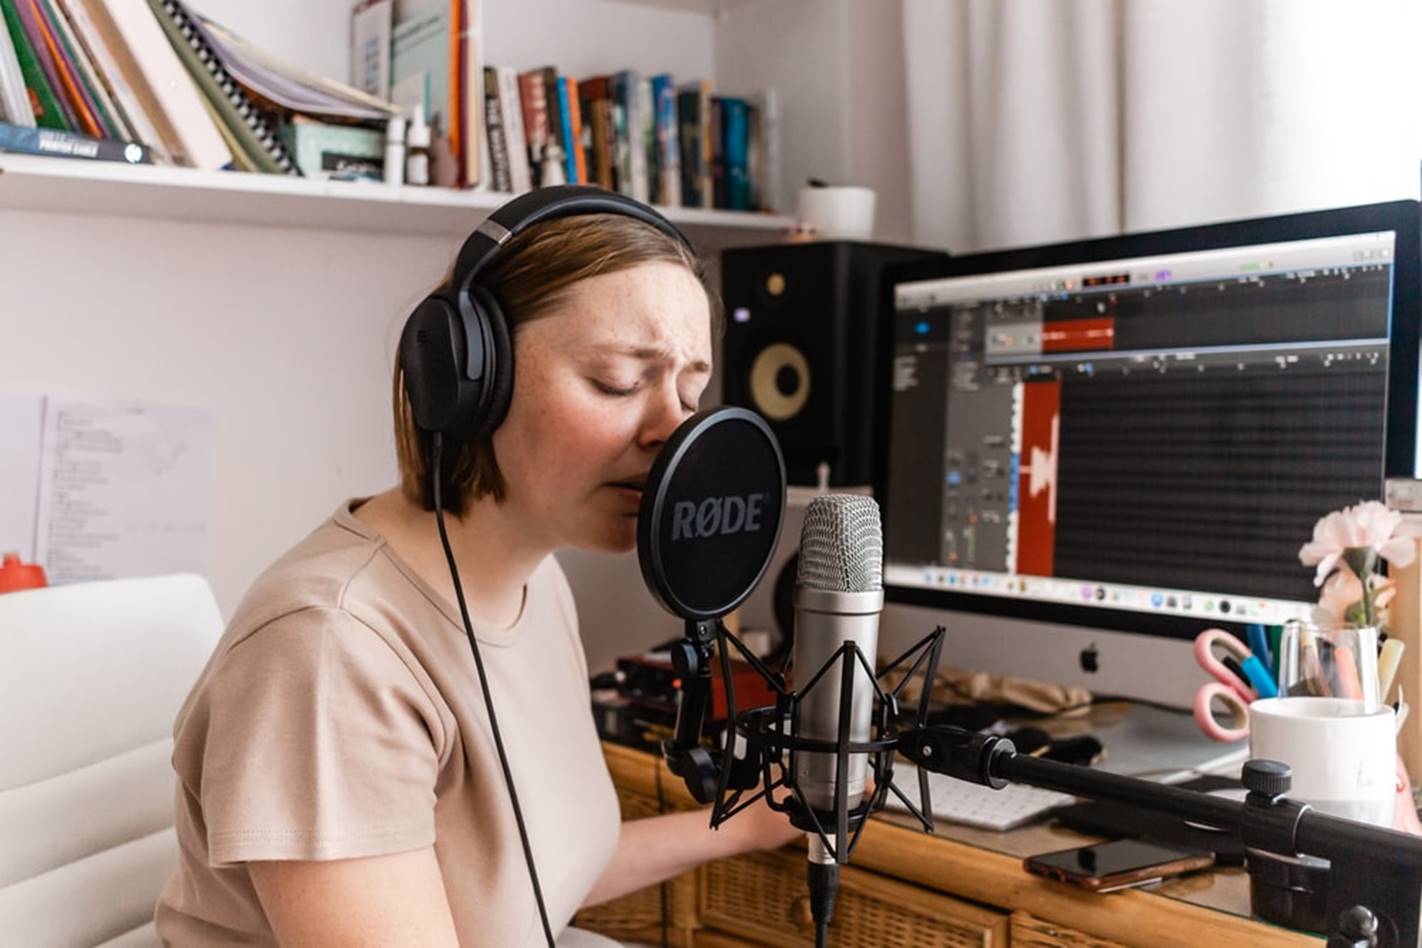
- Record your vocals: When you’re ready to start recording, click on the red circular “Record” button at the top of the Audacity window. Before you begin singing, listen to the backing track through headphones or speakers and have the lyrics ready. When you’re comfortable, press the “Record” button and start singing along to the backing track.
- Monitor your recording: While recording, it’s essential to monitor your vocals to ensure they’re being recorded properly. Use headphones to listen to your vocals while singing to catch any issues with pitch, timing, or overall performance. Make adjustments as needed and record multiple takes if necessary to capture the best performance.
Once you have recorded your vocals, you can listen back to the track and make any necessary edits or corrections. In the next step, we’ll discuss how to edit and adjust the vocals to enhance your cover song. Keep reading!
Step 4: Editing and adjusting the vocals
After recording your vocals, it’s time to dive into the editing process and make adjustments to ensure a polished and professional sound for your cover song. Here’s how to edit and adjust the vocals in Audacity:
- Select and trim: Use the selection tool in Audacity to highlight the portion of the vocal recording that you want to keep. To trim the selection, go to “Edit” > “Remove” > “Delete” or simply press the “Delete” key on your keyboard. This will remove any unnecessary parts and help clean up the recording.
- Align and adjust timing: Zoom in on the waveform and use the “Time Shift Tool” in Audacity to align and adjust the timing of your vocals. This tool allows you to drag and move sections of the recording to ensure proper synchronization with the backing track. Pay attention to the rhythm and timing of the original song to maintain consistency.
- Pitch correction: If needed, you can use Audacity’s “Pitch Correction” feature to fine-tune the pitch of your vocals. This can help fix any off-key notes or inaccuracies in your performance. Use it sparingly and subtly to maintain the natural sound of your voice.
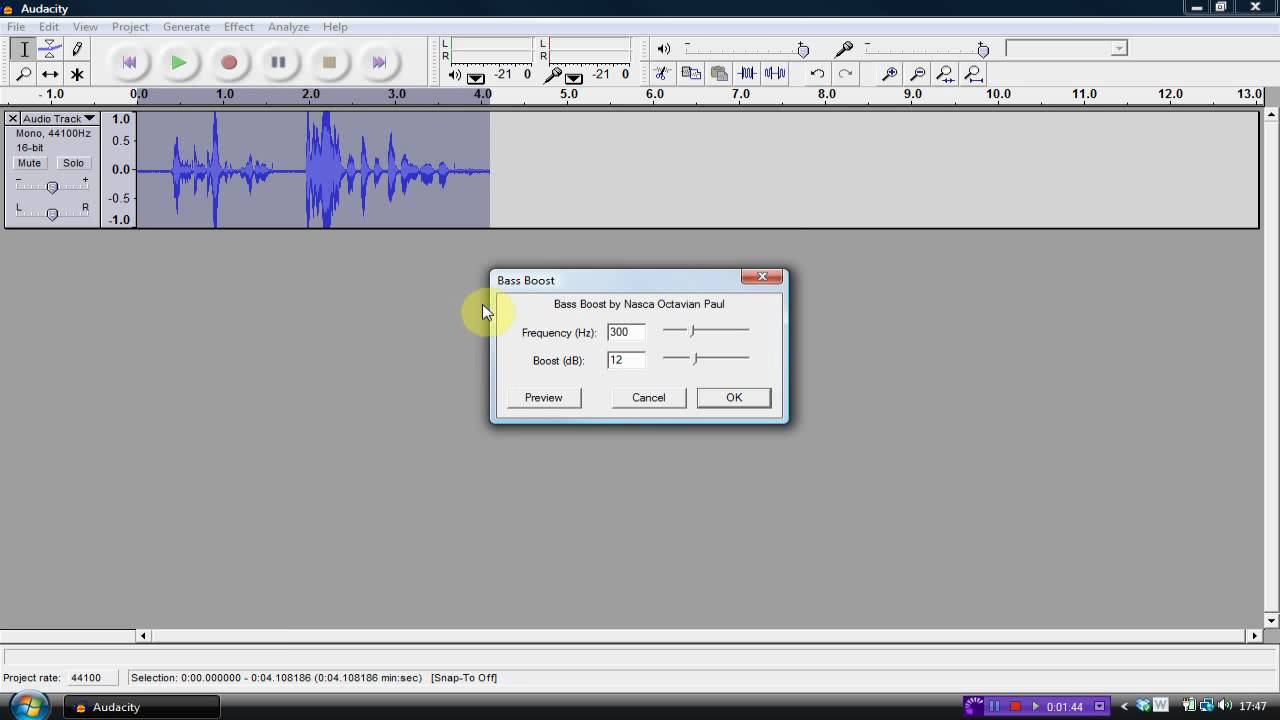
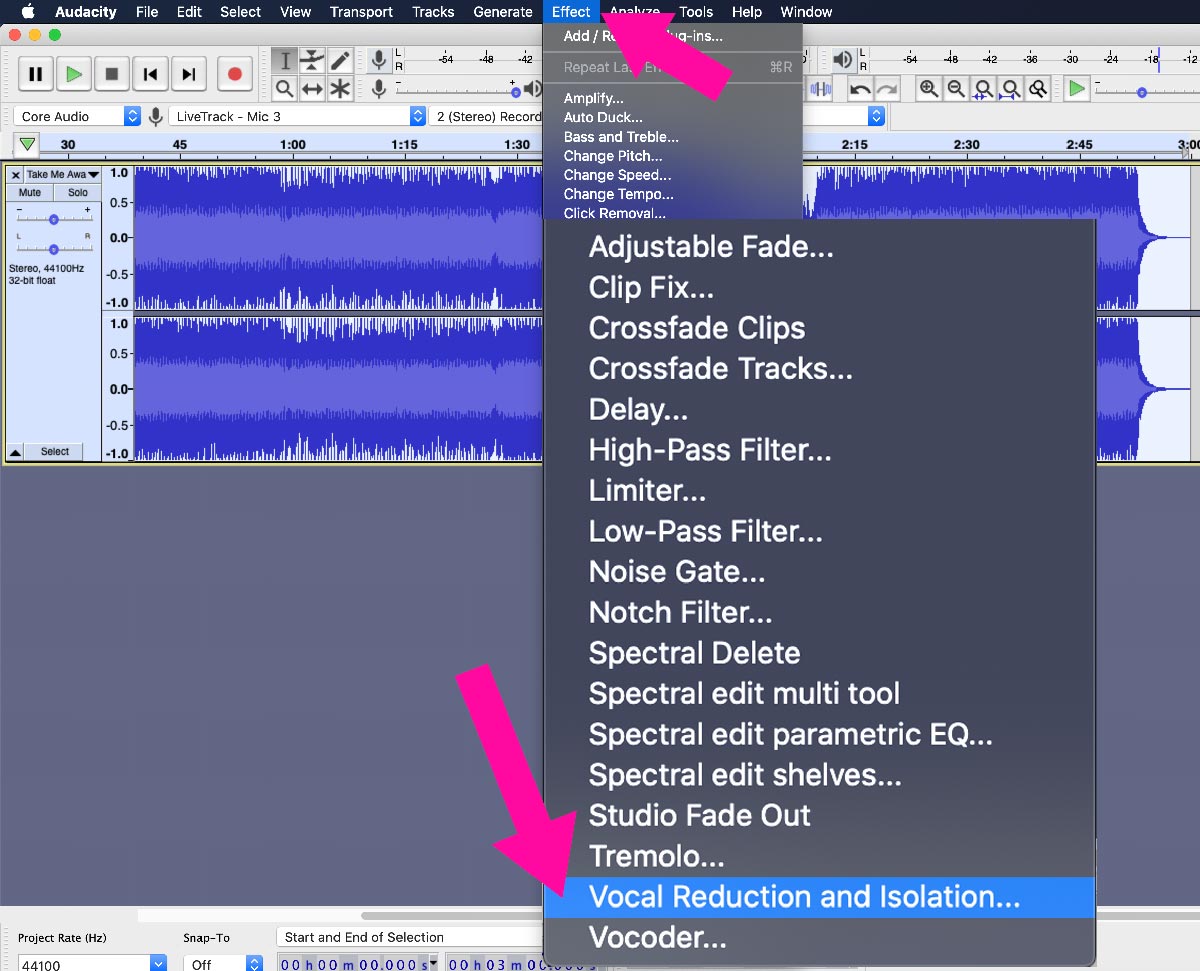
- Apply effects: Audacity offers a range of effects that you can experiment with to enhance your vocals. Common effects include reverb, compression, and equalization. Apply these effects lightly and adjust the settings to achieve the desired sound. The goal is to enhance the vocals without overpowering them or making them sound artificial.
- Clean up background noise: Use Audacity’s noise reduction tools to remove any unwanted background noise or hiss in your vocal recording. Select a small section of the recording where only the unwanted noise is present, go to “Effects” > “Noise Reduction” > “Get Noise Profile.” Then select the entire vocal track and go back to “Effects” > “Noise Reduction” and adjust the settings to reduce the noise without affecting the quality of the vocals.
Remember to save your project periodically to avoid losing any work. It’s also a good idea to make a backup of your raw vocal recording before making any major edits, so you can revert back to it if needed.
Once you’re satisfied with the editing and adjustments, move on to the next step: adding effects and enhancing the sound of your cover song. Keep reading to learn more!
Step 5: Adding effects and enhancing the sound
Now that you have edited and adjusted your vocals, it’s time to take your cover song to the next level by adding effects and enhancing the overall sound. Here’s how you can do that in Audacity:
- Reverb: Reverb adds depth and spaciousness to your vocals, simulating the acoustics of different environments. Use Audacity’s “Reverb” effect to apply a subtle amount of reverb to your vocals. Adjust the settings to achieve a natural and balanced sound, keeping in mind the mood and style of your cover song.
- Compression: Compression helps to even out the dynamic range of your vocals, making softer parts louder and controlling peaks. Use the “Compression” effect in Audacity to apply gentle compression to your vocal track. Set the threshold, ratio, and other parameters to achieve a smooth and well-balanced sound.
- Equalization: EQ allows you to shape the frequency response of your vocals, enhancing certain frequencies and reducing others. Use Audacity’s “Equalization” effect to adjust the tonal balance of your vocals. Boost or cut specific frequencies to bring out the richness and clarity in your voice.
- Stereo widening: To give your vocals a wider and more immersive sound, you can use Audacity’s “Stereo Widening” effect. This effect subtly spreads the vocal track across the stereo field, creating a sense of width and separation. Use it sparingly to avoid an unnatural or exaggerated effect.
- Volume automation: Use volume automation to fine-tune the dynamics of your vocals. Identify sections where you want to emphasize certain phrases or words, and adjust the volume levels accordingly. This will add expressiveness and help your vocals stand out in the mix.
Remember, the goal is to enhance the sound of your vocals without overpowering or altering their natural character. Apply the effects subtly, making small adjustments and listening carefully to ensure they enhance the overall quality of your cover song.
Once you’re satisfied with the effects and enhancements, it’s time to move on to the next step: mixing and balancing the tracks. Stay tuned to learn more!
Step 6: Mixing and balancing the tracks
Now that you’ve edited and enhanced your vocals, it’s time to mix and balance the tracks to create a cohesive and well-rounded cover song. Mixing involves adjusting the volume levels, panning, and EQ of each track to create a balanced and pleasing blend of instruments and vocals. Here’s how you can mix and balance the tracks in Audacity:
- Adjust the levels: Start by adjusting the volume levels of each track to achieve a balanced mix. Pay attention to the vocals and ensure they are prominent enough without overpowering the backing track. Use the volume sliders or gain controls to boost or reduce the levels as needed.
- Panning: Experiment with panning to create a sense of space and width in your mix. Pan the instruments and vocals slightly to the left or right to give them more definition and separation. Be mindful of not panning too extreme, as it can lead to an unnatural or unbalanced sound.
- EQ and frequency balance: Use EQ to shape the frequency response of each track in your mix. This helps to eliminate any frequency clashes and creates a balanced and clear sound. Apply gentle EQ adjustments to remove any unwanted frequencies and make each element shine in the mix.
- Effects and automation: Experiment with additional effects and automation to further enhance the mix. For example, you can add subtle delay or chorus effects to certain instruments or vocals to add depth and texture. Use automation to adjust specific parameters over time, such as gradually increasing the volume or panning of a particular instrument in a specific section.
- Reference and fine-tuning: Regularly reference your mix against professional recordings to ensure it stands up in terms of quality and balance. Listen to your mix on various speakers and headphones to identify any areas that need further adjustments. Make minor tweaks to the levels, panning, and EQ as necessary to achieve the desired sound.
Remember, mixing is a subjective process, and there’s no right or wrong way to do it. Trust your ears and make adjustments that sound pleasing to you. Take your time and be patient with the mixing process, as it greatly contributes to the overall quality of your cover song.
Once you’re satisfied with the mix, it’s time to move on to the final step: exporting and saving your cover song. Let’s dive in!
Step 7: Exporting and saving your cover song
After putting in all the hard work of recording, editing, enhancing, and mixing your cover song, it’s time to export and save your final product. Here’s how you can export your cover song in Audacity:
- Select the desired format: Go to the “File” menu and click on “Export” > “Export as [file format].” Choose the file format that suits your needs and preferences. Common options include MP3, WAV, or FLAC.
- Set the export settings: In the export settings window, you’ll have the option to adjust the quality, bitrate, and other parameters depending on the chosen file format. Choose the settings that ensure the best balance between file size and audio quality. Keep in mind that higher quality settings generally result in larger file sizes.
- Specify the file name and location: Choose a memorable and descriptive file name for your cover song. Select the preferred location on your computer where you want to save the file. Create a dedicated folder for all your cover songs to keep them organized.
- Export the file: Click on “Save” or “Export” to start the exporting process. The time it takes to export will depend on the length and complexity of your cover song, as well as your computer’s processing power. Be patient and avoid interrupting the export process.
- Listen to the exported file: Once the exporting is complete, locate the exported file on your computer and give it a listen. Use various audio players and devices to ensure that it sounds the way you intended and that there are no issues or glitches in the exported file.
Congratulations! You have successfully exported and saved your cover song. You can now share it with your friends, family, or even publish it online to showcase your talent and love for music.
Remember to properly credit the original artist and song when sharing your cover song publicly, ensuring that you comply with copyright laws and show respect for the original work.
Now that you’ve completed all the steps, take some time to appreciate the journey you’ve been on in creating your own cover song. With Audacity, your creativity, and your passion for music, you can continue to create amazing cover songs and make them uniquely yours.
Happy creating, and enjoy your cover song!
Conclusion
Cover songs allow musicians to showcase their talent, pay homage to their favorite artists, and put their own creative spin on beloved tracks. With the help of Audacity, a free and powerful audio editing software, creating professional cover songs has become more accessible than ever. Throughout this step-by-step guide, we have learned the process of making a cover song using Audacity.
From choosing the right song that resonates with you to importing the backing track, recording your vocals, and editing and enhancing the sound, each step plays a crucial role in creating a polished and captivating cover song. We discussed the importance of setting up Audacity, adjusting audio settings, and utilizing effects to bring out the best in your vocals.
Mixing and balancing the tracks is a crucial step to ensure that the cover song sounds cohesive and well-rounded. By applying the right volume levels, panning, and EQ adjustments, you can create an impressive blend of vocals and instruments. Finally, exporting and saving your cover song in the appropriate format allows you to share your creation with the world.
Remember, while creating a cover song is an exciting process, it’s essential to respect copyright laws and obtain the necessary permissions and licenses. Giving credit to the original artist and song is crucial when sharing your cover song with others.
Now that you have a solid understanding of the steps involved in making a cover song using Audacity, it’s time to unleash your creativity. Experiment with different genres, styles, and arrangements to make each cover song uniquely yours. With Audacity as your tool and your musical talent as your guide, the possibilities are endless.
So, grab your microphone, fire up Audacity, and let your passion for music shine through your incredible cover songs. Happy creating!