Home>Production & Technology>Cover Song>How To Record A Cover Song On IPhone
Cover Song
How To Record A Cover Song On IPhone
Modified: February 20, 2024
Learn how to easily record a cover song on your iPhone with our step-by-step guide. Capture your musical talent on your phone and share your rendition with the world.
(Many of the links in this article redirect to a specific reviewed product. Your purchase of these products through affiliate links helps to generate commission for AudioLover.com, at no extra cost. Learn more)
Table of Contents
- Introduction
- Step 1: Choose the Song
- Step 2: Gather Materials
- Step 3: Set Up Your Recording Space
- Step 4: Prepare Your iPhone
- Step 5: Select a Recording App
- Step 6: Adjust the Settings
- Step 7: Connect External Equipment (optional)
- Step 8: Practice the Song
- Step 9: Set Up the Recording App
- Step 10: Start Recording
- Step 11: Monitor and Adjust
- Step 12: Edit and Enhance the Recording
- Step 13: Save and Export the Recording
- Conclusion
Introduction
Recording a cover song on your iPhone has never been easier. Whether you’re a seasoned musician or just starting out, capturing your rendition of a popular song can be both fun and rewarding. With the advancements in technology, you no longer need expensive recording equipment or a professional studio to create high-quality covers. Your iPhone is a powerful tool that can turn your bedroom into a mini recording studio.
In this article, we’ll guide you through the process of recording a cover song on your iPhone. From choosing the right song to saving and exporting your recording, we’ll provide you with all the tips and tricks you need to create a professional-sounding cover from the comfort of your own home.
By recording a cover song, you can showcase your talent, put your own unique spin on popular tracks, and even gain a following on platforms like YouTube or Instagram. With social media’s emphasis on visual content, posting cover songs has become a popular way for musicians to connect with their audience and gain exposure.
So, whether you’re looking to share your passion for music with friends and family or launch your musical career, this guide will walk you through the process step by step. Get ready to unleash your creativity and start recording fantastic cover songs with your iPhone.
Step 1: Choose the Song
The first step in recording a cover song on your iPhone is to choose the right song. Select a song that resonates with you and showcases your musical style. It could be a current hit, a timeless classic, or a hidden gem that holds personal significance.
Consider the genre and complexity of the song. If you’re just starting out, it’s advisable to choose a song with simpler chord progressions and melodies. As you gain confidence and experience, you can gradually tackle more challenging songs.
Additionally, think about the vocal range required for the song. Ensure that you’re comfortable singing the song and that it suits your voice. It’s okay to make some modifications to the song arrangement or key to fit your vocal capabilities and personal style.
Another crucial factor to consider is copyright. If you plan to publish or share your cover song online, make sure you have the necessary permissions and licenses. You can typically obtain mechanical licenses through services like Easy Song Licensing or by reaching out to the song’s publisher.
While choosing a popular song can help attract listeners, don’t be afraid to explore lesser-known tracks. This allows you to showcase your artistic interpretation and stand out from the crowd. Remember, the goal is to make the song your own and put your unique spin on it.
Take some time to research and listen to different versions of the song you have in mind. This will help you understand the song structure, arrangement, and various elements you can incorporate into your cover.
Ultimately, the key to choosing the right song is to follow your passion and select a track that you genuinely connect with. Enjoyment and enthusiasm for the song will shine through in your performance and make the recording process even more gratifying.
Step 2: Gather Materials
Before you start recording your cover song on your iPhone, it’s essential to gather all the necessary materials. Having everything you need at hand will streamline the recording process and ensure a smooth workflow. Here are the materials you’ll need:
- iPhone: Ensure that your iPhone is fully charged or connected to a power source to avoid interruptions during the recording session.
- Headphones: Invest in a pair of good-quality headphones to monitor and listen to your recording. This will help you catch any mistakes or audio issues.
- Microphone (optional): While the iPhone’s built-in microphone can produce decent results, consider using an external microphone for better audio quality. There are various microphones available that can connect directly to your iPhone via lightning or headphone jack.
- Pop Filter (optional): If you’re using an external microphone, a pop filter can help minimize plosive sounds (‘p’ and ‘b’ sounds) and improve the clarity of your vocals.
- Phone Holder or Tripod: To keep your iPhone steady while recording, invest in a phone holder or tripod. This will prevent shaky footage and ensure a professional-looking video recording.
- Instrument (if applicable): If you’re playing an instrument as part of your cover, make sure you have it tuned and ready to go. Whether it’s a guitar, piano, or ukulele, having your instrument in good condition will contribute to the overall quality of your recording.
- Lyrics or Chords: Print out or have the lyrics or chords of the song readily available. This will help you stay on track during the recording process and avoid any mistakes.
Having these materials prepared and organized before you start recording will save you time and ensure a hassle-free experience. Make a checklist and ensure you have everything you need in your recording space.
Remember, the quality of your recording materials can greatly impact the final outcome. Investing in decent headphones, microphones, and other accessories will result in a more professional-sounding cover song.
Step 3: Set Up Your Recording Space
The next step in recording a cover song on your iPhone is to create an ideal recording space. Setting up your recording space properly can significantly improve the overall audio quality and minimize any unwanted background noise. Here are some tips to help you set up your recording space:
- Choose a quiet location: Find a quiet room or area where you can minimize external noise. Avoid spaces with excessive echo or reverberation, as it can affect the clarity of your recording.
- Clear the space: Remove any clutter or objects that may cause unwanted noise or vibrations. Ensure that there are no distractions or obstacles that may interfere with your performance.
- Consider acoustics: If possible, choose a room with good acoustics. Rooms with carpeted floors, curtains, or furniture can help absorb sound reflections and create a more controlled recording environment.
- Reduce background noise: Close windows and doors to minimize any external noise, such as traffic or construction. If there are any buzzing appliances or fans, turn them off during the recording session.
- Soundproof if needed: If you’re dealing with excessive noise, consider soundproofing your recording space. You can use sound-absorbing panels, acoustic foams, or even DIY methods like hanging blankets or curtains to reduce echo and external noise.
Remember that achieving a professional-level recording space may not be feasible for everyone. Do the best with the resources and environment you have, and don’t get discouraged if it’s not perfect. You can always enhance the audio quality during the editing process.
Once you’ve set up your recording space, take a moment to test the sound quality by recording a short sample. Listen back and make adjustments as needed to ensure optimal audio capture.
In the next step, we’ll explore how to prepare your iPhone for the recording process.
Step 4: Prepare Your iPhone
Before you start recording your cover song, it’s important to prepare your iPhone to ensure the best possible recording quality. Here are some steps to follow:
- Clear storage space: Recording high-quality audio and video can take up a significant amount of storage space on your iPhone. Make sure you have enough available space by deleting unnecessary files or transferring them to a computer or cloud storage.
- Update your iPhone: Ensure that your iPhone is running the latest software updates. Regular updates can improve the overall performance of your device, including recording capabilities.
- Airplane mode: To avoid interruptions during the recording process, enable Airplane mode on your iPhone. This will disable incoming calls, messages, and notifications that could disrupt your recording.
- Adjust settings: Open the Settings app on your iPhone and navigate to the Camera settings. Enable features such as ‘Grid’ to help with framing, ‘Exposure Lock’ to maintain consistent lighting, and ‘Auto-Stabilization’ to reduce shaky footage.
- Optimize storage: In the Camera settings, you can also enable the ‘Optimize iPhone Storage’ option. This setting allows your iPhone to automatically manage storage by replacing full-resolution photos and videos with optimized versions.
- Manage do not disturb: Consider enabling the ‘Do Not Disturb’ mode to further minimize interruptions during recording. You can customize the settings to allow calls from specific contacts or set a specific time frame for the ‘Do Not Disturb’ mode.
- Disable notifications: It’s important to silence all notifications on your iPhone to avoid any sounds or pop-ups during the recording. You can either manually disable notifications or enable ‘Silent mode’ using the physical switch on your iPhone.
Once you have prepared your iPhone and adjusted the necessary settings, you are one step closer to recording your cover song. In the next step, we’ll explore different recording apps you can use on your iPhone.
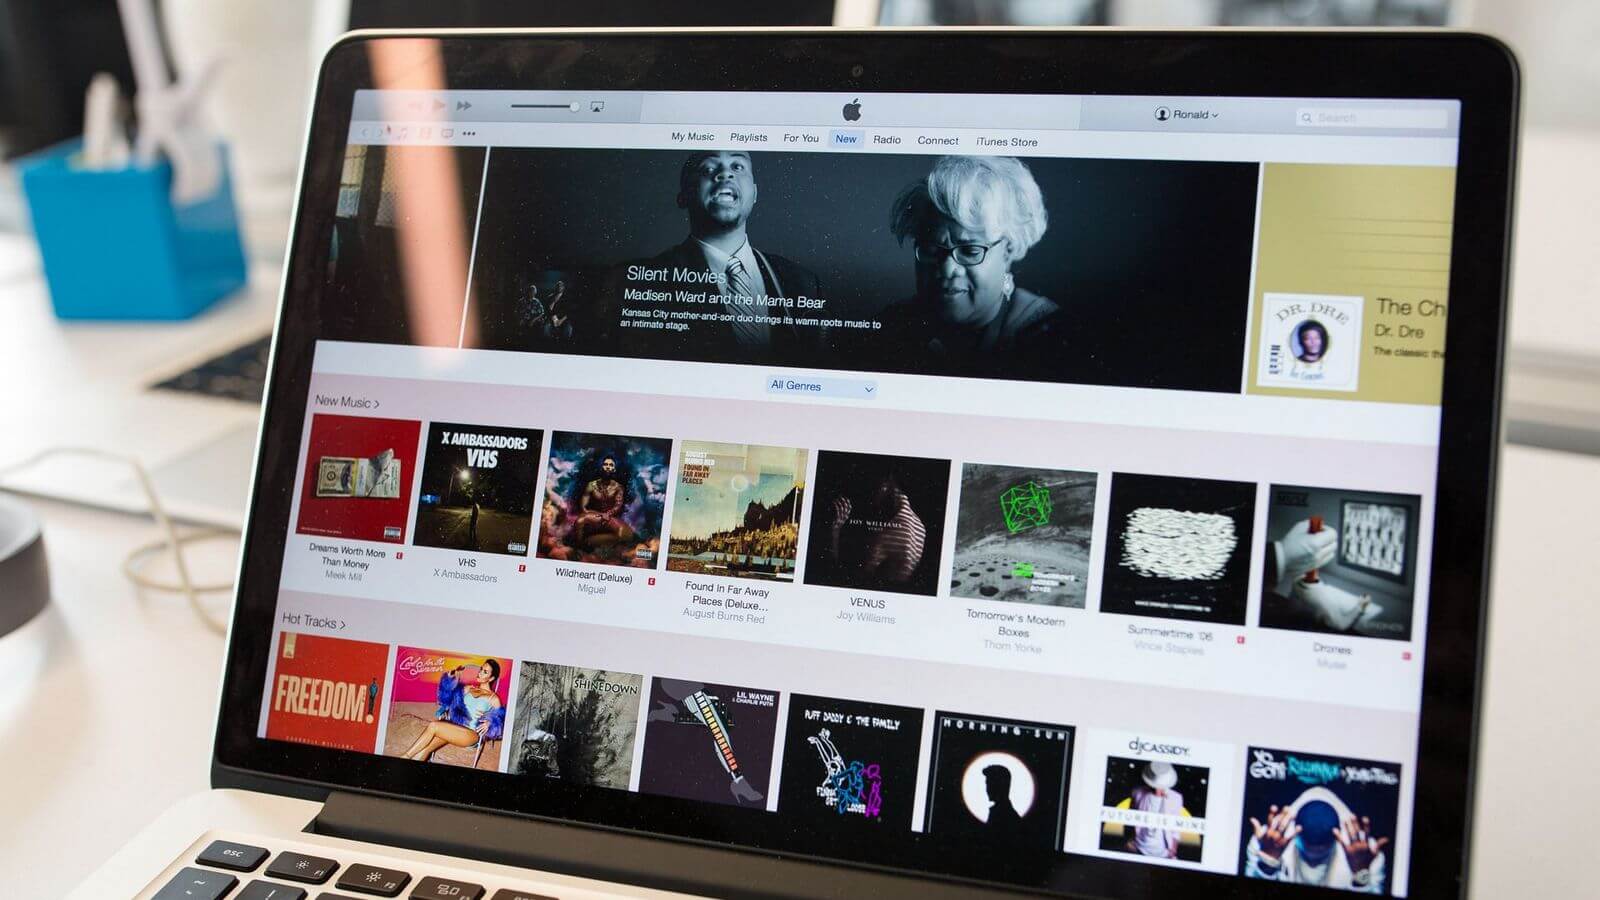
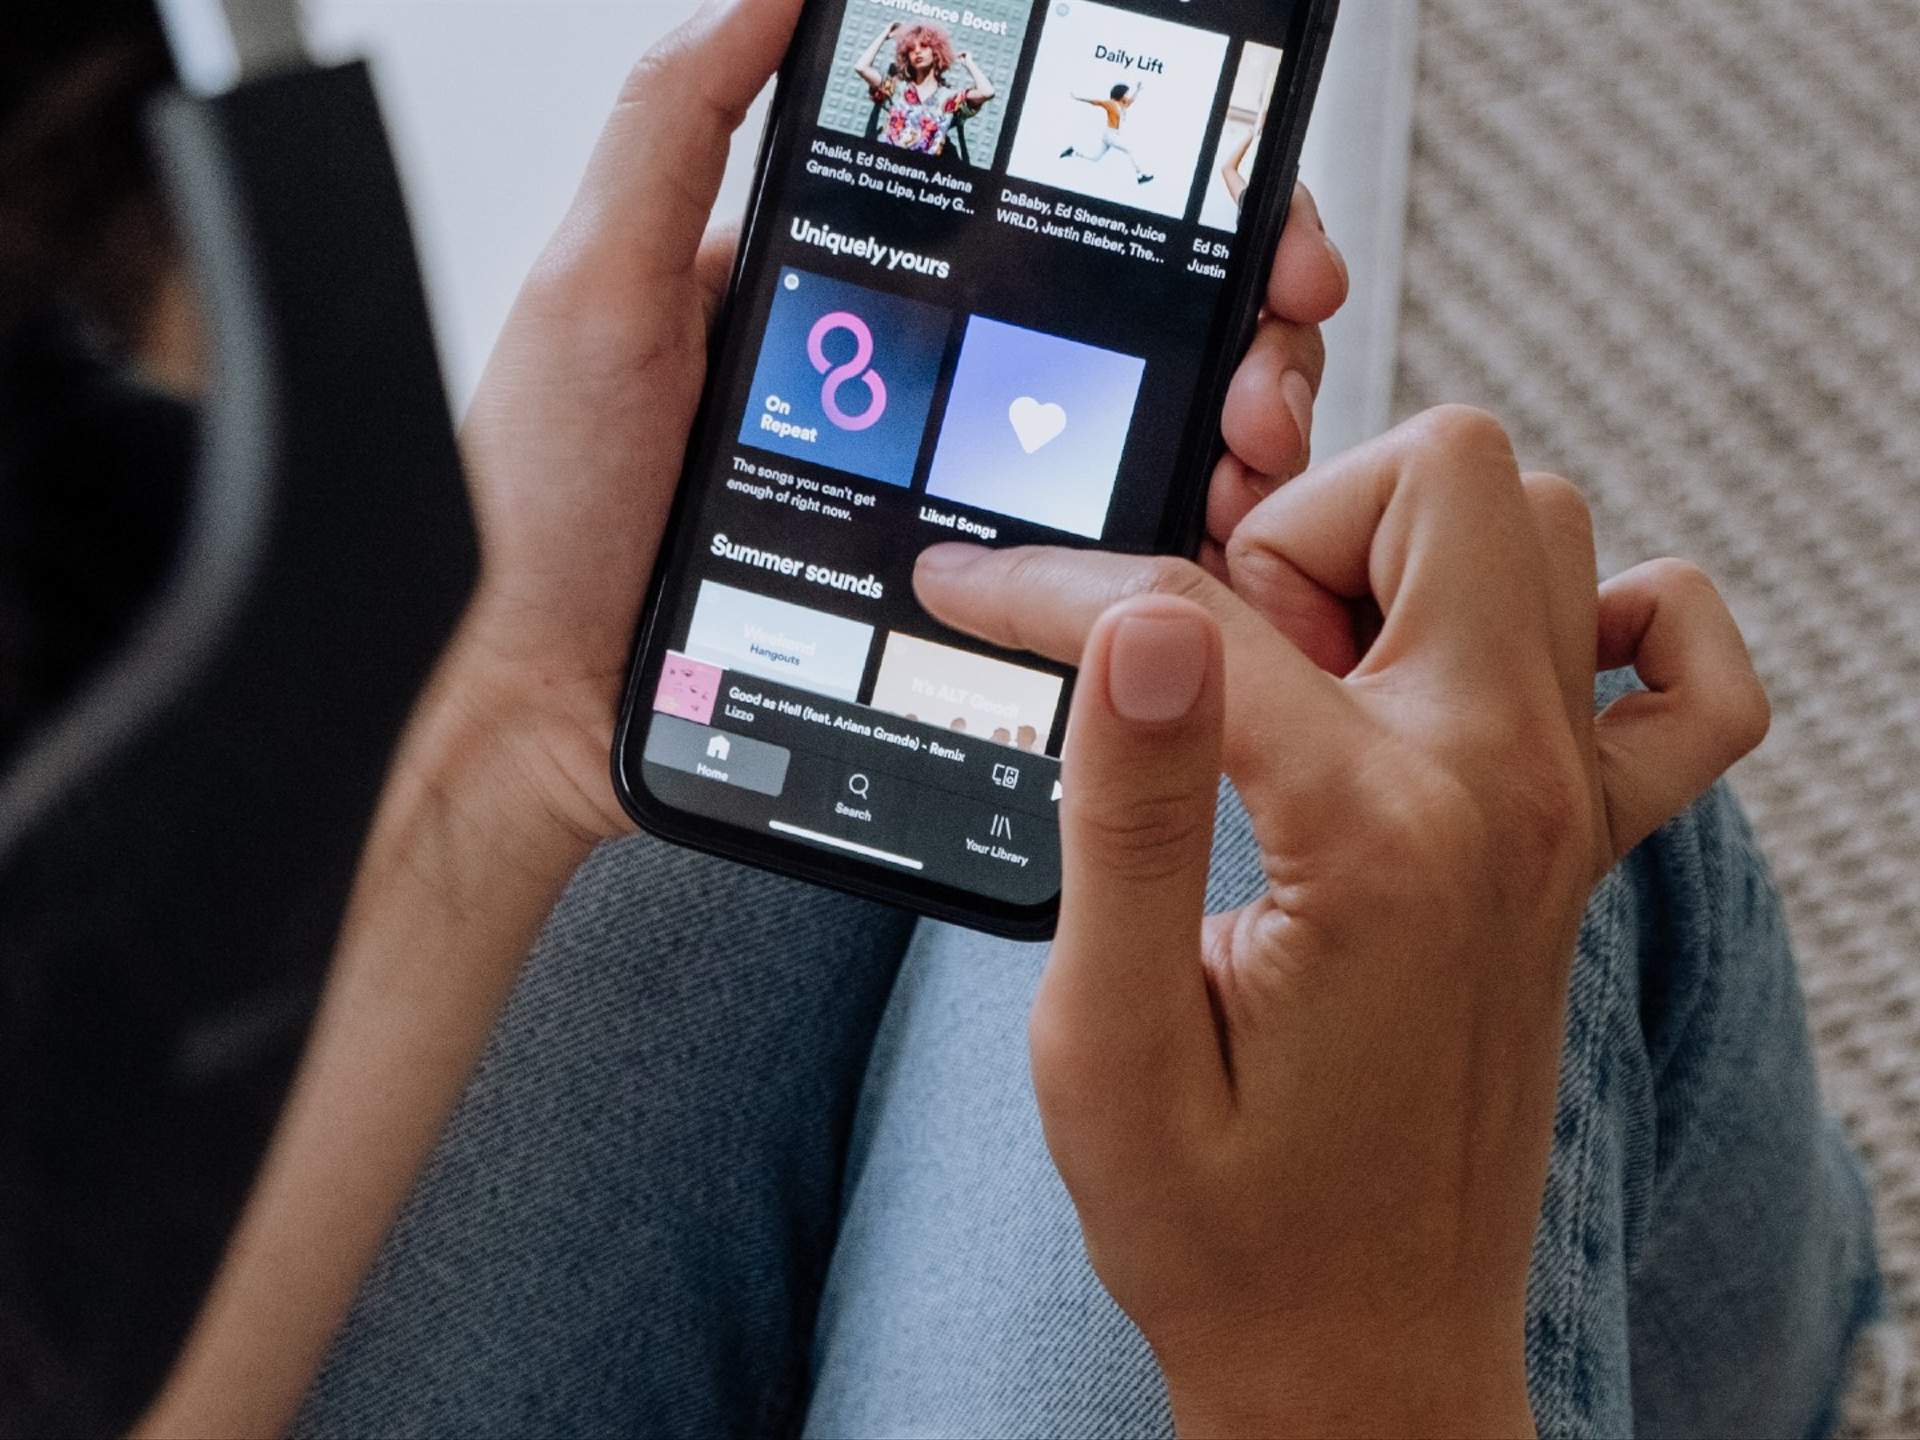
Step 5: Select a Recording App
Choosing the right recording app is crucial to ensure a smooth and effortless recording experience on your iPhone. There are several apps available that offer different features and functionalities. Here are some popular recording apps to consider:
- GarageBand: GarageBand is a powerful app developed by Apple that allows you to record, mix, and edit your cover songs. It offers a variety of virtual instruments and audio effects, giving you the ability to create dynamic and professional-sounding recordings.
- Voice Memos: If you’re looking for a simple and straightforward recording app, Voice Memos is a great choice. This native app on your iPhone is user-friendly and ideal for capturing raw vocals or acoustic instrument performances.
- AudioShare: AudioShare is a versatile recording app that not only allows you to record audio but also helps you manage and organize your recordings. It supports various audio formats and provides handy features like trimming, normalization, and sharing options.
- Audacity: While Audacity is known as a desktop recording software, there is also an iOS version available. Audacity offers professional-level recording and editing capabilities, allowing for more advanced customization of your cover songs.
When selecting a recording app, consider your specific needs and the features that are important to you. Think about factors like ease of use, audio quality, editing capabilities, and compatibility with other music apps.
It’s worth experimenting with different recording apps to find the one that best suits your requirements and workflow. Many apps offer both free and paid versions, so you can test them out before committing to a purchase.
Once you have chosen the recording app that best fits your needs, you’re ready to move on to the next step: adjusting the settings within the app to optimize your recording.
Step 6: Adjust the Settings
After selecting a recording app, it’s important to adjust the settings within the app to ensure optimal recording quality. Each recording app may have different settings and options, but here are some general settings to consider:
- Audio quality: Check the recording app’s settings for options related to audio quality. Higher sample rates and bit depths result in better audio fidelity, but also consume more storage space. Adjust the settings based on your preferences and available storage.
- File format: Choose the appropriate file format for your recording. Common formats include WAV, MP3, and AAC. Consider the compatibility with other devices or platforms where you plan to share or edit your cover song.
- Mono or stereo: Decide whether you want to record in mono or stereo. Mono recordings capture audio in a single channel, while stereo recordings create a sense of space and depth with the use of two channels. Choose the option that best suits your recording needs.
- Playback monitoring: Some apps allow you to monitor your recording in real-time as you perform. Enable this feature to hear yourself while recording, which can help you adjust your performance and ensure a better overall result.
- Background noise reduction: Depending on the app, there may be settings to reduce background noise during recording. These options can help minimize the impact of any ambient noise in your recording space.
- Metronome: If you need to stay in rhythm while recording, look for a metronome feature in the app. A metronome will provide a steady beat, helping you maintain the desired tempo for your cover song.
Take some time to explore and familiarize yourself with the settings in your chosen recording app. Experimenting with different configurations will allow you to find the perfect balance for your cover song recording.
Remember to test your settings before recording your complete cover song. This will help you ensure that everything is working properly and that you are satisfied with the audio quality.
Now that you have adjusted the settings, it’s time to move on to the next step: connecting external equipment if needed.
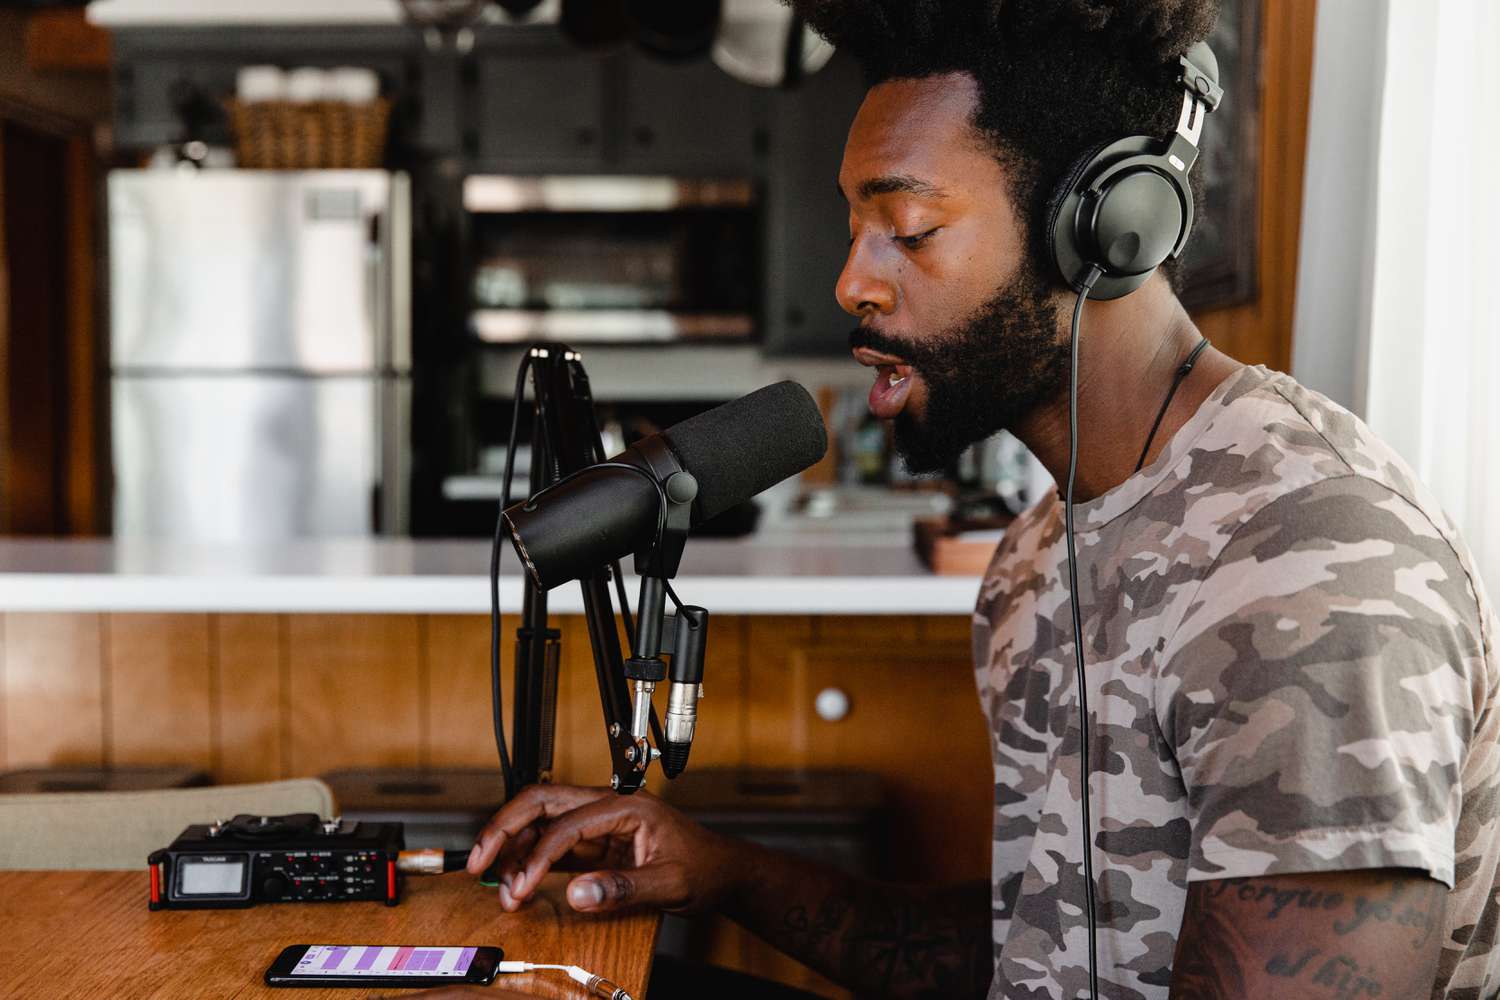
Step 7: Connect External Equipment (optional)
While recording a cover song on your iPhone, you have the option to connect external equipment to enhance the audio quality and overall production value. This step is optional but can significantly impact your recording. Here are some external equipment options you can consider:
- External Microphone: If you want to achieve professional sound quality, consider using an external microphone. There are various options available, such as USB microphones or microphone attachments specifically designed for iPhones. Connect the microphone to your iPhone using the appropriate adapter, and adjust the settings in your recording app to use the external microphone as the input source.
- Audio Interface: An audio interface allows you to connect professional microphones or instruments directly to your iPhone. This enables higher-quality audio recordings and offers additional features like preamp controls and multiple inputs. Connect your microphone or instrument to the audio interface and connect the interface to your iPhone using a lightning or USB adapter.
- Headphones or Monitors: Using headphones or monitor speakers can help you monitor your recording and ensure accurate playback. This allows you to hear details in your performance and make adjustments as needed. Connect your headphones or monitor speakers to your iPhone using a headphone jack or Bluetooth connection.
- MIDI Controllers: If you want to incorporate virtual instruments or MIDI-controlled effects into your cover song, consider using a MIDI controller. MIDI keyboards, drum pads, or other controllers can be connected to your iPhone using adapters or via Bluetooth, offering a wide range of creative possibilities.
Before connecting any external equipment, ensure that you have the necessary adapters or cables to establish a connection with your iPhone. Check that the equipment is compatible with your recording app and adjust the appropriate settings to use the external equipment as the input source.
Using external equipment can significantly enhance the audio quality and creative possibilities of your cover song recording. However, if you’re just starting out or prefer a minimalist approach, know that you can achieve great results using only the built-in microphone on your iPhone.
Now that you have connected any necessary external equipment, it’s time to move on to the next step: practicing the song.
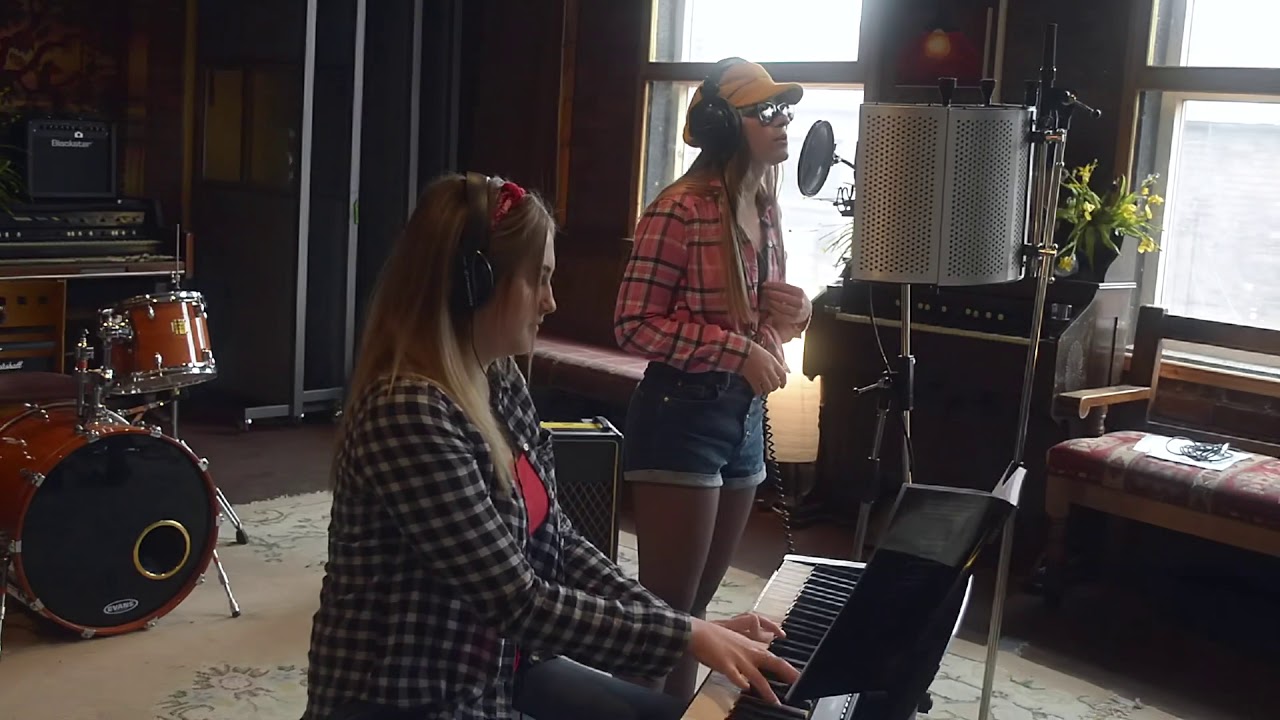
Step 8: Practice the Song
Before you start recording your cover song, it’s crucial to spend time practicing and familiarizing yourself with the song. Practicing helps you refine your performance, ensure accuracy, and build confidence. Here are some tips to make the most of your practice sessions:
- Learn the lyrics: Memorize the lyrics of the song and understand their meanings. This will help you convey the emotions and expressions effectively during your performance.
- Focus on timing and rhythm: Pay attention to the song’s timing and rhythm. Practice singing or playing along with the original track or a metronome to develop a solid sense of timing.
- Master the melody and phrasing: Spend time learning the melody and phrasing of the song. Pay attention to the dynamics, accents, and nuances in the original recording and aim to capture them in your performance.
- Work on your technique: If you’re playing an instrument as part of your cover, practice the chords, riffs, or solos to ensure accuracy and fluency. Work on any challenging passages to improve your technique and overall performance.
- Experiment with arrangement: While practicing, feel free to experiment with the arrangement of the song. Consider adding your unique touches or variations to make the cover song stand out and showcase your artistic style.
- Record practice sessions: Use your recording app to capture your practice sessions. This allows you to listen back and identify areas that need improvement. Pay attention to aspects like pitch, tone, timing, and overall performance.
- Seek feedback: Share your practice recordings with trusted friends, fellow musicians, or teachers. Ask for their feedback and suggestions to further refine your performance.
Remember that practice is key to achieving a polished cover song recording. Dedicate regular time to practice, focusing on areas that need improvement. Be patient with yourself and embrace the learning process.
Once you feel confident in your performance, it’s time to move on to the next step: setting up the recording app for the actual recording.
Step 9: Set Up the Recording App
Now that you have practiced your cover song and are ready to record, it’s time to set up the recording app on your iPhone. Properly configuring the app will ensure optimal recording quality and a smooth recording process. Here are the steps to set up your recording app:
- Select the recording app: Open the recording app you have chosen for your cover song recording.
- Check the input settings: Navigate to the app’s settings or preferences. Ensure that the app is set to use the desired audio input, whether it’s the built-in microphone or an external microphone connected to your iPhone.
- Configure audio settings: Adjust the app’s audio settings based on your preferences and the nature of your cover song. Consider options like recording quality, file format, and stereo or mono settings.
- Set recording levels: Pay attention to the recording levels to avoid distortion or clipping. Aim for a clear and balanced sound without any noticeable distortion. Adjust the input gain or sensitivity if necessary.
- Enable monitoring: If your recording app offers real-time monitoring, enable this feature so that you can hear yourself while recording. This allows you to make adjustments to your performance and ensure a more accurate and controlled recording.
- Test the recording: Before starting the actual recording, test the app’s functionality by recording a short sample. Listen back to the sample recording to ensure that everything is working as expected.
- Organize your recording space: Arrange the lyrics or chords of the song in a place where you can easily see them while recording. Set up any additional equipment, such as a music stand or instrument stand, for optimal accessibility.
- Position your iPhone: Position your iPhone securely using a phone holder or tripod. Ensure that the iPhone is angled properly and positioned to capture the best audio and video footage.
By taking the time to set up your recording app correctly, you’ll minimize potential technical issues and achieve a smoother and more professional recording experience. Remember to double-check the settings and make any necessary adjustments before proceeding with the actual recording of your cover song.
Now that you have set up the recording app, it’s time to move on to the next step: starting the recording process!
Step 10: Start Recording
With your recording app set up and ready to go, it’s time to start the actual recording of your cover song. This is an exciting step where you get to showcase your talent and creativity. Here are some tips to help you make the most of your recording session:
- Find your starting point: Set the playback position to the beginning of the song or the desired starting point for your performance.
- Take a deep breath: Before you hit the record button, take a moment to calm your nerves and center yourself. Take a deep breath and focus on the confidence and joy you have in sharing your rendition of the song.
- Press record: When you feel ready, press the record button in your recording app. Give yourself a brief count-in or a cue before starting your performance.
- Give it your all: Pour your heart and soul into your performance. Connect with the emotions of the song and let your passion shine through. Don’t be afraid to take risks and add your unique flair to the cover.
- Stay focused: Stay focused during the recording session, minimizing any distractions or interruptions. Pay attention to your technique, timing, and overall delivery as you perform.
- Embrace imperfections: Remember that perfection is not the goal. Embrace the imperfections and let the authenticity of your performance shine through. It’s the emotions and personal touches that make cover songs special.
- Record multiple takes: Don’t be afraid to record multiple takes of the song. This allows you to explore different nuances and variations in your performance. It also provides options during the editing process.
- Take breaks when needed: If you feel fatigued or need to take a break between takes, give yourself some time to rest and recharge. Recording sessions can be demanding, both physically and emotionally.
- Trust your instincts: Trust your instincts and go with what feels right for the song. Let the passion and love for music guide your performance, and don’t overthink every detail.
Remember to enjoy the recording process and have fun with it. Showcasing your talent and love for music is what matters most. Once you’re satisfied with the recorded takes, it’s time to move on to the next step: monitoring and adjusting the recording, if needed.
Step 11: Monitor and Adjust
After recording your cover song, it’s crucial to take the time to monitor and adjust the recording if needed. This step allows you to fine-tune the audio and make any necessary adjustments to ensure a high-quality final product. Here’s what you need to do:
- Listen back to the recording: Take a moment to listen back to your recorded performance. Pay attention to the overall sound quality, any technical issues, and areas that may need improvement.
- Check for clarity and balance: Evaluate the clarity and balance of the different elements in your recording, such as vocals, instruments, and backing tracks. Ensure that each element is audible and properly balanced in the mix.
- Adjust volume levels: If certain parts of the recording are too loud or too soft, make adjustments to the volume levels accordingly. Ensure that the vocals are clear and intelligible, and that the instrument levels complement the vocals effectively.
- Fix timing issues: If there are any timing issues in your performance, use the editing capabilities of your recording app to make subtle adjustments. Pay attention to the alignment of different tracks and the overall timing of the song.
- Apply EQ and effects: Depending on the style of your cover song and the desired sound, consider applying equalization (EQ) and effects to enhance the recording. Use EQ to shape the tonal balance and add effects like reverb or compression to add depth and character.
- Trim and edit: Remove any unwanted sections or mistakes in the recording by trimming or cutting them out. This will help streamline the overall flow of the cover song and eliminate any distractions.
- Take breaks during editing: Editing can be a time-consuming process, so take breaks when needed to maintain a fresh perspective. Listening to the recording with fresh ears will help you make more accurate adjustments.
- Seek feedback: Consider sharing the edited version of your cover song with trusted friends, fellow musicians, or mentors. Their feedback can provide valuable insights and help you make further improvements.
Remember, the goal of monitoring and adjusting is to enhance the recording while maintaining the authenticity and emotion of your performance. Be mindful not to overdo the edits and maintain the integrity of the cover song.
Once you’re satisfied with the adjustments and edits, it’s time to move on to the next step: editing and enhancing the recording.
Step 12: Edit and Enhance the Recording
After monitoring and adjusting the recording, it’s time to edit and enhance the cover song to create a polished final product. This step involves refining the audio, making creative choices, and adding any desired enhancements. Here’s how to edit and enhance your recording:
- Trim and arrange: Start by trimming the recording to remove any unnecessary silence or mistakes. Then, arrange the different sections of the song in the desired order, ensuring a smooth and cohesive flow.
- Fix pitch and timing: Use pitch correction tools or manual editing to correct any noticeable pitch issues in the vocals or instruments. Adjust the timing where necessary to achieve a tighter and more precise performance.
- Add layers and harmonies: If desired, experiment with adding additional layers or harmonies to enrich the sound of the cover song. This can involve recording additional vocal tracks or instrument parts to add depth and texture.
- Mixing: Balance the levels of each track in the mix to achieve clarity and cohesiveness. Adjust the panning of different elements to create a wider stereo image. Apply EQ, compression, and other effects to further enhance the overall sound.
- Editing transitions: Smooth out any transitions between different sections of the song. Ensure that there are no abrupt cuts or awkward pauses. Use fades or crossfades to create natural transitions.
- Apply creative effects: Explore creative effects and techniques to add character and interest to the cover song. Consider using filters, delays, reverbs, or other effects that suit the style and mood of the song.
- Balance vocals and instruments: Pay attention to the blend between vocals and instruments. Ensure that the vocals are clear and well-balanced with the backing tracks, allowing the lyrics to be easily understood.
- Enhance dynamics: Use automation or volume adjustments to enhance the dynamics of the cover song. Make sections louder or softer, emphasizing the emotional peaks and bringing out the subtle nuances in the performance.
- Finalize the mix: Spend time fine-tuning the mix, making small adjustments to achieve the desired sonic balance and overall feel of the cover song.
Editing and enhancing the recording is a creative process that allows you to shape and refine your cover song. Be open to experimenting and trying different approaches to achieve the desired result. Trust your ears and take the time to make thoughtful decisions at each stage of the editing process.
Once you’re satisfied with the edited and enhanced version of the cover song, it’s time to save and export the recording to share it with others.
Step 13: Save and Export the Recording
After you have edited and enhanced your cover song to your satisfaction, it’s time to save and export the final recording. This step ensures that your hard work can be shared and enjoyed by others. Here’s what you need to do:
- Save the project: Save the project file of your recording in your chosen recording app. This will allow you to make further adjustments or modifications in the future if needed.
- Choose the file format: Decide on the file format you want to export your cover song as. Common audio file formats include WAV, MP3, or AAC. Consider the compatibility of the file format with the platforms or devices you plan to share your cover song on.
- Set the audio quality: Select the desired audio quality for your exported file. Higher quality settings might result in larger file sizes, while lower quality settings may compromise the audio fidelity. Find the right balance that suits your needs and file size limitations.
- Export the recording: Initiate the export process within your recording app, specifying the file format, audio quality, and file location. Allow the app to process and create the final exported file of your cover song.
- Organize and name the file: Give your exported file a meaningful name and consider organizing your cover songs in a dedicated folder for easy access and management.
- Backup your final recording: Create backups of your final recording and store them on external storage devices, cloud storage, or other backup solutions. This will help protect your work in case of any unexpected data loss.
- Tag and add metadata (optional): If you plan to distribute your cover song online, consider adding relevant metadata, such as song title, artist name, album information, and cover artwork. This will improve discoverability and organization of your cover song in digital libraries.
- Share and promote your cover song: Once the recording is saved and exported, it’s time to share your cover song with the world! Utilize platforms like YouTube, SoundCloud, or social media to share your recording and promote your talent. Engage with your audience and let them know about your cover song.
By properly saving and exporting your cover song, you can ensure that it reaches a wider audience and can be enjoyed by people who appreciate your talent and creativity. Celebrate your accomplishment, and don’t hesitate to continue recording and sharing more cover songs in the future.
Congratulations on completing the process of recording a cover song on your iPhone! Enjoy the journey of music and continue to explore your passion for creating beautiful cover songs.
Conclusion
Recording a cover song on your iPhone is a fantastic way to express your creativity and share your musical talent with others. With the accessibility and advancements in technology, you no longer need expensive recording equipment or a professional studio to create high-quality covers. Your iPhone, combined with the right recording app and a few additional tools, can transform your bedroom into a mini recording studio.
In this comprehensive guide, we have covered the step-by-step process of recording a cover song on your iPhone. From choosing the song and gathering materials to setting up the recording space, preparing your iPhone, and selecting the right recording app, we have provided you with all the information you need to get started.
We emphasized the importance of practicing the song, adjusting the settings within the recording app, and connecting external equipment (if desired) to enhance the audio quality. We also highlighted the significance of monitoring and adjusting the recording, and how to edit and enhance the final product to create a polished cover song.
Remember, the key to a successful cover song recording is to stay true to your own style and interpretation. Use your creativity to add your unique touches to the song, and focus on delivering a passionate and heartfelt performance.
Once your recording is complete, don’t forget to save and export the file in the appropriate format, and share it with your intended audience. Use social media platforms, music streaming services, or even your own website to promote and showcase your cover songs.
Recording cover songs on your iPhone is a journey of self-expression and musical growth. With each recording, you have an opportunity to refine your skills and explore your artistic abilities. So, grab your iPhone, let your creativity flow, and enjoy the process of recording beautiful cover songs that resonate with others.