Home>Events & Info>Podcast>How To Record A Podcast On IPhone
Podcast
How To Record A Podcast On IPhone
Modified: January 22, 2024
Learn how to record your podcast directly on your iPhone with simple steps and start sharing your passion with the world.
(Many of the links in this article redirect to a specific reviewed product. Your purchase of these products through affiliate links helps to generate commission for AudioLover.com, at no extra cost. Learn more)
Table of Contents
- Introduction
- Setting Up Your iPhone for Podcast Recording
- Choosing a Podcast Recording App
- Connecting Your Microphone
- Adjusting Audio Settings
- Selecting a Recording Environment
- Setting Up Headphones for Monitoring
- Setting Levels and Mic Placement
- Recording Your Podcast
- Editing and Enhancing Your Podcast Recording
- Exporting and Sharing Your Podcast
- Conclusion
Introduction
Podcasts have become increasingly popular in recent years. They provide a unique platform for individuals and businesses to share their knowledge, opinions, and stories with a wide audience. With the rise of smartphones, podcasting has become more accessible than ever before. And if you’re an iPhone user, you have the power to create high-quality podcasts right from the convenience of your device.
In this article, we will guide you through the process of recording a podcast on your iPhone. We’ll cover everything from setting up your device to choosing the right recording app and connecting a microphone. Whether you’re a seasoned podcaster or just starting out, these tips and tricks will help you create professional-sounding podcasts that engage and captivate your audience.
Podcasts offer a versatile medium to express your ideas, share stories, conduct interviews, or simply entertain. The convenience of podcasting on the go with your iPhone allows you to capture moments of inspiration whenever they strike. With the right tools and techniques, you can transform your iPhone into a portable recording studio.
So, if you’re ready to dive into the world of podcasting and unleash your creativity, let’s get started on how to record a podcast on iPhone!
Setting Up Your iPhone for Podcast Recording
Before you begin recording your podcast on your iPhone, it’s important to properly set up your device to ensure optimal audio quality. Here are some steps to follow:
- Find a quiet and well-lit location: Choose a space where you can minimize background noise and distractions. A room with carpeting or furniture can help reduce echo and improve sound quality.
- Ensure sufficient storage space: Podcast recordings can take up a significant amount of storage space on your iPhone. Make sure you have enough available storage to prevent any interruptions or limitations during the recording process.
- Turn off notifications: To avoid any interruptions during your podcast recording, it’s a good idea to enable “Do Not Disturb” mode or turn off notifications manually. This will ensure that no incoming calls or notifications interrupt your recording.
- Adjust screen brightness: Set your screen brightness to an appropriate level to conserve battery life while still being able to see and control your recording app.
- Enable Airplane Mode: Switch to Airplane Mode to disable any incoming calls or data connections that could potentially disrupt your recording session.
- Connect your power source: Recording a podcast can consume a significant amount of battery power. To avoid running out of battery during your recording, make sure to connect your iPhone to a power source or have a fully charged battery.
By following these simple steps, you can ensure that your iPhone is optimized for podcast recording. Now that your device is ready, let’s move on to choosing a podcast recording app.
Choosing a Podcast Recording App
When it comes to choosing a podcast recording app for your iPhone, you have several options to consider. The app you choose will greatly impact the quality of your recordings and the ease of editing and sharing your podcast. Here are some popular podcast recording apps to consider:
- Anchor: Anchor is a highly recommended app for podcasting beginners. It offers a user-friendly interface and allows you to record, edit, and distribute your podcasts directly from your iPhone. Anchor also provides hosting services, making it easy to publish your podcast to various platforms like Spotify and Apple Podcasts.
- GarageBand: If you’re looking for more advanced features and control over your podcast recordings, GarageBand is an excellent choice. It’s a powerful audio editing app that comes pre-installed on most iPhones. GarageBand allows you to record multiple tracks, apply effects, and fine-tune your audio for professional-level results.
- Spreaker Studio: Spreaker Studio is a comprehensive podcasting app that offers live broadcasting capabilities. It allows you to record, edit, and go live with your podcasts. With its built-in audio effects and mixing tools, you can enhance your recordings and create a captivating listening experience.
- Hindenburg Journalist: If you’re looking for a professional-grade podcast recording app, Hindenburg Journalist is worth considering. It offers advanced features like voice profiling, noise reduction, and multi-track editing. While it comes with a price tag, it provides a range of powerful tools for producing high-quality podcasts.
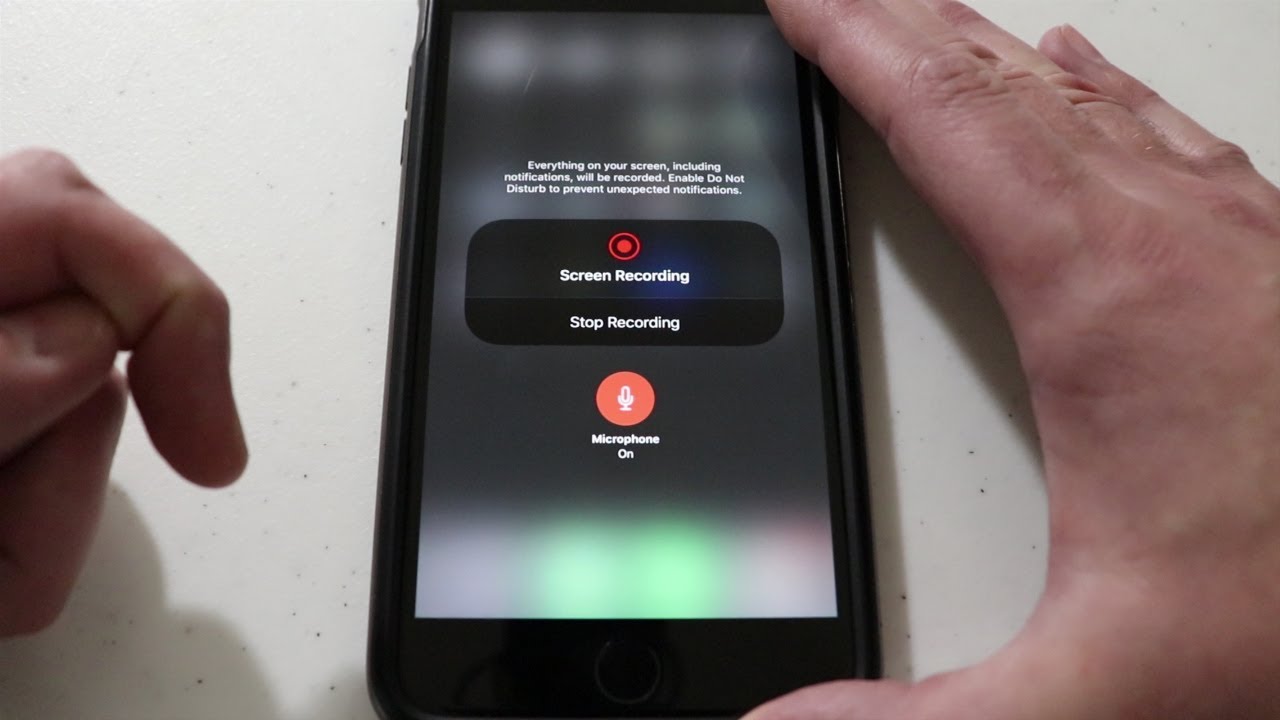
- Voice Memos: If you’re on a budget or prefer a simple solution, the built-in Voice Memos app on your iPhone can also be used for podcast recording. It allows you to record audio with ease and offers basic editing capabilities. While it may not have all the bells and whistles of other dedicated podcast recording apps, it can still deliver satisfactory results.
Consider your specific needs, budget, and level of expertise when choosing a podcast recording app. Take the time to explore different apps and experiment with their features to find the one that best suits your podcasting goals. Once you’ve chosen an app, the next step is connecting a microphone to your iPhone for improved audio quality.
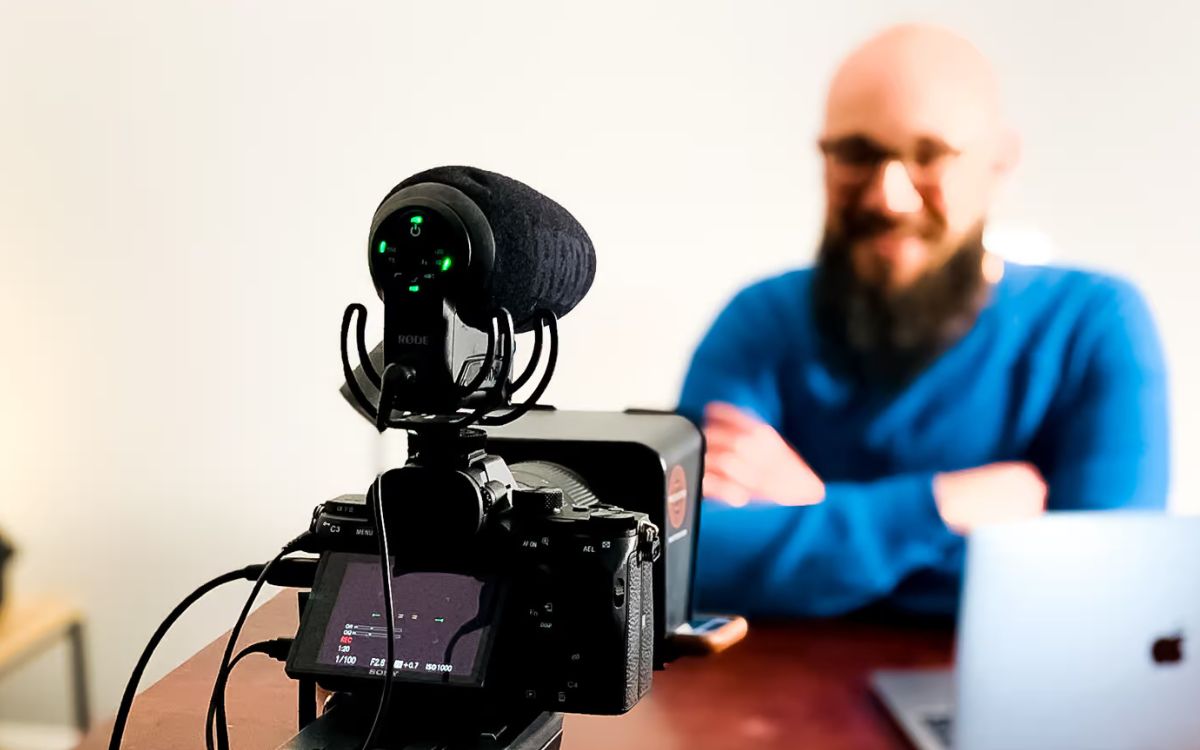
Connecting Your Microphone
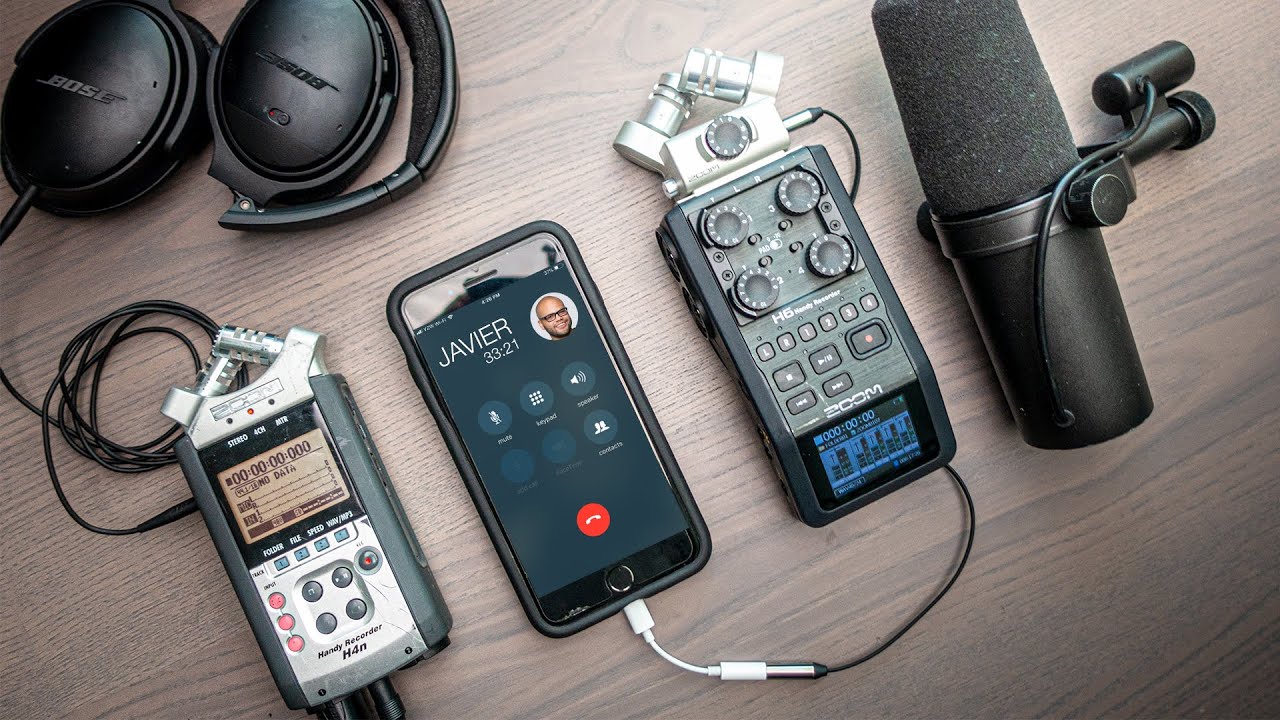
For optimal audio quality and professional-sounding podcasts, it’s important to connect an external microphone to your iPhone. While the built-in microphone on your iPhone can suffice for basic recordings, an external microphone will greatly enhance the clarity and richness of your podcast’s audio. Here’s how you can connect a microphone to your iPhone:
- Choose the right microphone: There are various types of microphones available, such as USB microphones, lavalier microphones, and condenser microphones. Consider your recording environment, budget, and specific needs to select the microphone that best suits your requirements.
- Use a Lightning to USB adapter: If your microphone has a USB connector, you’ll need a Lightning to USB adapter to connect it to your iPhone’s Lightning port. This adapter allows you to plug the USB end of the microphone into the adapter and the Lightning end into your iPhone.
- Use a TRRS to TRS adapter: If your microphone has a 3.5mm TRS (Tip-Ring-Sleeve) connector, you’ll need a TRRS (Tip-Ring-Ring-Sleeve) to TRS adapter. This adapter converts the microphone’s TRS connector into a TRRS connector, which can be plugged directly into the headphone jack of your iPhone.
- Ensure compatibility: Before purchasing a microphone, double-check its compatibility with iPhones. Some microphones may require additional accessories or apps for proper functionality.
- Set the microphone input source: Once your microphone is connected to your iPhone, go to the audio settings of your chosen recording app and select the microphone as the input source. This ensures that your app recognizes and utilizes the external microphone for recording.
- Test and adjust the microphone: Before recording your podcast, it’s essential to test the microphone and adjust its placement and sensitivity. Experiment with different distances and angles to find the optimal position that captures clear and balanced sound.
By connecting an external microphone to your iPhone, you’ll significantly improve the audio quality of your podcasts. Whether you choose a USB microphone or a TRS-connected microphone, the key is to ensure compatibility and proper setup. With your microphone connected, you’re ready to adjust the audio settings on your iPhone for optimal recording quality.
Adjusting Audio Settings
Once you have connected an external microphone to your iPhone, it’s important to adjust the audio settings to ensure optimal recording quality. By fine-tuning these settings, you can enhance the clarity and balance of your podcast’s audio. Here are some key audio settings to consider:
- Input gain: Most podcast recording apps allow you to adjust the input gain, which determines the sensitivity of the microphone. Set the input gain to an appropriate level to avoid distortion or clipping while ensuring that your voice is clear and audible.
- Equalization (EQ): Some podcast recording apps offer built-in equalization options. Use these controls to adjust the frequencies of your voice to achieve a balanced and natural-sounding tone.
- Panning: Panning controls allow you to adjust the stereo positioning of your voice if you’re recording in a stereo format. However, for most podcasts, a centered mono recording is sufficient.
- Noise reduction: If you’re recording in a noisy environment, consider enabling noise reduction features in your recording app. This can help minimize background noise and improve the overall quality of your recording.
- Monitoring: Enable the option to monitor your recording in real-time through headphones. This allows you to listen and make adjustments on the fly, ensuring the quality of your audio while recording.
Experiment with these audio settings to find the right balance for your podcast’s recording. Every voice and recording environment is different, so don’t be afraid to make adjustments and test different configurations until you achieve the desired results.
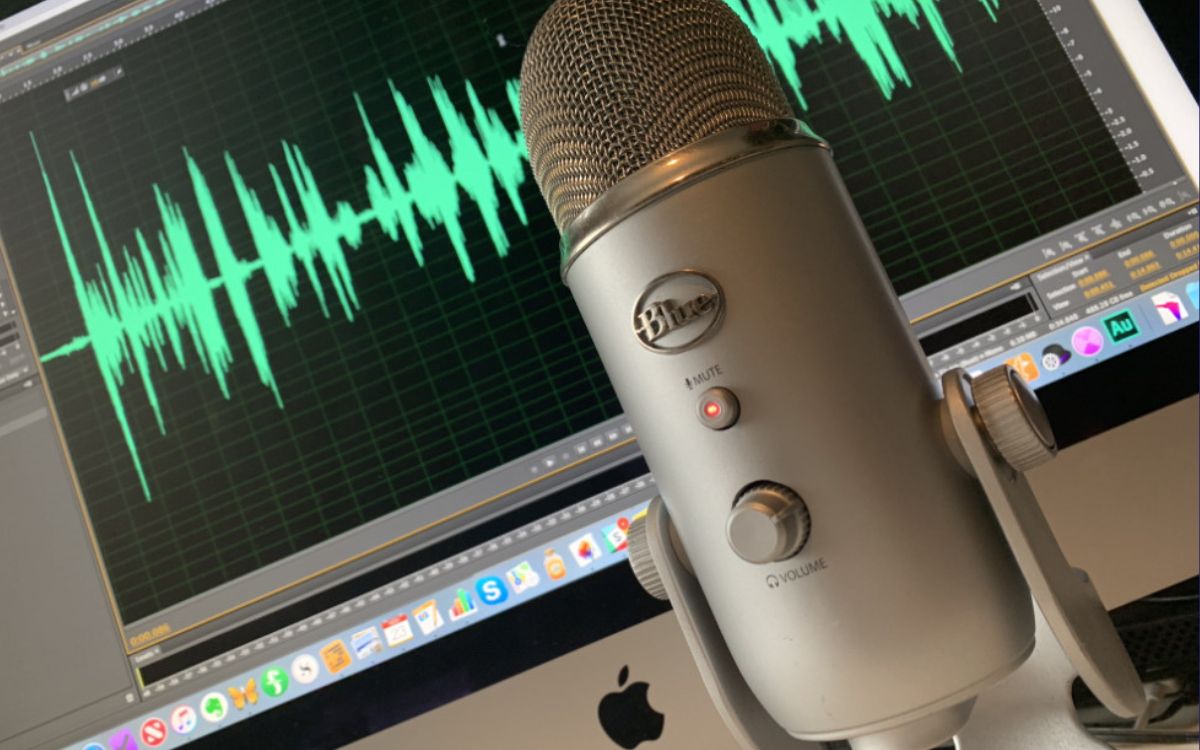
Lastly, be sure to monitor your audio levels during recording. Keep an eye on the waveform or meter within your recording app to prevent peaking or distortion. Adjust the input gain accordingly to maintain a healthy sound level throughout the recording.
With your audio settings adjusted, you’re now ready to select a suitable recording environment for your podcast.
Selecting a Recording Environment
Choosing the right recording environment is crucial for achieving professional-quality podcast recordings. The environment in which you record can greatly impact the clarity, acoustics, and overall ambiance of your audio. Here are some factors to consider when selecting a recording environment:
- Avoid noisy surroundings: Find a quiet space with minimal background noise. Turn off fans, air conditioners, or any other sources of noise that could interfere with your recording. If you’re recording at home, consider placing a “Do Not Disturb” sign on the door to minimize interruptions.
- Reduce echo and reverberation: If possible, choose a room with carpeting, curtains, or furniture that can absorb sound reflections. These materials help reduce echo and improve the overall sound quality of your recordings.
- Consider a small and controlled space: Recording in a smaller space can help contain sound and reduce unwanted reflections. If you don’t have access to a small room, consider using a portable vocal booth or using sound-absorbing panels to create a controlled recording area.
- Avoid reflective surfaces: Hard surfaces like glass or bare walls can reflect sound waves and cause unwanted reverb or echo. If possible, position yourself away from these surfaces or use acoustic panels to minimize reflections.
- Test different locations: If you have multiple options for recording spaces, take the time to test each location. Set up your microphone in different areas and listen for any noticeable differences in sound quality. Choose the space that provides the best acoustic environment for your podcast.
Remember, finding the perfect recording environment may require some experimentation. Don’t be afraid to try different spaces and make adjustments to optimize your audio quality. Additionally, consider using a pop filter or windscreen to minimize plosive sounds and ensure a clear and polished vocal recording.
Once you have selected an ideal recording environment, the next step is to set up headphones for monitoring your recordings. This will allow you to listen and make adjustments in real-time as you record your podcast.
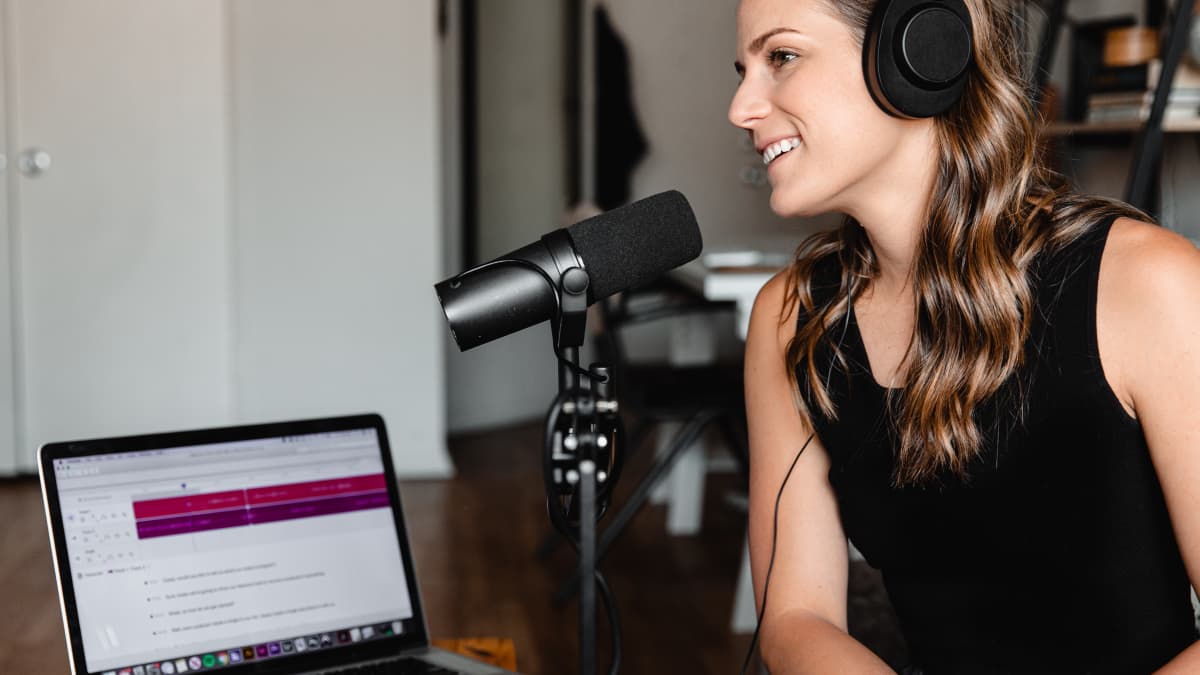
Setting Up Headphones for Monitoring
Using headphones for monitoring during podcast recording is essential to ensure accurate audio playback and make real-time adjustments. Monitoring allows you to detect any issues, such as background noise, distortion, or imbalanced levels, and make necessary adjustments on the fly. Here’s how you can set up headphones for monitoring:
- Choose closed-back headphones: Closed-back headphones are ideal for podcast monitoring as they provide isolation from external sounds, preventing audio bleed into the microphone. They also help create an immersive listening experience, allowing you to focus on the details of your recording.
- Connect the headphones: Plug your headphones into the audio output of your iPhone. If you’re using wireless headphones, pair them with your device following the manufacturer’s instructions. Make sure the volume is set at a comfortable level.
- Enable monitoring in your recording app: Open your chosen podcast recording app and navigate to the settings or preferences menu. Look for an option to enable monitoring or live playback. Toggle this option to ensure that you can hear your recording in real-time through your headphones.
- Test the monitoring setup: Play some test audio or record a short segment to ensure that the audio is being routed to your headphones correctly. Adjust the headphone volume as needed to find a comfortable and balanced level.
When monitoring your podcast recordings, pay close attention to the clarity, background noise, and any other audio imperfections. This allows you to identify and address issues promptly, ensuring that your final podcast has excellent audio quality. It also helps you maintain consistency in volume and tone throughout your recording.
Remember, headphones are not only useful during recording but also during editing and post-production. Using headphones allows you to catch even small details, which might be missed when playing through speakers. Additionally, consider investing in high-quality headphones to ensure accurate monitoring and a better overall listening experience.
With your headphones set up for monitoring, it’s time to move on to setting levels and microphone placement to achieve optimal recording results.
Setting Levels and Mic Placement
Setting the proper levels and microphone placement is crucial for achieving optimal recording quality in your podcast. The right levels ensure that your voice is clear and balanced, while mic placement affects the overall sound and captures your voice accurately. Follow these steps to set the levels and position your microphone:
- Adjust input gain: Start by setting the input gain on your recording app or external audio interface. Increase the gain until your voice registers comfortably on the audio meter, without peaking or distorting. Aim for a consistent level throughout your recording, avoiding drastic volume fluctuations.
- Position the microphone: Place the microphone at an appropriate distance from your mouth. The distance will depend on the type of microphone and the desired sound. Experiment with mic placement to find the sweet spot that captures your voice clearly and minimizes any unwanted background noise.
- Microphone technique: Maintain a consistent distance and angle to the microphone while speaking. Keep your mouth about 6-12 inches away from the microphone for most microphones. Avoid breathing directly into the mic and position it slightly off to the side to reduce plosive sounds.
- Listen for room reflections: Pay attention to any reflections or reverberations in your recording environment. Consider using a reflection filter, or placing acoustic panels around the microphone, to minimize unwanted room reflections and achieve a clean sound.
- Monitor and make adjustments: While recording, listen to the playback through your headphones and make any necessary adjustments. Take note of any issues such as excessive sibilance, background noise, or low volume. Making real-time adjustments will ensure a high-quality recording.
Remember that microphone placement and levels may vary depending on the specific microphone you’re using. Experiment with different techniques and positions to find what works best for your voice and desired sound. It’s also helpful to listen to test recordings and make adjustments before recording your full podcast.
Setting the proper levels and finding the optimal mic placement requires practice and experimentation. Take the time to fine-tune these settings to achieve the best audio quality possible. Once you’re satisfied with your setup, you’re ready to start recording your podcast.
Now that you’ve covered the important setup steps, let’s move on to the actual process of recording your podcast.
Recording Your Podcast
Now that you have your iPhone set up, the recording app selected, the microphone connected, and all the necessary settings adjusted, it’s time to start recording your podcast. Follow these steps to ensure a smooth and successful recording session:
- Prepare an outline or script: Before you hit the record button, make sure you have a clear outline or script for your podcast. This will help you stay organized and focused throughout the recording.
- Find your recording rhythm: Take a moment to settle into the recording environment and get comfortable with the microphone. Take a deep breath, relax, and envision yourself having a conversation with your audience.
- Speak clearly and confidently: Focus on speaking clearly and articulately. Avoid speaking too fast or mumbling, as this can impact the clarity of your audio. Project your voice and maintain a consistent volume to ensure consistency throughout the recording.
- Take breaks if needed: If you stumble over your words or need to take a pause, don’t be afraid to stop the recording and start again. Editing software can remove any unwanted portions later.
- Monitor audio levels: Keep an eye on the audio levels in your recording app while speaking. Ensure that the levels remain within an acceptable range and make adjustments if necessary.
- Use visual cues or notes: If you have visual cues or notes to guide you through your podcast, keep them nearby. However, try to maintain eye contact with your microphone to maintain a natural and engaging delivery.
- Record in segments: Consider recording your podcast in smaller segments or sections. This approach allows for easier editing and gives you the flexibility to re-record specific portions if needed.
- Stay relaxed and have fun: Remember, podcasting is meant to be enjoyable. Relax, have fun, and let your personality shine through your voice. Your enthusiasm and passion for your topic will captivate your audience.
- Do a test recording: Before diving into your official podcast recording, consider doing a short test recording to ensure everything is working properly and the audio quality is to your satisfaction.
Once you’ve completed your recording, take a moment to celebrate your accomplishment. You’ve captured valuable content that your audience will soon enjoy. However, the work doesn’t end here! Next, you’ll need to edit and enhance your podcast recording to polish it and make it ready for sharing.
Now that you’ve successfully recorded your podcast, let’s move on to the next step in the process: editing and enhancing the recording to make it shine.
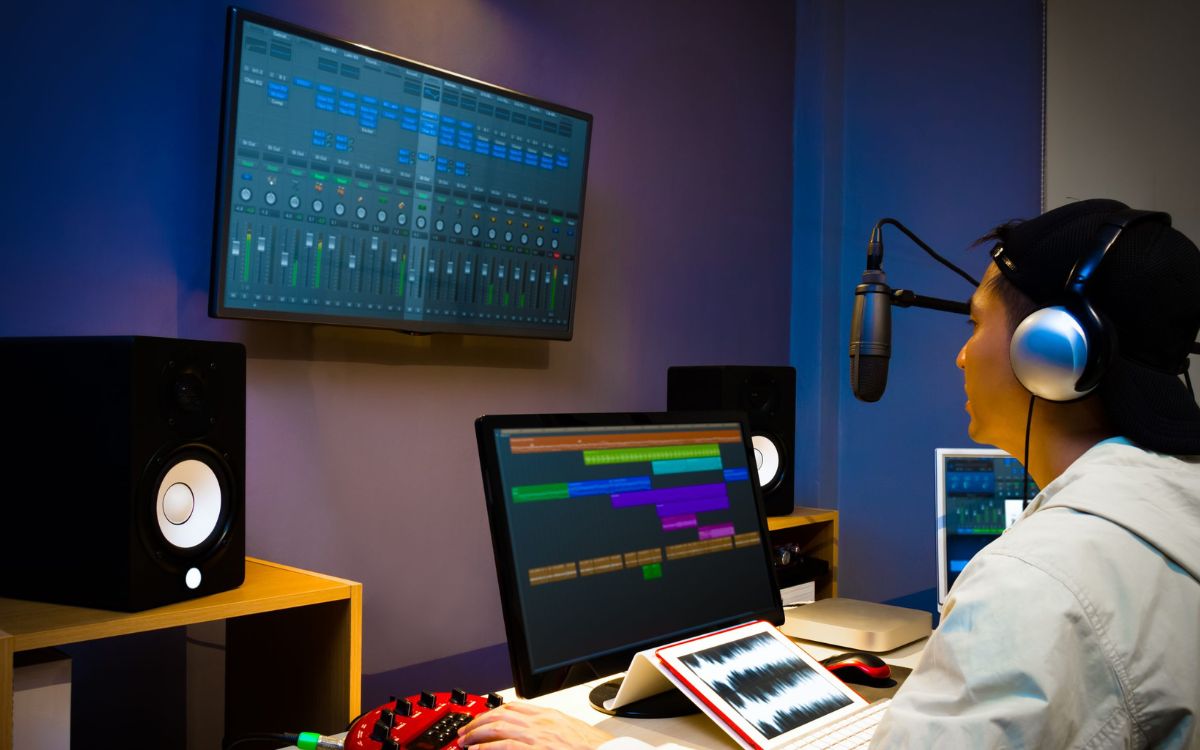
Editing and Enhancing Your Podcast Recording
Editing and enhancing your podcast recording is a crucial step in creating a polished and professional end product. With the right editing techniques, you can improve the overall flow, remove any mistakes, and enhance the audio quality. Follow these steps to bring your podcast recording to the next level:
- Import your recording: Transfer your podcast recording from your recording app to your preferred editing software. There are various editing apps available for iPhone, such as GarageBand, Ferrite Recording Studio, or Adobe Audition.
- Trim unnecessary sections: Review your recording and remove any long pauses, mistakes, or irrelevant content. Keep the flow of your podcast smooth and engaging by trimming unnecessary sections while maintaining a natural pace.
- Smooth out transitions: Pay attention to the transitions between different segments or topics in your podcast. Smooth out any awkward pauses or abrupt changes to maintain a natural flow. You can use crossfades or other editing techniques to create seamless transitions.
- Normalize the audio: Normalize the volume levels of your recording to ensure a consistent and balanced sound throughout. This helps prevent sudden volume changes and maintains a more enjoyable listening experience for your audience.
- Edit out background noise: Use noise reduction tools or filters to minimize background noise. This can help improve the overall clarity of your recording, especially if you’re unable to record in an entirely noise-free environment.
- Enhance the EQ and audio dynamics: Adjust the equalization (EQ) settings to enhance the overall tonal balance of your voice. You can also experiment with compression and other audio effects to enhance the dynamic range and make your voice stand out.
- Add music, sound effects, or intros: Consider including background music, sound effects, or an introductory segment to enhance your podcast’s production value. Be mindful of copyright laws and ensure you have proper permissions for any music or sound clips you incorporate.
- Review and fine-tune: Take the time to listen to your edited podcast recording in its entirety. Make any necessary adjustments, ensure audio levels are consistent, and eliminate any remaining issues or imperfections.
Editing your podcast may take time and practice, but it’s worth the effort to create a professional-sounding final product. Remember, the goal is to make your podcast engaging and enjoyable for your audience.
Once you’re satisfied with your edited and enhanced podcast recording, it’s time to export and share it with the world!
Now that you’ve edited and enhanced your podcast recording, you’re ready to share it with the world. Let’s dive into the final step: exporting and sharing your podcast.
Exporting and Sharing Your Podcast
After all the hard work of recording, editing, and enhancing your podcast, it’s time to share it with your audience. Here are the steps to export and share your podcast:
- Export to the preferred format: Your podcast editing software should offer options to export your final podcast in various formats such as MP3, WAV, or AAC. Choose a format that is widely compatible and provides good audio quality while keeping file sizes manageable.
- Add metadata: Before sharing your podcast, remember to add metadata such as the episode title, episode number, show notes, and relevant keywords. This information helps with SEO and makes your podcast more discoverable through search engines and podcast directories.
- Host your podcast: Choose a podcast hosting platform to store and distribute your podcast episodes. Popular hosting platforms include Libsyn, Podbean, and Anchor. These platforms generate an RSS feed for your podcast, making it easy to submit and distribute your episodes to podcast directories.
- Submit to podcast directories: Submit your podcast to popular podcast directories such as Apple Podcasts, Spotify, Google Podcasts, and Stitcher. Each directory has its submission process, which usually involves providing the podcast RSS feed and other relevant information.
- Promote your podcast: Share your podcast on your website, social media channels, and any other platforms where your target audience congregates. Create engaging promotional content, such as episode teasers or audiograms, to attract potential listeners and encourage them to tune in.
- Engage with your audience: Respond to comments, feedback, and reviews from your listeners. Encourage them to share your podcast with others and ask for their input or topic suggestions for future episodes. Building a strong connection with your audience fosters loyalty and helps your podcast grow.
- Consistency is key: Maintain a consistent release schedule to keep your audience engaged and establish a loyal following. Whether it’s a weekly, bi-weekly, or monthly release, sticking to a schedule helps you build anticipation and keeps your podcast on track.
Remember, podcasting is a long-term endeavor, and building an audience takes time and dedication. Keep producing high-quality content, promote your podcast regularly, and engage with your listeners to grow your subscriber base.
Lastly, take advantage of SEO techniques to optimize your podcast’s discoverability. Include relevant keywords in your episode titles, descriptions, and show notes to make it easier for search engines to index and rank your podcast. This can increase your chances of being found by potential listeners.
Congratulations! You have successfully recorded, edited, enhanced, and shared your podcast. Now it’s time to sit back, relax, and watch your audience grow as you continue to deliver engaging and valuable content.
Do you need anything else? I’m here to help!
Conclusion
Recording a podcast on your iPhone is an exciting journey that allows you to share your passion, knowledge, and stories with a global audience. With the right setup, tools, and techniques, you can create captivating and professional podcasts that engage your listeners.
In this guide, we covered the essential steps to help you record a podcast on your iPhone. We started by setting up your iPhone, choosing a podcast recording app, and connecting an external microphone for improved audio quality. We also explored adjusting audio settings, selecting a suitable recording environment, and setting up headphones for monitoring.
Once your setup was in place, we delved into the process of recording your podcast, offering tips on speaking clearly, monitoring audio levels, and maintaining a relaxed and confident delivery. We then discussed the crucial step of editing and enhancing your podcast recording, including trimming, adjusting levels, reducing background noise, and adding creative elements like music or sound effects.
To make your podcast available to the world, we covered the steps to export and share your podcast, including choosing the right format, adding metadata, hosting on podcast platforms, and submitting to podcast directories. We also emphasized the importance of promoting your podcast and engaging with your audience to build a loyal following.
Remember, podcasting is a continuous learning process. Explore new recording techniques, experiment with different editing styles, and continuously seek ways to improve your podcast. The most important aspect is to have fun and remain passionate about your content.
We hope this guide has provided you with valuable insights and practical tips to help you create outstanding podcasts with your iPhone. So go ahead, let your voice be heard, and immerse yourself in the incredible world of podcasting!
If you have any more questions or need further assistance, feel free to ask. Happy podcasting!