Home>Production & Technology>Digital>How To Make A 7-Band Digital Music Spectrum Analyzer With LED Strips
Digital
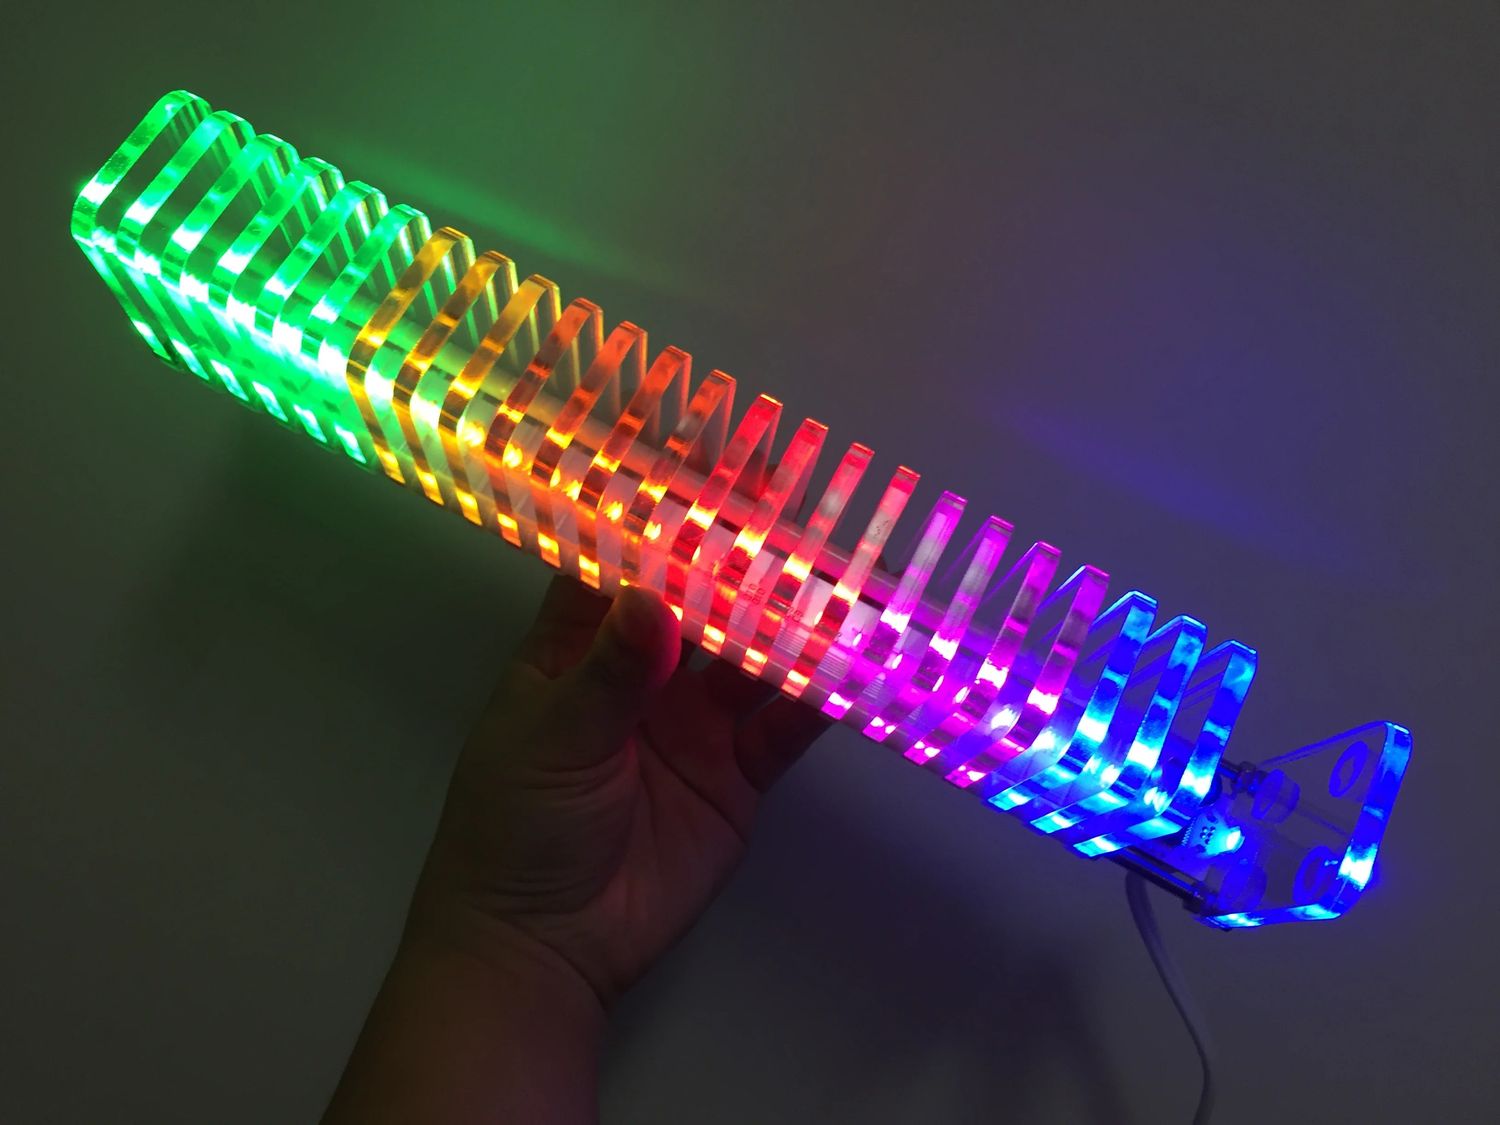
How To Make A 7-Band Digital Music Spectrum Analyzer With LED Strips
Published: March 10, 2024
Learn how to build a digital music spectrum analyzer with LED strips in this comprehensive guide. Create stunning visual effects for your music with this DIY project. Discover step-by-step instructions and tips.
(Many of the links in this article redirect to a specific reviewed product. Your purchase of these products through affiliate links helps to generate commission for AudioLover.com, at no extra cost. Learn more)
Table of Contents
Introduction
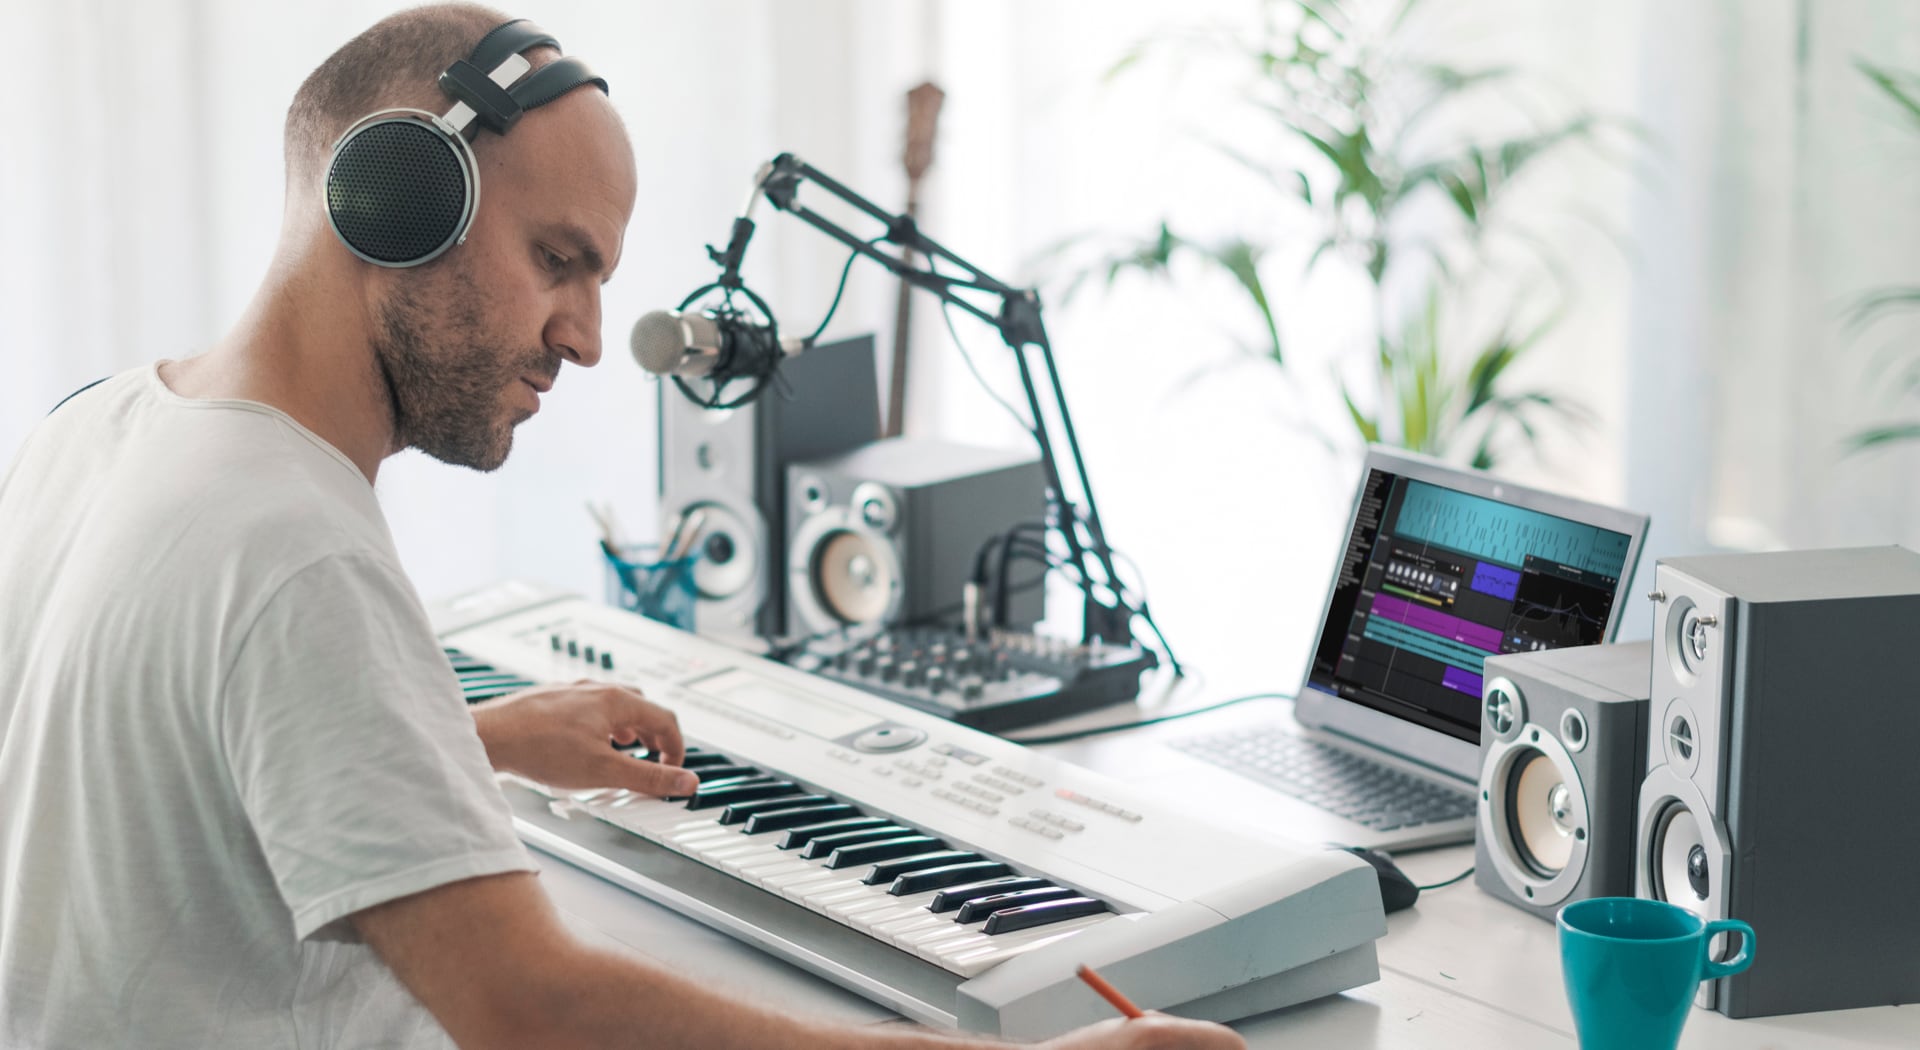
Creating a 7-band digital music spectrum analyzer with LED strips is an exciting and rewarding project that combines the worlds of music, electronics, and programming. This innovative device visually represents audio frequencies across seven distinct bands, providing a mesmerizing display that synchronizes with the rhythm and intensity of the music being played. Whether you are a music enthusiast, a DIY electronics hobbyist, or a tech-savvy individual looking for a captivating project, this digital music spectrum analyzer offers a unique opportunity to blend creativity with technical expertise.
By embarking on this project, you will delve into the realms of circuit design, microcontroller programming, and LED strip assembly, gaining valuable hands-on experience in each of these domains. The end result is a visually striking and functional music visualization tool that can enhance the ambiance of any space, from home entertainment setups to professional audiovisual installations.
This project is not only a testament to the power of technology but also a testament to the fusion of art and science. As you embark on this journey, you will witness the magic of sound waves being transformed into vibrant visual patterns, creating a multisensory experience that transcends traditional audio playback. The digital music spectrum analyzer serves as a bridge between the auditory and visual realms, offering a new perspective on the way we perceive and interact with music.
Moreover, the process of building this device fosters a deeper understanding of digital signal processing and real-time data visualization. Through the utilization of LED strips and a microcontroller, you will gain insight into the principles of data representation and manipulation, all while honing your skills in hardware integration and software development.
In the subsequent sections, we will explore the materials needed for this project, delve into the intricacies of circuit design, discuss the programming of the microcontroller, guide you through the assembly of the LED strips, and provide insights into testing and calibration. Each step is an integral part of the journey toward creating a captivating digital music spectrum analyzer that brings together technology and creativity in a harmonious symphony.
Materials Needed
To embark on the exciting journey of creating a 7-band digital music spectrum analyzer with LED strips, you will need a carefully curated selection of materials and components. Each item plays a crucial role in bringing this innovative project to life, combining the realms of electronics, programming, and audiovisual artistry. Here's a comprehensive list of the materials needed to embark on this captivating endeavor:
-
Microcontroller: The heart of the digital music spectrum analyzer, the microcontroller serves as the central processing unit that interprets audio input and controls the LED strips to visualize the music frequencies. Popular choices include Arduino boards or ESP8266/ESP32-based microcontrollers, known for their versatility and ease of programming.
-
LED Strips: High-quality addressable LED strips are essential for creating the visual representation of audio frequencies. These LED strips should be capable of individually controlling each LED, allowing for precise and dynamic illumination based on the music input.
-
Audio Input Module: To capture the audio signals and process them for visualization, an audio input module or sensor is required. This module serves as the interface between the audio source (such as a music player or microphone) and the microcontroller, enabling real-time analysis of the audio frequencies.
-
Power Supply: A reliable power supply is essential to ensure the stable operation of the digital music spectrum analyzer. Depending on the power requirements of the LED strips and the microcontroller, a suitable power source, such as a DC adapter or battery pack, should be selected.
-
Resistors and Capacitors: Various resistors and capacitors are used in the circuit design to regulate voltage, filter noise, and protect the components from electrical fluctuations. These passive electronic components are integral to maintaining the stability and performance of the analyzer.
-
Breadboard or PCB: For prototyping and circuit assembly, a breadboard or a printed circuit board (PCB) can be used to organize and connect the electronic components. A breadboard offers flexibility for experimentation, while a PCB provides a more permanent and compact solution.
-
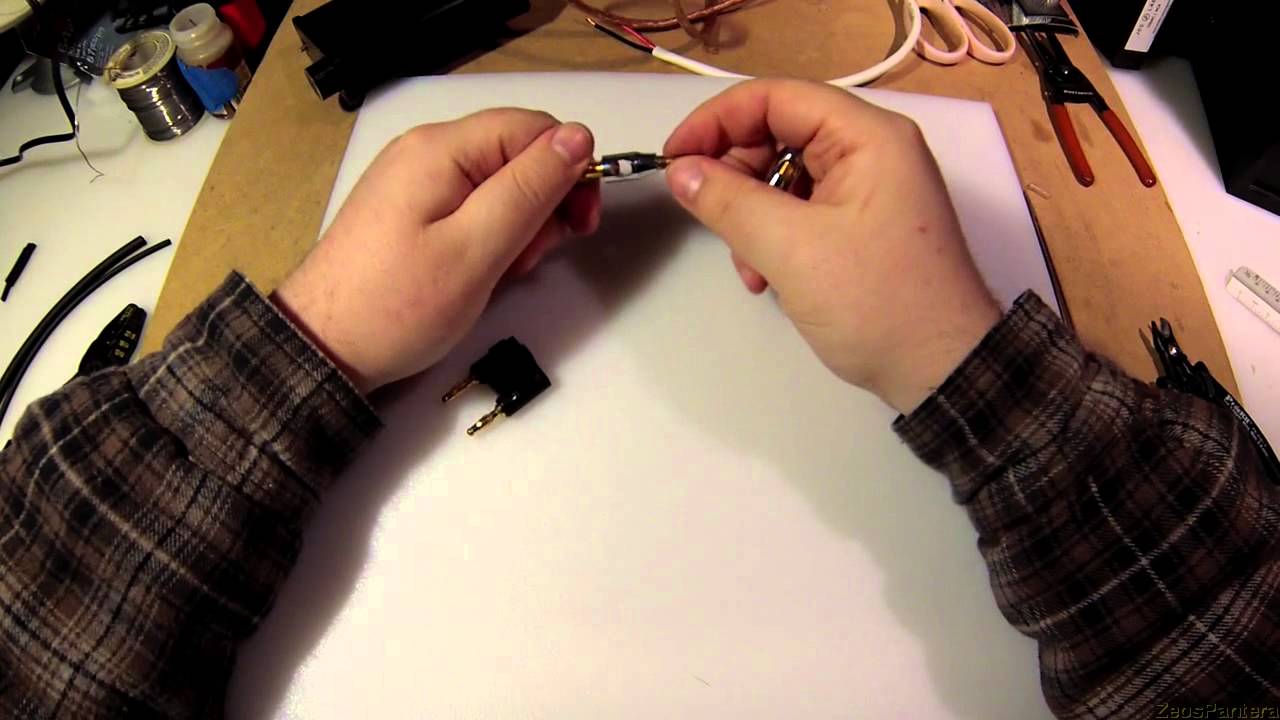
Wires and Connectors: A collection of jumper wires, soldering equipment, and connectors is necessary for establishing the electrical connections between the components, ensuring a reliable and tidy circuit layout.
-
Enclosure or Mounting Platform: Depending on the intended use and environment, an enclosure or mounting platform may be required to house the microcontroller, circuitry, and LED strips. This adds a professional finish to the project and protects the internal components.
-
Computer and USB Cable: A computer with the necessary software for programming the microcontroller, along with a USB cable for connecting the microcontroller to the computer, are essential for uploading the code and configuring the analyzer.
-
Optional Components: Additional components such as potentiometers, buttons, and level shifters may be incorporated based on specific design requirements and customization preferences.
By gathering these materials, you are poised to embark on an enriching and creative journey, where technology and art converge to produce a captivating digital music spectrum analyzer. With these components at your disposal, you are ready to delve into the intricacies of circuit design, programming, and LED strip assembly, bringing your vision of a mesmerizing audiovisual display to fruition.
Circuit Design
The circuit design forms the foundation of the 7-band digital music spectrum analyzer, serving as the architectural framework that facilitates the seamless integration of electronic components and the visualization of audio frequencies. At the core of the circuit lies the microcontroller, which orchestrates the analysis of audio input and the control of the LED strips to create a captivating visual representation of music.
The circuit design encompasses the strategic arrangement of components, including resistors, capacitors, and the audio input module, to ensure the efficient processing and interpretation of audio signals. Central to this design is the seamless interaction between the audio input module and the microcontroller, enabling real-time data acquisition and analysis.
Key considerations in the circuit design include voltage regulation, signal conditioning, and noise filtration to maintain the integrity of the audio input and optimize the accuracy of frequency visualization. By incorporating the appropriate passive electronic components, such as resistors and capacitors, the circuit achieves stability and reliability in interpreting audio frequencies across the seven distinct bands.
Furthermore, the integration of power supply components ensures consistent and reliable operation, providing the necessary voltage and current to power the microcontroller and LED strips. This aspect of the circuit design is critical in sustaining the functionality of the digital music spectrum analyzer, especially during dynamic audio visualization scenarios.
The layout of the circuit, whether implemented on a breadboard for prototyping or a printed circuit board (PCB) for a more permanent solution, plays a pivotal role in organizing the components and establishing the necessary electrical connections. A well-structured circuit layout not only enhances the efficiency of the analyzer but also facilitates troubleshooting and maintenance.
In essence, the circuit design represents the technical backbone of the digital music spectrum analyzer, harmonizing the intricate interplay of electronic components to transform audio signals into captivating visual displays. This foundational stage sets the stage for the subsequent programming of the microcontroller and the assembly of the LED strips, culminating in the realization of a mesmerizing audiovisual experience that transcends traditional music playback.
By meticulously crafting the circuit design, you lay the groundwork for a seamless fusion of technology and artistry, where the magic of sound is translated into a symphony of light and color, captivating the senses and enriching the audiovisual landscape.
Programming the Microcontroller
Programming the microcontroller is a pivotal phase in the creation of a 7-band digital music spectrum analyzer with LED strips. This stage involves the development and implementation of code that enables the microcontroller to interpret audio input, analyze frequency data, and orchestrate the dynamic illumination of the LED strips in synchronization with the music being played.
At the forefront of this process is the selection of a suitable programming environment, such as the Arduino Integrated Development Environment (IDE) or platform-specific software for ESP8266/ESP32-based microcontrollers. These environments provide a user-friendly interface for writing, compiling, and uploading code to the microcontroller, offering a seamless platform for programming and testing.
The programming logic revolves around real-time audio analysis, where the microcontroller captures audio input from the designated source, processes the signal to extract frequency data, and maps the frequency bands to the corresponding LED strips for visual representation. This entails the utilization of digital signal processing techniques to transform the analog audio input into actionable frequency information.
Furthermore, the code encompasses algorithms for mapping frequency data to the LED strips, ensuring that the visual representation accurately reflects the intensity and distribution of audio frequencies across the seven bands. This involves establishing thresholds and color schemes to create a visually engaging and responsive display that mirrors the nuances of the music being analyzed.
Additionally, the programming code may incorporate features for user interaction, allowing for customization of visual effects, sensitivity adjustments, and mode selection. This enhances the versatility of the digital music spectrum analyzer, catering to diverse preferences and environments where the device may be deployed.
Moreover, the code is optimized for efficiency and responsiveness, leveraging the capabilities of the microcontroller to deliver seamless and synchronized audiovisual experiences. This optimization is crucial in ensuring that the LED strips respond promptly to changes in audio input, capturing the dynamic nature of music with precision and fluidity.
By meticulously crafting and uploading the programming code to the microcontroller, you empower the device to transform audio signals into captivating visual displays, enriching the auditory experience with a mesmerizing symphony of light and color. This stage marks the convergence of technology and creativity, where the power of code breathes life into the hardware, unlocking the potential for immersive audiovisual experiences that transcend traditional music playback.
Assembling the LED Strips
Assembling the LED strips is a pivotal phase in the creation of a 7-band digital music spectrum analyzer, as it brings the visual representation of audio frequencies to life through vibrant and dynamic illumination. The LED strips serve as the canvas upon which the frequencies are visually depicted, adding a captivating dimension to the auditory experience. This process involves meticulous attention to detail and precision to ensure the seamless integration of the LED strips with the microcontroller and the overall circuitry.
The first step in assembling the LED strips involves carefully laying out the physical arrangement of the strips, considering factors such as length, positioning, and connectivity. The strips are strategically positioned to align with the designated frequency bands, creating a cohesive visual continuum that accurately reflects the intensity and distribution of audio frequencies.
Next, the electrical connections between the LED strips and the microcontroller are established, ensuring a reliable and efficient interface for data transmission and control. This entails soldering or connecting the necessary wires and connectors to facilitate seamless communication between the microcontroller and the LED strips, enabling real-time synchronization with the audio input.
Once the physical and electrical aspects are addressed, the LED strips are integrated into the overall enclosure or mounting platform, providing a cohesive and professional finish to the digital music spectrum analyzer. This enclosure not only protects the internal components but also enhances the visual impact of the LED strips, creating a visually striking centerpiece that complements any audiovisual environment.
Furthermore, the assembly process involves testing the functionality and synchronization of the LED strips with the programmed microcontroller, ensuring that the visual representation accurately mirrors the audio frequencies in real time. This iterative testing and refinement phase is crucial in fine-tuning the responsiveness and visual effects of the LED strips, culminating in a captivating and immersive audiovisual experience.
By meticulously assembling the LED strips, you breathe life into the digital music spectrum analyzer, transforming audio frequencies into a mesmerizing symphony of light and color. This stage marks the convergence of technology and artistry, where the visual representation of sound transcends traditional boundaries, captivating the senses and enriching the audiovisual landscape with a harmonious fusion of music and light.
Testing and Calibration
Testing and calibration are critical phases in the development of a 7-band digital music spectrum analyzer with LED strips, ensuring the accuracy, responsiveness, and visual impact of the device. These stages involve comprehensive evaluation, adjustment, and refinement to fine-tune the performance of the analyzer, aligning it with the intended audiovisual experience.
The testing phase encompasses a series of systematic assessments to validate the functionality and synchronization of the LED strips with the programmed microcontroller. This involves subjecting the analyzer to a diverse range of audio inputs, spanning various genres, tempos, and intensity levels, to gauge its ability to dynamically visualize the corresponding frequency data. Through this process, the analyzer's responsiveness to different audio stimuli is evaluated, allowing for adjustments to be made to optimize its performance across a spectrum of music genres and audio characteristics.
Furthermore, the synchronization of the LED strips with the audio input is meticulously scrutinized to ensure that the visual representation accurately mirrors the nuances of the music in real time. This entails assessing the precision of frequency mapping, color transitions, and intensity variations, refining the visual effects to create a captivating and immersive audiovisual display.
Calibration plays a pivotal role in fine-tuning the sensitivity, color schemes, and visual effects of the LED strips to achieve a harmonious and visually engaging representation of audio frequencies. This involves adjusting the thresholds for frequency bands, refining the color gradients, and optimizing the responsiveness of the LED strips to capture the dynamic nature of music with precision and fluidity.
Moreover, the calibration phase encompasses user interaction testing, allowing for adjustments to be made to accommodate user preferences and environmental considerations. This ensures that the analyzer can be tailored to suit diverse settings, from intimate home environments to dynamic event spaces, enhancing its versatility and adaptability.
By subjecting the digital music spectrum analyzer to rigorous testing and calibration, you refine its performance, responsiveness, and visual impact, culminating in a captivating and immersive audiovisual experience. This iterative process of evaluation and refinement ensures that the analyzer transcends traditional boundaries, captivating the senses and enriching the audiovisual landscape with a harmonious fusion of music and light.
Conclusion
In conclusion, the journey of creating a 7-band digital music spectrum analyzer with LED strips is a testament to the seamless fusion of technology, creativity, and artistry. This innovative project transcends traditional audiovisual experiences, offering a captivating symphony of light and color that harmonizes with the rhythm and intensity of music. From the meticulous assembly of electronic components to the programming of the microcontroller and the calibration of the LED strips, every phase of the project embodies a harmonious convergence of technical expertise and creative vision.
The digital music spectrum analyzer serves as a bridge between the auditory and visual realms, transforming audio frequencies into a mesmerizing visual display that captivates the senses and enriches the audiovisual landscape. The seamless synchronization of the LED strips with the programmed microcontroller creates a dynamic and immersive experience, where music is not only heard but also seen in vibrant and responsive patterns.
Moreover, the versatility and adaptability of the analyzer allow it to enhance a myriad of environments, from home entertainment setups to professional audiovisual installations, adding a captivating dimension to the ambiance and creating a visually engaging centerpiece. The iterative process of testing and calibration ensures that the analyzer delivers a seamless and responsive audiovisual experience, catering to diverse music genres and environmental settings.
By embarking on this journey, individuals not only gain valuable hands-on experience in circuit design, microcontroller programming, and LED strip assembly but also witness the transformative power of technology in translating sound into a captivating symphony of light and color. This project serves as a testament to the boundless creativity and technical ingenuity that converge to redefine the way we perceive and interact with music.
In essence, the 7-band digital music spectrum analyzer with LED strips represents a harmonious fusion of technology and artistry, where the magic of sound is translated into a captivating visual display, enriching the auditory experience with a mesmerizing symphony of light and color. This project stands as a testament to the transformative potential of technology in creating immersive and multisensory experiences that transcend traditional boundaries, captivating the senses and enriching the audiovisual landscape with a harmonious fusion of music and light.