Home>Production & Technology>Metronome>How To Make An Led Metronome On Launchpad
Metronome
How To Make An Led Metronome On Launchpad
Published: January 13, 2024
Learn how to create an LED metronome using Launchpad. Step-by-step guide with easy instructions. Master rhythm and timing with this DIY metronome project.
(Many of the links in this article redirect to a specific reviewed product. Your purchase of these products through affiliate links helps to generate commission for AudioLover.com, at no extra cost. Learn more)
Table of Contents
Introduction
Welcome to the world of music and electronics! In this article, we will take you through the exciting process of creating your very own LED metronome using a Launchpad and a few other components. Whether you’re a beginner or an experienced musician, having a metronome is essential to improving your timing and rhythm.
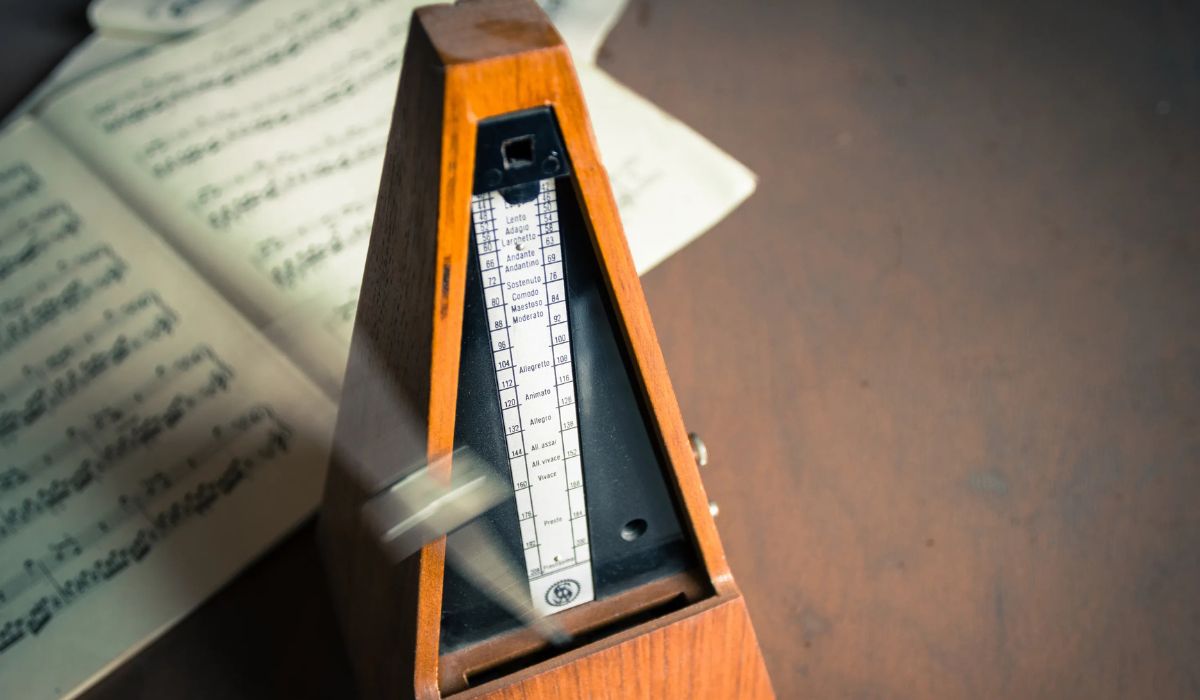
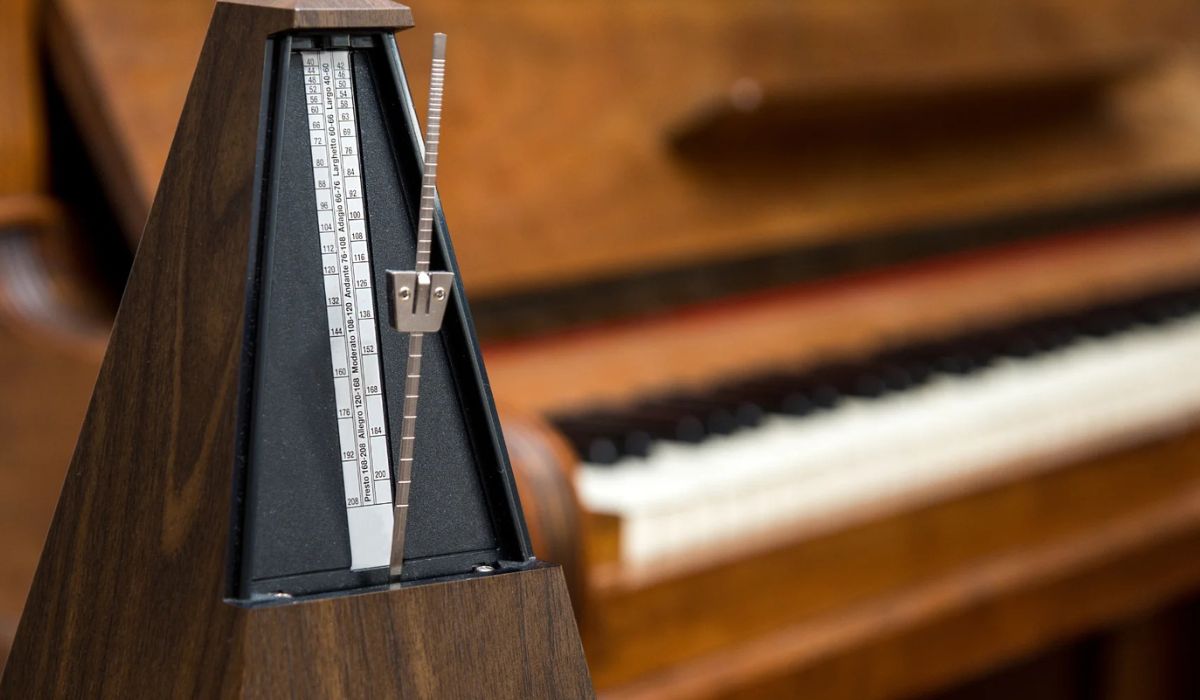
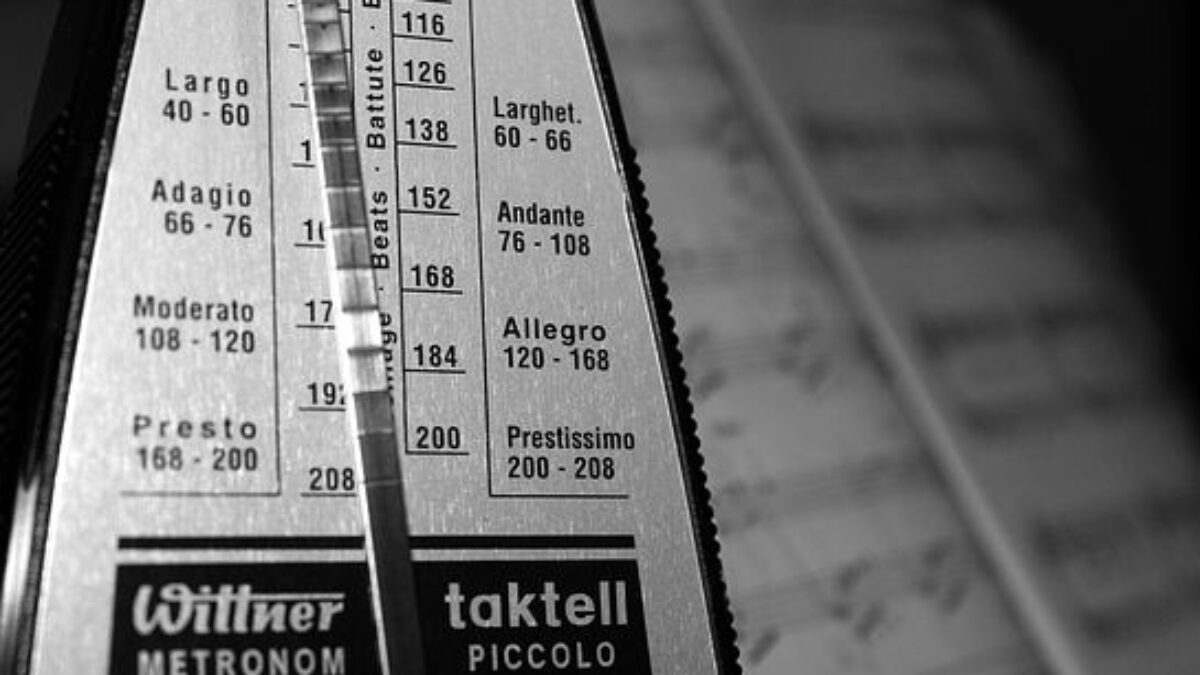
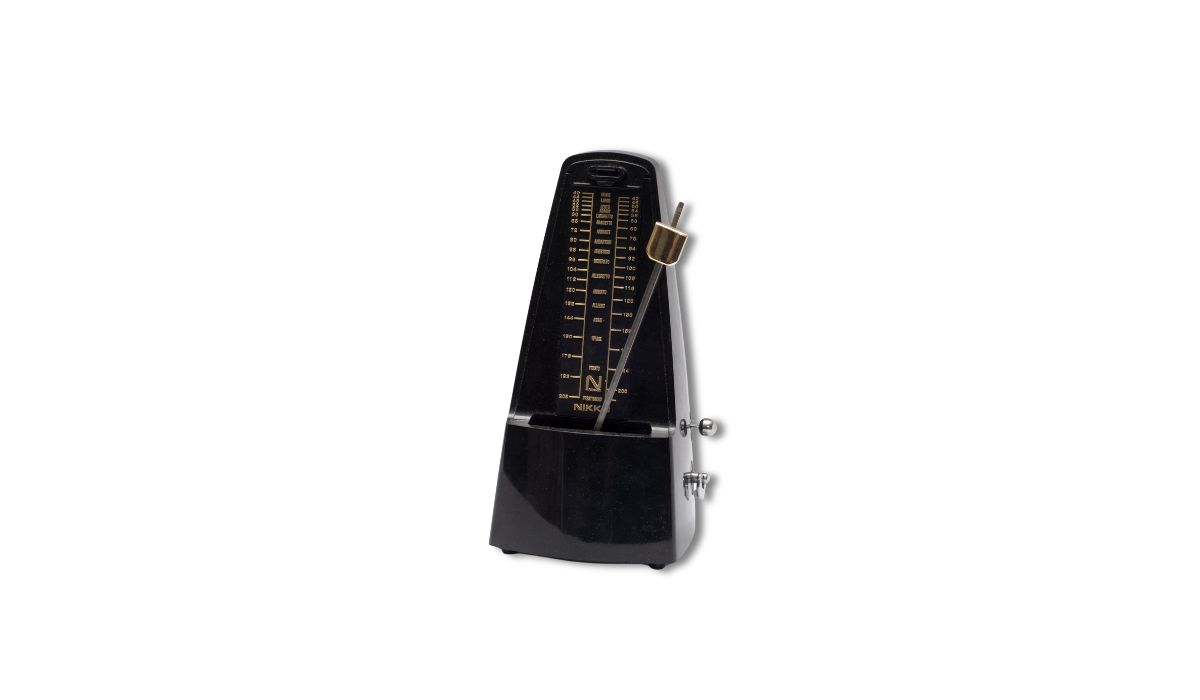
A metronome is a device that produces a regular beat, often represented by a clicking sound or flashing light, to help musicians maintain a steady tempo while playing or practicing. Traditionally, metronomes have been standalone devices, but with the rise of DIY electronics and microcontrollers, it’s now possible to build your own customized metronome.
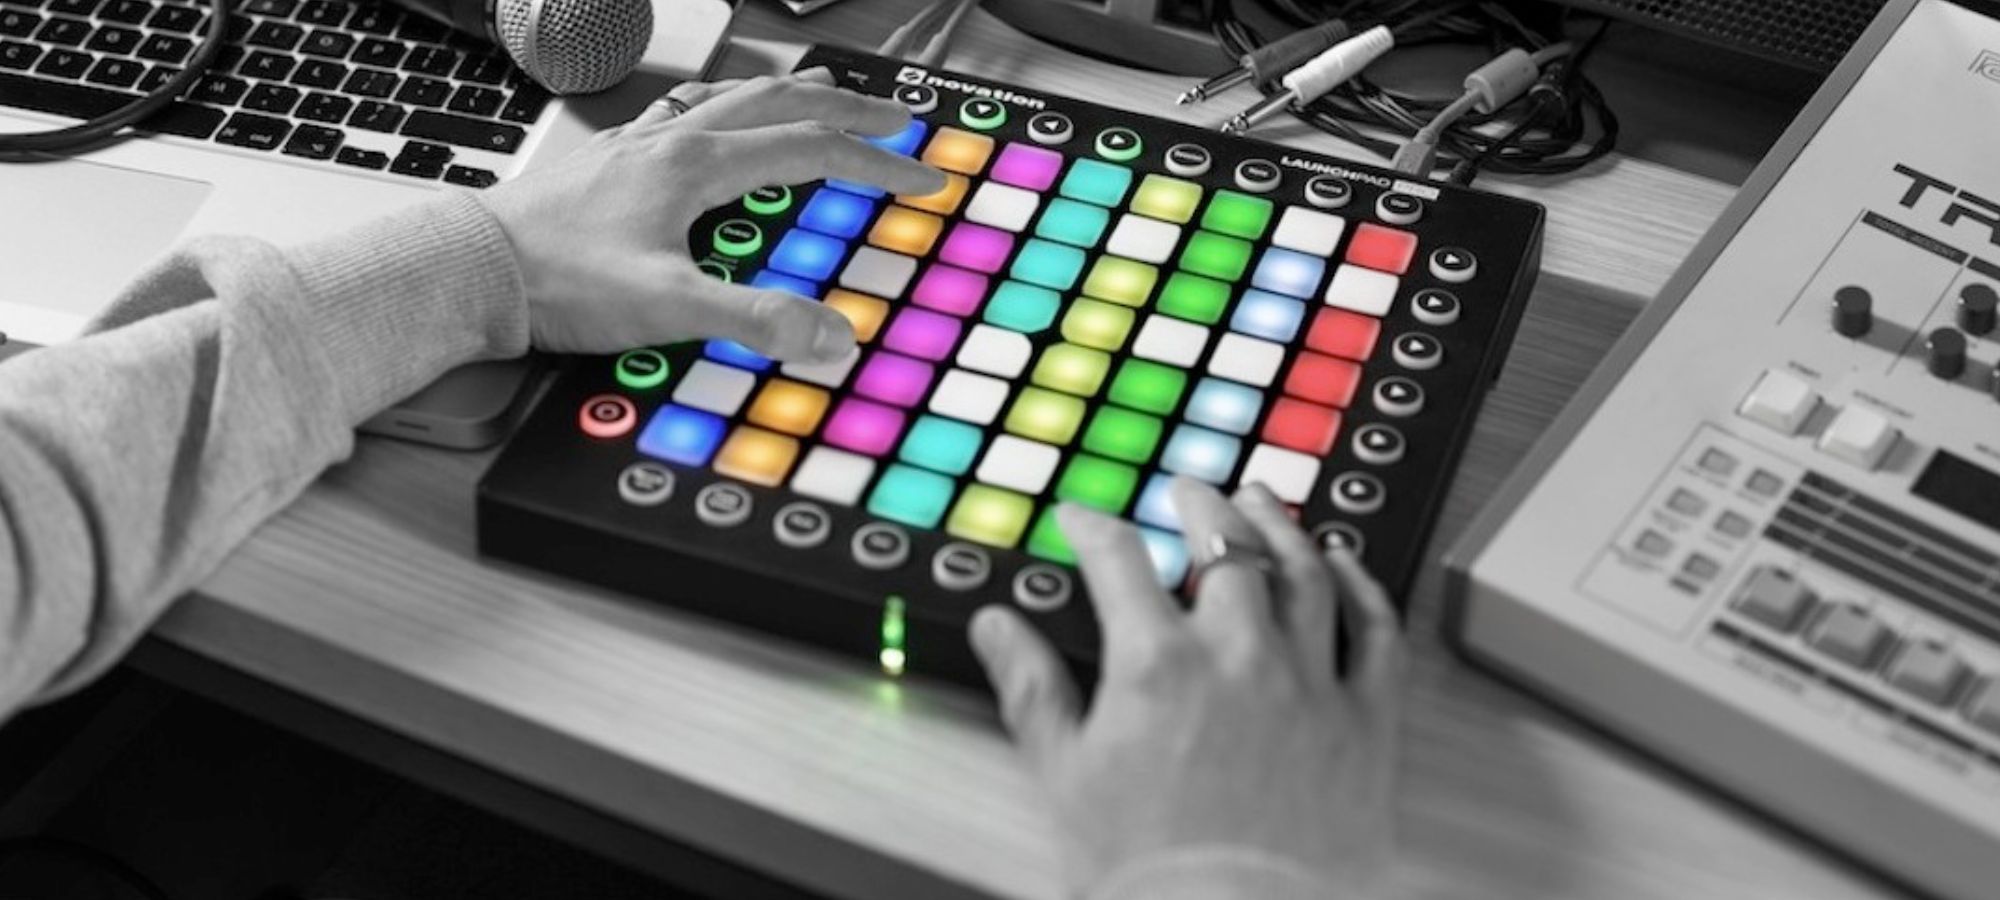
For this project, we will be utilizing the Launchpad, a development board that is popular among electronic enthusiasts and hobbyists. The Launchpad provides a user-friendly interface and powerful capabilities, making it an ideal platform for creating interactive projects like our LED metronome.
Creating your own LED metronome has several advantages. Firstly, it allows you to customize the tempo and rhythm patterns according to your specific needs and preferences. Secondly, it provides a visually appealing way to keep track of the beat, making it easier to follow along while playing an instrument or practicing. Lastly, it is a fun and educational project that combines both music and electronics.
No prior programming or electronics experience is required to complete this project. We will guide you through each step, from setting up the Launchpad to coding the LED metronome and connecting the components. So, let’s dive in and get started on this exciting journey of creating our own LED metronome!
Materials Needed
Before we jump into the project, let’s gather all the materials we’ll need to build our LED metronome. Don’t worry, the list is relatively short, and you may already have some of these items at hand. Here’s what you’ll need:
- Launchpad: This is the main component for our project. You can choose between different versions of the Launchpad, such as the MSP430 or the Stellaris Launchpad, depending on your preferences and availability.
- Jumper Wires: These wires will be used to connect the Launchpad to the LED.
- LED: We’ll use an LED as the visual indicator for our metronome. Make sure to choose a color that can be easily seen and distinguishable in different lighting conditions.
- Resistor: To protect the LED from excessive current, we’ll need a resistor. The exact value of the resistor will depend on the specifications of your LED, so refer to its datasheet for the appropriate value.
That’s it! With these basic materials, we’ll be able to create our LED metronome. If you’re missing any of the items, don’t worry. They are easily accessible and can be found at your local electronics store or online retailers.
It’s important to note that while these are the core materials needed, you may also require additional tools such as a soldering iron and solder if you plan on making more permanent connections. However, for the purpose of this tutorial, we will focus on a breadboard setup for simplicity and ease of assembly.
Once you have gathered all the materials, we can move on to the next step, which is setting up the Launchpad.
Step 1: Setting Up the Launchpad
Before we can start building our LED metronome, we need to properly set up the Launchpad. This involves installing the necessary software and configuring the development board. Follow these steps to get started:
- Install Energia IDE: Energia is an open-source electronics prototyping platform that supports the Launchpad. Visit the official Energia website and download the latest version of the IDE for your operating system.
- Connect the Launchpad: Using a USB cable, connect the Launchpad to your computer. The Launchpad will be recognized as a serial device, and the necessary drivers should automatically install.
- Open Energia IDE: Launch the Energia IDE application that you downloaded earlier. You should see a simple and user-friendly interface.
- Board and Port Selection: In Energia, navigate to the Tools menu and select the appropriate Launchpad board from the “Board” submenu. Additionally, choose the correct serial port that corresponds to your Launchpad under the “Port” submenu.
- Test Connection: To ensure that the Launchpad is properly connected and functioning, select the “Blink” example sketch from the File menu and upload it to the Launchpad. The onboard LED should start blinking, indicating a successful connection.
Once you have completed these steps, your Launchpad is ready to be programmed. Now let’s move on to the exciting part – coding our LED metronome!
Step 2: Coding the LED Metronome
Now that our Launchpad is set up, it’s time to write the code for our LED metronome. We’ll be using the Energia IDE to program the Launchpad. Follow these steps to code the LED metronome:
- Create a new sketch: In the Energia IDE, click on the File menu and select “New”. This will create a new blank sketch for our project.
- Define the necessary variables: Start by declaring the variables for the LED pin and the tempo of the metronome. The LED pin will depend on the Launchpad model and the pin you choose to connect the LED to.
- Set up the LED pin: In the setup() function, set the LED pin as an output using the pinMode() function.
- Write the main loop: In the loop() function, you’ll write the code that controls the LED, creating the metronome effect.
- Flash the LED: Inside the loop() function, use the digitalWrite() function to toggle the LED pin on and off with a specific timing based on the metronome tempo.
- Add delay: To create the desired tempo, add a delay() function after toggling the LED pin. The duration of the delay will determine the speed of the metronome.
With these steps, you have the basic structure of the code for our LED metronome. But feel free to experiment and add additional features, such as different rhythm patterns or adjusting the tempo dynamically. The possibilities are endless, depending on your programming skills and creativity.
Once you have written the code, click on the “Upload” button in the Energia IDE to transfer the program to the Launchpad. You will see the LED flashing according to the tempo you have set. Congratulations! You have successfully coded your LED metronome.
Now, let’s move on to the next step, where we will connect the LED and other components to the Launchpad.
Step 3: Connecting the Components
Now that we have coded our LED metronome, it’s time to connect the LED and other components to the Launchpad. Follow these steps to ensure the proper connections:
- Identify the LED pins: Take a close look at your LED. Identify the longer leg, which is the positive (anode) pin, and the shorter leg, which is the negative (cathode) pin.
- Connect the LED to the Launchpad: Use jumper wires to connect the positive (anode) pin of the LED to a digital pin on the Launchpad. Connect the negative (cathode) pin of the LED to a ground pin on the Launchpad. Be sure to use a resistor in series with the LED to prevent excessive current flow.
That’s it! With these connections in place, we are now ready to test our LED metronome.
But before moving on to testing, make sure that all connections are secure and properly soldered if necessary. Loose connections can cause unexpected behavior or damage to the components.
Now let’s move on to the final step – testing and troubleshooting our LED metronome.
Step 4: Testing and Troubleshooting
Now that we have successfully connected the components, it’s time to test our LED metronome and ensure that everything is working as expected. Follow these steps to test and troubleshoot your project:
- Upload the code: Make sure to upload the code to your Launchpad using the Energia IDE. Verify that the upload process completes successfully without any errors.
- Observe the LED: Look at the LED and see if it is flashing according to the tempo you have set. If the LED doesn’t blink or has an irregular pattern, there may be an issue with the code or the connections. Double-check your code and verify that all the connections are correct.
- Check the wiring: Ensure that all the wires are securely connected and that there are no loose connections. Loose or faulty connections can disrupt the functionality of the metronome.
- Test with different tempos: Experiment with different tempo values in the code and see if the LED responds accordingly. This will help you determine if the timing is accurate and if the delay between LED toggling is correct.
- Troubleshoot any issues: If you encounter any issues, such as the LED not lighting up at all or the metronome not functioning as expected, double-check the code for errors, verify the connections, and ensure that all the components are properly powered.
Remember, troubleshooting is a normal part of the process, especially when working with electronics. If you encounter difficulties, don’t get discouraged. Take your time to carefully review the code and connections to identify potential issues.
If you’re still having trouble, consider seeking assistance from online forums or communities dedicated to the Launchpad or electronics projects. The community is a great resource for sharing knowledge and troubleshooting common issues.
Once you have resolved any issues and the LED metronome is functioning correctly, give yourself a pat on the back! You have successfully built and tested your very own LED metronome.
Now, it’s time to start practicing your musical skills and make use of your new LED metronome to improve your timing and rhythm.
Conclusion
Congratulations on successfully creating your own LED metronome using the Launchpad! Through this project, you have gained hands-on experience in electronics, programming, and music. The LED metronome will be a valuable tool in your music practice sessions, helping you to develop a consistent tempo and improve your timing.
By customizing the tempo and rhythm patterns, you can adapt the LED metronome to suit your musical preferences, whether you play the piano, guitar, drums, or any other instrument. The visual guidance provided by the LED will enhance your ability to stay on beat and maintain a steady rhythm.
Remember that this project is just the beginning. You can continue to tinker with the code, add features, or even incorporate other sensors or peripherals to expand the functionality of your LED metronome.
Building your own projects, like this LED metronome, not only offers practical benefits but also fosters creativity and problem-solving skills. As you explore more projects, you’ll deepen your understanding of electronics and gain confidence in your ability to bring your ideas to life.
We hope you enjoyed the journey of creating your own LED metronome and that it has inspired you to delve further into the exciting world of DIY electronics and music. So, grab your instrument, set the tempo, and let your LED metronome guide you to greatness!