Home>Production & Technology>Digital>How To Put Music On My GPX Digital Audio Player
Digital
How To Put Music On My GPX Digital Audio Player
Published: March 10, 2024
Learn how to easily transfer music to your GPX digital audio player and enjoy your favorite tunes on the go. Follow our step-by-step guide for a seamless digital music experience.
(Many of the links in this article redirect to a specific reviewed product. Your purchase of these products through affiliate links helps to generate commission for AudioLover.com, at no extra cost. Learn more)
Table of Contents
- Introduction
- Step 1: Check the compatibility of your GPX digital audio player
- Step 2: Download music onto your computer
- Step 3: Connect your GPX digital audio player to your computer
- Step 4: Transfer music to your GPX digital audio player
- Step 5: Safely disconnect your GPX digital audio player from your computer
- Conclusion
Introduction
Putting music on your GPX digital audio player can be a rewarding experience, allowing you to carry your favorite tunes with you wherever you go. Whether you're a music enthusiast, a fitness buff looking for a motivational playlist, or simply someone who enjoys the company of music during daily commutes, learning how to transfer music to your GPX digital audio player is a valuable skill.
In this comprehensive guide, we will walk you through the step-by-step process of adding music to your GPX digital audio player. From checking the compatibility of your device to safely disconnecting it from your computer, we've got you covered. By the end of this tutorial, you'll be equipped with the knowledge and confidence to curate your personalized music library on your GPX digital audio player.
So, grab your GPX digital audio player, prepare your favorite music collection, and let's embark on this musical journey together. Whether you're a tech-savvy individual or a beginner in the realm of digital audio players, this guide is designed to cater to your needs and provide a seamless music transfer experience. Let's dive in and unlock the potential of your GPX digital audio player as a portable music powerhouse.
Step 1: Check the compatibility of your GPX digital audio player
Before embarking on the journey of transferring music to your GPX digital audio player, it's crucial to ensure that your device is compatible with the file formats and transfer methods you intend to use. This step is essential to avoid any potential issues and to guarantee a smooth music transfer process.
-
File Formats Compatibility: Start by checking the supported file formats of your GPX digital audio player. Commonly supported formats include MP3, WMA, WAV, and AAC. Understanding the compatible file formats will help you organize your music library accordingly and ensure that the transferred files can be played seamlessly on your device.
-
Storage Capacity: Assess the storage capacity of your GPX digital audio player. This will determine the amount of music you can transfer onto the device. Knowing the available storage space will prevent overloading the device with more music files than it can accommodate, leading to potential playback issues.
-
Transfer Methods: Familiarize yourself with the transfer methods supported by your GPX digital audio player. Some devices may allow music transfer via USB connection, while others might support wireless transfer options such as Bluetooth or Wi-Fi. Understanding the available transfer methods will guide you in selecting the most suitable approach for transferring your music collection.
-
Software Requirements: Check if your GPX digital audio player requires specific software for music transfer. Some devices may be compatible with popular media management software, while others may have proprietary software provided by the manufacturer. Ensuring that you have the necessary software installed on your computer will streamline the music transfer process.
By thoroughly checking the compatibility of your GPX digital audio player, you set the foundation for a successful music transfer experience. This proactive approach allows you to tailor your music transfer method to the specific capabilities of your device, ensuring that you can enjoy your favorite tunes without any compatibility-related hiccups.
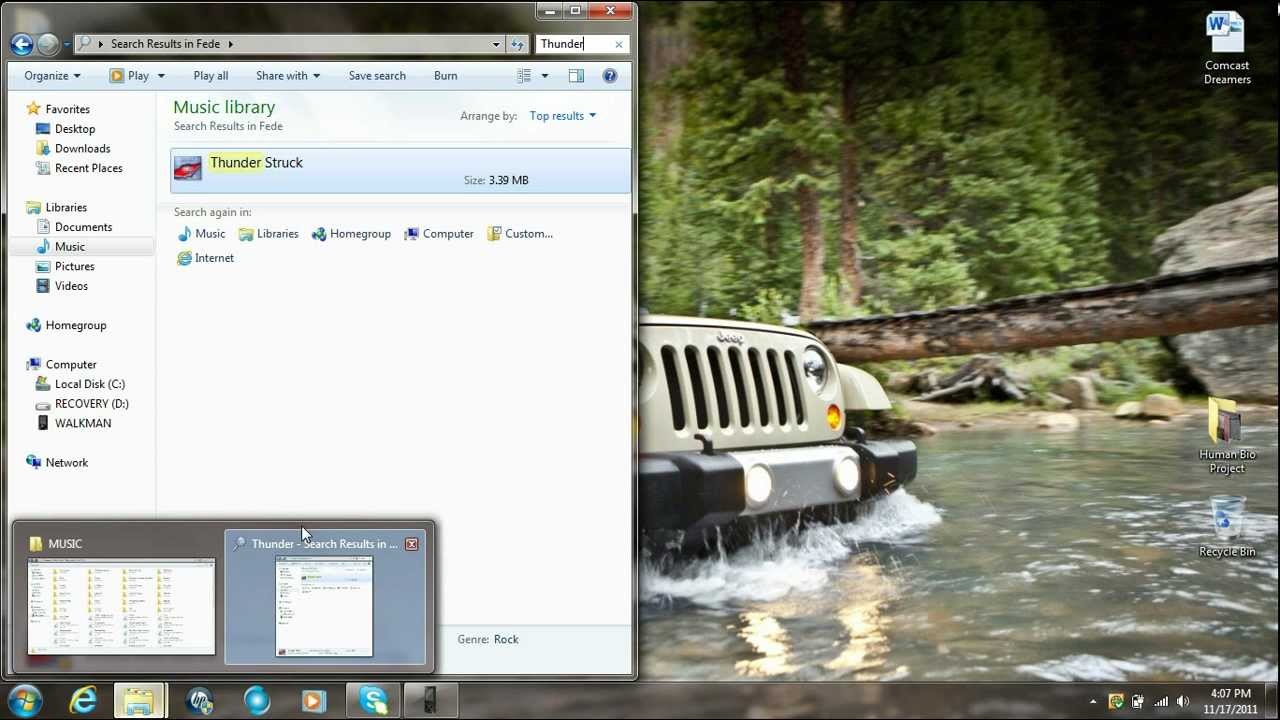
Step 2: Download music onto your computer
To begin the process of transferring music to your GPX digital audio player, you'll need to have your desired music collection stored on your computer. This step involves acquiring music files from various sources and organizing them within your computer's storage for seamless transfer to your GPX digital audio player.
Explore Music Sources
Start by exploring the diverse sources from which you can obtain music. These sources may include online music stores, digital music platforms, personal music collections, and music streaming services. Depending on your preferences, you can purchase music, download free tracks, or rip audio from your existing CD collection to create a digital music library on your computer.
Organize Your Music Library
Once you've acquired the music files, it's essential to organize them within your computer's storage. Create dedicated folders or playlists to categorize your music based on genres, artists, albums, or any other classification that resonates with your music organization preferences. This step not only facilitates easy access to your music but also streamlines the transfer process to your GPX digital audio player.
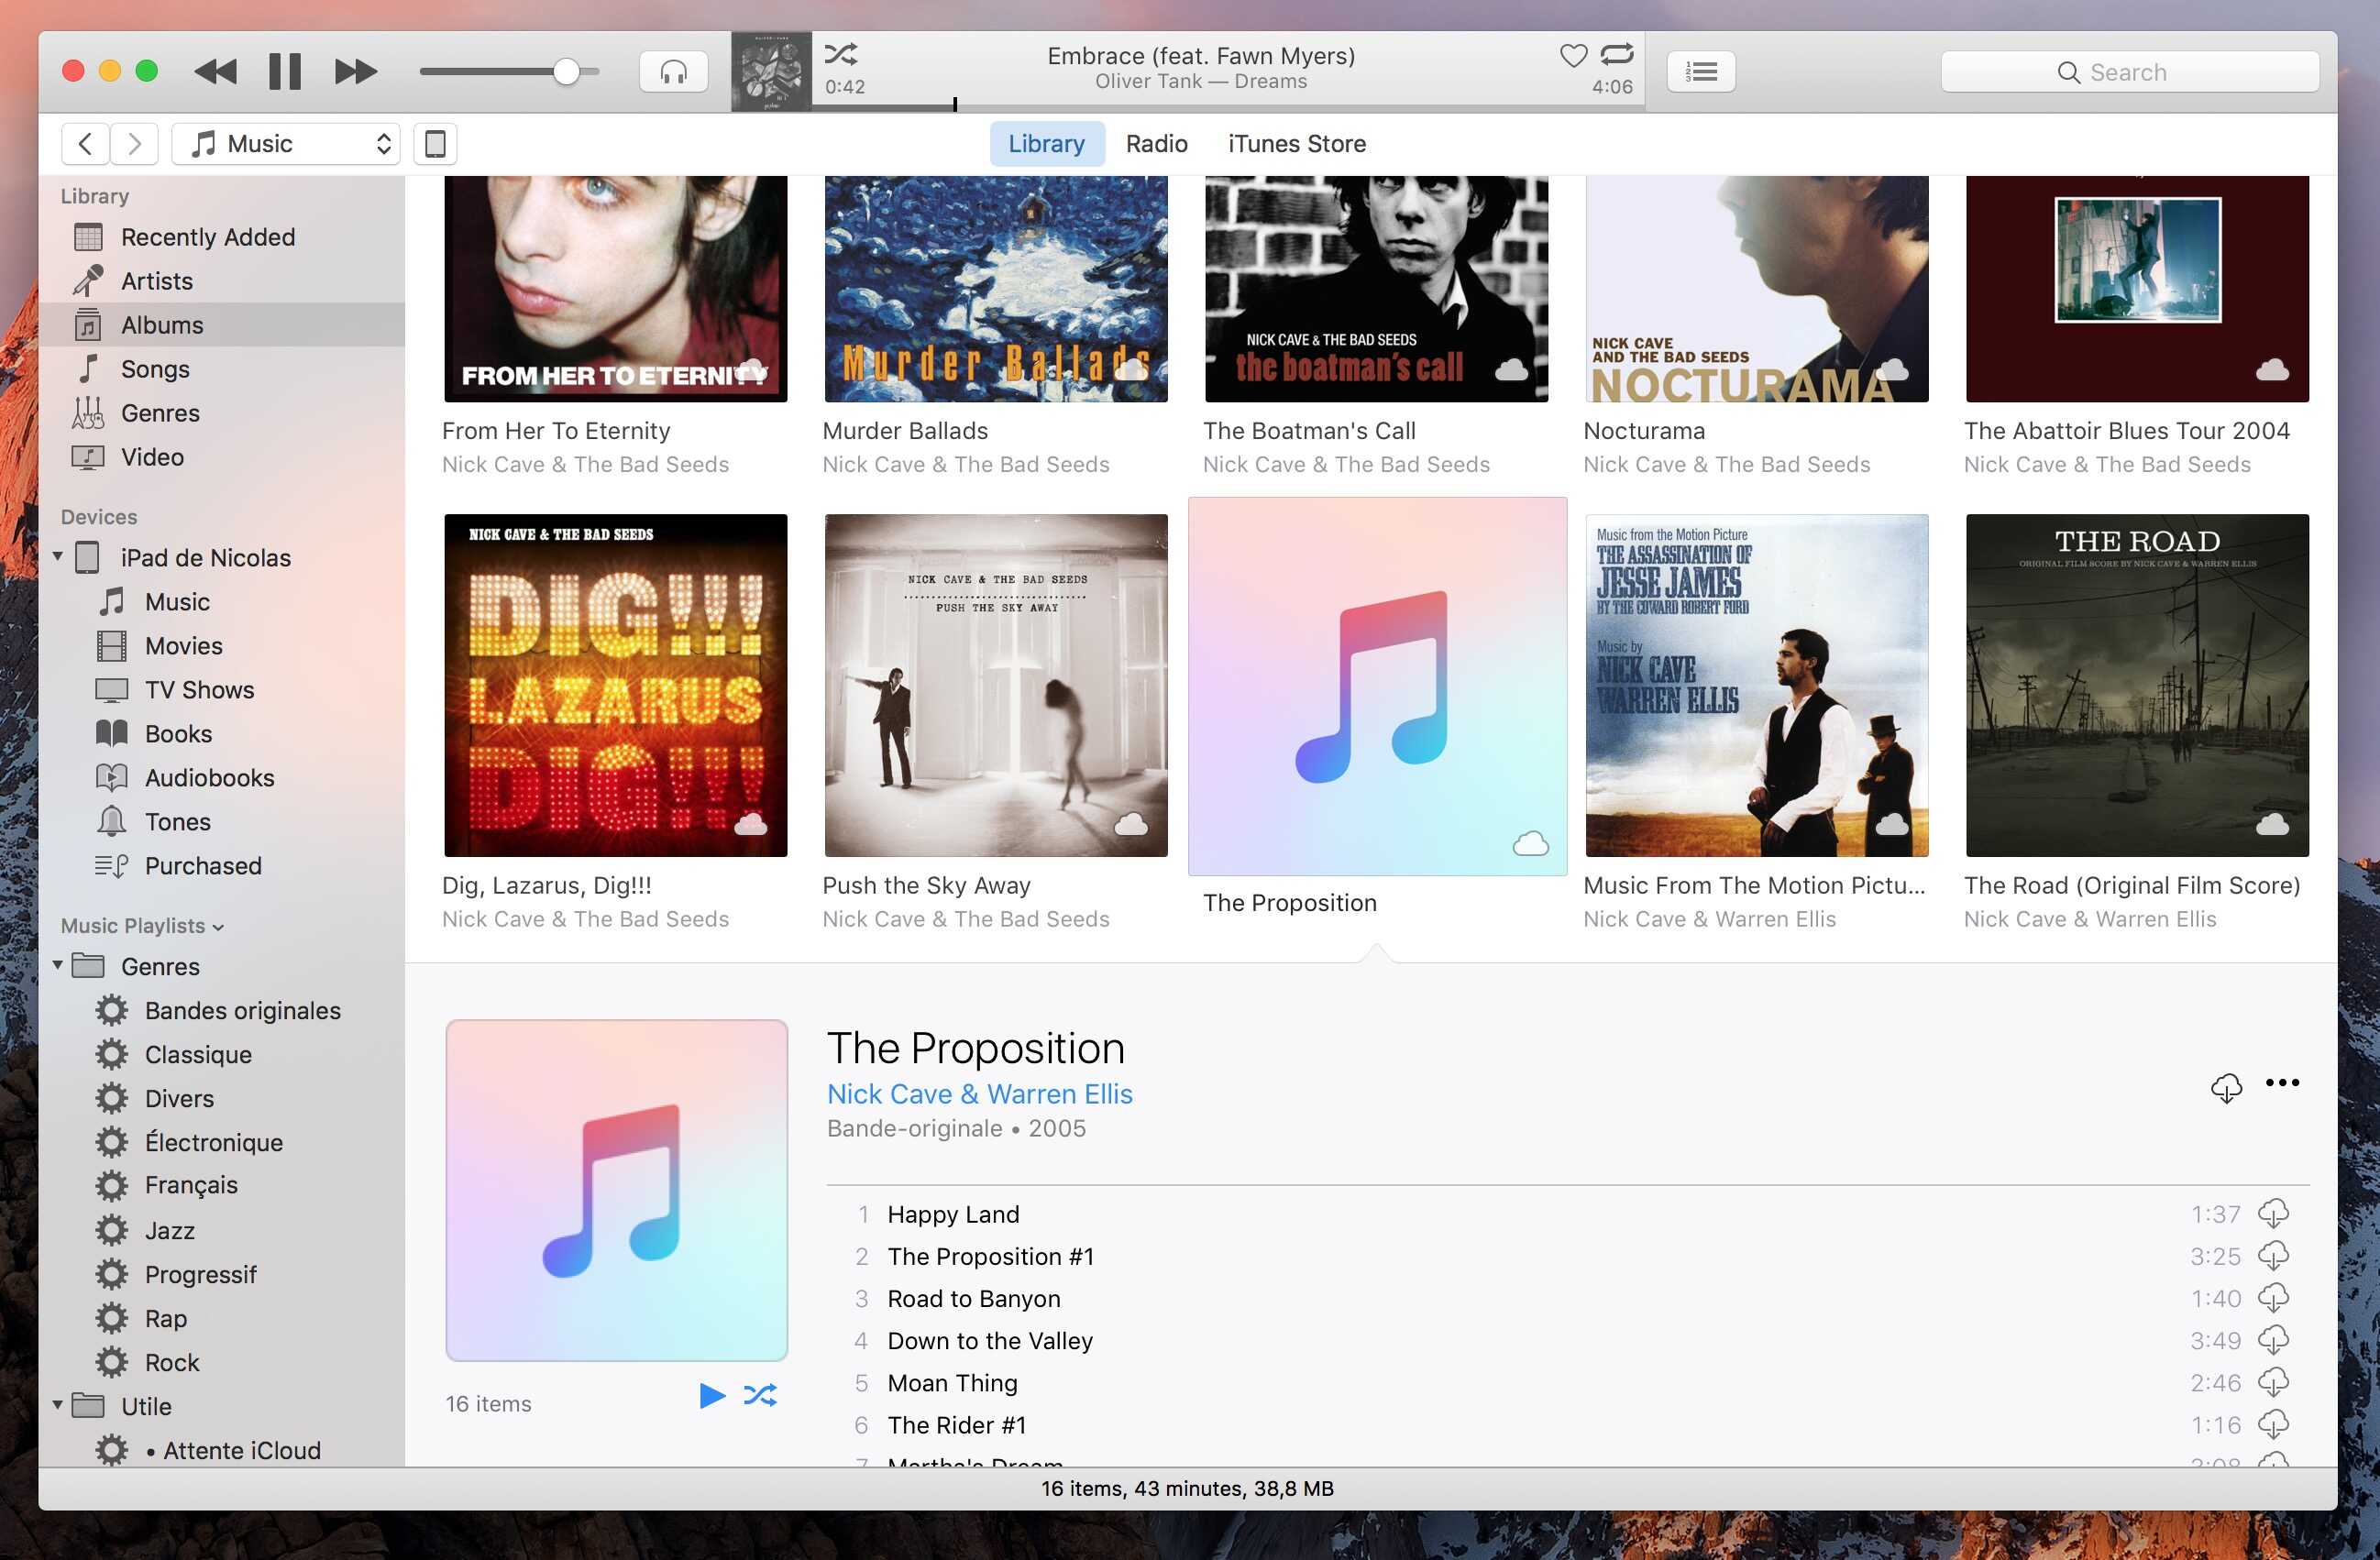
Utilize Music Management Software
Consider utilizing music management software to streamline the organization and management of your music library. Popular software options such as iTunes, Windows Media Player, and MusicBee offer features for importing, organizing, and playing music files. These tools enable you to create playlists, edit track information, and ensure that your music collection is well-maintained and readily accessible for transfer to your GPX digital audio player.
Verify File Formats and Quality
Before proceeding with the music transfer, verify the file formats and quality of your music files. Ensure that the music files are in formats supported by your GPX digital audio player, such as MP3, WMA, WAV, or AAC. Additionally, assess the audio quality to guarantee an enjoyable listening experience on your device. If needed, you can convert or enhance the quality of your music files using audio conversion software to align them with your device's specifications.
By downloading and organizing your music collection onto your computer, you lay the groundwork for a seamless transfer process to your GPX digital audio player. This step empowers you to curate a personalized music library tailored to your preferences, setting the stage for an enriching audio experience on your portable device.
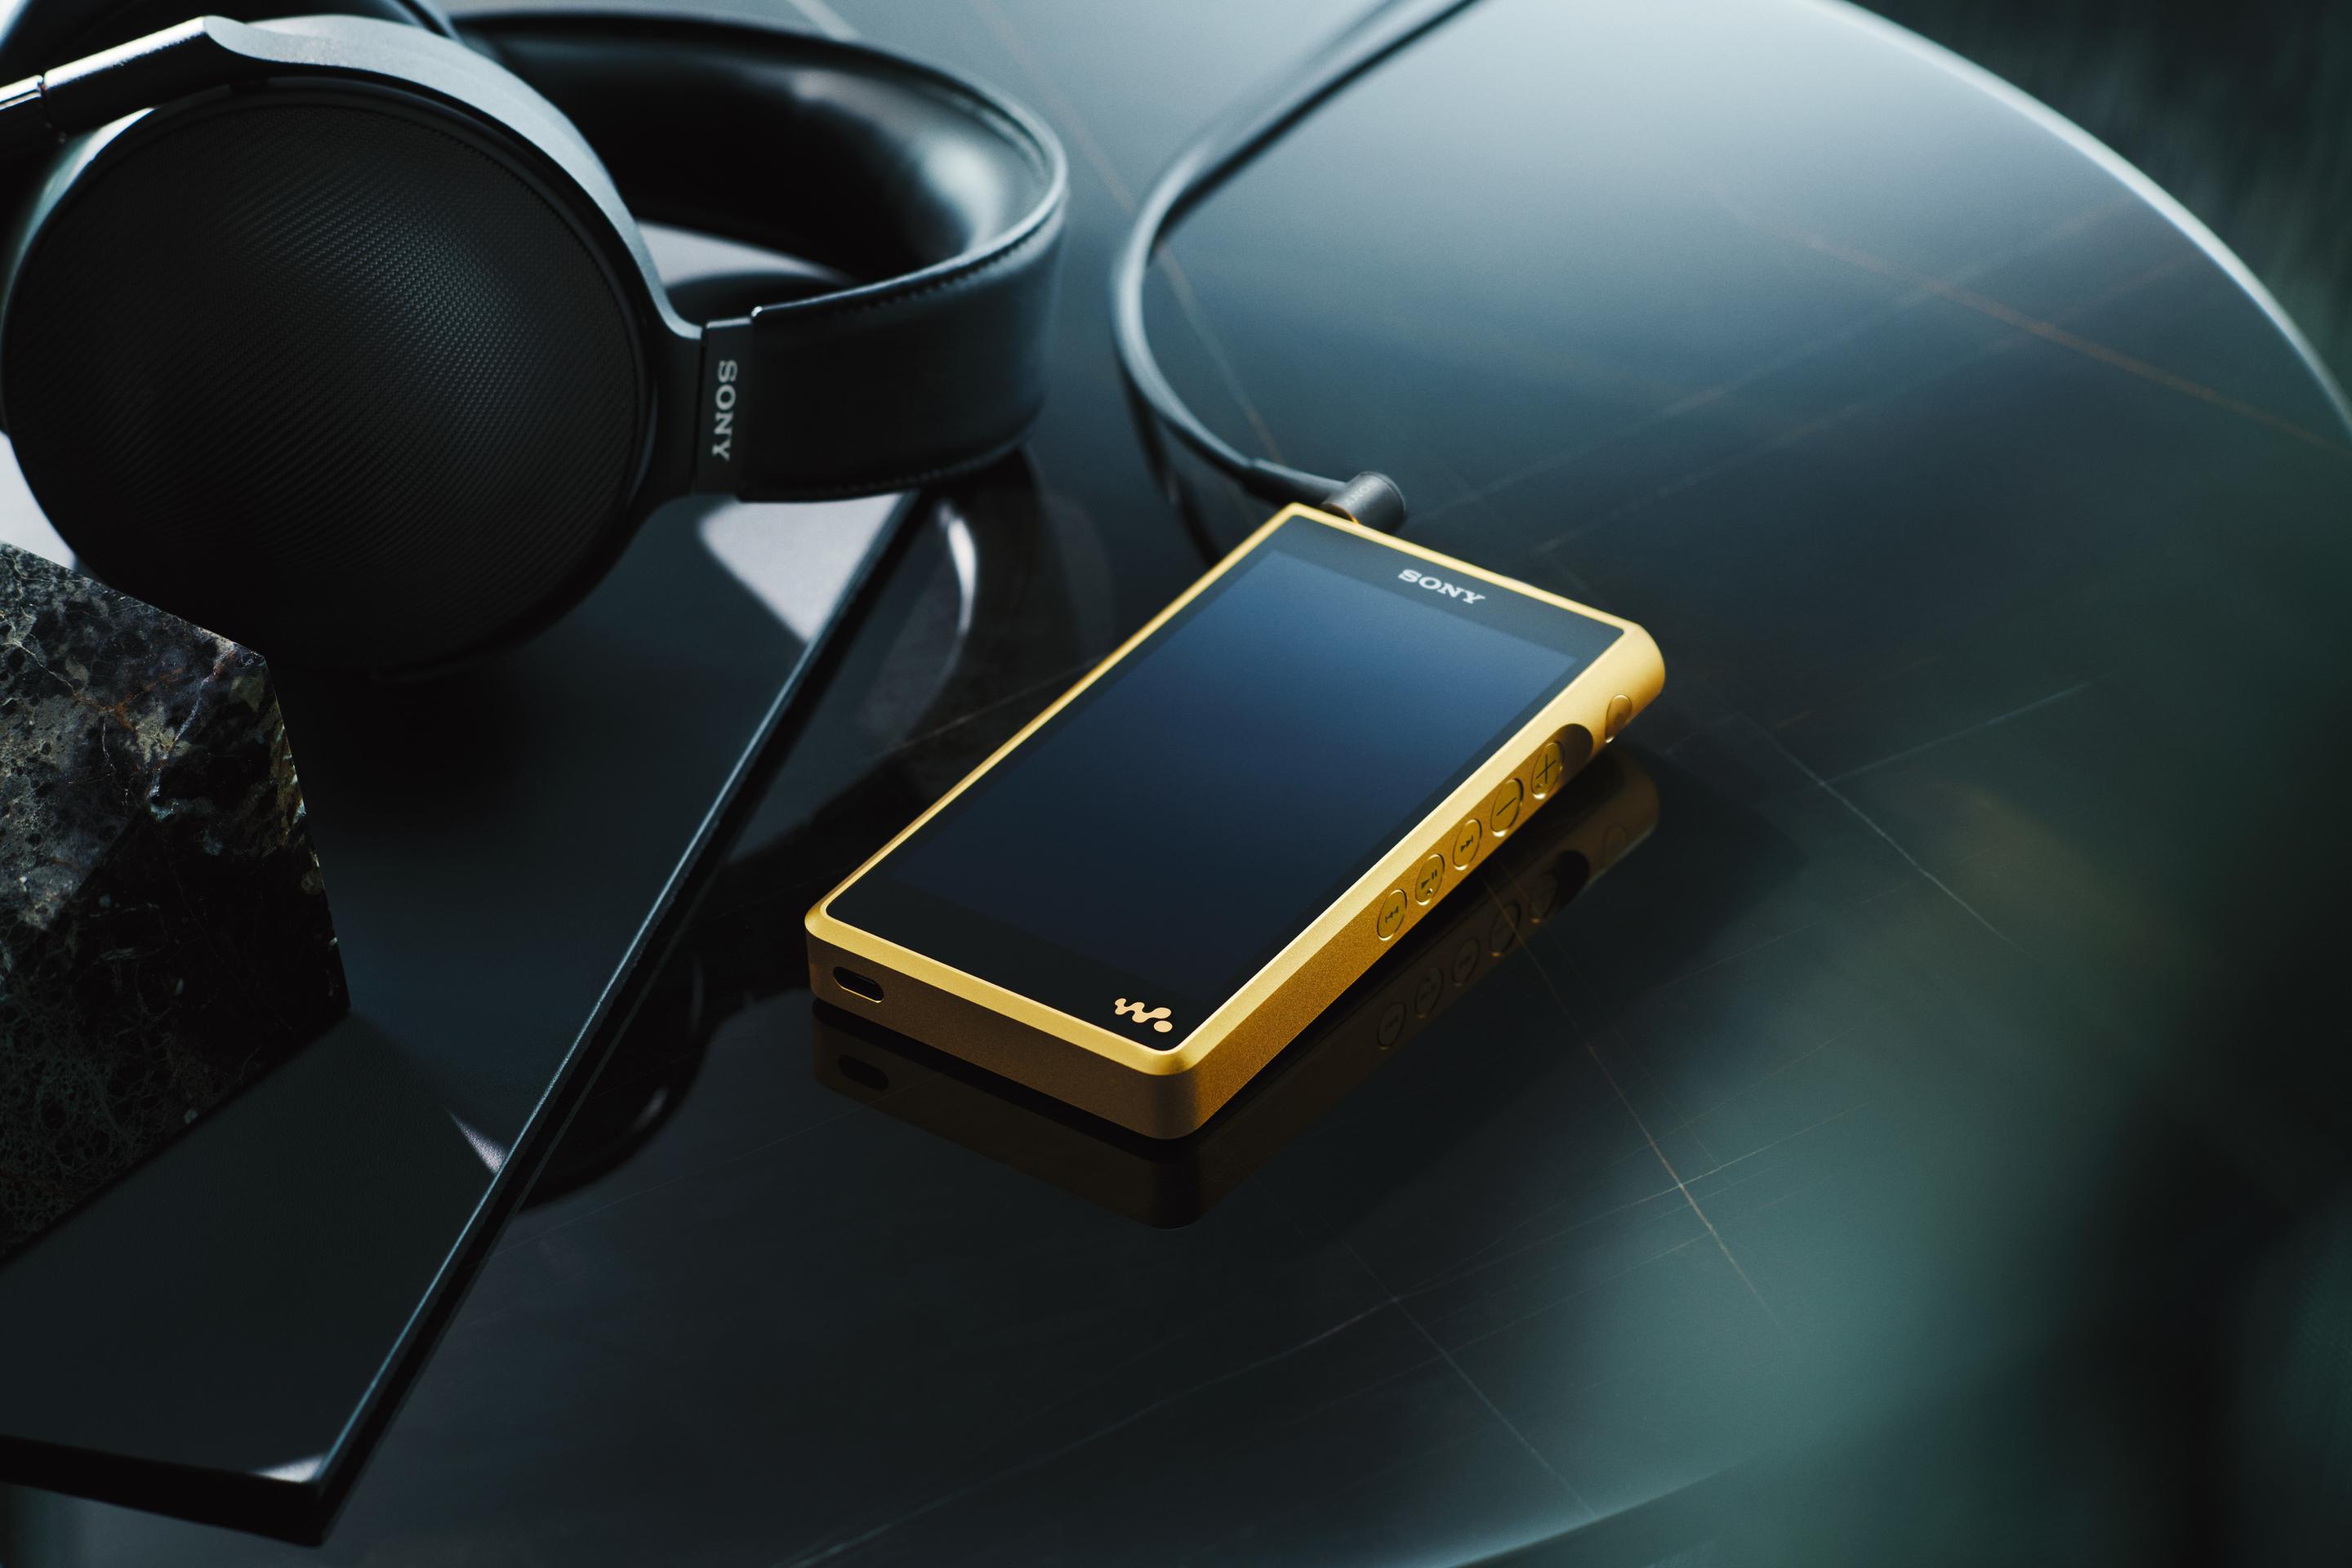
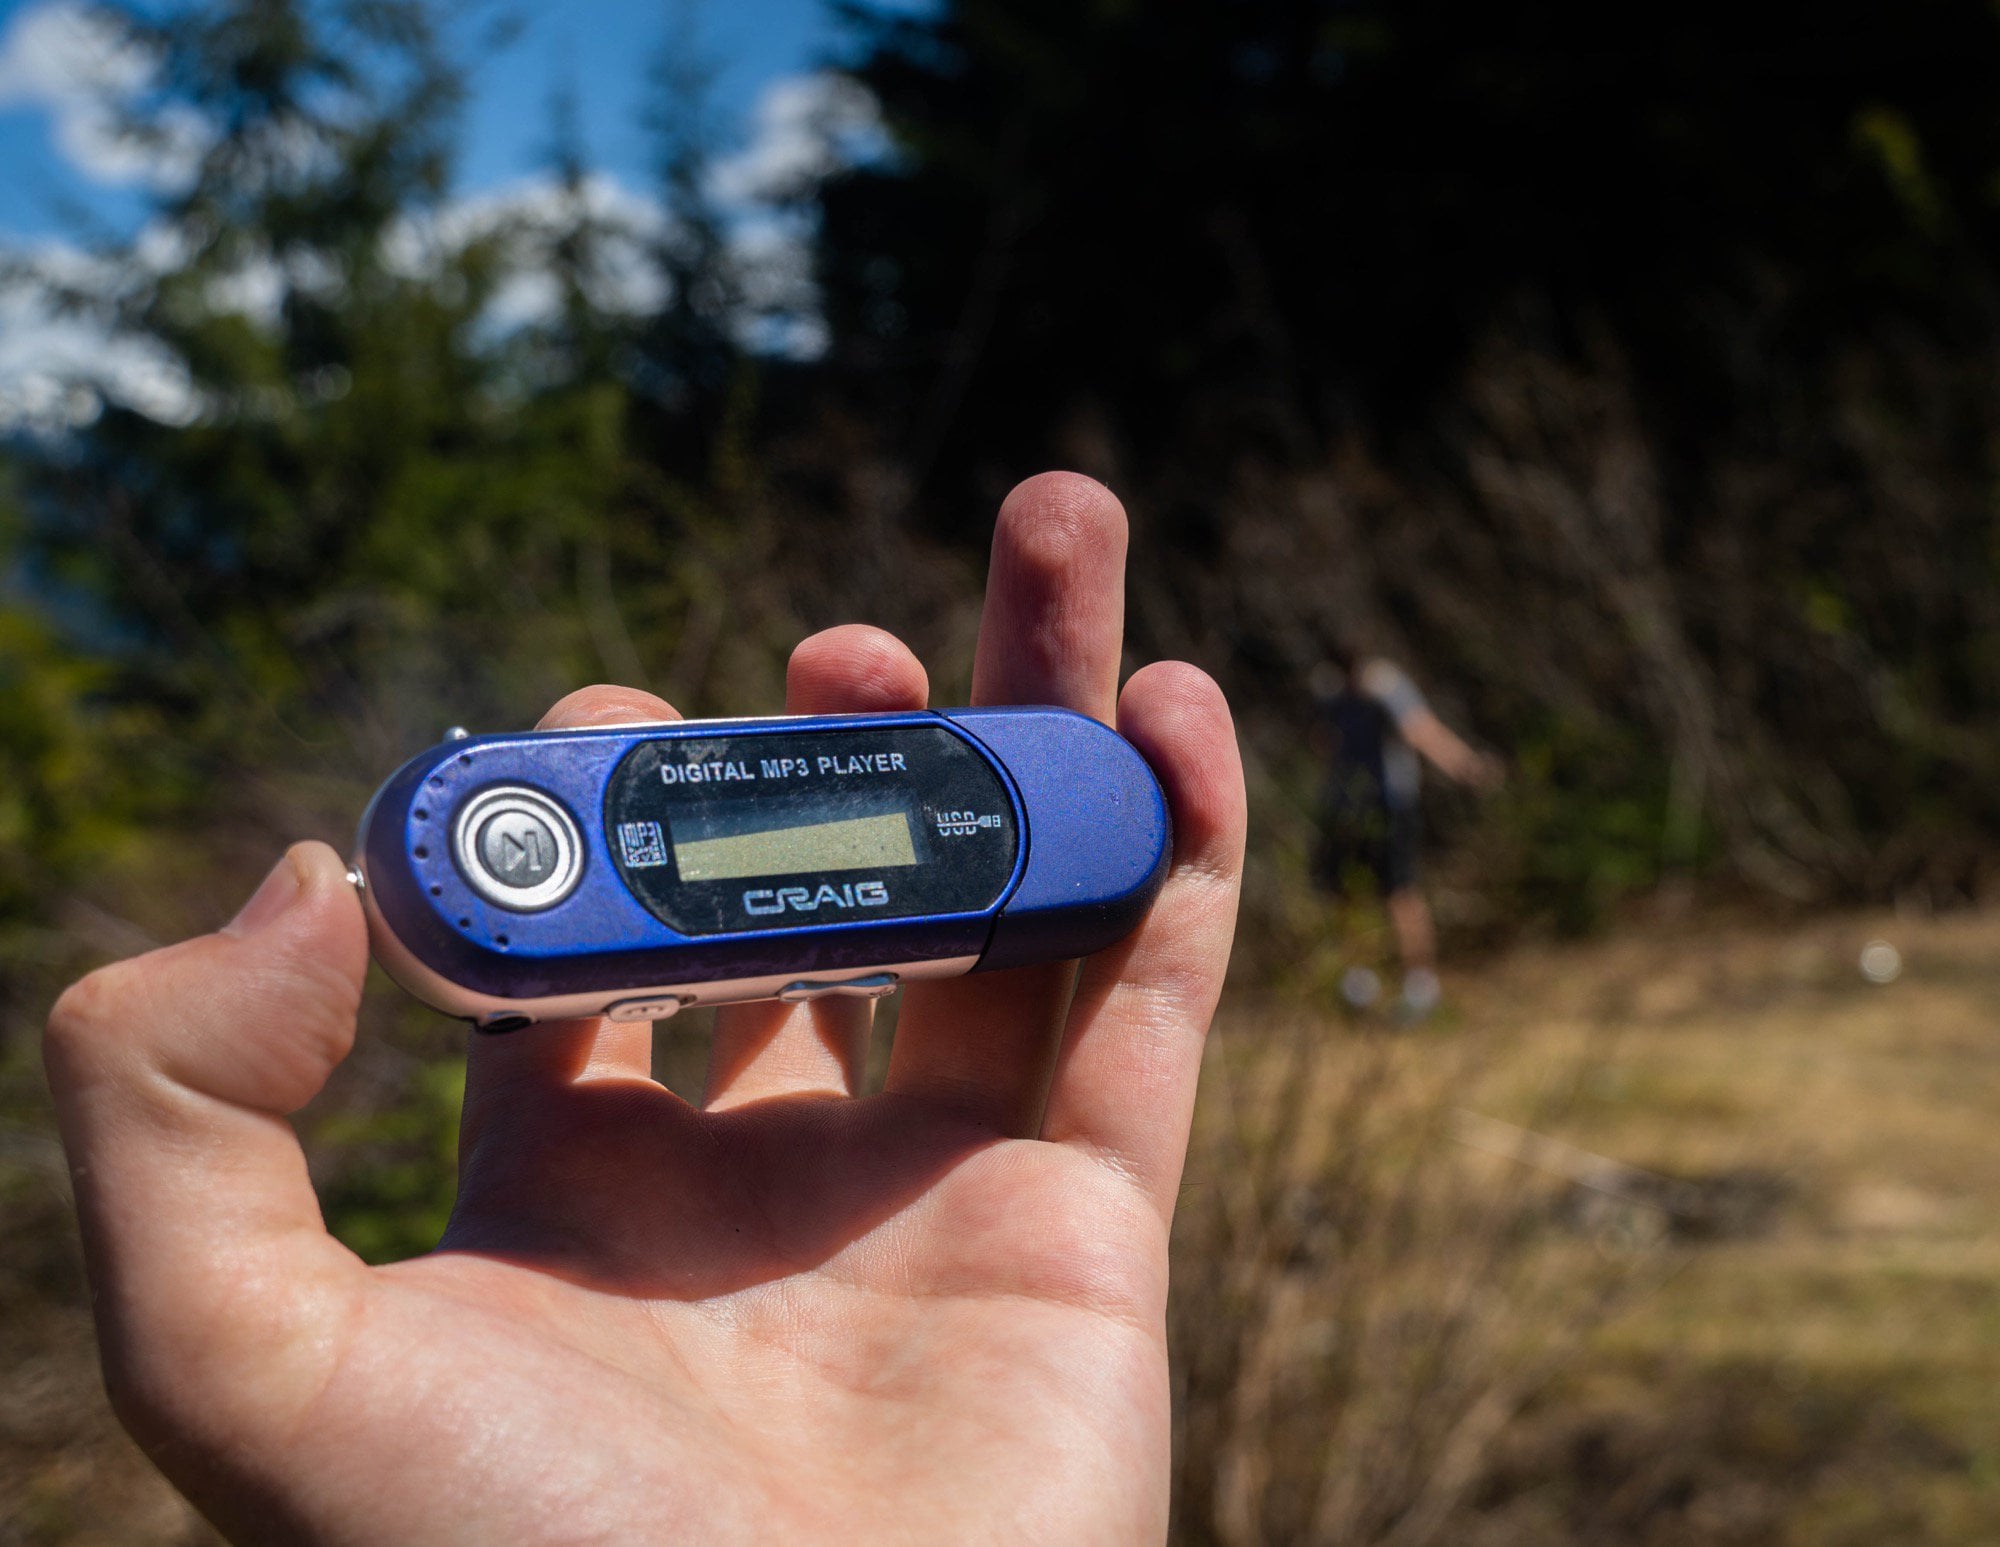
Step 3: Connect your GPX digital audio player to your computer
Connecting your GPX digital audio player to your computer is a pivotal step in the music transfer process, facilitating the seamless transfer of your curated music collection onto the device. This step involves establishing a physical or wireless connection between your GPX digital audio player and your computer, enabling the transfer of music files with ease and efficiency.
Physical Connection via USB
The most common method of connecting a GPX digital audio player to a computer is through a USB (Universal Serial Bus) connection. To initiate this connection, locate the USB port on your GPX digital audio player and the corresponding USB port on your computer. Use the provided USB cable that came with your device to establish a secure connection between the two.
Upon connecting the USB cable, your computer may prompt you to install any necessary drivers or software required for recognizing the GPX digital audio player. Follow the on-screen instructions to complete the installation process, ensuring that your computer can communicate effectively with your device.
Wireless Connection Options
Some GPX digital audio players offer wireless connectivity options, such as Bluetooth or Wi-Fi, for transferring music files from your computer. If your device supports wireless connections, navigate to the settings menu on your GPX digital audio player to enable the respective wireless feature. On your computer, ensure that Bluetooth or Wi-Fi is activated and that your GPX digital audio player is discoverable.
Once the wireless connection is established, you can proceed with transferring music files wirelessly, eliminating the need for physical cables and simplifying the transfer process.
Device Recognition and Configuration
After establishing the connection, your computer should recognize your GPX digital audio player as a removable storage device or as a media device, depending on the specific functionality of your device. Take note of the assigned drive letter or device name, as this information will be essential when transferring music files in the subsequent steps.
In some cases, you may need to configure the settings on your GPX digital audio player to allow for data transfer or to specify the transfer mode, such as MTP (Media Transfer Protocol) or MSC (Mass Storage Class). Refer to the user manual or documentation provided with your device for guidance on configuring the transfer settings.
By connecting your GPX digital audio player to your computer, you establish the bridge for seamless music transfer, enabling the exchange of your carefully curated music collection between the two devices. This pivotal connection sets the stage for the next step in the process, where you will embark on the transfer of music files to your GPX digital audio player, unlocking its potential as a portable music companion.
Step 4: Transfer music to your GPX digital audio player
With your GPX digital audio player successfully connected to your computer, you are now ready to embark on the exciting phase of transferring your meticulously curated music collection to the device. This step involves the seamless transfer of music files from your computer to your GPX digital audio player, ensuring that you can enjoy your favorite tunes on the go.
File Transfer Methods
Depending on the specific features and capabilities of your GPX digital audio player, you may have multiple options for transferring music files. The most common method involves navigating to the designated folder or location on your computer where your music collection is stored and selecting the desired music files for transfer. Subsequently, you can drag and drop the selected files directly onto the storage location of your GPX digital audio player, initiating the transfer process.
Alternatively, if your device requires the use of specific media management software or proprietary transfer tools, you can utilize the provided software to facilitate the transfer of music files. These software solutions often offer intuitive interfaces for selecting and transferring music, providing additional features such as playlist synchronization and metadata management to enhance your music transfer experience.
Organizing Music on Your GPX Digital Audio Player
As you transfer music files to your GPX digital audio player, consider organizing the files within the device to align with your preferred music browsing experience. Create dedicated folders or playlists on your device to categorize your music based on genres, artists, albums, or any other classification that resonates with your music organization preferences. This organizational approach not only streamlines the accessibility of your music but also enhances the overall user experience when navigating through your music library on the device.
Ensuring Successful Transfer
Throughout the transfer process, it's essential to monitor the progress of the file transfer to ensure that all selected music files are successfully copied to your GPX digital audio player. Verify that the transferred files are accessible and playable on your device, confirming that the music transfer was executed without any issues or errors.
By transferring your cherished music collection to your GPX digital audio player, you empower the device to serve as a portable hub of musical enjoyment, ready to accompany you during workouts, commutes, or leisurely moments. This pivotal step marks the culmination of your efforts in curating and transferring music, unlocking the potential of your GPX digital audio player as a personalized music sanctuary.
Step 5: Safely disconnect your GPX digital audio player from your computer
Safely disconnecting your GPX digital audio player from your computer is a crucial final step in the music transfer process, ensuring that the device is disconnected without risking data corruption or hardware damage. By following the appropriate disconnection procedures, you can preserve the integrity of your music files and the functionality of your GPX digital audio player, setting the stage for uninterrupted music enjoyment.
Eject or Safely Remove Hardware
Before physically disconnecting your GPX digital audio player from your computer, it's essential to utilize the "Eject" or "Safely Remove Hardware" feature provided by your operating system. This feature ensures that all pending write operations to the device are completed, and the file system is properly flushed, minimizing the risk of data loss or file corruption.
To initiate the ejection process, locate the icon representing your GPX digital audio player within the file explorer or system tray of your computer. Right-click on the device icon and select the "Eject" or "Safely Remove Hardware" option. Upon executing this action, your operating system will finalize any ongoing data transfers and prepare the device for safe removal.
Wait for Confirmation
After initiating the ejection process, it's important to wait for the confirmation message indicating that it is safe to disconnect your GPX digital audio player. This confirmation message serves as an assurance that all data transfer operations have been completed, and the device is no longer actively engaged with the computer.
Avoid disconnecting the device prematurely, even if the physical removal of the USB cable seems straightforward. Waiting for the confirmation message ensures that the device is in a stable state and ready to be safely disconnected without any adverse effects.
Physical Disconnection
Once you have received the confirmation message, carefully disconnect the USB cable or wireless connection between your GPX digital audio player and your computer. Exercise caution to avoid applying excessive force or causing any abrupt movements that could potentially damage the device's connectors or ports.
When disconnecting a USB cable, grasp the connector firmly and gently remove it from the USB port of your computer and the corresponding port on your GPX digital audio player. If your device features a proprietary connector or wireless connection, follow the manufacturer's recommended disconnection procedure to ensure a safe and seamless disconnection.
By safely disconnecting your GPX digital audio player from your computer, you uphold the integrity of your music files and the operational stability of your device. This conscientious approach to disconnection safeguards against potential data loss or hardware issues, preserving the harmonious relationship between your music collection and your GPX digital audio player.
Conclusion
Congratulations! You have successfully navigated the process of putting music on your GPX digital audio player, transforming it into a personalized musical oasis ready to accompany you on your daily adventures. By following the comprehensive steps outlined in this guide, you have unlocked the full potential of your device, allowing it to serve as a portable hub for your favorite tunes.
As you reflect on the journey from checking the compatibility of your GPX digital audio player to safely disconnecting it from your computer, you have gained valuable insights into the seamless transfer of music files. The meticulous attention to compatibility, organization, and safe handling has empowered you to curate a music collection tailored to your preferences and transfer it to your device with confidence.
With your music now residing on your GPX digital audio player, you have the freedom to immerse yourself in a world of melodies, whether you're embarking on a workout, unwinding during a commute, or simply seeking a musical backdrop for your daily activities. The carefully organized music library on your device reflects your unique musical tastes, ready to uplift your spirits and enhance your experiences.
As you venture forward with your GPX digital audio player, remember the versatility and convenience it offers. Embrace the opportunity to explore new music, create captivating playlists, and tailor your audio experience to suit your evolving moods and preferences. Your GPX digital audio player stands as a testament to the seamless fusion of technology and music, enriching your lifestyle with its portable audio prowess.
In conclusion, the journey of putting music on your GPX digital audio player transcends the mere transfer of files; it encapsulates the harmonious convergence of your musical identity with the capabilities of your device. Embrace the joy of music as it intertwines with your daily routine, and let your GPX digital audio player be the conduit through which melodies and memories intertwine.
So, as you embark on your next musical escapade with your GPX digital audio player in hand, revel in the symphony of possibilities that await. Your personalized music sanctuary is now at your fingertips, ready to serenade you through life's moments, both big and small. Let the melodies play on, and may your GPX digital audio player continue to be the faithful companion on your musical journey.