Home>Production & Technology>MP3>How To Put Music On Eclipse MP3 Player
MP3
How To Put Music On Eclipse MP3 Player
Modified: February 18, 2024
Learn how to put music on your Eclipse MP3 player easily. Follow our step-by-step guide to transfer MP3 files and enjoy your favorite songs on the go.
(Many of the links in this article redirect to a specific reviewed product. Your purchase of these products through affiliate links helps to generate commission for AudioLover.com, at no extra cost. Learn more)
Table of Contents
Introduction
Welcome to the world of MP3 players! These portable devices have revolutionized the way we listen to music on the go. One popular brand of MP3 players is the Eclipse MP3 player. With its sleek design and user-friendly interface, it’s no wonder that many music lovers choose the Eclipse MP3 player to enjoy their favorite tunes.
If you’re new to the Eclipse MP3 player or looking for ways to put music on it, you’ve come to the right place. In this article, we’ll explore different methods to transfer music to your Eclipse MP3 player, so you can create the perfect playlist for any occasion.
Whether you prefer a wired connection, wireless transfer, or using an SD card, we’ve got you covered. Just follow the step-by-step instructions for each method and you’ll be grooving to your favorite beats in no time.
Before we dive into the methods, it’s important to understand how the Eclipse MP3 player works. These devices typically have limited internal storage, ranging from a few gigabytes to a couple of hundred gigabytes. To maximize storage space, they often use compressed audio formats such as MP3, WMA, or AAC. This allows you to store hundreds or even thousands of songs on your Eclipse MP3 player.
Now that you’re familiar with the basics, let’s explore the different methods of putting music on your Eclipse MP3 player.
Method 1: Using a USB Cable
One of the most common and straightforward methods to transfer music to your Eclipse MP3 player is by using a USB cable. Here’s how you can do it:
- Connect one end of the USB cable to your Eclipse MP3 player and the other end to a USB port on your computer.
- Your computer should recognize the MP3 player as a removable storage device. Open the file explorer on your computer to access the MP3 player’s storage.
- Locate the music files on your computer that you want to transfer to the MP3 player. Simply drag and drop the files from your computer into the appropriate folder on the MP3 player.
- Wait for the files to finish copying. Once the transfer is complete, safely disconnect the MP3 player from your computer.
- Now you can navigate to the music player on your Eclipse MP3 player and start enjoying the newly transferred songs.
Using a USB cable is a convenient method that allows for fast and direct transfer of music files. It’s compatible with both Windows and Mac operating systems, making it accessible to a wide range of users.
Remember to ensure that the music files you are transferring are compatible with the Eclipse MP3 player. Supported file formats may vary, so it’s a good idea to check the user manual or the official Eclipse website for specific information.
Now that you know how to transfer music using a USB cable, let’s explore another method using an SD card.
Method 2: Using an SD Card
If you prefer a more versatile and portable option for transferring music to your Eclipse MP3 player, using an SD card can be a great choice. Here’s how you can do it:
- Insert an SD card into your computer’s SD card slot or use an SD card reader.
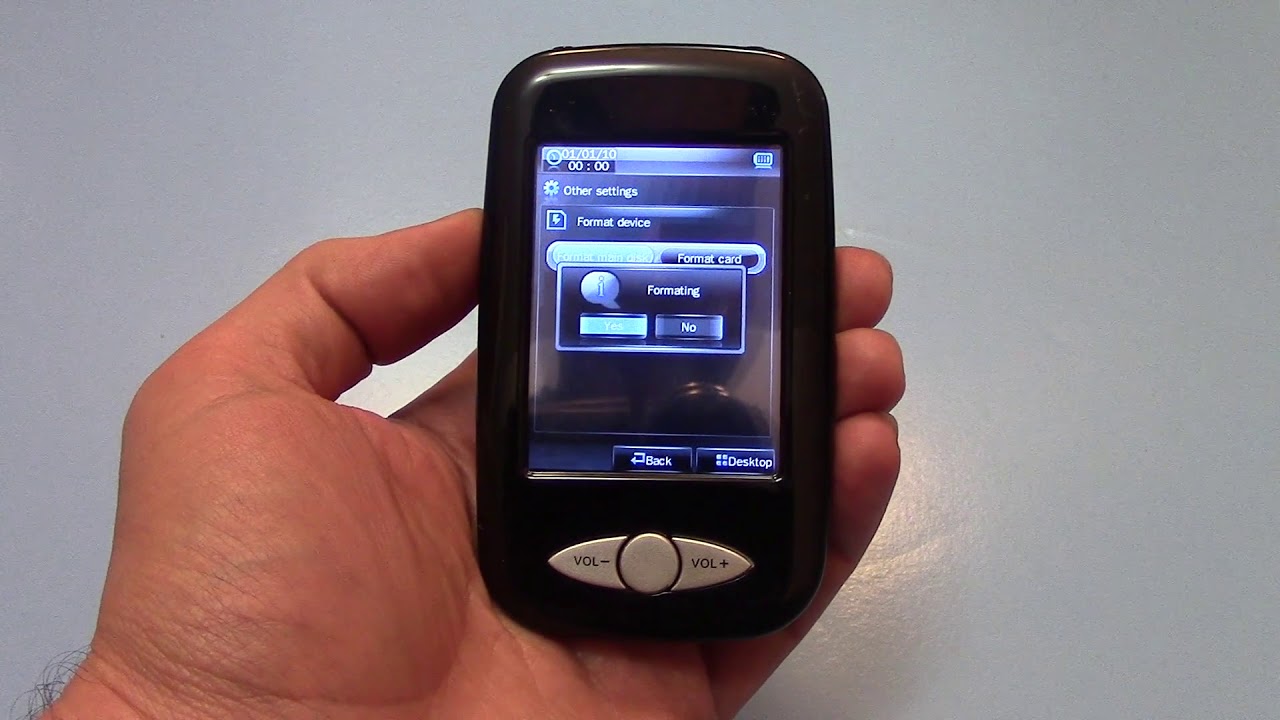
- Format the SD card to a compatible file system such as FAT32. This ensures that the Eclipse MP3 player can read the card correctly.
- Copy the music files you want to transfer onto the SD card. Make sure the files are in a supported audio format (e.g., MP3, WMA).
- Eject the SD card safely from your computer.
- Insert the SD card into the SD card slot on your Eclipse MP3 player.
- Navigate to the music player on your MP3 player and select the option to browse the music on the SD card.
- You should now be able to access and play the transferred music files on your Eclipse MP3 player.
Using an SD card offers the flexibility to easily transfer music between devices. You can simply swap the SD card between your computer and the MP3 player, making it a convenient option for managing your music library. Additionally, SD cards come in various storage capacities, allowing you to expand your Eclipse MP3 player’s storage as needed.
Remember to properly eject the SD card from your computer before removing it to prevent data corruption. Always refer to your device’s user manual for specific instructions on handling and inserting SD cards.
Now that you know how to transfer music using an SD card, let’s explore another method using Bluetooth.
Method 3: Using Bluetooth
If you want to transfer music to your Eclipse MP3 player without dealing with cables or physical storage devices, using Bluetooth can be a convenient option. Here’s how you can do it:
- Turn on Bluetooth on both your computer and your Eclipse MP3 player. Make sure they are in discoverable/pairing mode.
- On your computer, navigate to the music files you want to transfer.
- Select the files or folders you want to transfer, and then right-click and choose the “Send to” option.
- From the options displayed, select “Bluetooth device” or the specific name of your Eclipse MP3 player.
- Wait for the pairing process to complete. Once the transfer is initiated, the files will be wirelessly transferred to your MP3 player.
- After the transfer is complete, you can access the music files on your Eclipse MP3 player and enjoy your favorite tunes.
Using Bluetooth for file transfer provides the convenience of wireless connectivity. It eliminates the need for physical cables or external storage devices and allows you to transfer music files directly from your computer to your Eclipse MP3 player. However, it’s important to note that both your computer and MP3 player need to have Bluetooth capabilities for this method to work.
Additionally, keep in mind that Bluetooth transfer speeds might be slower compared to other methods, especially when transferring large music files. Be patient and ensure that both devices remain in close proximity during the transfer process.
Now that you know how to transfer music using Bluetooth, let’s explore another method using WiFi or streaming apps.
Method 4: Using WiFi or Streaming Apps
With advancements in technology, you can now transfer music to your Eclipse MP3 player using WiFi or streaming apps. This method allows you to access an extensive library of music and stream it directly to your MP3 player. Here’s how you can do it:
- Ensure that your Eclipse MP3 player is connected to a WiFi network.
- On your MP3 player, navigate to the app store and download a compatible streaming app, such as Spotify or Apple Music.
- Open the streaming app and sign in to your account or create a new one if necessary.
- Search for the songs, albums, or playlists you want to listen to on your MP3 player.
- Select the desired music and choose the option to download or save it onto your MP3 player.
- Wait for the downloading process to complete. Once finished, you can access the downloaded music on your Eclipse MP3 player and enjoy your favorite tracks.
Using WiFi or streaming apps offers a vast array of music options right at your fingertips. You can explore different genres, create personalized playlists, and discover new artists, all without the need for physical storage or manual transfers.
However, it’s important to note that this method requires an active WiFi connection and may require a paid subscription to the streaming service. Additionally, streaming apps might have limitations on downloading or saving music for offline use. Make sure to check the app’s features and terms of service for more information.
Now that you know how to transfer music using WiFi or streaming apps, you can enjoy the convenience of accessing an extensive music library on your Eclipse MP3 player.
Conclusion
In conclusion, transferring music to your Eclipse MP3 player is a simple and exciting process. We explored four different methods to help you put your favorite tunes on your device. Whether you prefer using a USB cable, an SD card, Bluetooth, or WiFi/streaming apps, there’s a method that suits your needs.
Using a USB cable provides a direct and fast connection, allowing you to transfer music files from your computer to your Eclipse MP3 player. It’s a versatile method compatible with both Windows and Mac operating systems. On the other hand, using an SD card offers portability and flexibility, allowing you to easily swap and expand your music library.
Bluetooth allows for wireless transfer of music, eliminating the need for physical cables. It’s a convenient method if both your computer and Eclipse MP3 player have Bluetooth capabilities. Lastly, using WiFi or streaming apps gives you access to a vast music library, allowing you to stream and download music directly to your MP3 player.
Remember to check the compatibility of music files and formats with your Eclipse MP3 player. Additionally, always follow the instructions provided in the user manual or on the official Eclipse website for specific guidelines.
Now that you have a better understanding of these methods, you can choose the one that suits you best. Take your Eclipse MP3 player on your next adventure and enjoy the perfect soundtrack wherever you go.