Home>Production & Technology>MP3>How To Put Music Onto MP3 Player From Itunes
MP3
How To Put Music Onto MP3 Player From Itunes
Modified: January 22, 2024
Learn how to easily transfer music from iTunes to your MP3 player and enjoy your favorite tunes on the go. Follow this step-by-step guide for seamless MP3 compatibility.
(Many of the links in this article redirect to a specific reviewed product. Your purchase of these products through affiliate links helps to generate commission for AudioLover.com, at no extra cost. Learn more)
Table of Contents
Introduction
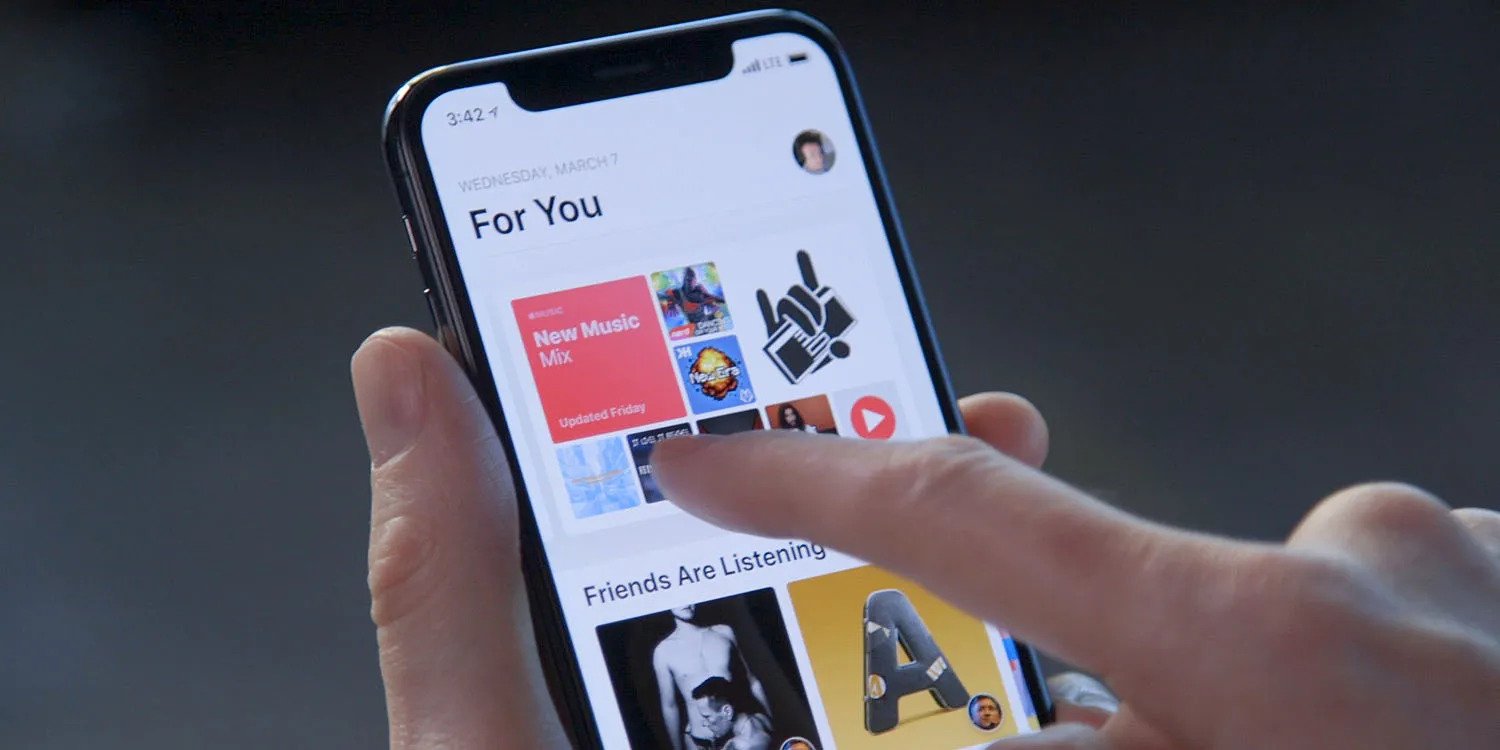
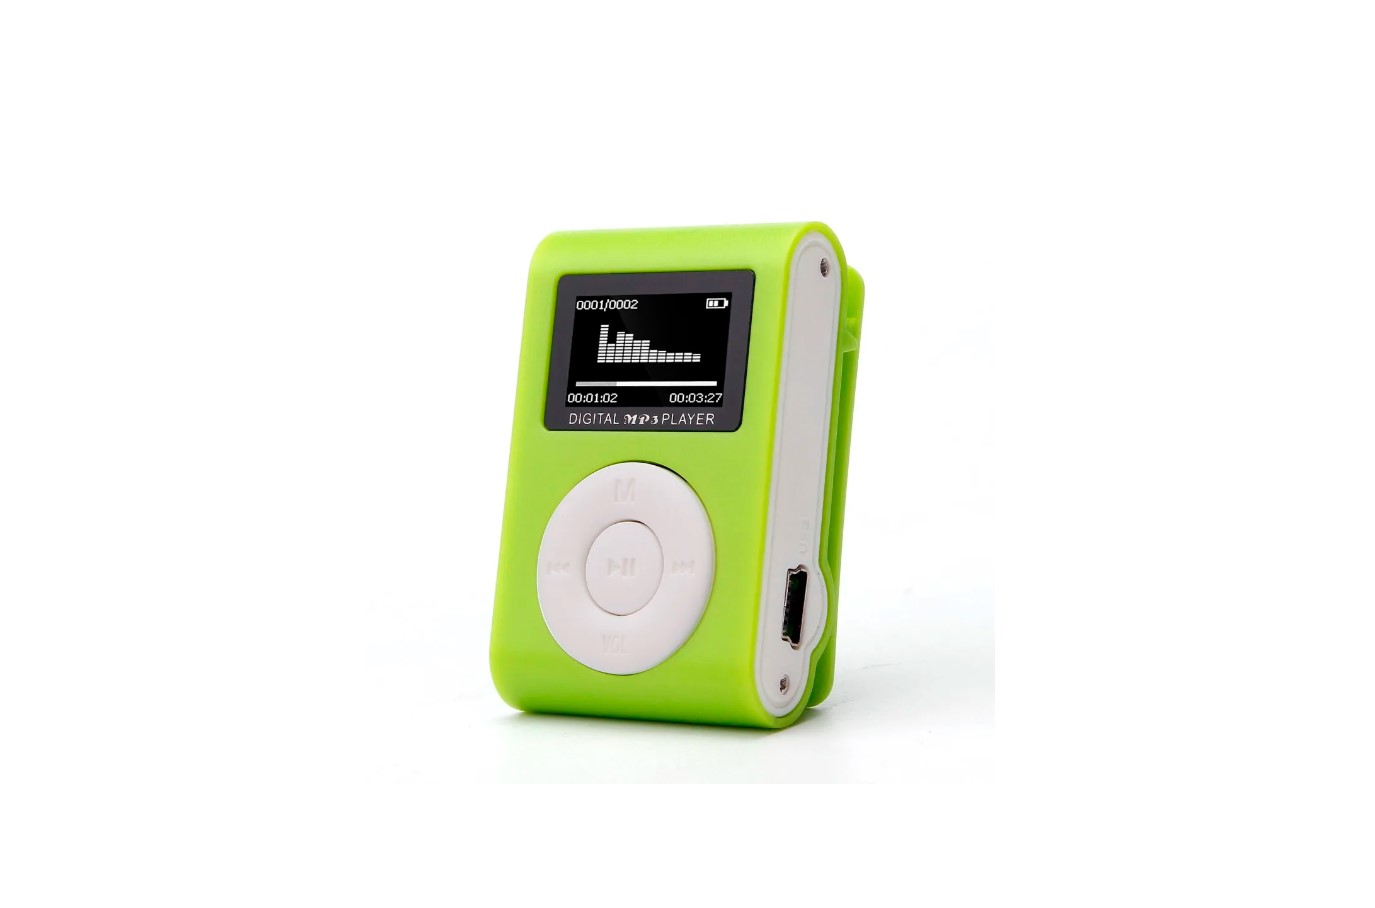
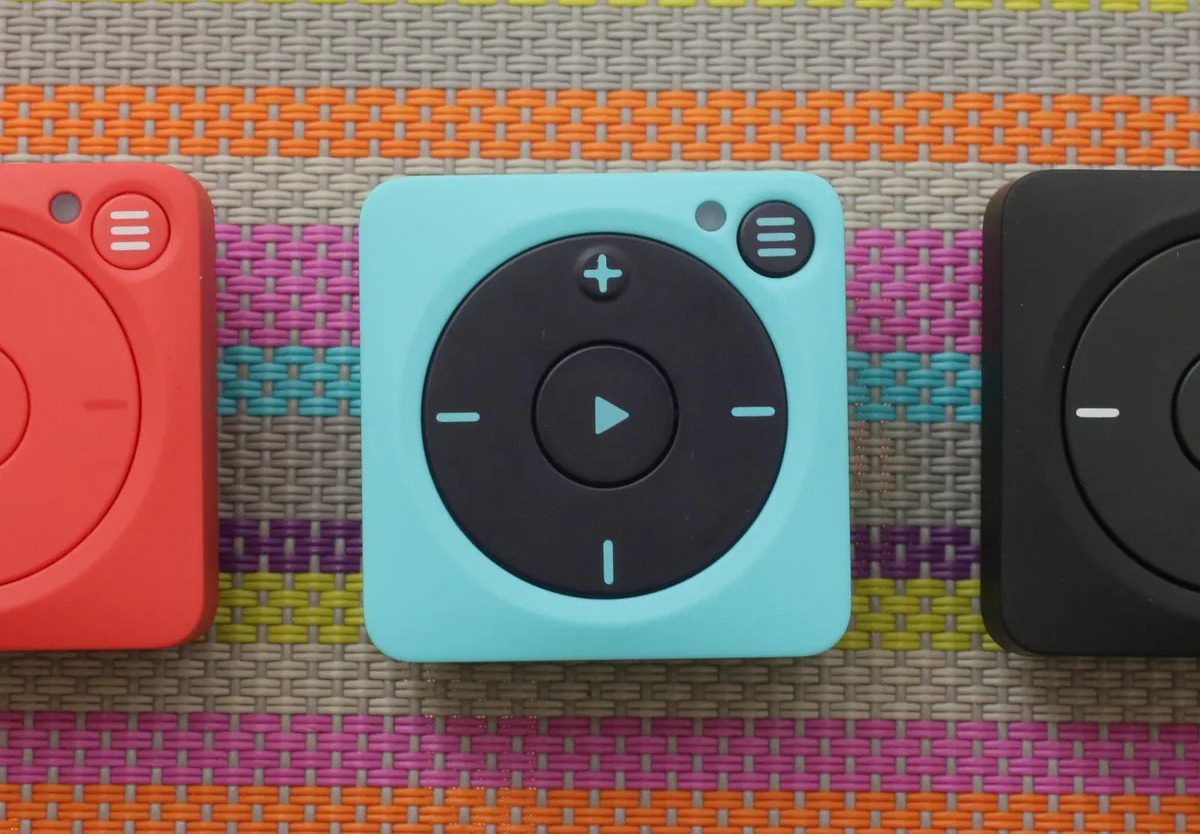
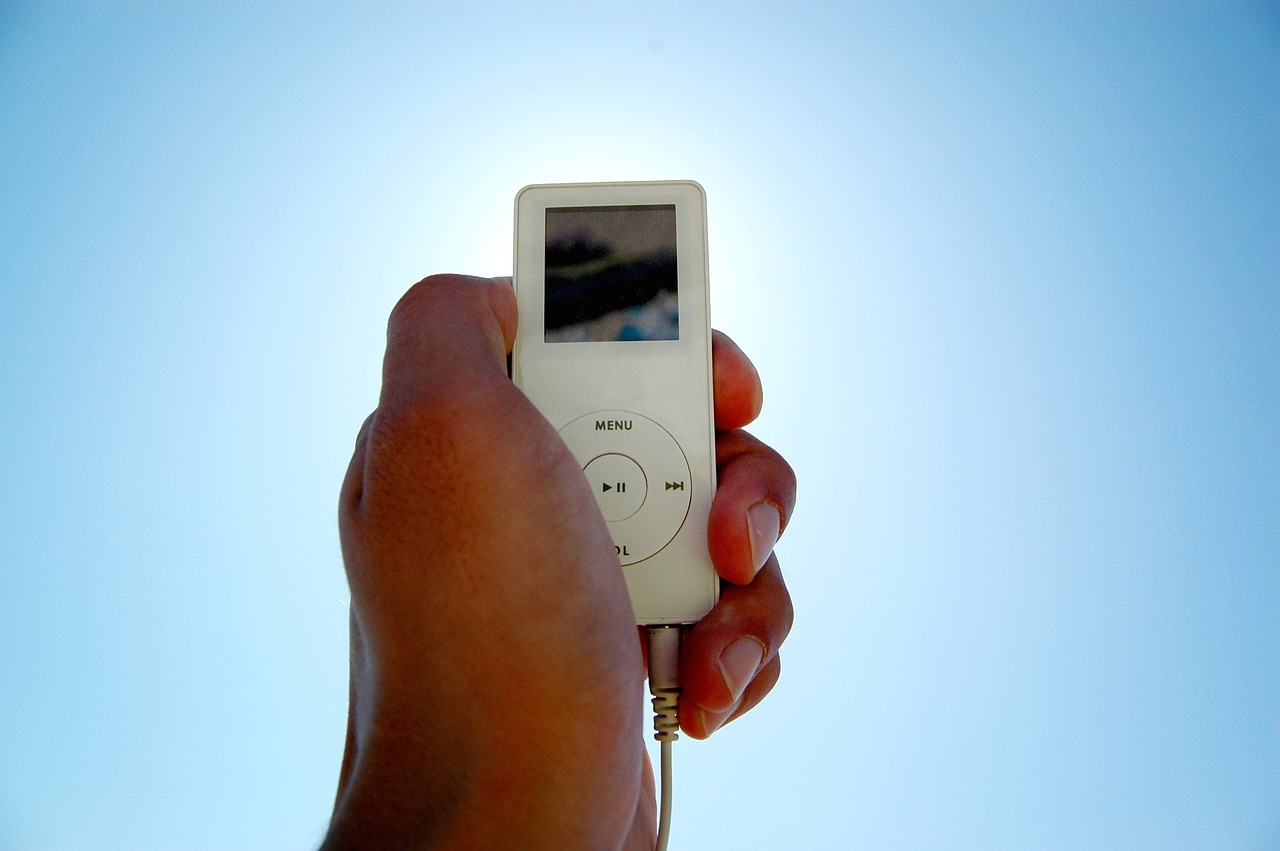
Welcome to the world of MP3 players, where you can carry your favorite music with you wherever you go. MP3 players have revolutionized the way we listen to music, offering convenience and portability like never before. One of the most popular MP3 players on the market today is the iPod, and if you have an iPod or any other MP3 player, you may be wondering how to get your music onto it.
In this article, we will guide you through the process of putting music onto your MP3 player from iTunes. iTunes is a software developed by Apple that allows you to sync your music library from your computer to your iPod or other MP3 player. By following a few simple steps, you’ll be able to transfer your favorite tunes and enjoy them on the go.
Whether you’re a seasoned iTunes user or a novice, this guide will walk you through the entire process, making it easy and hassle-free. So, grab your iPod, open up iTunes, and get ready to fill your MP3 player with music!
Step 1: Connecting the MP3 Player to your computer
The first step in putting music onto your MP3 player from iTunes is to connect your MP3 player to your computer. To do this, you will need the appropriate USB cable that came with your MP3 player. Locate the USB port on both your computer and your MP3 player.
Once you have found the USB ports, take the USB cable and plug one end into the USB port on your computer, and the other end into the USB port on your MP3 player. Make sure the connection is secure.
Depending on the type of MP3 player you have, it may automatically turn on or require you to manually turn it on. If it does not turn on automatically, consult the user manual for your specific MP3 player to learn how to turn it on.
Once your MP3 player is connected and turned on, your computer should recognize it and a notification may appear indicating that your device is ready to use. Now that your MP3 player is successfully connected to your computer, you can begin the process of transferring music from iTunes to your device.
Before proceeding to the next steps, it is essential to ensure that your computer recognizes your MP3 player and establishes a stable connection. This will ensure that the synchronization process goes smoothly and without any interruptions.
Step 2: Launching iTunes and locating your music library
Now that your MP3 player is connected to your computer, it’s time to open up iTunes. If you don’t already have iTunes installed on your computer, you can download it for free from the Apple website.
Once iTunes is installed, locate the application on your computer and open it. If you’re using a Windows computer, you can typically find iTunes in the Start menu or on your desktop. If you’re using a Mac, you can find iTunes in your Applications folder or in the dock.
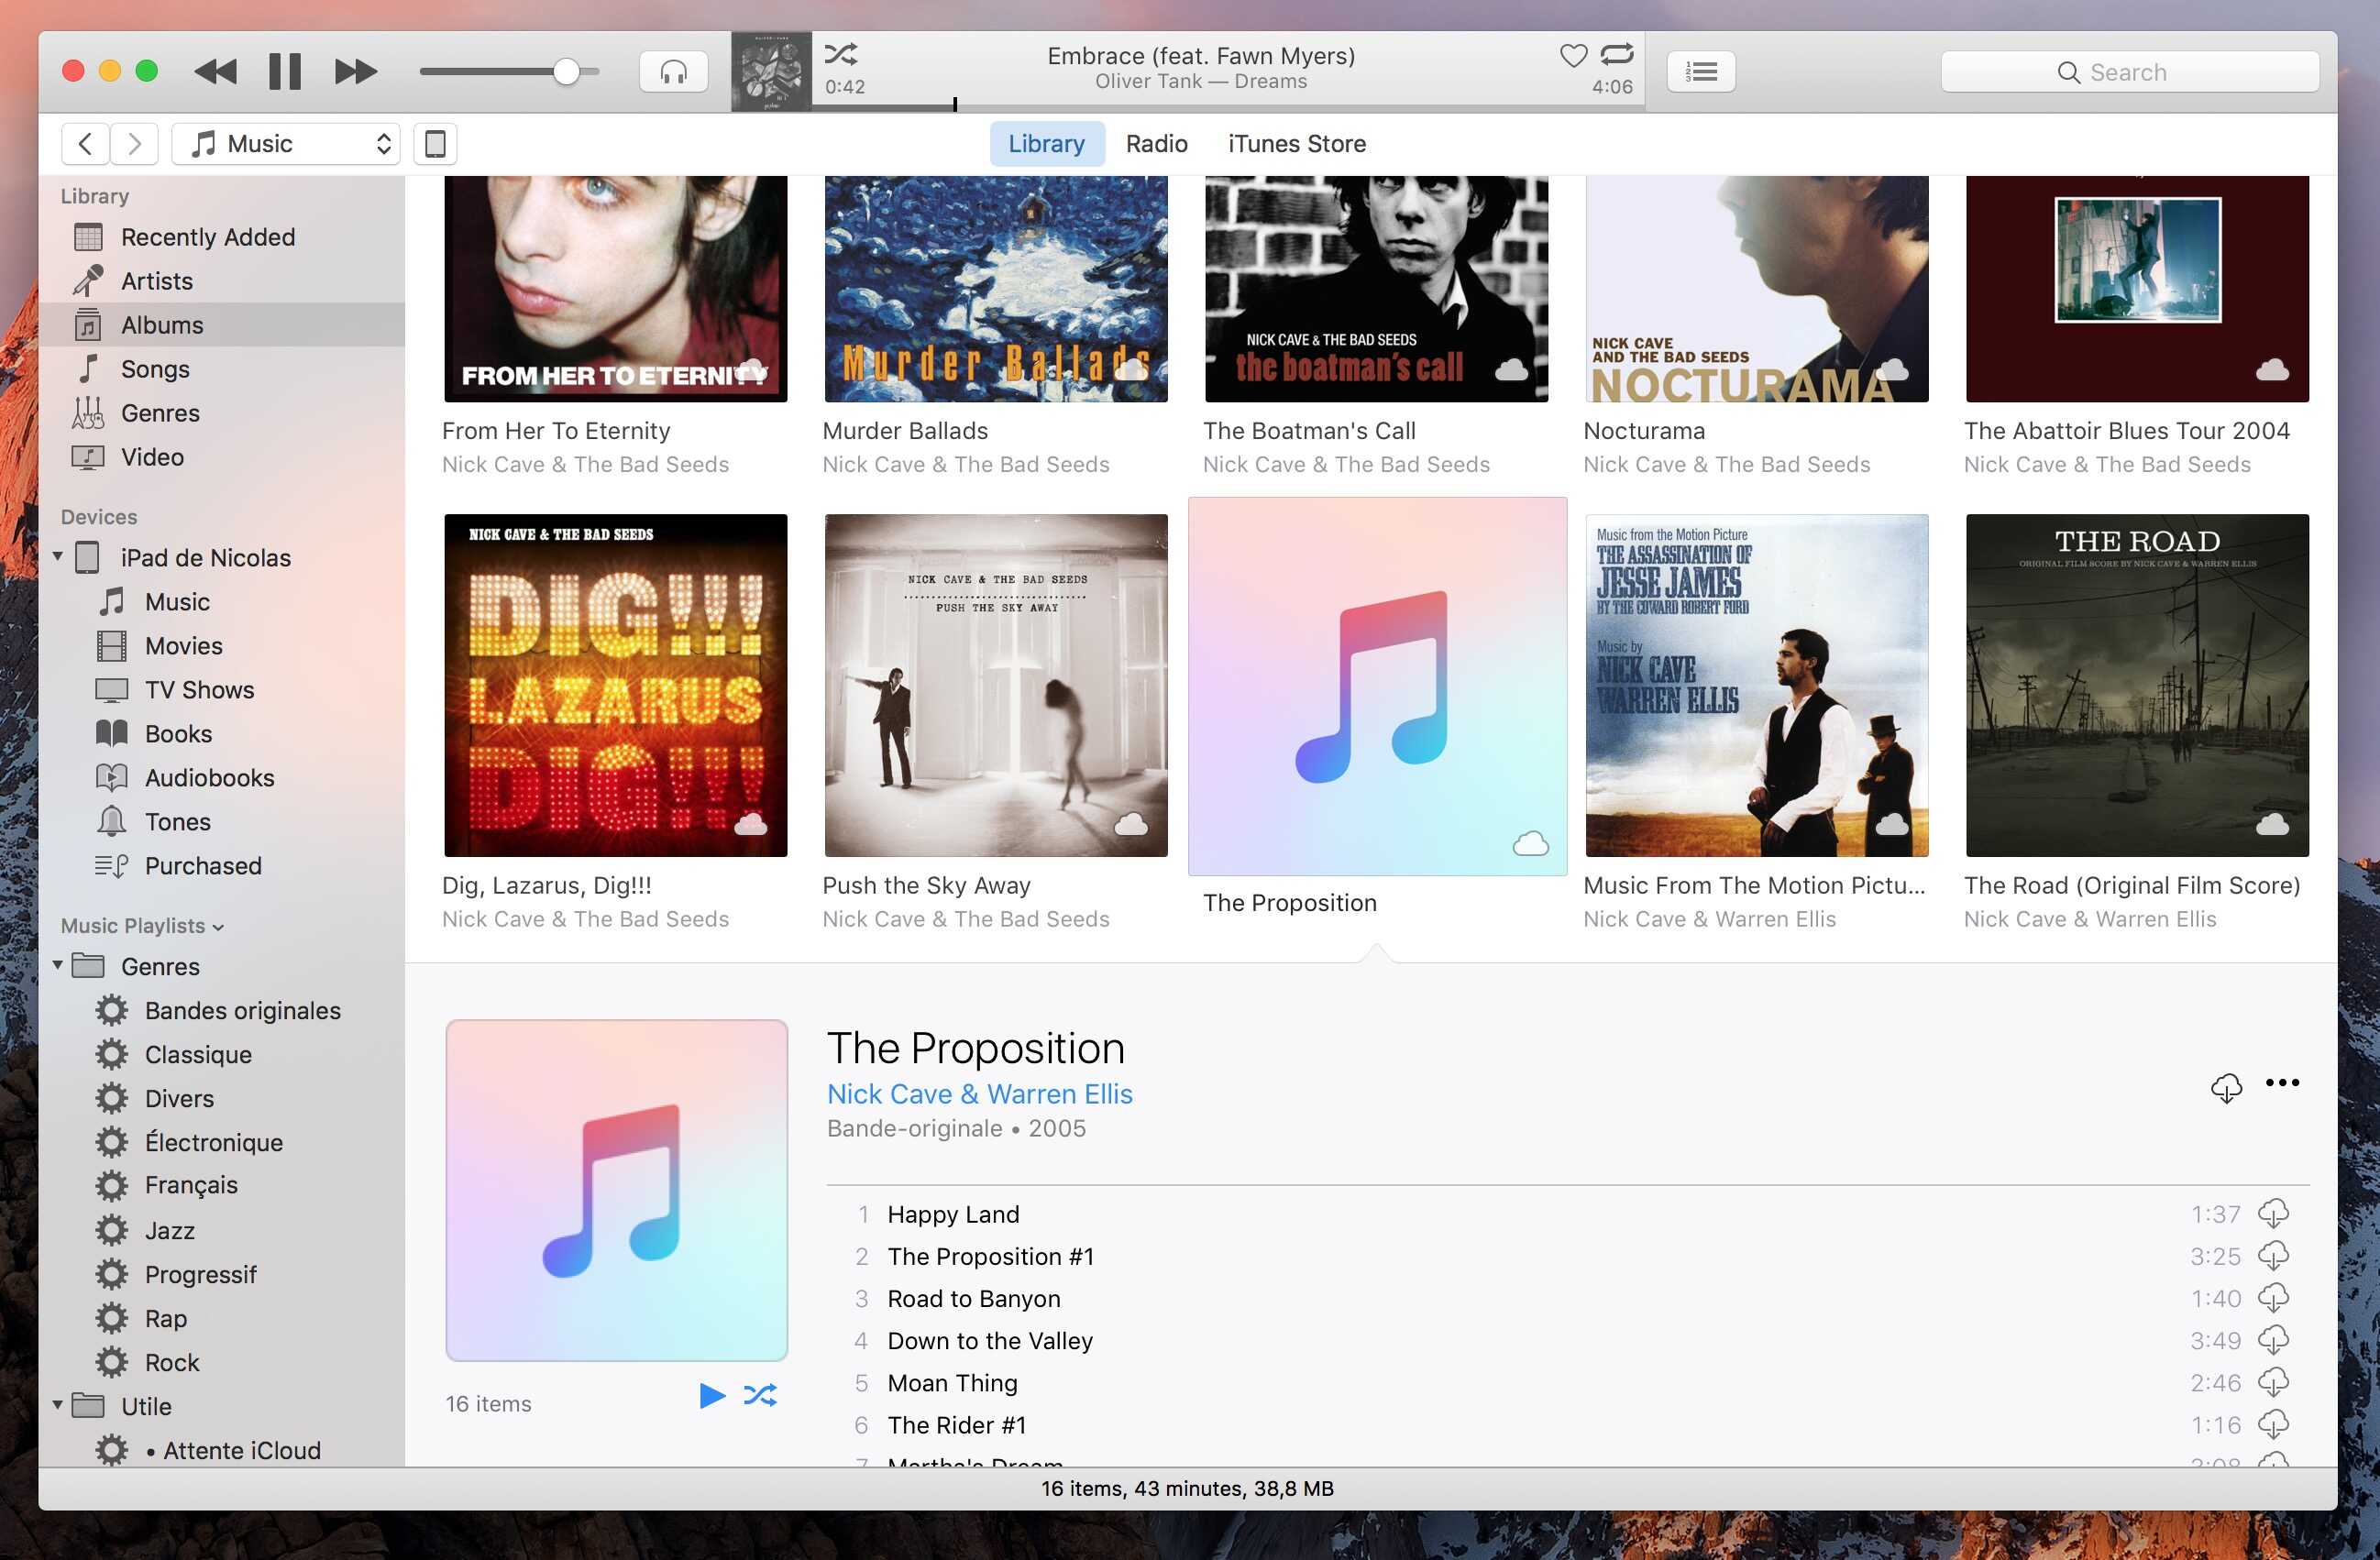
After launching iTunes, you will see the main interface with various tabs and menus. Look for the “Library” tab, usually located at the top left corner of the screen. Click on the “Library” tab to access your music library.
Inside the “Library” tab, you will find all the music files that are currently stored on your computer. These files can include songs purchased from the iTunes Store, imported CDs, or music files downloaded from other sources.
If you have already imported your music into iTunes, you will see a list of songs displayed in the main window. If you haven’t imported any music yet, you will need to do so before proceeding. To import music into iTunes, go to the “File” menu and select “Add File to Library” or “Add Folder to Library” if you want to import multiple songs at once. Browse your computer for the music files you want to add and select them. iTunes will then import the selected music into your library.
Once you have located your music library in iTunes, you’re ready to create a playlist and start adding songs to it. Creating a playlist will allow you to organize your music and easily transfer it to your MP3 player.
Step 3: Creating a Playlist
Creating a playlist in iTunes is a great way to organize your music and select the specific songs you want to transfer to your MP3 player. A playlist is like a customized mixtape, allowing you to curate a collection of songs tailored to your preferences.
To create a playlist, start by selecting the “File” menu at the top left corner of the iTunes window. Then, choose “New” and click on “Playlist” from the drop-down menu. Alternatively, you can use the keyboard shortcut “Ctrl+N” (Windows) or “Command+N” (Mac) to quickly create a new playlist.
A new window will appear where you can enter a name for your playlist. Choose a descriptive and memorable name that reflects the theme or mood of the songs you plan to add to the playlist. Once you’ve entered the name, hit the “Enter” key or click outside the window to save the playlist.
Congratulations! You’ve successfully created a playlist in iTunes. Now it’s time to start adding songs to your newly created playlist.
Before moving on to the next step, take a moment to brainstorm the type of music you want to include in your playlist. Consider the genre, artist, or specific songs that you would like to listen to on your MP3 player. Creating a playlist allows you to personalize your music selection and ensures that you have a compilation of your favorite tracks ready to go.
Now that you have a playlist prepared, you can start adding songs to it in order to transfer them to your MP3 player. In the next step, we’ll explore how to add songs to your playlist in iTunes.
Step 4: Adding songs to the Playlist
Now that you have created a playlist in iTunes, it’s time to add songs to it. By adding songs to your playlist, you can easily transfer the selected tracks to your MP3 player and enjoy them on the go.
To add songs to your playlist, locate your music library in iTunes. You can do this by clicking on the “Library” tab located in the top left corner of the iTunes window. Once you’re in your music library, browse through your collection and select the songs you want to add to your playlist.
If you’re adding individual songs to your playlist, simply right-click on the song and select “Add to Playlist”. A list of your created playlists will appear, and you can choose the playlist you created earlier. The selected song will be added to your playlist.
If you want to add multiple songs at once, you can click and drag to select a group of songs, or you can hold down the “Ctrl” key (Windows) or “Command” key (Mac) and click on each song you want to add. Once you’ve selected all the songs, right-click on any of the selected songs and choose “Add to Playlist”. Again, select the name of the playlist you created earlier, and the selected songs will be added to your playlist.
Continue adding songs to your playlist until you have included all the tracks you want to transfer to your MP3 player. Remember to consider the storage capacity of your MP3 player and choose songs accordingly.
Creating a well-curated playlist that reflects your music preferences will ensure that you have an enjoyable listening experience when you transfer the playlist to your MP3 player. Take your time and select songs that resonate with you, and don’t hesitate to explore different genres and artists to create a diverse and engaging playlist.
Once you have finished adding songs to your playlist, it’s time to move on to the next step and sync your playlist with your MP3 player.
Step 5: Syncing the Playlist to your MP3 Player
After creating your playlist and adding all the desired songs to it, it’s time to sync your playlist with your MP3 player. Syncing is the process of transferring the selected songs from your iTunes library to your device, ensuring that you have your favorite music available whenever you want to listen to it.
To begin syncing your playlist, make sure your MP3 player is still connected to your computer. In iTunes, locate the device icon, usually located in the upper-left corner of the screen. Click on the device icon to access the device settings.
Inside the device settings, you’ll find various tabs and options. Look for the “Music” tab and select it. Here, you’ll have the option to manually select playlists, artists, albums, or genres to sync. Choose the playlist that you created earlier from the available options.
If you want to sync the entire playlist, simply select the checkbox next to the playlist name. If you only want to sync specific songs from the playlist, select the “Selected playlists, artists, albums, and genres” option, and then manually choose the songs you want to sync.
Once you have selected the playlist or specific songs to sync, click on the “Apply” or “Sync” button. This will initiate the syncing process and transfer the selected music to your MP3 player.
Depending on the size of your playlist and the speed of your computer, the syncing process may take some time. It’s important to keep your MP3 player connected to your computer until the syncing is complete. Do not disconnect the device until you receive confirmation that the syncing is finished.
Once the syncing is complete, you can safely disconnect your MP3 player from your computer. Your playlist and selected songs will be available on your device, ready to be enjoyed whenever you want to listen to your favorite tunes.
Syncing your playlist ensures that your MP3 player is updated with the most recent additions from your iTunes library. You can repeat the syncing process whenever you want to update or change the content on your device. Now that your playlist is synced, you can proceed to the final step and safely eject your MP3 player from your computer to avoid any data loss or corruption.
Step 6: Ejecting the MP3 Player from your computer
After successfully syncing your playlist and transferring the selected songs to your MP3 player, it’s important to properly eject your MP3 player from your computer before disconnecting it. Ejecting the device ensures that all data has been written and saved, preventing any potential data loss or corruption.
To safely eject your MP3 player from your computer, locate the device icon in iTunes, typically found in the upper-left corner of the screen. Click on the device icon to access the device settings.
Inside the device settings, you’ll find various tabs and options. Look for the “Eject” or “Disconnect” button, usually located near the top of the screen. Click on this button to safely eject your MP3 player.
Once you have clicked the “Eject” or “Disconnect” button, you’ll receive a notification confirming that it is safe to disconnect your MP3 player. Take note of this message to ensure that the syncing process and data transfer are complete.
Now that your MP3 player has been safely ejected from your computer, you can disconnect the USB cable from both your computer and your MP3 player. Store the USB cable in a safe place for future use.
It’s important to follow this process every time you want to disconnect your MP3 player from your computer to avoid any potential data loss or damage. Improperly disconnecting the device can lead to corrupted files or even hardware issues.
With your MP3 player safely disconnected, you can now enjoy your favorite music on the go. Take a moment to explore the features and settings on your MP3 player to ensure that you optimize your listening experience.
Congratulations! You have successfully put music onto your MP3 player from iTunes. Now you can take your favorite tunes with you wherever you go and enjoy the convenience and portability that an MP3 player offers.
Remember to repeat the syncing process whenever you want to update your music or add new songs to your playlist. By regularly syncing your playlist, you can ensure that your MP3 player is always up to date with your latest music choices.
Enjoy the music and have fun using your MP3 player!
Conclusion
Putting music onto your MP3 player from iTunes is a simple and straightforward process that allows you to enjoy your favorite songs wherever you go. By following the steps outlined in this guide, you can easily transfer your music library from iTunes to your MP3 player, creating personalized playlists that suit your taste.
Starting with connecting your MP3 player to your computer, you then launch iTunes and locate your music library. Creating a playlist enables you to organize your music and add specific songs to it. Once your playlist is ready, syncing it to your MP3 player transfers the selected songs, ensuring they are readily available for your listening pleasure.
Finally, it’s crucial to safely eject your MP3 player from your computer to avoid any data loss or corruption. Following all these steps ensures a seamless and enjoyable experience, allowing you to take your music with you wherever you go.
Remember to regularly update your playlists and sync them with your MP3 player, refreshing your music library and keeping it up to date. Experiment with different genres and artists to diversify your playlists and discover new music.
Now that you have the knowledge and know-how, it’s time to start enjoying your music on your MP3 player. So, connect your device, open up iTunes, and embark on a musical journey that is personalized to your tastes.
With the convenience and portability of an MP3 player, you can immerse yourself in the sounds that bring you joy, all at the touch of a button. So, let the music play and embrace the freedom of carrying your favorite tunes with you everywhere you go!