Home>Production & Technology>Music App>How To Create Playlist On Amazon Music App
Music App
How To Create Playlist On Amazon Music App
Published: February 3, 2024
Learn how to create playlists on the Amazon Music app and organize your favorite songs effortlessly. Discover the ultimate music app experience with Amazon Music.
(Many of the links in this article redirect to a specific reviewed product. Your purchase of these products through affiliate links helps to generate commission for AudioLover.com, at no extra cost. Learn more)
Table of Contents
- Introduction
- Step 1: Download and Install Amazon Music App
- Step 2: Sign in to your Amazon Music account
- Step 3: Explore the Amazon Music App interface
- Step 4: Navigate to the Playlist section
- Step 5: Create a new playlist
- Step 6: Add songs to your playlist
- Step 7: Customize your playlist
- Step 8: Save and access your playlist
- Step 9: Edit or delete a playlist
- Conclusion
Introduction
Music has the power to uplift our spirits, evoke emotions, and transport us to different worlds. With the rise of digital platforms, music has become more accessible than ever before. Whether you’re a music enthusiast, casual listener, or aspiring DJ, having a reliable music app on your smartphone is a must.
One of the most popular music apps available today is Amazon Music. Developed by the e-commerce giant, Amazon Music offers a vast library of songs from various genres and artists. It allows you to stream music, create playlists, and discover new tracks effortlessly.
In this article, we will guide you through the process of creating a playlist on the Amazon Music app. Playlists are a great way to curate your favorite songs, create personalized mood-based mixes, or share your musical taste with friends. Whether you want a playlist for your workout sessions, road trips, or simply to unwind after a long day, the Amazon Music app has you covered.
So, let’s dive in and explore how you can create your very own playlists on the Amazon Music app. Whether you’re a new user or already have an Amazon Music account, we’ll walk you through the steps to get you started on your musical journey.
Step 1: Download and Install Amazon Music App
The first step towards creating your playlist on the Amazon Music app is to download and install the app on your smartphone or tablet. Here’s how you can do it:
- Open the app store on your device. If you’re using an iPhone or iPad, go to the App Store. If you’re using an Android device, go to the Google Play Store.
- Search for “Amazon Music” in the search bar of the app store.
- Once you find the Amazon Music app, tap on the “Install” or “Get” button to begin the download.
- Wait for the app to download and install on your device. This may take a few moments depending on your internet connection.
- Once the installation is complete, you will see the Amazon Music app icon on your device’s home screen.
- Tap on the app icon to launch Amazon Music.
Now that you have successfully downloaded and installed the Amazon Music app, you’re ready to move on to the next step: signing in to your Amazon Music account. If you don’t have an account, you can create one by following the on-screen instructions.
Step 2: Sign in to your Amazon Music account
Before you can start creating your playlist on the Amazon Music app, you need to sign in to your Amazon Music account. If you don’t have an account, you can create one for free on the Amazon website. Follow these steps to sign in to your account:
- Open the Amazon Music app on your device.
- On the login screen, enter your Amazon account email address and password.
- If you have enabled two-factor authentication for your Amazon account, you may need to enter the verification code sent to your registered mobile number or email address.
- Once you have entered your login credentials, tap on the “Sign In” button.
If the login information you provided is correct, you will be successfully logged in to your Amazon Music account. Now you can start exploring the app and creating your own playlists.
Note: If you have an Amazon Prime membership, you will have access to additional features and benefits on the Amazon Music app. This includes ad-free listening, unlimited skips, and offline playback. Make sure to link your Amazon Prime membership to your Amazon Music account for the best experience.
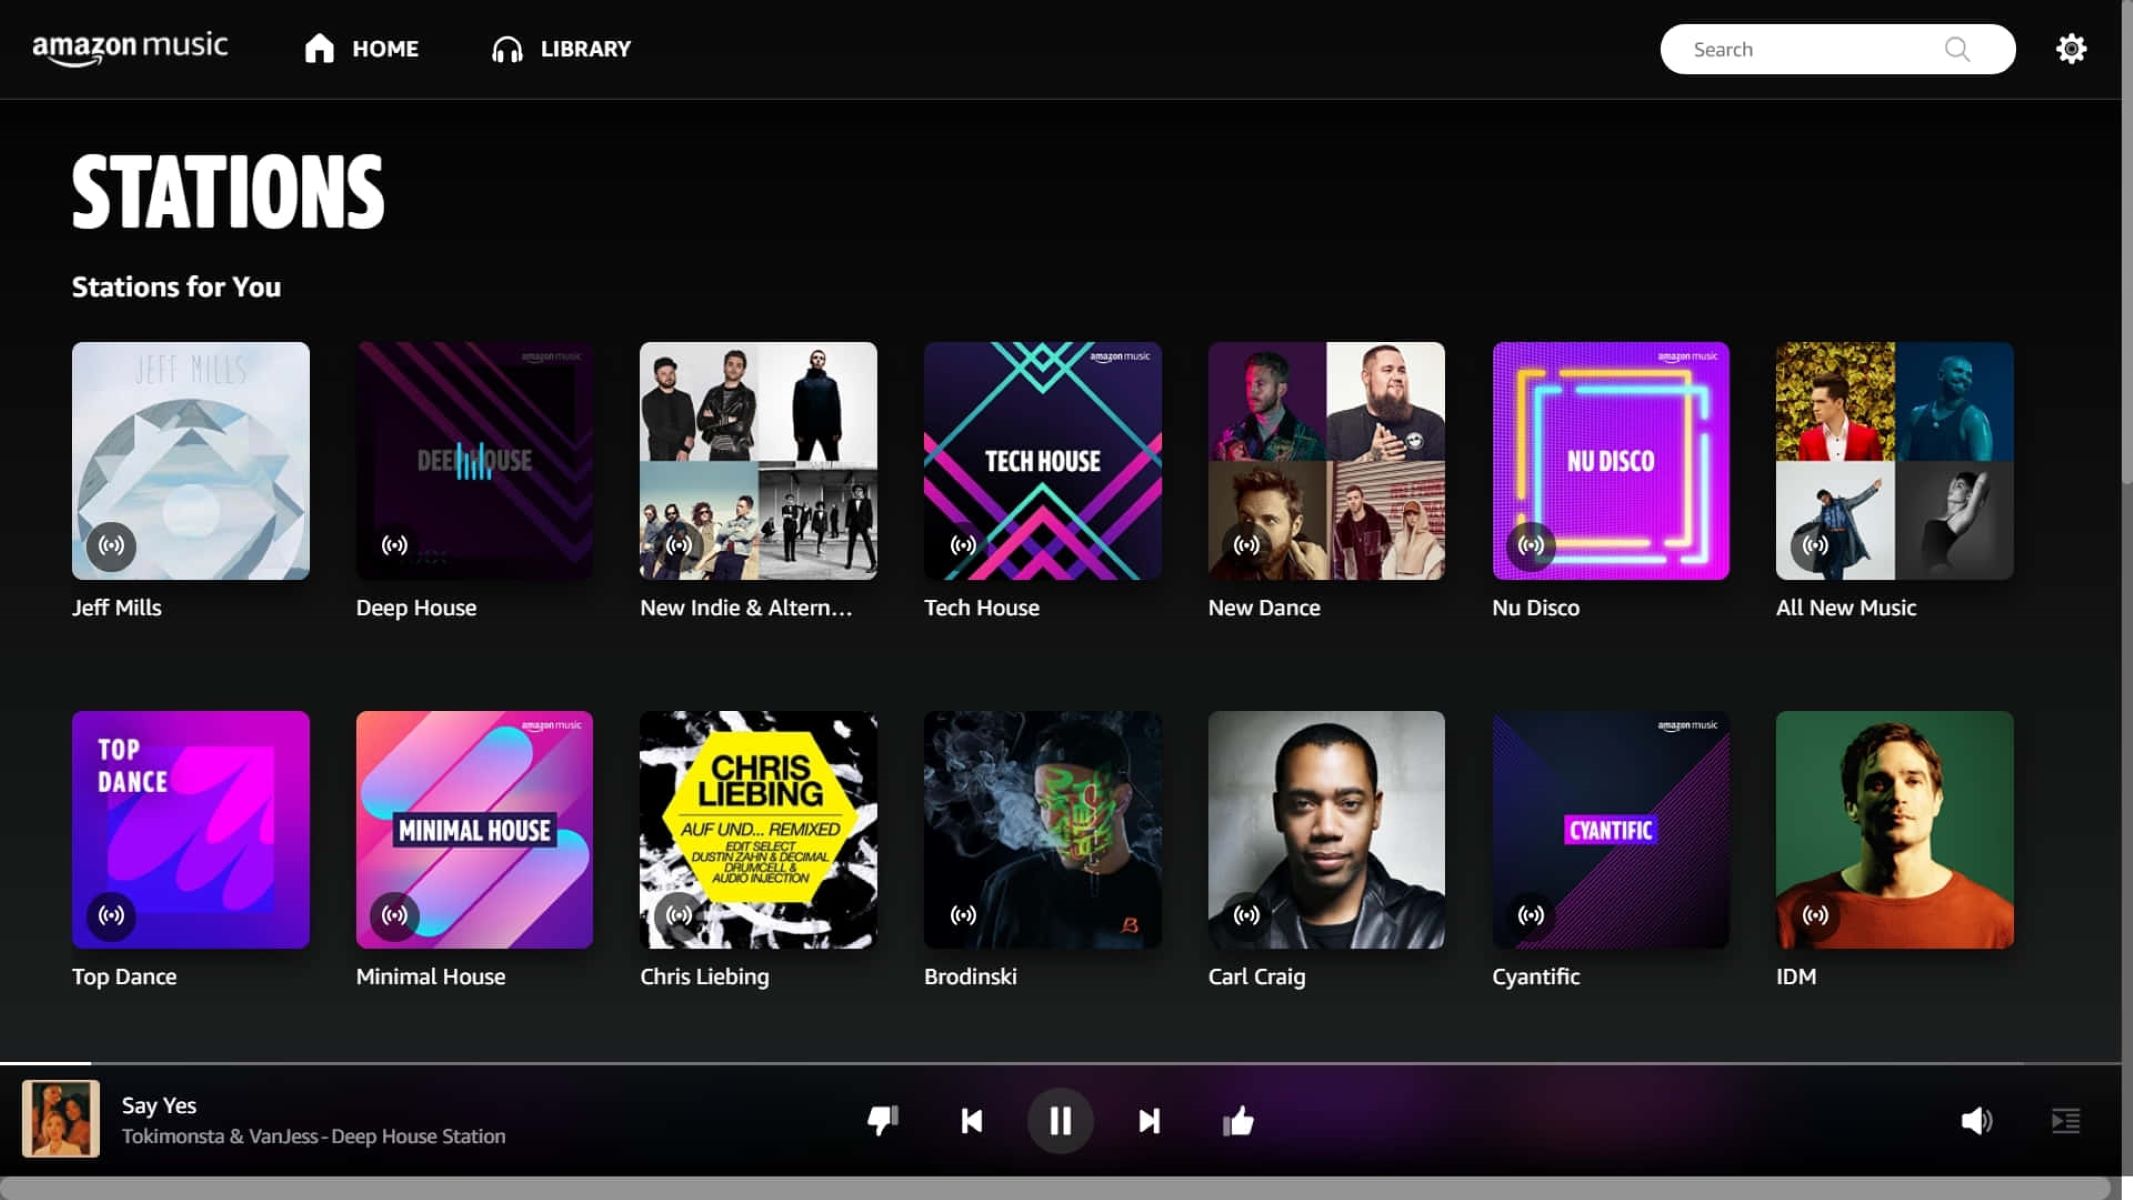
Step 3: Explore the Amazon Music App interface
Once you have signed in to your Amazon Music account, it’s time to familiarize yourself with the app’s interface. Understanding the different sections and features of the app will make it easier for you to navigate and create your playlist. Here’s a brief overview of the Amazon Music app interface:
- Home: This is the main screen of the app and provides recommendations based on your listening history and preferences. It showcases new releases, popular playlists, and personalized music suggestions.
- Search: The search bar at the top of the app allows you to search for specific songs, albums, artists, or playlists. Simply enter your search query and tap the search icon to see the results.
- Library: This section contains all your saved music, including playlists, albums, and songs. You can organize your library and access your saved content from here.
- Playlists: This is where you can view and manage your playlists. You can create new playlists, edit existing ones, and add or remove songs.
- Artist: When you search for a specific artist, their page will showcase their albums, popular songs, and related artists. You can explore their discography and add their music to your playlists.
- Albums: This section displays all the albums available on Amazon Music. You can browse through different genres and discover new music.
- Settings: By accessing the settings menu, you can customize your app preferences, manage your subscription, and adjust playback settings like audio quality and downloading options.
Take some time to familiarize yourself with these sections by exploring the app. This will make it easier for you to navigate and use the Amazon Music app effectively.
Now that you have a good understanding of the app’s interface, let’s move on to the next step: navigating to the Playlist section.
Step 4: Navigate to the Playlist section
Now that you are familiar with the basic interface of the Amazon Music app, it’s time to navigate to the Playlist section. This is where you can create, manage, and access your playlists. Follow these steps to get to the Playlist section:
- Open the Amazon Music app on your device.
- On the bottom navigation bar, tap on the “Library” icon. It is usually represented by a folder or stack of books.
- Once you are on the Library screen, look for the “Playlists” tab. Tap on it to access the Playlist section.
In the Playlist section, you will find all your created playlists, as well as any playlists shared with you or curated by Amazon Music. This is the central hub for all your playlist-related activities.
If you don’t have any playlists yet, the Playlist section will be empty. Don’t worry, we will guide you through the process of creating a new playlist in the next step.
Now that you have successfully navigated to the Playlist section, let’s move on to the exciting part: creating your very own playlist!
Step 5: Create a new playlist
Now that you are in the Playlist section of the Amazon Music app, it’s time to create your own playlist. Follow these steps to create a new playlist:
- Tap on the “Create New Playlist” button or icon. It is usually represented by a “+” or “Add” symbol.
- Enter a name for your playlist. Be creative and choose a name that reflects the mood or genre of the music you plan to add.
- Optionally, you can add a description to provide more information about the playlist.
- Once you have entered the necessary details, tap on the “Create” button to create your playlist.
Congratulations! You have successfully created your new playlist. Now it’s time to add some songs to it. Proceed to the next step to learn how.
Note: You can create multiple playlists on the Amazon Music app. This allows you to organize your music based on different themes, moods, or occasions. Feel free to experiment and create playlists that suit your musical preferences.
Step 6: Add songs to your playlist
Now that you’ve created your new playlist, it’s time to add some songs to it. The Amazon Music app offers various ways to add songs to your playlist. Follow these steps to add songs:
- Open the Amazon Music app and navigate to the Playlist section.
- Select the playlist you want to add songs to by tapping on its name.
- Tap on the “Add to Playlist” button, usually represented by a “+” or “Add” symbol.
- You will be presented with different options to add songs. Here are a few common methods:
- Search and add: Use the search bar to find specific songs, albums, or artists. Once you find the desired song, tap on the “Add” button next to it to add it to your playlist.
- Browse and add: Explore the “Home,” “Albums,” or “Artist” sections to discover music. When you find a song you want to add, tap on the three dots or ellipsis icon next to it and select “Add to Playlist.”
- From your library: If you have already saved songs or albums in your library, you can add them to your playlist by going to the Library section, selecting the song, and choosing “Add to Playlist.”
- From curated playlists: Amazon Music offers a wide range of curated playlists based on genres, moods, and themes. Open a curated playlist and select the songs you want to add to your playlist.
- Repeat these steps for each song you want to add to your playlist.
Once you have added the desired songs, you can rearrange their order by tapping and holding on a song, then dragging it to your preferred position within the playlist.
With these simple steps, you can add a variety of songs to your playlist and tailor it to your musical taste. Now that your playlist is taking shape, let’s move on to the next step and learn how to customize it further.
Step 7: Customize your playlist
Now that you have added songs to your playlist, it’s time to customize it and make it truly your own. The Amazon Music app offers several options to personalize and enhance your playlists. Follow these steps to customize your playlist:
- Open the Amazon Music app and navigate to the Playlist section.
- Select the playlist you want to customize.
- To change the name or description of your playlist, tap on the pencil or edit icon. Update the details and save the changes.
- If you want to change the cover image of your playlist, tap on the existing image or the camera icon. Choose a new image from your device’s gallery or take a new photo.
- To delete a song from your playlist, swipe left on the song and tap on the delete button.
- Tap on the three dots or ellipsis icon next to a song to access additional options. You can choose to remove the song, add it to your library, or view more information about the song or artist.
- If you want to share your playlist with friends, tap on the share icon. You can share the playlist via social media, messaging apps, or copy the playlist link to share it manually.
Additionally, you can explore advanced features of the Amazon Music app to enhance your playlists. These features may include creating radio stations based on your playlist, collaborating on playlists with others, or using smart features like “Auto Download” to keep your playlist accessible even when offline.
Feel free to experiment and personalize your playlist according to your preferences. The more you customize your playlist, the more it will reflect your unique musical taste.
Now that your playlist is customized, it’s time to save it and access it whenever you want. Proceed to the next step to learn how.
Step 8: Save and access your playlist
After you have customized your playlist to your liking, it’s important to save it so that you can access it easily whenever you want. Here’s how to save and access your playlist on the Amazon Music app:
- Open the Amazon Music app and navigate to the Playlist section.
- Ensure that all changes and customization you made to your playlist are saved.
- Your playlist will be automatically saved and can be accessed by tapping on its name in the Playlist section.
Once you have saved your playlist, you can access it easily anytime you want to listen to your favorite songs. Simply open the Amazon Music app, go to the Playlist section, and select the desired playlist. The songs in your playlist will be ready to play with just a tap.
In addition to accessing your playlist on the Amazon Music app, you can also listen to it on other devices. Amazon Music is available across various platforms, including web browsers, smart speakers, and smart TVs. Simply sign in to your Amazon Music account on the respective device and navigate to the Playlist section to access your saved playlists.
Having your playlists saved and easily accessible allows you to enjoy your favorite music on the go, at home, or wherever you are. It’s a great way to have your own personalized soundtrack for various activities, moods, and moments.
Now that you know how to save and access your playlist, let’s move on to the final step: editing or deleting a playlist.
Step 9: Edit or delete a playlist
As your music preferences evolve and change over time, you may find the need to edit or delete a playlist on the Amazon Music app. Here are the steps to edit or delete a playlist:
- Open the Amazon Music app and navigate to the Playlist section.
- Select the playlist you want to edit or delete.
- To edit the playlist, tap on the pencil or edit icon. From here, you can update the name, description, or cover image of the playlist. Once you have made the desired changes, save the playlist.
- If you want to delete the playlist, tap on the three dots or ellipsis icon next to the playlist. Then, select the delete option and confirm your decision when prompted.
Editing a playlist allows you to refine its details, update the songs, or add new ones. This is especially useful when your musical preferences change or when you want to create a different mood or theme for your playlist.
On the other hand, deleting a playlist removes it permanently from your Amazon Music account. Make sure to consider this decision carefully as you will not be able to recover the playlist once it is deleted.
By knowing how to edit or delete a playlist, you can keep your music library organized and up to date with your current preferences and tastes.
With this final step, you have successfully learned how to create, customize, save, and manage your playlists on the Amazon Music app. Explore the app’s features, discover new music, and continue to curate playlists that bring joy to your ears.
Now, go ahead and enjoy the music!
Conclusion
Creating and managing playlists on the Amazon Music app allows you to curate your own personalized music experience. With just a few simple steps, you can create playlists that reflect your musical taste, cater to different moods and occasions, and share your favorite songs with friends and family.
In this article, we covered the step-by-step process of creating a playlist on the Amazon Music app. We discussed how to download and install the app, sign in to your account, navigate the app interface, and create a new playlist. We also explored how to add songs, customize your playlist, save and access it across devices, and edit or delete a playlist when needed.
Remember, the Amazon Music app offers a vast library of songs from various genres and artists, giving you endless possibilities to create the perfect playlist for any moment. Whether you’re a music enthusiast looking to curate a collection of your favorite tracks, or someone who simply enjoys discovering new music and creating mood-based mixes, the Amazon Music app has all the features you need.
So, go ahead and unleash your musical creativity! Create playlists for work, study, workouts, parties, road trips, or any other activity that deserves a perfect soundtrack. With the Amazon Music app, your favorite songs are just a tap away.
Start creating your playlists today and let the power of music enhance every aspect of your life.