Home>Production & Technology>Music App>How To Add MP3 To Music App
Music App
How To Add MP3 To Music App
Published: February 3, 2024
Learn how to easily add MP3 files to your favorite music app. Follow our step-by-step guide and enjoy your personalized playlist on any music app of your choice.
(Many of the links in this article redirect to a specific reviewed product. Your purchase of these products through affiliate links helps to generate commission for AudioLover.com, at no extra cost. Learn more)
Table of Contents
Introduction
Music apps have become an integral part of our lives, allowing us to enjoy our favorite songs anytime, anywhere. While these apps offer a vast library of music to choose from, sometimes we have specific MP3 files that we want to add to our music app for a seamless listening experience. Whether it’s a rare live recording, a demo from a local artist, or a personal favorite, adding MP3 files to your music app can be a great way to expand your listening options.
In this article, we will guide you through the process of adding MP3 files to your music app. Whether you’re using a popular streaming platform or a dedicated music player app, the steps will generally be the same. We’ll cover everything from connecting your device to your computer to accessing your MP3 files within the music app.
So, whether you’re a music aficionado looking to curate a personalized collection or someone who wants to enjoy their favorite MP3s on the go, let’s get started on adding MP3 files to your music app!
Step 1: Connect your device to your computer
The first step in adding MP3 files to your music app is to connect your device to your computer. This can be done using a USB cable or through a wireless connection, depending on the capabilities of your device.
If you’re using a USB cable, locate the USB port on your device and connect one end of the cable to it. Then, plug the other end of the cable into a USB port on your computer. Make sure the connection is secure to ensure a stable data transfer.
If your device supports wireless connectivity, ensure that both your device and your computer are connected to the same Wi-Fi network. This will allow for a seamless transfer of MP3 files between the two devices.
Once your device is connected to your computer, you may need to unlock your device and authorize the connection. Follow the on-screen prompts on your device to grant permission for the computer to access its files.
With the connection established, you’re ready to proceed to the next step and open the music app on your device.
Step 2: Open the music app on your device
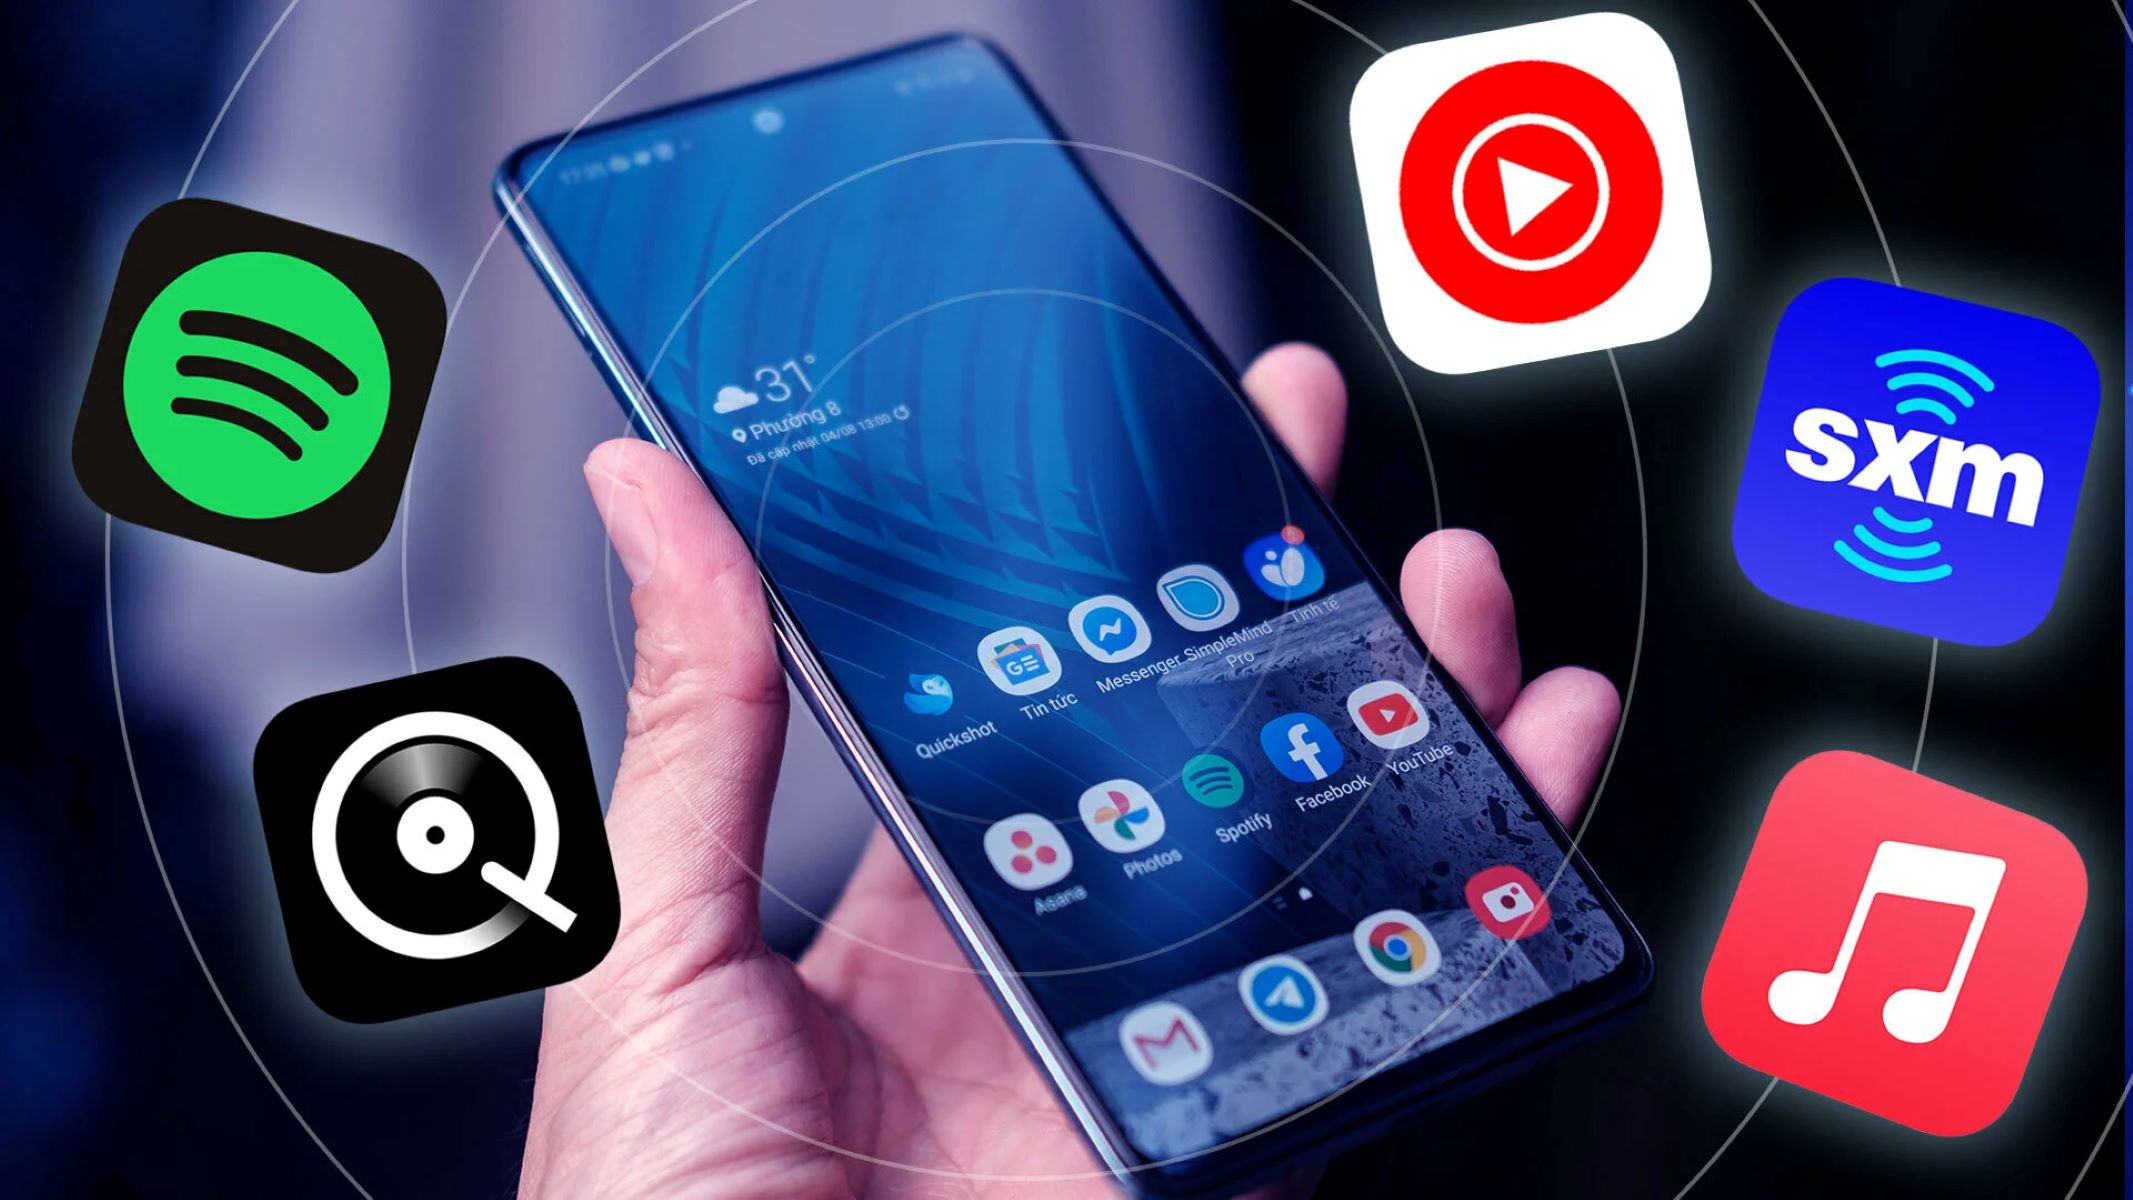
After connecting your device to your computer, the next step is to open the music app on your device. This will vary depending on the operating system and the specific music app you are using.
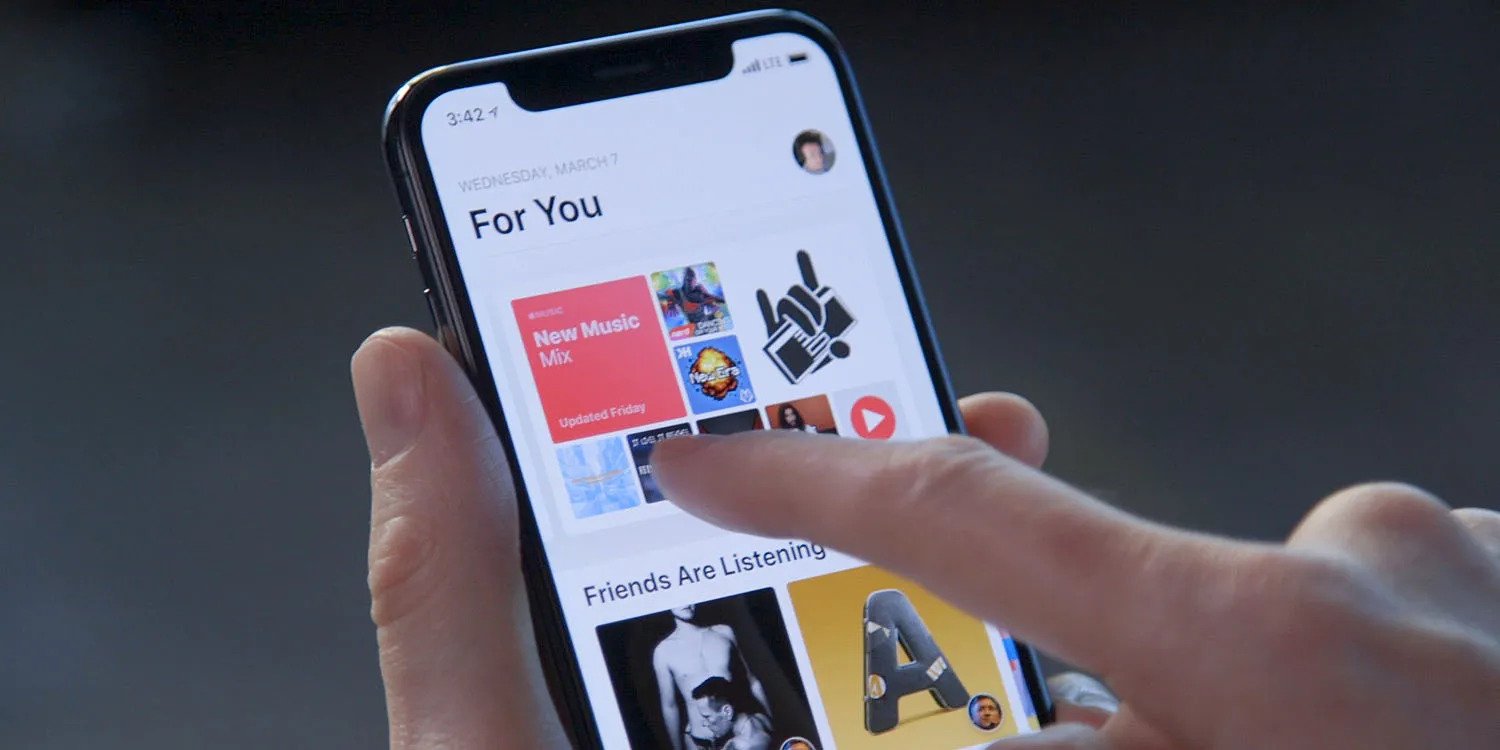
If you’re using an iOS device, you can find the default music app labeled as “Music” on your home screen. Tap on the app icon to open it. If you have installed a third-party music app, locate and tap on its icon to open it instead.
For Android users, the default music app may vary depending on the device manufacturer and the Android version. Commonly, you can find the music app labeled as “Google Play Music” or “Music” in the app drawer. Tap on its icon to open the app. If you have downloaded and installed a different music app from the Google Play Store, locate and tap on its icon instead.
Once you’ve opened the music app, familiarize yourself with the interface. Most music apps have similar features, such as playlists, albums, artists, and search functionality. Navigating through the app and understanding its layout will make it easier for you to access and organize your MP3 files.
Now that you have the music app open on your device, you’re ready to move on to the next step and locate the MP3 file on your computer.
Step 3: Locate the MP3 file on your computer
Once you have the music app open on your device, the next step is to locate the MP3 file on your computer that you want to add to the app.
Start by opening the file manager or file explorer on your computer. The location of the file manager will depend on your operating system. On Windows, you can access the file explorer by clicking on the “File Explorer” icon in the taskbar or by pressing the Windows key + E. On macOS, you can open the Finder by clicking on the blue smiley face icon in the dock.
Navigate to the folder or directory where your MP3 file is saved. If you’re unsure of the location, you can use the search feature within the file manager to search for the file name or the file extension (.mp3).
Once you have located the MP3 file, ensure that it’s in a compatible format that your music app supports. Most music apps can handle MP3 files, but it’s always a good idea to check the app’s documentation or supported file formats to be sure.
If the MP3 file is stored within a folder, make a note of the folder’s location as you will need it in the next step when transferring the file to your device.
Now that you have located the MP3 file on your computer, you’re ready to move on to the next step and transfer the file to your device.
Step 4: Transfer the MP3 file to your device
With the MP3 file located on your computer, it’s time to transfer it to your device. There are a few different methods you can use for this step, depending on the capabilities of your device and your personal preference.
One common method is to simply drag and drop the MP3 file from your computer to your device. To do this, open both the file manager or file explorer on your computer and the window displaying the file directories on your device. Then, click and hold the MP3 file on your computer, drag it over to the window displaying your device’s file directories, and release the mouse button to drop the file onto your device.
If you’re using an iOS device, you may need to use iTunes or a similar media management software to transfer the MP3 file. Connect your device to your computer, open iTunes, and navigate to your device’s page. From there, you can select the option to manually manage music and then drag and drop the MP3 file into your device’s music library.
Another option is to use cloud storage services such as Dropbox, Google Drive, or OneDrive to upload the MP3 file from your computer and then download it onto your device. Simply upload the MP3 file to your preferred cloud storage service on your computer, open the corresponding app on your device, and locate the file to download it.
Some music apps also offer their own means of transferring files. They may have a dedicated feature or a synchronization option that allows you to transfer MP3 files directly from your computer to your device within the app itself. Check the app’s documentation or settings to see if this is an available option.
Once you have successfully transferred the MP3 file to your device, you’re ready to proceed to the next step and sync your music library.
Step 5: Sync your music library
After transferring the MP3 file to your device, the next step is to sync your music library. This ensures that the music app recognizes and includes the newly added MP3 file in its library for you to access and enjoy.
The process of syncing your music library may vary depending on the music app and the device you are using. Here are some general steps to follow:
- Open the music app on your device if it’s not already open.
- Navigate to the settings or options menu within the app. This is usually represented by three dots or lines in the top corner of the app.
- Look for an option related to syncing or updating your music library. This may be labeled as “Sync Library,” “Refresh Library,” or something similar.
- Select the option to initiate the syncing process.
- Wait for the music app to scan and update your library. This may take a few moments depending on the size of your library and the speed of your device.
During the syncing process, the music app will analyze the music files on your device and incorporate any new additions such as the MP3 file that you transferred. Once the syncing is complete, the MP3 file should now be accessible and visible within the music app.
If the music app has a search functionality, you can use it to search for the title, artist, or album name associated with the MP3 file to verify that it has been successfully synced and added to your library.
With the music library synced and your MP3 file included, you’re ready for the final step: accessing your MP3 in the music app.
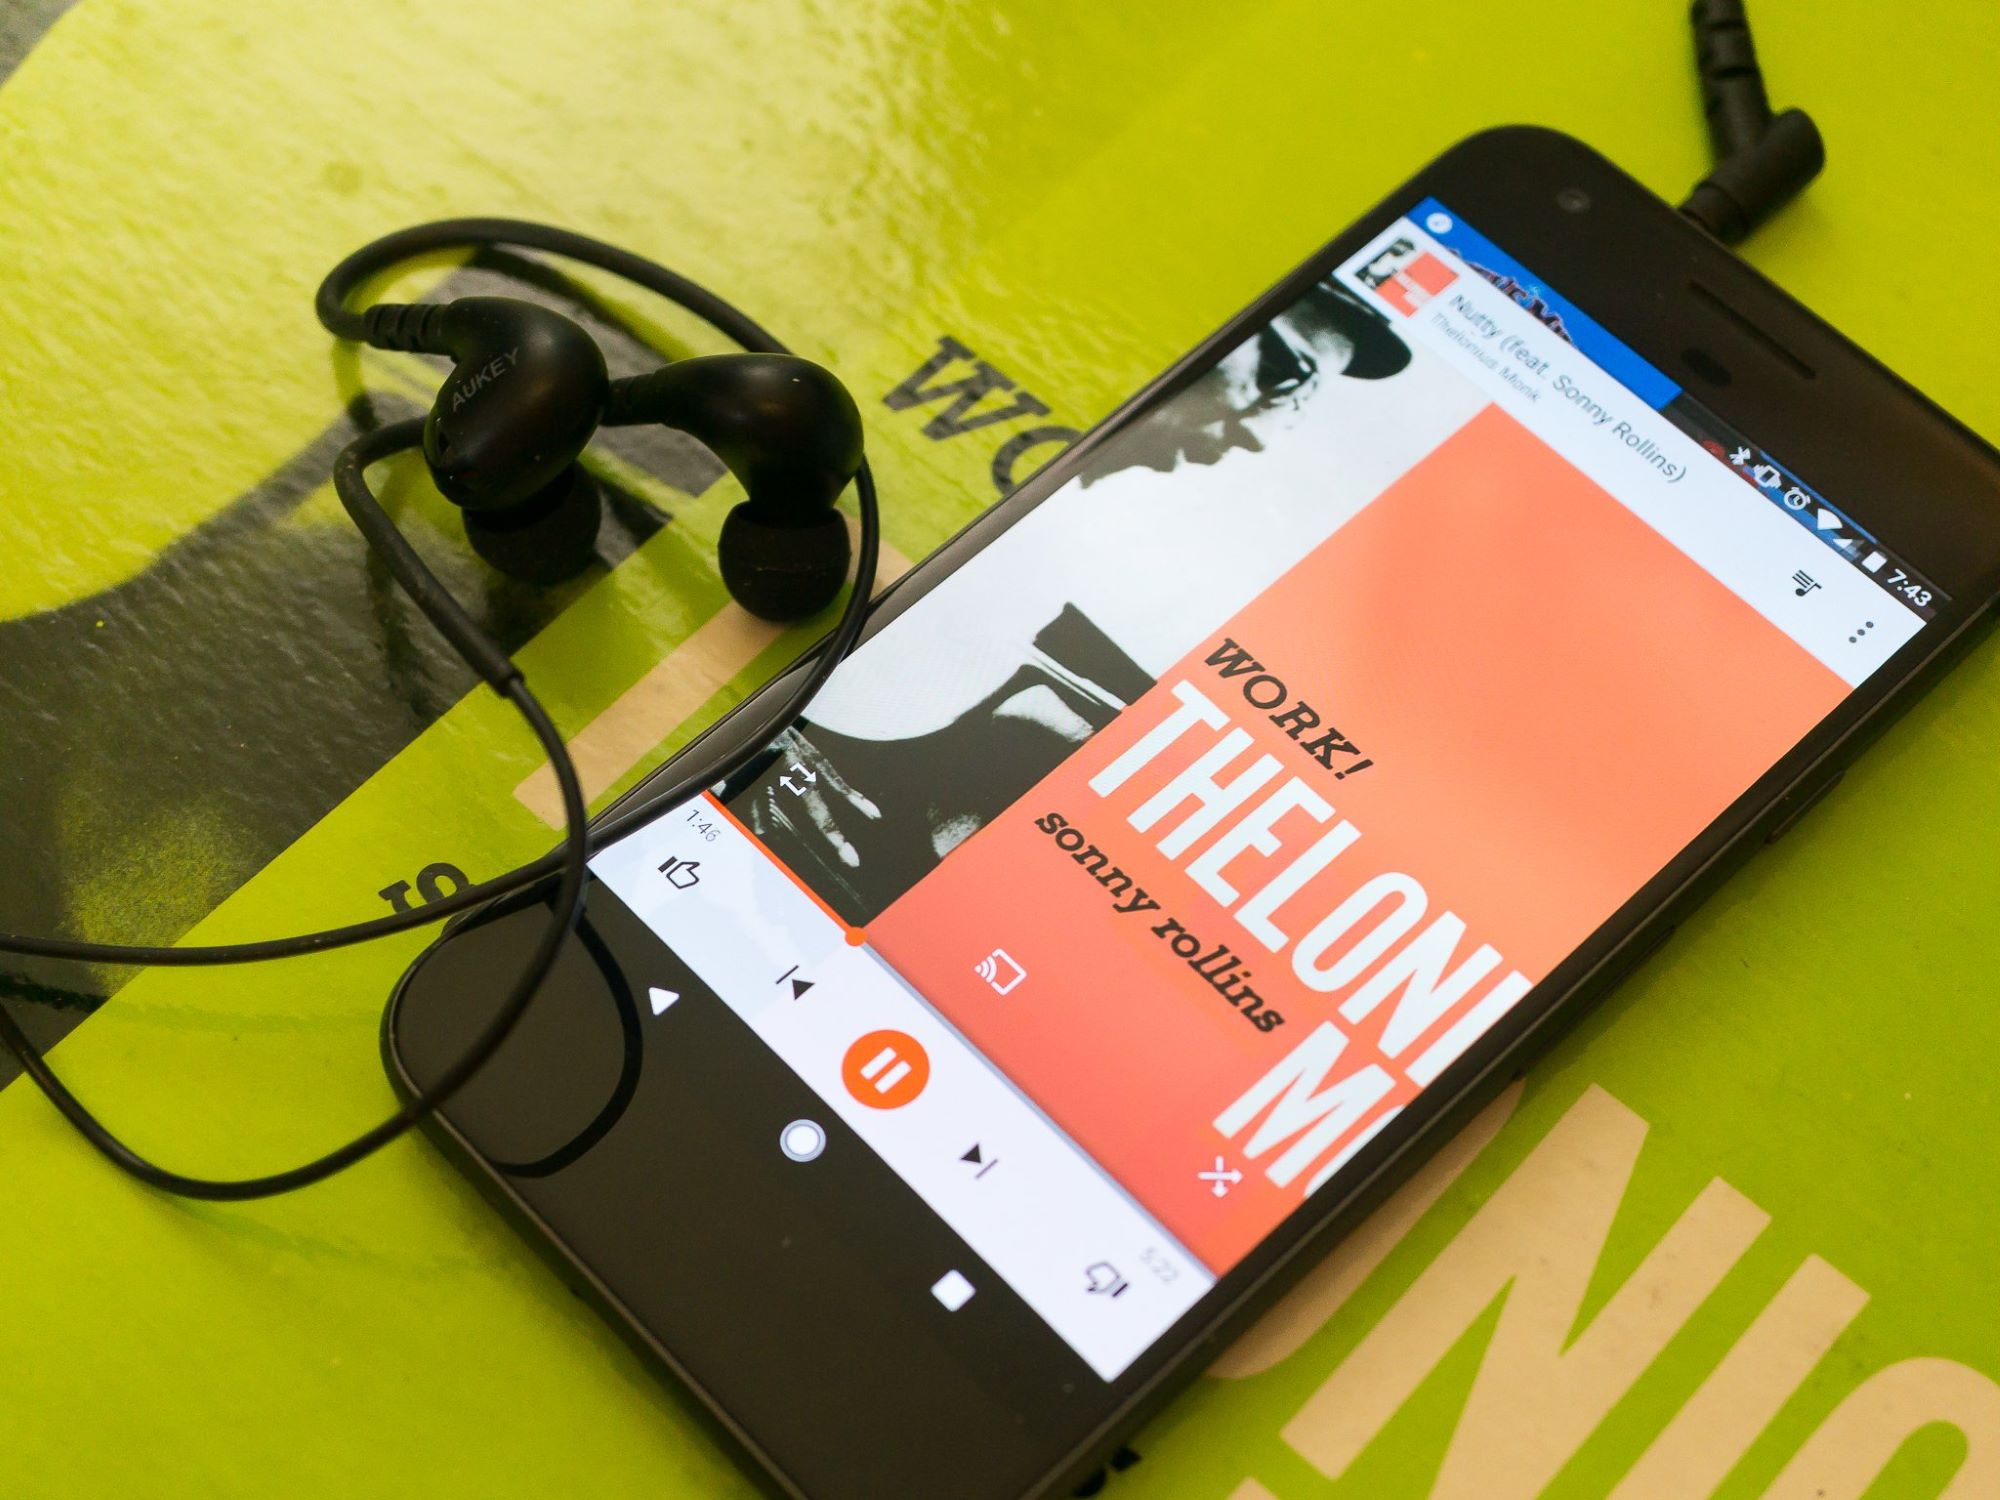
Step 6: Access your MP3 in the music app
After syncing your music library, it’s time to access and enjoy your newly added MP3 file within the music app on your device. Here’s how you can do it:
- Open the music app on your device.
- Navigate to your music library, which may be represented by icons such as “Library,” “My Music,” or “Songs.”
- Depending on the app’s layout, your MP3 file may be listed under a specific category such as Artists, Albums, or Playlists. Use the search function or browse through the available categories to locate the MP3 file.
- Once you find the MP3 file, tap on its title or thumbnail to start playing it. Most music apps provide options to play the file immediately, add it to a playlist, or download it for offline listening.
- If you have multiple MP3 files that you added, you can create playlists to organize them and easily access them in the future.
- Enjoy listening to your MP3 file on your music app! You can use the app’s playback controls to pause, skip, or adjust the volume as desired.
Remember that the steps to access your MP3 file may vary slightly depending on the specific music app you’re using. Familiarize yourself with the app’s interface and explore its features to make the most of your music listening experience.
Now that you have successfully accessed your MP3 file in the music app, you can enjoy your favorite songs and expand your music library with personalized additions.
Congratulations! You have completed all the necessary steps to add and access MP3 files in your music app. With this knowledge, you can now continue expanding your music collection and enjoy a diverse range of songs and artists on your device.
Conclusion
Adding MP3 files to your music app allows you to personalize your music library and enjoy your favorite songs, even if they are not available on popular streaming platforms. By following the six steps outlined in this guide, you can successfully add and access MP3 files in your music app.
We started by connecting your device to your computer, ensuring a stable connection for file transfer. Then, we opened the music app on your device and familiarized ourselves with its interface. Next, we located the MP3 file on your computer, making sure it’s in a compatible format.
After that, we transferred the MP3 file from your computer to your device using various methods, such as drag and drop, cloud storage services, or dedicated media management software. Once the file was successfully transferred, we synced your music library to incorporate the newly added MP3 file.
Finally, we accessed the MP3 file in the music app, allowing you to enjoy your favorite songs with just a few taps. We also highlighted the option to create playlists to organize your MP3 files for easy access and playback.
By following these steps, you can expand your music library and curate a personalized collection of MP3 files on your music app. Whether it’s rare live recordings, demos from local artists, or personal favorites, adding MP3 files to your music app provides you with a seamless listening experience.
Remember to always check the compatibility of the music app with different file formats, as some apps may have limitations on the types of files they can play. Also, be sure to adhere to copyright laws and download MP3 files from legal sources.
Now that you have the knowledge to add and access MP3 files in your music app, go ahead and explore the vast world of music, create the perfect playlists, and enjoy your favorite songs on the go!