Home>Production & Technology>Music Video>How To Record A Music Video By Yourself
Music Video
How To Record A Music Video By Yourself
Modified: January 22, 2024
Learn how to record a professional music video on your own, with tips and techniques to make your video standout. Enhance your music career with our step-by-step guide.
(Many of the links in this article redirect to a specific reviewed product. Your purchase of these products through affiliate links helps to generate commission for AudioLover.com, at no extra cost. Learn more)
Table of Contents
Introduction
Welcome to the world of music video production! As an aspiring musician or artist, creating your own music videos can be an excellent way to showcase your talent, engage with your audience, and amplify the impact of your music. With the advancements in technology, it’s now easier than ever to record a music video by yourself without breaking the bank. In this article, we will guide you through the steps of capturing professional-looking music videos, even if you’re on a shoestring budget.
A music video is not just about capturing your performance on camera; it’s about telling a story, invoking emotion, and creating a visual experience that resonates with your viewers. Whether you’re a solo artist or part of a band, taking the DIY approach gives you creative control over the entire process, allowing you to express your artistic vision exactly as you imagine.
While professional music video production can be an expensive venture, there are cost-effective solutions that can help you achieve stunning results. By acquiring the right equipment, selecting the perfect location, planning your shots meticulously, capturing high-quality audio, and effectively editing the footage, you can create a music video that stands out.
In the following sections, we will delve into the nitty-gritty details of each step, providing you with practical tips and tricks to enhance your self-directed music video production. So, let’s dive in and explore the exciting world of DIY music videos!
Choosing the Right Equipment
When it comes to recording a music video by yourself, having the right equipment can make all the difference in achieving professional-quality results. Here are the essential tools you’ll need to get started:
1. Camera: The centerpiece of your music video production is the camera. While a high-end DSLR or mirrorless camera yields excellent image quality, even a smartphone with a good camera can produce remarkable results. Look for a camera that offers manual controls, adjustable frame rates, and the ability to shoot in high definition.
2. Tripod or Stabilizer: To ensure steady shots and smooth movements, invest in a tripod or stabilizer. These accessories are crucial for avoiding shaky footage and maintaining a professional look throughout your music video.
3. Lighting Equipment: Lighting plays a vital role in setting the mood and enhancing the visual appeal of your music video. Whether you choose to work with natural light or prefer to invest in professional lighting equipment, make sure that your shots are well-lit and visually captivating.
4. Microphone: While cameras often come equipped with built-in microphones, the audio quality may not be up to par. Consider investing in an external microphone or audio recorder to capture clear and high-quality sound, ensuring that your music is showcased at its best.
5. Greenscreen: A greenscreen can be a game-changer for music videos, allowing you to insert different backgrounds or create visual effects during post-production. If you have ambitious creative ideas, a greenscreen can help bring them to life.
6. Accessories: Don’t forget about the small but necessary accessories such as extra batteries, memory cards, extension cords, and lens filters. These can come in handy during your shoot and ensure that you have everything you need to capture the perfect shots.
Remember, the equipment you choose will depend on your budget, artistic vision, and the specific requirements of your music video. As you gain more experience and success, you can gradually upgrade your equipment to further enhance the quality and creativity of your music videos.
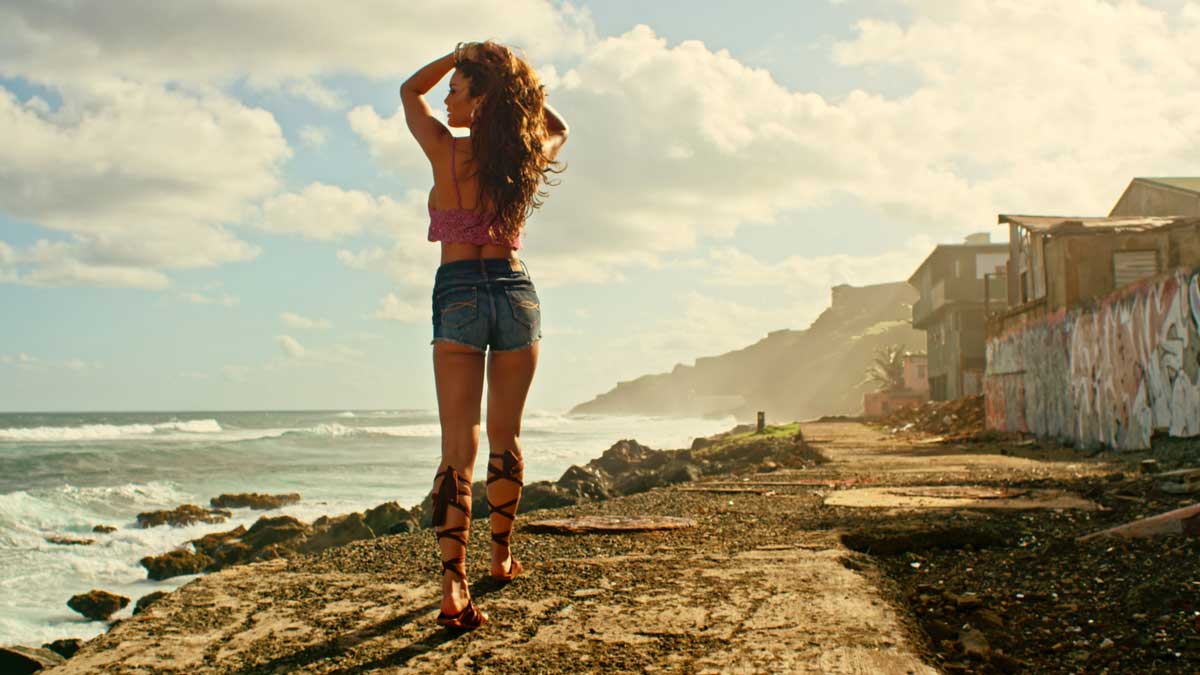
Finding a Suitable Location
The location you choose for your music video sets the stage and contributes significantly to the overall vibe and aesthetic. Here are some tips for finding a suitable location:
1. Scouting: Start by scouting for locations that align with the concept and mood of your music video. Consider outdoor options such as parks, urban landscapes, or scenic backdrops, or explore indoor possibilities like warehouses, studios, or unique architectural spaces. Take your time to find the perfect location that enhances your artistic vision.
2. Permissions: Ensure that you have proper permissions and permits for shooting in any public or private locations. Some locations may require a fee or authorization, so be sure to do your research and obtain any necessary documentation beforehand.
3. Lighting and Background: Pay attention to the lighting conditions and background elements of your chosen location. If shooting indoors, consider the available natural light or plan to bring in extra lighting equipment. For outdoor shoots, take note of how the lighting changes throughout the day and choose a time that complements your desired visual aesthetic.
4. Noise Considerations: Keep in mind the ambient noise levels of your chosen location. If recording live audio is crucial for your music video, select a space with minimal background noise or plan to use external audio recording equipment to ensure clarity and quality.
5. Accessibility: Consider how easily accessible and convenient the location is for you and your crew. Factor in transportation, equipment setup, and any logistical challenges that may arise to ensure a smooth and efficient production process.
6. Safety: Prioritize the safety of your team and yourself. Assess the location for any potential hazards or risks, and take necessary precautions to ensure everyone’s well-being during the shoot.
Remember, the location you choose should add value to your music video and complement the overall theme and style. Take your time to find a location that resonates with your vision and enhances the impact of your music.
Planning Your Shots
Effective shot planning is crucial for capturing engaging and visually appealing music videos. Here’s a step-by-step process to help you plan your shots:
1. Storyboard Creation: Begin by creating a storyboard or shot list that outlines the sequence of shots you want to capture. This visual guide will help you organize your ideas and ensure that you have a clear vision for each shot.
2. Shot Types and Angles: Consider the different types of shots you want to include in your music video. This could range from wide establishing shots to close-ups that focus on specific instruments or facial expressions. Experiment with various angles such as high angles, low angles, or even unique perspectives that add visual interest.
3. Movement and Composition: Think about how you want your camera to move throughout the video. Will it be static or incorporate dynamic movements like pans, tilts, dollies, or handheld shots? Additionally, pay attention to the composition of each shot, ensuring that the framing and placement of elements within the frame are visually appealing.
4. Timing and Rhythm: Consider how the timing and rhythm of your shots will sync with the music. Plan for certain movements or cuts to coincide with specific beats or lyrics to create a more impactful and synchronized experience for your viewers.
5. Transition Techniques: Explore creative transition techniques to smoothly flow between shots. This can involve using fades, wipes, or other visual effects during the editing process to create seamless transitions that enhance the storytelling aspect of your music video.
6. Rehearsing and Refining: Once you have a clear plan, rehearse your shots and make adjustments as needed. This can help you streamline the shooting process and ensure that you capture the desired shots effectively.
Remember, shot planning is essential, but don’t be afraid to embrace spontaneity and capture unexpected moments that add an authentic touch to your music video. Adapt and adjust your shot plan as necessary based on the creative flow and energy during the shoot.
Setting Up the Camera
Once you have your desired shots planned out, it’s time to set up your camera for recording your music video. Here are some essential tips to help you achieve the best possible footage:
1. Camera Settings: Familiarize yourself with your camera’s settings and adjust them accordingly. Set your camera to manual mode to have more control over exposure, focus, and other important parameters. Experiment with different settings to find the optimal configuration for your specific shooting conditions.
2. Frame Rate and Resolution: Select the appropriate frame rate and resolution that suits the style and look you want to achieve. Higher frame rates provide smoother motion, while lower frame rates can create a more cinematic feel. Consider the available storage space on your memory card and the processing power of your editing software when choosing the resolution.
3. Composition and Framing: Pay attention to the composition and framing of your shots. Use the rule of thirds to create visually pleasing composition, and ensure that important elements are properly framed within the shot. Consider the use of leading lines or symmetry to add visual interest to your footage.
4. Stabilization: Use a stabilizer or tripod to keep your camera steady during the shoot. Smooth and steady shots contribute to a professional look and prevent any unwanted camera shake or blur.
5. Focus: Ensure that your shots are in focus by manually adjusting the focus or using autofocus. Many cameras offer focus peaking or focus assist features that help you achieve sharp focus. Take test shots and review them on a larger screen to confirm that the focus is accurate.
6. White Balance: Set the white balance according to the lighting conditions of your location. This helps maintain accurate colors in your footage. You can choose an automatic white balance setting or manually adjust it based on the lighting environment.
7. Audio Setup: If you’re recording audio separately, sync it with the video by using a clapperboard or any other visual cue that creates an audible and visible spike. This makes it easier to align the audio during the editing process.
Remember, practice setting up your camera and get comfortable with its functions before the actual shoot. This allows you to focus more on capturing the perfect shots and less on technicalities when the time comes. With proper camera setup, you’ll be well on your way to creating professional-looking music videos.
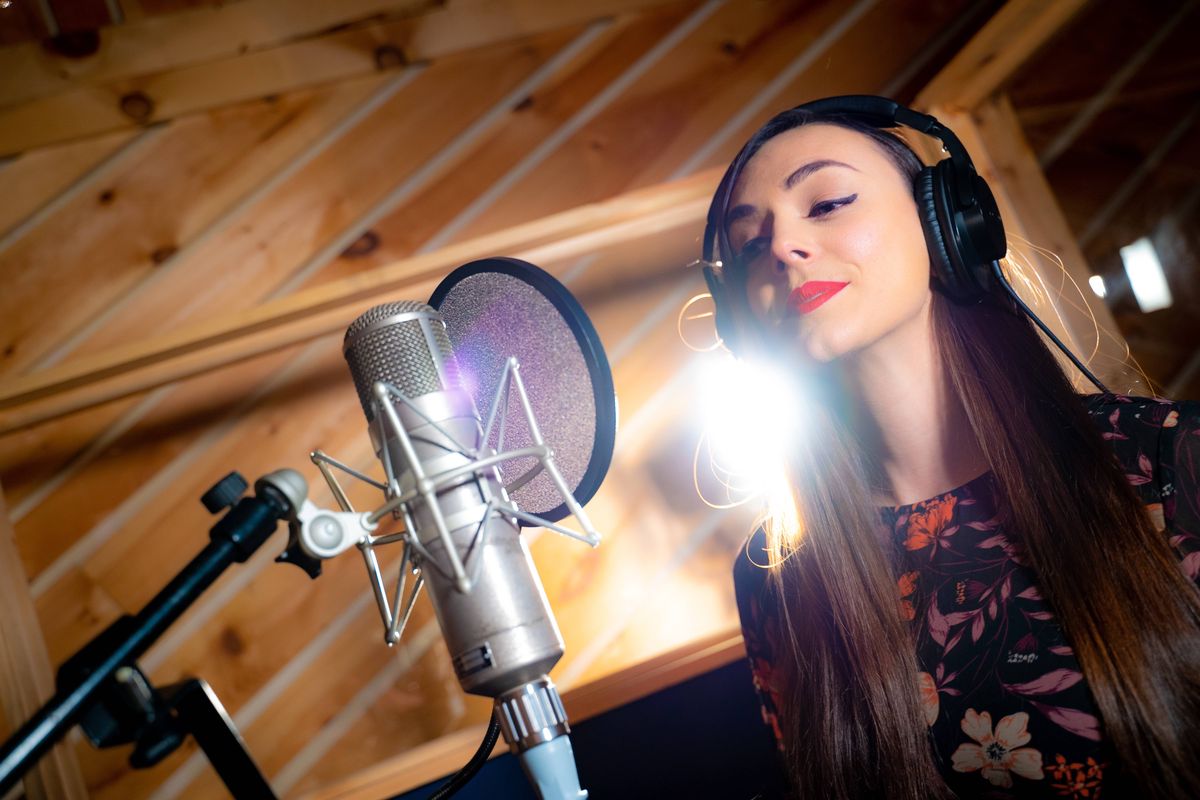
Capturing High-Quality Audio
In addition to capturing visually stunning footage, ensuring high-quality audio is essential for producing a professional music video. Here are some tips to help you capture excellent sound:
1. External Microphone: While cameras often have built-in microphones, they may not provide the best audio quality. Invest in an external microphone that suits your recording needs. Options include shotgun microphones for capturing sound from a distance, lavalier microphones for interviews or close-up shots, or condenser microphones for studio-like recording.
2. Positioning the Microphone: Proper microphone placement is crucial for capturing clear and balanced audio. Position the microphone close to the sound source, such as the vocalist or the instrument being played, to minimize background noise. Experiment with different microphone placements to find the best sound capture for your music video.
3. Monitor Audio Levels: Keep an eye on your camera’s audio levels to avoid audio clipping or distortion. Set the levels to an optimal range to ensure that the sound is neither too soft nor too loud. Conduct test recordings and adjust the levels accordingly before you start filming.
4. Wind Noise Prevention: If you are shooting outdoors or in a windy environment, use a windscreen or a foam cover on your microphone to reduce wind noise. Wind noise can significantly degrade the audio quality, so taking precautions to minimize it is crucial.
5. Background Noise Control: Be mindful of the background noise in your shooting location. Choose a quiet environment whenever possible and avoid shooting near sources of noise such as busy roads, air conditioners, or other loud appliances. If necessary, consider using a noise reduction or audio editing software during the post-production phase.
6. Audio Sync: If you record audio separately from the video, ensure proper synchronization during the editing process. Use visual cues like clapperboards or audio spikes to align the audio accurately with the video footage.
7. Multiple Audio Takes: Consider recording multiple takes of the audio to give yourself options during the editing phase. This helps in selecting the best-quality sound or correcting any mistakes that may have occurred during recording.
Remember, high-quality audio is just as important as high-quality visuals in a music video. Paying attention to the audio recording process will greatly enhance the overall impact and professionalism of your final product.
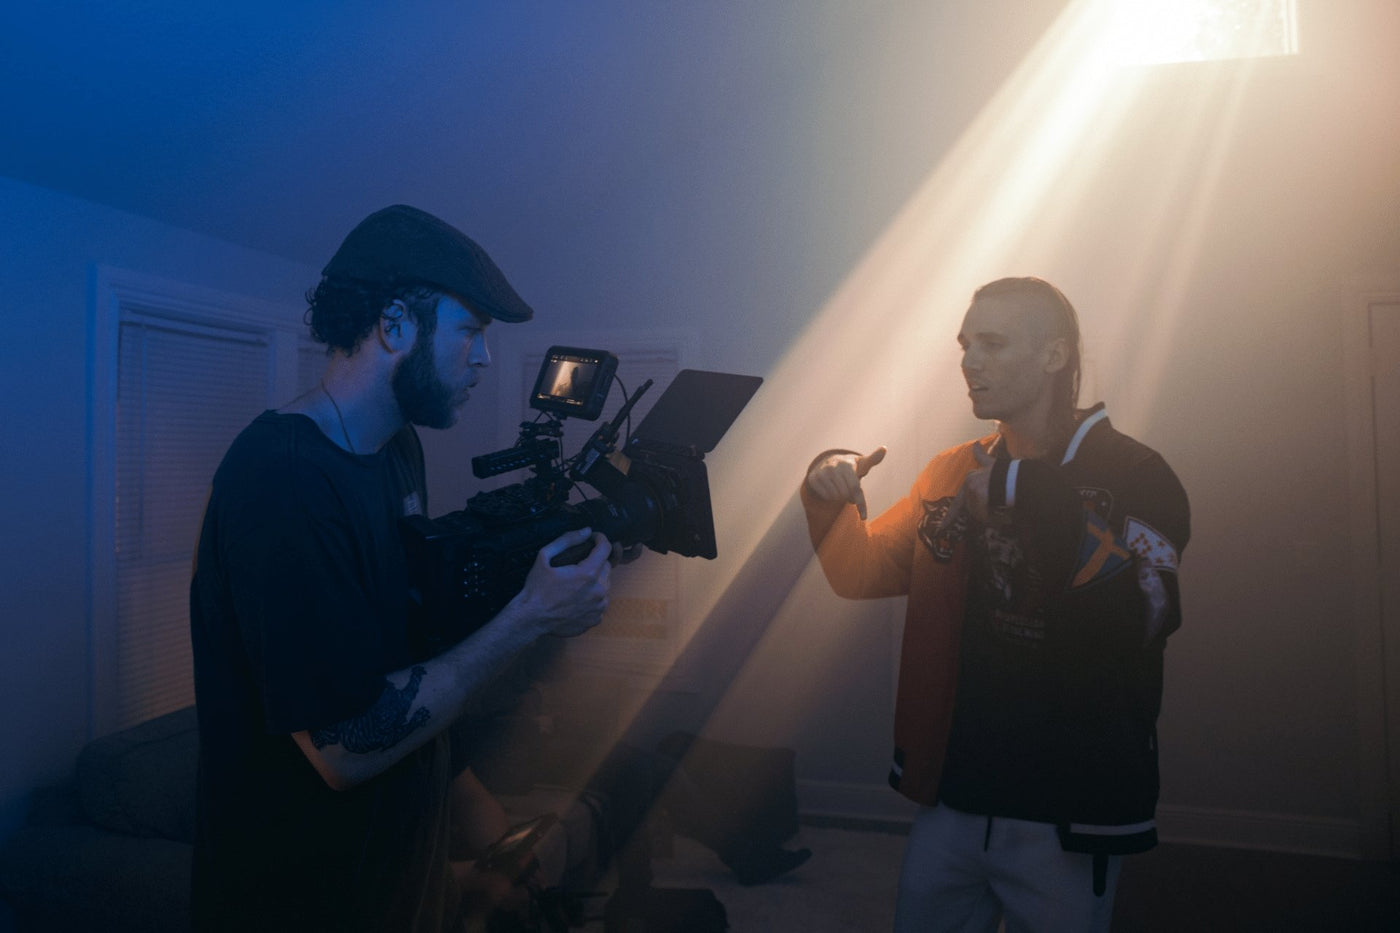
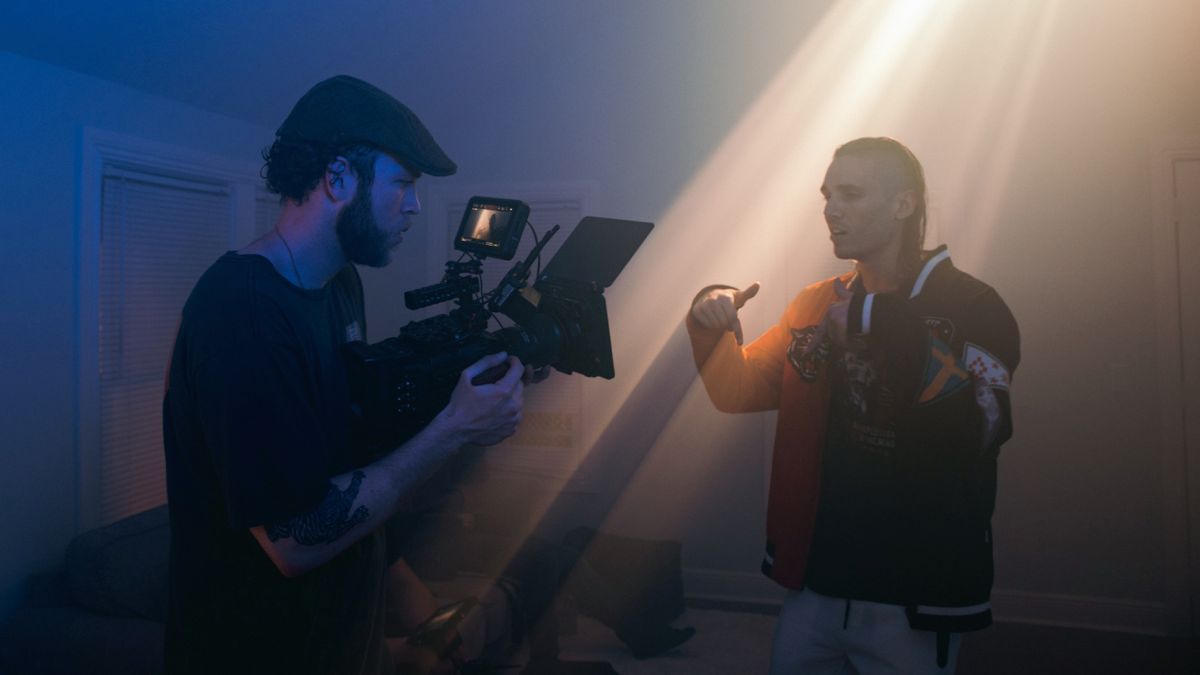
Performing and Capturing the Footage
Now that you have your equipment set up and audio recording in place, it’s time to focus on delivering a captivating performance and effectively capturing the footage. Here are some tips to help you make the most of your music video shoot:
1. Rehearse and Warm Up: Before pressing record, take some time to rehearse and warm up. Familiarize yourself with the song, practice your moves, and ensure that you are in the right mindset to deliver a captivating performance.
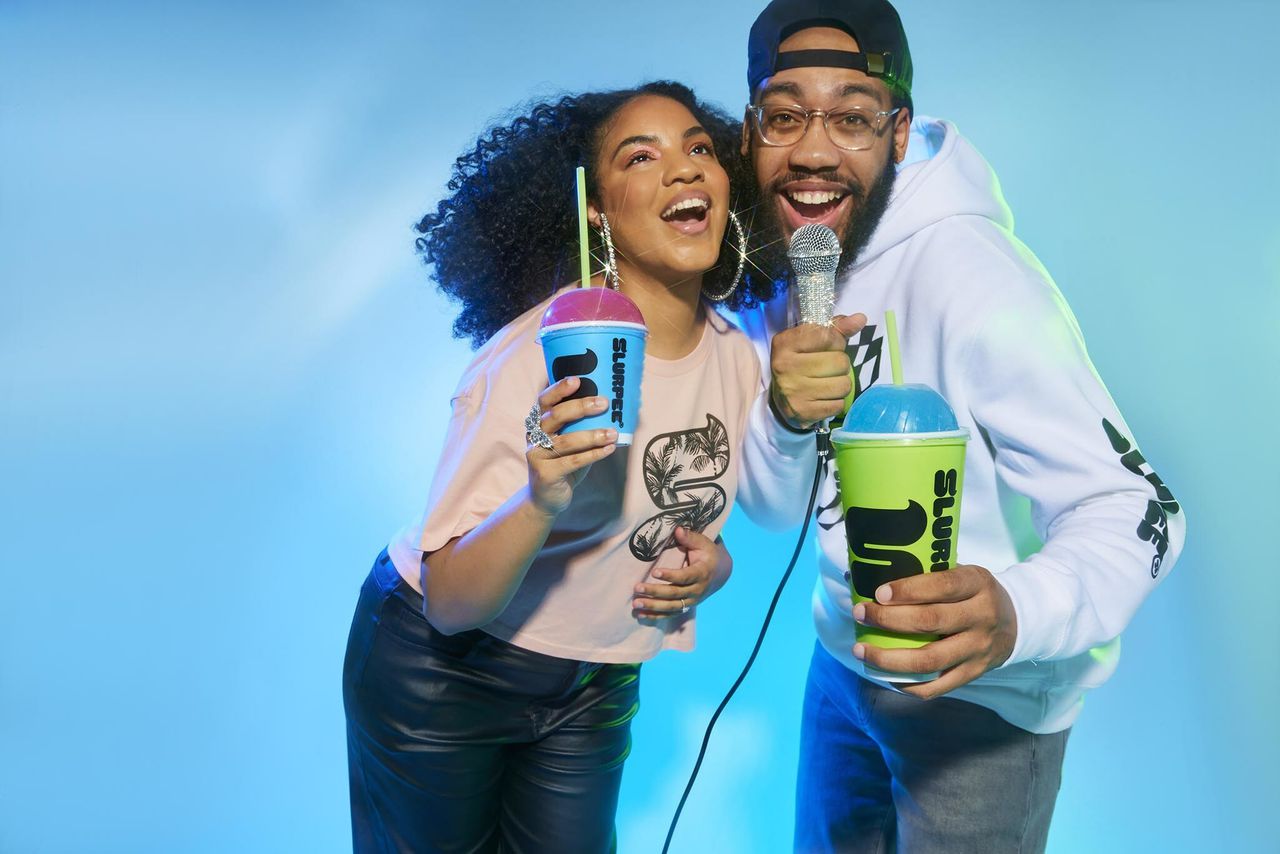
2. Energy and Expression: Bring your energy and emotions to the forefront. Music videos provide a unique opportunity to connect with your audience visually, so focus on expressing the emotions and conveying the message of your music through your performance. Don’t be afraid to go all out and let your personality shine.
3. Multiple Takes: Consider recording multiple takes of each shot to ensure you capture the best moments. This flexibility allows you to choose the most engaging performances and seamlessly edit them together during the post-production process.
4. Variety of Shots: Experiment with different angles, movements, and focal lengths to add visual interest and dynamic range to your footage. Mix wide shots, close-ups, and unique perspectives to create a visually engaging music video that holds the viewer’s attention.
5. Collaborate with a Filmmaker: If possible, collaborate with a filmmaker or a cameraperson who can focus on capturing the footage while you concentrate on your performance. This allows for smoother coordination and ensures that both aspects – performance and footage – are given equal attention.
6. Communication and Direction: If you are working alone, use a monitor or utilize remote control features on your camera to monitor framing and composition while performing. Practice effective communication with your crew or any assisting individuals to ensure that you are capturing the shots you envision.
7. Enjoy the Process: Remember to have fun and enjoy the process. Music video production is an opportunity to showcase your creativity and passion, so embrace the experience and let your enthusiasm shine through in your performance.
Remember, capturing captivating footage is a crucial aspect of creating a successful music video. Take your time, give your best performance, and ensure that you are not only capturing the visuals but also creating a connection between your music and the audience through your performance.
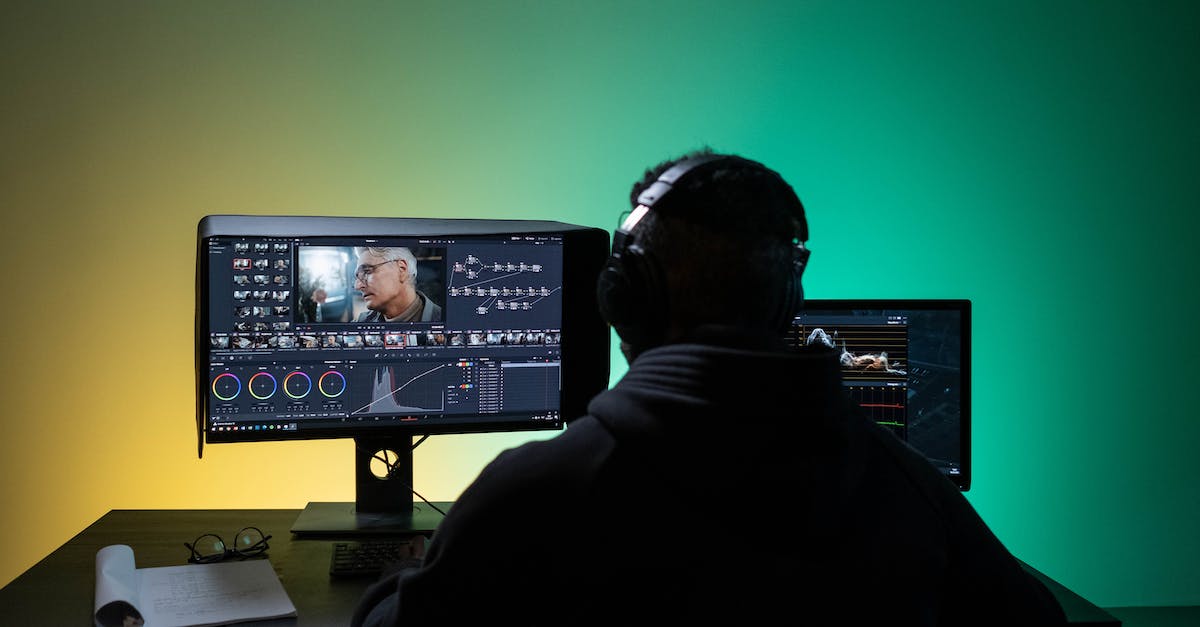
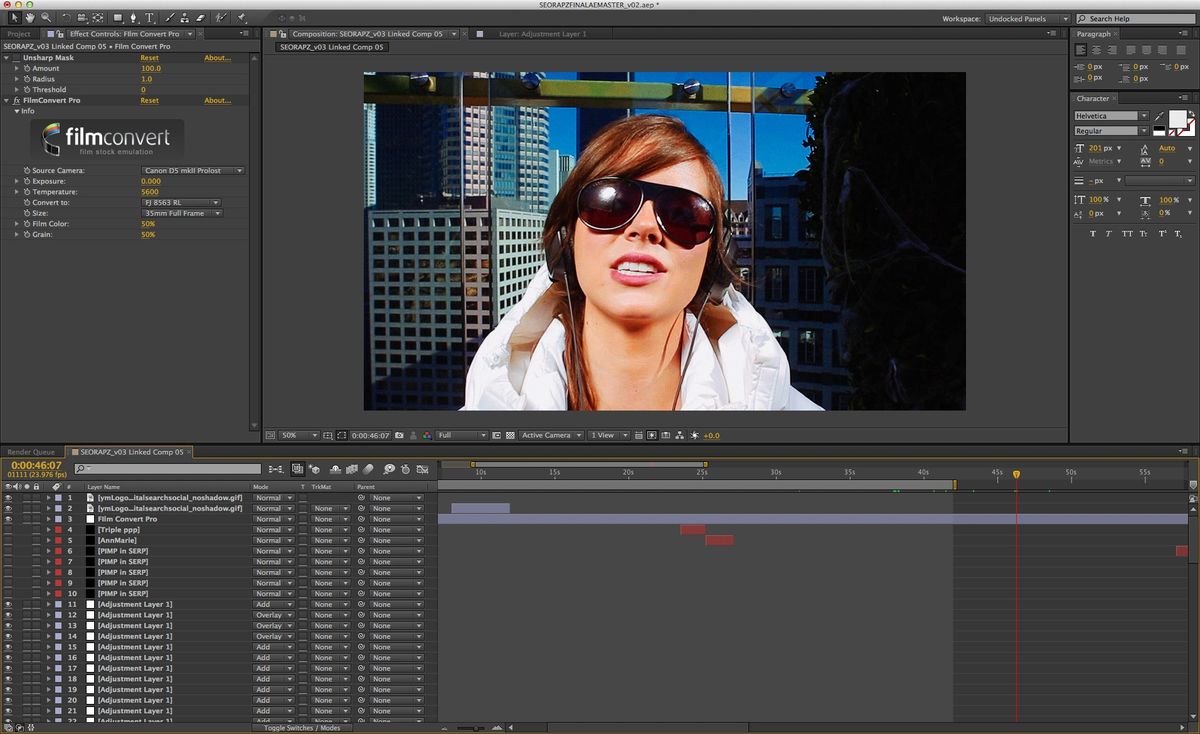
Editing Your Music Video
Editing is where the magic of your music video comes alive. It’s the process of selecting the best shots, arranging them in a cohesive sequence, and adding visual effects, transitions, and audio enhancements to create a polished final product. Here are some tips to help you navigate the editing process:
1. Organize Your Footage: Start by organizing your footage based on the shots you’ve planned and captured. Create a dedicated folder or project file and label your clips according to their content or shot type. This organization will make it easier to find and work with specific shots during the editing process.
2. Selecting Shots: Review your footage and select the best shots that align with your vision for the music video. Look for moments that capture the essence of your performance, convey the emotions of the song, and maintain visual interest throughout. Trim any unnecessary or repetitive footage to keep the pace of your music video engaging.
3. Visual Enhancements: Enhance your footage by adjusting color, contrast, and brightness to create a consistent and visually appealing look. Experiment with different color grading techniques to match the mood and emotions of your song. Utilize visual effects, overlays, or filters to add unique touches that enhance the overall aesthetic of your music video.
4. Syncing and Timing: Ensure that the visuals sync perfectly with the audio. Align your shots with the beats, rhythms, and lyrics of the music to create a cohesive and synchronized experience. Use cuts, transitions, and effects to enhance the timing and flow of your music video.
5. Adding Text and Graphics: If desired, incorporate text overlays, title screens, and graphics that enhance the storytelling or provide additional context to the music video. Use appealing fonts and legible sizes to ensure that the text complements the visuals without overwhelming them.
6. Audio Mixing: Pay attention to audio mixing to ensure that the music, vocals, and any additional audio elements are balanced and sound clear. Adjust the volume levels, add audio effects if necessary, and ensure that the audio elements sync perfectly with the visuals.
7. Finalizing the Edit: Once you have edited your music video, review it multiple times to ensure it flows smoothly and captures the essence of your music. Seek feedback from others to gain valuable perspectives. Make any necessary adjustments, render the final video, and save it in the preferred file format.
Remember, the editing process is where your vision comes to life. Take your time, be creative, and experiment with different techniques to create a music video that is visually captivating and aligns perfectly with your artistic vision.