Home>Production & Technology>Remix>How To Remix A Music Video
Remix
How To Remix A Music Video
Modified: February 19, 2024
Learn how to remix a music video and create your own unique version. Explore step-by-step techniques and unleash your creativity with this comprehensive guide on remixing.
(Many of the links in this article redirect to a specific reviewed product. Your purchase of these products through affiliate links helps to generate commission for AudioLover.com, at no extra cost. Learn more)
Table of Contents
- Introduction
- Understanding Remixing
- Choosing the Right Music Video for Remixing
- Acquiring the Necessary Music Mixing Software
- Extracting Audio from the Music Video
- Creating a Remix Track
- Adding Effects and Enhancements
- Syncing the Remix with the Music Video
- Editing the Music Video to Accommodate the Remix
- Exporting and Sharing the Remixed Music Video
- Conclusion
Introduction
Welcome to the exciting world of music video remixing! Remixing is the art of taking an existing music video and putting your own creative spin on it. It’s a way to breathe new life into a song, adding your personal touch and showcasing your unique style. Whether you’re a DJ, a musician, or just someone passionate about music, remixing allows you to unleash your creativity and create something truly remarkable.
In this article, we will guide you through the process of remixing a music video, from selecting the right video to exporting and sharing your remixed masterpiece. We’ll explore the tools and techniques you need to create a professional-grade remix that will captivate your audience and leave them wanting more.
Remixing is not only a way to express your artistic vision, but it’s also a valuable skill in today’s music industry. With the rise of social media platforms and streaming services, remixes have become incredibly popular. They offer a fresh take on familiar songs and have the potential to go viral, gaining you recognition and expanding your reach as an artist.
Before diving into the remixing process, it’s important to have a solid understanding of copyright laws and permissions. It is crucial to obtain the necessary rights and clearances for the music video you intend to remix to avoid any legal issues. Always make sure to respect the intellectual property of the original creators.
Now that we have the groundwork laid, let’s start exploring the exciting world of music video remixing!
Understanding Remixing
Remixing is more than just putting a new beat over an existing music video. It involves deconstructing the original video, extracting elements like vocals, instrumentals, and effects, and rearranging them in a way that creates a fresh and unique perspective.
The goal of a remix is to take the essence of the original song and transform it into something new and exciting. Remixing allows artists to experiment with different genres, styles, and musical techniques, creating a fresh interpretation that resonates with their audience.
When remixing a music video, you have the opportunity to showcase your creativity not only through the audio elements but also through visual enhancements. By editing and manipulating the original video footage, you can add visual effects, transitions, and overlays that complement the remix and enhance the overall viewer experience.
Remixing is not limited to professional musicians or DJs. With the advancements in technology, anyone with a passion for music and a computer can try their hand at remixing. It’s a form of artistic expression that allows you to showcase your creativity and make your mark in the music industry.
One of the key elements of successful remixing is striking the right balance between staying true to the essence of the original song and incorporating your own artistic vision. A great remix should retain the elements that made the original song popular while bringing something fresh and unexpected to the table.
Another important aspect of remixing is understanding the target audience. Consider who will be listening to your remix and what they expect from it. Is it a remix for the dance floor, or is it a more chill and relaxed version of the original? Understanding your audience will help you tailor your remix to their preferences and connect with them on a deeper level.
As you delve into the world of remixing, be open to experimentation and exploration. Don’t be afraid to push boundaries, try new techniques, and think outside the box. The beauty of remixing lies in its ability to breathe new life into familiar songs and create something that resonates with people in a whole new way.
Choosing the Right Music Video for Remixing
When it comes to remixing a music video, selecting the right video is crucial. The ideal video for remixing should have certain qualities that make it suitable for transformation and enhancement.
The first thing to consider is the popularity and familiarity of the original song. Choosing a music video that resonates with a wide audience increases the chances of your remix being well-received. Look for songs that have a strong following and have the potential to capture the attention of your target audience.
Additionally, consider the genre of the music video. You can choose to remix a video within your preferred genre or step outside your comfort zone and explore a different genre. Remixing across genres can lead to intriguing results and help you showcase your versatility as an artist.
Another important factor to consider is the availability of the isolated audio tracks. Remixing becomes much easier when you have access to separate audio elements like vocals, instrumentals, and effects. Look for music videos that provide stems or multi-track files, as they allow you greater flexibility in manipulating the audio to create your remix.
Furthermore, consider the visual elements of the music video. Look for videos that have interesting and visually appealing footage that can be edited and enhanced. A visually stimulating video can be transformed into something truly captivating with the right edits, effects, and overlays, making your remix stand out from the crowd.
It’s also important to assess the tempo and structure of the original song. This will help you determine the direction and style of your remix. Whether you want to maintain the tempo or completely change the pace, understanding the original song’s structure is vital in creating a cohesive and well-executed remix.
Avoid remixing videos that are heavily copyrighted or have strict usage restrictions. It’s important to respect the intellectual property of the original creators and obtain the necessary rights and permissions before proceeding with your remix. There are plenty of music videos available under creative commons licenses or with explicit permissions, so be sure to choose one that allows for remixing.
Lastly, trust your instincts and choose a music video that resonates with you personally. Remixing requires a level of passion and connection with the material, so selecting a video that speaks to you will greatly enhance your creative process and allow you to pour your heart into your remix.
By carefully selecting the right music video for remixing, you set yourself up for success and create the foundation for an outstanding remix that will captivate your audience and showcase your artistic prowess.
Acquiring the Necessary Music Mixing Software
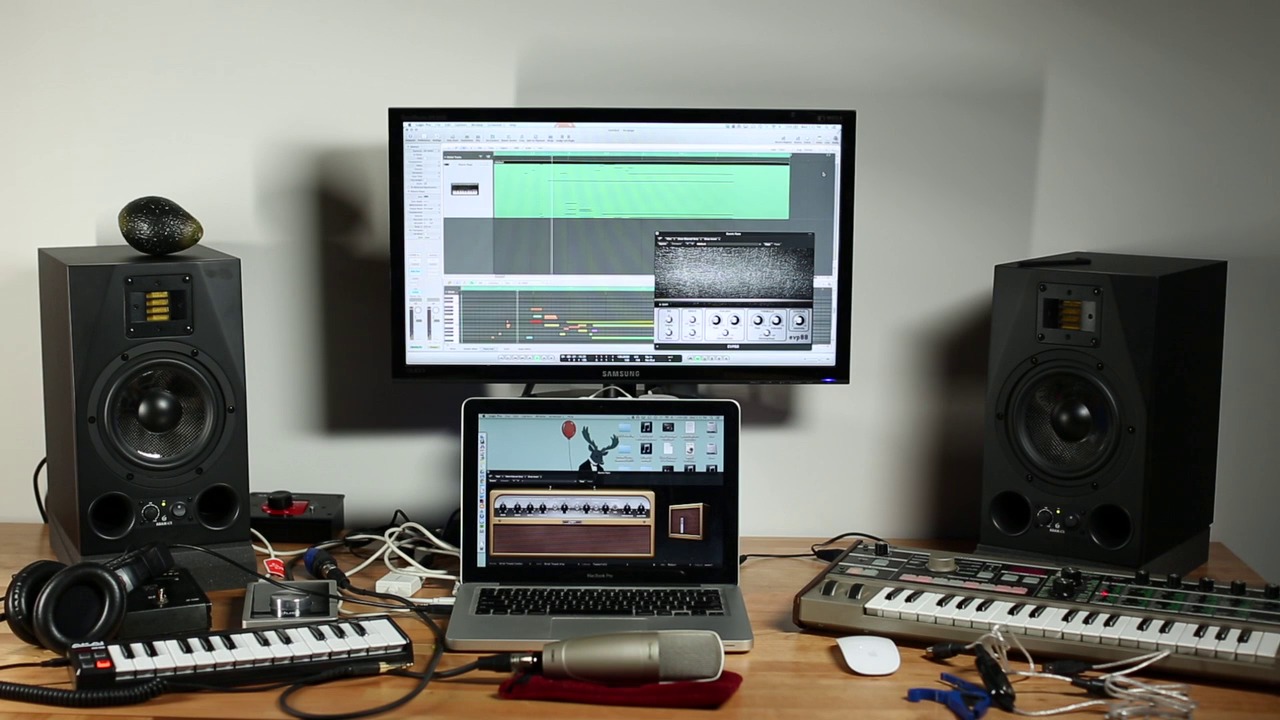
Before you can dive into remixing a music video, it’s essential to have the right music mixing software to bring your creative vision to life. There are numerous software options available, both free and paid, that cater to different skill levels and budgets.
If you’re just starting and on a tight budget, there are free software options available that can still provide powerful remixing capabilities. One popular choice is Audacity, an open-source software that offers a wide range of audio editing and mixing tools. Audacity allows you to manipulate audio tracks, apply effects, and export your remix in various formats.
If you’re willing to invest in more advanced and feature-rich software, there are paid options that offer even greater control and functionality. A popular choice among professionals is Ableton Live, known for its robust mixing and sampling capabilities. Ableton Live allows you to create and manipulate audio tracks, apply effects, and seamlessly sync your remix with the video.
Another highly regarded software is Adobe Audition, part of the Adobe Creative Cloud suite. Adobe Audition offers comprehensive audio editing tools, including multitrack recording, spectral editing, and advanced noise reduction. It provides a professional-grade platform for remixing and post-production tasks.
FL Studio, also known as Fruity Loops, is another well-regarded software option for remixing. It offers a user-friendly interface and a wide array of virtual instruments and effects. FL Studio allows for seamless integration of audio and MIDI, making it a versatile choice for remixing music videos.
When choosing music mixing software, consider factors such as your familiarity with the interface, the specific features you need for remixing, and the overall workflow that suits you best. It’s always a good idea to try out demos or free trials of different software options to determine which one aligns with your creative process.
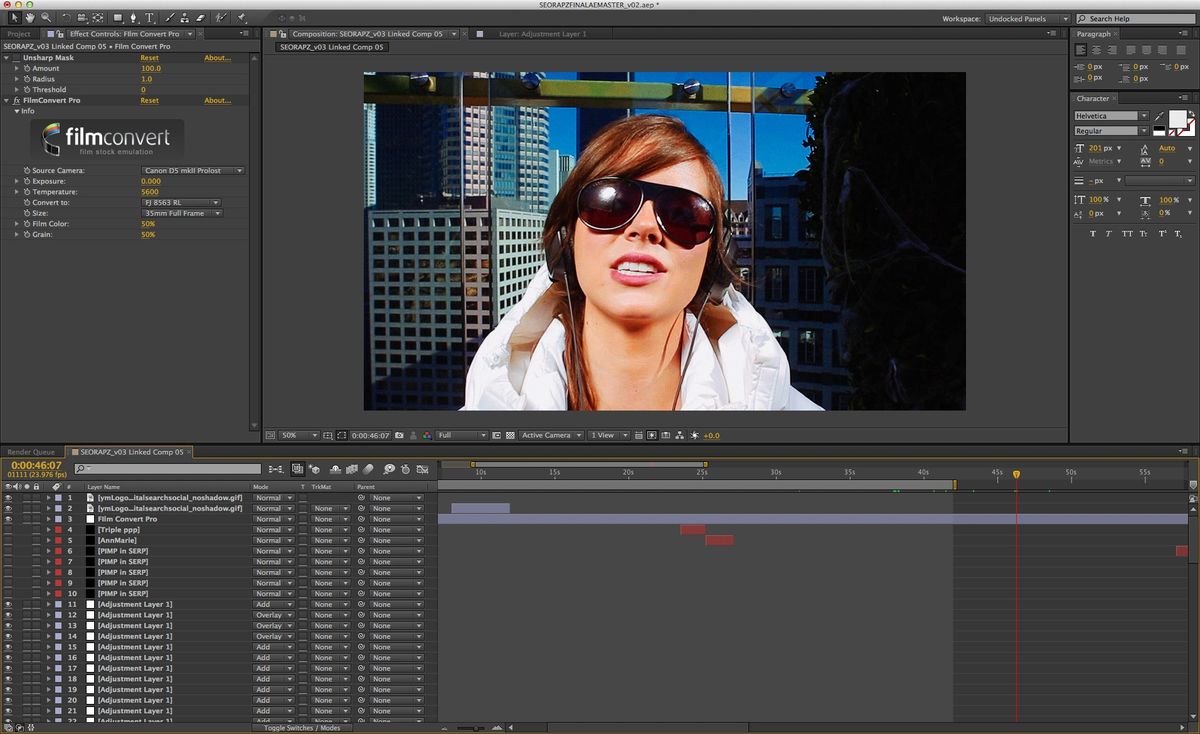
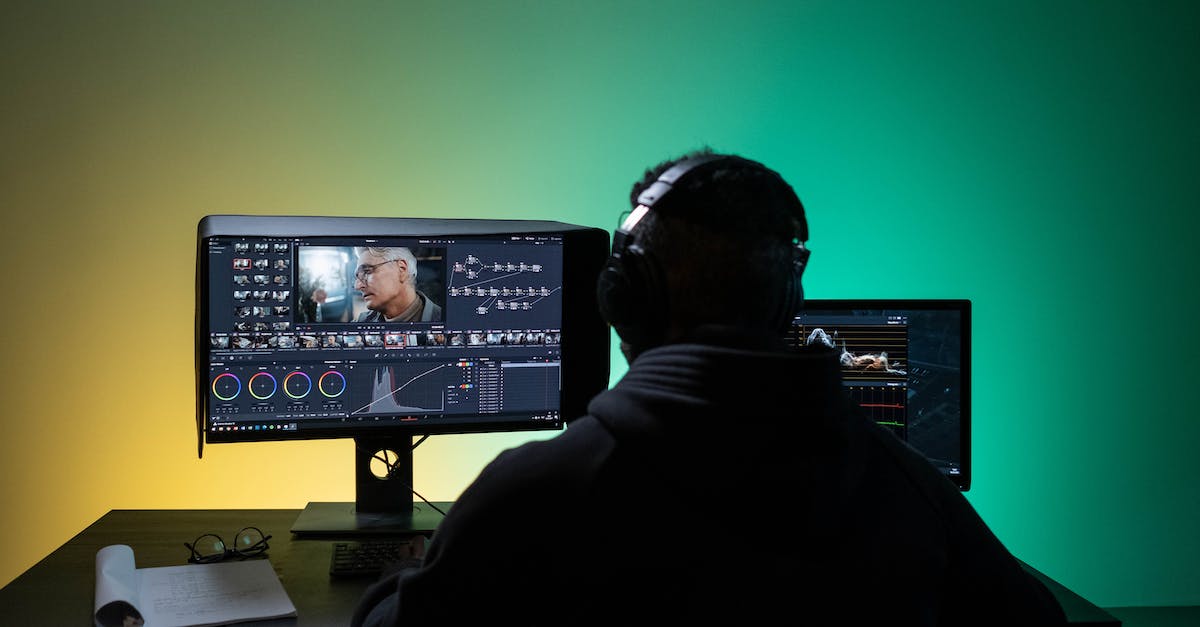
In addition to the music mixing software, it’s also beneficial to have access to video editing software. This will allow you to synchronize your remix with the music video, add visual effects, and create a cohesive experience for your audience. Video editing software options include Adobe Premiere Pro, Final Cut Pro, and Davinci Resolve, among others.
Keep in mind that learning and mastering music mixing software takes time and practice. Take advantage of tutorials, online courses, and forums to expand your knowledge and enhance your skills. Experiment with the different features and techniques to explore the full potential of the software and unleash your creativity.
Once you have acquired the necessary music mixing and video editing software, you are well-equipped to embark on your remixing journey. It’s time to unleash your creativity, experiment with different sounds and effects, and create a remix that will leave a lasting impression on your audience.
Extracting Audio from the Music Video
Extracting the audio from the music video is a crucial step in the remixing process. It allows you to isolate the different audio elements such as vocals, instrumentals, and effects, giving you the flexibility to manipulate and rearrange them in your remix.
There are several methods you can use to extract audio from a music video, depending on the software and tools you have available.
If you have a music mixing software like Audacity, you can import the music video file and use the software’s audio extraction features to separate the audio tracks. This usually involves converting the video file into an audio format like WAV or MP3. Once the audio is extracted, you can proceed with importing it into your music mixing software for further editing and remixing.
Some video editing software, like Adobe Premiere Pro or Final Cut Pro, also come with audio extraction capabilities. These programs allow you to separate the audio tracks from the video footage, enabling you to work with the audio independently. Simply import the music video into the video editing software, right-click on the video clip, and choose the option to extract audio. This will create a separate audio file that you can use in your remixing process.
If you prefer a more automated approach, there are online tools and applications available that specialize in extracting audio from videos. Websites like Online Audio Converter or YTMP3 allow you to upload the music video and convert it into an audio format of your choice. These tools are convenient and require no software installation, making them accessible to anyone with an internet connection.
Once you have successfully extracted the audio from the music video, you can import it into your music mixing software and begin manipulating it to create your remix. Take the time to identify and isolate the audio elements you want to focus on, such as vocals or specific instrumentals, and apply any necessary edits or effects to enhance the sound quality and match your creative vision.
It’s worth mentioning that the quality of the audio extraction will depend on the original audio quality in the music video. Some videos may have compressed audio or background noise, which can affect the overall sound of your remix. In such cases, you may need to employ additional audio processing techniques, such as equalization, noise reduction, or audio restoration, to improve the audio quality and ensure a professional-level remix.
By extracting audio from the music video, you gain control over the individual audio elements, allowing you to shape and mold them according to your remixing vision. Take your time to fine-tune the audio tracks, ensuring they blend harmoniously in your remix, and get ready to showcase your unique creativity in the next phase of the remixing process.
Creating a Remix Track
With the audio extracted from the music video, it’s time to create a remix track that captures your artistic vision and showcases your unique style. This involves manipulating the audio elements, adding new sounds and effects, and arranging them in a way that transforms the original song into a fresh and exciting remix.
The first step in creating a remix track is to analyze and understand the structure of the original song. Identify the different sections such as the intro, verses, chorus, and bridge. This will serve as a roadmap for your remix and help you determine where to make changes or additions.
Experiment with different sounds and samples to add new layers and textures to the remix. You can use virtual instruments, synthesizers, or pre-recorded samples to introduce elements that complement the original song and create a unique sonic landscape. Be creative and think outside the box to make your remix stand out.
Consider changing the tempo or key of the original song to give it a fresh twist. Slowing down or speeding up the tempo can completely transform the energy and vibe of the track. Similarly, transposing the song to a different key can bring out new melodies or harmonies that add depth to the remix.
While remixing, pay special attention to the vocals. They are often the most recognizable element of a song and can become the focal point of your remix. Experiment with chopping, pitching, or adding effects to transform the vocals and give them a unique character. However, be mindful of not compromising the integrity of the original vocal performance.
Incorporate your own style and signature sounds into the remix. Whether it’s a signature bassline, a special drum pattern, or a distinctive synth sound, infusing your remix with personal touches will make it unmistakably yours. Let your creativity flow and don’t be afraid to take risks in the pursuit of a distinctive sound.
Use effects strategically to enhance the overall sound of the remix. Delay, reverb, and compression are just a few examples of commonly used effects. Experiment with different settings and combinations to create depth, excitement, and a professional-level production quality in your remix.
As you continue to work on the remix track, it’s important to maintain a cohesive flow. Ensure that each section seamlessly transitions into the next and that the remix maintains a consistent energy and atmosphere. Pay attention to the arrangement, adding breakdowns, build-ups, and transitions to create dynamic moments that engage the listener.
Throughout the process, listen to your remix critically. Take breaks and return with fresh ears to identify areas for improvement. Don’t be afraid to iterate and make adjustments until you are satisfied with the final result. Seek feedback from trusted peers or mentors who can provide valuable insights and suggestions.
Creating a remix track requires patience, experimentation, and a keen ear for detail. It’s an opportunity to channel your creativity, showcase your production skills, and create a remix that captivates listeners with a fresh take on the original song.
Adding Effects and Enhancements
Once you have created the foundation of your remix track, it’s time to add effects and enhancements that elevate the overall sound and bring your remix to life. Effects and enhancements play a crucial role in shaping the mood, atmosphere, and dynamic elements of your remix, allowing you to create a unique and captivating listening experience.
One of the key effects commonly used in remixing is equalization (EQ). EQ helps balance and shape the different frequencies in the audio, allowing certain elements to stand out while others recede into the background. By adjusting the EQ, you can emphasize specific instruments or vocals, add warmth, or create more clarity in the mix.
Reverb is another powerful effect that adds depth and spatial characteristics to your remix. It simulates the sound reflections in different environments, from small rooms to grand concert halls. Adding reverb can make your remix feel more immersive and give it a professional studio-quality sound.
Delays are often used to create interesting rhythmic patterns or add a sense of space in the mix. They repeat the audio signal with a specified delay time, creating a trailing effect. Experiment with different delay settings to achieve the desired effect, whether it’s a subtle echo or a pronounced rhythmic delay.
Adding modulation effects like chorus, flanger, or phaser can introduce movement and texture to your remix. These effects create slight variations in pitch or timing, adding richness and complexity to the sound. Use them sparingly and creatively to avoid overwhelming the mix.
Don’t forget about dynamic processors such as compression and limiting. Compression helps control the volume levels in the mix, making them more consistent and controlled. It can also bring out details in the audio and add punch and impact. Limiting ensures that the loudest parts of the audio signal don’t exceed a certain threshold, preventing clipping and ensuring a balanced overall sound.
Enhance the remix further by incorporating additional sounds, samples, or virtual instruments. This could include adding unique percussion elements, atmospheric textures, or catchy synthesizer lines. These additions can give your remix its own distinctive character and help it stand out from other remixes.
Experiment with automation to add movement and variation to the remix. Whether it’s automating the effects parameters, volume levels, or panning, automation allows you to create dynamic transitions and build-ups that capture the listener’s attention. Consider automating filters to create sweeping effects or gradually fading in and out different elements for added impact.
Remember to keep the balance between the enhancements and the original elements of the song. It’s important not to overshadow the core elements that make the original song recognizable. Enhance the remix in a way that complements and enhances the original while still showcasing your own creative vision and style.
Throughout the process, trust your ears and rely on your intuition. Experiment with different effects and enhancements, but always listen critically to how they affect the overall mix. Continuously refine and fine-tune until you achieve the desired sonic landscape that perfectly captures your remixing vision.
Adding effects and enhancements is the final touch that polishes your remix and brings it to its full potential. With careful consideration and creativity, you can create a remix that is both captivating and unique, leaving a lasting impression on your audience.
Syncing the Remix with the Music Video
Synchronizing your remix with the music video is a crucial step in the remixing process. It allows the visual and audio elements to work together harmoniously, creating a cohesive and captivating experience for your audience. Proper synchronization ensures that the visuals align with the changes in the remix, enhancing the impact and engagement of your remix.
To begin syncing your remix with the music video, it’s essential to have video editing software that allows for precise control over the visuals. Software such as Adobe Premiere Pro, Final Cut Pro, or Davinci Resolve are commonly used for this purpose.
Start by importing the music video into the video editing software. Create a new timeline and sync the audio track of your remix with the video footage. This can be done by aligning the beats or timing specific audio cues to match the visual transitions or key moments in the video.
Pay attention to the structure and pacing of the music video. Identify key sections such as the chorus, verses, and bridge, and make sure your remix aligns with these sections appropriately. Sync the remix’s energy and intensity with the visual cues in the video, creating a seamless flow between the two.
As you sync the remix with the music video, consider making precise edits to the video footage to enhance the overall experience. You can add visual effects, transitions, or overlays that complement the changes in the remix. These edits can intensify the impact of specific parts of the remix or create visual interest during breakdowns or build-ups.
Utilize visual cues in the video to guide your remix. For example, if the music video features a dancer or a band performing, you can emphasize their movements or highlight specific instrumentals in your remix during those moments. This synchronization enhances the connection between the audio and visual elements, making the remix feel cohesive and purposeful.
Experiment with different visual effects and techniques to enhance the overall impact of your remix. This could include color grading, motion graphics, or even incorporating footage that complements the themes or mood of your remix. The goal is to create a visually stunning experience that perfectly complements the energy and creativity of your remix.
Throughout the syncing process, review your work frequently and make adjustments as needed. Watch and listen to the remix and video together to ensure they are in perfect sync. Pay attention to details like timing, transitions, and the overall visual appeal.
When you are satisfied with the synchronized remix and video, export the final product in a format suitable for sharing or uploading to various platforms. Keep in mind any copyright restrictions or permissions needed for distributing the remix and video.
Syncing your remix with the music video is a crucial step in delivering a polished and professional remix. By aligning the audio and visual elements effectively, you create a captivating experience for your audience, elevating your remix to another level of engagement and impact.
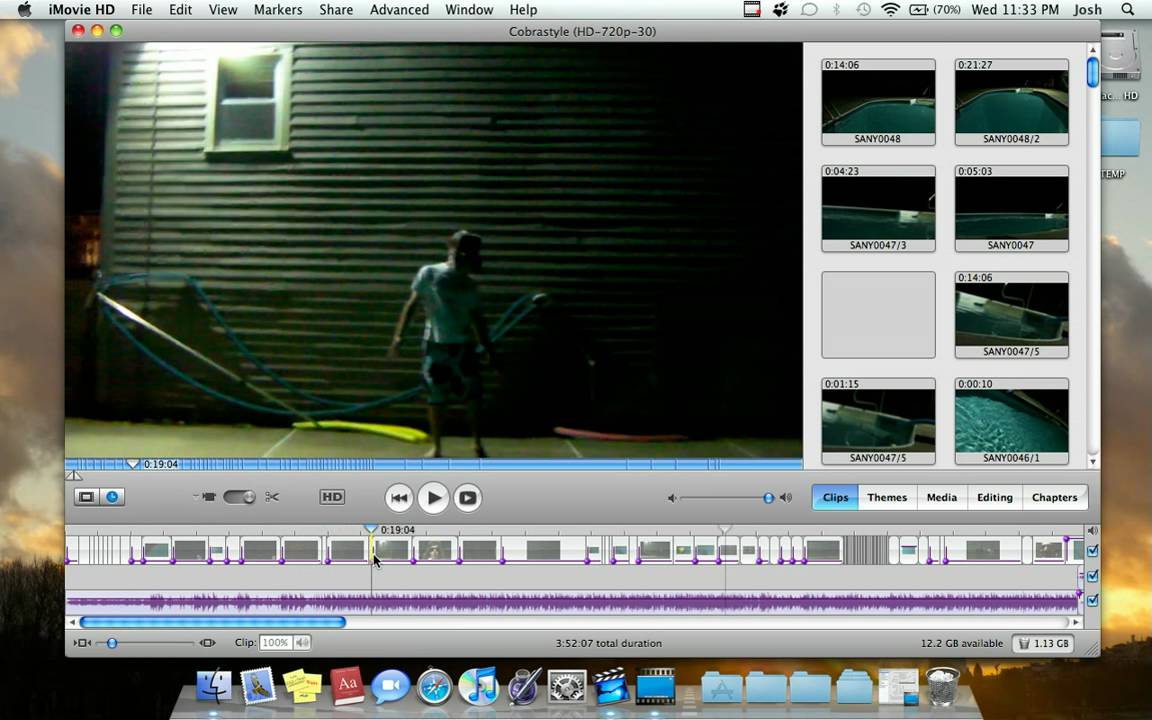
Editing the Music Video to Accommodate the Remix
Editing the music video is an important step in the remixing process as it allows you to tailor the visuals to accommodate your remix. By making strategic edits and enhancements, you can create a seamless and engaging experience that complements the changes and energy of your remix.
Start by importing the music video into your video editing software. Familiarize yourself with the original video footage and the overall flow of the visuals. Understand the storyline, the key scenes, and any important visual cues that should be taken into consideration during the editing process.
As you listen to your remix, identify specific sections and moments that have unique characteristics or energy. These could include drops, breakdowns, or instrumental solos. Make note of these moments as they will guide your editing decisions.
Trim and rearrange the video footage to match the structure and flow of your remix. Shorten or lengthen scenes, cut unnecessary footage, and seamlessly transition between shots to maintain a cohesive visual flow. Consider creating visual interest and building anticipation during the build-ups, and enhance the impact during the drops of your remix.
Integrate visual effects and overlays that enhance the dynamics and atmosphere of your remix. This could include color grading, text overlays, image overlays, or even animated elements that emphasize key moments in the remix. These enhancements help elevate the visual experience and reinforce the energy and mood of your remix.
Sync the visuals with the changes in the remix. As the energy of the remix increases or decreases, adjust the pace, transitions, and visual effects accordingly. Match the visuals to the beat drops or instrumental breaks to create powerful and synchronized moments that captivate the viewer.
Consider incorporating footage that complements the themes or emotions of your remix. This could be additional shots, stock footage, or even footage that you shoot specifically for your remix. The goal is to enhance the visual storytelling and create a more immersive experience for the viewer.
While editing, pay attention to the timing and alignment of the visuals with the audio. Ensure that visual elements are synced accurately to the beats or musical cues in the remix. This synchronization is crucial in maintaining a seamless and engaging viewing experience.
Continuously review and fine-tune your edits as you listen and watch the remix video together. Seek feedback from trusted peers or mentors to ensure the visual enhancements are enhancing the overall impact of your remix. Make adjustments and refinements until you are satisfied with the final result.
Once you are happy with the edited music video, export it in a format suitable for sharing or uploading to various platforms. Ensure that you have obtained any necessary permissions or copyright clearances if you plan to distribute the remix video publicly.
Editing the music video to accommodate your remix is an essential step in presenting a cohesive and visually immersive experience. By making strategic edits, incorporating visual effects, and synchronizing the visuals with your remix, you create a powerful and engaging remix video that captivates viewers and brings your remix to life.
Exporting and Sharing the Remixed Music Video
After putting in all the hard work of remixing and editing, it’s time to export and share your remixed music video with the world. This final step allows you to showcase your creativity and share your unique remix with a wider audience.
Before exporting, make sure to review your remixed music video one last time. Pay attention to the synchronization of the audio and visuals, the overall flow and pacing, and any potential technical issues or errors. By conducting a thorough review, you can ensure a high-quality final product.
When it comes to exporting, consider the different formats and resolutions required for various platforms. For online sharing, a commonly used format is MP4, which offers a good balance between quality and file size. Adjust the resolution and bitrate based on the intended platform and audience. Keep in mind any specific guidelines or recommendations provided by the platform for optimal viewing experience.
As you export the remixed music video, consider adding a custom intro or outro to make it uniquely yours. This can include your name, logo, or any other branding elements that help viewers identify your work. Adding this personal touch further establishes your presence as an artist.
Ensure that your remixed music video is properly titled, tagged, and described. Use relevant keywords and metadata that accurately represent your remix to improve its discoverability on platforms like YouTube or SoundCloud. A well-optimized title and description can significantly increase the chances of your remixed music video being found by the right audience.
Choose the appropriate platform(s) for sharing your remixed music video. Upload it to popular video sharing platforms like YouTube or Vimeo to reach a wider audience. Consider promoting your remix on social media platforms and engaging with communities that share a similar interest in music remixes.
When sharing your remixed music video, make use of visually appealing thumbnail images and engaging captions or descriptions to entice viewers. Encourage feedback and interaction by asking for comments or inviting viewers to share their thoughts and reactions to your remix.
Collaborate with other artists or remixers by participating in remix contests or sharing your remixes with them. This can help expose your remix to their audience and foster connections within the remixing community.
Finally, engage with your audience by responding to comments, answering questions, and expressing gratitude for their support. Building a community around your remixes can lead to valuable feedback, collaborations, and opportunities for further exposure.
Remember to respect copyright laws and give credit to the original creators. If your remixed music video gains significant attention, seek the necessary permissions or licenses to avoid any legal issues and maintain good relationships with copyright holders.
Exporting and sharing your remixed music video is an exciting moment that allows you to showcase your creativity and talent. Embrace this opportunity and leverage social media and online platforms to amplify the reach of your remix, connect with your audience, and further establish your presence as a skilled remixer.
Conclusion
Remixing a music video is a thrilling and creative process that allows you to express your unique style and reimagine familiar songs in a fresh and captivating way. Throughout this article, we have explored the various steps involved in remixing a music video, from selecting the right video to exporting and sharing your remixed masterpiece.
We started by understanding the art of remixing, recognizing the importance of striking a balance between staying true to the original song and incorporating your own creative vision. Remixing offers a way to experiment with different genres, styles, and techniques while connecting with an audience who appreciates fresh musical interpretations.
We discussed the importance of choosing the right music video for remixing, considering factors such as popularity, genre, availability of isolated audio, and visual elements. Carefully selecting the ideal video sets the stage for a successful remixing process.
Acquiring the necessary music mixing software is the next step in the journey. Whether it’s free software like Audacity or professional tools like Ableton Live or Adobe Audition, having the right software empowers you to manipulate audio elements and create a remix that showcases your creativity.
Extracting the audio from the music video allows you to isolate vocals, instrumentals, and effects, providing the foundation for your remix. This step sets the stage for the creative exploration and arrangement of audio elements that will define your unique remix track.
Creating a remix track involves experimenting with sounds, adding effects and enhancements, and infusing your own style and signature touches. It’s a process of artistic expression that requires experimentation, passion, and attention to detail to deliver a remix that resonates with listeners.
Syncing the remix with the music video is crucial to create a cohesive and immersive experience. By aligning the audio and visual elements effectively, you elevate your remix and engage the viewer on a deeper level.
Edit the music video to accommodate your remix, making strategic cuts, adding visual effects, and enhancing the overall flow and impact. This step ensures that the visuals complement and enhance the remix, creating a seamless and captivating visual journey for the viewer.
Finally, export and share your remixed music video with the world, using platforms like YouTube or Vimeo to reach a wider audience. Optimize your video’s title, description, and tags for discoverability, and engage with your audience to foster connections within the remixing community.
Remixing a music video is an art form that requires technical skills, creativity, and a deep appreciation for music. Embrace the remixing process as an opportunity to express yourself, connect with others, and leave a lasting impression through your unique remixes. So, grab your music mixing software, dive into the world of music video remixing, and let your creativity soar!