Home>Production & Technology>Music Video>How To Release A Music Video
Music Video
How To Release A Music Video
Published: November 20, 2023
Learn how to release a music video and gain more exposure for your music. Follow these steps to successfully promote your music video and reach a wider audience.
(Many of the links in this article redirect to a specific reviewed product. Your purchase of these products through affiliate links helps to generate commission for AudioLover.com, at no extra cost. Learn more)
Table of Contents
- Introduction
- Step 1: Pre-production
- Step 2: Concept Development
- Step 3: Planning the Shoot
- Step 4: Gathering the Necessary Equipment
- Step 5: Shooting the Music Video
- Step 6: Post-Production
- Step 7: Editing and Visual Effects
- Step 8: Color Grading and Audio Mixing
- Step 9: Creating a Promotional Plan
- Step 10: Releasing the Music Video
- Conclusion
Introduction
Music videos have become an integral part of the music industry, allowing artists to visually showcase their creativity while connecting with their audience in a compelling way. In today’s digital age, releasing a music video can significantly boost an artist’s visibility and reach, attracting new fans and enhancing their overall brand image.
However, launching a successful music video requires careful planning, attention to detail, and a solid promotional strategy. From pre-production to post-production, every step of the process plays a crucial role in ensuring that your music video resonates with your target audience and stands out among the vast sea of content available online.
In this comprehensive guide, we will take you through the essential steps involved in releasing a music video. Whether you are a seasoned artist or just starting your music career, this article will provide you with valuable insights and tips to maximize the impact of your music video release.
So, get ready to dive into the exciting world of music video production, as we explore how to create and release a music video that will captivate your audience and elevate your music career to new heights.
Step 1: Pre-production
Pre-production is a crucial phase in the music video production process, where the foundation of your project is laid. This is the stage where you plan and organize all the elements of your music video, ensuring a smooth and successful shoot. Here’s what you need to consider:
- Song selection: Choose a song that aligns with your artistic vision and resonates with your target audience. Consider factors like genre, lyrics, and emotional tone.
- Storyboarding: Create a visual representation of your music video using storyboards. Sketch out key scenes, camera angles, and movements to help you visualize and communicate your ideas effectively.
- Budgeting: Determine your budget for the music video and allocate resources accordingly. Consider expenses for locations, props, costumes, equipment, and crew.
- Casting: If your music video requires actors or extras, audition and select the right talent. Ensure they fit the desired look and possess the necessary acting skills.
- Location scouting: Visit potential shooting locations to assess their suitability for your video’s concept. Consider factors like aesthetics, accessibility, permits, and any associated costs.
- Production team: Assemble a skilled and experienced team that can bring your vision to life. This includes a director, cinematographer, production designer, editor, and other key crew members.
- Production schedule: Create a detailed timeline that outlines the shooting days, call times, and the sequence of scenes. This will help you stay organized during the shoot.
By investing time and effort into the pre-production phase, you can ensure that all necessary elements are in place before moving on to the production stage. This will save you time, money, and potential headaches down the line, while also helping you maintain a clear vision throughout the process.
Step 2: Concept Development
Concept development is where you define the creative direction and narrative of your music video. This step is crucial in conveying your message and engaging your audience. Here are some key considerations:
- Artistic vision: Determine the overall aesthetic and style that best represents your music and resonates with your audience. Consider visual elements, such as color palettes, lighting, and set design.
- Storyline: Craft a compelling narrative that complements the lyrics and mood of your song. This can be a literal interpretation or an abstract representation, depending on your artistic vision.
- Symbolism and metaphors: Incorporate symbolism and metaphors to add depth and intrigue to your music video. These creative elements can enhance the storytelling and evoke emotions in your viewers.
- Character development: If your music video includes characters, develop their personalities and backstories to make them relatable and engaging. Ensure that their actions align with the overall concept of the video.
- Visual references: Gather visual references and inspiration from various sources, such as films, photography, and other music videos. This will help you communicate your vision to your production team and collaborators.
- Collaboration: Involve your production team, including the director and cinematographer, in the concept development process. Their input and expertise can enhance the creative ideas and bring fresh perspectives to the table.
Remember, the concept of your music video should reflect your unique identity as an artist while connecting with your audience on an emotional level. Take the time to brainstorm and refine your ideas, ensuring that they align with your overall artistic vision and goals.
Step 3: Planning the Shoot
Planning the shoot is a critical step in ensuring a successful and efficient production process for your music video. Here are some key aspects to consider:
- Shot list: Create a detailed shot list that outlines each shot you want to capture during the shoot. Consider various camera angles, movements, and compositions to visually enhance your video.
- Camera and equipment: Determine the camera and equipment needed to achieve your desired visual style. Consult with your cinematographer and ensure you have all the necessary gear for a smooth shoot.
- Production design: Work with your production designer to create the desired look and feel of the sets, costumes, and props. Ensure that they align with the concept and enhance the overall visual narrative.
- Production logistics: Plan the logistics of the shoot, including transportation, permits, and scheduling. Coordinate with locations, talent, and crew to ensure everyone is on the same page and available on the specified shooting days.
- Shot division: Break down the script and shot list into manageable scenes and determine the order in which they will be shot. This helps optimize time and resources during the shoot.
- Rehearsals: If your music video involves choreography or complex actions, schedule rehearsals with the performers and ensure they are well-prepared for the shoot.
- Safety measures: Prioritize safety on set by assessing potential risks and implementing necessary safety protocols. This ensures the well-being of everyone involved during the production.
Effective planning is crucial to avoid unnecessary delays and complications during the shoot. Clear communication with your production team and a well-organized schedule will make the shoot process smooth and allow you to focus on capturing breathtaking visuals for your music video.
Step 4: Gathering the Necessary Equipment
Gathering the necessary equipment is essential to ensure the technical aspects of your music video production are executed smoothly. Here are some key considerations when it comes to equipment:
- Camera and lenses: Choose a camera that suits your desired visual style and budget. Determine the appropriate lenses for different shots, such as wide-angle for sweeping shots or telephoto for close-ups.
- Support equipment: Invest in essential support equipment like tripods, stabilizers, and jibs to achieve stable and dynamic shots. These tools help to add visual interest and professionalism to your music video.
- Lighting equipment: Proper lighting is crucial for capturing high-quality footage. Consider investing in a lighting kit with different types of lights, such as key lights, fill lights, and backlighting, to create the desired mood and ambiance.
- Audio equipment: Pay attention to audio quality by using a microphone and audio recording equipment that captures clear sound. This ensures that the music and vocals in your music video are crisp and professional.
- Grip and rigging: Consider the need for grip and rigging equipment to support camera movements and secure lights and props. This includes items like clamps, C-stands, and rigging accessories.
- Props and set design: Determine the props and set pieces necessary for your music video. This could include furniture, decorations, or specific items that help convey your storyline or enhance the overall aesthetic.
- Backup equipment: Always have backup equipment on set to prepare for unexpected technical failures. This ensures that you can continue shooting even if there’s a problem with your primary gear.
When gathering equipment, it’s important to consider your budget, production requirements, and the desired quality of your music video. Consulting with industry professionals or experienced filmmakers can provide valuable insights on the best equipment options for your specific project.
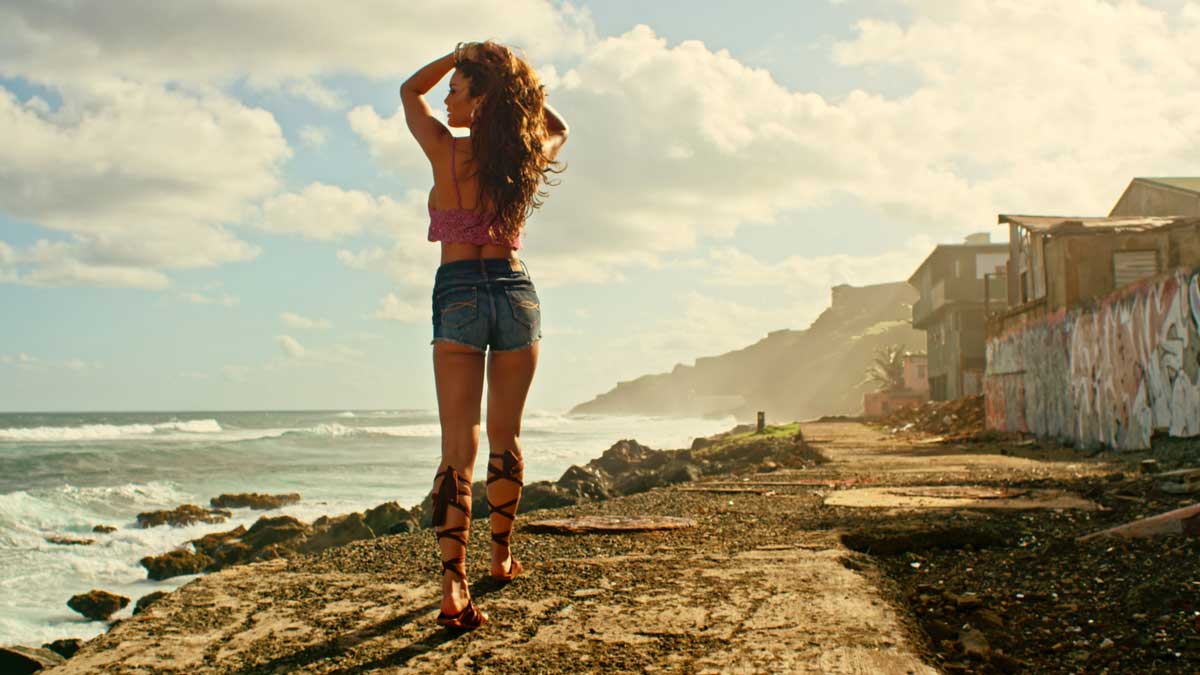
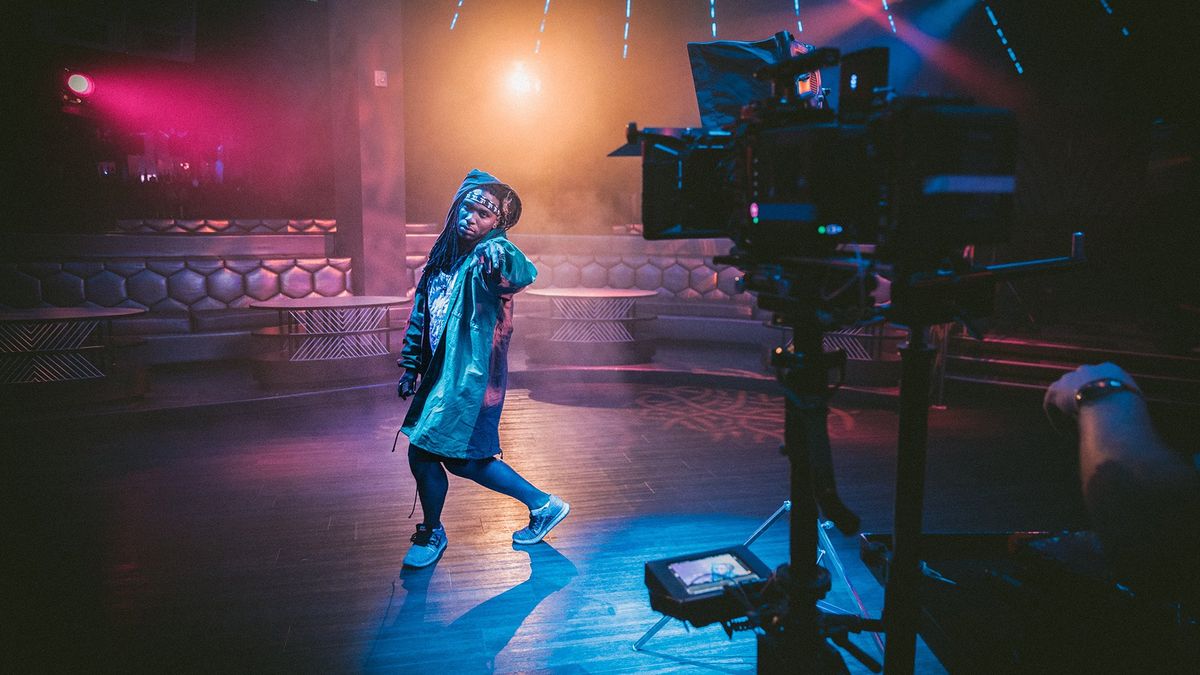
Step 5: Shooting the Music Video
Shooting the music video is the exciting stage where you bring your creative vision to life. With proper planning and execution, you can capture dynamic visuals and compelling performances that resonate with your audience. Here are some key points to keep in mind:
- Communicate with the team: Ensure clear communication with your production team, including the director, cinematographer, and performers. Discuss the shot list and storyboard to ensure everyone understands the vision and goals for each scene.
- Set the mood: Create a conducive environment on set by setting the right mood and tone. This helps the performers connect with the song emotionally and deliver impactful performances.
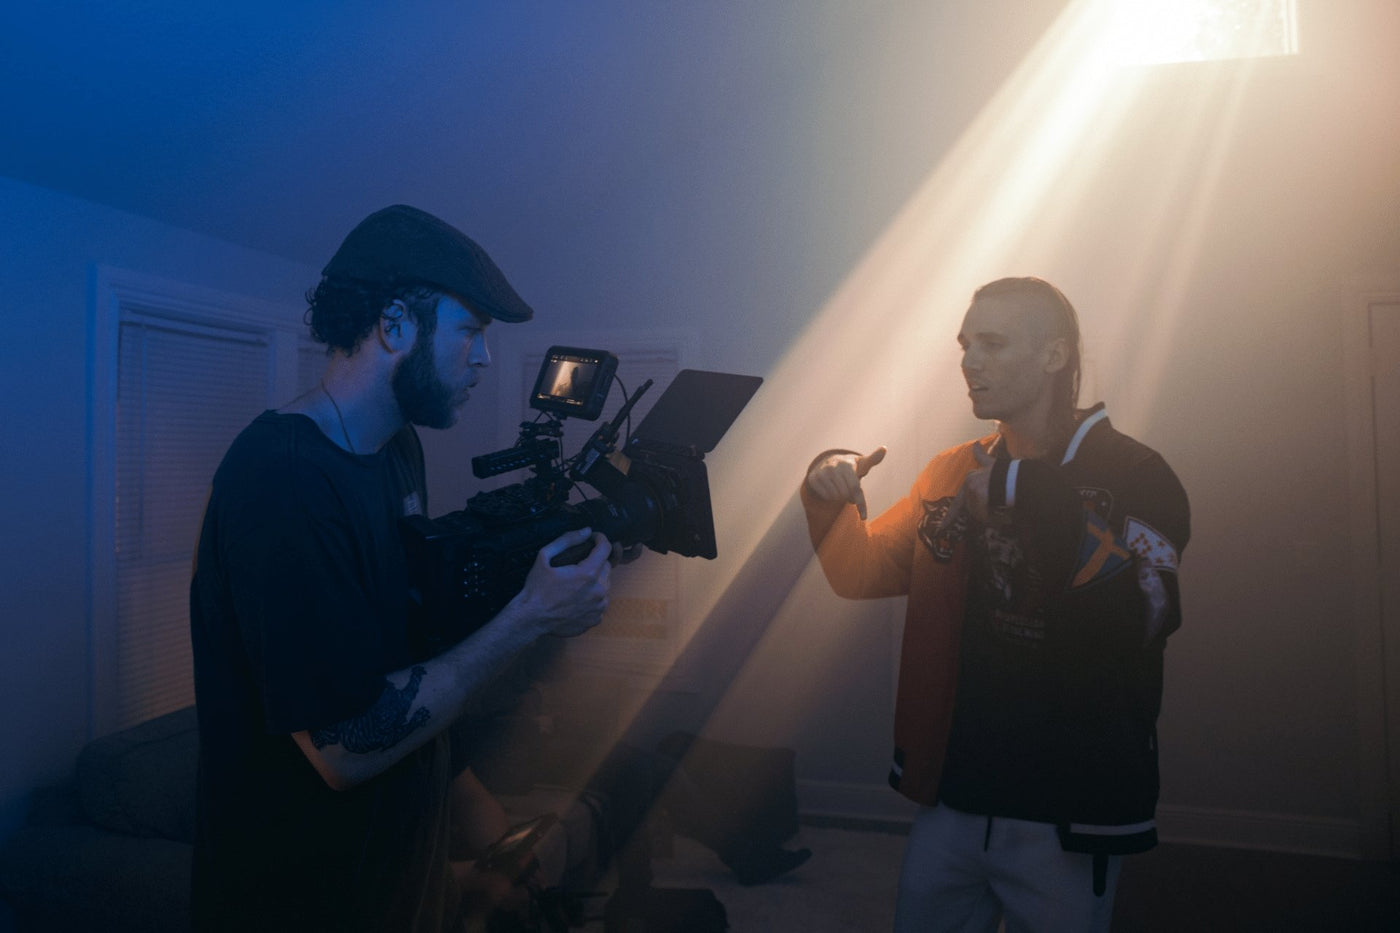
- Coordinate with the cinematographer: Work closely with your cinematographer to ensure the visual style and camera movements align with the concept. Experiment with different angles, framing, and camera techniques to enhance the overall storytelling.
- Direct the performers: Direct the performers to bring out their best performances. Provide guidance on movements, expressions, and interactions, ensuring they are in sync with the music and the concept of the video.
- Capture multiple takes: Shoot multiple takes of each scene to have options during the editing process. This allows you to choose the best performances and angles that fit the desired narrative and flow of the music video.
- Pay attention to details: Be mindful of details like lighting, costumes, and props to ensure consistency throughout the video. Continuity is crucial to maintain a seamless visual experience for your viewers.
- Experiment and be flexible: Don’t be afraid to try different ideas and experiment during the shoot. Sometimes, unexpected moments and creative improvisation can lead to unique and captivating shots.
- Take breaks and pace yourself: Shooting a music video can be physically and mentally demanding. Schedule breaks and provide enough time for rest, hydration, and meals to keep everyone energized and focused.
Remember, the shooting stage is your opportunity to capture the essence and energy of your music. Stay organized, flexible, and open to creative input from your team to ensure you capture compelling visuals that bring your music to life.
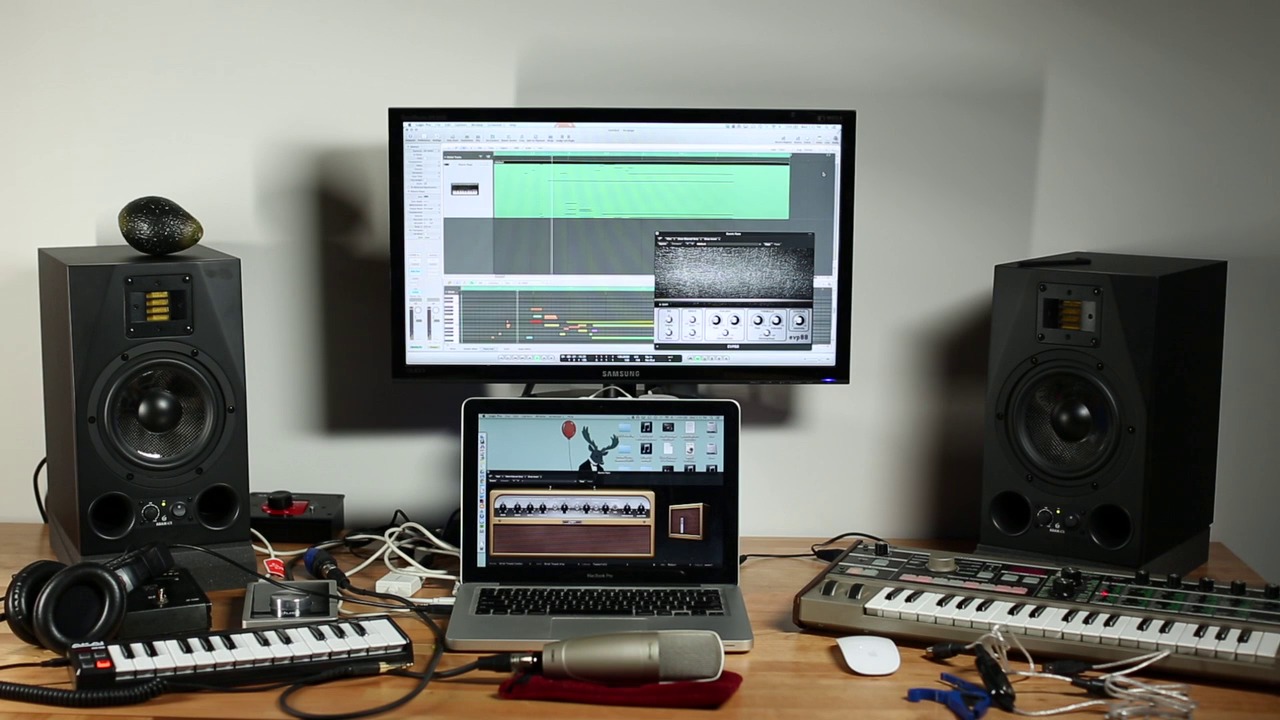
Step 6: Post-Production
Post-production is the stage where your raw footage is transformed into a polished and cohesive music video. This is where you have the opportunity to enhance the visuals, edit the footage, and refine the overall look and feel. Here’s what you need to consider during the post-production process:
- Importing and organizing footage: Transfer your footage to a computer and organize them in a structured manner. Create folders for different scenes, takes, and camera angles for easy access and management.
- Video editing: Use video editing software to trim, rearrange, and assemble your footage into a coherent sequence. Experiment with different cuts, transitions, and effects to create a visually engaging music video.
- Color grading: Adjust the color and tone of your video to achieve the desired visual style. Enhance the mood, saturation, and contrast to create a cohesive and visually appealing look that aligns with the concept.
- Visual effects: If your music video requires visual effects, add them during the post-production stage. This could include compositing, motion graphics, or any other effects that enhance the overall visual experience.
- Audio editing and mixing: Ensure that the audio in your music video is clear and balanced. Edit the music, vocals, and any accompanying sound effects to create a seamless and immersive auditory experience for your viewers.
- Title and credits: Add titles, credits, and any necessary text overlays to your music video. This includes the song title, artist name, and any other information you want to include.
- Review and feedback: Seek feedback from trusted individuals or collaborators on the rough cut of your music video. Consider their input and make adjustments as needed to improve the overall quality and impact of the video.
- Exporting and finalizing: Once you’re satisfied with the final edit, export the video in the desired format and resolution. Ensure that the video is optimized for various platforms and devices, considering different aspect ratios and file sizes.
Post-production is a creative and iterative process that requires attention to detail and a keen eye for visual and auditory aesthetics. Take the time to refine and perfect your music video to ensure that it aligns with your artistic vision and captivates your audience.
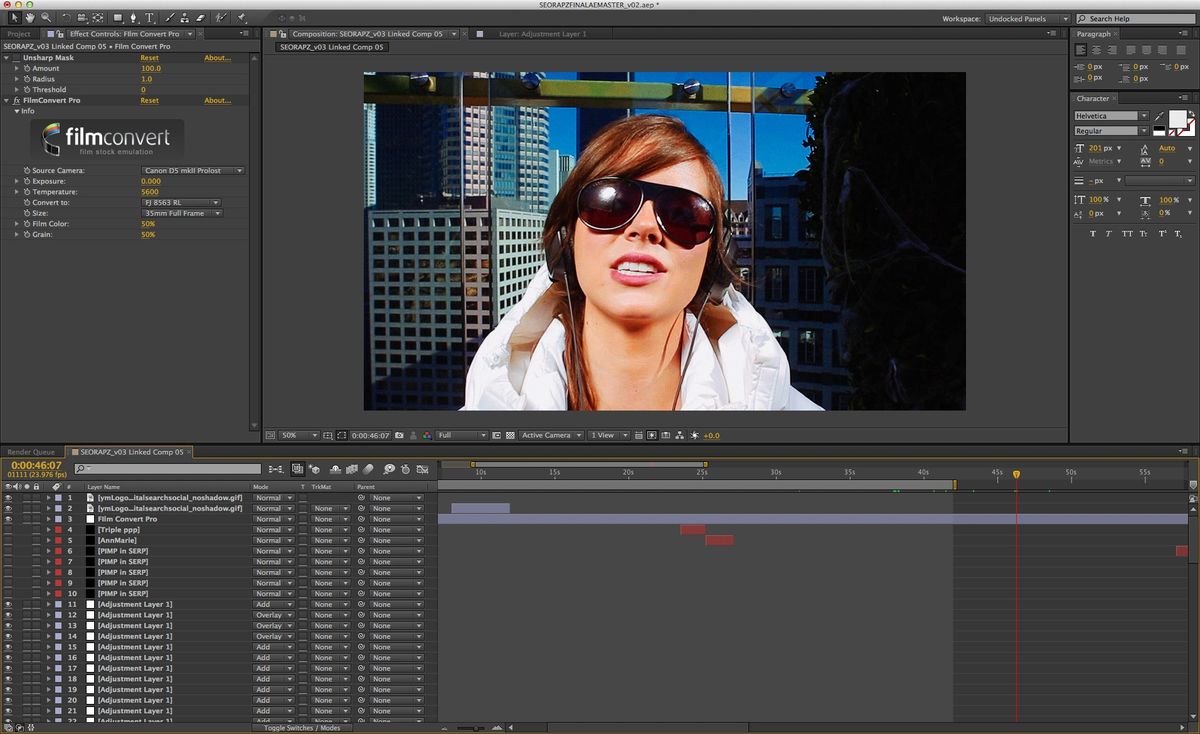
Step 7: Editing and Visual Effects
Editing and visual effects play a crucial role in enhancing the visual storytelling and overall impact of your music video. This stage allows you to refine the footage, add creative elements, and elevate the production quality. Here’s what you need to consider during the editing and visual effects process:
- Storyboard reference: Refer back to your storyboard and shot list as a guide to maintain the visual continuity and flow of the music video. Ensure that the shots are arranged in a logical sequence that aligns with the narrative.
- Trimming and arranging: Trim the excess footage and arrange the shots in a way that maintains a smooth and engaging pace. Pay attention to the rhythm and timing of the music to create seamless transitions between scenes.
- Color correction and grading: Correct any inconsistencies in colors and tones to create a cohesive look. Additionally, experiment with color grading techniques to enhance the mood and atmosphere of each scene, adding depth and visual interest.
- Visual effects: If your music video requires visual effects, such as adding animated elements, compositing, or digital manipulation, incorporate them at this stage. Visual effects can enhance the overall visual experience and bring your creative vision to life.
- Transitions and effects: Use a variety of transitions, such as cuts, fades, or wipes, to create smooth and seamless scene transitions. Experiment with effects, such as blurs or color splashes, to add artistic flair and capture audience attention.
- Audio editing and mixing: Ensure that the audio elements, such as the music, vocals, and sound effects, are properly balanced and synchronized with the visuals. Clean up any unwanted background noise and enhance the overall audio quality.
- Collaboration and feedback: Seek feedback from trusted individuals or collaborators to gain fresh perspectives on the editing and visual effects. Consider their input and make adjustments as needed to elevate the overall quality of the music video.
- Preview and fine-tuning: Watch the video multiple times, paying attention to every detail, to identify areas that need further refinement. Make necessary tweaks and adjustments to ensure that the final product meets your artistic vision.
Editing and visual effects allow you to shape the narrative and create a visually captivating music video. Take the time to experiment with different techniques and effects while staying true to your artistic vision and the intended emotional impact of the song.
Step 8: Color Grading and Audio Mixing
Color grading and audio mixing are essential steps in the post-production process of a music video. They have a significant impact on the final visual and auditory experience of your video. Here’s what you need to consider:
- Color Grading: Use color grading techniques to enhance the overall visual aesthetic and mood of your music video. Adjust brightness, contrast, saturation, and color tone to create a cohesive and appealing look.
- Mood and Atmosphere: Align the color grading with the emotional tone of the music and the intended message of your video. Warm tones may evoke a sense of nostalgia or romance, while cool tones can create a sense of mystery or melancholy.
- Consistency: Ensure that the color grading is consistent throughout the entire music video. This maintains a cohesive visual experience and avoids jarring transitions between scenes.
- Visual Style: Experiment with different color palettes and grading techniques to achieve a unique visual style that sets your music video apart and reinforces your artistic vision.
- Audio Mixing: Balance and blend the different audio elements in your music video, including music, vocals, and sound effects. Remove any unwanted background noise and create a smooth and immersive auditory experience.
- EQ and Compression: Use equalization and compression techniques to enhance the clarity and impact of the music and vocals. EQ allows you to adjust the frequencies, while compression helps balance the dynamic range of the audio.
- Synchronization: Ensure that the audio is synchronized perfectly with the visuals throughout the entire music video. This enhances the overall viewing experience and avoids any distractions.
- Panning and Spatial Effects: Create a sense of depth and spatial positioning by utilizing panning and other spatial effects. This can add dimensionality to the audio and create an immersive experience for the viewers.
- Volume and Dynamics: Adjust the volume levels of different audio elements to maintain a balanced mix. Pay attention to the dynamics, ensuring that the music and vocals have appropriate peaks and troughs to convey the intended emotions.
Color grading and audio mixing are crucial in enhancing the overall impact and quality of your music video. They help create a visually captivating and sonically immersive experience that engages and resonates with your audience.
Step 9: Creating a Promotional Plan
Creating a comprehensive promotional plan is a crucial step in ensuring the success of your music video release. It helps you reach a wider audience, generate buzz, and maximize the impact of your video. Here are some key considerations when developing your promotional plan:
- Target Audience: Identify your target audience for the music video. Understand their demographics, interests, and behaviors to tailor your promotional efforts towards reaching them effectively.
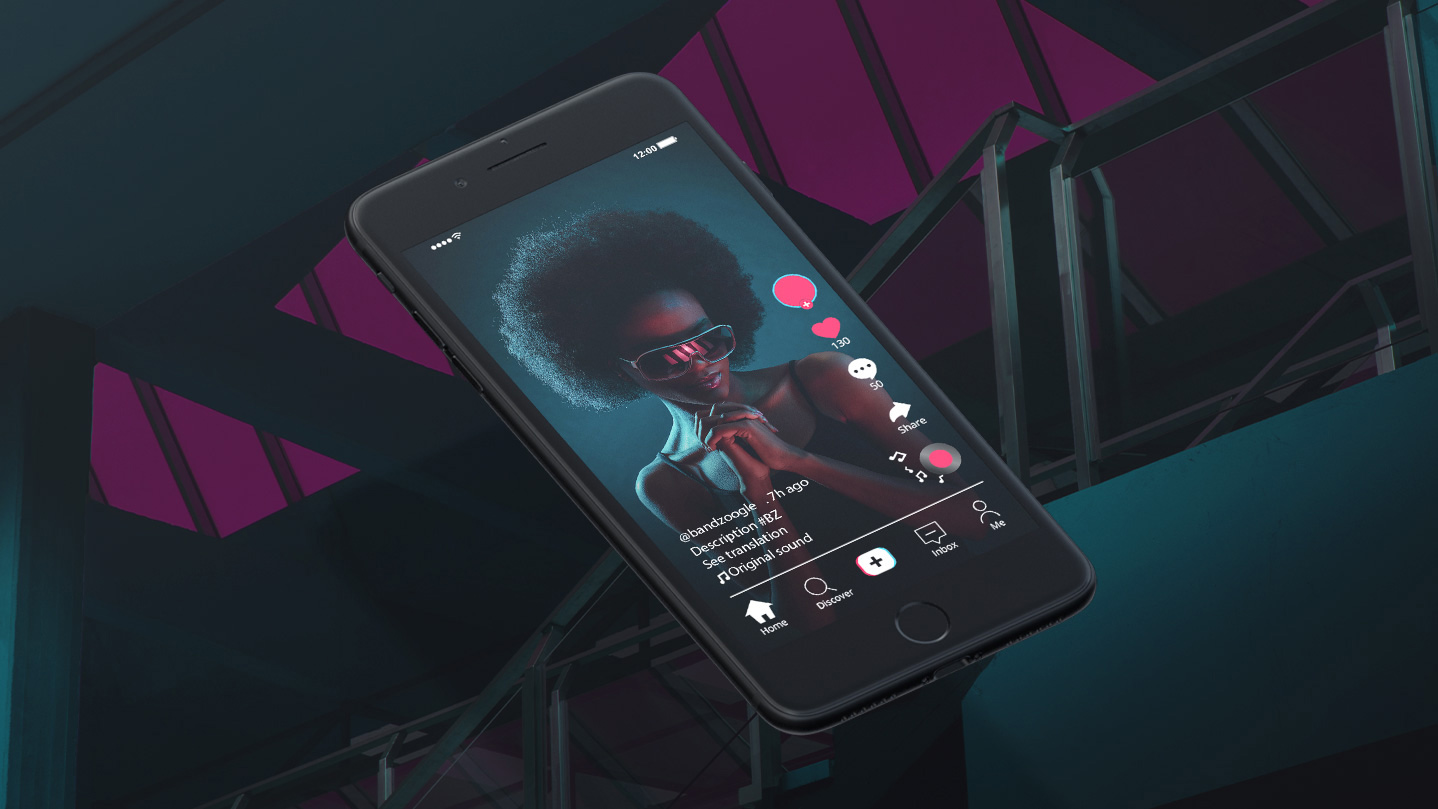
- Social Media: Leverage your social media platforms to promote your music video. Create engaging posts, teaser clips, behind-the-scenes content, and interactive challenges to generate excitement and anticipation among your followers.
- Collaborate: Collaborate with influencers, relevant brands, or other artists to expand your reach and tap into their existing fan base. Cross-promotion can significantly boost the visibility of your music video.
- Press Release: Prepare a compelling press release that highlights the key aspects and unique features of your music video. Send it to music blogs, online publications, and local media outlets to secure press coverage and interviews.
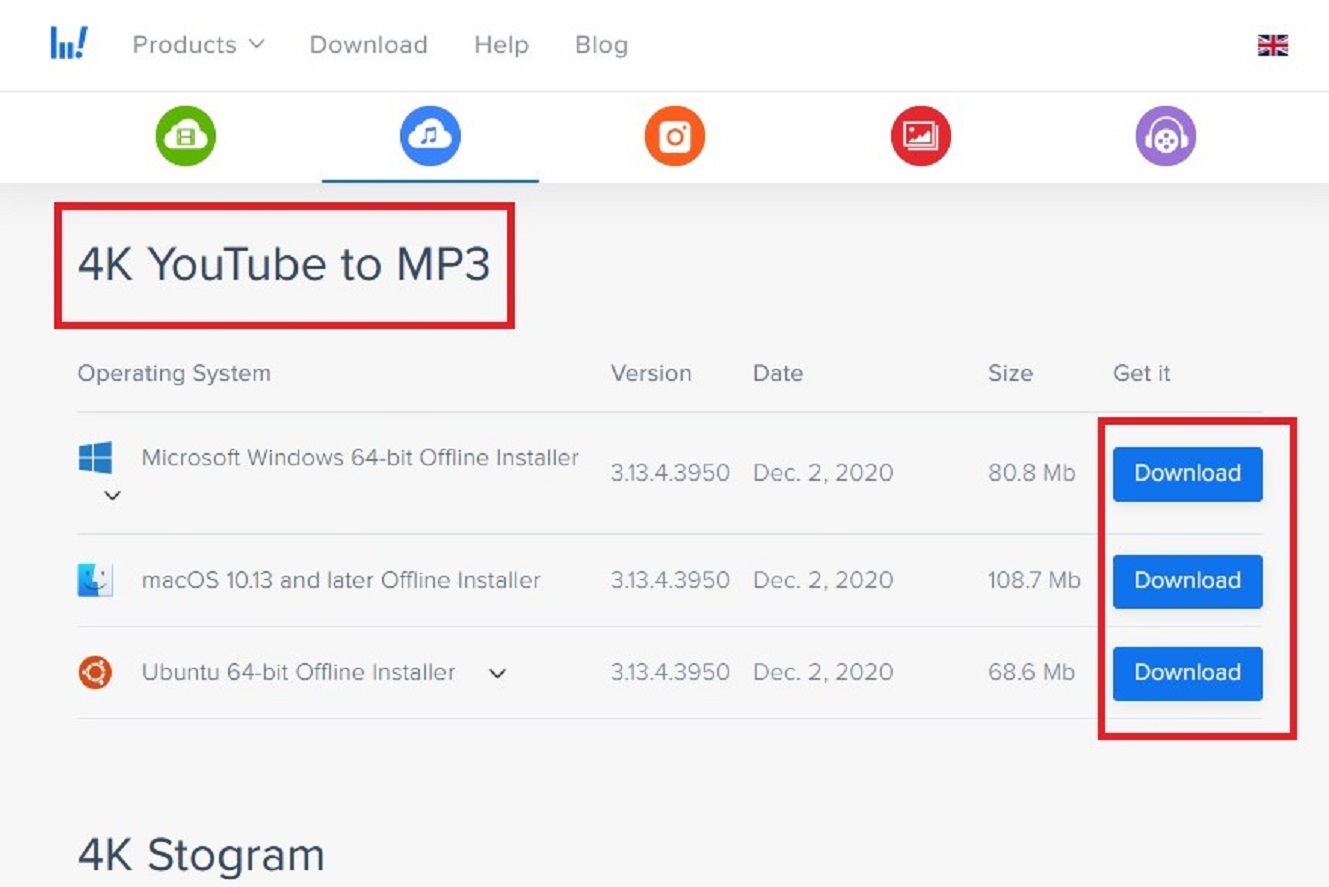
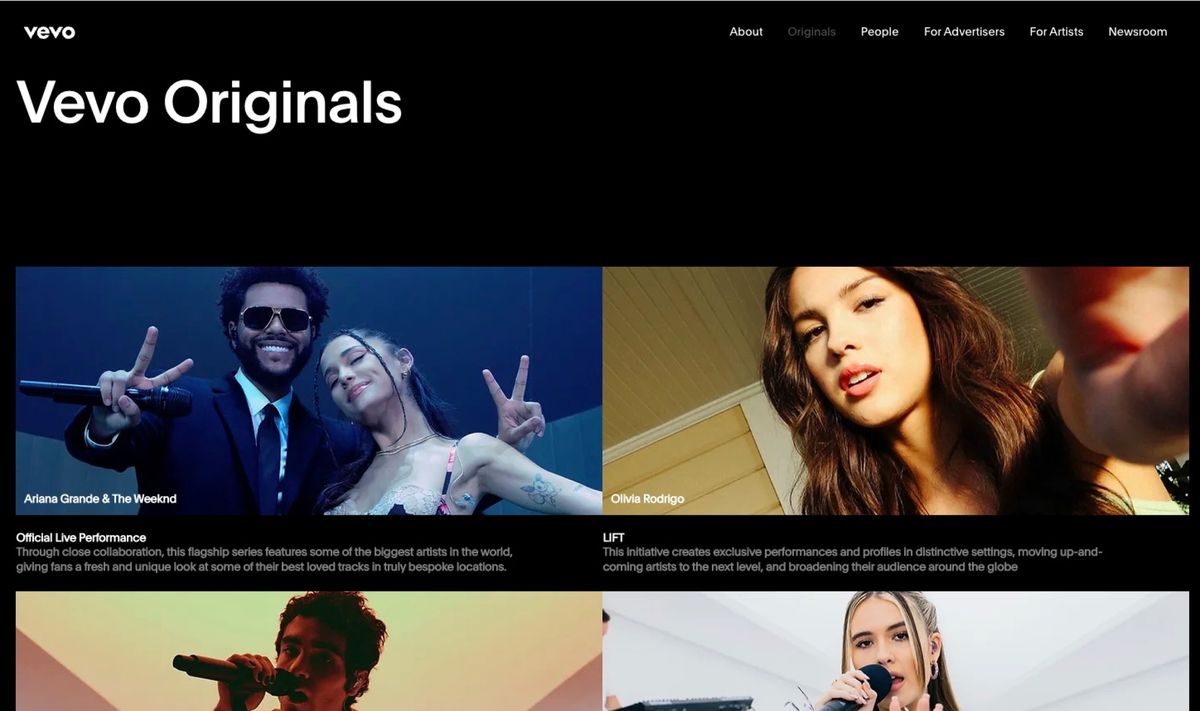
- Music Streaming Platforms: Ensure your music video is available on popular streaming platforms like YouTube, Vevo, and Vimeo. Optimize your video titles, descriptions, and tags to improve visibility in search results.
- Email Newsletter: Utilize your email subscriber list to send a dedicated newsletter announcing the release of your music video. Include a link to watch the video and encourage recipients to share it with their networks.
- Contests and Giveaways: Organize contests or giveaways related to your music video release. Encourage fans to participate by sharing or creating user-generated content, offering exclusive merchandise or experiences as prizes.
- Live Performances: Plan live performances or exclusive screenings of your music video to create a unique experience for your fans. Organize virtual or physical events where you can interact with your audience and discuss the behind-the-scenes details.
- Engage with Fans: Respond to comments, messages, and mentions from fans on social media and other platforms. Engaging with your audience builds a loyal fan base and encourages them to share your music video with others.
A well-crafted promotional plan increases the reach and visibility of your music video, helping it gain traction and capture the attention of your target audience. Be creative, consistent, and proactive in implementing your promotional strategies to maximize your video’s impact.
Step 10: Releasing the Music Video
Releasing your music video is an exciting milestone that marks the culmination of your hard work and creative vision. A carefully planned and executed release strategy can help generate momentum and maximize the impact of your video. Here’s what you should consider when releasing your music video:
- Choose the Right Timing: Determine the optimal time to release your music video. Consider factors like current trends, holidays, or significant events that align with your video’s theme or target audience.
- Create a Launch Plan: Develop a launch plan that includes a clear timeline of activities leading up to the release. This may include teaser clips, behind-the-scenes content, or countdown posts to build anticipation among your audience.
- Utilize Multiple Platforms: Release your music video on various platforms simultaneously to reach a broader audience. This may include YouTube, social media platforms, your website, and streaming services.
- Optimize Metadata: Pay attention to the metadata, including titles, descriptions, and tags, to optimize your video’s discoverability on platforms like YouTube. Use relevant keywords and descriptive language to improve its visibility in search results.
- Promote on Social Media: Leverage your social media channels to spread the word about your video’s release. Create engaging and shareable content, such as GIFs, short clips, or visually appealing graphics, to encourage your fans to watch and share your video.
- Engage with Fans: Encourage your fans to provide feedback and share their thoughts on your music video. Respond to their comments and messages to foster a sense of connection and appreciation. Their support will contribute to the organic spread of your video.
- Collaborate with Influencers: Collaborate with social media influencers or content creators who align with your music genre and target audience. Their endorsement can introduce your music video to new audiences and boost its visibility.
- Monitor Performance: Keep track of the performance of your music video, including views, likes, shares, and comments. Analyze these metrics to understand the response and engagement levels. This information will help you refine future release strategies.
- Continue Promotion: Don’t stop promoting your music video after the initial release. Share it periodically on your social media channels, collaborate with influencers on related content, and leverage opportunities for press coverage or playlist placements.
- Learn and Improve: Reflect on the release process and gather feedback from your audience, collaborators, and industry professionals. Take note of what worked well and what you can improve upon for future music video releases.
The release of your music video is an important milestone in your artistic journey. With a well-executed release strategy and ongoing promotion, you can drive engagement, expand your fan base, and leave a lasting impression with your audience.
Conclusion
Releasing a music video is an exciting endeavor that allows artists to showcase their creativity, connect with their audience, and boost their visibility in the music industry. Following a comprehensive and well-planned process is key to ensuring the success of your music video release. From pre-production to post-production and promotion, each step plays a crucial role in creating a visually captivating and impactful music video.
During the pre-production phase, careful planning, concept development, and assembling a skilled team set the foundation for a successful shoot. The production phase brings your creative vision to life, capturing dynamic visuals and compelling performances. Post-production involves editing, adding visual effects, and refining the audio to create a polished and cohesive final product.
However, the journey doesn’t end with the production process alone. Creating an effective promotional plan alongside the release is crucial in reaching a wider audience and generating buzz. Leveraging social media, collaborating with influencers, and engaging with fans are key strategies to maximize the impact of your music video.
Ultimately, the release of your music video marks an important milestone in your artistic career. It provides the opportunity to showcase your talent, connect with your audience, and establish your unique identity as an artist. Through careful planning, attention to detail, and ongoing promotion, you can ensure that your music video resonates with your target audience and contributes to the growth of your music career.
So, armed with the knowledge and insights provided in this guide, it’s time to unleash your creativity, captivate your audience, and make a splash in the world of music videos. Embrace the journey, learn from each release, and continue to evolve and refine your craft. The world is waiting to experience the magic of your music videos.