Home>Production & Technology>Music Video>How To Record A Music Video On Your Phone
Music Video
How To Record A Music Video On Your Phone
Modified: February 16, 2024
Learn how to easily record a professional music video using just your phone. Follow our step-by-step guide for stunning results!
(Many of the links in this article redirect to a specific reviewed product. Your purchase of these products through affiliate links helps to generate commission for AudioLover.com, at no extra cost. Learn more)
Table of Contents
Introduction
Music videos have become an essential part of the music industry, allowing artists to visually bring their songs to life and connect with their audience on a deeper level. In the past, recording a music video required expensive equipment and professional production crews. However, with the advancements in smartphone technology, anyone can now create a high-quality music video right from the palm of their hand.
In this article, we will guide you through the steps to record a music video using just your smartphone. Whether you’re a musician looking to showcase your talents or an aspiring filmmaker experimenting with visual storytelling, this guide will help you capture stunning music videos that stand out.
Before we dive into the steps, it’s important to note that while smartphones have made it easier to record music videos, there are still a few essential factors to consider for a successful outcome. These include choosing the right location, preparing your phone, setting up your shot, using the right lighting, capturing high-quality audio, directing and performing, and utilizing editing apps. By paying attention to these elements, you can create music videos that not only look professional but also resonate with your audience.
So, if you’re ready to unleash your creativity and produce captivating music videos on your phone, let’s get started with step one – choosing the right location.
Step 1: Choosing the Right Location
The location you choose for your music video can greatly impact its overall aesthetic and mood. It’s important to select a location that complements the style and message of your song. Whether you’re aiming for a natural outdoor setting or a unique indoor space, here are a few factors to consider when choosing the right location:
- Relevance: Look for a location that aligns with the theme or lyrics of your song. For example, if you’re singing about love and romance, a beautiful park or a scenic beach might be a fitting backdrop.
- Accessibility: Consider how accessible the location is. Ensure that you’ll have permission to film there and check for any necessary permits or restrictions.
- Visual Appeal: Look for interesting and visually appealing elements in the location, such as unique architecture, vibrant colors, or natural landscapes that can enhance the visual storytelling of your music video.
- Lighting: Evaluate the lighting conditions at different times of the day. Natural light can create a beautiful and cinematic look, so consider scheduling your shoot during the golden hour (just after sunrise or before sunset) for soft, warm lighting.
- Distractions: Take note of any potential distractions or background noise that could interfere with the recording. Choose a location that is relatively quiet and free from excessive foot traffic.
Keep in mind that you don’t necessarily need an extravagant location to create a compelling music video. Sometimes, simplicity can be just as impactful. It all depends on the message you want to convey and the visual style you envision for your video.
Once you’ve found the perfect location, it’s time to move on to step two – preparing your phone for the recording process.
Step 2: Preparing Your Phone
Before diving into the actual recording process, it’s important to ensure that your smartphone is optimized for capturing high-quality music videos. Here are a few steps to prepare your phone:
- Clean the lens: The lens of your phone can easily accumulate fingerprints, dust, and smudges, which can negatively affect the clarity of your videos. Before you start recording, use a microfiber cloth or a lens cleaning solution to gently clean the lens.
- Free up storage space: Recording videos can quickly fill up your phone’s storage. To avoid running out of space, delete any unnecessary files and apps and transfer existing files to a computer or cloud storage.
- Enable airplane mode: Disturbances like phone calls and notifications can disrupt your recording. To prevent any interruptions, enable airplane mode or turn off notifications during the filming process.
- Adjust camera settings: Most smartphones offer various camera settings that allow you to customize your video recording experience. Experiment with different settings such as resolution, frame rate, and exposure to achieve the desired look and feel for your music video.
- Use a tripod or stabilizer: To ensure stable and smooth footage, consider investing in a tripod or a smartphone stabilizer. These tools will reduce shakiness and improve the overall quality of your video.
By following these simple steps, you can ensure that your phone is ready to capture stunning music videos without any technical hiccups. Once you’ve prepared your phone, it’s time to move on to step three – setting up your shot.
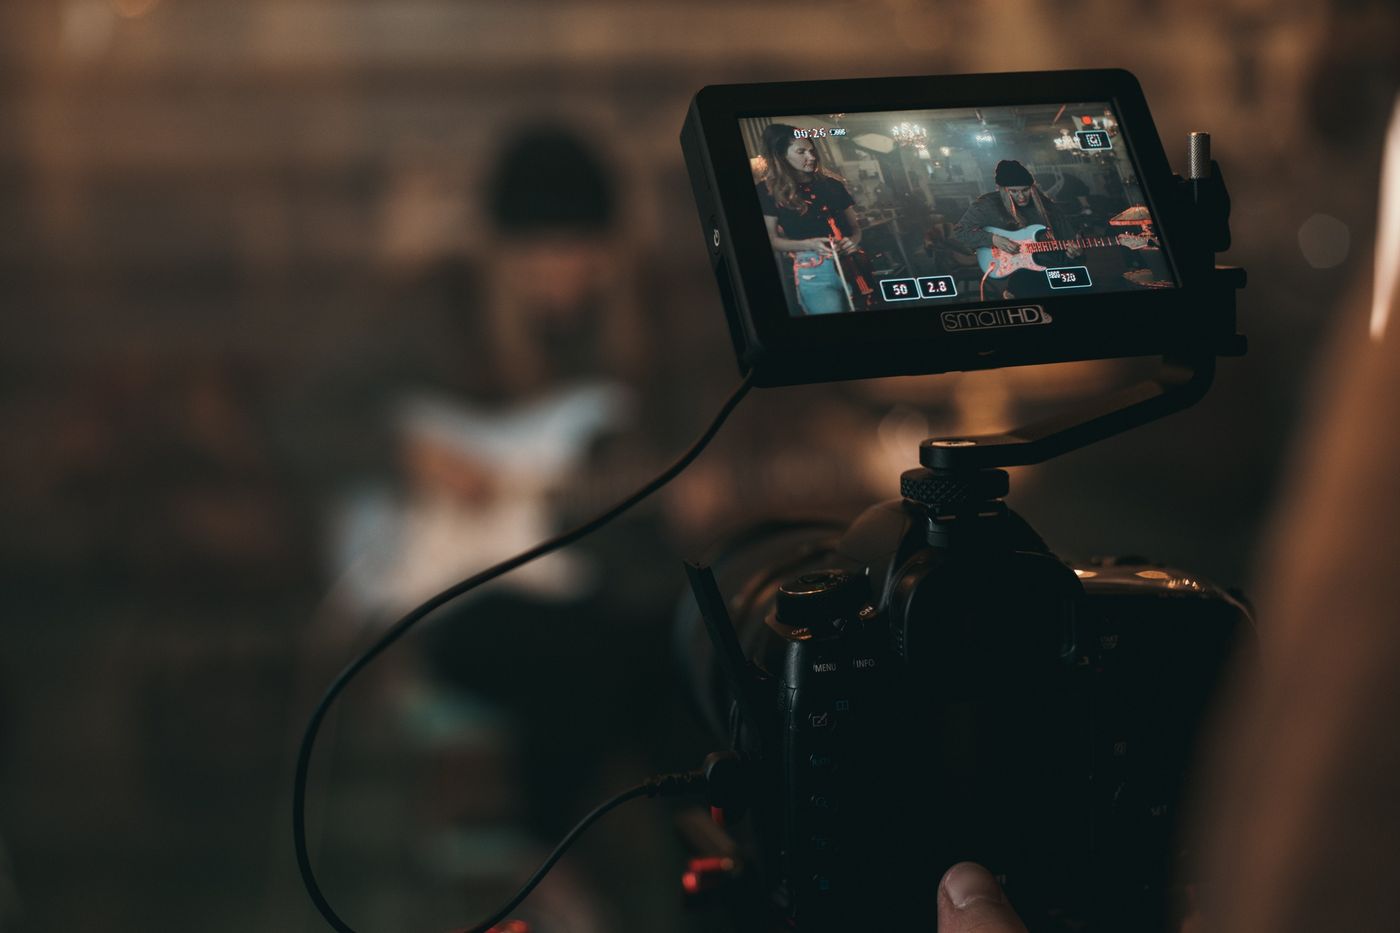
Step 3: Setting up Your Shot
Setting up the shot for your music video is crucial in creating a visually captivating and engaging experience. Here are a few key factors to consider when setting up your shot:
- Composition: Think about the framing and composition of your shot. Consider the rule of thirds, where you divide the frame into three equal parts horizontally and vertically. Place your subject off-center at one of the intersections to achieve a more balanced and visually interesting composition.
- Perspective: Experiment with different camera angles and perspectives to add depth and visual interest to your shot. Try shooting from low angles, high angles, or even capturing unique perspectives like a subject’s point of view.
- Camera movement: Decide if you want to incorporate camera movements in your music video. You can experiment with static shots, smooth pans, tracking shots, or even handheld shots to add dynamism and energy to your video.
- Framing: Pay attention to what is included in the frame and what is left out. Ensure that the background or any props in your shot contribute to the storytelling and are not distracting or cluttered.
- Focus and exposure: Tap on the screen of your phone to set the focus and exposure properly. This will ensure that your subject is in focus and properly exposed, avoiding any blurry or over/underexposed footage.
Remember, the goal is to visually enhance your music and convey the emotions and message of your song through visuals. Be creative, experiment with different angles and perspectives, and don’t be afraid to think outside the box!
Once you have set up your shot, it’s time to move on to step four – using the right lighting to enhance your music video.
Step 4: Using the Right Lighting
Lighting plays a crucial role in setting the mood and overall aesthetic of your music video. By using the right lighting techniques, you can enhance the visuals and create a professional-looking video. Here are some tips for utilizing lighting effectively:
- Natural light: Whenever possible, take advantage of natural light. It provides a soft and flattering illumination that can bring out the details in your shots. Schedule your shoot during the golden hour—the hour after sunrise or before sunset—for the most beautiful and warm natural light.
- Indoor lighting: If you’re shooting indoors, be mindful of the existing lighting sources. Try to avoid harsh overhead lights that can cast unflattering shadows. Instead, look for softer, diffused lighting options like lamps or natural light streaming in from windows.
- Use light modifiers: Experiment with light modifiers such as reflectors and diffusers to control and shape the light. Reflectors can bounce light onto your subject, while diffusers soften harsh light, creating a more pleasing and balanced illumination.
- Create mood with artificial lighting: If you want to create a specific mood or atmosphere, consider using artificial lighting. You can use colored gels to add a dramatic or vibrant effect to your shots. Experiment with different lighting setups and intensities to achieve the desired mood.
- Pay attention to shadows: Shadows can add depth and dimension to your shots if used intentionally. Be aware of where the shadows fall and how they interact with your subject. Sometimes, strategic placement of lights or reflectors can minimize or enhance the shadows for a more visually appealing result.
Remember, lighting can greatly influence the overall look and feel of your music video. Take the time to experiment with different lighting setups and techniques to find the one that best fits the style and mood of your video.
With the right lighting in place, it’s time to move on to step five – capturing high-quality audio to complement your visuals.
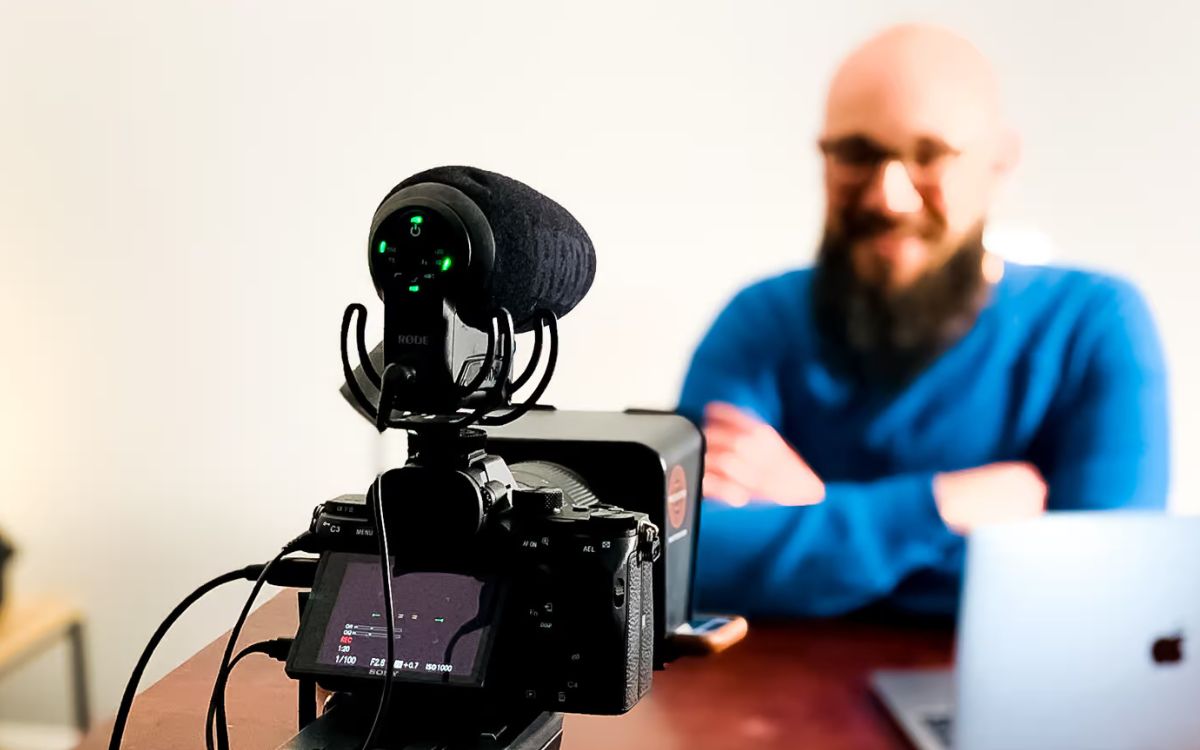
Step 5: Capturing High-Quality Audio
While visuals are important in a music video, high-quality audio is equally crucial in delivering an immersive and engaging experience to your audience. To ensure your music video’s audio is top-notch, consider the following tips:
- External microphones: While smartphone microphones have improved over the years, using an external microphone can significantly enhance the audio quality. Invest in a quality lavalier microphone or a directional shotgun microphone that can capture clear and crisp sound.
- Control background noise: Minimize background noise and distractions during the recording process. Choose a quiet location and inform any participants or bystanders to keep noise to a minimum. If necessary, use a noise gate filter in post-production to eliminate any unwanted background noise.
- Monitor audio levels: Keep an eye on the audio levels while recording. Make sure the audio is neither too soft nor peaking and distorting. Adjust the microphone sensitivity or gain settings accordingly to capture a clean and balanced audio signal.
- Sync audio in post-production: If you’re recording audio separately from the video, remember to sync them during the editing phase. Clap your hands or use a clapperboard at the beginning of the recording to create a visual and audio marker that’s easy to match up in post-production.
- Consider ambient noise: Depending on the creative direction of your music video, you may want to capture ambient sounds to enhance the overall atmosphere. For example, if you’re filming a live performance, capturing the cheers of the crowd can add authenticity to the video.
Remember, capturing high-quality audio is just as important as shooting high-quality video footage. Invest in good audio equipment, stay aware of background noise, and monitor audio levels to ensure your music video sounds professional and complements the visuals seamlessly.
Now that you’re equipped with the knowledge to capture excellent audio, let’s move on to step six – directing and performing for your music video.
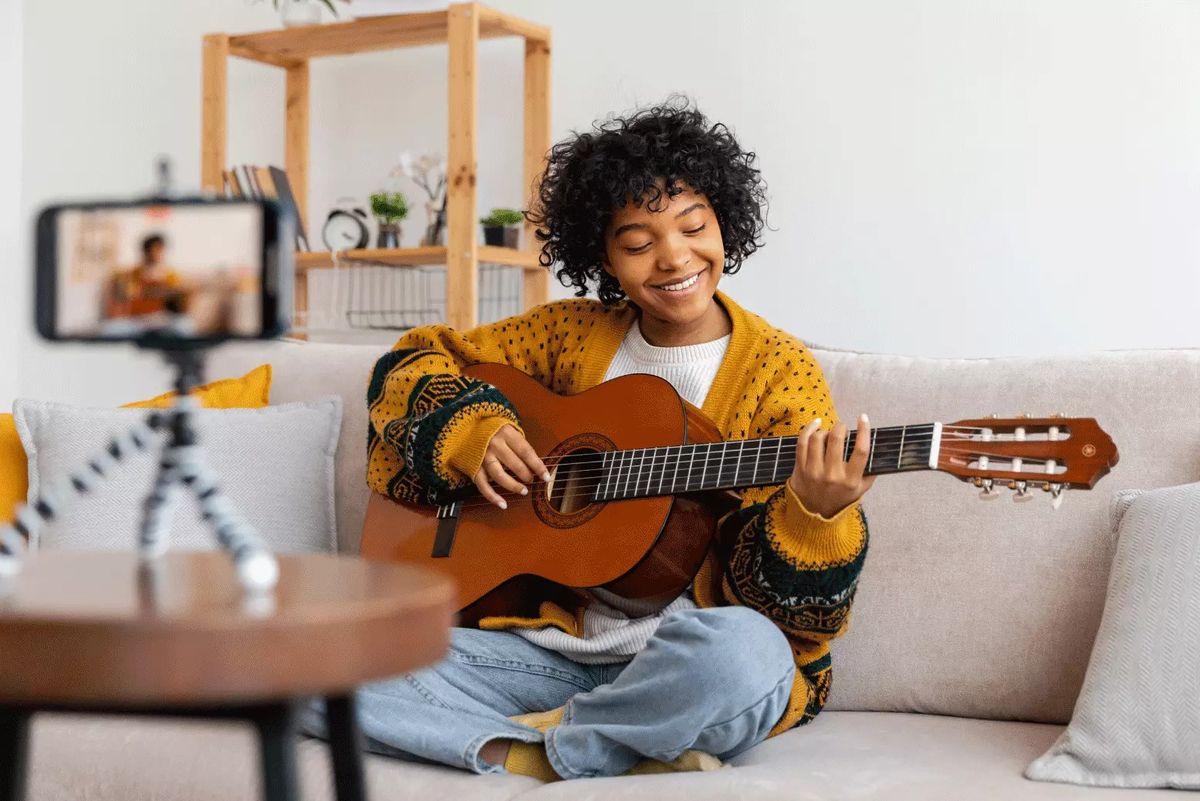
Step 6: Directing and Performing
To create a compelling music video, effective directing and captivating performances are essential. Here are some tips to help you bring out the best in your video:
- Plan your shots: Before filming, create a shot list or storyboard outlining the sequence of shots and camera angles you want to capture. This will ensure a smooth and organized filming process, saving you time and effort.
- Communicate your vision: Clearly communicate your creative vision to the performers and crew. Give them guidance on the mood, emotions, and actions you want to convey in each scene. Encourage their input and collaboration to make the video more authentic and engaging.
- Embrace spontaneity: While planning is important, don’t be afraid to embrace spontaneous moments or improvisation. Sometimes, the best shots and performances come from being in the moment and allowing creativity to flow naturally.
- Pay attention to details: It’s the little details that can make a big difference in the final product. Be aware of the performers’ body language, facial expressions, and movements. Pay attention to the framing, blocking, and props to ensure they enhance the storytelling.
- Capture multiple takes: It’s always a good idea to film multiple takes of a scene to give you more options during the editing process. Encourage the performers to deliver their best performances and experiment with different approaches to create variety.
- Showcase your unique style: Use the music video as an opportunity to showcase your creativity and personal style. Experiment with different visual effects, editing techniques, and storytelling methods to make your video stand out.
Remember, directing and performing in a music video is all about bringing your vision to life and creating a connection with your audience. Embrace the collaborative process, pay attention to details, and let your creativity shine through.
With the directing and performance aspects covered, let’s move on to step seven – utilizing editing apps to enhance your music video.
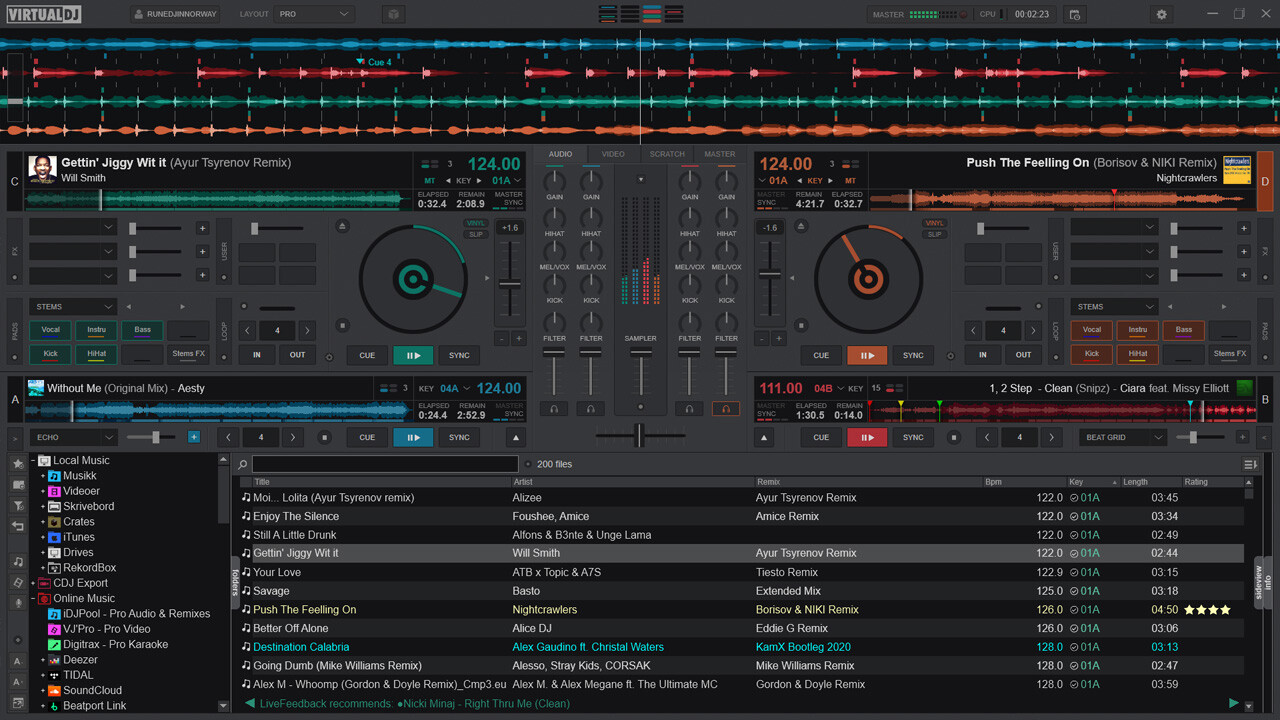
Step 7: Utilizing Editing Apps
Once you’ve completed the recording process, it’s time to transform your raw footage into a polished and visually appealing music video. Editing apps can be incredibly helpful in achieving this. Here are some tips for utilizing editing apps effectively:
- Select the right editing app: There are numerous editing apps available for smartphones, each with its own features and capabilities. Research and choose an editing app that suits your needs and offers the tools necessary for your creative vision.
- Trim and arrange clips: Start by importing your footage into the editing app and trim out any unnecessary sections. Arrange the clips in the desired order to create a cohesive storyline or visual flow.
- Add transitions and effects: Use transitions between clips to create smooth and seamless transitions. Experiment with different transition effects like fades, dissolves, or swipes to enhance the visual flow of your music video. Additionally, you can add effects such as color grading, filters, or overlays to enhance the overall mood.
- Utilize audio editing tools: Editing apps often provide audio editing tools. Use these tools to adjust the volume levels, add background music, or sync the audio with the visuals. You can also experiment with audio effects or apply equalization to enhance the sound quality.
- Add text and graphics: Consider adding text overlays, titles, or graphics to complement the visuals and provide additional information or context. This can include song lyrics, credits, or any relevant text that enhances the viewer’s understanding of the music video.
- Experiment with timing and pacing: Play with the timing of the shots, the pace of the edits, and the rhythm of the music to create a dynamic and engaging music video. Sync the visuals with the beats and accents of the music to enhance the overall impact.
- Preview and fine-tune: After editing your music video, preview the final product and make any necessary adjustments. Pay attention to transitions, audio levels, and overall visual coherence. Make sure everything aligns with your creative vision and the message of the song.
Editing apps offer a wide range of tools and options to make your music video visually appealing and professional-looking. Take advantage of these features to elevate your footage and create a captivating final product.
With the editing process complete, it’s time to wrap up your music video and share it with the world. Congratulations on creating your very own music video using just your smartphone!
Conclusion
Recording a music video on your phone has never been easier. With the advancements in smartphone technology and the plethora of editing apps available, anyone can create a visually stunning music video that captivates their audience. By following the steps outlined in this guide, you can ensure that your music video stands out and leaves a lasting impression.
It all starts with choosing the right location that aligns with the theme of your song and creates the desired atmosphere. Preparing your phone by cleaning the lens, freeing up storage space, and adjusting camera settings will ensure optimal recording quality. Setting up your shot, using the right lighting, and capturing high-quality audio are essential for creating visually captivating and immersive videos.
Equally important is the role of directing and performing. Articulating your vision, paying attention to details, and embracing spontaneity will result in authentic and engaging performances. Finally, utilizing editing apps to trim, arrange, add effects and transitions, and fine-tune the final video will take your music video to the next level.
Remember that while the process of creating a music video can be challenging, it is also a creative and rewarding endeavor. Don’t be afraid to experiment, showcase your unique style, and infuse your personality into every aspect of the video.
Now that you have the knowledge and tools to record a music video on your phone, it’s time to unleash your creativity, tell your story, and connect with your audience in a whole new way. So grab your phone, follow the steps outlined in this guide, and start creating captivating music videos that showcase your talent and passion!