Home>Events & Info>Podcast>How To Video Record A Podcast
Podcast
How To Video Record A Podcast
Modified: January 22, 2024
Learn how to video record a podcast and enhance your content with visuals. Join the podcasting revolution and create engaging episodes with videos.
(Many of the links in this article redirect to a specific reviewed product. Your purchase of these products through affiliate links helps to generate commission for AudioLover.com, at no extra cost. Learn more)
Table of Contents
Introduction
Welcome to the exciting world of podcasting! Podcasting has become increasingly popular over the years, allowing individuals to share their thoughts, ideas, and insights with a global audience. While traditional audio podcasts have long dominated the scene, video podcasts are gaining traction, offering a more engaging and immersive experience for listeners.
Video recording a podcast brings a whole new dimension to your content. It allows your audience to not only hear your voice but also see your facial expressions, body language, and any visual aids or demonstrations. This can help establish a stronger connection with your audience and make your content more memorable.
In this article, we’ll walk you through all the necessary steps on how to effectively video record a podcast. From setting up the right equipment to ensuring proper lighting and audio quality, we’ll cover everything you need to know to produce a professional-looking video podcast.
Before we dive into the details, it’s important to note that recording a video podcast requires a bit more preparation and equipment compared to a traditional audio podcast. However, the end result is well worth the effort. So, let’s get started on this exciting journey of video podcasting!
Equipment Needed
Recording a video podcast requires specific equipment to ensure high-quality audio and video. Here are the essential tools you’ll need:
- Camera: Invest in a good quality camera that can record in HD or even 4K resolution. DSLR cameras, mirrorless cameras, or high-end smartphones with excellent video capabilities can all be suitable options.
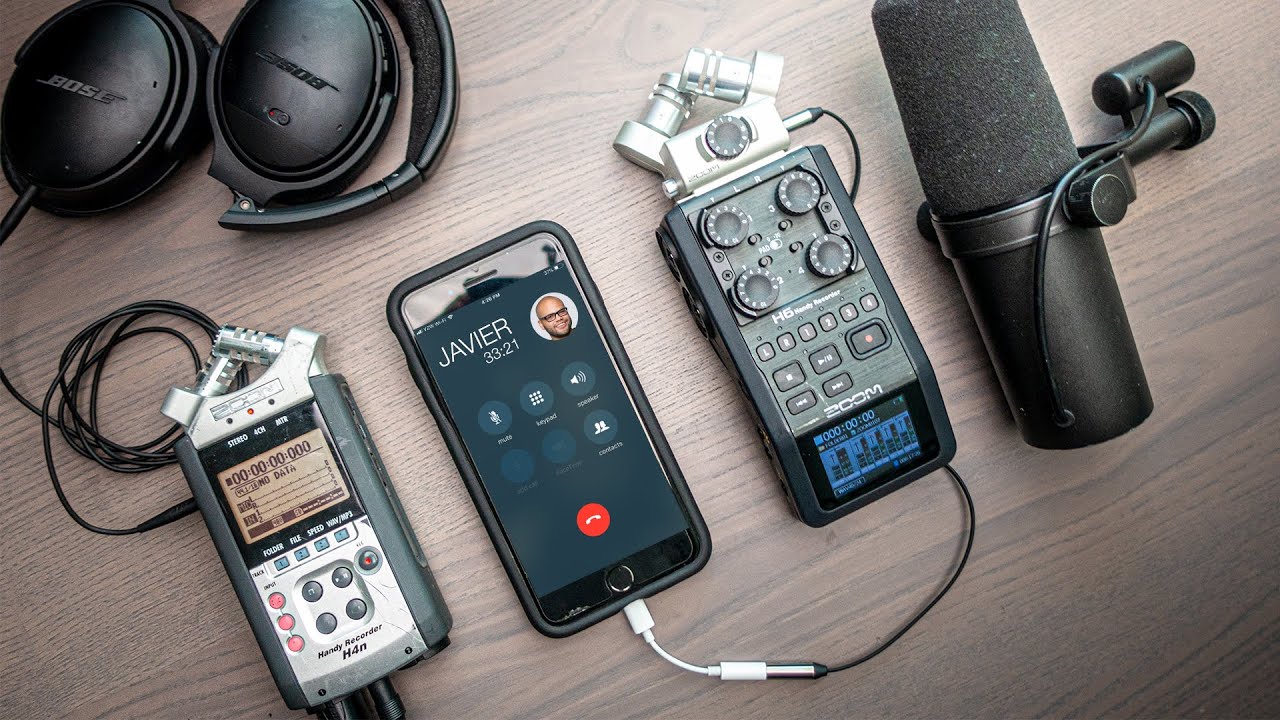
- Microphone: While the camera’s built-in microphone can capture audio, it’s recommended to use an external microphone for better sound quality. A lavalier (lapel) microphone or a USB microphone are popular choices among podcasters.
- Tripod or Mounting Stand: To keep your camera steady during the recording, you’ll need a tripod or a mounting stand. This will ensure a stable shot and minimize shakes and movements.
- Backdrop and Set Design: Consider creating a visually appealing backdrop or set design for your video podcast. This could be a simple backdrop with your podcast logo or a fully designed set that reflects the theme or niche of your podcast.
- Video Editing Software: After recording your video podcast, you’ll need video editing software to edit, enhance, and finalize the footage. Popular options include Adobe Premiere Pro, Final Cut Pro, or even free software like DaVinci Resolve or iMovie.
It’s worth noting that while these are the essential tools, there are additional accessories you may want to consider, depending on your preferences and budget. These include lighting equipment, a green screen for advanced video effects, and an audio interface for better sound control.
Investing in good quality equipment is essential for producing a professional-looking video podcast. However, if you’re just starting out and have a limited budget, don’t worry! You can begin with basic equipment and gradually upgrade as your podcast grows and gains traction.
Now that you have an idea of the equipment needed let’s move on to setting up your recording space.
Setting Up the Recording Space
Creating a suitable recording space is crucial to ensure a high-quality video podcast. Here are some steps to help you set up the perfect recording environment:
- Select a quiet location: Find a room or area with minimal background noise. Avoid spaces near busy roads, appliances, or areas prone to external disturbances. This will help ensure clear audio without any distractions.
- Clear the clutter: Remove any unnecessary items from the recording area. A clutter-free space not only looks more professional but also helps improve the overall visual appeal of your video podcast.
- Consider acoustics: Minimize echoes and reverberations by adding acoustic treatment to the room. This can be achieved through foam panels or acoustic curtains to absorb excess sound reflections.
- Create a comfortable seating area: Set up a comfortable chair or couch for yourself and any guests you may have on your podcast. It’s important to ensure everyone feels at ease during the recording session.
- Arrange the equipment: Position your camera on the tripod or mounting stand, ensuring a stable and optimal angle. Place your microphone within reach and test its position for optimal audio quality.
- Add personal touches: Consider adding some personal touches to the space, such as artwork, books, or props related to your podcast niche. This can help visually enhance your recording area and add character to your video podcast.
While it’s crucial to have a visually appealing and professional-looking recording space, don’t forget that the focus should ultimately be on you and your content. Keep the backdrop or set design simple to avoid distracting viewers from the main content of your podcast.
Once you’ve set up your recording space, it’s time to configure the audio settings for optimal sound during your video podcast. We’ll cover this in the next section.
Configuring Audio Settings
Having clear and high-quality audio is crucial for a successful video podcast. Follow these steps to configure your audio settings for optimal sound:
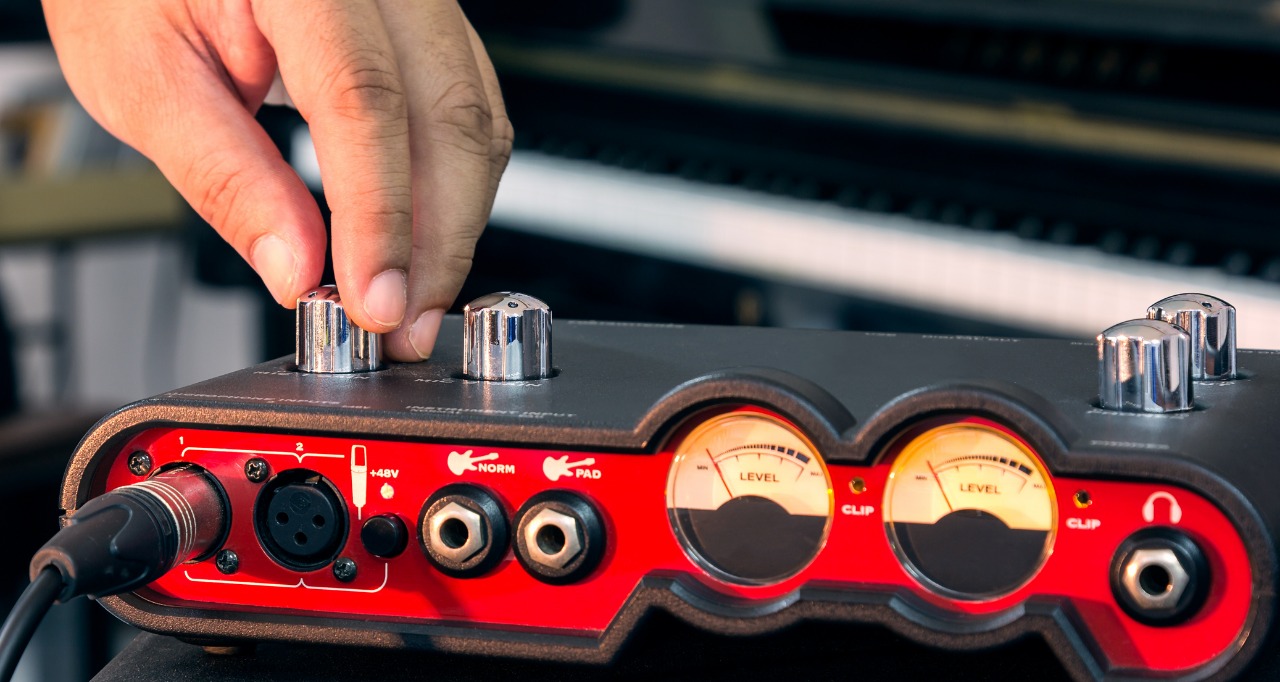
- Select the right microphone: Ensure that the microphone you’re using is properly connected to your recording device. Test the microphone to ensure it’s working correctly and capturing sound without any distortion or issues.
- Set the audio levels: Adjust the input volume of your microphone to a suitable level. Most recording devices or software have a volume control feature that allows you to fine-tune the audio input. Aim to have a balanced sound without any clipping or distortion.
- Eliminate background noise: Use noise reduction techniques to minimize any unwanted background noise. This can be achieved through the use of noise gates or by editing the audio during the post-production phase.
- Monitor your audio: During the recording, use headphones to monitor the audio in real-time. This will allow you to detect any issues, such as low volume or background noise, and make adjustments accordingly.
- Consider using audio editing software: If you have access to audio editing software, you can further enhance the audio quality by applying filters, equalization, or compression. This can help ensure a consistent and polished sound throughout your video podcast.
It’s important to regularly check and adjust your audio settings to maintain optimal sound quality. Take the time to conduct test recordings and listen back to ensure that both your voice and any guests’ voices are clear and easily understandable.
Now that you’ve configured your audio settings, it’s time to move on to setting up the video recording software. We’ll cover this in the next section.
Setting up the Video Recording Software
Choosing the right video recording software is crucial for capturing high-quality footage of your video podcast. Follow these steps to set up the software for optimal recording:
- Choose a suitable software: There are various video recording software options available, ranging from free to paid. Select one that meets your needs and is compatible with your operating system. Popular choices include OBS Studio, Camtasia, or even the built-in recording features of your camera or smartphone.
- Configure the video settings: Once you’ve installed the software, configure the video settings to ensure the desired resolution, frame rate, and other properties. It’s generally recommended to record in at least 1080p resolution for a high-definition video podcast.
- Set up the recording area: Define the recording area within the software. This allows you to specify which part of your screen or camera feed will be captured during the recording. Make sure to adjust the frame to include yourself and any visual aids or demonstrations you’ll be using.
- Test the recording: Before starting your actual video podcast, conduct a test recording to ensure everything is working as expected. Pay attention to the video quality, audio synchronization, and any potential technical issues that may arise.
- Consider additional features: Explore any additional features provided by the software, such as screen sharing, overlays, or transitions. These can enhance the visual appeal of your video podcast and make it more engaging for your audience.
Once you’ve set up the video recording software, take some time to familiarize yourself with its interface and features. This will allow you to operate it seamlessly during your actual video podcast recordings.
With the video recording software set up, it’s time to move on to framing the shot and ensuring proper lighting. We’ll cover this in the next sections.
Framing the Shot
Properly framing the shot is vital to create an aesthetically pleasing and engaging video podcast. Follow these guidelines to ensure an ideal framing:
- Position yourself in the frame: Place yourself in the center of the frame, with a slight head and shoulder gap at the top. This composition allows viewers to focus on your facial expressions and enhances the overall visual appeal.
- Mind the headroom: Leave a small space between the top of your head and the top edge of the frame. This prevents your head from appearing cramped and gives a balanced composition.
- Consider the rule of thirds: Apply the “rule of thirds” to create visually pleasing compositions. Imagine the frame divided into three equal horizontal and vertical sections. Place your eyes on or near the top horizontal line and align yourself towards one of the vertical lines.
- Include visual aids or props: If you have visual aids or props related to your podcast, place them strategically within the frame. Ensure they are visible and not obstructing your face or any essential elements.
- Experiment with different angles: Consider experimenting with different camera angles to find what works best for your podcast style. This could be eye-level, slightly above, or slightly below the eye-line. Choose an angle that complements your overall presentation.
- Observe the background: Pay attention to the background of your frame and ensure it’s not distracting or cluttered. Keep it simple and uncluttered, but feel free to add a touch of personality with relevant elements.
Remember to keep the framing consistent throughout your video podcast episodes. This helps maintain visual continuity and allows your audience to easily recognize and connect with your brand.
Now that you’ve framed the shot, it’s essential to ensure proper lighting to enhance the overall visual quality of your video podcast. We’ll cover this in the next section.
Ensuring Proper Lighting
Lighting plays a significant role in the overall visual quality of your video podcast. Follow these tips to ensure proper lighting:
- Natural light: Whenever possible, take advantage of natural light by positioning yourself near a window. Natural light provides a soft and flattering illumination that enhances your appearance on camera.
- Avoid harsh shadows: If using natural light, be mindful of any harsh shadows that may be created. Position yourself in a way that minimizes shadows falling on your face. You can use sheer curtains or diffuse the light with a white sheet to achieve a softer effect.
- Artificial lighting: If natural light is insufficient or unavailable, consider incorporating artificial lighting sources. Use a combination of key lights, fill lights, and backlighting to achieve a well-balanced and visually pleasing look.
- Diffuse the light: To achieve a soft and even illumination, use diffusers or softboxes to soften the light sources. This helps to reduce harsh shadows and create a more flattering look.
- Adjust the color temperature: Ensure that the lighting has a suitable color temperature. Avoid yellow or overly cool/blue lighting that can distort the colors on camera. Aim for a balanced and natural-looking lighting setup.
- Eliminate background lighting issues: Pay attention to the lighting in the background of your frame. Ensure that it’s not too bright or personally distracting. You can use a well-placed background light or adjust the room lighting to create a pleasing overall look.
Proper lighting not only enhances the visual quality of your video podcast but also contributes to creating a professional and engaging atmosphere. Experiment with different lighting setups and find the setup that best suits your podcast’s style and content.
Now that you’ve ensured proper lighting, it’s time to move on to testing the audio and video quality. We’ll cover this in the next section.
Testing the Audio and Video Quality
Before you start recording your actual video podcast, it’s essential to test and verify the audio and video quality. Follow these steps to ensure optimal results:
- Check audio levels: Speak into the microphone and monitor the audio levels to ensure that your voice is clear and balanced. Adjust the microphone’s sensitivity or volume if needed to avoid any distortion or background noise.
- Monitor the video feed: Keep an eye on the video feed to ensure the framing, lighting, and overall visual quality are satisfactory. Make any necessary adjustments, such as camera angle, lighting placement, or background composition.
- Test different recording scenarios: Record test clips in various situations, such as speaking at different volumes or with different inflections. This allows you to check if the audio remains clear and if the video captures your actions and expressions accurately.
- Review playback: Play back the recorded test clips and carefully analyze the audio and video quality. Listen for any audio issues, such as echoes or low volume, and watch for any video artifacts or visual distractions.
- Make adjustments: Based on your observations during the test recordings, make any necessary adjustments to your audio and video setup. This could include adjusting the microphone position, tweaking lighting settings, or making changes to the camera angle.
Performing these tests allows you to identify and resolve any audio or visual issues before starting the actual recording. It helps ensure that the final video podcast will have excellent audio clarity, visual appeal, and a professional look.
Once you are satisfied with the audio and video quality, you’re ready to move on to the exciting part – recording your video podcast! We’ll discuss some tips for a successful video recording in the next section.
Recording the Podcast
Now that you’ve completed the preparation and testing phase, it’s time to start recording your video podcast. Follow these tips for a successful recording session:
- Prepare an outline: Have a clear outline or script for your podcast episode. This will help guide your discussion and keep the episode focused and organized.
- Maintain a conversational tone: Speak naturally and engage with your audience as if you’re having a conversation with them. Avoid sounding overly scripted or robotic, as this can hinder the connection with your viewers.
- Be mindful of body language: Remember that your body language is visible in the video recording. Maintain good posture, use hand gestures when appropriate, and show enthusiasm through your facial expressions.
- Engage with your audience: Encourage audience interaction by asking questions or inviting viewers to leave comments. This adds an interactive element to your video podcast and encourages viewer engagement.
- Keep an eye on the time: Be mindful of the length of your podcast episode. It’s generally recommended to keep the duration within a reasonable range to maintain viewer interest and attention.
- Take breaks if needed: If you need to take a break during the recording, feel free to pause and resume once you’re ready. This allows you to maintain your energy and deliver a more engaging podcast episode.
- Monitor audio and video quality: Keep an eye on the audio levels and video feed throughout the recording. This ensures that the quality remains consistent and allows you to address any issues immediately.
Don’t be afraid to make mistakes or have some humorous moments during the recording. Embrace spontaneity and let your personality shine through. Remember, the goal is to create an engaging and enjoyable video podcast for your audience.
Once you’ve finished recording your podcast episode, it’s time to move on to the editing and post-production phase. We’ll explore this in the next section.
Tips for a Successful Video Recording
Recording a successful video podcast requires more than just proper equipment and technical know-how. Here are some additional tips to enhance your video recording:
- Be authentic and genuine: Authenticity is key to connecting with your audience. Be yourself and let your true personality shine through in your delivery.
- Pay attention to your appearance: Dress appropriately for your podcast’s topic and audience. Ensure you’re well-groomed and presentable, as your appearance contributes to the overall visual appeal.
- Practice active listening: Engage with your guests and actively listen to what they’re saying. This allows for more genuine conversations and encourages a deeper connection with your viewers.
- Use visual aids effectively: If you’re incorporating visual aids or demonstrations, make sure they are clear, visible, and add value to your content. Use them to enhance your explanations or emphasize key points.
- Be mindful of your surroundings: Pay attention to any potential distractions in your recording space, such as background noise, interruptions, or visual clutter. Minimize distractions to maintain focus on the podcast topic.
- Practice proper pacing: Maintain a steady pace throughout your podcast episode. Speak clearly and avoid rushing or speaking too slowly. A well-paced delivery keeps your audience engaged.
- Invite audience participation: Encourage viewer participation by asking for feedback, suggestions, or questions. This creates a sense of community and involvement, making your audience feel more connected to your podcast.
- Take advantage of editing: While recording, don’t worry about minor errors or interruptions. These can be fixed during the editing process. Focus on delivering your content without being too self-conscious.
- Consistency is key: Aim to release episodes on a regular schedule. Consistency builds trust and keeps your audience engaged. Develop a routine for recording and publishing to maintain a stable presence in the podcasting world.
Remember, practice makes perfect. The more you record, the more comfortable and confident you’ll become in front of the camera. Embrace the learning process, be open to feedback, and continuously strive to improve your video podcasting skills.
With these tips in mind, you’re ready to dive into the exciting world of video podcasting. Now, let’s move on to the next step – editing and post-production.
Editing and Post-Production
Once you’ve completed the recording phase of your video podcast, it’s time to move on to the editing and post-production process. Here are the key steps to follow:
- Organize your footage: Import all the recorded video and audio files into your chosen video editing software. Create a structured folder system to easily locate and manage your media assets.
- Trim and arrange the footage: Begin by removing any unwanted segments, such as mistakes, pauses, or technical issues. Arrange the remaining footage in a coherent and logical sequence to ensure a smooth flow.
- Enhance the video and audio quality: Use the editing software’s features to adjust the color, contrast, and brightness of the video. Enhance the audio by applying filters, removing background noise, or adjusting the volume levels for optimal sound quality.
- Add transitions and effects: Enhance the visual appeal of your video podcast by incorporating transitions between clips and adding effects, such as text overlays, lower thirds, or graphics. However, ensure that these elements enhance the content without overpowering it.
- Insert visuals or B-roll footage: If relevant to your podcast’s topic, include visuals or B-roll footage that supports or complements your discussion. This could be images, videos, or graphics that add depth and engagement to your content.
- Include intro and outro: Create or include an introductory segment that introduces your podcast and its topic. Likewise, include an outro segment with a call to action, such as subscribing, leaving comments, or visiting your website.
- Add music and sound effects: Incorporate background music or sound effects to enhance the mood and atmosphere of your video podcast. Ensure that the audio elements complement the content and do not overpower the dialogue.
- Review and refine: Watch the edited video in its entirety and make any necessary adjustments. Pay attention to pacing, visual consistency, and audio synchronization. Seek feedback from others to ensure your video podcast meets the desired quality standards.
- Export and optimize for distribution: Once you’re satisfied with the final edit, export the video file in a suitable format for distribution. Consider compressing the file size without compromising the quality to ensure smooth online streaming and faster downloads.
Editing and post-production allow you to polish your video podcast, create a cohesive narrative, and deliver a professional-looking final product. Take your time during this phase to ensure the best possible outcome.
With the editing and post-production completed, you’re now ready to promote and share your video podcast with the world. Publish it on your preferred podcast platforms, social media channels, and website to reach your target audience.
To conclude, video podcasting offers an exciting and interactive way to engage with your audience. By following these tips and investing effort in the various stages of production, you’ll be well on your way to creating captivating and successful video podcasts.
Conclusion
Video podcasting has emerged as a powerful medium to connect with audiences in a dynamic and engaging way. By following the steps outlined in this guide, you have gained valuable insights into how to effectively video record a podcast.
We began by discussing the essential equipment needed, including a high-quality camera, microphone, and tripod or mounting stand. These tools lay the foundation for capturing professional-looking video and audio.
Next, we covered the importance of setting up the recording space and configuring audio settings. A quiet and well-organized space, combined with proper microphone settings, ensures clear and high-quality audio for your video podcast.
We then explored how to set up the video recording software, ensuring optimal video settings and framing the shot. Proper framing and composition create a visually appealing podcast that captivates the audience.
Lighting was another crucial aspect that we addressed. By utilizing natural light or artificial lighting techniques, you can enhance the visual quality and create an inviting atmosphere for your viewers.
We also provided guidance on testing audio and video quality before recording the actual podcast, allowing you to identify any issues and make necessary adjustments.
In addition, we shared tips for successful video recording, including being authentic, engaging with your audience, and practicing active listening. These tips will help you establish a personal connection with your viewers and create a memorable podcasting experience.
After recording, we delved into the editing and post-production phase, where you learned how to trim and arrange footage, enhance video and audio quality, and add transitions, effects, and other visual elements to make your video podcast more engaging and polished.
In conclusion, video podcasting opens up new possibilities for storytelling, connection, and audience engagement. By utilizing the knowledge and techniques detailed in this guide, you are well-equipped to embark on a successful video podcasting journey.
Remember, practice, experimentation, and continuous improvement are key. Embrace the process, adapt to changing trends, and always strive to deliver valuable and captivating content to your viewers. Happy video podcasting!