Home>Production & Technology>Audio Interface>How To Record Video With A USB Audio Interface
Audio Interface
How To Record Video With A USB Audio Interface
Modified: February 19, 2024
Learn how to record high-quality video using a USB audio interface. Enhance your audio experience with our step-by-step guide for the best results.
(Many of the links in this article redirect to a specific reviewed product. Your purchase of these products through affiliate links helps to generate commission for AudioLover.com, at no extra cost. Learn more)
Table of Contents
- Introduction
- What is a USB Audio Interface?
- Why use a USB Audio Interface for recording video?
- Requirements for recording video with a USB Audio Interface
- Step 1: Setting up the USB Audio Interface
- Step 2: Connecting the Audio Interface to the Computer
- Step 3: Configuring Audio Settings
- Step 4: Selecting a Video Recording Software
- Step 5: Adjusting Audio Levels
- Step 6: Recording the Video with the USB Audio Interface
- Step 7: Monitoring and Playback
- Conclusion
Introduction
Recording high-quality audio is essential for creating professional videos. While most cameras have built-in microphones, they often lack the clarity and depth required for professional recordings. This is where a USB audio interface comes into play. By connecting a USB audio interface to your computer, you can significantly improve the audio quality for video recordings.
A USB audio interface acts as a bridge between your microphone or other audio sources and your computer. It converts analog audio signals into digital data that can be processed and recorded by your computer. This is particularly beneficial when recording video, as it allows you to capture clear and crisp audio without any interference or background noise.
In this article, we will explore the process of recording video with a USB audio interface. We will discuss the benefits of using a USB audio interface, the requirements for recording video, and the step-by-step process to set up and record video with optimal audio quality.
Whether you’re a vlogger, filmmaker, or content creator looking to enhance the audio quality of your videos, understanding how to use a USB audio interface for recording video is essential. So, let’s dive in and discover the world of USB audio interfaces and how they can take your video recordings to the next level.
What is a USB Audio Interface?
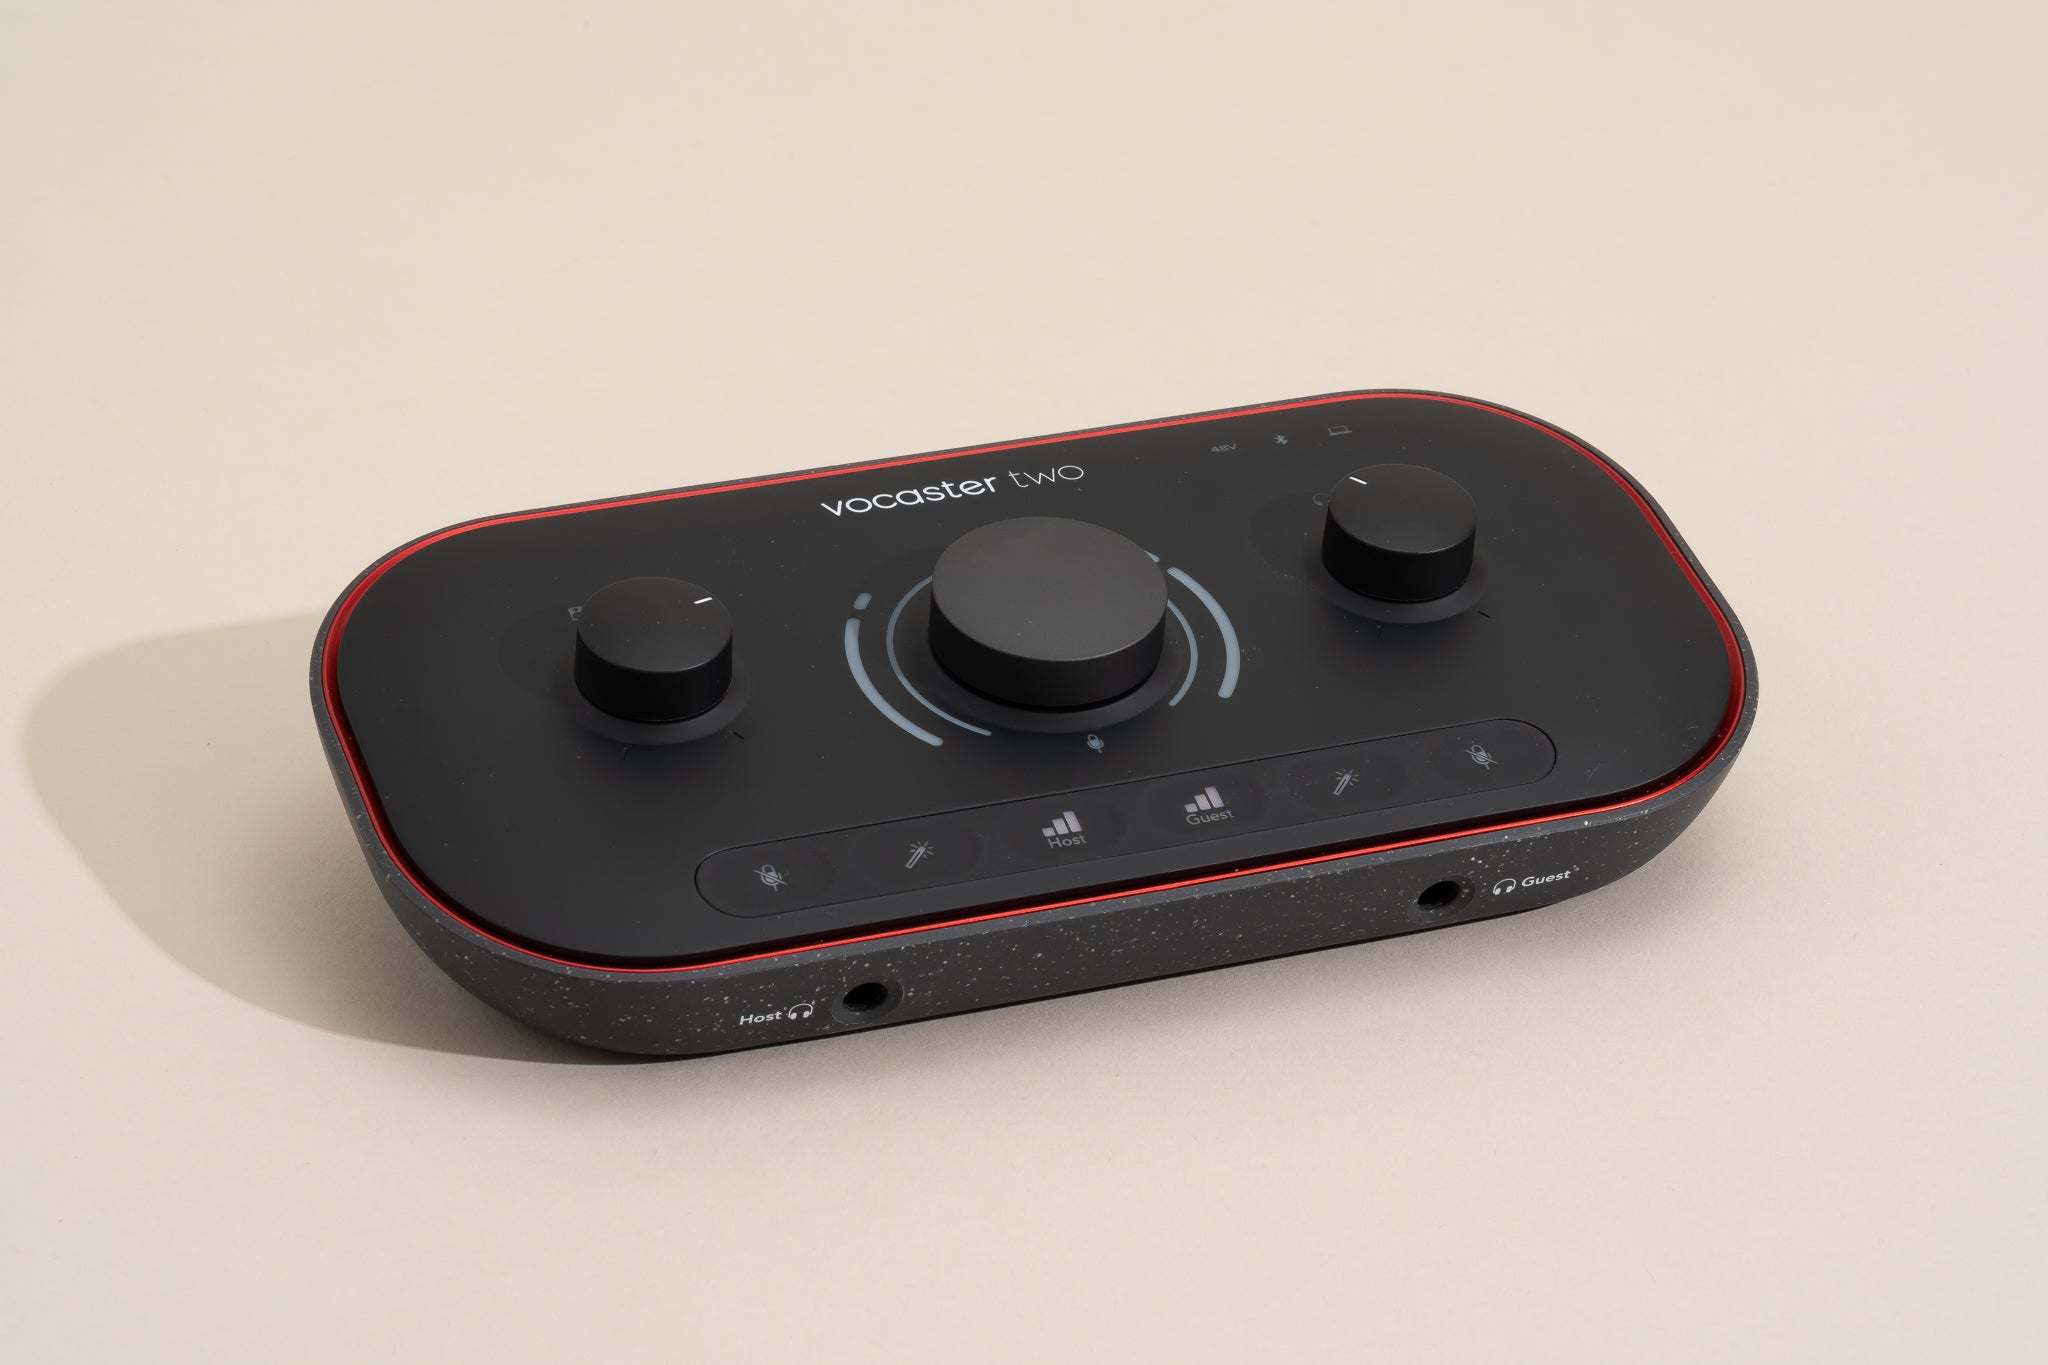
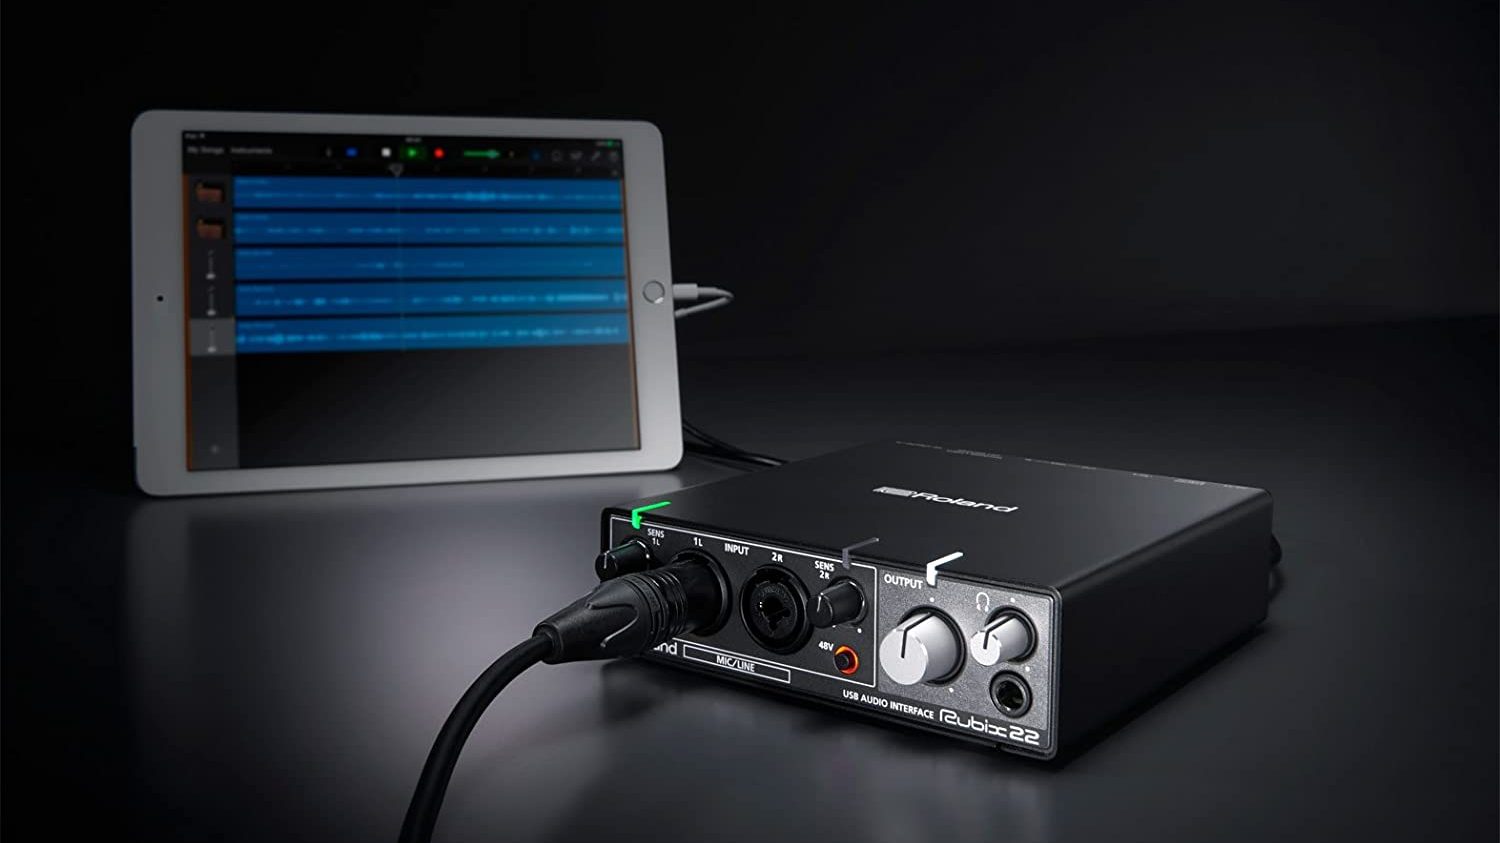
A USB audio interface is a hardware device that allows you to connect audio sources, such as microphones, instruments, or line-level audio signals, to your computer for recording or playback. It serves as an intermediary between your audio devices and your computer, enabling you to capture and process high-quality audio.
USB audio interfaces come in various sizes and configurations, ranging from simple two-input models to more complex interfaces with multiple inputs and outputs. They typically connect to your computer via a USB port, hence the name “USB audio interface.”
One of the key advantages of using a USB audio interface is its ability to convert analog audio signals into digital data that your computer can process. This conversion process ensures accurate and high-fidelity audio recordings, free from distortion or interference.
USB audio interfaces also offer features such as preamps, which amplify the weak signals from microphones or instruments before they reach your computer. This helps to boost the signal strength and enhances the overall audio quality.
In addition to inputs for connecting audio sources, USB audio interfaces often include outputs for connecting speakers or headphones, allowing you to monitor your audio during recording or playback. Some interfaces also offer MIDI inputs and outputs, enabling you to connect MIDI devices such as keyboards or controllers.
Overall, a USB audio interface is a crucial tool for anyone involved in audio recording, whether it’s for podcasts, music production, or, as we will focus on in this article, recording high-quality audio for video content.
Now that we have a basic understanding of what a USB audio interface is, let’s explore why using a USB audio interface for recording video is advantageous.
Why use a USB Audio Interface for recording video?
When it comes to video production, audio quality is just as important as the visuals. Poor audio can ruin an otherwise well-shot video, making it difficult for viewers to engage with the content. Using a USB audio interface for recording video offers several key advantages that can greatly enhance the audio quality in your videos.
Firstly, a USB audio interface allows you to bypass the inferior built-in microphones found in most cameras and camcorders. These built-in microphones are often limited in their performance and can produce low-quality audio with background noise or distortion. By utilizing a USB audio interface, you can connect external microphones or other professional audio sources, enabling you to capture clear, rich, and professional-grade audio.
Another advantage of using a USB audio interface is the ability to adjust and control audio levels with precision. Most USB audio interfaces come equipped with built-in preamps, which allow you to amplify the signal from your microphone or audio source to optimal levels. This ensures that your audio is neither too quiet nor too loud, creating a balanced and professional sound that complements your video.
Furthermore, USB audio interfaces offer better control over audio inputs and outputs. They often feature multiple input channels, allowing you to connect multiple microphones or audio sources simultaneously. This is particularly useful for recording interviews, dialogue scenes, or any situation where multiple audio sources need to be captured separately. Additionally, USB audio interfaces provide separate headphone outputs, enabling you to monitor the audio in real-time while recording, ensuring that you capture the best possible sound.
USB audio interfaces also provide improved audio recording and playback accuracy. With higher-quality converters and superior signal processing, these interfaces can capture and reproduce audio with greater fidelity, resulting in clearer and more professional sound for your videos. This improved audio quality can greatly enhance the viewer’s experience, making your videos more immersive and enjoyable.
Lastly, using a USB audio interface offers flexibility and expandability. As your video production needs grow, you can easily upgrade your USB audio interface to a model with more inputs and features. This allows you to adapt to different recording situations or accommodate additional audio sources, such as instruments or external sound modules.
In summary, using a USB audio interface for recording video provides numerous benefits, including the ability to connect external microphones, precise control over audio levels, improved audio quality, and flexibility for future expansion. By investing in a USB audio interface, you can significantly enhance the audio quality of your videos and create professional-grade content that captivates your audience.
Requirements for recording video with a USB Audio Interface
Before you begin recording video with a USB audio interface, there are a few essential requirements you need to meet. Ensuring you have the necessary equipment and software in place will help you achieve optimal audio quality and a smooth recording process.
1. USB Audio Interface: The first requirement is, of course, a USB audio interface. Choose an interface that suits your specific needs, such as the number of inputs and outputs, preamp quality, and sample rate capabilities. Make sure it has USB connectivity to connect to your computer or laptop.
2. Microphone: To capture high-quality audio, you’ll need a microphone that matches your recording needs. Consider whether you require a dynamic microphone for live recordings or a condenser microphone for studio-style environments. Ensure the microphone you choose can be connected to your USB audio interface.
3. Computer: You will need a computer or laptop with USB ports to connect the USB audio interface and handle the video recording process. Make sure your computer meets the minimum system requirements for both the USB audio interface and video recording software.
4. Video Recording Software: Choose a video recording software that is compatible with your computer’s operating system and supports external audio sources through USB audio interfaces. There are numerous options available, ranging from free to professional-grade software, so choose one that suits your needs and budget.
5. Video Camera or Webcam: Depending on your video recording setup, you will need a video camera or a webcam to capture the visuals. Ensure that your camera or webcam can be connected to your computer and synced with the audio from the USB audio interface.
6. Cables and Adapters: You may need various cables and adapters to connect your USB audio interface to your computer, as well as to connect your microphone and camera/webcam. Ensure you have the necessary USB cables, microphone cables, and any adapters required for your specific setup.
7. Monitoring Equipment: While not strictly necessary, having monitoring equipment, such as headphones or studio monitors, can greatly improve the quality of your recordings. These will allow you to monitor the audio levels in real-time and make adjustments as needed.
Once you have all the necessary requirements in place, you are ready to start setting up your USB audio interface and begin recording video with enhanced audio quality. Following the correct steps and configuring the audio settings correctly will ensure a successful recording experience. In the next sections, we will guide you through the detailed steps to connect and configure your USB audio interface for video recording.
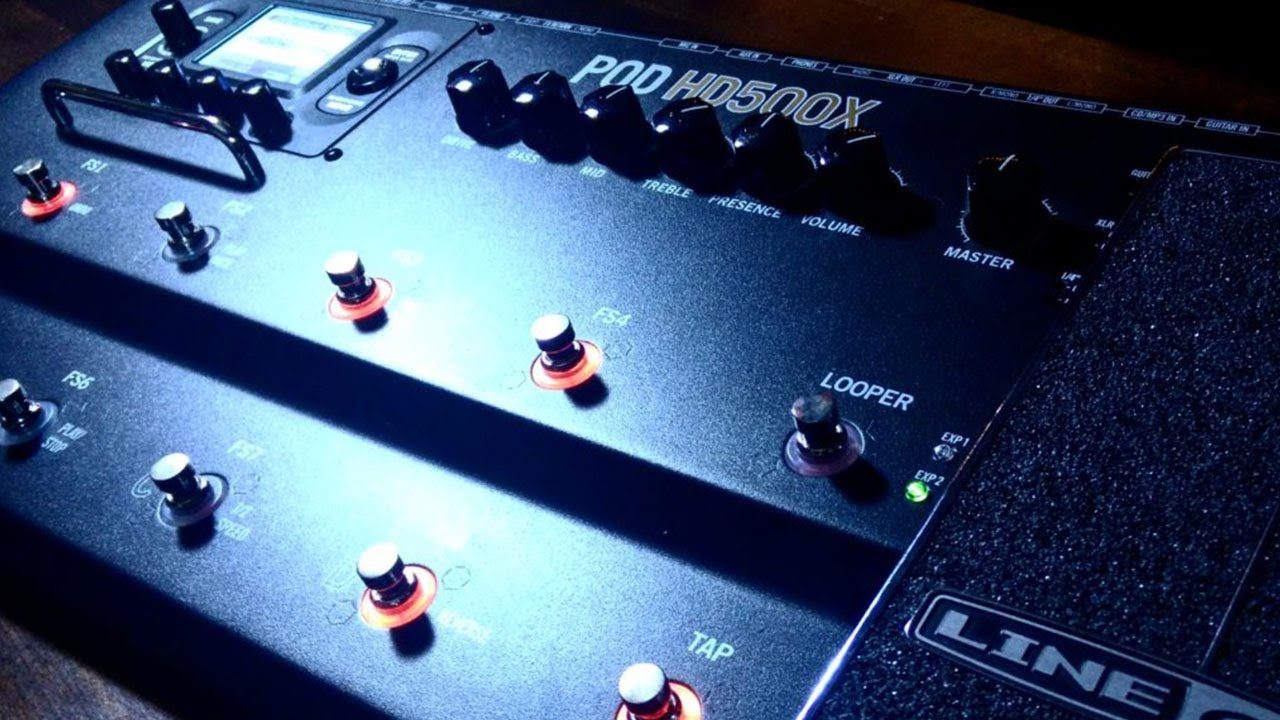
Step 1: Setting up the USB Audio Interface
Before you can start recording video with your USB audio interface, you need to properly set it up. Follow these steps to ensure a smooth and successful setup process:
- Read the User Manual: Familiarize yourself with the user manual or instructions that come with your USB audio interface. It will provide you with specific details on setting up and operating your particular model.
- Connect the USB Audio Interface: Plug the USB audio interface into an available USB port on your computer. Ensure that the interface is powered on and ready to be recognized by your computer.
- Install Drivers (if required): In some cases, you may need to install specific drivers for your USB audio interface to work properly. Check the manufacturer’s website or the accompanying documentation to download and install the necessary drivers.
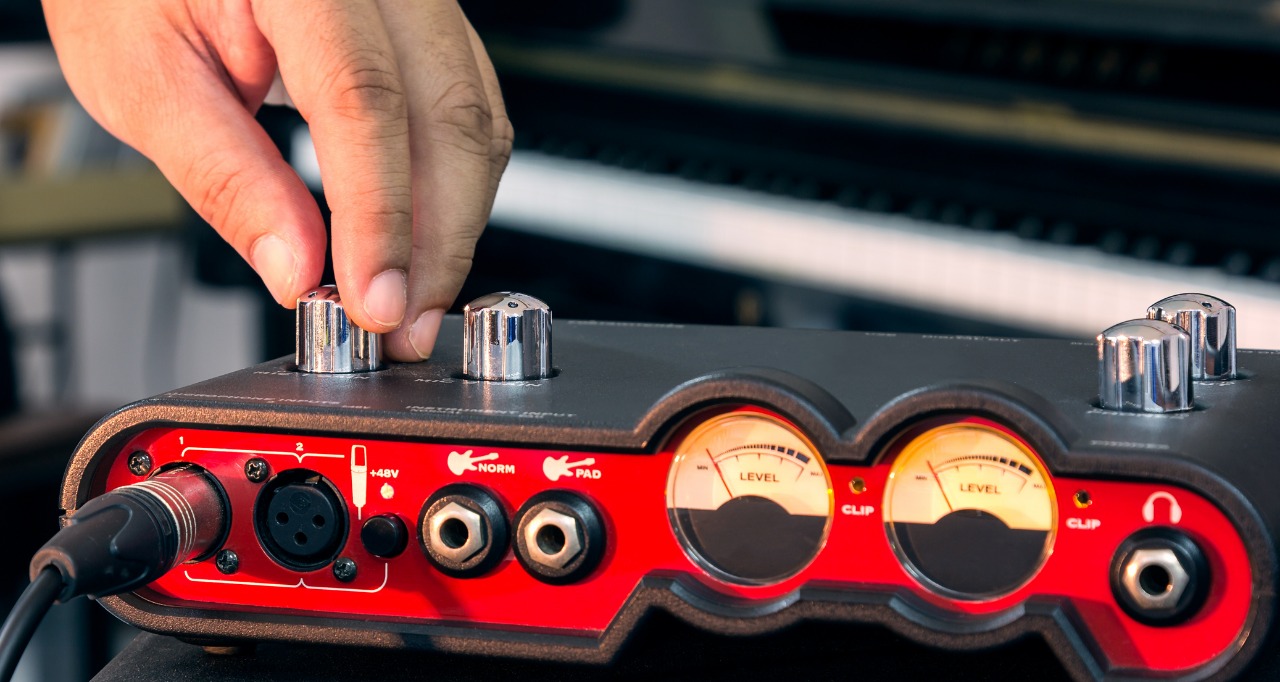
- Power and Gain: If your USB audio interface requires external power, make sure it is connected to a power source. Adjust the gain or volume knobs on the interface to an appropriate level to prevent audio distortion during recording.
- Check LED Indicators: LED indicators on your USB audio interface can provide valuable information about its status. Make sure the necessary LEDs are illuminated to indicate power, input signal presence, and output signal status.
- Verify Audio Inputs and Outputs: Take a look at the inputs and outputs on your USB audio interface. Identify which ports correspond to your microphone input and speaker or headphone output. This will be essential for connecting your equipment correctly in the next steps.
By following these steps and properly setting up your USB audio interface, you will be ready to connect it to your computer and configure the necessary audio settings for recording video. These initial setup steps ensure that your interface is powered on, recognized by your computer, and ready to deliver high-quality audio for your video recordings. Once the setup is complete, you can proceed to the next step of connecting the audio interface to your computer.
Step 2: Connecting the Audio Interface to the Computer
Now that you have set up your USB audio interface, it’s time to connect it to your computer. Follow these steps to ensure a proper connection:
- Locate the USB Port: Identify an available USB port on your computer. USB ports are typically found on the sides or back of desktop computers and on the sides or back of laptops.
- Connect the USB Cable: Take the USB cable that came with your USB audio interface and plug one end into the USB port on your computer. The other end of the cable should be connected to the USB port on the audio interface.
- Establish a Connection: Once the USB cable is securely connected, your computer should automatically recognize the USB audio interface. It may take a moment for the connection to be established, during which you might see a notification on your computer screen.
- Verify the Connection: To ensure that the audio interface is recognized by your computer, you can check the device manager or sound settings on your computer’s operating system. Look for the name of your USB audio interface in the list of connected devices or audio devices.
- Install Additional Software (if required): Depending on your USB audio interface, you may need to install additional software provided by the manufacturer. Follow the instructions provided with your interface to ensure that any necessary software is installed correctly.
Once the USB audio interface is successfully connected to your computer, you have established the essential link between your audio equipment and the recording software. This connection allows you to route audio signals from your microphone or other audio sources through the interface and into your recording software.
In the next steps, we will focus on configuring the audio settings to ensure that your USB audio interface is recognized and ready to capture high-quality audio during video recording.
Step 3: Configuring Audio Settings
After connecting your USB audio interface to your computer, it’s important to configure the audio settings to ensure proper recognition and optimal performance. Follow these steps to configure the audio settings:
- Select the USB Audio Interface: Open the audio settings on your computer’s operating system or the settings within your video recording software. Look for the audio settings section or audio devices menu. From the available options, select your USB audio interface as the preferred audio input and output device.
- Set Sample Rate and Bit Depth: Check the recommended sample rate and bit depth specifications for your USB audio interface in the user manual or manufacturer’s website. Adjust the sample rate and bit depth settings in your computer’s audio settings to match the recommended values for optimal audio quality.
- Configure Input Channels: If your USB audio interface offers multiple input channels, configure them according to your recording needs. For example, if you are using a microphone, make sure the input channel is set to the corresponding microphone input on your interface.
- Check Input and Output Levels: Test and adjust the input and output levels in your computer’s audio settings or the control panel of your USB audio interface. Aim for a balanced level that captures the audio without clipping or distorting. You can monitor the levels visually or with the help of the LED indicators on your interface.
- Enable Phantom Power (if applicable): If you are using a condenser microphone that requires phantom power, make sure to enable it on your USB audio interface. Phantom power supplies the necessary voltage to power the microphone, allowing it to function properly.
- Configure Monitoring Options: Determine how you want to monitor the audio during recording. You can choose to listen through headphones connected to the audio interface or through the computer’s speakers. Adjust the monitoring settings based on your preferences and the capabilities of your USB audio interface.
- Test the Configuration: Before you start recording, it’s a good idea to test the audio configuration. Ensure that the audio is coming through the correct input and that the levels are appropriate. Play back a test recording and listen for any issues or discrepancies.
By properly configuring the audio settings, you ensure that your USB audio interface is recognized correctly by your computer and that the audio signal is being routed and processed effectively. These settings also allow you to monitor the audio in real-time and make any necessary adjustments before you start recording your video.
In the next step, we will discuss selecting a video recording software that is compatible with your USB audio interface and the recording capabilities you require.
Step 4: Selecting a Video Recording Software
To record video with your USB audio interface, you will need video recording software that is compatible with your computer’s operating system and supports external audio sources through USB interfaces. Here are the steps to select and set up video recording software:
- Research and Compare: Research different video recording software options available for your operating system. Compare their features, user reviews, and pricing to find one that fits your needs and budget.
- Ensure USB Audio Interface Compatibility: Check the software’s compatibility with USB audio interfaces. Look for specific mentions of USB audio interface support or ASIO (Audio Stream Input/Output) compatibility, as this ensures better integration and optimized performance with your USB audio interface.
- Install the Chosen Software: Download and install the video recording software onto your computer following the provided instructions. Make sure to choose the appropriate version for your operating system.
- Select the USB Audio Interface as Input Device: Open the audio settings within the video recording software. Look for the audio input device selection menu and choose your USB audio interface as the preferred input device.
- Configure Audio Settings: Adjust any necessary audio settings such as sample rate, bit depth, and buffer size within the video recording software. Match these settings to the recommended values for your USB audio interface to ensure optimal audio quality and performance.
- Test the Audio Recording: Conduct a test recording to ensure that the video recording software is properly recognizing and capturing audio from your USB audio interface. Monitor the audio levels and playback the recording to check for any distortions or issues.
- Explore Additional Features: Familiarize yourself with the additional features and settings offered by the video recording software. This can include video resolution and frame rate settings, video effects, and advanced audio processing options.
Choosing the right video recording software is crucial for capturing high-quality video with synchronized audio. Take your time to research and select the software that best suits your needs. Consider features like video editing capabilities, compatibility with popular video formats, and ease of use.
Once you have selected and set up your video recording software, you’re ready to move on to the next step of adjusting audio levels to ensure a balanced and clear sound in your video recordings.
Step 5: Adjusting Audio Levels
Adjusting the audio levels is a crucial step in recording video with a USB audio interface. Properly adjusting the levels ensures that the audio signal is neither too soft nor too loud, resulting in clear and balanced sound in your video recordings. Follow these steps to adjust the audio levels:
- Open the Audio Mixer: Launch the video recording software and locate the audio mixer or audio control panel. This is where you can adjust the audio levels for your USB audio interface.
- Monitor the Input Levels: With your USB audio interface connected and configured, start speaking or playing the audio source you intend to record. Observe the input meter or level indicator on the audio mixer. Ensure that the levels are consistently hitting the optimal range (between -12 dB and -6 dB) without exceeding 0 dB, which can result in audio distortion.
- Adjust the Gain/Trim Knobs: If your USB audio interface has gain or trim knobs, make slight adjustments to fine-tune the input levels. Turn the knobs in small increments until the input levels are in the desired range. Be cautious not to increase the gain too much, as it can introduce noise or clipping.
- Use Software Controls: If your video recording software has audio level controls, utilize them to make further adjustments. You can increase or decrease the input levels using the software controls until you achieve a well-balanced audio signal.
- Monitor Audio Playback: With the audio levels adjusted, listen to the playback through headphones or speakers connected to your USB audio interface. Ensure that the recorded audio sounds clear and balanced, without any distortion or excessive background noise. Make further adjustments if necessary.
- Record a Test Clip: To verify the audio levels and overall sound quality, record a short test clip. Speak or play the audio source as you would during a real recording. Playback the clip and listen for any issues or imbalances in the audio. Adjust the levels as needed.
- Save the Preferred Settings: Once you have achieved satisfactory audio levels, save the settings in your video recording software. This will allow you to quickly load the preferred settings for future recordings without the need for constant readjustment.
By taking the time to adjust the audio levels properly, you ensure that your video recordings have a clean and balanced sound. This step is crucial for delivering professional-quality audio that enhances your video content.
Next, we will move on to the exciting part: recording the video with your USB audio interface.
Step 6: Recording the Video with the USB Audio Interface
Now that you have set up and configured your USB audio interface, connected it to your computer, and adjusted the audio levels, you are ready to start recording video with enhanced audio quality. Follow these steps to begin the recording process:
- Prepare Your Setup: Set up your camera or webcam in the desired position, ensuring proper lighting and framing for your video. Make sure your USB audio interface, microphone, and any other necessary equipment are properly connected and positioned for optimal sound capture.
- Launch the Video Recording Software: Open the video recording software you have selected and configured. Ensure that the USB audio interface is selected as the audio input device within the software’s settings.
- Set Recording Preferences: Adjust any additional recording preferences in the video recording software, such as video resolution, frame rate, or file format. Customize these settings based on your desired output and the capabilities of your computer and camera.
- Check Audio Inputs: Before you start recording, check the audio inputs in the video recording software, ensuring that the correct USB audio interface and microphone inputs are selected. This step ensures that the software is recognizing and utilizing the audio signal from your USB audio interface.
- Start Recording: Once you have set up your recording preferences and verified the audio inputs, begin recording your video. Press the “Record” or “Start” button in the video recording software to initiate the recording process.
- Monitor Audio Levels: During the recording, keep an eye on the audio levels displayed in the software’s audio mixer or level meters. Ensure that the levels are consistently hitting the optimal range and that they are not too low or too high. Make adjustments if necessary.
- Monitor Performance: Pay attention to the performance of your USB audio interface throughout the recording. Keep an eye on the LED indicators and listen for any abnormal sounds or audio quality issues. If you encounter any problems, pause the recording and address the issue before proceeding.
- Finish Recording: When you have finished recording your video, press the “Stop” or “Finish” button in the video recording software to end the recording process. Save the recording to the desired location on your computer’s storage.
Recording video with a USB audio interface allows you to capture high-quality audio that enhances the overall production value of your content. By following these steps, you can confidently record your videos, knowing that you have optimized the audio quality using your USB audio interface.
In the next step, we will discuss monitoring and playback, allowing you to review and assess the recorded video with its enhanced audio.
Step 7: Monitoring and Playback
After recording your video with the USB audio interface, the final step is to monitor and playback the recorded material to ensure that the audio is captured effectively and of high quality. Follow these steps to review and assess your video with its enhanced audio:
- Save and Organize the Recording: Ensure that you save your recorded video file in a location that is easily accessible and organized for future editing or sharing.
- Playback the Video: Open the recorded video file using a media player or video editing software. Pay attention to the audio playback and verify that it is synchronized correctly with the visuals.
- Listen for Audio Clarity: Listen attentively to the audio playback and assess the clarity, balance, and overall quality. Check for any distortions, background noise, or unwanted artifacts in the recorded audio. Make note of any areas that may require further adjustments or fixes.
- Monitor Audio Levels: Keep an eye on the audio level meters or visual indicators during playback. Ensure that the audio levels remain consistent and do not peak into the red zone, which would indicate clipping or distortion.
- Adjustments and Re-recording (if necessary): If you identify any areas of the recorded audio that require adjustments, such as levels, EQ, or noise reduction, note these areas and make the necessary changes in your video editing software or re-record those specific sections if possible.
- Seek Feedback: Share the recorded video with others, such as colleagues or trusted individuals, and seek feedback on the audio quality. Consider their constructive criticism and incorporate any necessary improvements.
- Finalize and Export: After making any required adjustments and ensuring that the audio is satisfactory, finalize your video by editing, adding effects, or making any other desired modifications. When you are satisfied with the final result, export the video in your preferred format for distribution or sharing.
Monitoring and playback are crucial steps to ensure that your video with enhanced audio meets your desired quality standards. By carefully reviewing the recorded material, addressing any audio issues or adjustments, and seeking feedback, you can refine and deliver a final video product that captivates your audience.
Congratulations! You have successfully completed the process of recording video with a USB audio interface. By following these steps, you can consistently achieve professional-quality audio in your video productions, enhancing the overall viewer experience and maintaining high standards of audio excellence.
With your newfound knowledge and expertise, you are well-equipped to create captivating videos with enhanced audio using USB audio interfaces. So, go ahead and unleash your creativity in the world of video production!
Conclusion
Recording video with a USB audio interface brings a new level of audio quality and professionalism to your video productions. By connecting your USB audio interface to your computer and configuring it properly, you can capture clear, balanced, and high-fidelity audio that enhances the overall viewer experience.
In this article, we explored the benefits of using a USB audio interface for video recording. We discussed the importance of bypassing built-in camera microphones, the flexibility and control provided by audio interfaces, and the improved audio quality they offer.
We also outlined the essential requirements for recording video with a USB audio interface, including the need for the audio interface itself, a microphone, a computer with USB ports, video recording software, and appropriate cables and adapters for connectivity.
We then guided you through step-by-step instructions on setting up and connecting your USB audio interface, configuring the audio settings, selecting suitable video recording software, adjusting audio levels, and finally, monitoring and reviewing the recorded video with enhanced audio.
By following these steps and implementing the best practices outlined in this article, you can achieve professional-grade audio in your video recordings. Remember to continuously monitor and optimize the audio levels, seek feedback, and refine your techniques for even better results.
So, whether you are a vlogger, filmmaker, content creator, or anyone else involved in video production, don’t overlook the importance of high-quality audio. Embrace the power of a USB audio interface and elevate your videos to new heights!