Home>Production & Technology>Noise Cancellation>How To Turn Off Noise Cancellation On Beats Solo 3
Noise Cancellation
How To Turn Off Noise Cancellation On Beats Solo 3
Modified: January 22, 2024
Learn how to easily turn off noise cancellation on your Beats Solo 3 headphones. Enjoy your music without any distractions.
(Many of the links in this article redirect to a specific reviewed product. Your purchase of these products through affiliate links helps to generate commission for AudioLover.com, at no extra cost. Learn more)
Table of Contents
Introduction
Noise cancellation technology has become a staple in modern headphones, providing users with a way to block out unwanted external sounds and immerse themselves in their music or audio. However, there are times when you may want to turn off noise cancellation temporarily. Whether you need to listen for important announcements or prefer to let in ambient noise for situational awareness, knowing how to disable noise cancellation can be useful.
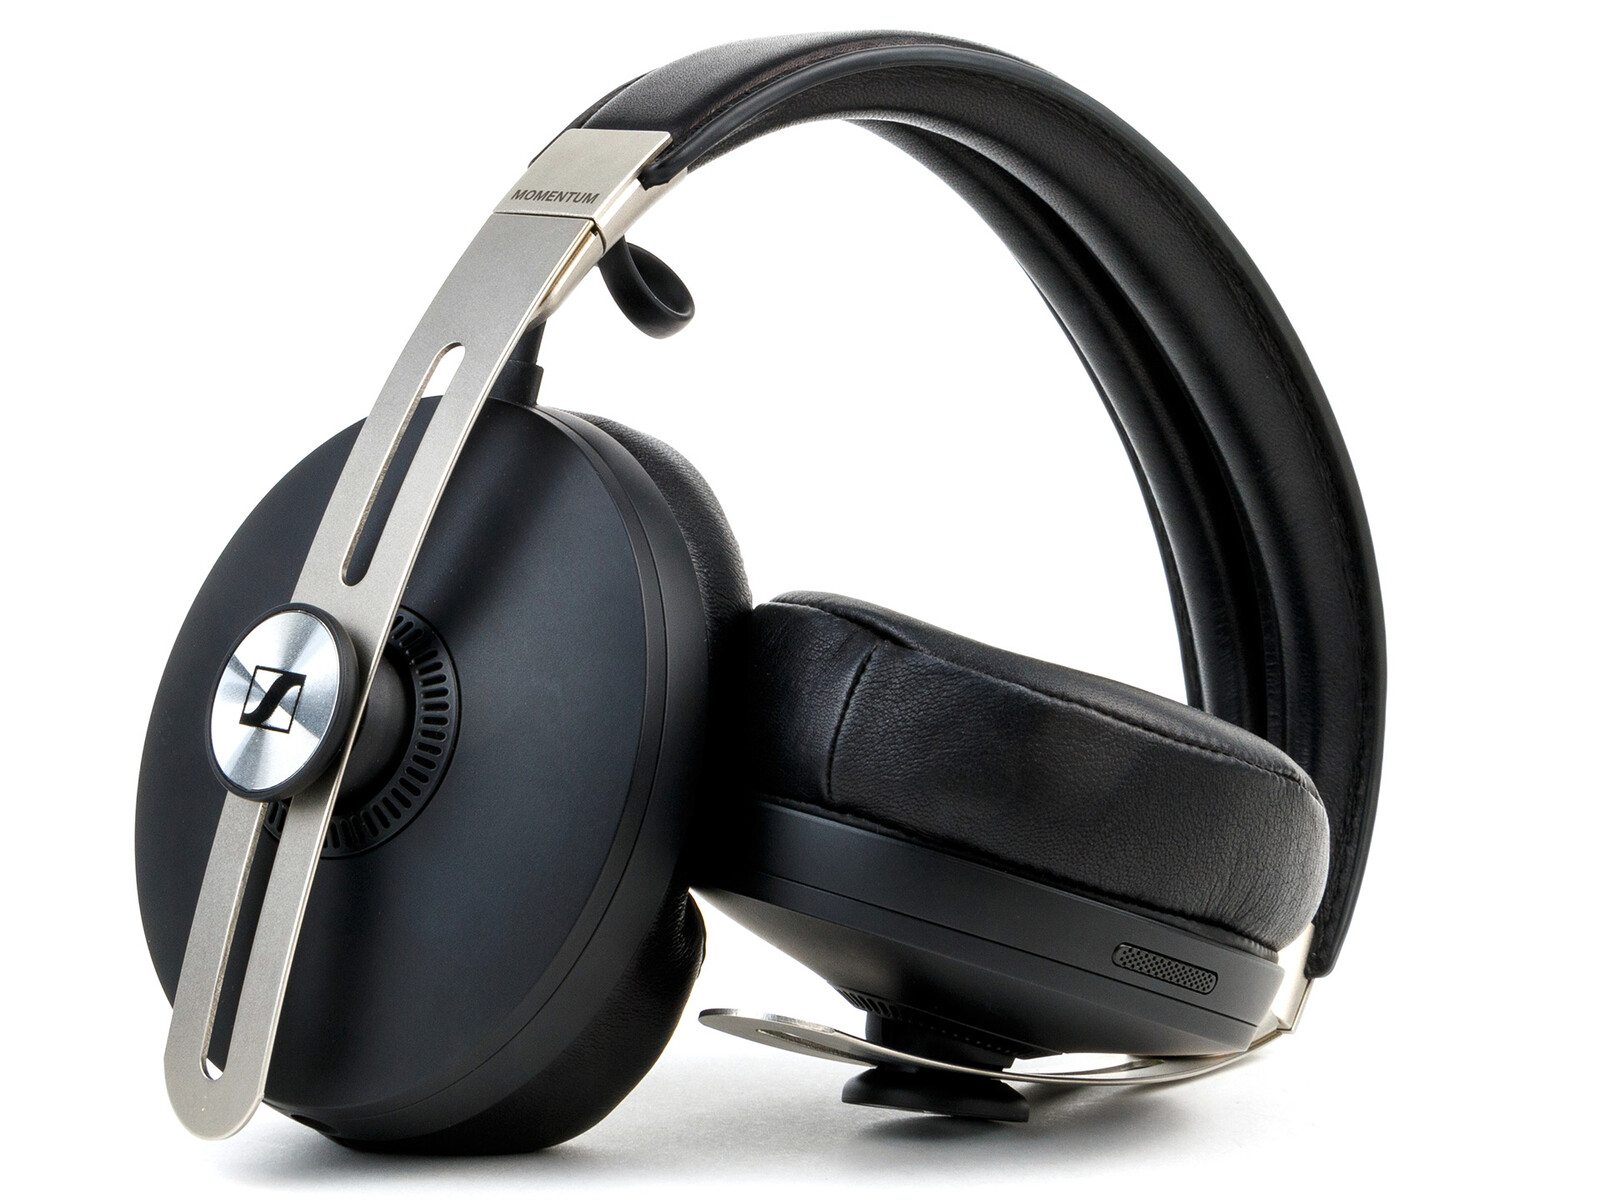
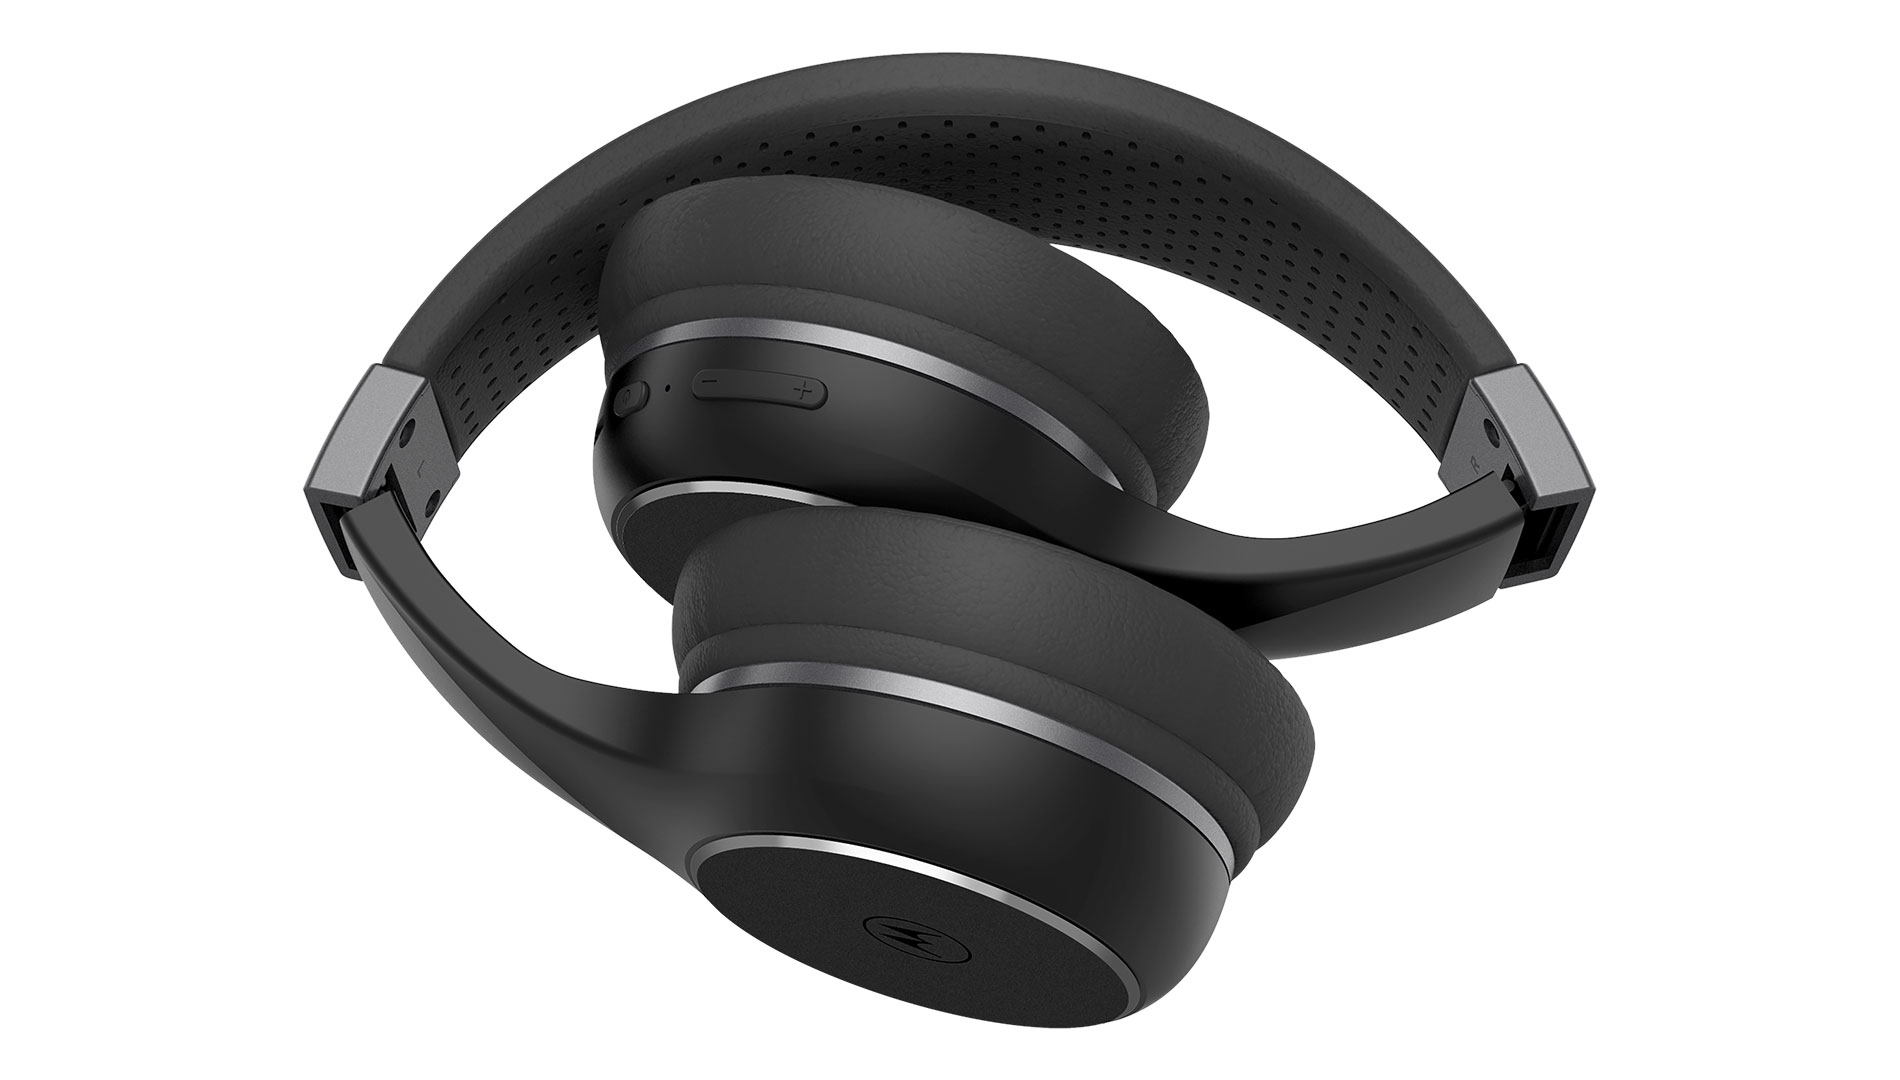
In this article, we will walk you through the steps to turn off noise cancellation on Beats Solo 3 headphones. The Beats Solo 3 is a popular choice among audio enthusiasts for its high-quality sound and sleek design. With its noise cancellation feature, you can enjoy your music without distractions. But if you find yourself in a situation where you need to disable noise cancellation, follow the steps below.
Please note that the process may vary slightly depending on the device you are using to connect your Beats Solo 3 headphones. Whether you are using an iPhone, Android device, or computer, we will provide you with general instructions that should work for most scenarios.
Step 1: Power on your Beats Solo 3
Before you can make any adjustments to the noise cancellation settings on your Beats Solo 3 headphones, you need to ensure that they are powered on and paired with your device. Follow these steps to power on your headphones:
- Locate the power button on your Beats Solo 3 headphones. It is usually located on one of the ear cups.
- Press and hold the power button for a few seconds until you see the LED indicator light up. This indicates that the headphones are now powered on.
Make sure your headphones are fully charged to ensure optimal performance.
If you have already paired your Beats Solo 3 headphones with your device, they should automatically connect once they are powered on. If not, make sure Bluetooth is enabled on your device and follow the instructions in the Beats Solo 3 user manual to pair your headphones.
Once your headphones are powered on and connected, you are ready to proceed to the next step.
Step 2: Connect your headphones to a device
Now that your Beats Solo 3 headphones are powered on, the next step is to connect them to the device you want to use them with. Follow these steps:
- On your device, go to the settings menu and open the Bluetooth settings.
- Make sure Bluetooth is turned on.
- Look for your Beats Solo 3 headphones in the list of available devices and tap on it to initiate the pairing process.
- If prompted, enter the passcode or PIN provided with your headphones to complete the pairing.
- Once the pairing is successful, you will see a notification confirming the connection between your device and the headphones.
It is worth noting that the steps to connect your Beats Solo 3 headphones may vary slightly depending on the device you are using. However, the general process remains the same.
Once your headphones are successfully connected to your device, you are ready to move on to the next step and access the Control Center to adjust the noise cancellation settings.
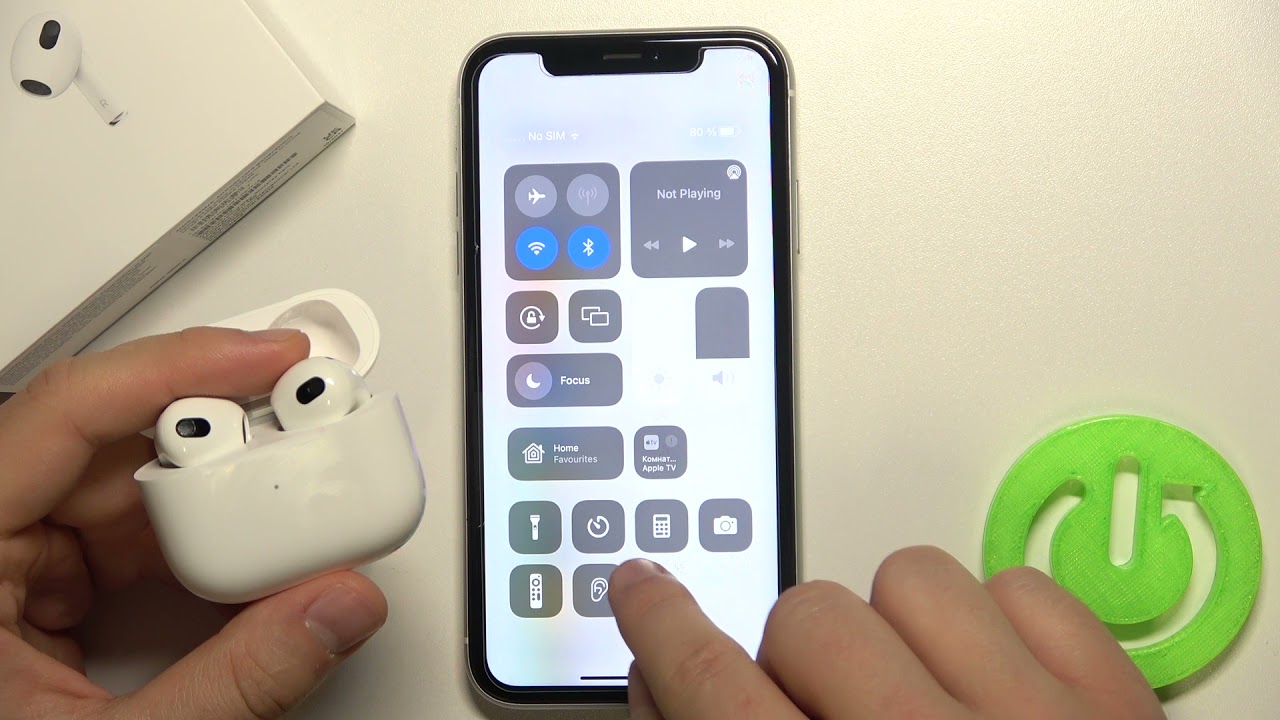
Step 3: Access the Control Center
Now that your Beats Solo 3 headphones are connected to your device, you need to access the Control Center to make adjustments to the noise cancellation settings. The Control Center is a convenient feature that allows you to access various settings and features on your device with a single swipe.
The steps to access the Control Center may vary depending on the operating system of your device. Follow the instructions below based on your device:
iOS devices (iPhone or iPad):
- Swipe down from the top-right corner of the screen (on iPhone X or newer) or swipe up from the bottom of the screen (on iPhone 8 or older) to open the Control Center.
- Once the Control Center is open, look for the music playback controls.
- Tap on the music playback controls to expand them.
Android devices:
- Swipe down from the top of the screen to open the notification panel.
- Swipe down again or expand the panel to reveal the quick settings tiles.
- Look for the music playback controls or audio settings icon.
- Tap on the music playback controls or audio settings icon to open the corresponding menu.
Once you have successfully accessed the Control Center or the music playback controls menu, you are ready to proceed to the next step and disable noise cancellation on your Beats Solo 3 headphones.
Step 4: Disable noise cancellation
Now that you have accessed the Control Center or the music playback controls menu on your device, it’s time to disable the noise cancellation feature on your Beats Solo 3 headphones. Follow these steps:
- In the Control Center or the music playback controls menu, look for the noise cancellation option.
- If the noise cancellation option is not immediately visible, swipe left or right to access additional audio settings.
- Once you have located the noise cancellation option, tap on it to disable the feature.
- You may see options such as “Off,” “Low,” or “Transparency” depending on the device and its operating system.
- Select the appropriate option to disable noise cancellation or switch to a mode that allows ambient noise to pass through.
After disabling noise cancellation, the headphones will no longer block out external sounds, allowing you to hear your surroundings more clearly. This can be useful in situations where you need to be aware of your environment.
It’s worth noting that the process of disabling noise cancellation may vary slightly depending on the device or operating system you are using. If you are having trouble finding the noise cancellation option, refer to the user manual or the manufacturer’s website for specific instructions.
With noise cancellation disabled, you can now enjoy your audio without the blockage of external sounds. However, if you want to re-enable noise cancellation in the future, simply follow the same steps and choose the appropriate option.
Step 5: Adjust other audio settings
Now that you have successfully disabled noise cancellation on your Beats Solo 3 headphones, you may want to explore and adjust other audio settings to enhance your listening experience. Here are a few options you can consider:
- Equalizer: Many devices offer an equalizer feature that allows you to adjust the audio frequencies to your liking. You can amplify or decrease certain frequencies to enhance the bass, treble, or overall sound quality.
- Volume control: Use the volume buttons or sliders on your device or headphones to adjust the volume levels to your preference. Be mindful of the volume level to protect your hearing.
- Ambient sound: Some devices have a feature that allows you to let in a certain level of ambient sound while wearing headphones. This can be useful to stay aware of your surroundings while still enjoying your audio.
- Sound effects: Explore any additional sound effects or enhancements provided by your device or audio app. These effects can provide a different audio experience by adding virtual surround sound or other enhancements.
Take some time to experiment with these settings and find the audio configuration that best suits your preferences and the type of content you are listening to.
It’s important to note that the availability and accessibility of these features may vary depending on your device, operating system, and the app or platform you are using to play audio. Consult the user manual or online resources for specific instructions on adjusting audio settings for your particular device.
By exploring and adjusting these audio settings, you can further customize your audio experience and make the most out of your Beats Solo 3 headphones.
Conclusion
Turning off noise cancellation on your Beats Solo 3 headphones can be a useful feature to have in certain situations where you need to be more aware of your surroundings. By following the steps outlined in this article, you can easily disable noise cancellation and enjoy your music or audio without the blockage of external sounds.
Remember that the process of disabling noise cancellation may vary slightly depending on the device or operating system you are using. Make sure to refer to the user manual or online resources for specific instructions tailored to your device.
Additionally, take the time to explore and adjust other audio settings such as the equalizer, volume control, and sound effects to further enhance your listening experience. Customizing these settings can help you achieve the desired sound quality and make the most out of your Beats Solo 3 headphones.
Whether you’re using your headphones for music, movies, gaming, or any other audio content, having control over noise cancellation and other audio settings allows you to personalize your experience and enjoy your audio in the way that suits you best.
We hope this guide has been helpful in guiding you through the process of turning off noise cancellation on your Beats Solo 3 headphones. Enjoy your audio without distractions and embrace the world of immersive sound.