Home>Production & Technology>Noise Cancellation>How To Turn Off Noise Cancellation On Mic
Noise Cancellation
How To Turn Off Noise Cancellation On Mic
Modified: January 22, 2024
Learn how to easily disable noise cancellation on your microphone and improve audio quality. Follow our step-by-step guide to turn off noise cancellation settings.
(Many of the links in this article redirect to a specific reviewed product. Your purchase of these products through affiliate links helps to generate commission for AudioLover.com, at no extra cost. Learn more)
Table of Contents
Introduction
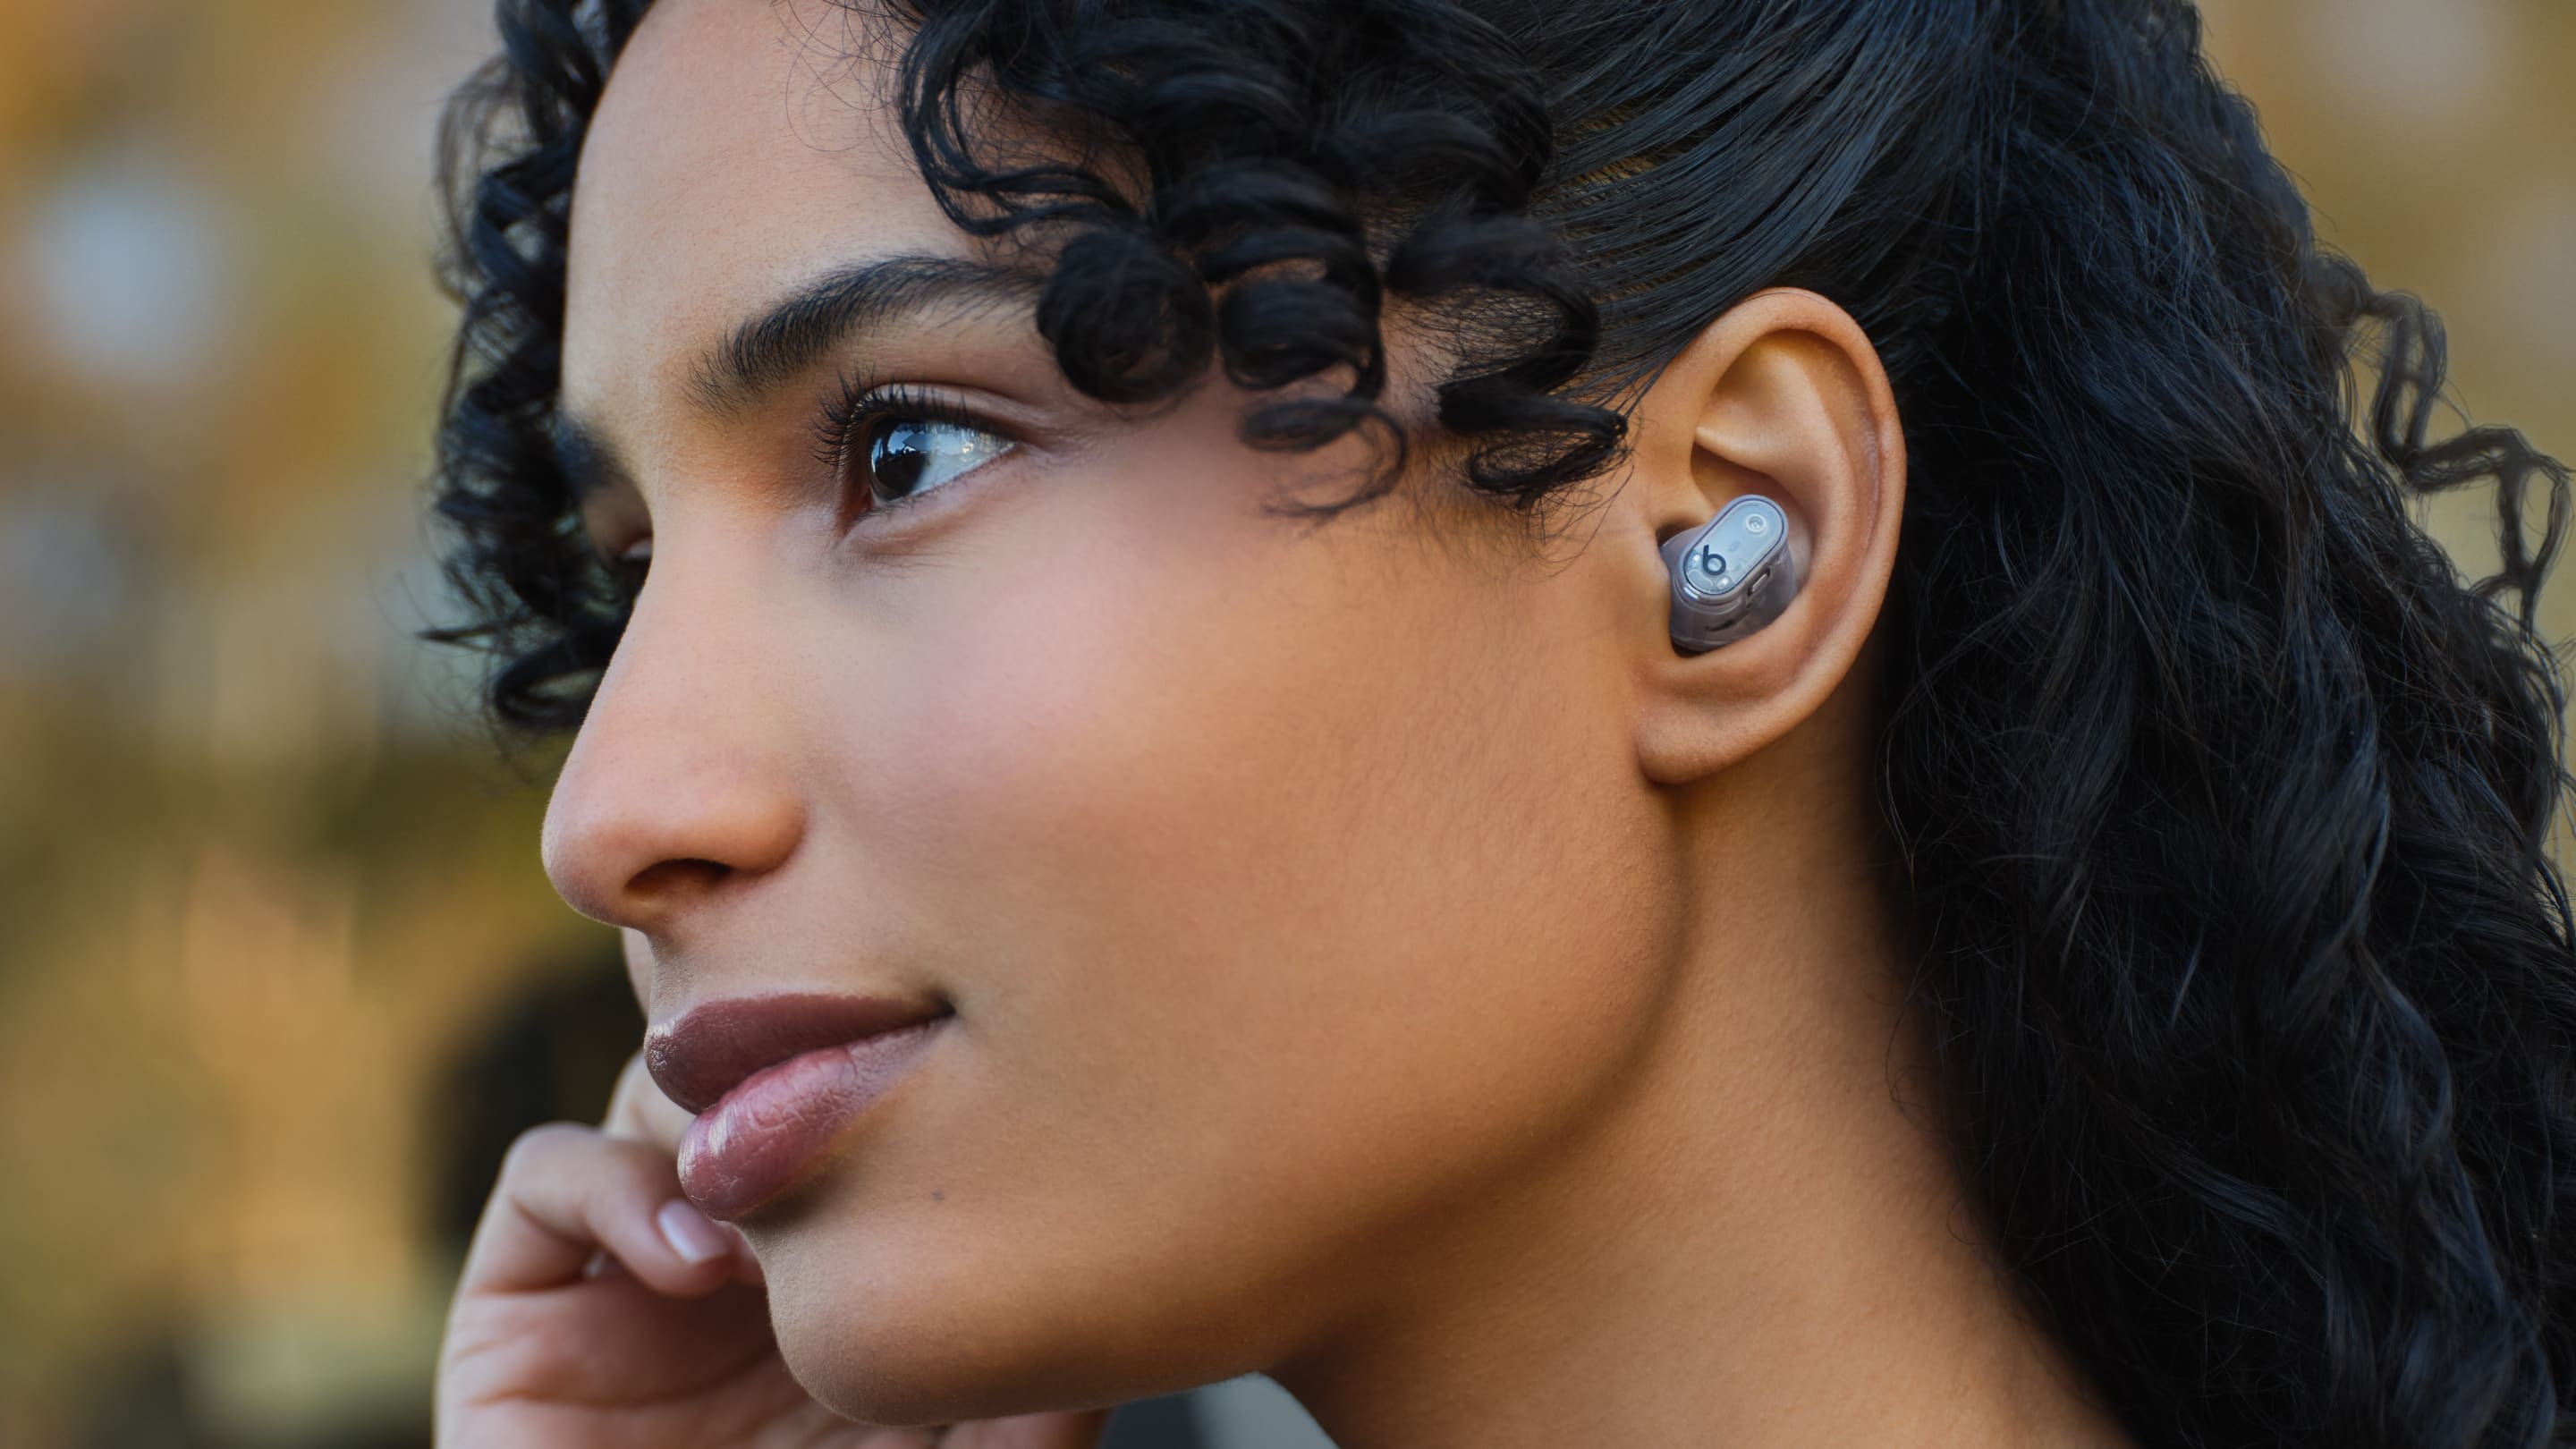
Welcome to the world of audio technology, where advancements have made it possible to eliminate unwanted noise and improve sound quality. One such innovation is noise cancellation on microphones. Whether you’re using a microphone for professional recording, gaming, or video conferencing, noise cancellation plays a crucial role in delivering clear and crisp audio.
Noise cancellation on microphones is designed to filter out background noise, such as fans, traffic, or ambient sounds, ensuring that the focus remains on your voice. It is an invaluable feature that helps to maintain audio clarity and enhances the overall user experience.
However, there may be times when you want to turn off noise cancellation on your microphone. Perhaps you’re in a quiet environment or prefer to capture the natural acoustics of your surroundings. Maybe you’re looking for a specific sound effect or want to incorporate external audio sources. Whatever the reason, knowing how to disable noise cancellation can give you more control over your audio output.
In this article, we will guide you through the process of turning off noise cancellation on your microphone, providing you with a seamless experience to capture audio just the way you want it. We will also share some troubleshooting tips to help you overcome any potential challenges along the way. So, let’s dive in!
Understanding Noise Cancellation on Mic
Before we learn how to turn off noise cancellation on a microphone, it’s important to understand the concept behind it. Noise cancellation technology aims to reduce or eliminate unwanted background noise during audio recording or communication.
Microphones with noise cancellation capabilities use various techniques to achieve this. One common method is called active noise cancellation (ANC). ANC works by using built-in microphones to detect the ambient noise surrounding the microphone. The microphone then generates an “anti-noise” signal that cancels out the detected noise, resulting in a clearer audio signal.
Another technique used is passive noise cancellation. Passive noise cancellation relies on physical design, such as using materials that block external noise or employing a directional pickup pattern to focus on the desired sound source while minimizing background noise. While not as effective as active noise cancellation, passive noise cancellation can still provide significant noise reduction.
It’s worth noting that noise cancellation technology is not perfect and may have limitations. Some microphones may inadvertently filter out certain desired frequencies or introduce artifacts into the audio signal. Additionally, noise cancellation may be less effective in extremely noisy environments or when there is significant distance between the microphone and the sound source.
Understanding the strengths and weaknesses of noise cancellation on microphones will help you make informed decisions when it comes to turning it off or adjusting its settings for specific situations.
Why Turn Off Noise Cancellation?
Noise cancellation on microphones is undoubtedly a valuable feature, but there are several scenarios where you may want to turn it off. Here are a few reasons why you might choose to disable noise cancellation on your microphone:
- Preserving ambient sound: In certain situations, capturing the natural ambient sound is crucial. For example, if you are recording a podcast or a live performance, you may want to preserve the acoustics of the room or capture the audience’s reactions. By turning off noise cancellation, you allow the microphone to capture the environment as it is, creating a more immersive experience for the listener.
- Using external audio sources: If you want to incorporate external audio sources, such as musical instruments or pre-recorded sound effects, turning off noise cancellation helps in capturing the full range of sounds without being filtered out. This is especially useful for creative projects like music production or audio post-production in videos.
- Enhancing spatial awareness: Noise cancellation can sometimes create a sense of isolation, as it effectively removes background noise. In situations where spatial awareness is important, such as virtual reality environments or video games that rely on directional audio cues, disabling noise cancellation can provide a more realistic and immersive sound experience.
- Addressing compatibility issues: While rare, some audio recording or communication software may not be fully compatible with noise cancellation technology. In these cases, turning off noise cancellation can help prevent any potential audio distortions or conflicts between the microphone and the software.
Ultimately, the decision to turn off noise cancellation on your microphone depends on the specific requirements of your recording or communication needs. Whether you need to capture the ambient sound, incorporate external audio sources, enhance spatial awareness, or address compatibility issues, being able to disable noise cancellation gives you the flexibility to achieve your desired audio outcome.
Step-by-Step Guide to Turning Off Noise Cancellation on Mic
If you’ve decided to disable noise cancellation on your microphone, follow these simple steps to ensure a smooth transition:
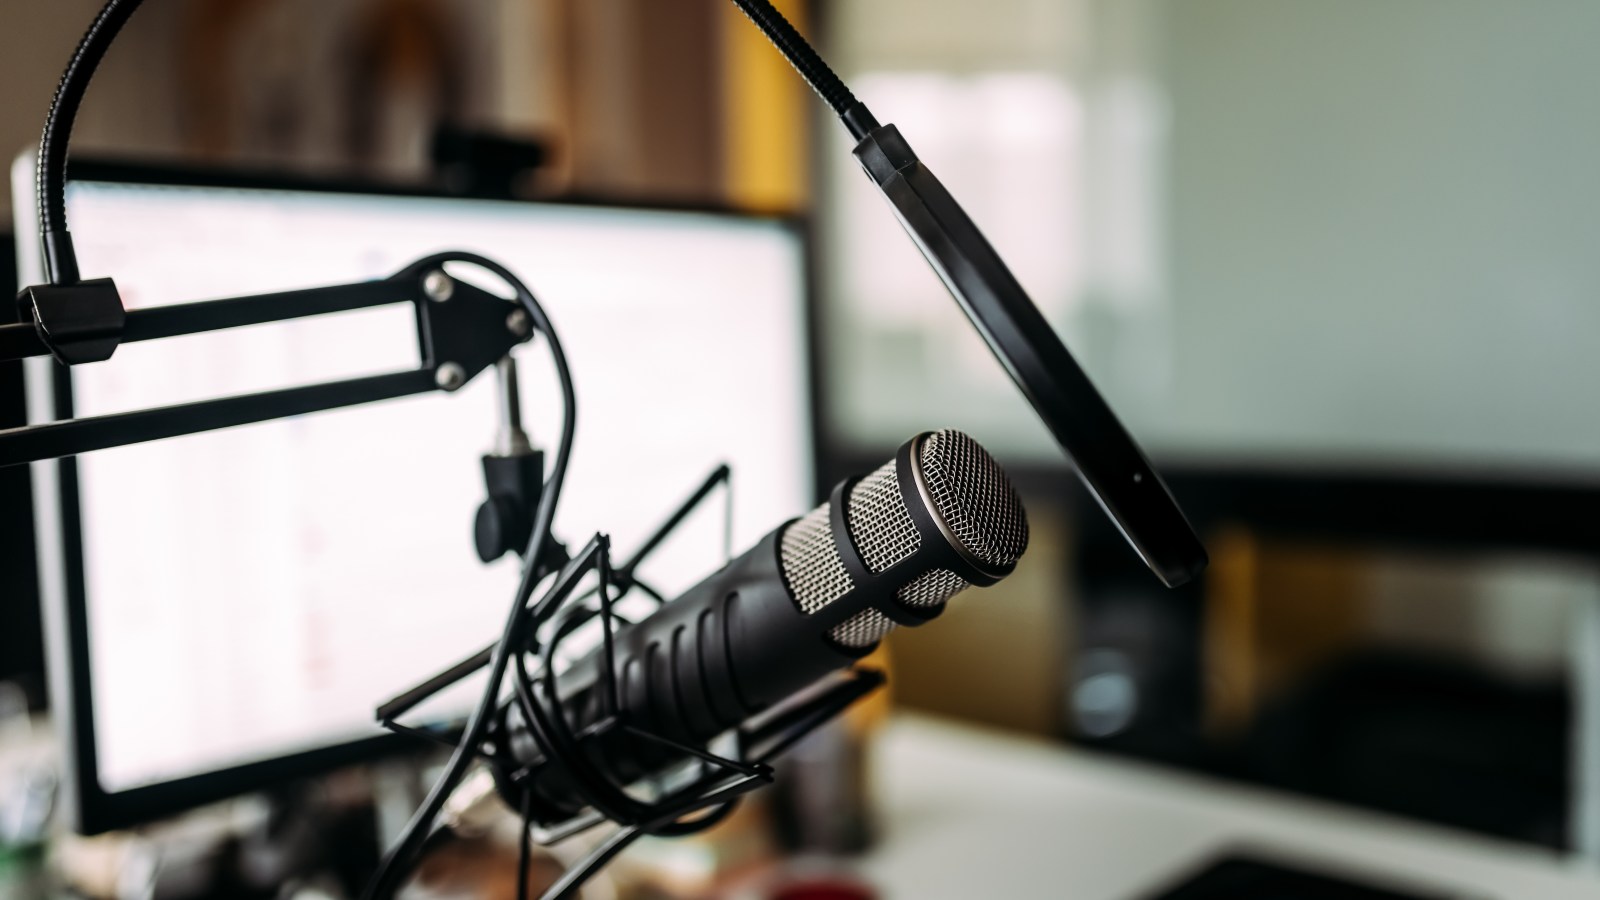
- Identify your microphone: Before proceeding, make sure you know the exact model and type of microphone you are using. This information will help you locate the appropriate settings or controls.
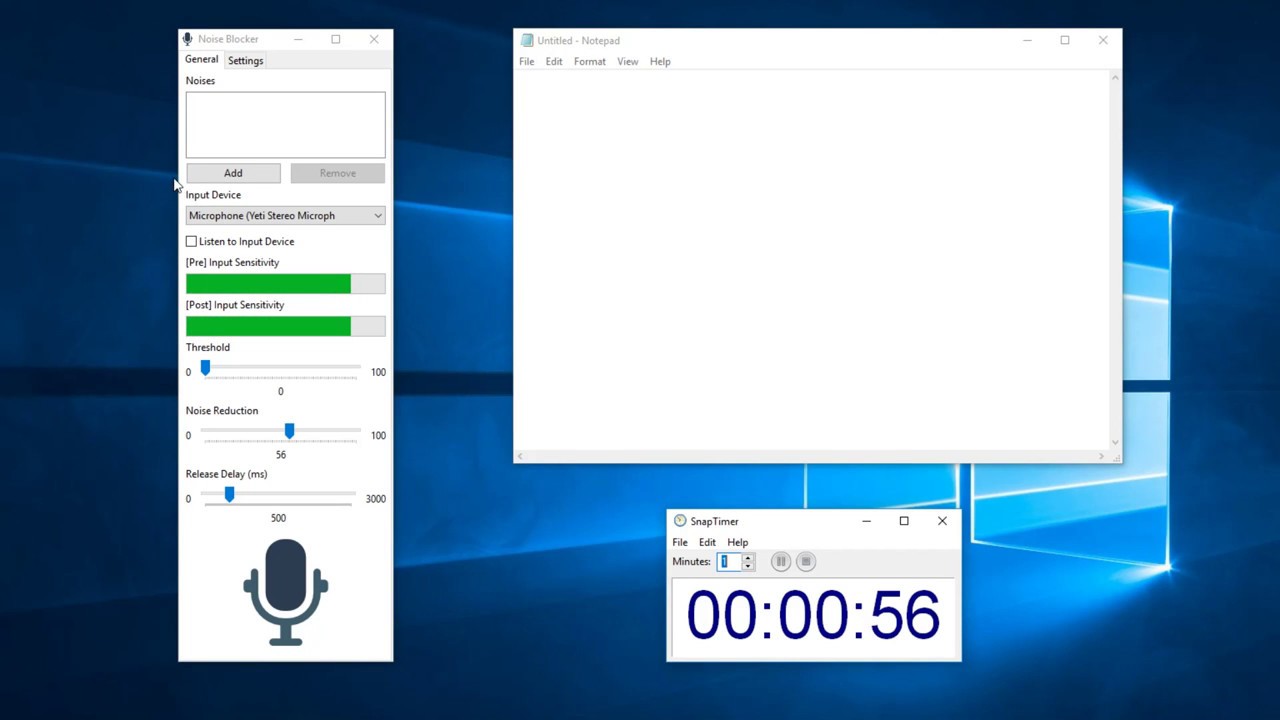
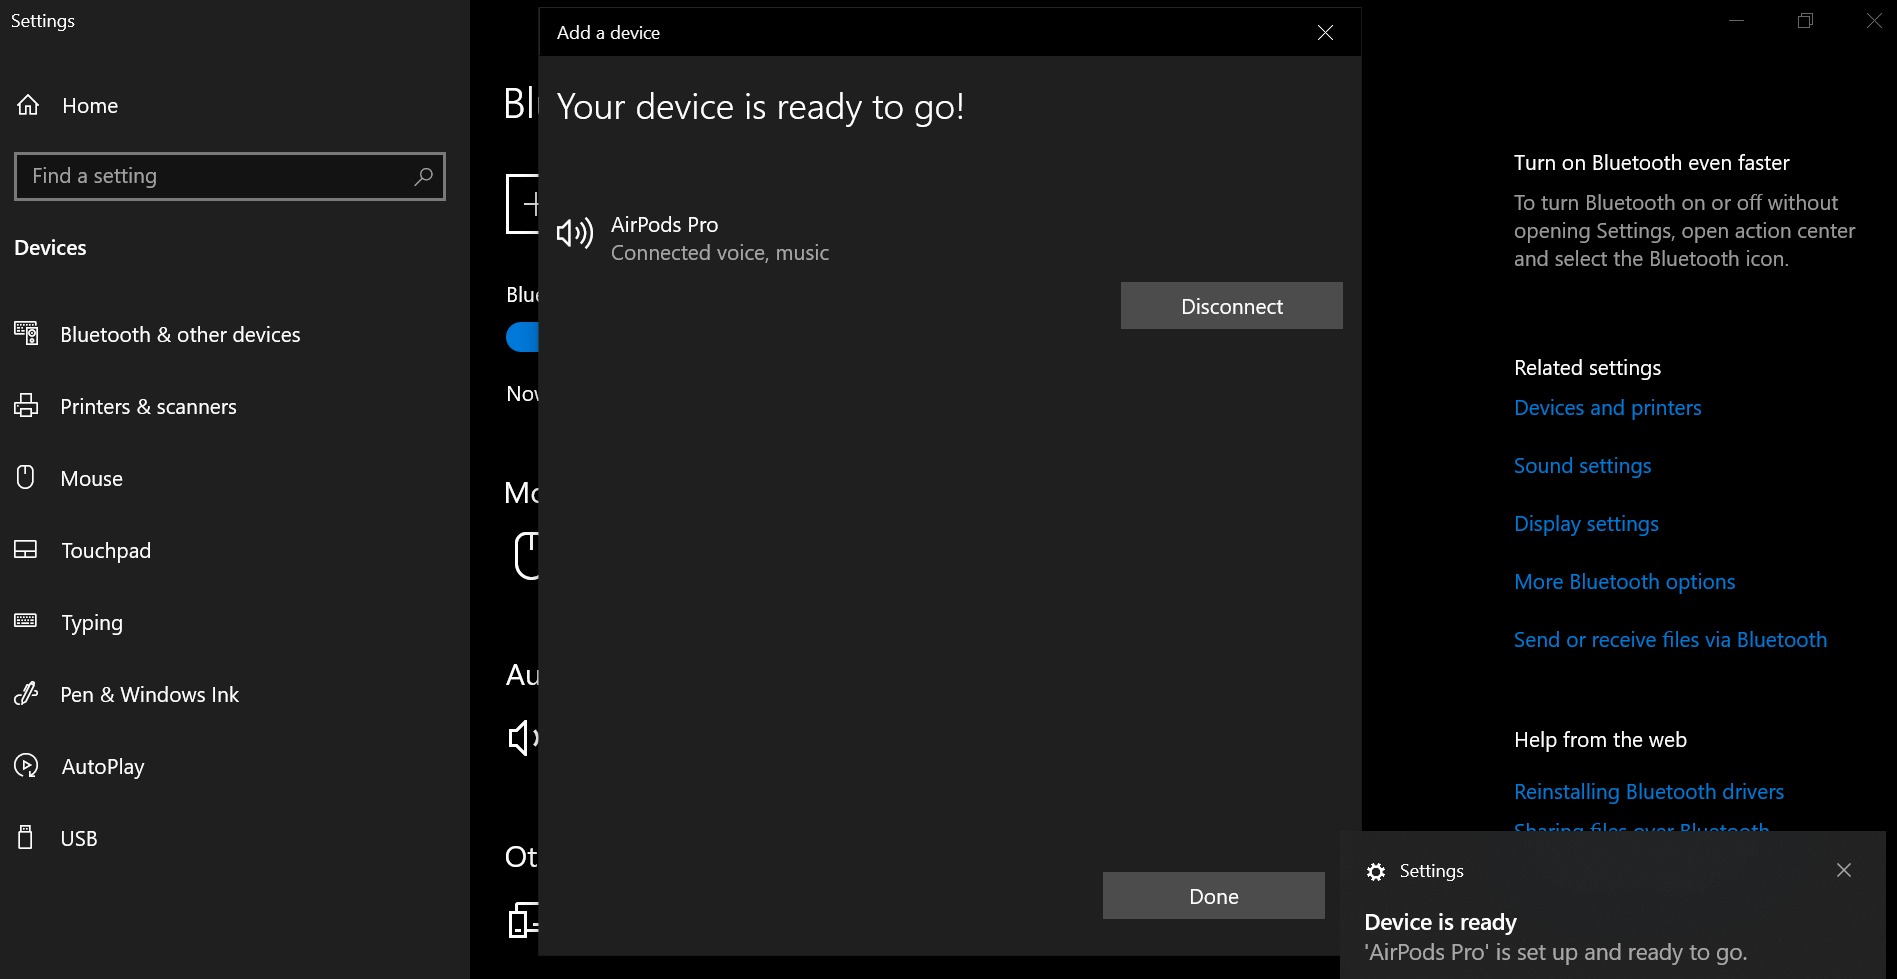
- Check the microphone settings: Many microphones, especially USB microphones, come with companion software or driver utilities. Open the software or utility and look for a section related to noise cancellation or audio processing. In some cases, there may be a toggle or option to disable noise cancellation. If you find the option, simply deselect or turn it off.
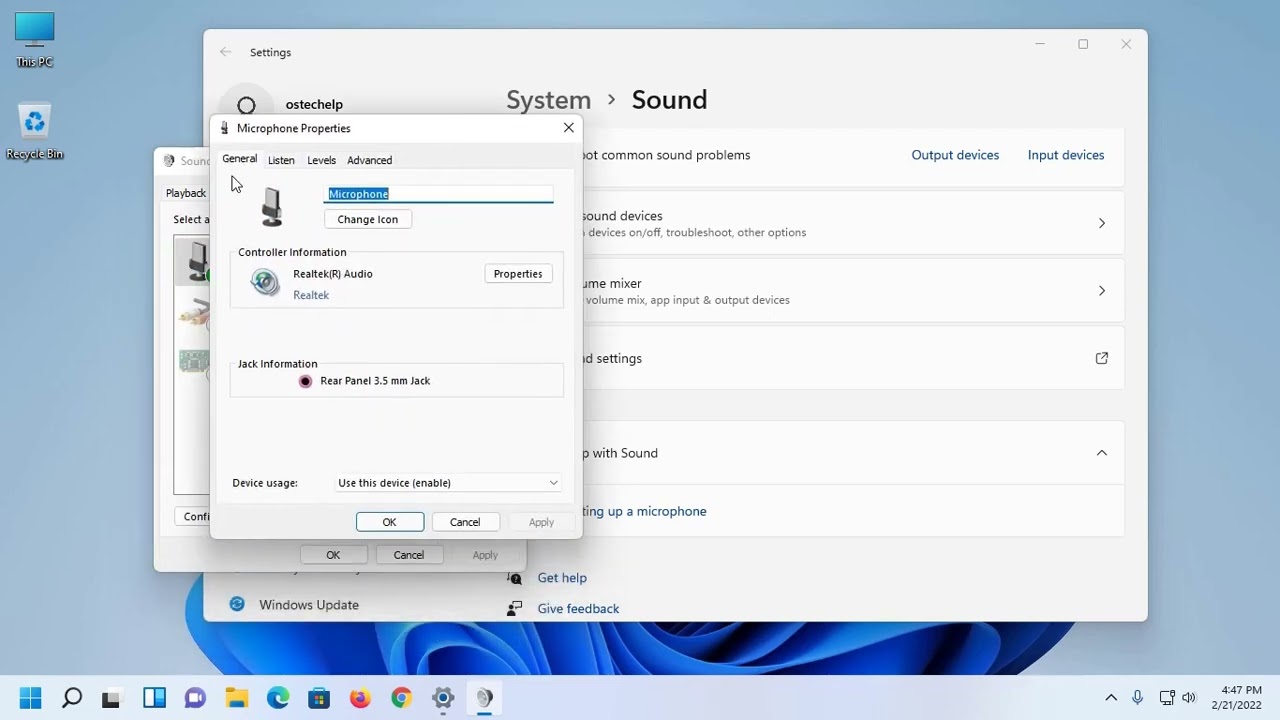
- Access system audio settings: If your microphone doesn’t have specific software or settings for noise cancellation, you can try accessing your computer’s audio settings. On Windows, right-click on the sound icon in the taskbar and select “Sounds” or “Recording devices.” Find your microphone in the list, right-click on it, and choose “Properties” or “Settings.” Look for any enhancements or effects section and disable noise cancellation if available.
- Adjust microphone gain: In some cases, noise cancellation may be tied to the microphone’s gain or sensitivity settings. If disabling noise cancellation through software or system settings doesn’t work, try adjusting the gain of your microphone. Lowering the gain can help reduce the impact of noise cancellation, although keep in mind that it may also reduce the overall volume of your voice.
- Test the microphone: After making the necessary adjustments, it’s important to test your microphone to ensure that noise cancellation is indeed disabled. Open a recording software or make a test voice call to check the audio quality. Listen for any changes in the audio and make any additional adjustments if needed.
Remember, the specific steps may vary depending on the microphone model and the operating system you are using. If you encounter any difficulties or if disabling noise cancellation is not an option, consult the microphone’s user manual or reach out to the manufacturer’s support for further assistance.
Once you have successfully turned off noise cancellation on your microphone, you can enjoy the flexibility to capture the desired audio without any unwanted filtering.
Troubleshooting Tips
While turning off noise cancellation on your microphone should be a straightforward process, there may be instances where you encounter challenges or unexpected issues. Here are some troubleshooting tips to help you overcome any potential hurdles:
- Check for updates: Ensure that your microphone’s software or firmware is up to date. Manufacturers often release updates that address compatibility issues or improve the functionality of their devices. Visit the manufacturer’s website or use their software update utility to check for any available updates.
- Verify compatibility: Confirm that your microphone is compatible with the operating system you are using. Some microphones may have limited functionality on certain platforms or may require specific drivers to work properly. Check the manufacturer’s documentation or support resources for compatibility information.
- Inspect cables and connections: Examine the cables and connections between your microphone and computer to ensure they are properly connected and not damaged. Loose or faulty connections can affect the performance of the microphone, including its noise cancellation capabilities.
- Reset settings: If you have made changes to your microphone’s settings and are experiencing unexpected issues, try resetting the settings to their defaults. Refer to the user manual or the manufacturer’s support resources for instructions on how to perform a reset.
- Test on a different device: If possible, try connecting your microphone to a different device to see if the issue persists. This can help identify whether the problem is with the microphone itself or with the specific configuration or software of your original device.
- Seek professional assistance: If you have followed the troubleshooting tips above and are still experiencing difficulties with noise cancellation, consider reaching out to the manufacturer’s support team or seeking assistance from a professional technician. They can provide personalized guidance and troubleshoot the issue in more detail.
Remember, resolving technical issues may require some patience and exploration. Don’t hesitate to reach out for help if you are unsure or need further assistance in getting your microphone to function without noise cancellation.
Conclusion
Noise cancellation on microphones is a powerful feature that enhances audio quality by eliminating unwanted background noise. However, there are times when turning off noise cancellation becomes necessary to capture ambient sound, incorporate external audio sources, or address specific requirements. By following the step-by-step guide in this article, you can easily disable noise cancellation on your microphone and have greater control over your audio recordings or communications.
Remember to check your microphone’s software or system settings for noise cancellation options, adjust the microphone gain if needed, and thoroughly test the audio output to ensure that noise cancellation has been turned off successfully. In cases where you encounter challenges, the troubleshooting tips provided can help you overcome any issues that may arise.
Ultimately, the ability to disable noise cancellation on your microphone empowers you to tailor your audio capture to your specific needs, allowing for a more versatile and personalized recording experience. Whether you’re a content creator, gamer, or professional communicator, understanding how to turn off noise cancellation on a microphone opens up a world of possibilities for creating high-quality, dynamic audio content.
So go ahead, experiment, and enjoy the flexibility and creative freedom that comes with disabling noise cancellation on your microphone.